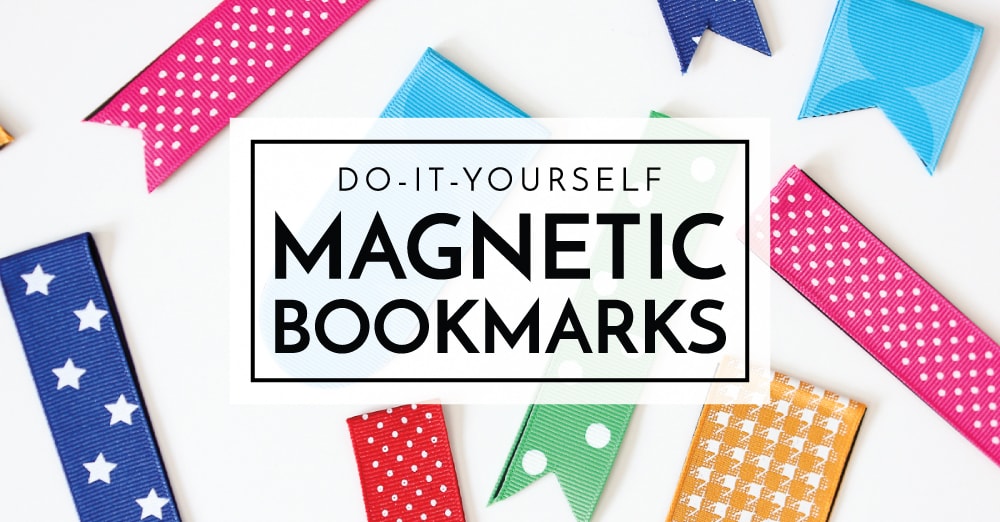
DIY Magnetic Bookmarks
Despite the convenience of digital tablets and e-readers, nothing can beat the feeling of a great book in your hands, right?!? And unless you make it a habit to read books cover-to-cover in a single sitting, a good bookmark is always a necessity. These DIY magnetic bookmarks are a simple, functional, and oh-so-darling way to keep your place in your latest read (or even your planner). Made with just magnetic paper and pretty ribbon, they are the perfect classroom favor, scout project or sweet surprise for your book club buddies! Let me show you!
These DIY magnetic bookmarks couldn’t be any easier! They seriously come together in mere minutes; they don’t require any fancy tools; and since ribbon comes in endless sizes, patterns, colors and textures, you can easily customize these bookmarks to suit your personality, style or occasion!
With just a pair of scissors, you can make a whole set that can be used in a variety of ways around the house, school, craft room, office, and more!
You guys will really love how easy this project is – no measuring required! Here’s what you need to make your own:
- Adhesive Magnetic Paper – While you can certainly make these bookmarks using regular magnetic paper (found at most office supply stores), the adhesive backing on this kind eliminates the need for glue, making this project even quicker!
- Ribbon(s) – More on this below.
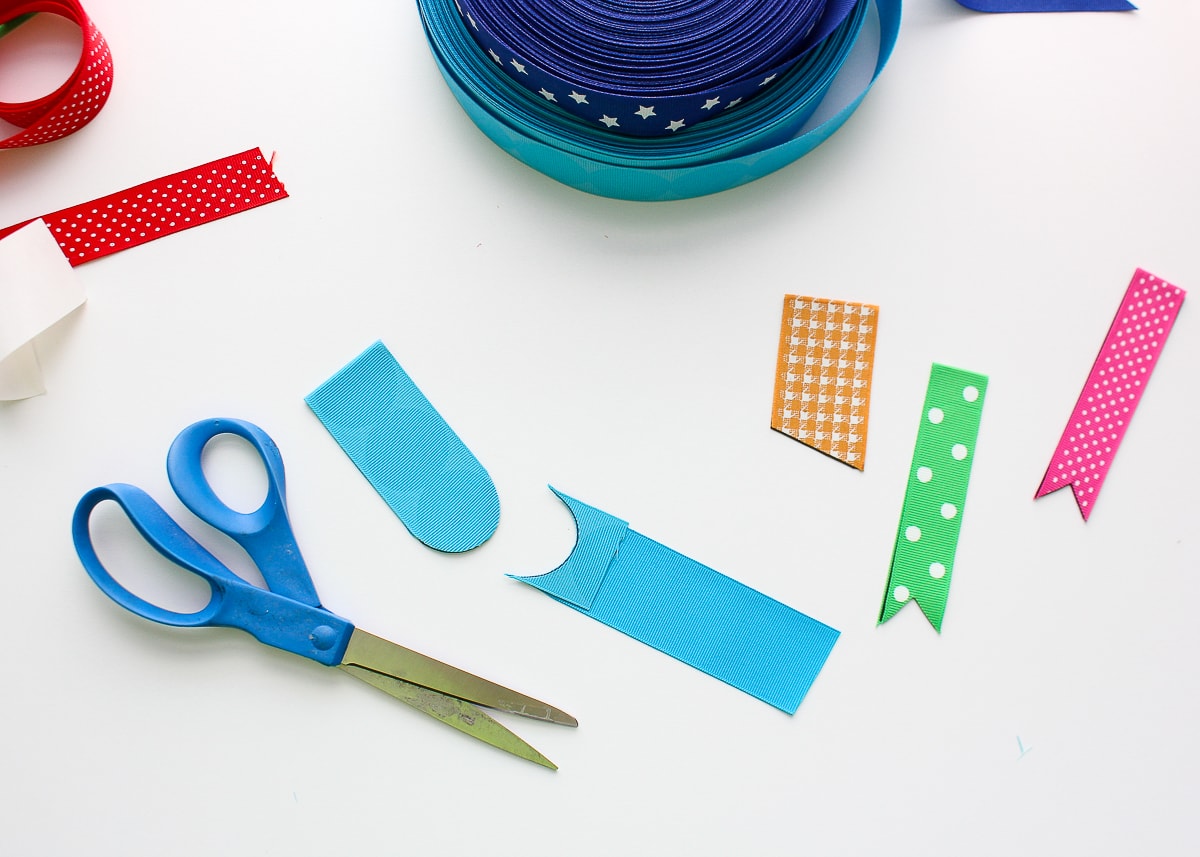
- Paper cutter (recommended but not required) and scissors.
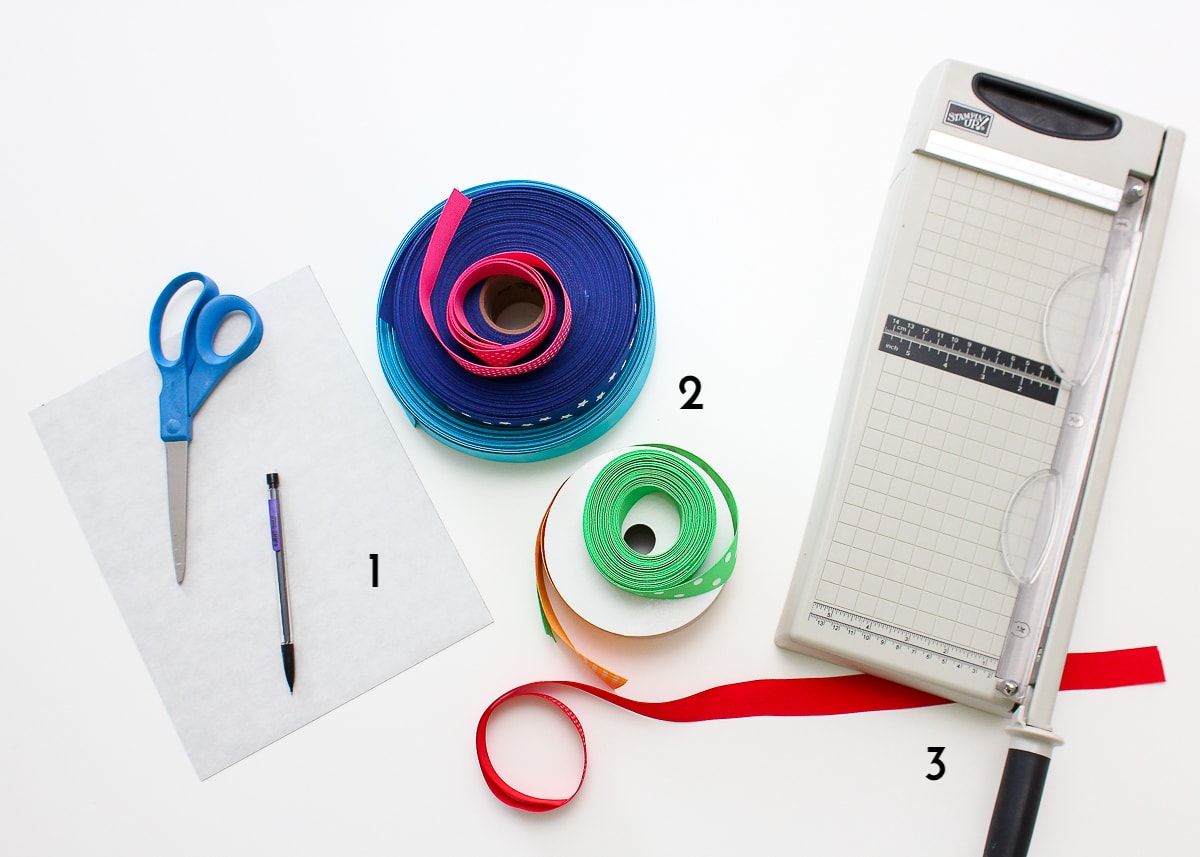
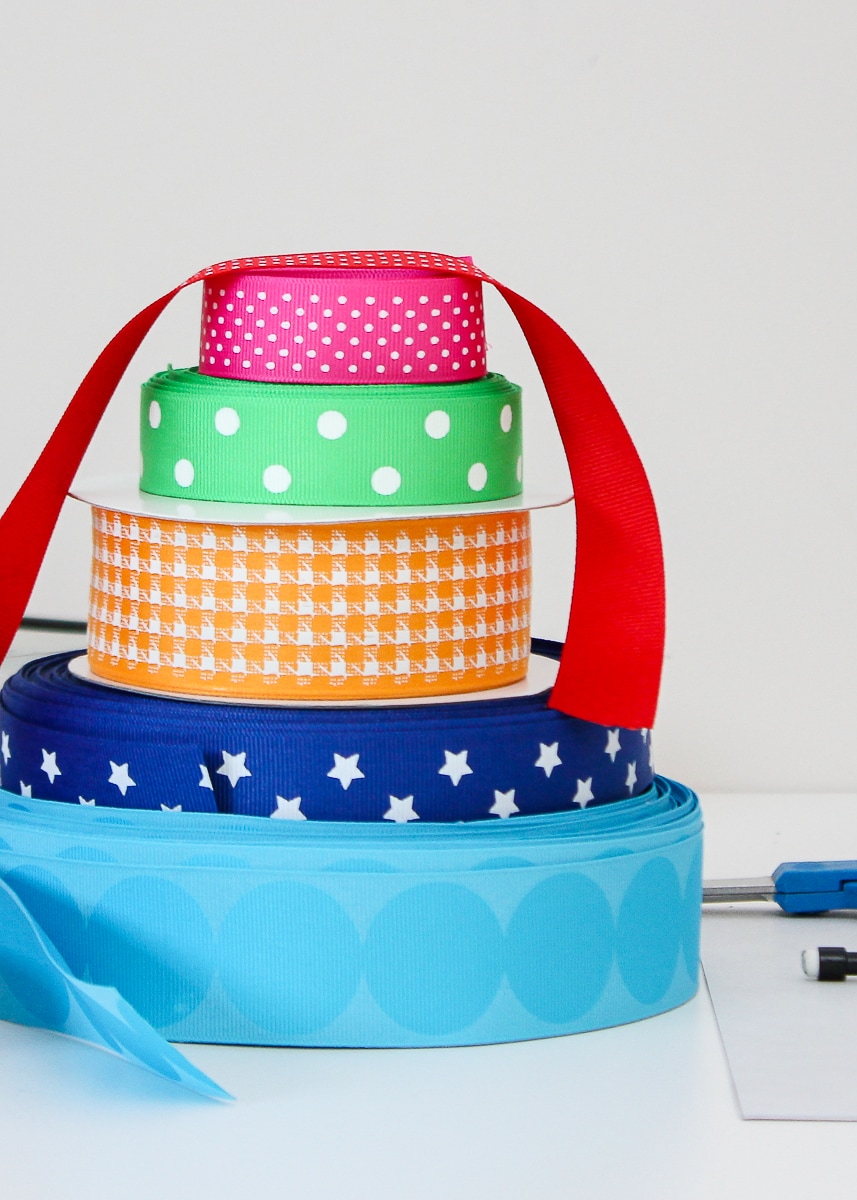
When choosing ribbon, pick any color, pattern, texture and width you like. However, I do recommend the ribbon be at least ¾” wide; and I think the sturdiness of grosgrain ribbon works better than organza, satin, or lace-type varieties. This is a great opportunity to pick ribbons in your school, party, or special occasion colors. You don’t need nearly as much as is shown here; scraps are perfect for this project!
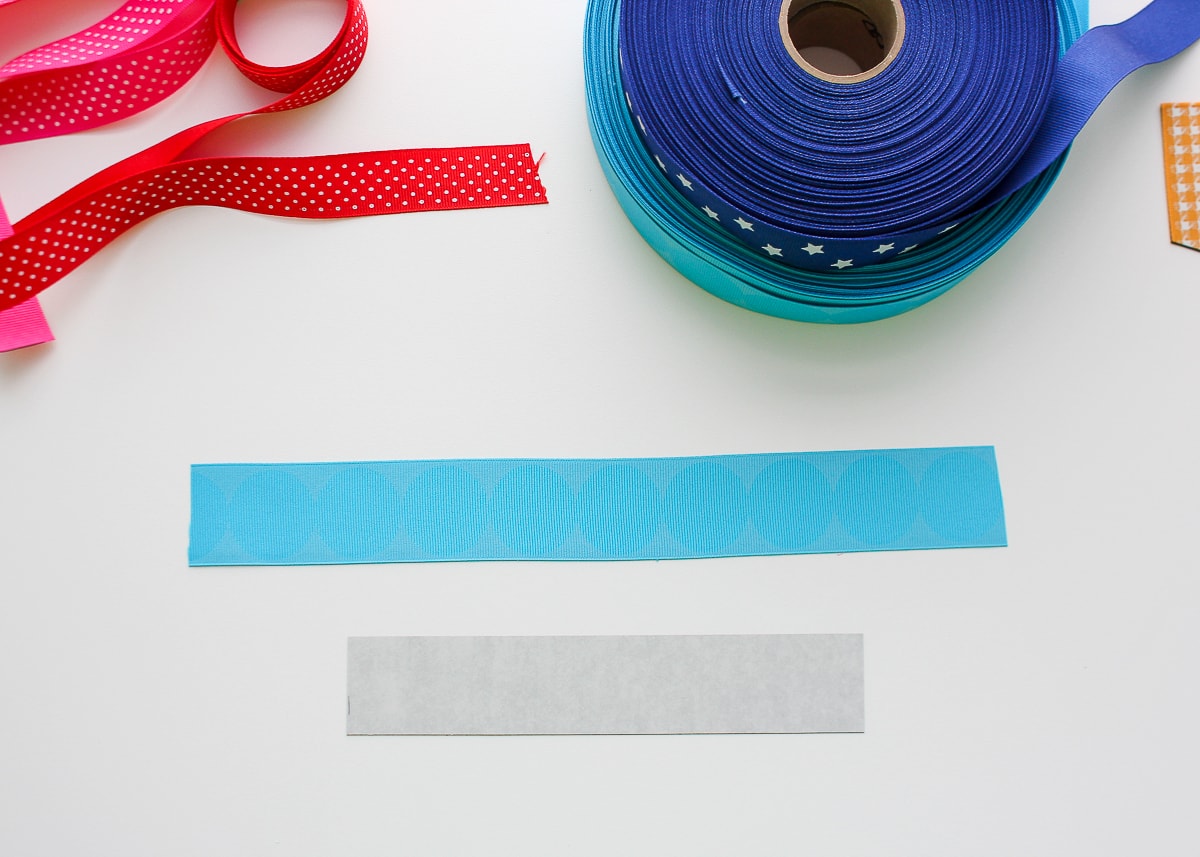
Start by cutting a length of ribbon. You’ll be folding the ribbon in half, so decide about how long you want your finished bookmark to be and then double it. Anywhere from 5-12” long is a good place to start. Then using a paper trimmer or scissors, cut a strip of the magnetic paper down to the same WIDTH as your ribbon (don’t worry too much about the length.)
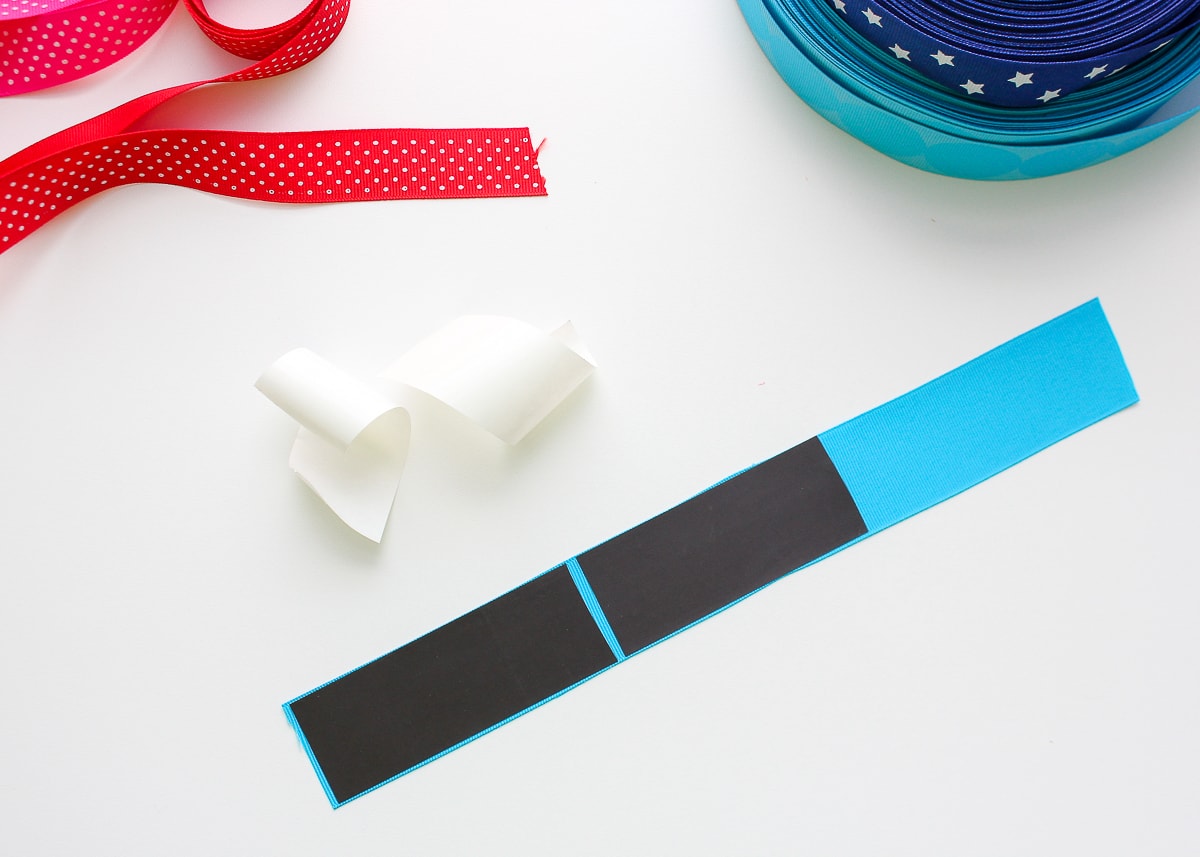
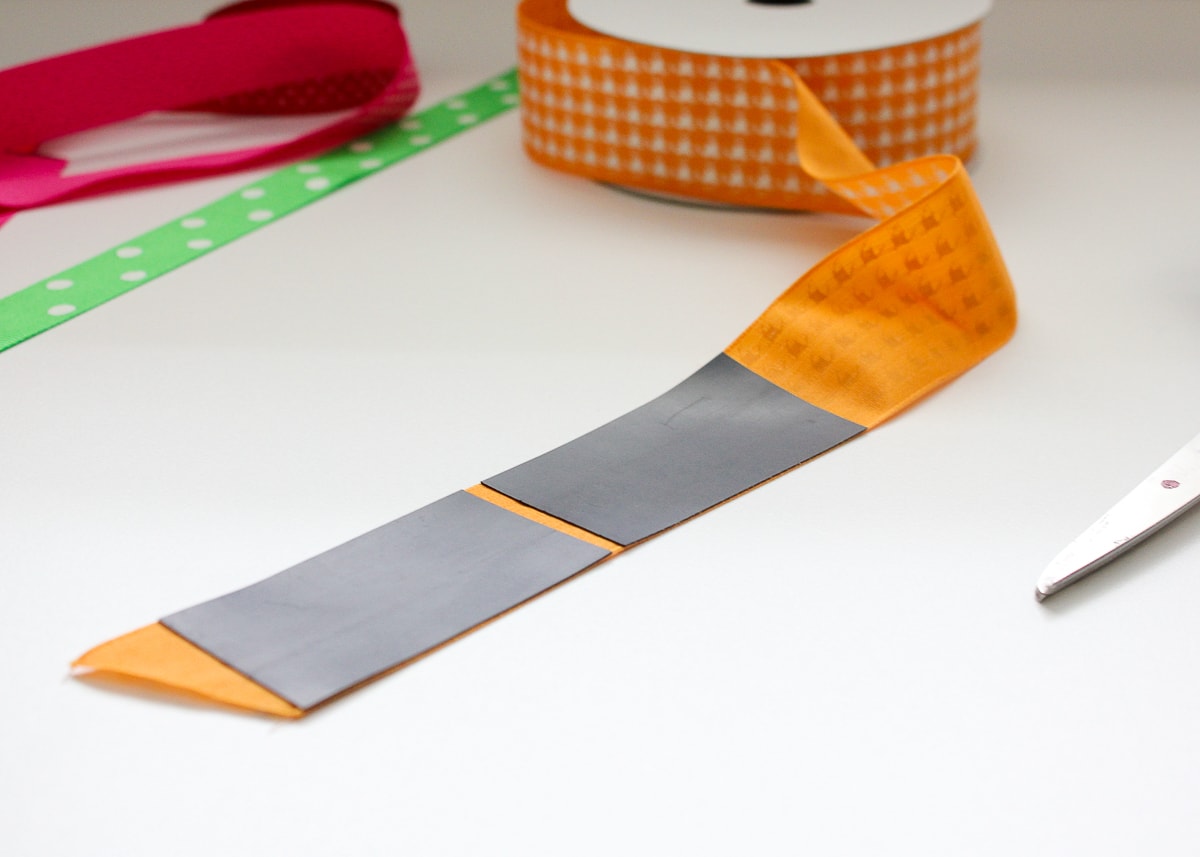
With a scissors, cut the magnetic strip into two equal pieces.

Next, remove the paper backing from the adhesive magnetic strips and place them (sticky-side down) onto the backside of the ribbon. Be sure to line up the long edges carefully and leave about ¼” of space between the two pieces of magnetic paper. This will allow the bookmark to easily fold in half.
Want to save this post?
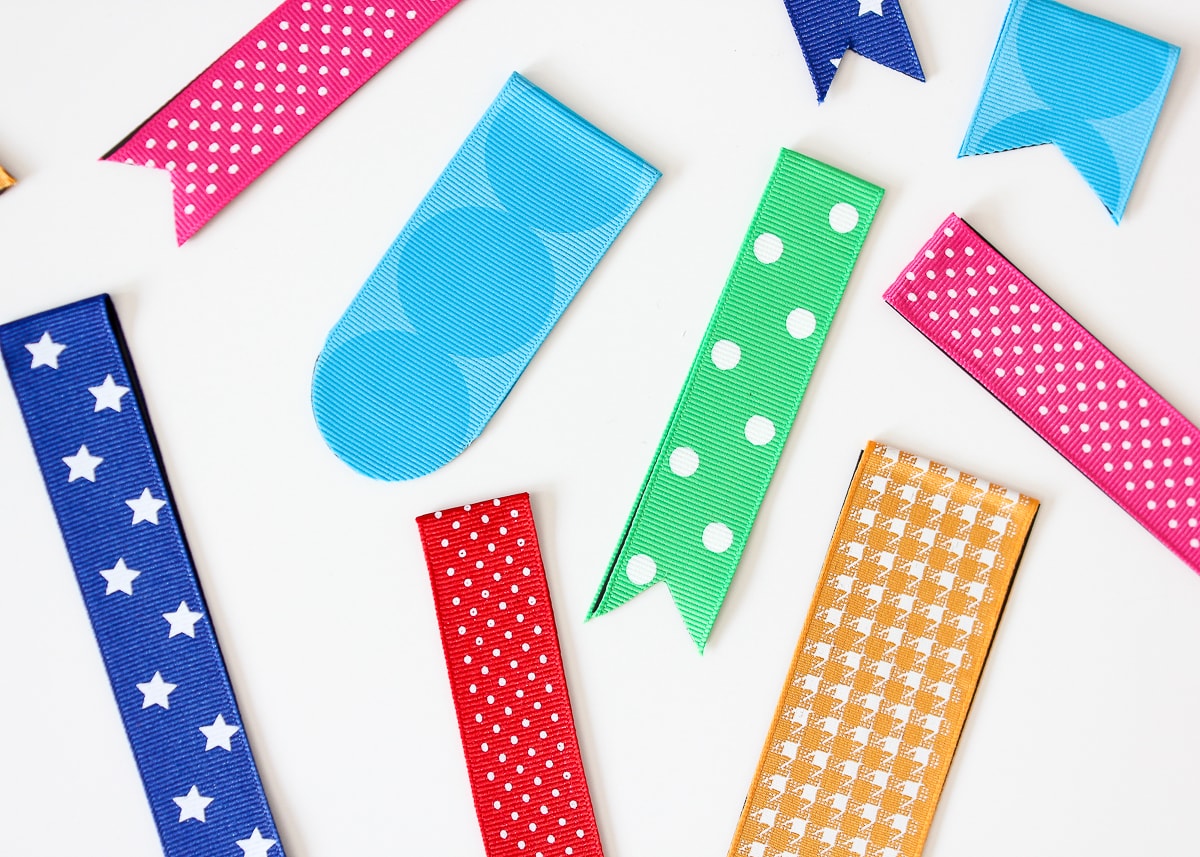
Once the magnetic paper is secured to the ribbon, fold the bookmark in half and trim away the bottom in whatever shape you like using a scissors. Diagonals, triangles, and half-circles are all great shapes to try!
Repeat the same process with different ribbons, lengths, and designs!
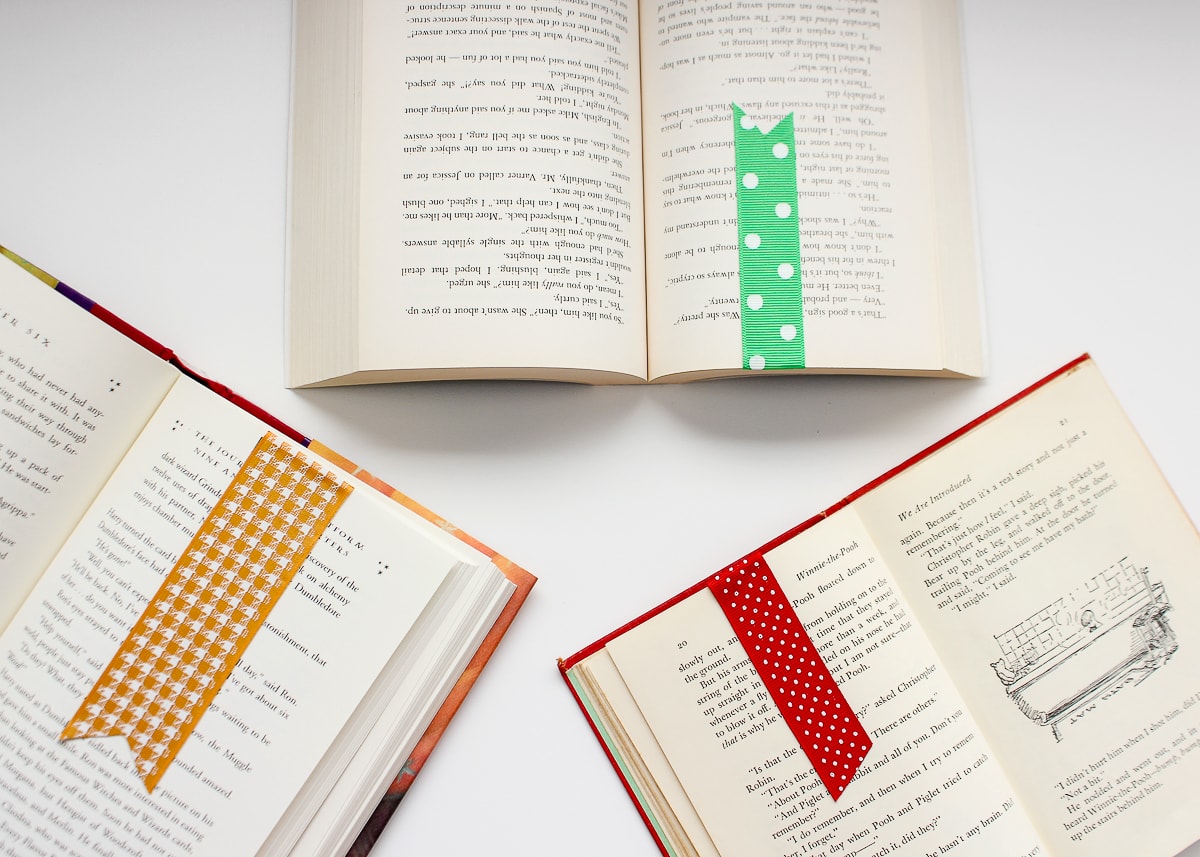
From one 8×10” sheet of magnetic paper and a variety of ribbons, I was able to make a whole collection of bookmarks, all in different colors, shapes, and sizes!

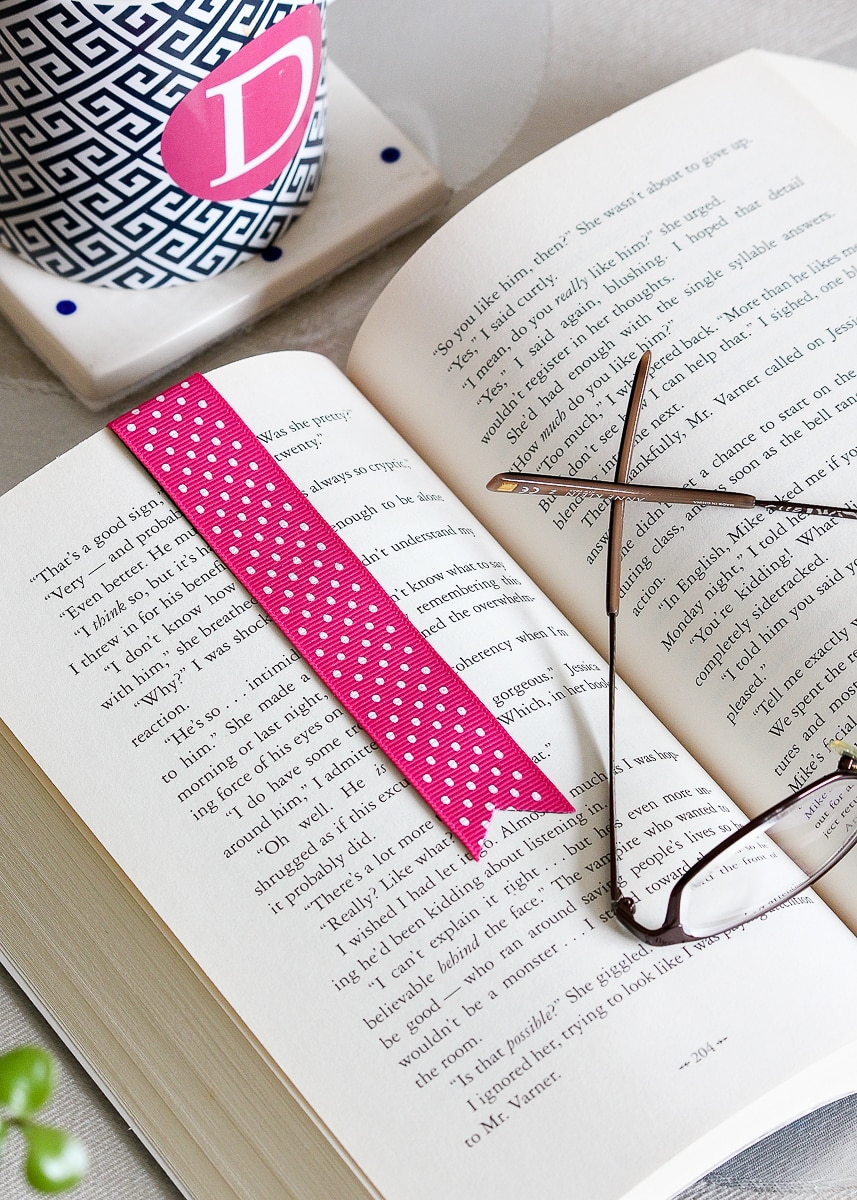
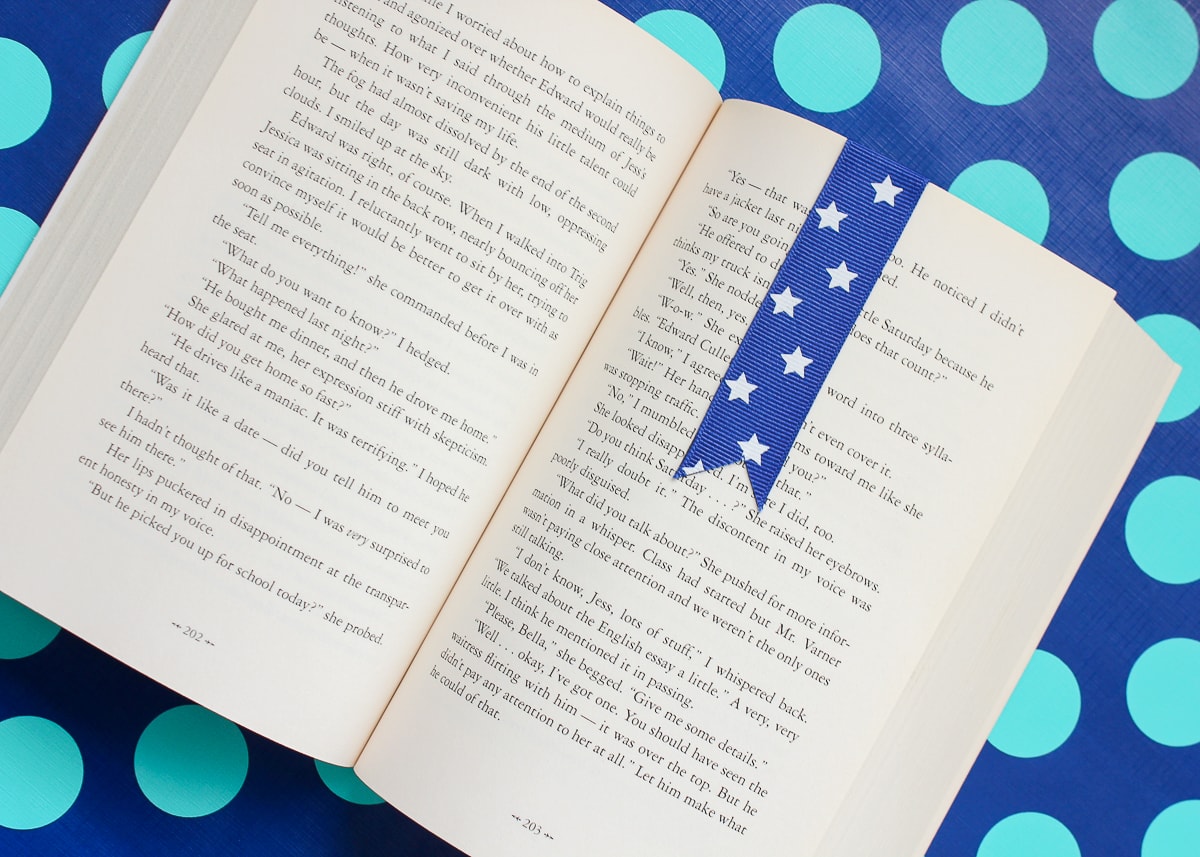
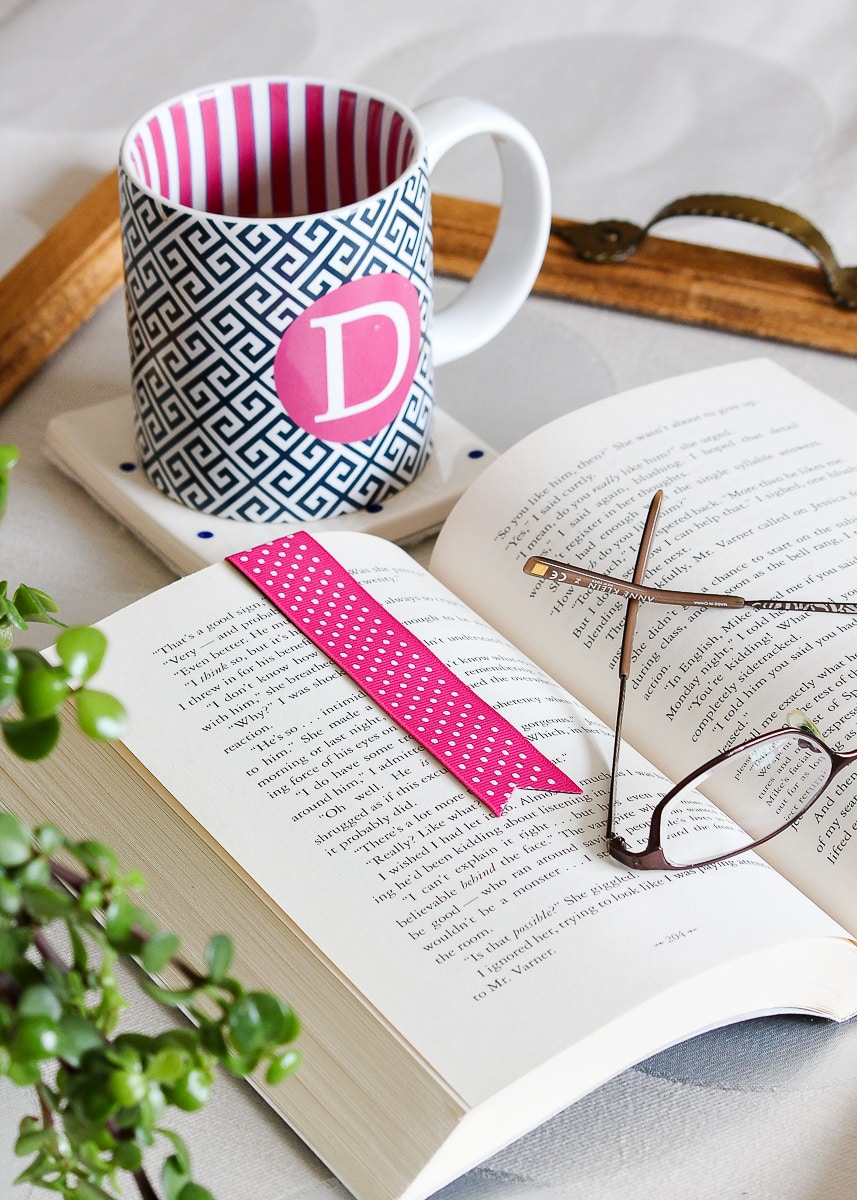
The magnetic paper is just strong enough to hold about two-to-three sheets of paper in the bookmark. They are ideal for keeping your place in your next juicy read…
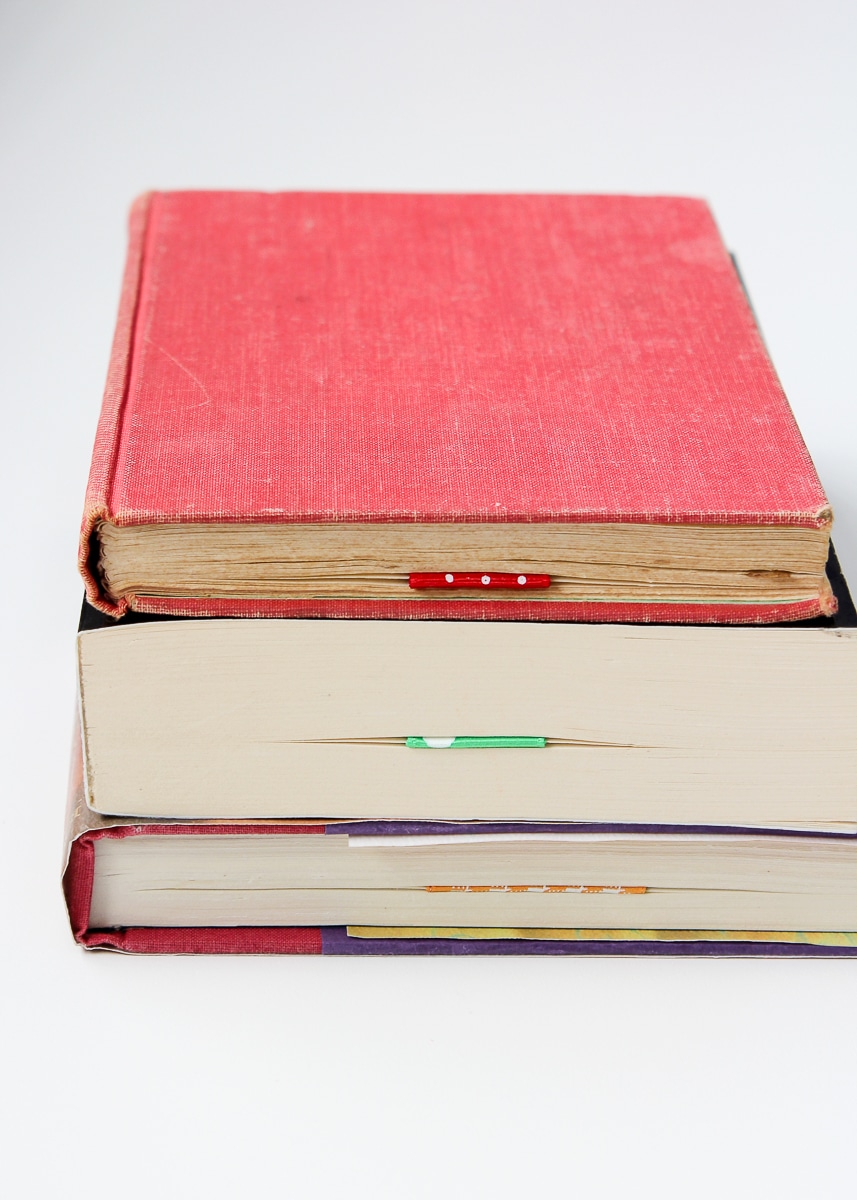
…and since they are nice and slender, you can keep your place without damaging the spine of your book. I also love using them in different sections of my daily planner to make dates, events, and notes easy to find!
These magnetic bookmarks are a simple and fun craft project with adorable results. The supplies are inexpensive, and they are easy enough for kids to make themselves. You can also expand on this concept by personalizing names/letters with paint pens or iron-on and customizing them with decorative details such as stickers, decals, buttons and more!
Henry has turned into a voracious reader in the last 6 months and is constantly asking for a bookmark. It might be time to crank out a fresh set of these! I also want to give this same project a try using pretty vinyls (instead of ribbon) for an even sleeker and customizable option! Stay tuned for that 😉
Have a wonderful weekend, friends! I’ll see you back here on Tuesday with an up-close look at our deep kitchen drawer organization!
Megan
11 Comments on “DIY Magnetic Bookmarks”
A ha! I have a whole pile of ribbons that are too short for gifts/heads, etc. and this gives me the perfect excuse for having hoarded them all this time.
How cute! I think my girls and I will make some and deliver to neighbors’ & friends’ mailboxes during this quarantine time!!!
What a fun idea! These are definitely on our To Make List too!
Have fun!Megan
Love this idea. I was buying them for my planners, no more. Are you going to do the vinyl version post soon?
COVID-19 has changed all DIY plans! I’m hoping to get to it soon!
Megan
The craft ideas you share here are the most interesting I’ve seen in a while. Our kids just can’t wait to try some of them out themselves. Thank you for sharing your wonderful ideas. God bless!
Thanks so much!
Megan
What an excellent way to use up some ribbons. I look forward to the vinyl one too.
Thanks for sharing.
Thanks so much, Helen! If you didn’t find it, you can now see the vinyl version here: https://thehomesihavemade.com/2020/08/how-to-make-diy-magnetic-bookmarks-with-vinyl/
Hope you give these projects a try!
Megan
Megan can the bookmark magnet instructions be made print able?
Hi Sharon,
I’m hoping to be able to add a “printable” feature to my DIY projects eventually, but it’s not something I can get to in the short-term. In the meantime, you’re welcome to copy/paste the text/images into your own document for printing (for your own personal use).
So sorry I don’t have a better answer at this time!
Megan