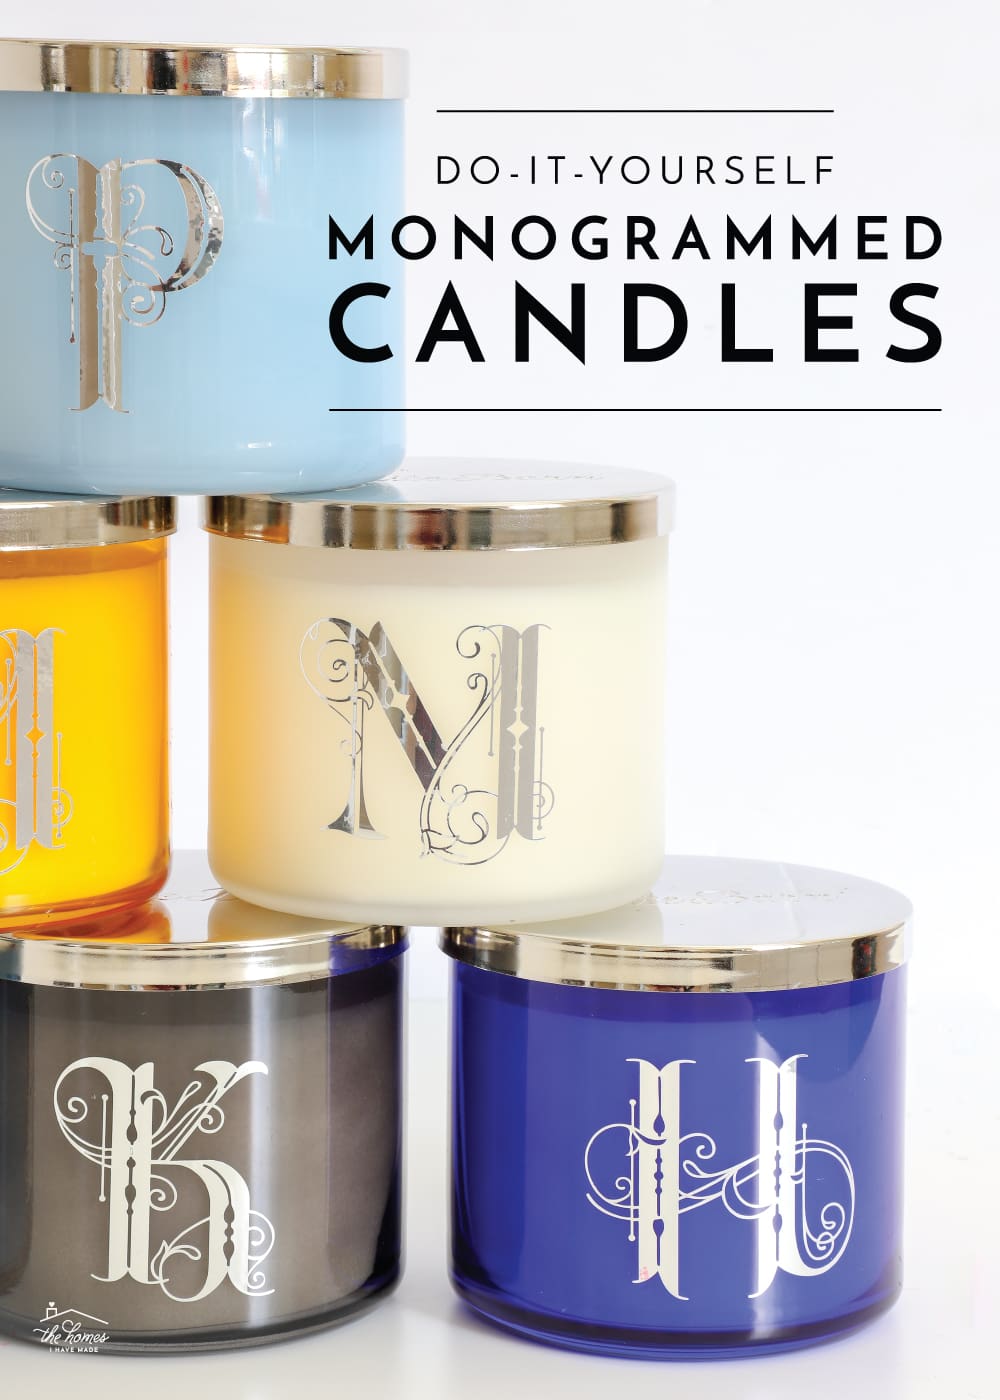
DIY Monogrammed Candles
By far, the hardest part of moving is saying goodbye to the friends that become family during our 1-3 years in a specific place. I always like to leave our friends with some sort of thoughtful gift…not only as a way to say “thanks for a few great years,” but also: “don’t forget us after we’re gone!” After combing the mall (yes, I actually went to the mall in search of thoughtful gifts!), I determined I could customize some lovely large candles with my Cricut as a budget-friendly solution. Not only were these DIY Monogrammed Candles incredibly easy, but they turned out super chic thanks to the use of some gorgeous foil vinyl. Perfect for bridesmaids, teachers, coaches, hostess and more, this project is a great idea to keep tucked away for future use!
Choosing the Right Candle to Monogram
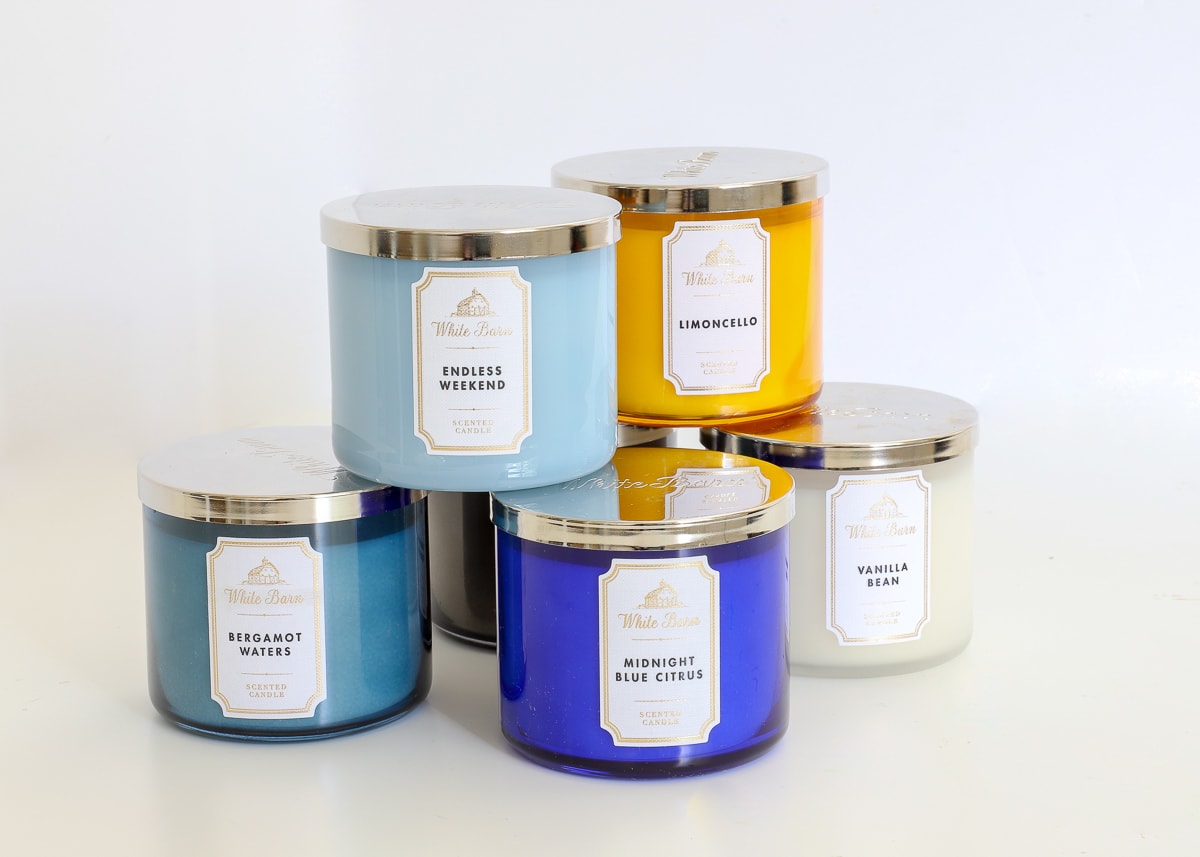
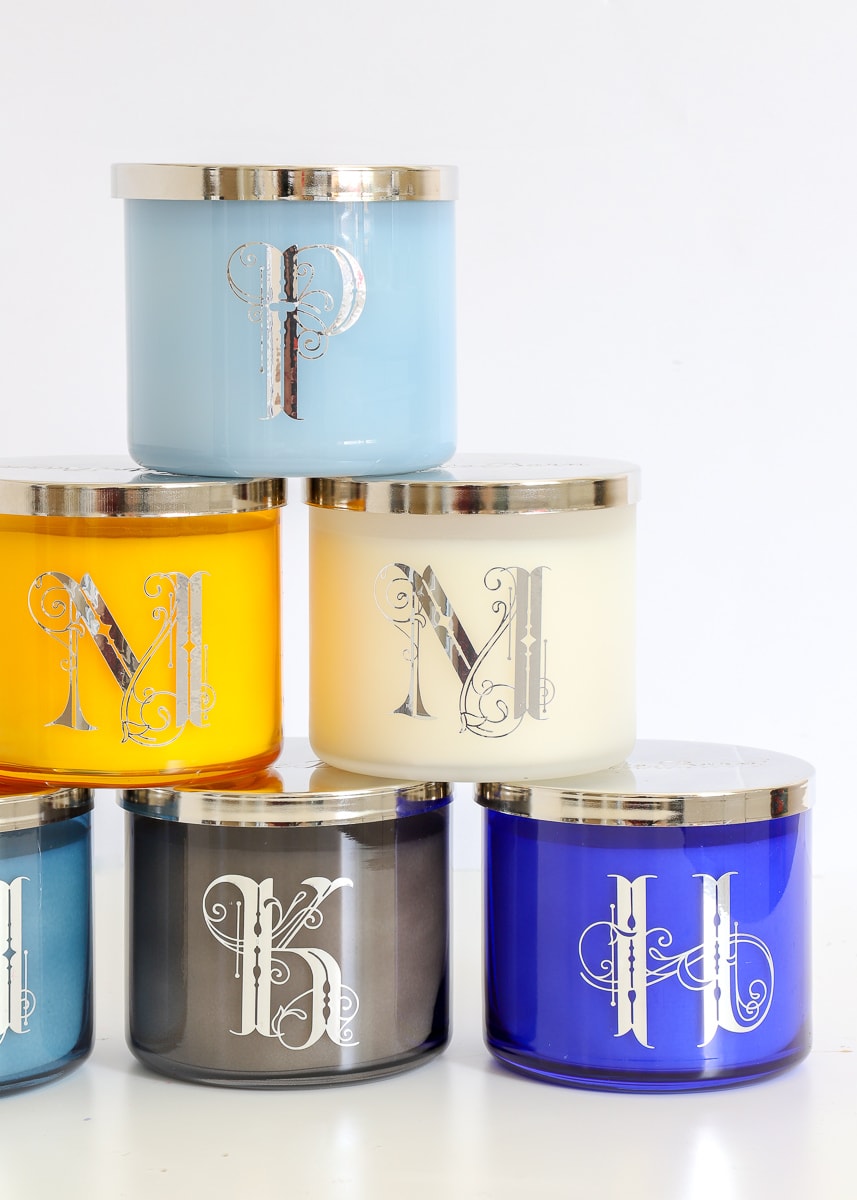
I am smitten with the size and style of the White Barn 3-wick candles from Bath and Body Works. Not only does their sleek and simple design make them a gorgeous canvas for personalization, but the variety of scents and colors allows you to pick just the right thing for your recipient(s). Admittedly, these candles can be pricey. So if you want to make them for holiday or teacher gifts, stock up when they are on sale!
This DIY Monogrammed Candles project can be applied to any candle you find in any store, but here are some things to keep in mind:
- Look for a large candle. Not only will they burn/last for a really long time, but they provided a lot of surface area to add a custom design.
- See if the included labels are small and removable. Some jar candles have large, hard-to-remove labels or are printed/embossed directly on the jar. This makes it harder to personalize the candle for your specific needs.
- Make sure the jars are colored glass…not covered by some sort of plastic covering. This means that even long after the candles are burned, the pretty jars can be re-used as pen cups, brush holders, coin jars, etc!
- True cylinders are always best for adding vinyl designs because they will lay nice and flat with no buckling.
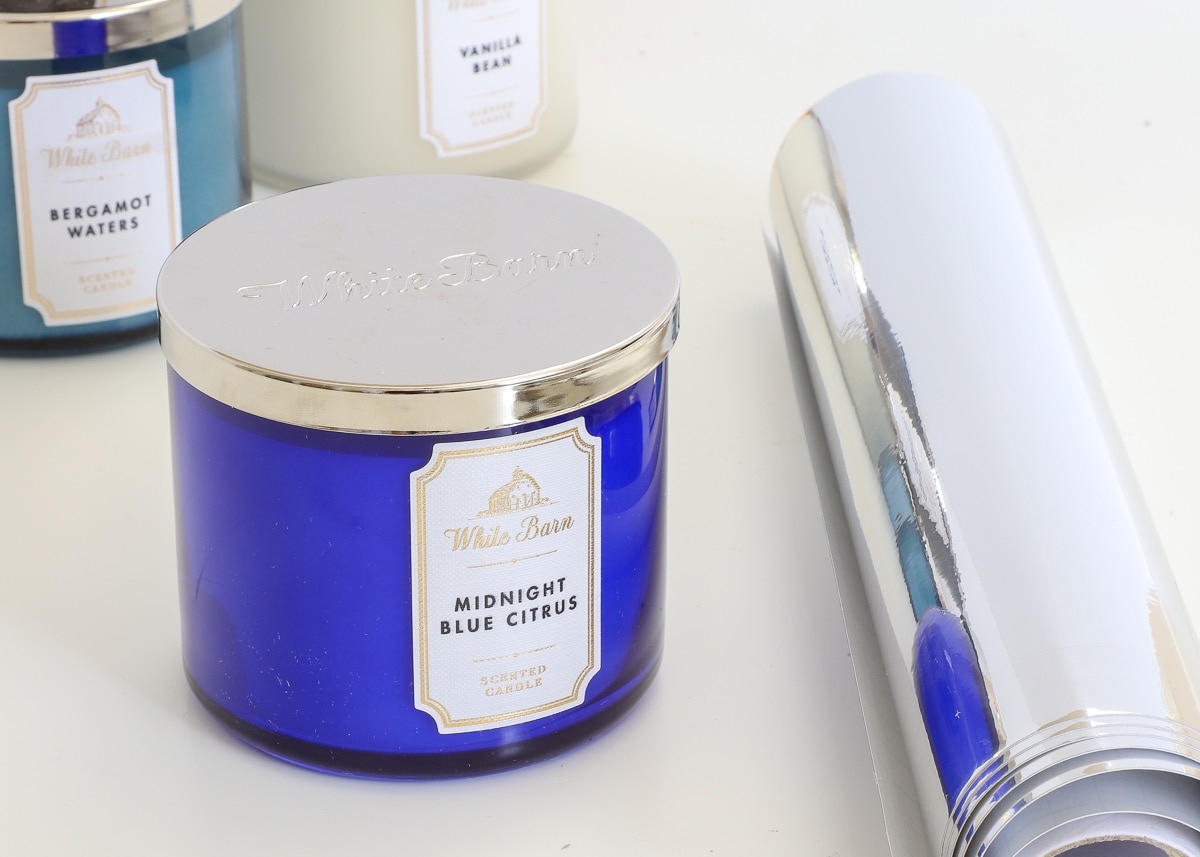
One more thing to keep an eye out for: metallic details. Cricut now makes a whole series of vinyl in an array of metallic colors (e.g., gold, silver, bronze, rose gold, etc). They come in both matte and foils (which are super glossy and highly reflective); and it was the silver adhesive foil that perfectly matched the lids on these candles, making them look super chic.
Supplies Needed
These DIY Monogrammed Candles couldn’t be easier to pull together once you have your supplies gathered! Here’s exactly what you need:
- Glass Jar Candles – I personally like the White Barn candles in the colored jars (watch for sales throughout the year or you can buy them on Amazon here!), but you can certainly use any cylindrical-shaped candle you can find.
- Complementary Vinyl – Cricut’s foil vinyls will give your project a super chic look, but you can certainly pick any color/sheen you like!
- Cricut or other die-cutting machine. (This project can be done on the Cricut Joy, Cricut Explore, and Cricut Maker models.)
- Cricut Weeding Tools (optional)
- Transfer Paper

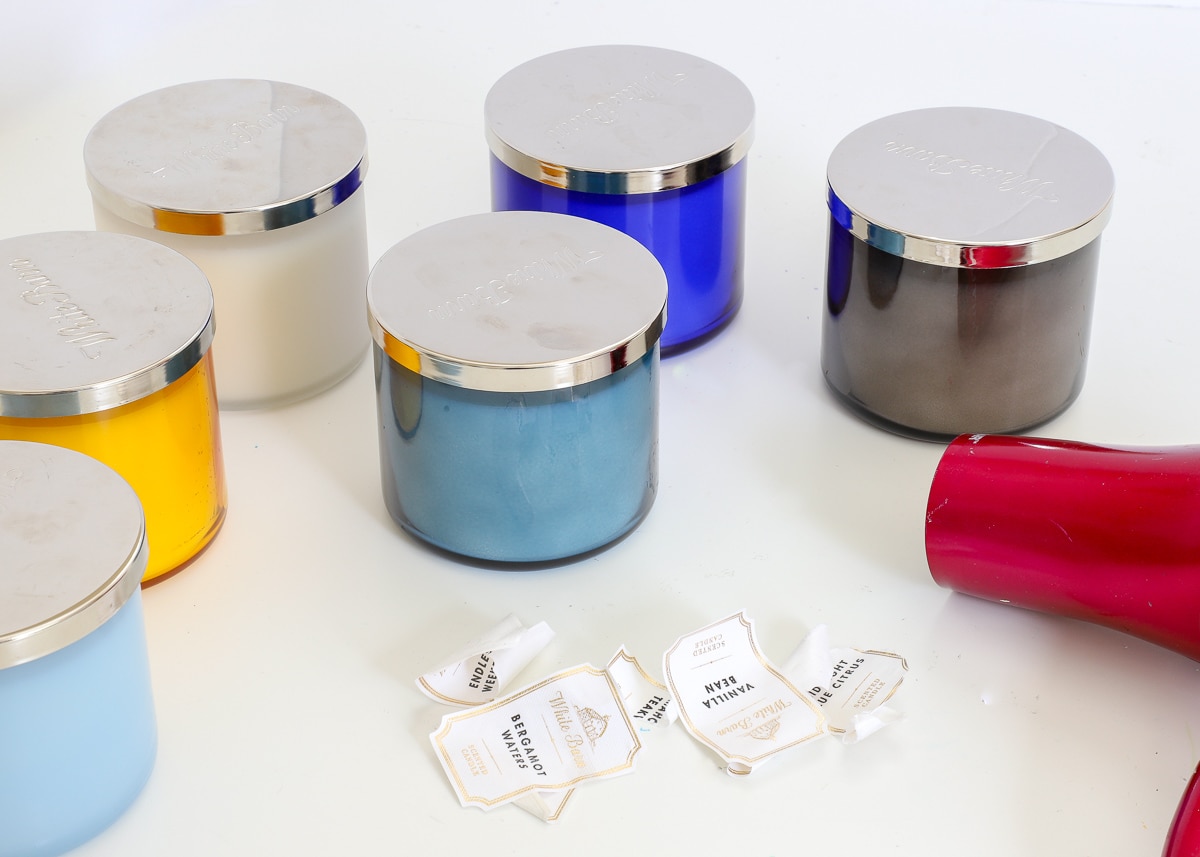
Step 1: Remove Labels
Start by removing any and all labels so you have a blank canvas ready for personalizing. (If you’re worried about your recipient not knowing the candle’s scent, most have an additional tag on the bottom as well.) By far, the quickest and easiest way to do this is with a hair dryer. Just blow the heat onto the label for 30 seconds or so until the adhesive releases and you can pull the label off cleanly.
Note: You can use Gu-Gone, but I find that it leaves surfaces pretty oily, making it hard for your new vinyl design to stick. Instead, try this trick!
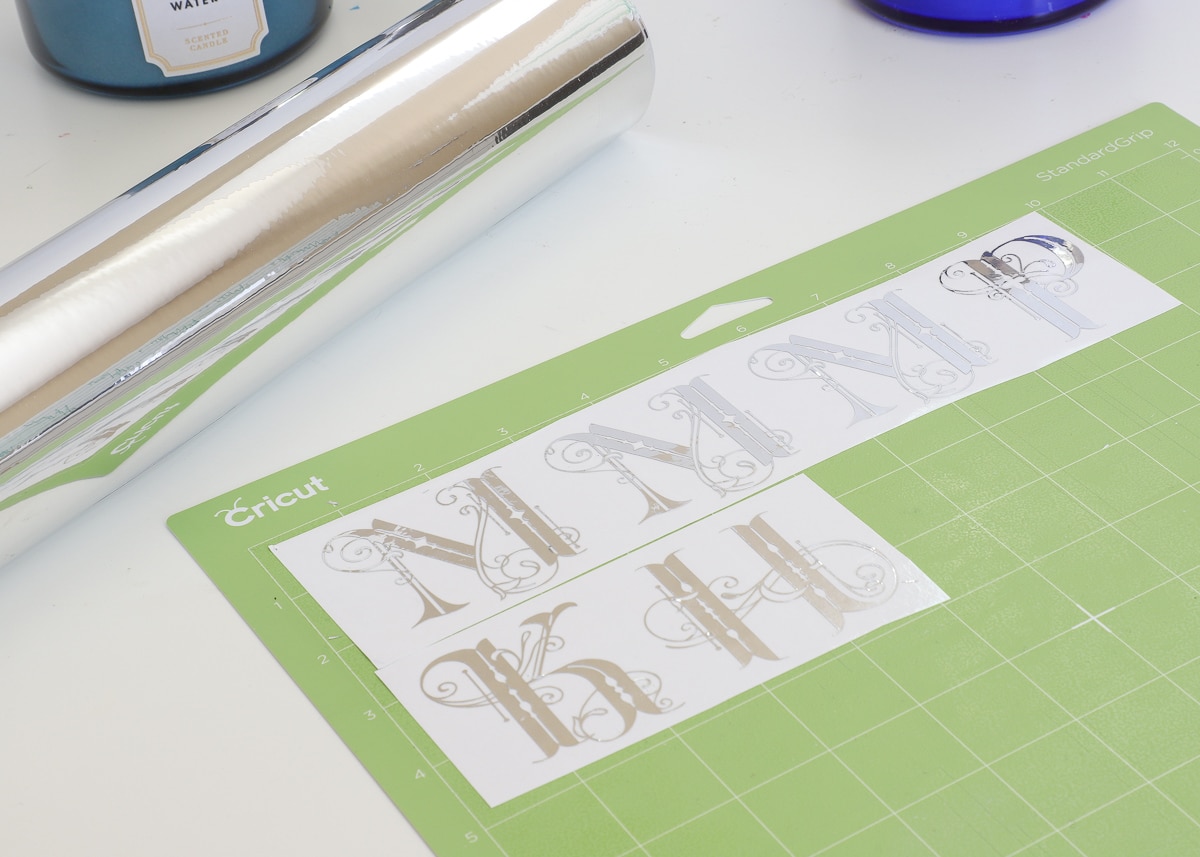
Step 2: Cut Monograms
Next, decide what kind of design you want to put on the jar. Monograms are obviously an easy and super chic choice for almost any occasion, but you can also do some sort of design, phrase, name, inside joke, year, occasion, etc. Create your design in Cricut Design Space (or whatever software your machine requires) and be sure to check the sizing so that it fits comfortably on your candle. For reference, I used the monograms from the Monogram Motifs cartridge in Cricut Design Space.
Want to save this post?
There are now LOTs of options for desinging custom monograms! Learn more: 5 (Easy) Ways to Design Stylish Monograms for Your Cricut
Once you determine your designs, cut them out of your adhesive foil (or other vinyl of your choice) and weed accordingly. If you’ve never worked with adhesive foils, you can reference my full tutorial HERE.
Step 3: Apply Monograms to Candles
Although some designs cut from adhesive foil don’t require transfer tape, my monograms were detailed enough that it was required to lay them down perfectly. Once your jars are clean and dry, simply transfer your cut images to the sides of the jars, centering them as best you can.
(If you’re not sure how to use transfer tape to place your monogram, use my instructions HERE!)
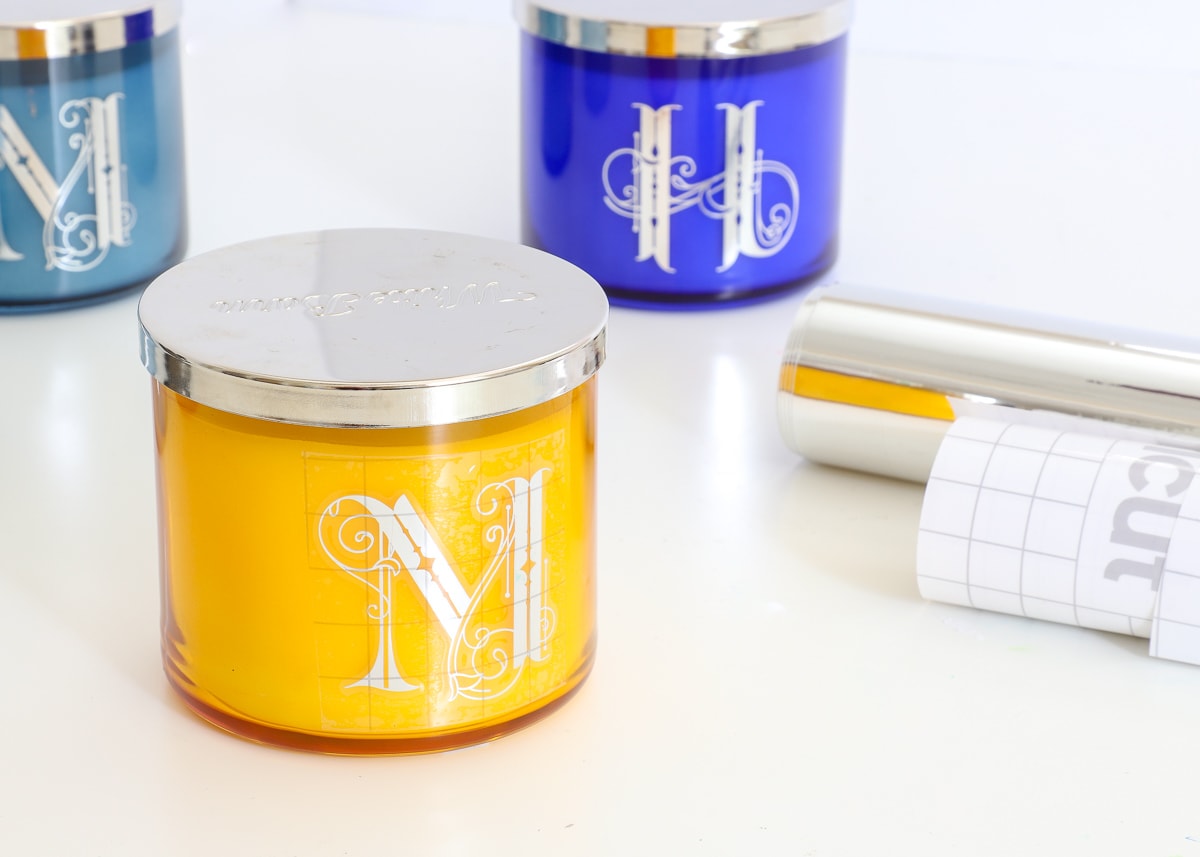
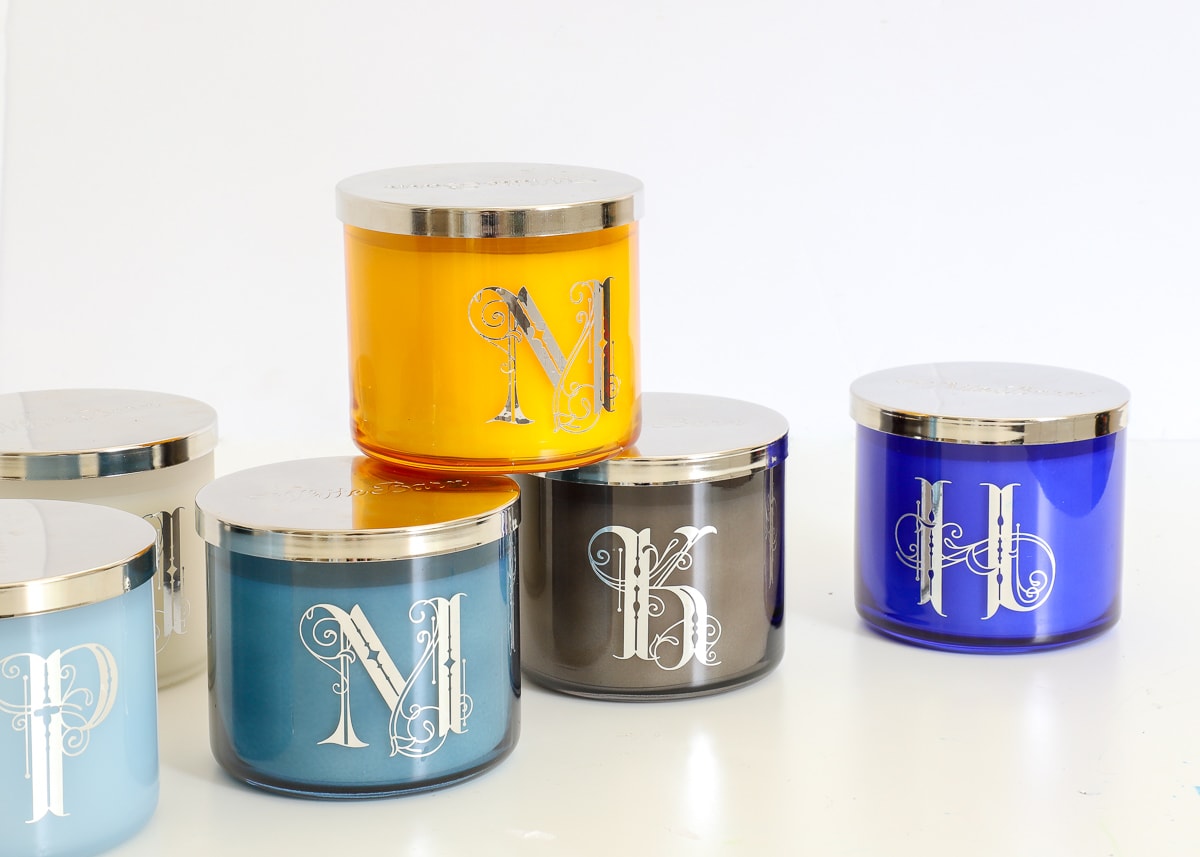
Remove the transfer paper and repeat on all the candles! It may be hard to tell in pictures, but the foil of the monogram matches the lids perfectly, and they looked like they were made this way! Such a classy looking but oh-so-easy gift!

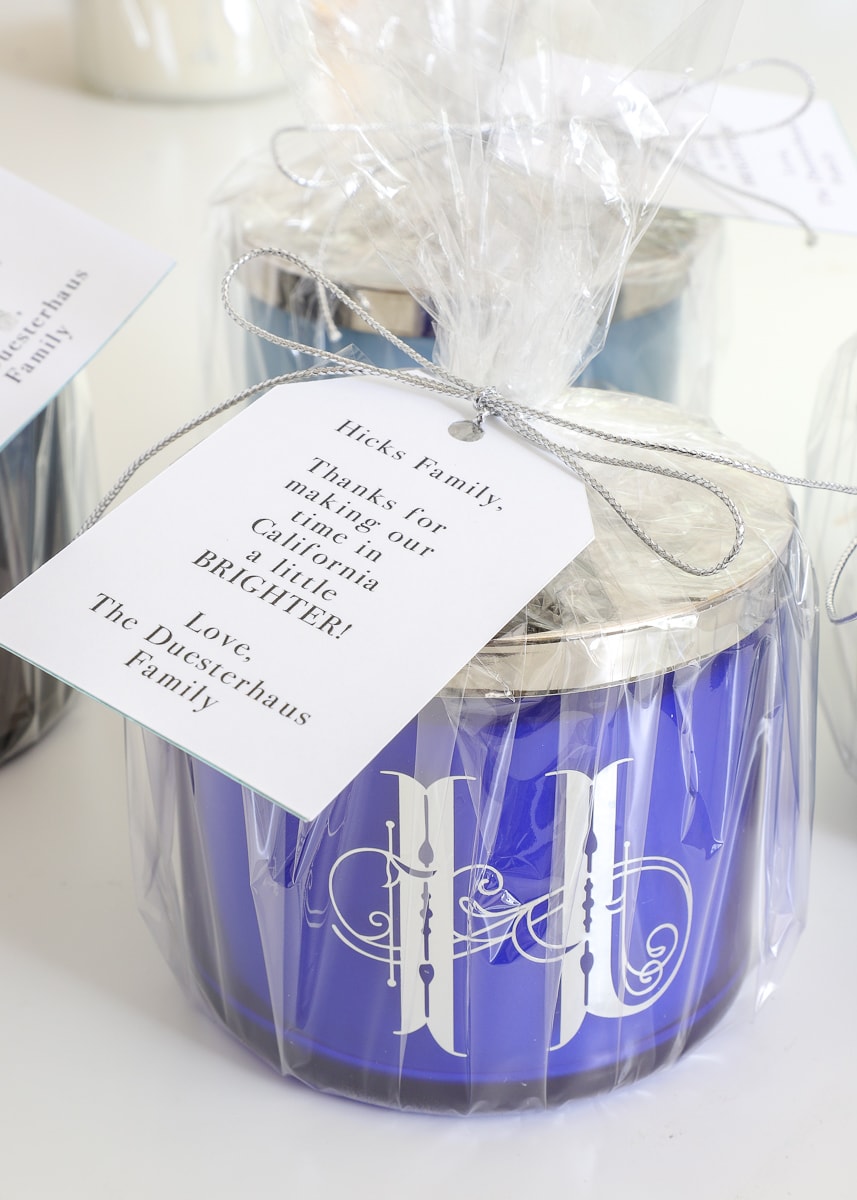
Step 4: Wrap
Since these DIY Monogrammed Candles were farewell gifts, I printed out simple little tags that said “Thanks for making our time in California a little brighter!” and tied them to each candle wrapped in cellophane. Depending on the occasion you’re using these for, I’m sure you can come up with other “punny” sentiments!
I think my friends were really touched by these gorgeous gifts, and I love that they now have something sitting on their desks or counters, handmade by me, that reminds them of our time together. Even after the candle is long gone, these gifts can keep on giving. In fact, check out all these clever ideas for using up extra wax and re-purposing candle jars!
When I was first looking for personalized gifts for my friends, I stopped by several of the engraving/customization booths at the mall. Although I am certain the quality of their products are exceptional, I just love that owning a Cricut allows me to make personal gifts for a fraction of the cost. I hope this post gives you some new ideas for putting your machine to work; and if you need even more gift ideas, be sure to check out my project gallery HERE!

Megan
6 Comments on “DIY Monogrammed Candles”
Love this special gift! It reminds me of you guys every time I look at it! ❤️
Where did you get the lovely letters for your monograms? These would be great gifts for teachers.
I cut them with my Cricut Maker!
Can you sent me a link to where i can find the letters please?
Thank you so much for all the information on the Cricut maker👍 I am a newbie and trying not to get discouraged 😳 because there was not much info on the basics when I got the Cricut maker for a Birthday present in May ☺️ It is now the end of August and still researching how to use this product 🤷♀️ Thank you for the free printable’s and hopefully I will be connecting the dots to do at least one project 😉
In the tutorial she says the Monograms are not from a font but from the Monogram Motifs cartridge in Design Space.