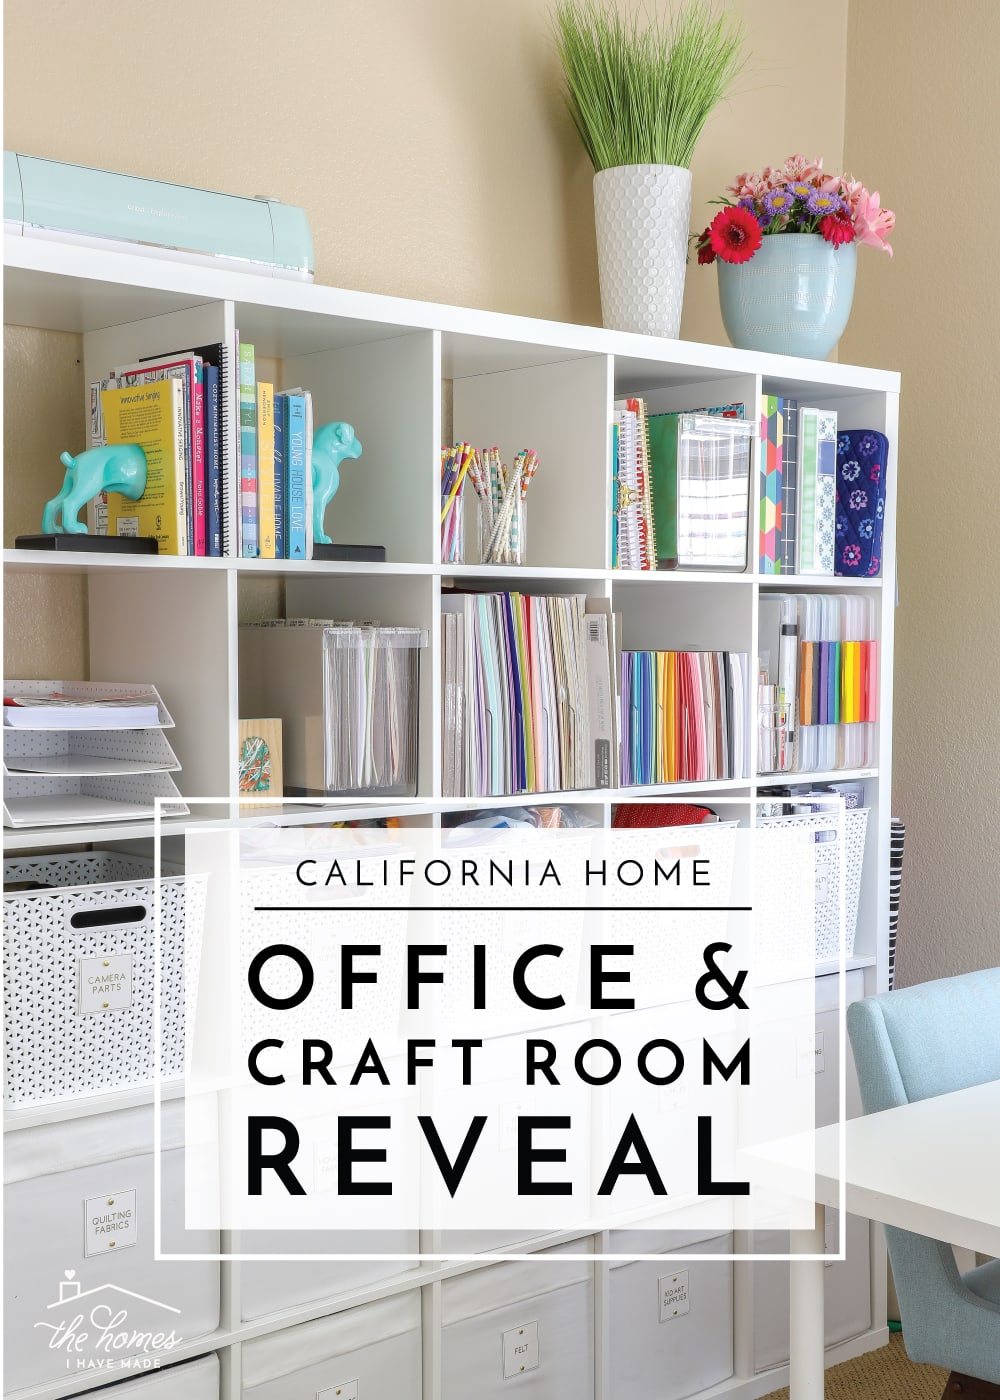
Our California Rental’s Office & Craft Room Reveal
By sharing how I made the labels for my craft room storage baskets earlier this week, I can now do a full office and craft room reveal! I am so excited to give you guys a complete tour of the room you hardly ever see here on the blog, although it’s in this room that most of the blog “magic” happens! My home office/craft room is a story of triumph in some ways (organization) and surrender in others (design). And while it didn’t turn out exactly as the craft space of my dreams, I am so thankful to have such a generously-sized room to pursue my hobbies and grow my business, as well as create with friends and kids…especially when homes in southern California aren’t known for their extra space! In the three years we lived in this home, I worked hard to tackle my craft clutter and establish a truly functional space for the kinds of projects I do; and I’m most thrilled that what I established here can move into our next house almost seamlessly! Let me give you the full tour and explain a lot of the decisions behind one of the hardest working rooms in our home!
This office space is situated right inside our front door and closed off by a pretty set of glass doors. We originally hemmed and hawed about making this space the playroom since it’s downstairs. But with its out-of-the-way location and closable doors, it really was best suited for my home office. (The playroom ended up in the loft, which you can tour here!)
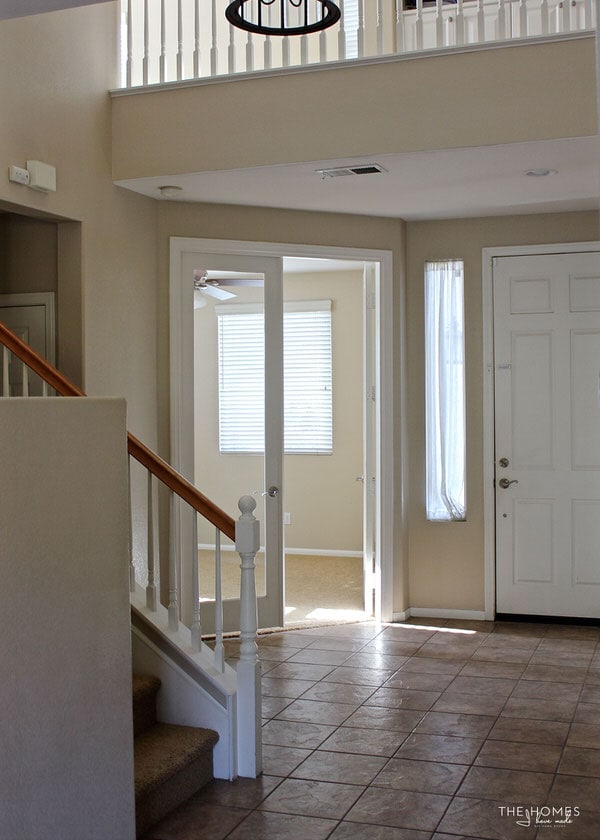
The room is a generous size with two large windows and super high ceilings. Unfortunately, the room has no closet (meaning no concealed storage) and is painted and carpeted with my oh-so-favorite camel brown color. One of my biggest regrets in this room is not painting the walls white when we had the chance upon first moving in. I take most of the pictures for the blog in this room, and getting good light was a constant battle…one that I’m pretty sure lighter and brighter walls would have helped with. Not to mention, they would have just looked so much better. #stillnotoverthebrown
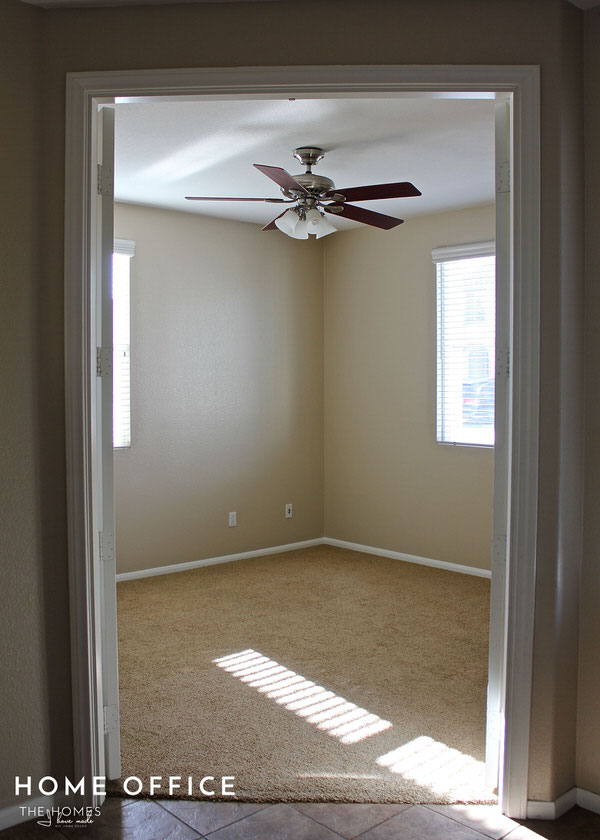
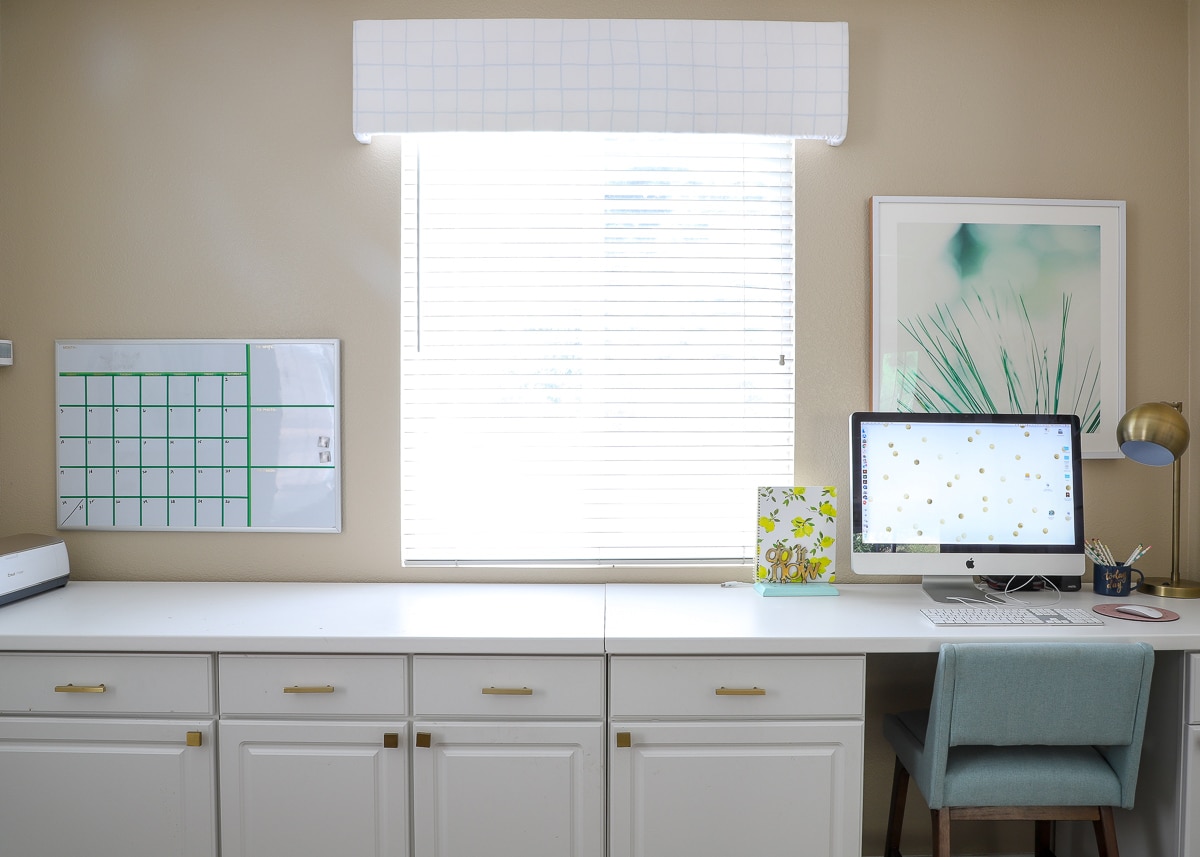
Adding a bunch of white elements to this room not only allowed me to keep things fairly neutral (which keeps me from becoming over-stimulated when I’m crafting/creating with lots of colors and supplies), but also helped to brighten the space considerably. Here’s a look at the half of the room that runs along the front of the house:
Fun Side Note: That huge window looks right out the front of our house. Not only does this allow me to easily watch kids playing out front while working at my computer, but I can always see my favorite neighbors passing by and know when friends or deliveries are coming to the front door!
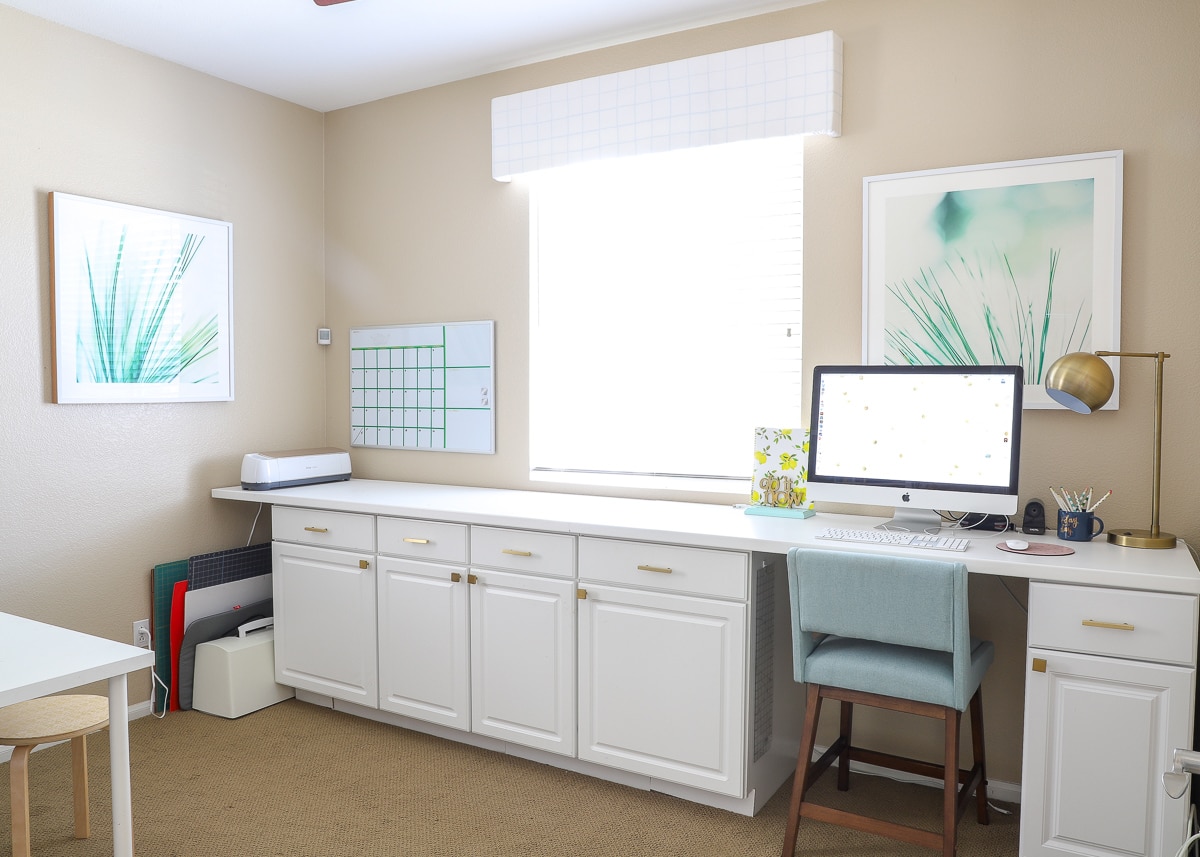
We identified the layout of this room very quickly after moving in. I had the four main cabinet+drawer units from our previous two homes, but they didn’t quite fill out the full length of the room (which was preferable from both an aesthetic and functional perspective). So we added the 5th (skinny) cabinet (the benefit of buying cabinets from a big box store is that it’s pretty easy to get more!) and then found 2 white countertops crazy marked down from IKEA. They were originally tagged at $10/each in the scratch and dent section (yep, you read that right – $10!!!). When we checked out, they informed us they were mis-marked but honored the ticket price anyway. Although I’d certainly prefer no seam, 12’+ countertops would require special ordering (cha-ching!)…so I’d say it was our luckiest IKEA find ever!
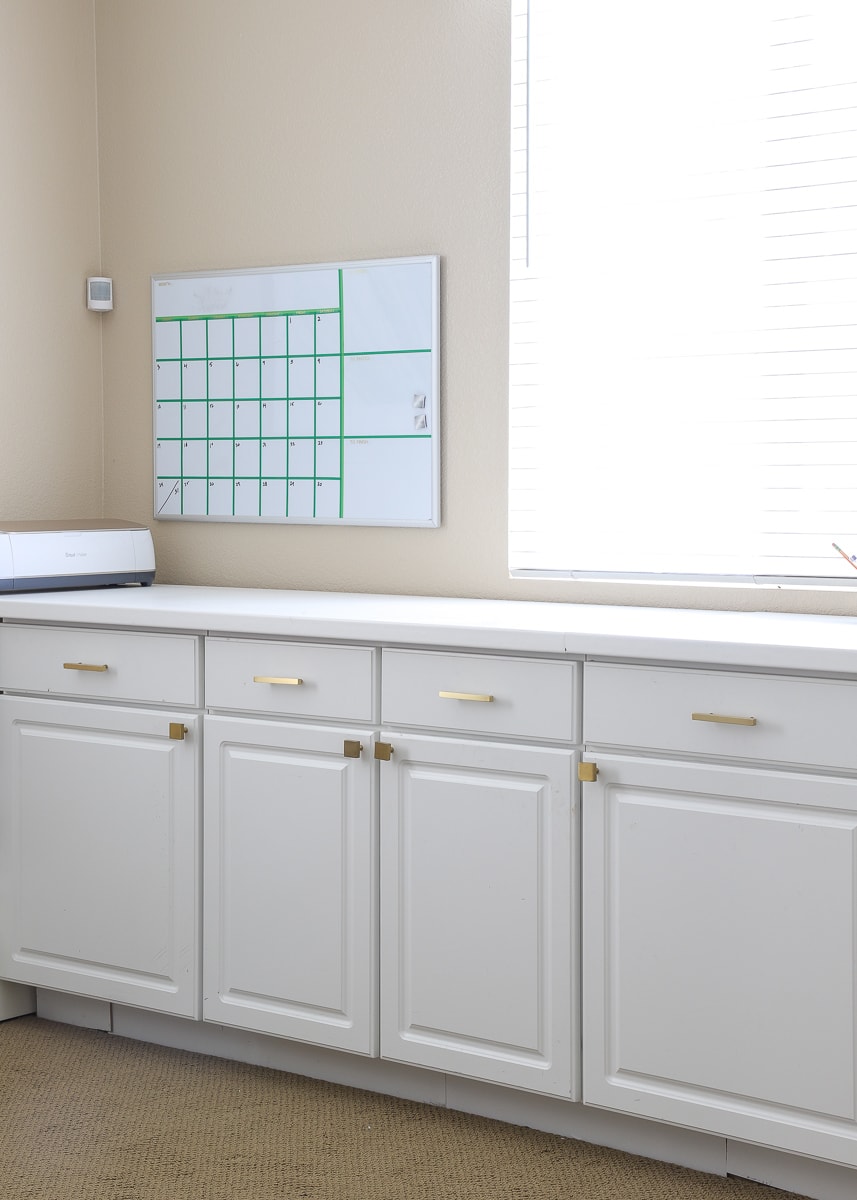
We bought these base stock cabinets back when we lived in North Carolina. They were certainly a big gamble then, but it’s paid off because we’ve been able to make them work in each and every home since. I love love love the amount of concealed storage they provide (both drawers and cabinet space!) plus they offer a very generous, durable work surface suitable for all kinds of projects.
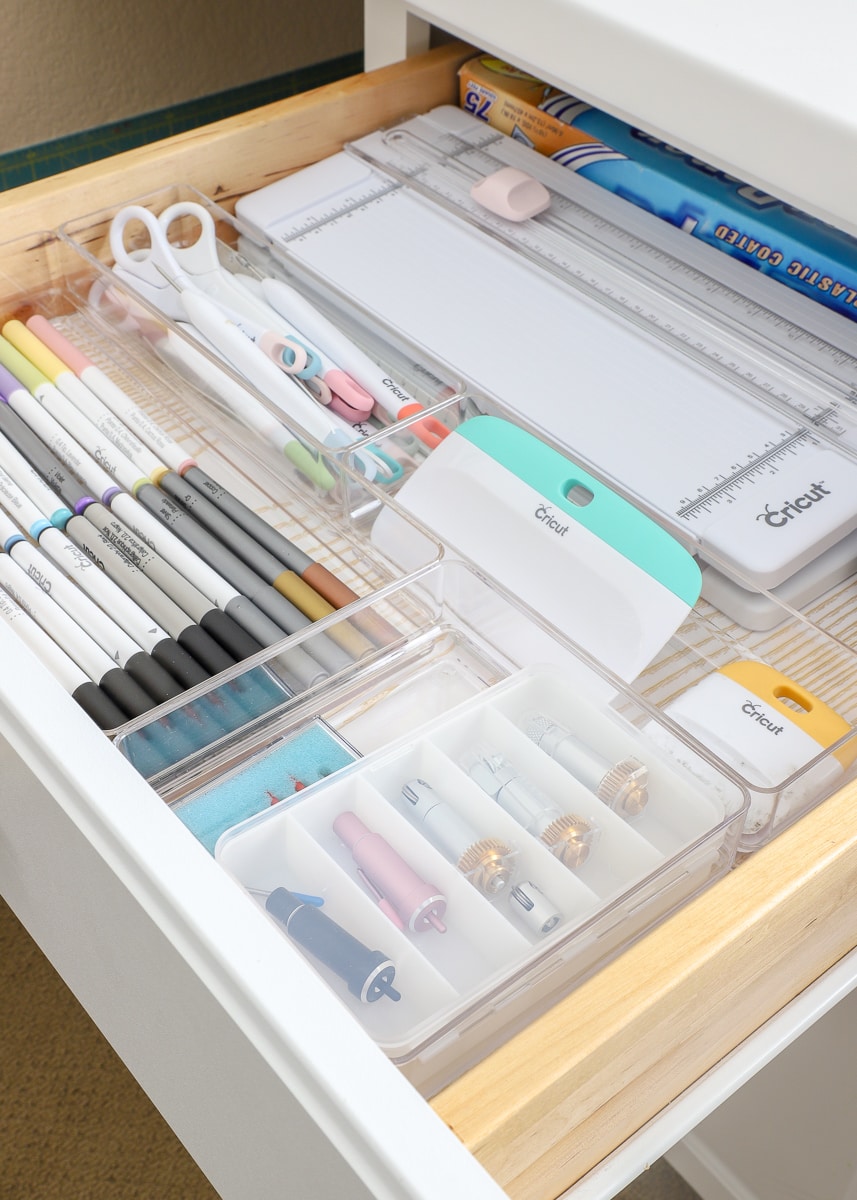
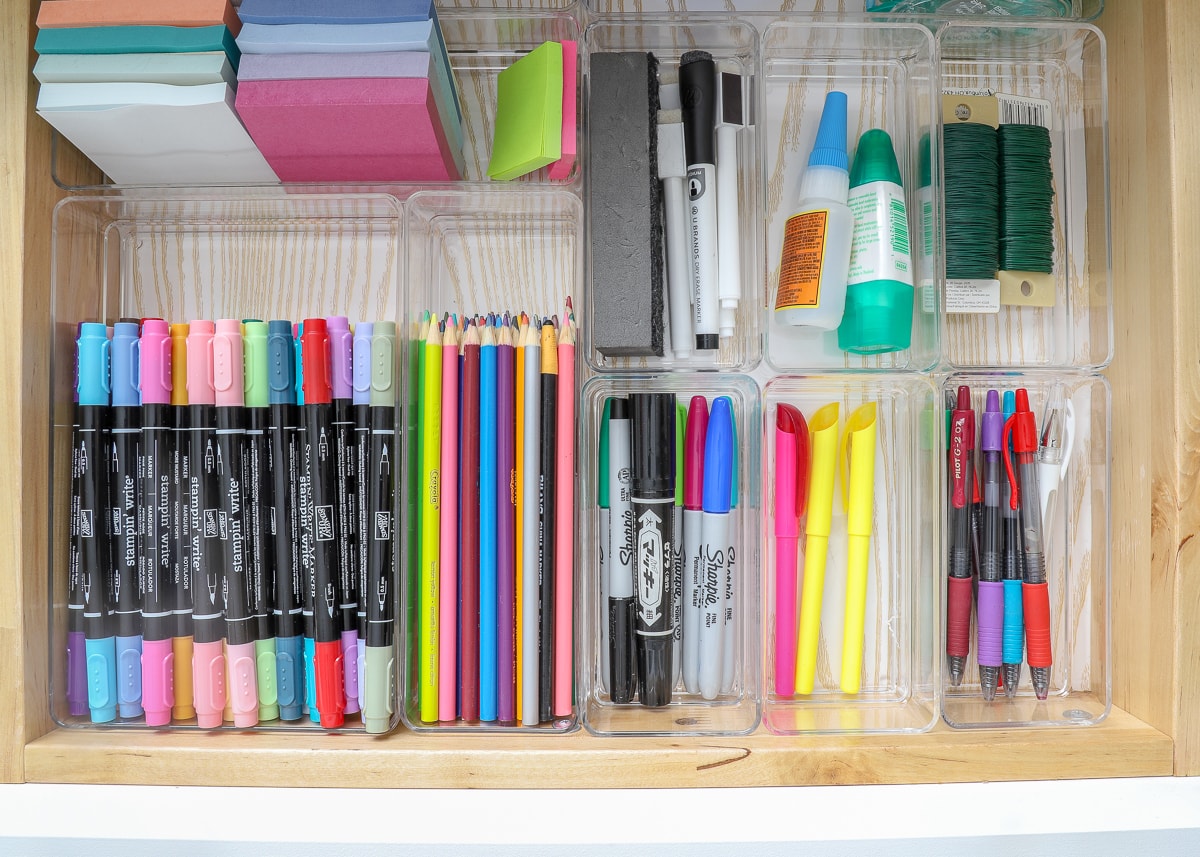
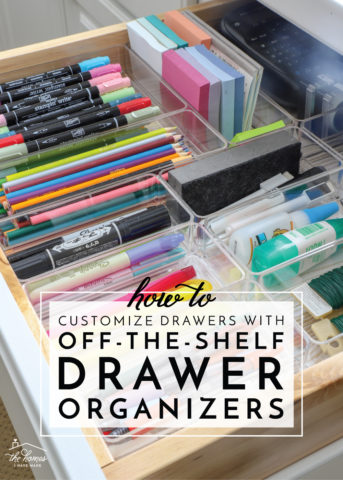
Earlier this year, it occurred to me that it would be worth outfitting these cabinets with perfectly-fitting, good quality organizers since the cabinets move with us every time. Unlike having to outfit a different kitchen each time we move, I could organize these office cabinets “once and for all” and they will always work no matter where we put them! As such, I worked hard to outfit each drawer with “custom” storage solutions. Utilizing every single inch of these drawers and having them hold only the items I use the very most improved my productivity considerably and is one of my favorite organizing projects ever! You can see how I did it all here!
The Cricut Drawer (situated directly under my Cricut Maker)
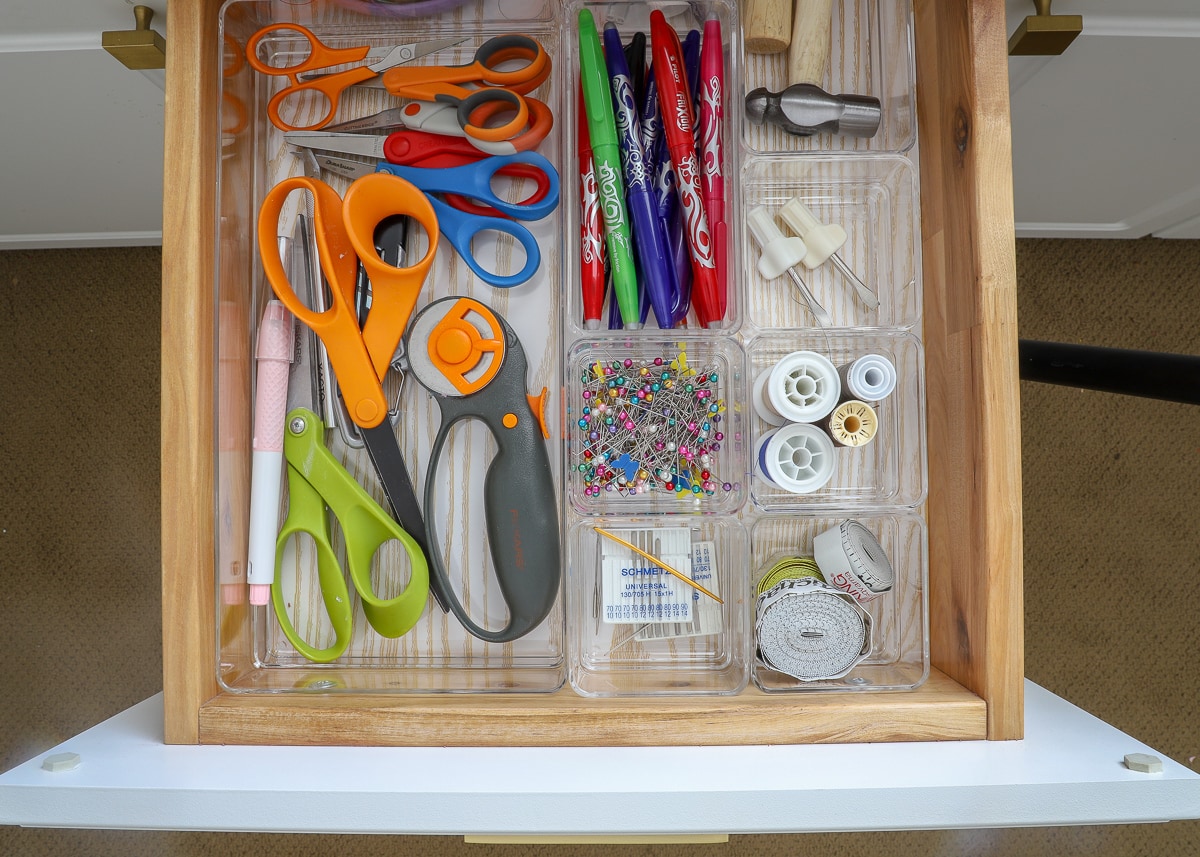
The Sewing Drawer
Office Drawer #1
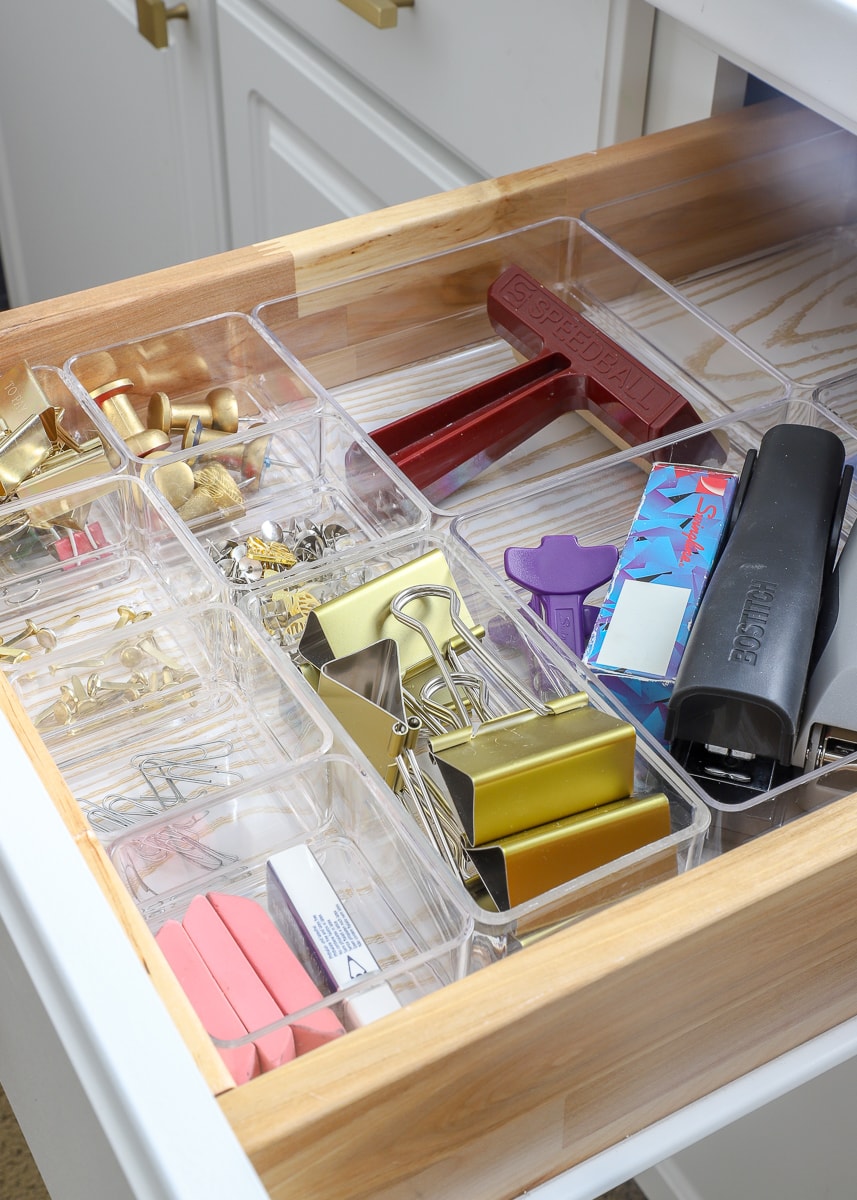
Office Drawer #2 (situated right next to the computer)
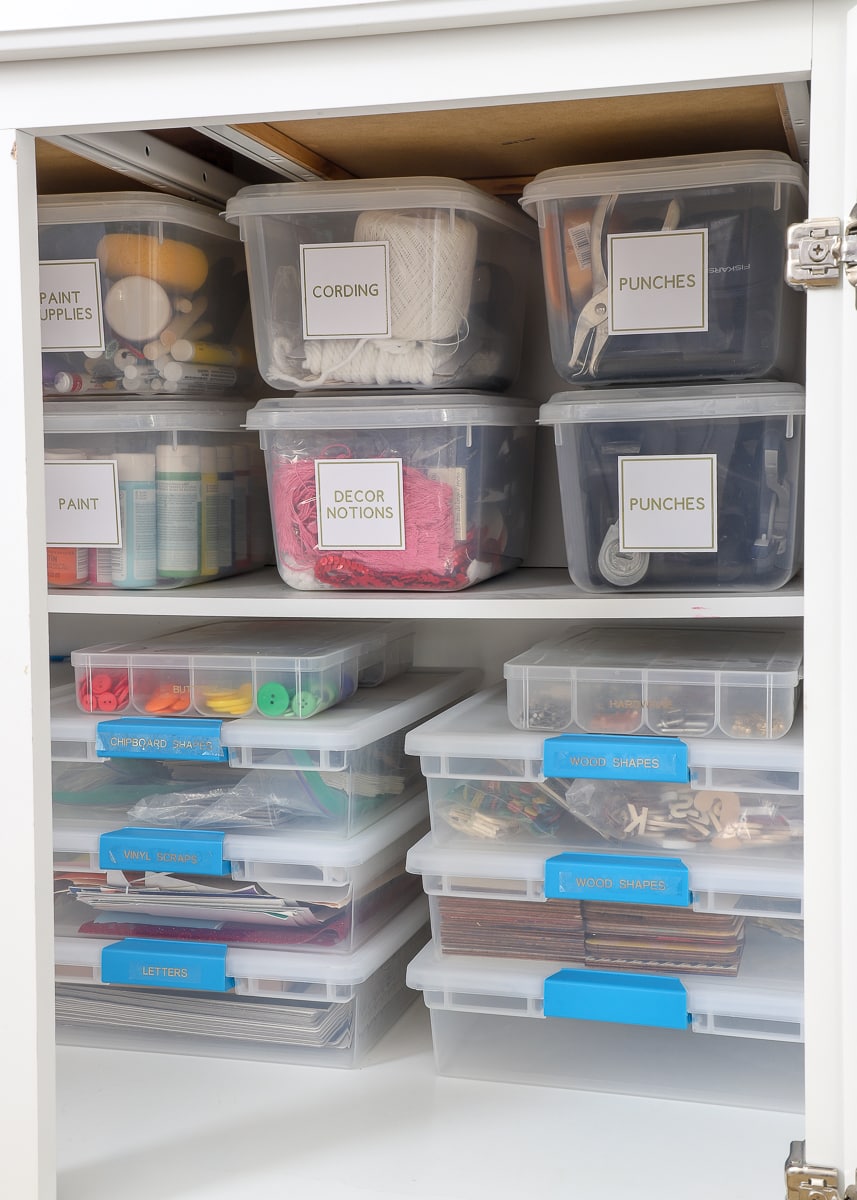
The same thought process applied to under the cabinets. I’ve used plastic flip-top shoe boxes on the top shelf of these cabinets for forever (because they hold a lot and fit perfectly on those upper shelves), but I’ve always struggled with how best to utilize the bottom half of the cabinets (which actually doesn’t have a ton of clearance). When I discovered that a stack of three of these Sterilite boxes fit under the shelf, I knew I had my forever solution, especially since they are a great size for corralling collections of craft items! Although the boxes are labeled (which is really more for the rest of my household than for me), I love that the clear boxes provide quick glimpses of everything inside!
If you want to see more details about what all is in these bins and boxes, check out this post here!
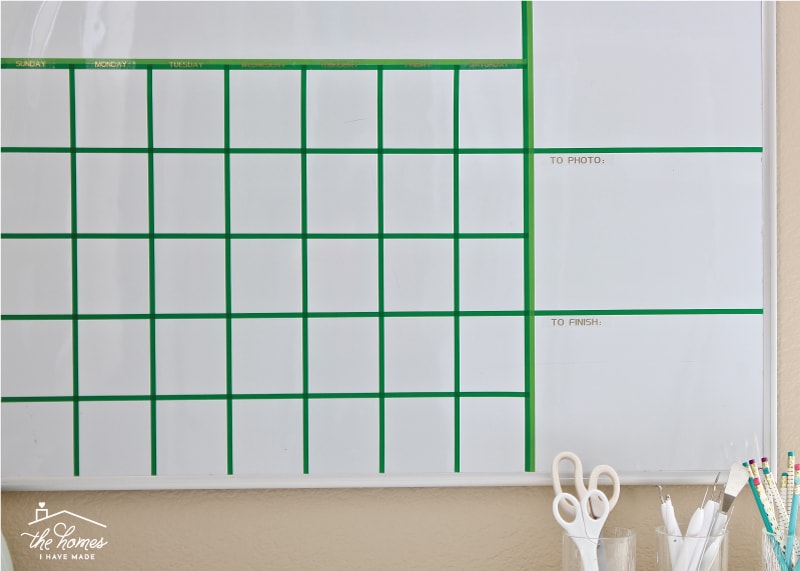
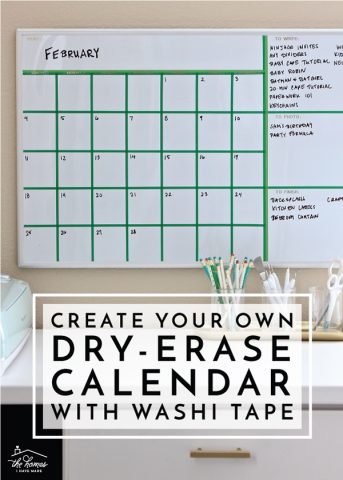
Sitting at the far end of the counter is my Cricut Maker – the one machine I keep out full time since I use it all the time. In the nook below the Maker is my sewing machine, cutting mats, and other oversized items. Positioned above the counter is another one of my favorite organization projects ever: my DIY Dry-Erase Calendar!
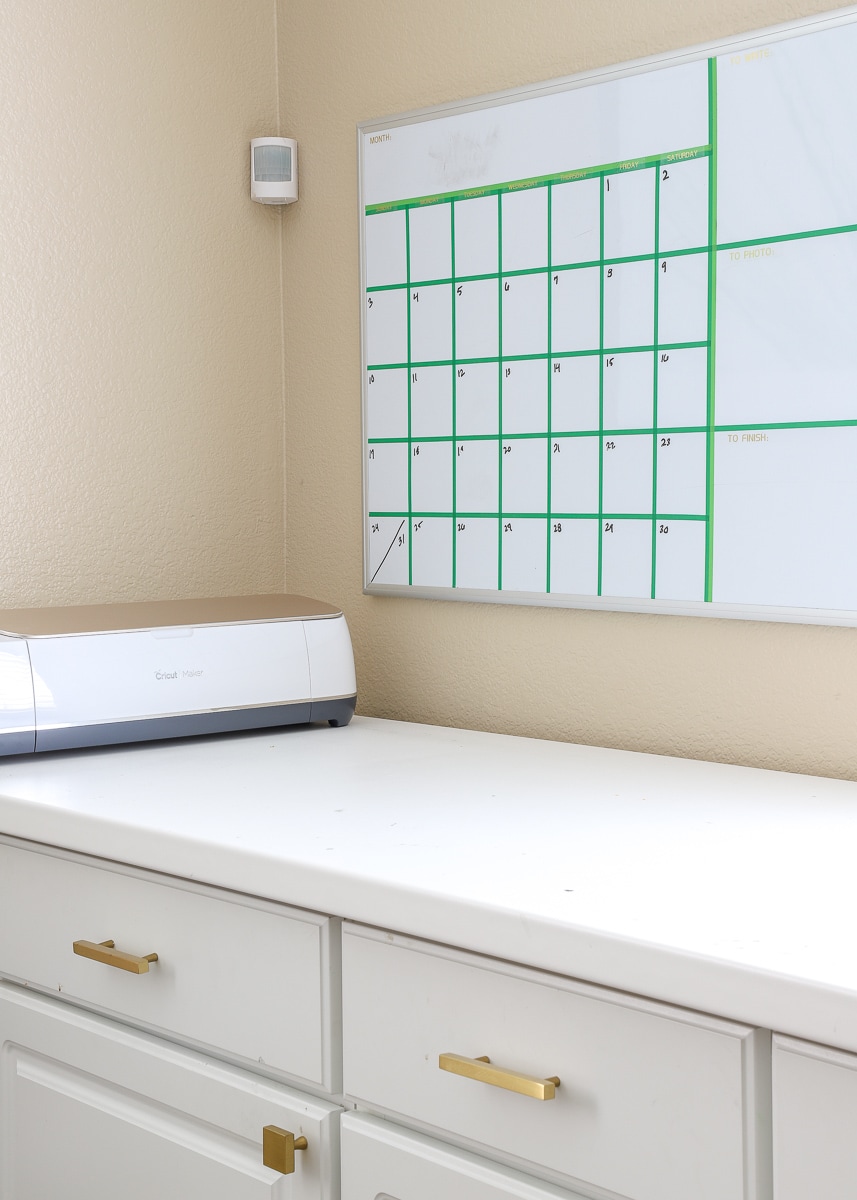
Although it’s blank in these photos, this is where I hash out my blog schedule, posts and projects for each month and is what really keeps me on track. I love that I was able to turn a plain dry-erase board into something that truly worked for my needs and brought a little understated color to this side of the room.
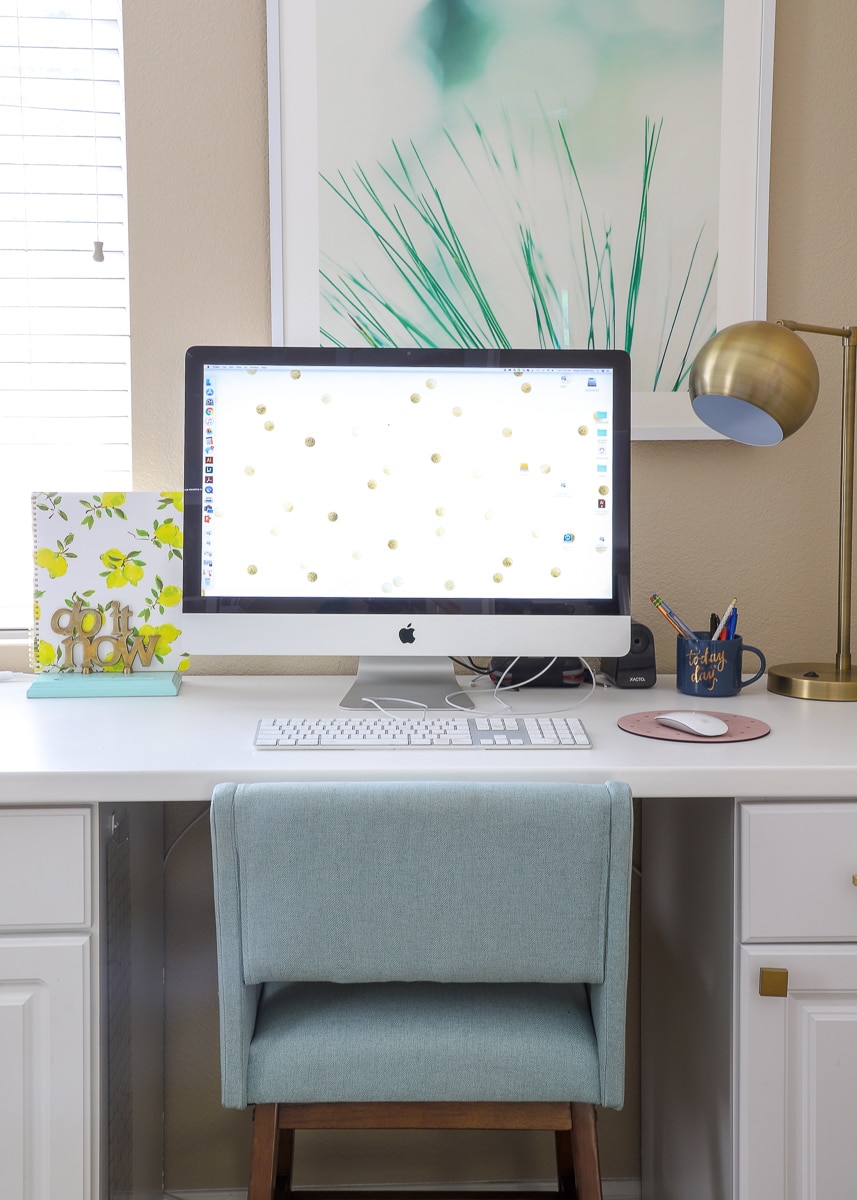
In our previous home, I had a computer desk setup in addition to the craft counter. When we didn’t have enough space to pull off that configuration again, adding the one skinny cabinet and extra countertops allowed me to have a counter-height desk built into my craft space. Although this was originally done to save on floor space, it’s one of the best things we’ve ever done with these cabinets.
Want to save this post?
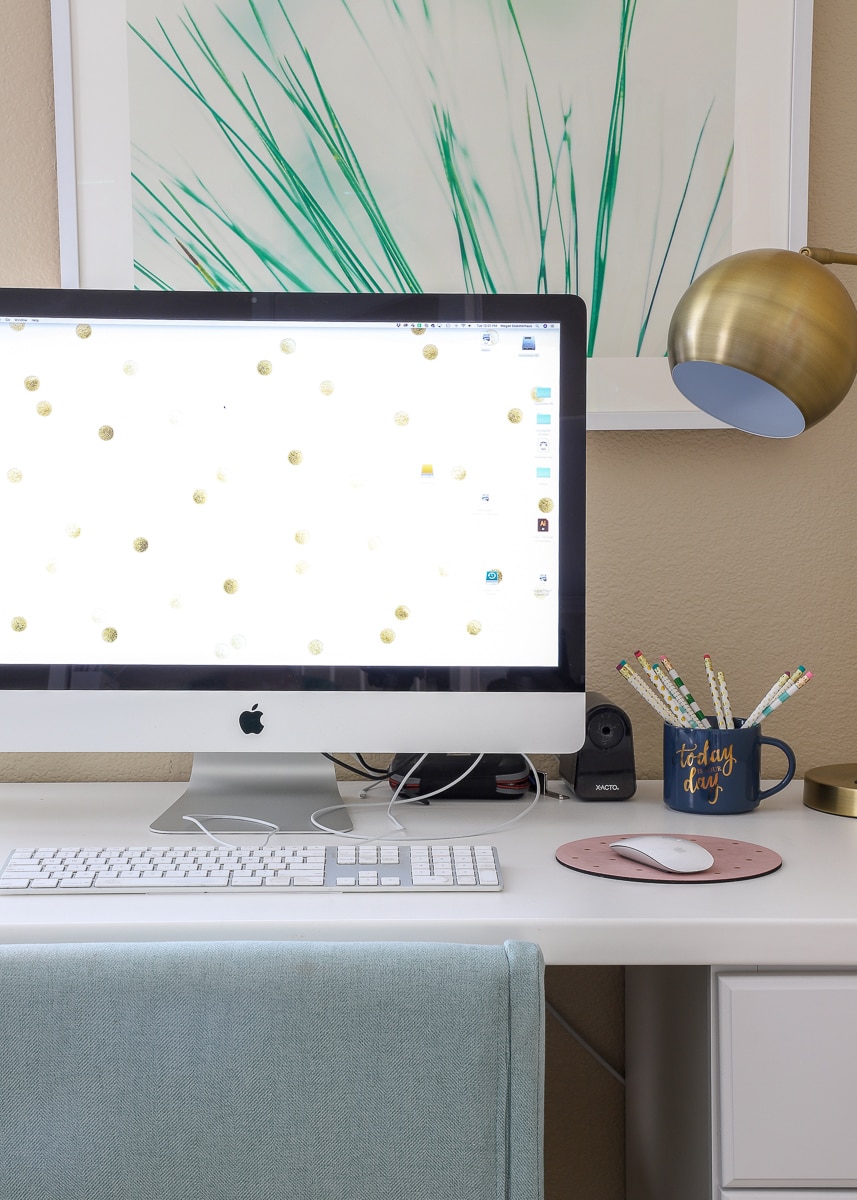
I absolutely LOVE having a counter-height desk. Not only is it really easy to work at while standing (which, with little kids around, I’m often running in to quickly answer an email or check on something biz related)…but it’s also super convenient when crafting. I am constantly tweaking printable files or Cricut designs mid-project, and not having to bend over or settle into a chair every time I need to quickly use the computer is just so nice. I also use my computer to remotely shoot from my camera during printable photo shoots, and that’s a 100% standing process too! That said, I do like to be seated during long writing or photo editing sessions, so finding comfortable counter-height chairs was a must. I had my eye on these turquoise chairs at Target for a long time (because they came in both table- and counter-height, and snagged them during a 30% off sale! It’s a little hard to tell in the pictures, but they really bring out some of the light blues in the green art pieces!
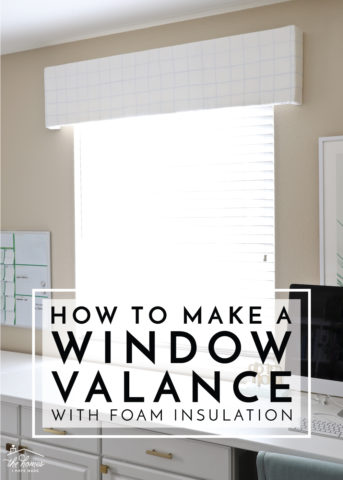
Because the counter sits just below the window, long curtains were out. I am never one to leave a window naked though, so these window cornice boxes made from foam and a clearance shower curtain were a great budget-friendly solution.
Gah – every time I look at that photo above, I think about how show-stopping it would look with a subtle gold-and-white wallpaper stretching from the counter to the ceiling. #timetogetoverit! Yet even though this length of wall didn’t have the gorgeous look I would have preferred, I definitely fit a ton of storage and functionality in just about 12 feet!
Now let’s swing around and check out the rest of the room!
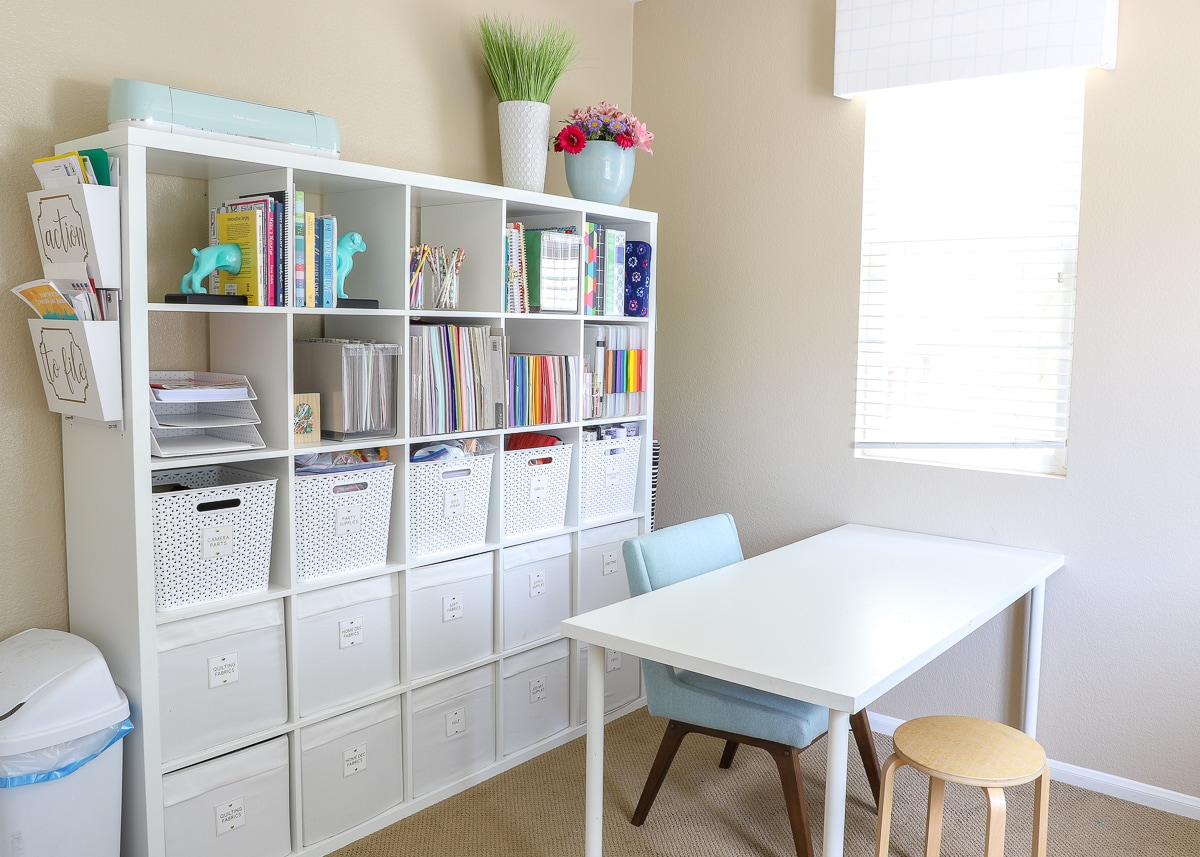
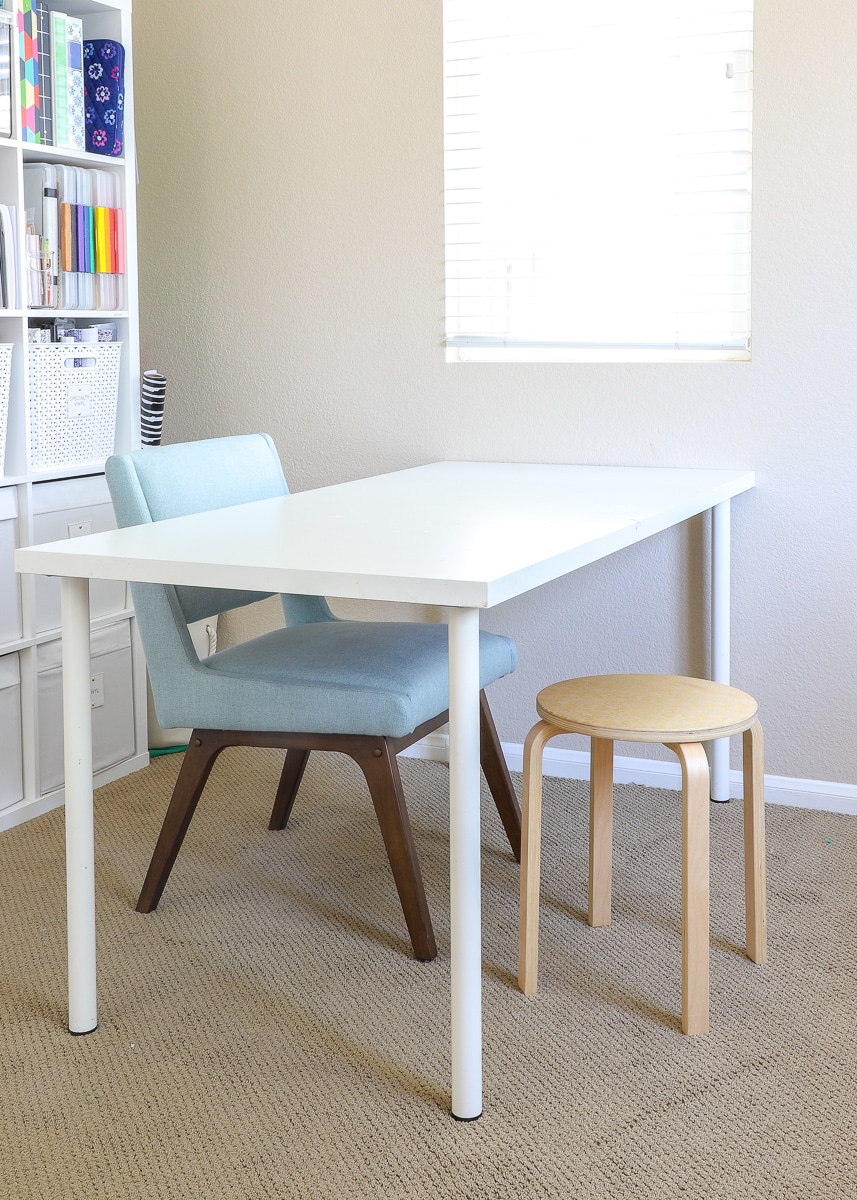
One thing I learned many years ago is that of all the things I can do at my craft counter, sewing is NOT one of them. My sewing machine has a floor pedal; and not only could I not comfortably reach it from a counter stool, but a counter (up against a wall) always hampered my ability to work with really large fabric projects. Back in Kansas, I added a small work table to my space for sewing projects, photo shoots and other activities, and it worked out brilliantly. I was beyond thrilled that the same table arrangement worked in this office too.
This simple IKEA table serves so many purposes for my crafting and business; but in the last year or so, it’s also become the primary homework and craft table for the boys (hence the extra stool). I never anticipated this, and I must admit it thrills my Mama heart to have a place to sit and work with the boys (that isn’t the kitchen table!)
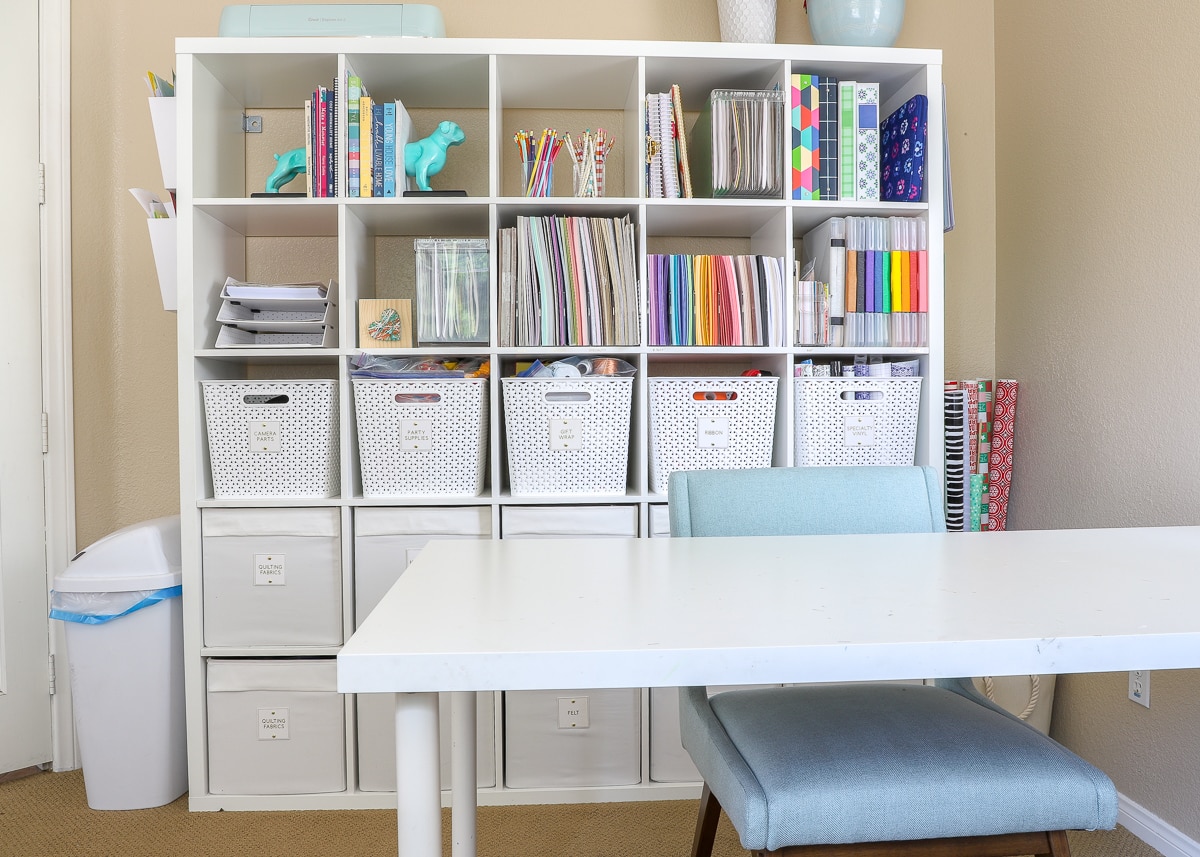
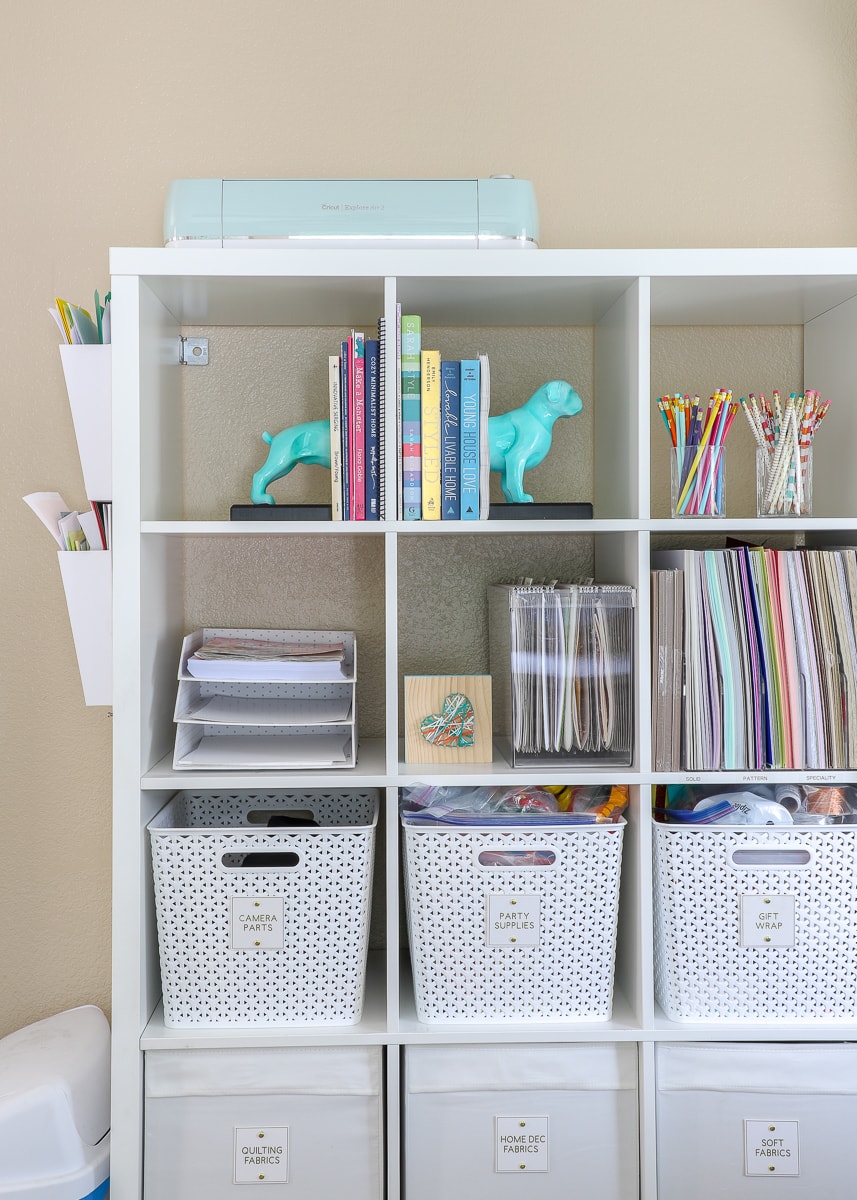
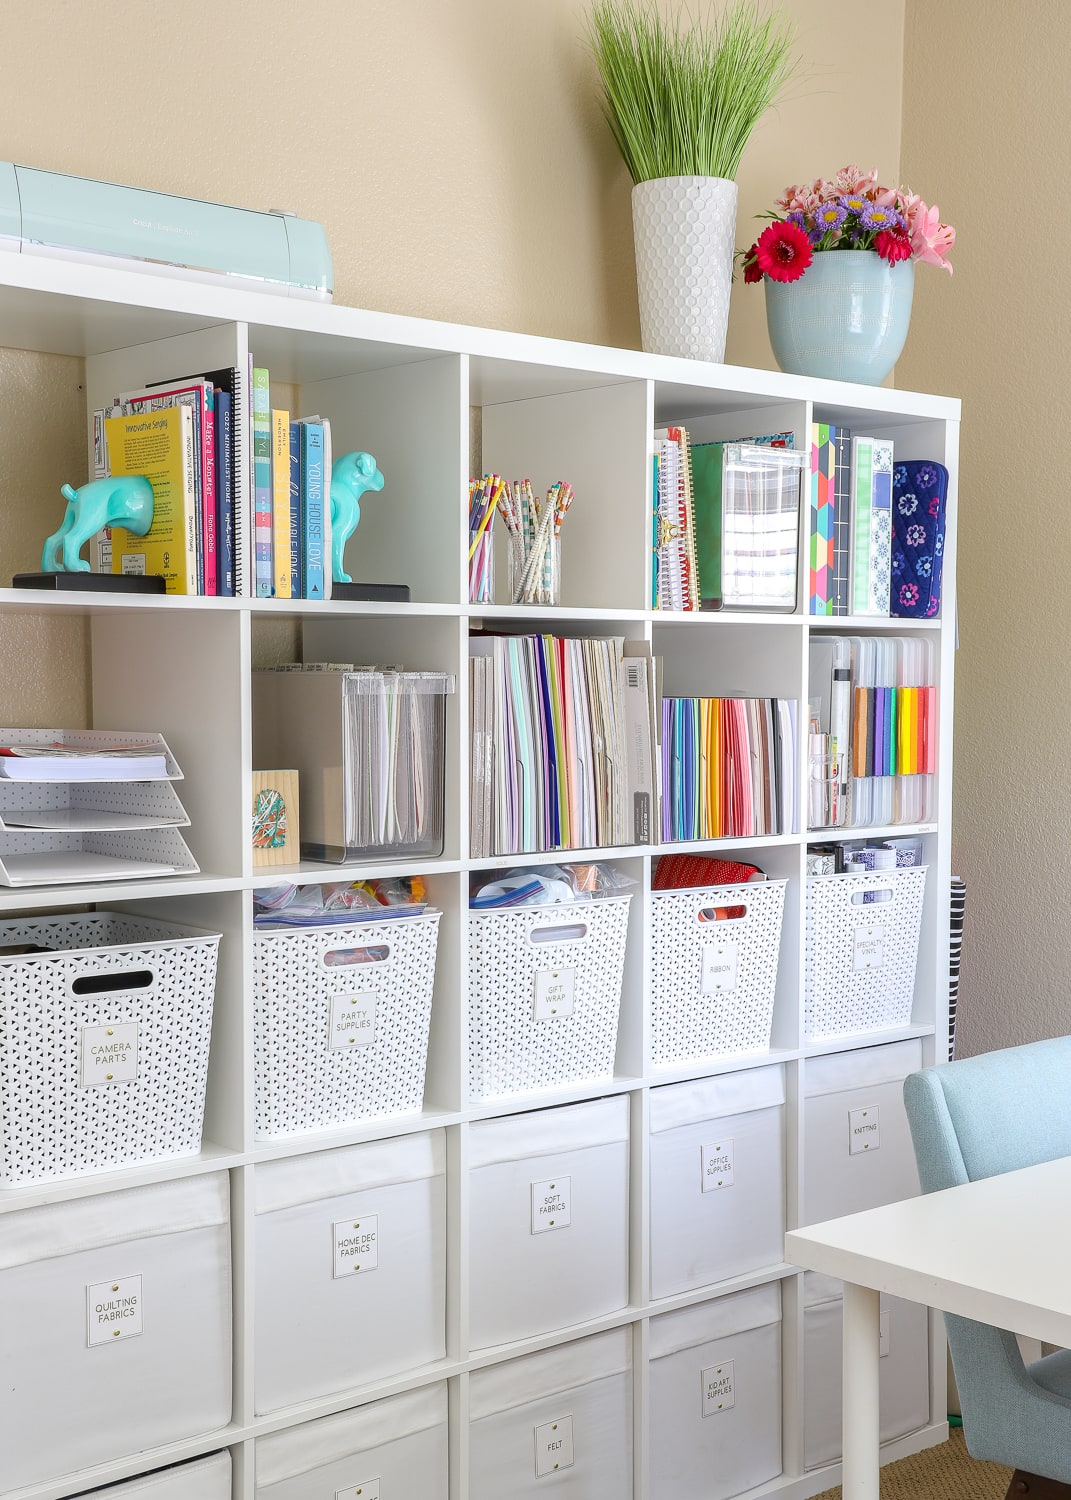
As I mentioned earlier, one of the biggest challenges in this space was the lack of closet. In our previous homes, I had gotten really accustomed to concealing much of my craft storage. So without a closet, I initially had the challenge of creating storage space where there was none. Adding the large 5×5 IKEA Kallax was the obvious solution because of how much can be stored on the shelves themselves or within boxes/baskets.
I will admit that getting everything to fit on this shelf (plus the cabinets across the way) was a big challenge. I had to do a considerable amount of purging (by getting really real about the craft projects I do and the ones I wish I did) in order to find good and accessible homes for everything.

This “limit” on space turned out to be one of the biggest blessing because it forced me to finally get rid of countless supplies I had been hanging onto for “just in case” projects. What now remains are items I use all the time, genuinely love, or have a plan for. So instead of wading through a bunch of stuff I don’t use, this shelf is outfitted with everything I do.
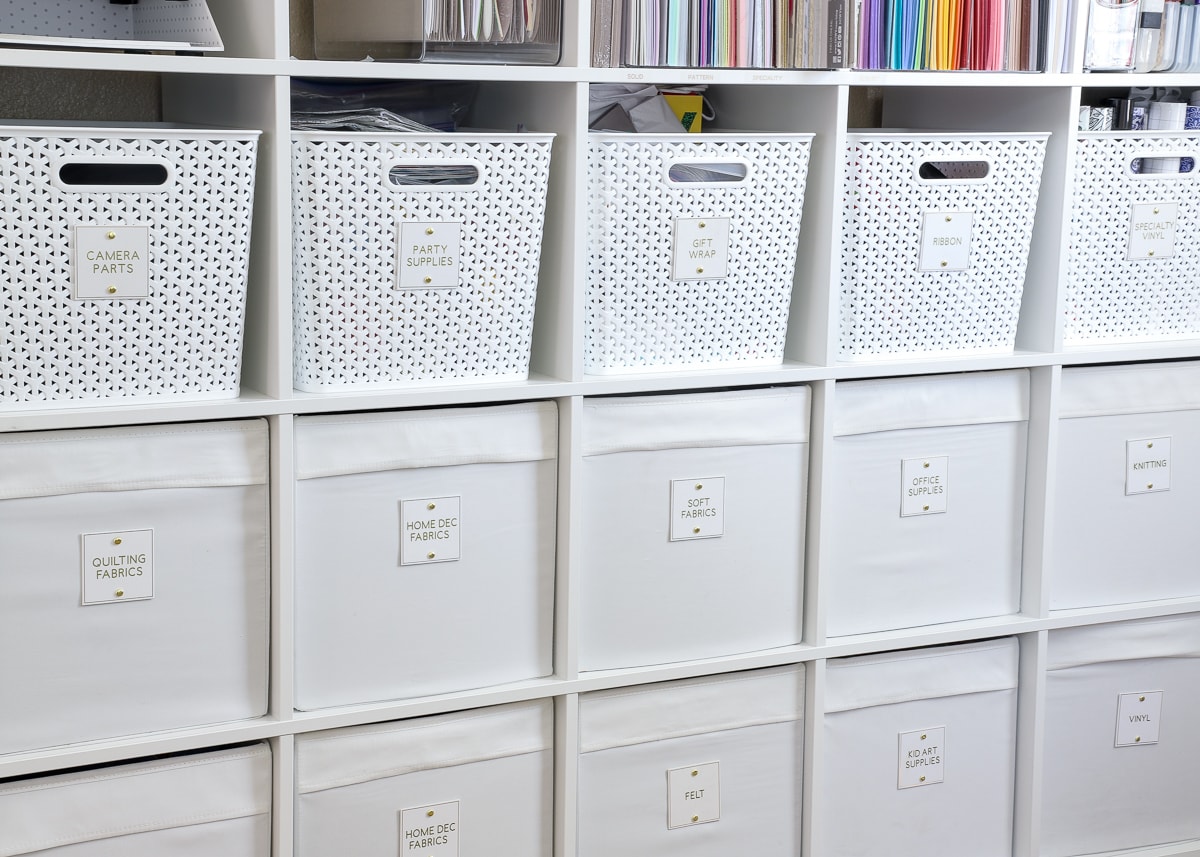
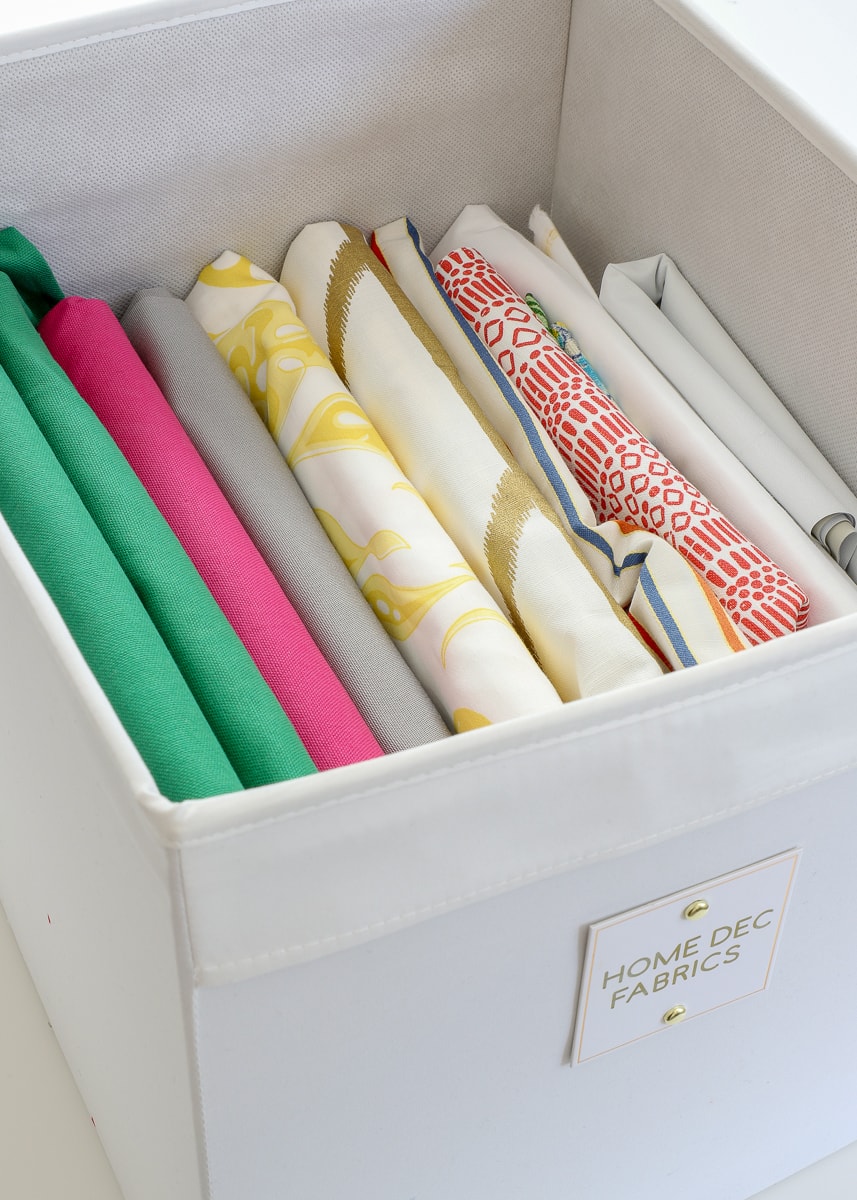
The large DRONA bins along the bottom two rows of the shelf hold larger, bulkier things such as fabric, yarn, and office supplies…
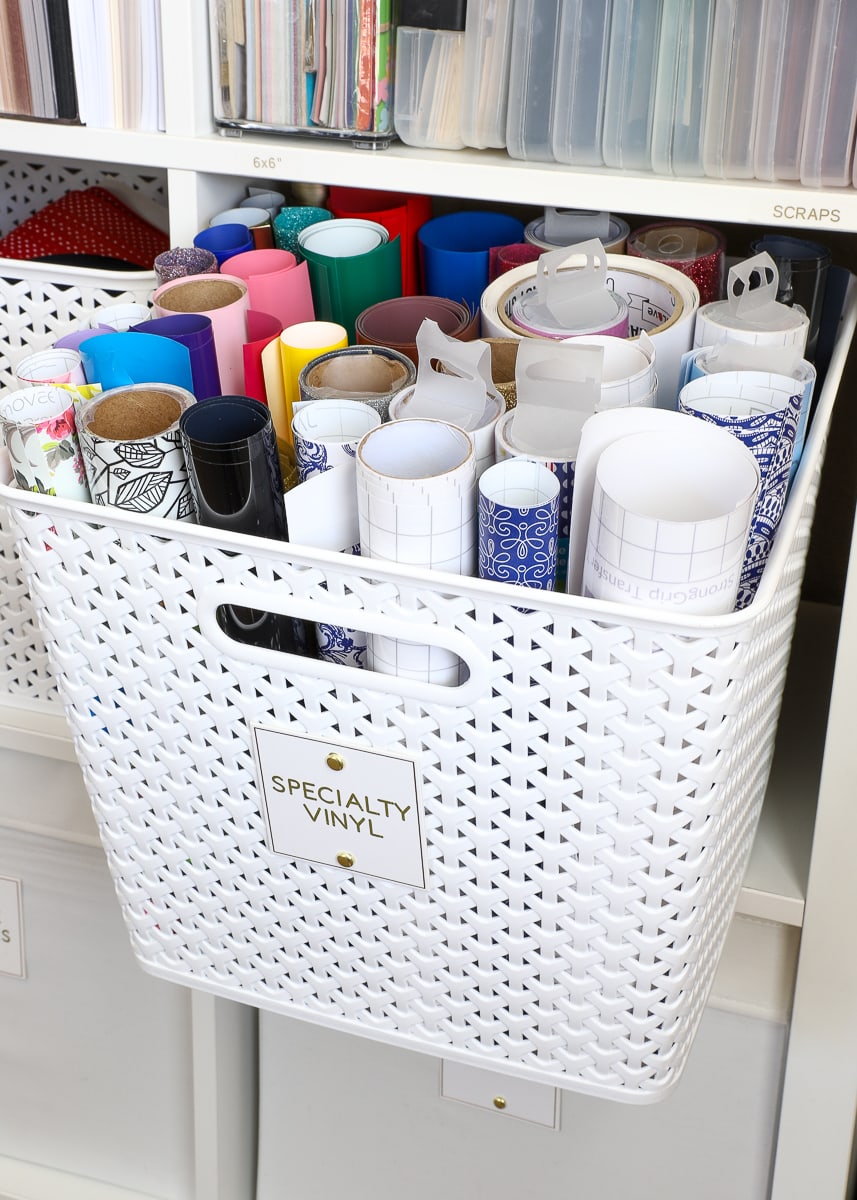
…while my favorite Y-weave plastic baskets hold smaller collections of items such as vinyl, ribbon and party supplies. Again, you can get a full tour of everything in these baskets here!
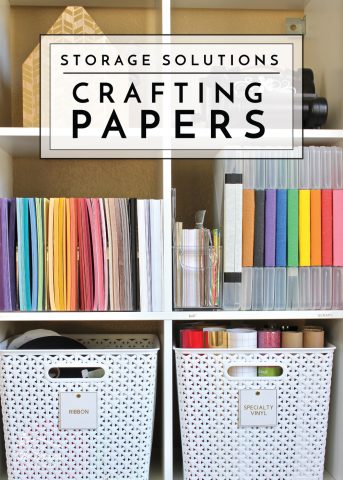
Between crafting on my Cricut and creating printables for The Toolbox, paper has become a large part of my day-to-day work. As such, the second-from-top row of the Kallax holds all sorts of organizers for different kids of papers. You can see all the various solutions I use here!

After a lot of purging and then analyzing how best to store each and every item, I can genuinely say this large shelf holds everything I need in the exact way I need to access it! It was a pretty long journey to get here (almost the entire time we lived here), but all the trial-and-error was worth it to create a craft space that truly works.
Products Featured In This Room
- White base cabinets – The Home Depot
- White countertops – IKEA
- White craft table – IKEA
- White Cube Shelf – IKEA
- Wooden stool – IKEA

Posts and Projects Featured In This Space
To see all of the projects and organization solutions featured in this office and craft room, please click on the posts below!


This room didn’t quite turn out as the “pretty” craft haven I was originally envisioning when we first moved into this home three years ago. But I feel like the functionality and organization I was able to create in this space was far more worth the time and effort than some pretty walls! Not only was I able to (finally) get rid of too many supplies I was holding on to, but I ultimately was able to save myself tons of time and stress (on the daily!) by making everything easy and accessible. Best of all, the solutions I was able to implement in this room will carry forward to new homes much more practically than things I’ve done in the past…so getting the craft room up and running shouldn’t require re-inventing the wheel every time from here on out…at least I hope!
Spoiler: Since I am actually writing this post from our new home, I can tell you that it worked! Everything went back into the cabinets and shelves exactly as it came out (and I even had pictures to reference when I couldn’t remember what went where!) It was sooooo nice to have all this organization already figured out, and I’ve never had my craft room up and running so fast! Considering that I’m usually brought to a standstill for a good month or so until I figure out how best to organize my craft space again, this has truly been a #gamechanger!
I hope you enjoyed this craft room reveal! I’d love to hear your favorite aspects of the room of if you have any questions about how/why we made certain decisions! Back here next week, I’ll be sharing one of the final projects I made in this space: sweet “farewell” gifts for our closet friends! See you then!
Megan
9 Comments on “Our California Rental’s Office & Craft Room Reveal”
You have some of the best, most practical storage solutions I’ve come across Megan! I also appreciate you showing how organization is a constant process of tweaking and trying as we constantly come across new needs and spaces. Glad your move went well and I can’t wait to see what you do with your new space!
Jennie
Loved your spoiler at the bottom, since I was wondering to myself how the various organizers got packed – did they just insert the DRONA and Y-weave bins into larger boxes? Taking reference pictures is so smart! Thanks – Tenney
Hi Tenney!
I don’t like it when they put baskets full of stuff directly into boxes (which is what they usually do), because the boxes/baskets come out warped and the stuff has usually all fallen out. As such, I bagged up as much as I could and collapsed/stacked all the bins and boxes so they were packed more safely!
Hope you’re having a great week!
Megan
This is why you are the organizer! Zipper bags would sure save a lot of sorting on the other end! And you are right – I’m sure the bins and boxes would have suffered for it. I love the candle idea, too. Maybe because I really like monogrammed stuff. Aloha!
Hi Megan
I’m new to your blog, but am so impressed with your ability to create a home no matter where you lay your head. Thanks to your husband and your family for your service!
I am currently trying to design a home office/craft room/library in a home we just finished building earlier this year. On a budget, of course! My room is about 14 x 14 with a large nook next to a closet. I was intrigued by your use of Home Depot stock cabinets and would like to copy that idea. I don’t want to permanently install cabinets so am wondering if you just plunk them down so to speak and lay the counter on top or if there is a trick to making sure all remains sturdy. The cabinets would be sitting on a vinyl plank floor. Can you tell me how you set them up?
Looking forward to browsing the rest of your website!
Pam
Lobe everything about this post! Where oh where did you get the adorable doggie bookends?!
Hi Emily!
Thank you so much! I actually go those adorable bookends at a local furniture store but it looks like Walmart might carry them (although they are showing out of stock). Unfortunately, I’m so sad to report they mysteriously disappeared during our last move 😩
Hope that helps a bit!Megan
I love the clean crisp uncluttered feel of this room! It feels like an open invitation to creativity rather than an overwhelming feeling of seeing everything at once. Having ADD this is very important for me, as visual chaos triggers mental chaos for me. As for the prettiness, you could always find a nice removable wallpaper and do a wall or section of wall with it. I would think that adding some low profile casters to the bottom of the cabinets would make them super easy to move and rearrange.
Over all I love it! 🤩
Thanks so much, Kimberley!
You know what’s funny – it took me YEARS to figure out I didn’t want all my craft supplies on display. Most craft rooms you see on Pinterest has wall after wall filled with fabric and thread and vinyl. I found that having everything out in the open actually squashed my creativity and productivity. Like you said, having everything put away really gives me a clean slate for whatever I want to create!
We’ve since moved out of this home but my current space is setup almost the same. The full reveal will be hitting the blog later this year!