Modern Home Office and Craft Space Reveal
It’s time for another “final” room reveal as we wrap up our time here in Kansas. You can catch up on the Laundry Room, Deck, Henry’s Bedroom, and Playroom so far; and this time, we’re recapping one of my favorites spaces in our home and certainly the room I spend the most time in. Let’s have a look around my modern home office and craft space!
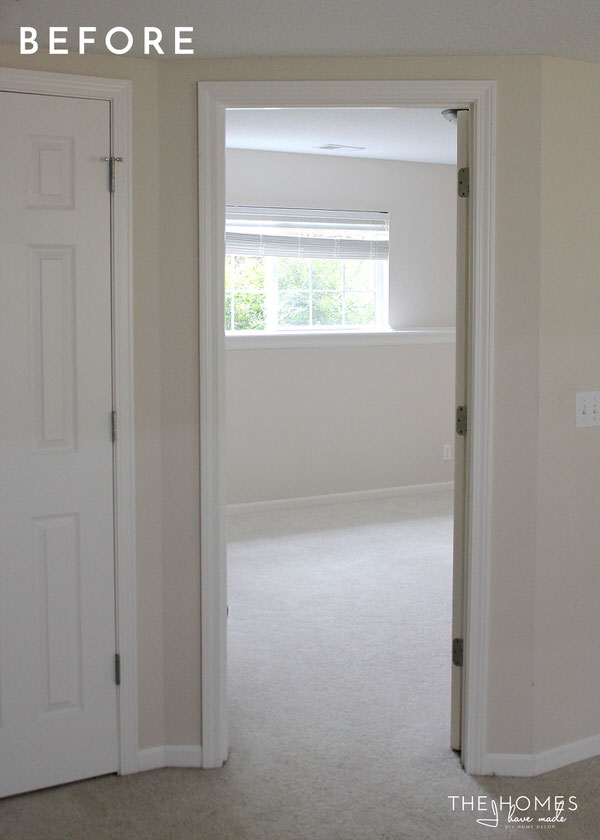
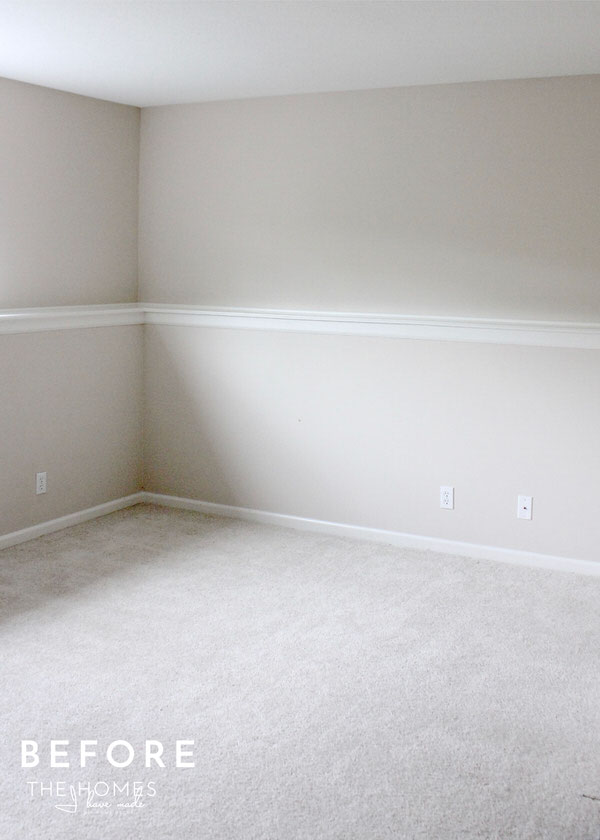
The fourth bedroom in this house is on the lower level of our split-level home, just off the downstairs family room that we use as playroom. In all honesty, this large, dedicated room right off the playroom was one of the main things that sold me on this house. I just knew the layout would allow me to work and Henry to play almost side-by-side without being in each other’s space too much. Here’s a good look at the bare bones of the room the day we arrived last summer!
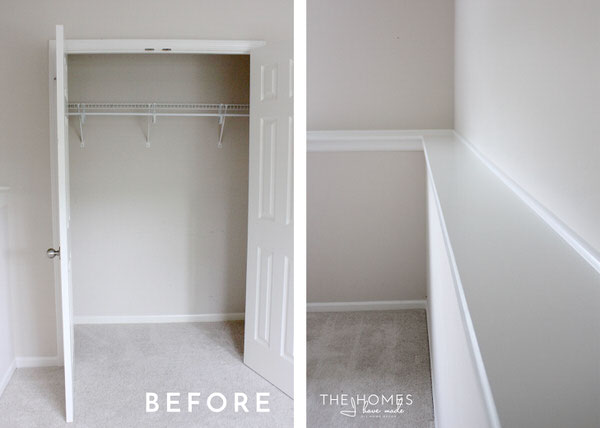
In addition to a nice-sized closet, two walls of the room have an 8″ ledge that come in VERY handy on a regular basis!
With literally just a handful of DIY projects, this room went from being a boring spare bedroom to a stunning studio space that I love to be and work in every day. Come on in and have a look around!
(As I do in all my room reveal posts, the sources and tutorials for everything you see here are linked up at the bottom of the post!)
After missing the mark in my past craft spaces, I finally feel like I landed on a layout that allows me to create, photograph, and work at the computer in a really comfortable and natural way thanks to three separate “stations.” This room is a very generous size, and it’s not lost on me how lucky I am to have such a spacious and pretty place to create and work.
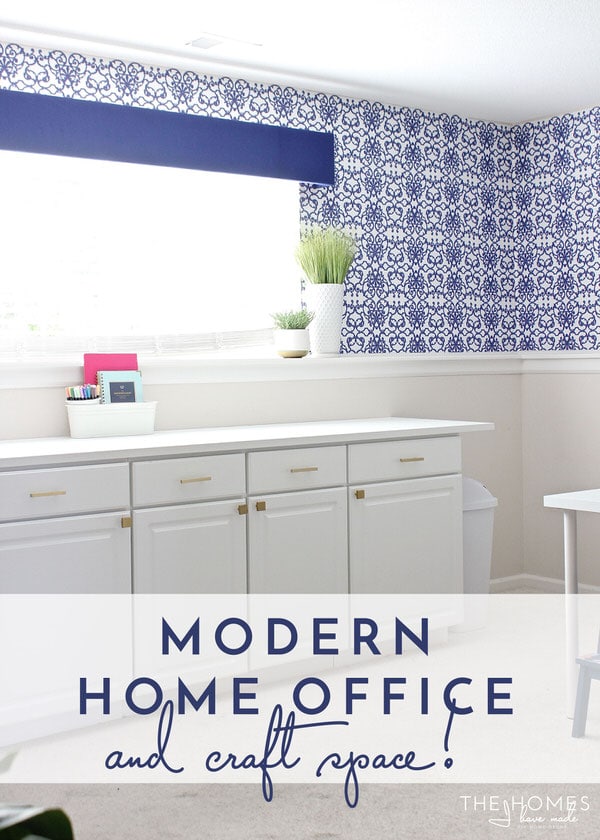
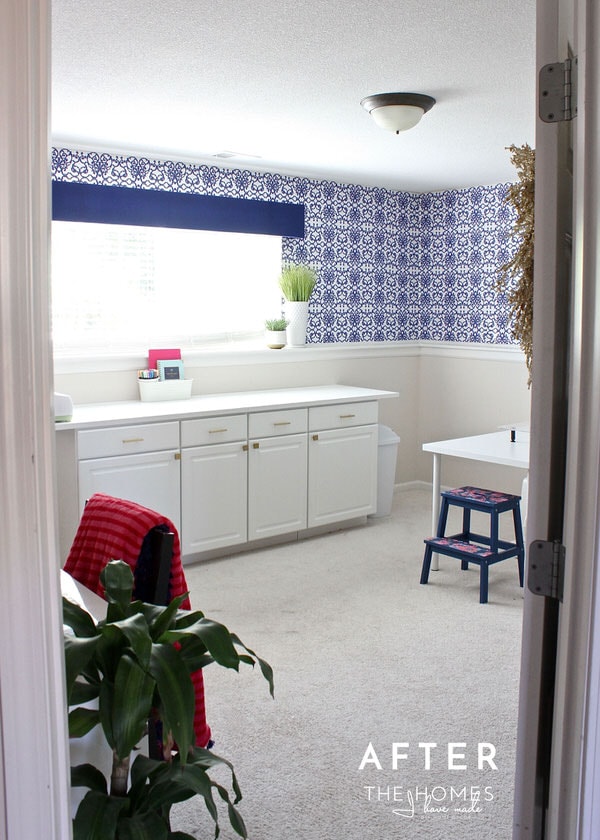
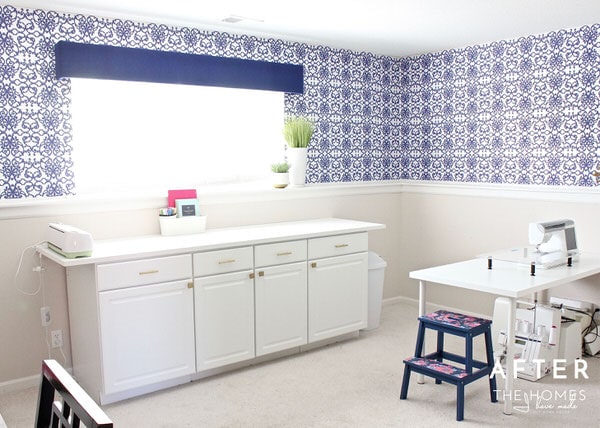
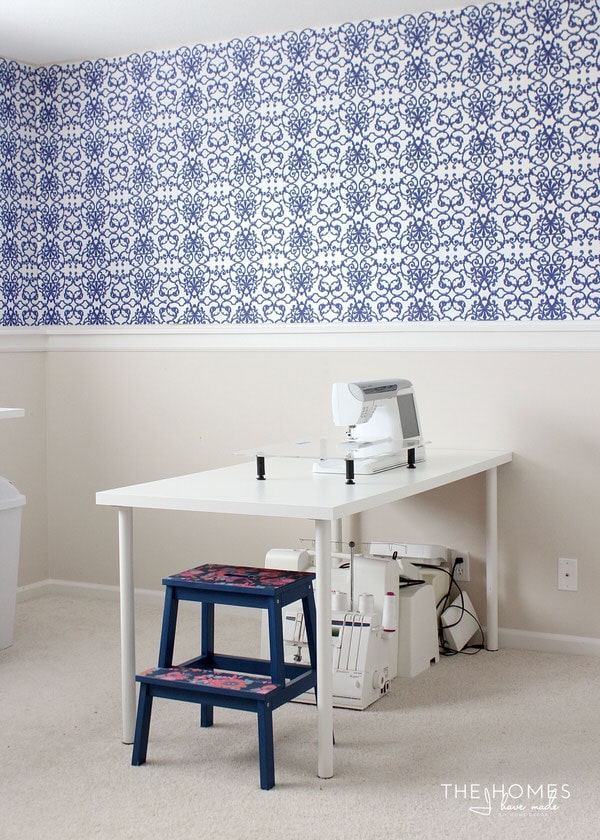
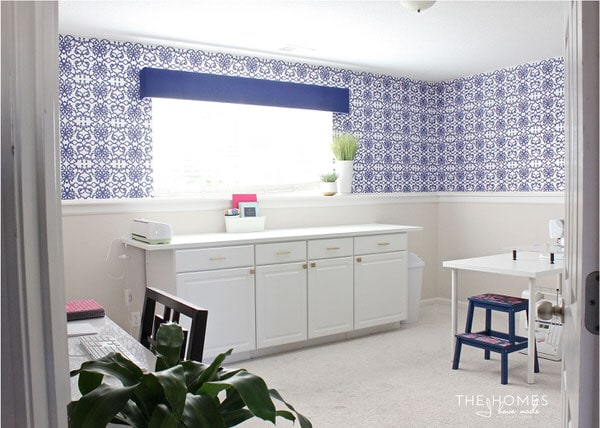
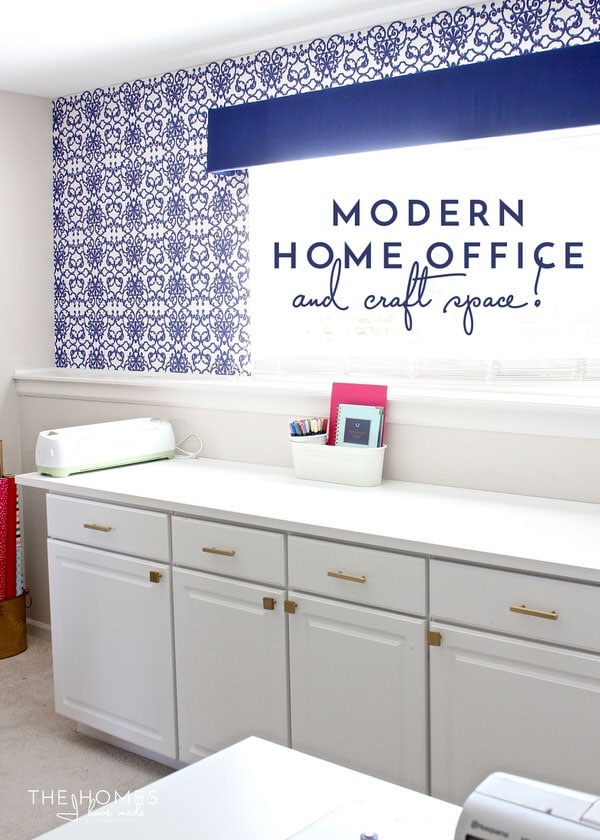
The wallpaper used on the top half of the wall is easily the most eye-catching feature in the room. I was really nervous to use such a bold pattern in such a big way, but it totally made the room and is one of my all-time favorite wall treatments I’ve ever done. With such a busy pattern on the walls, I was able to keep all the other room elements white and simple (which is great for project photos!).
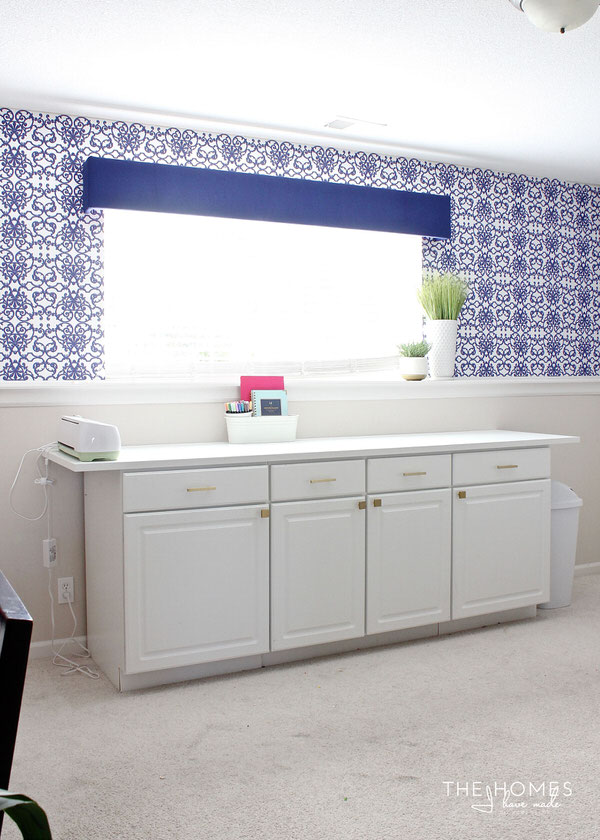
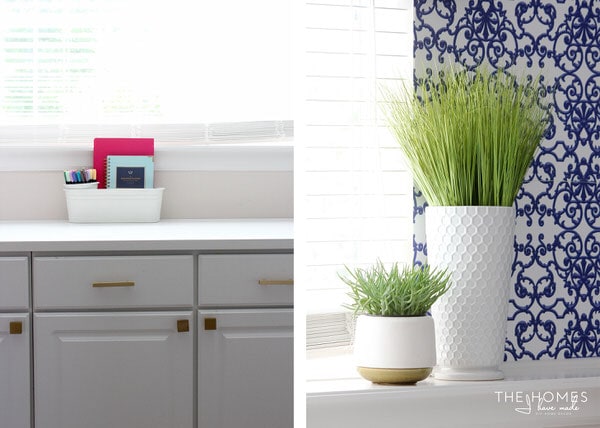
Next to the wallpaper, the main focal point of the room is the craft counter underneath the single window. When we moved in last summer, I finally got to swap the dark counter we used to have for a white one, and boy does it make such a visual difference.
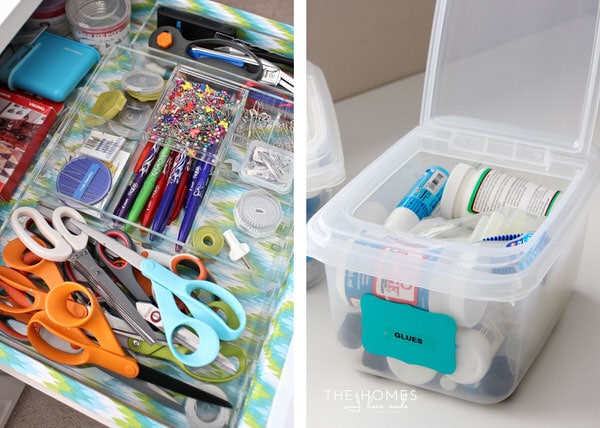
The cabinets (which are just off-the-shelf kitchen cabinets from Lowes) are filled with a majority of my small craft supplies and notions stored in a variety of containers, bins, baskets and trays. I literally repeated my storage solutions in these cabinets from our last house so you can read about them here. #ifitaintbroke
There is so much about this room that I love, but the one and only thing that is really a headache for me is the single, short, east-facing window. Taking photos for the blog revolves heavily around the availability of light, and I am constantly racing the clock each and every day. At about 11:00am, the sun goes over the house and I lose pretty much all my light in here. This makes scheduling and getting projects done quite a challenge. I’ve now learned that when deciding which room in the house will be my home office, the windows and light need to be considered in addition to the size and storage!
I learned in my North Carolina craft room that I did like crafting at the counter but I didn’t enjoy sewing at it…it’s just too high. This time around, I bought a super inexpensive yet very versatile white table from IKEA, and it is one of the best things I did in this space. While the main purpose of this table is for my sewing machine(s), I use it for SO much more! From staging photos, photographing printables, to crafting with Henry and so much more…it is always covered in projects! When my sewing machines aren’t in use, they tuck in perfectly under the table; and the table is lightweight enough that I can drag it around to room to get the best light possible. Best $50 I spent in this room!
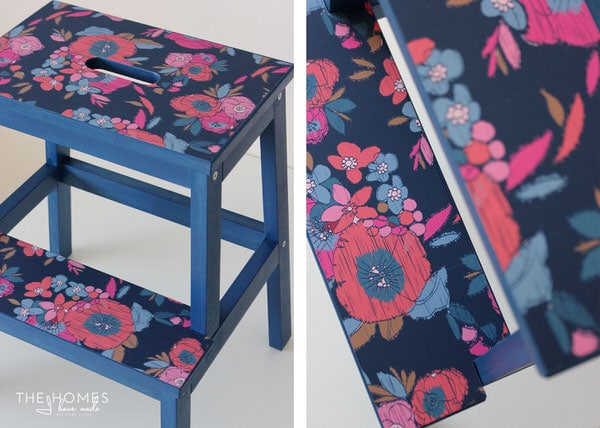
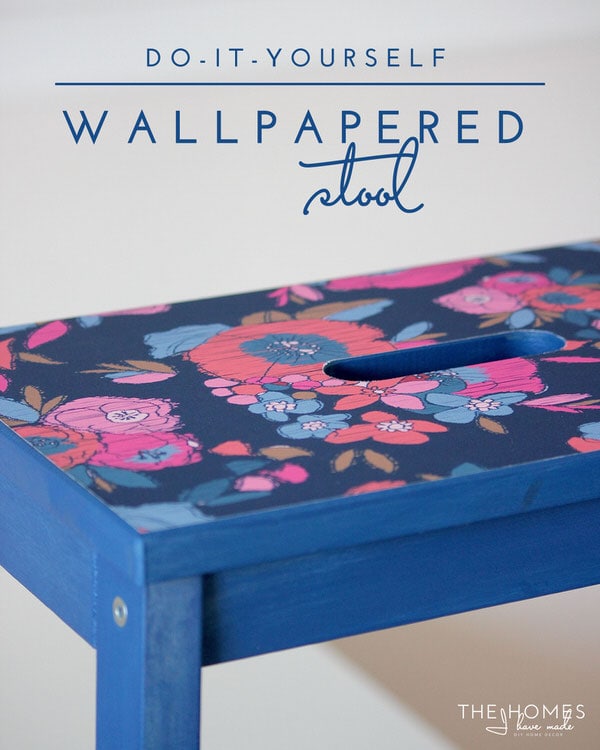
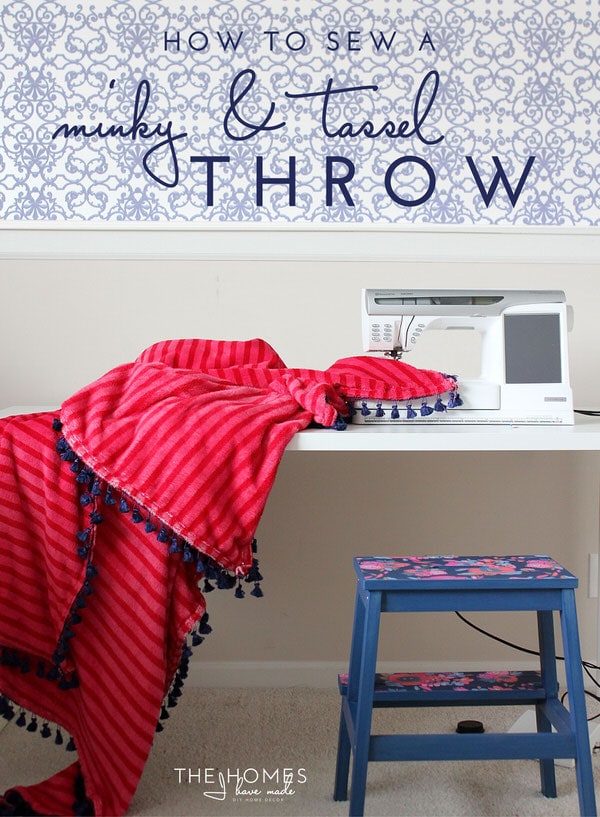
I take a lot of my blog photos standing over the white table and quickly identified the need for a stool. Instead of leaving a wooden IKEA stool as is, I gave it a makeover with blue stain and pretty floral peel-and-stick wallpaper! The white table and stool combo are a total winner and something I will be repeating in the next house!
Another thing I learned in my previous craft spaces is that I don’t like having my craft supplies out in the open. Don’t get me wrong, I love the look of pretty ribbons and fabrics as much as the next crafter, but I always found myself craving a calmer and less-cluttered crafting space when it actually came time to make things. With so many projects often strewn across all open surfaces, having supplies neatly tucked away allows me to keep some order in this busy space!
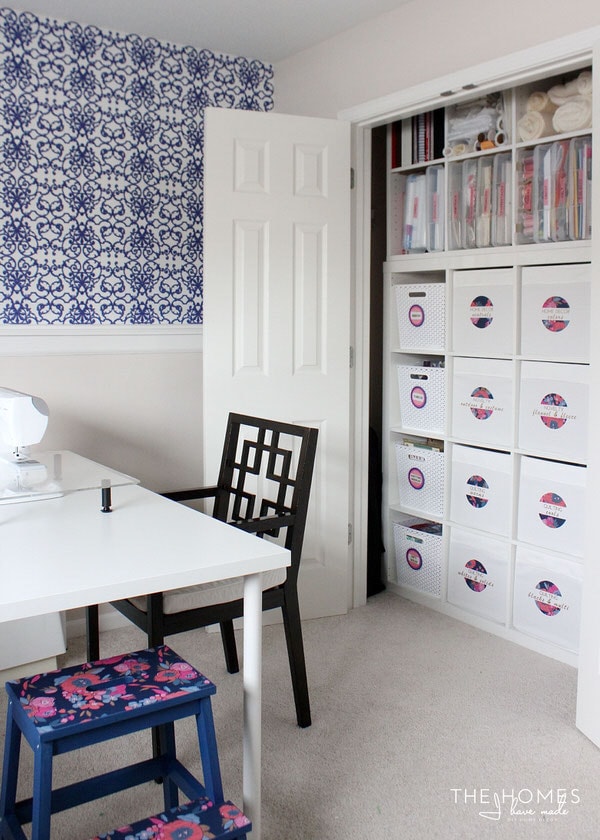
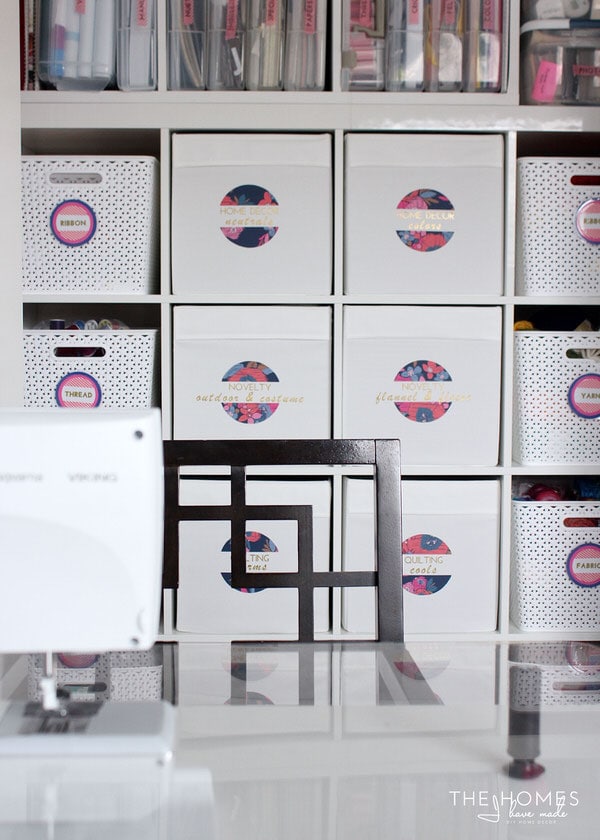
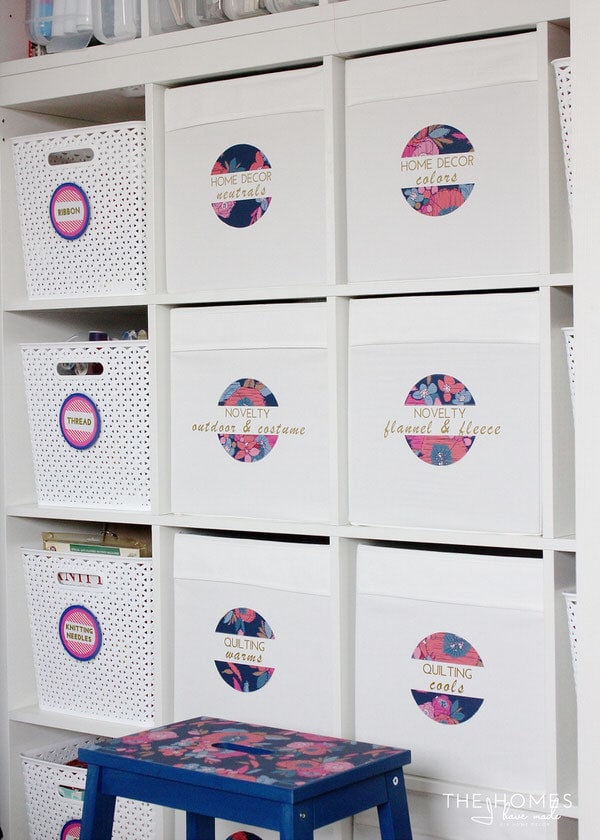
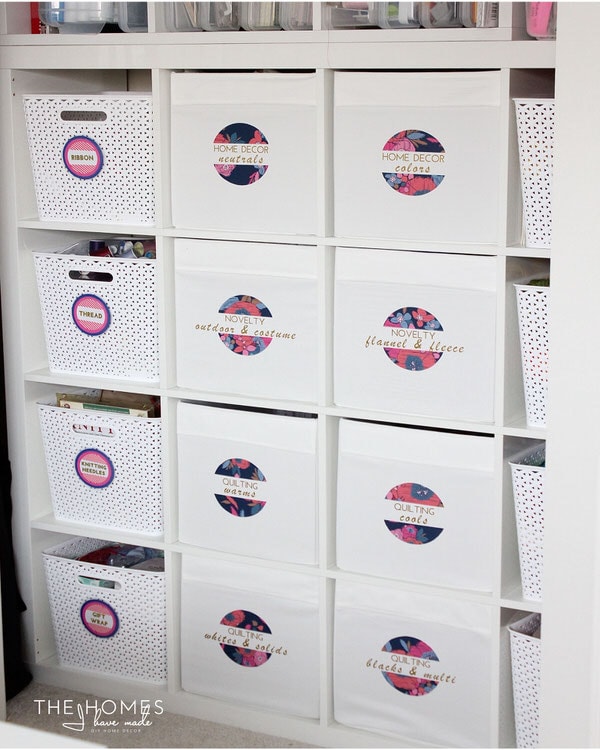
We took down the wire shelf that was in this closet (and stored it for move out) and added a 4×4 IKEA Kallax as well as more cube shelving to the ceiling. This allowed me to stuff in store a ton of fabric, paper, thread, ribbon and other supplies!
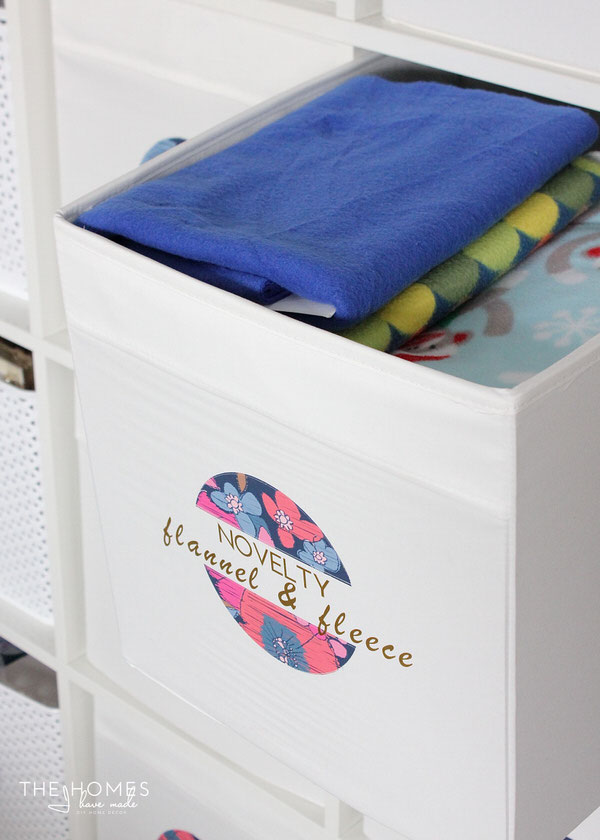
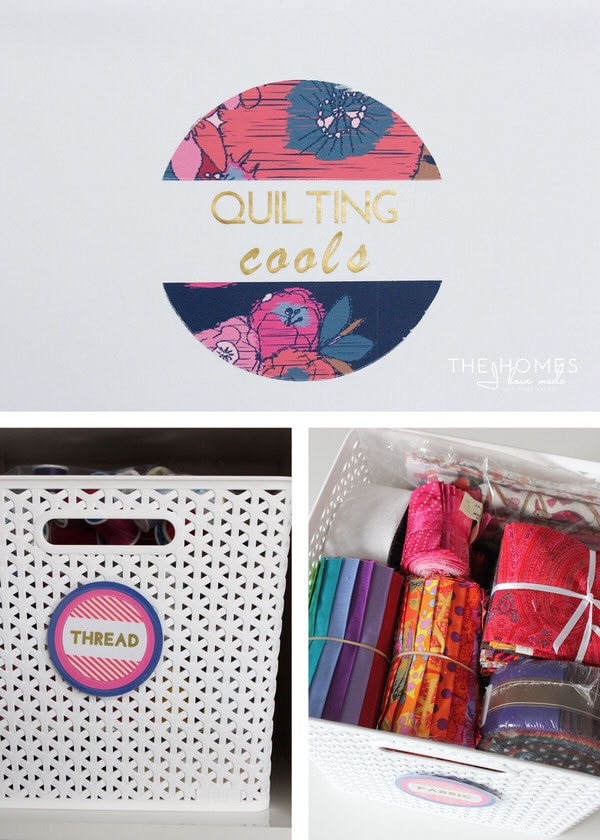
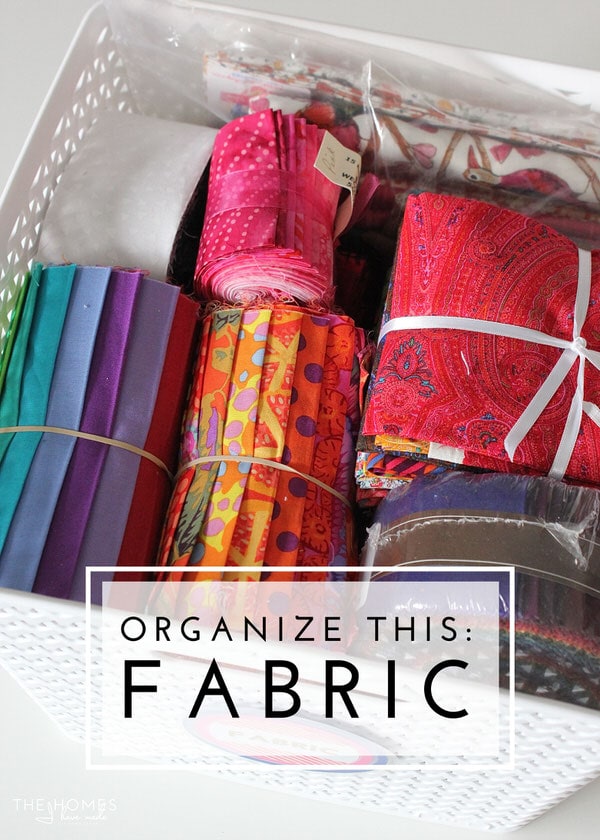
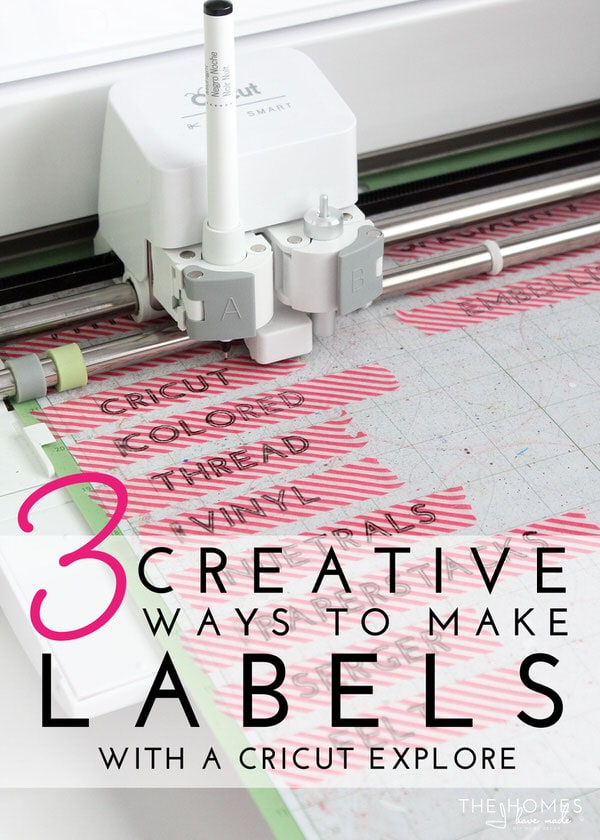
I use 8 white DRONA bins to store my fabric collection and 8 Y-weave baskets from Target to hold ribbon, thread, yarn and other bulkier craft supplies that don’t fit under the counter across the room. The labels were made with a combination of extra wallpaper, vinyl, cardstock and washi tape!
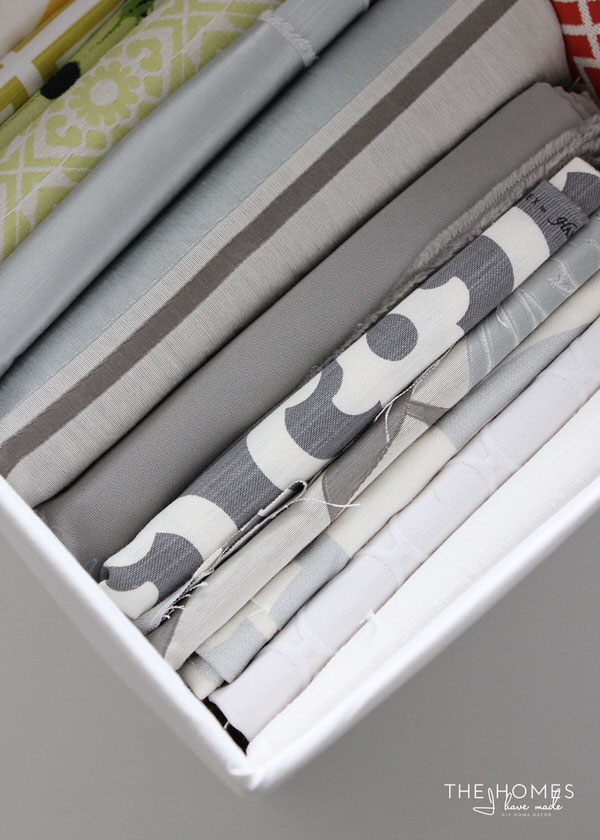
I absolutely LOVE having all my fabric in these deep bins. Not only do they hold a TON of fabric, but they function like drawers…so it’s easy to slide a bin out, pull out what I need, and easily put everything away.
Wrapping my fabric onto mini cardboard “bolts” keeps the bins tidy and makes finding just what I need super easy!
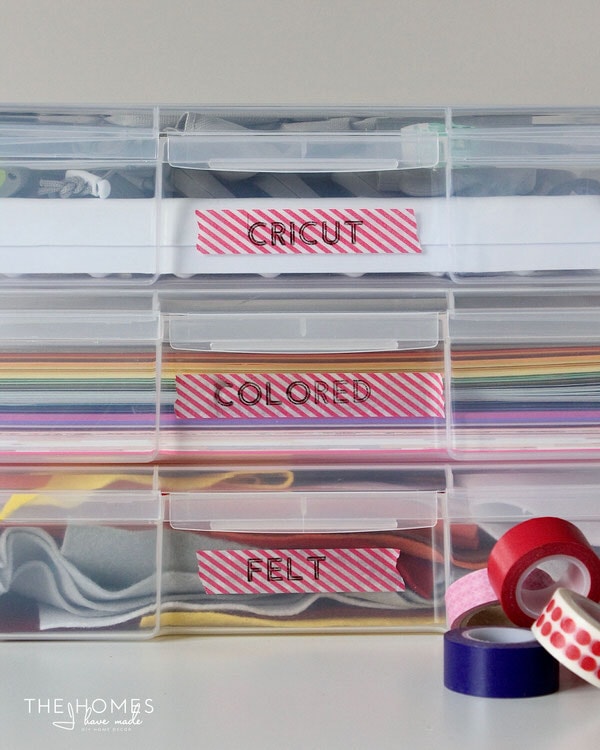
Along a top row of cube shelves in the closet, I have 10 12×12 scrapbook boxes that hold a variety of papers, cartridges, vinyls, manuals and more. Washi tape labels help me keep all the bins straight.
Thanks to a variety of storage solutions, I am really able to store a ton of craft supplies in a totally accessible yet easily concealable way. Success!
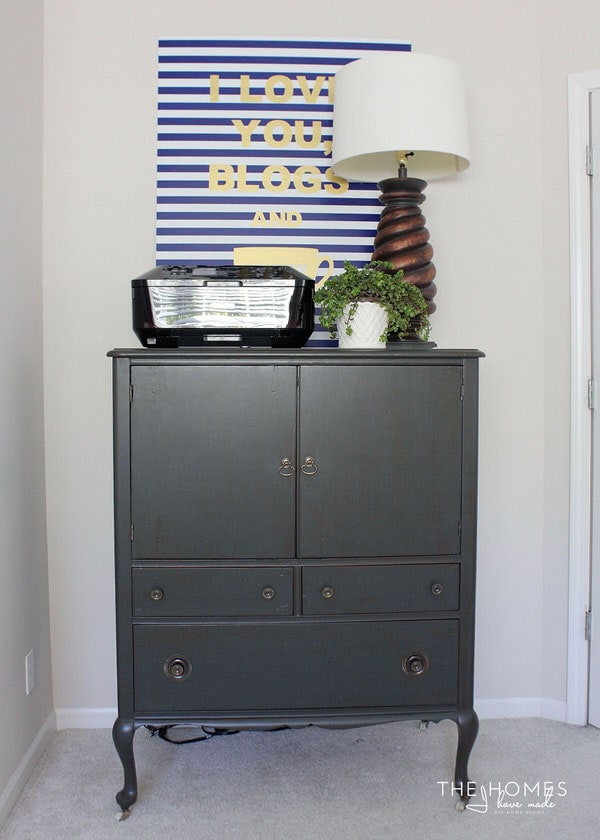
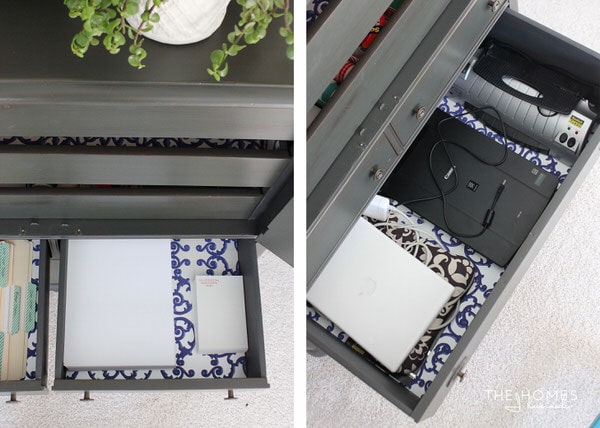
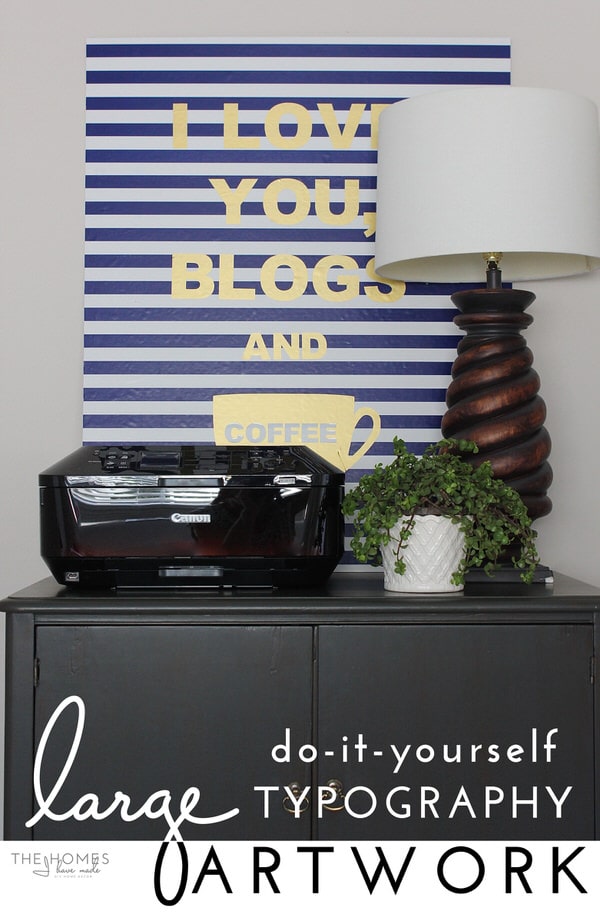
Tucked next to the closet is a grey armoire I bought in Kansas City’s famous West Bottoms district. I was originally looking for a similar piece that was undone and in need of a makeover. But then I found this one, already painted, for an amazing price. Needless to say, it didn’t take long for me to bring it home. I’m so glad I did because it’s one of the hardest working pieces of furniture in our home!
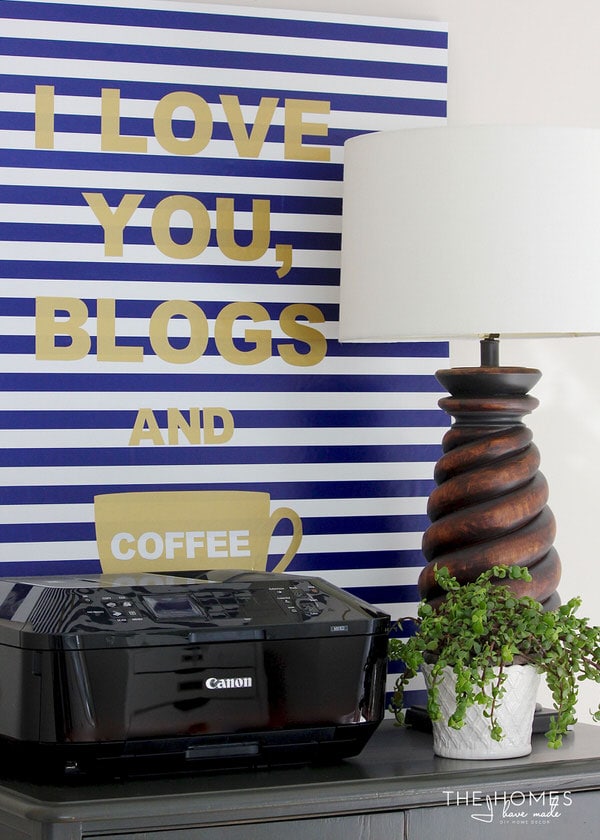
On top of the dresser, we have our printer, a few accessories and some over-sized art I made on the cheap.
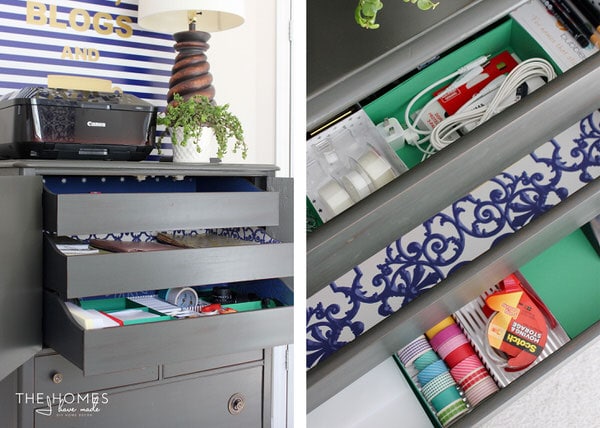
But behind those doors is an entire office worth of supplies neatly organized and tucked away!
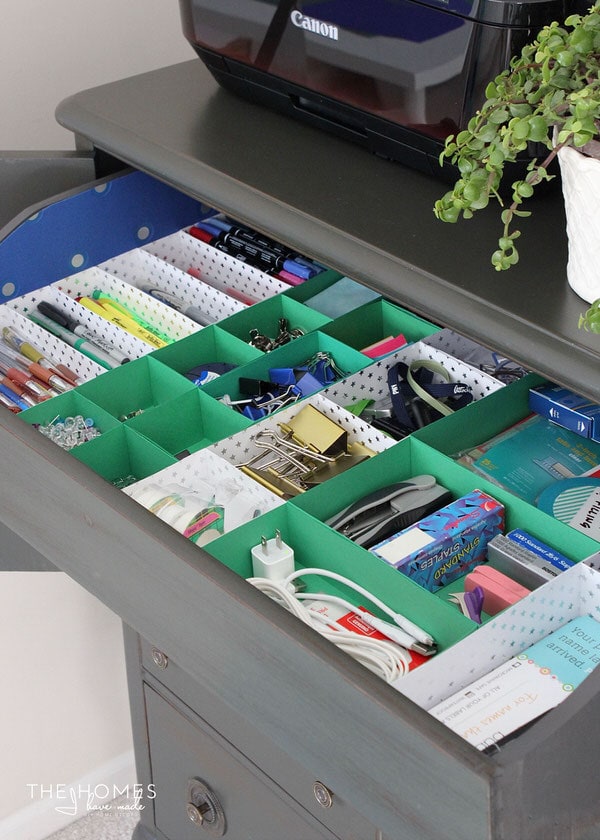
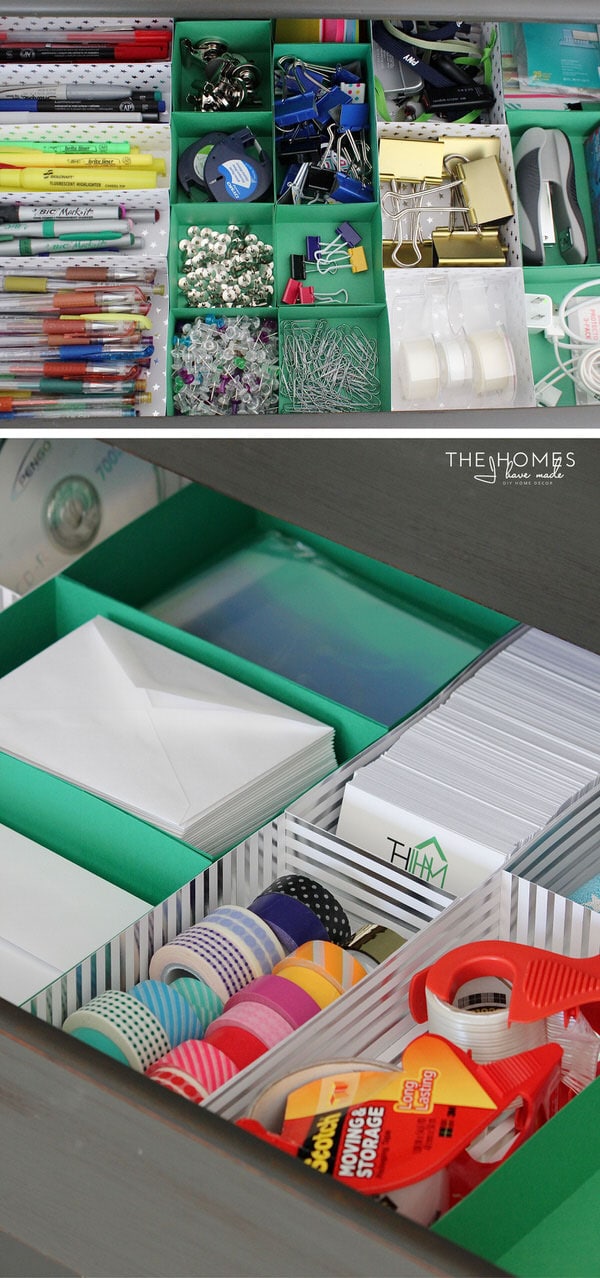
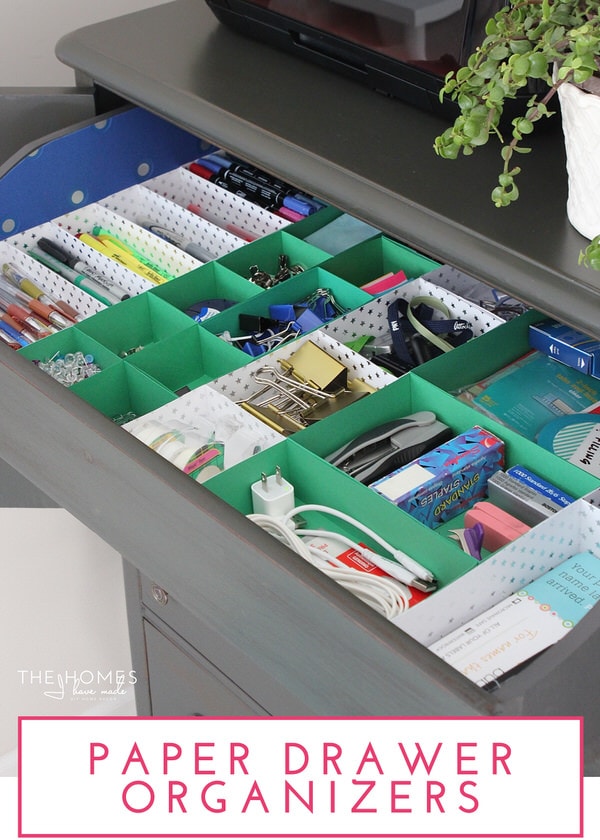
One of my favorite DIYs of our whole year here are the paper drawer dividers I made to organize these flat drawers. I was able to create perfectly customized and tailored dividers to hold every last supply in a perfect way…all with sheets of pretty cardstock!
The top three drawers hold all of our small office supplies, and the bottom drawers hold a variety of papers and small office electronics. Having a centralized place for all of our office supplies makes it so much easier for the whole family to find what they’re looking for!
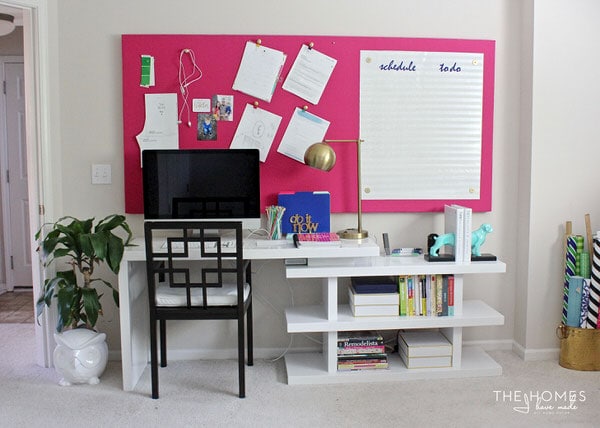
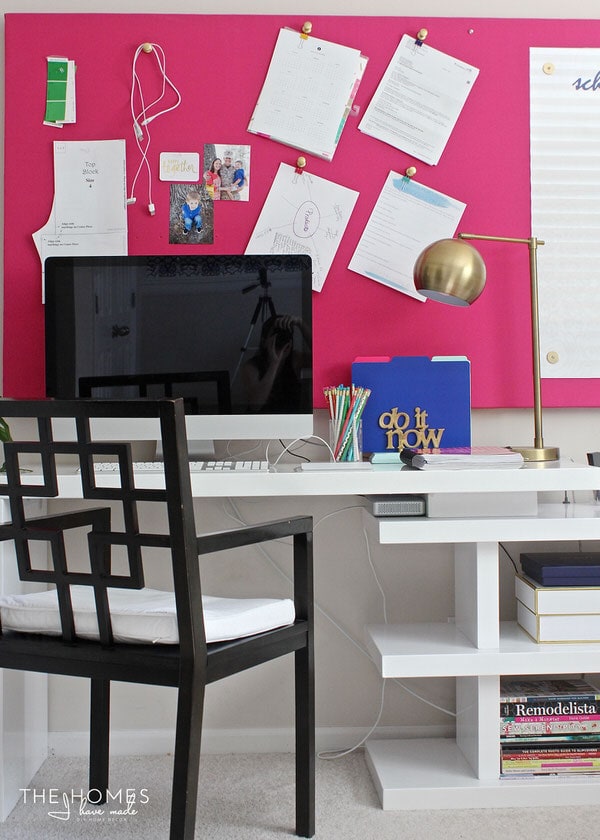
The last wall is the office side of the room and where I spend a majority of my time!
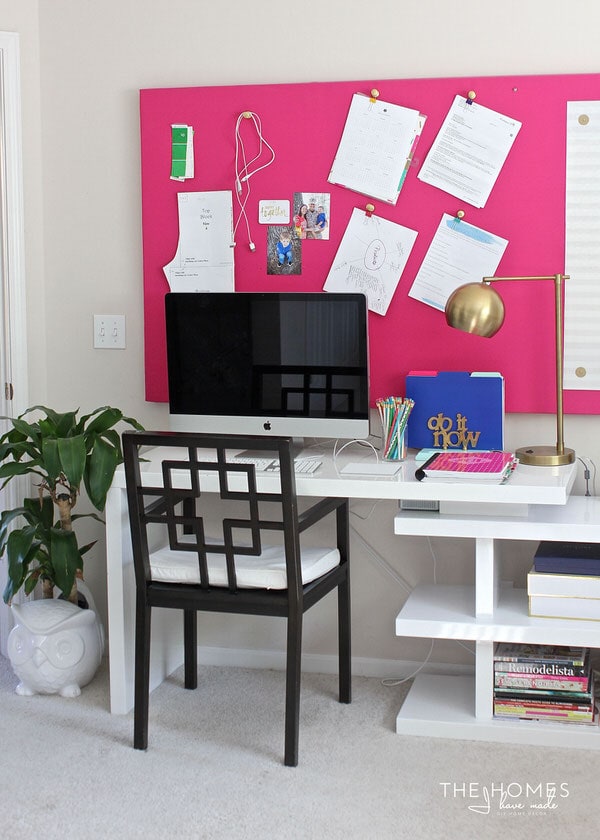
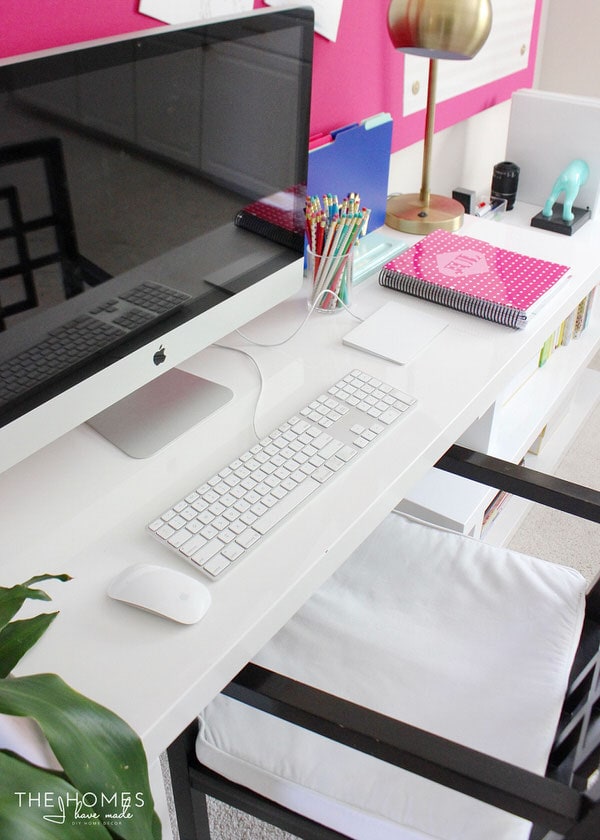
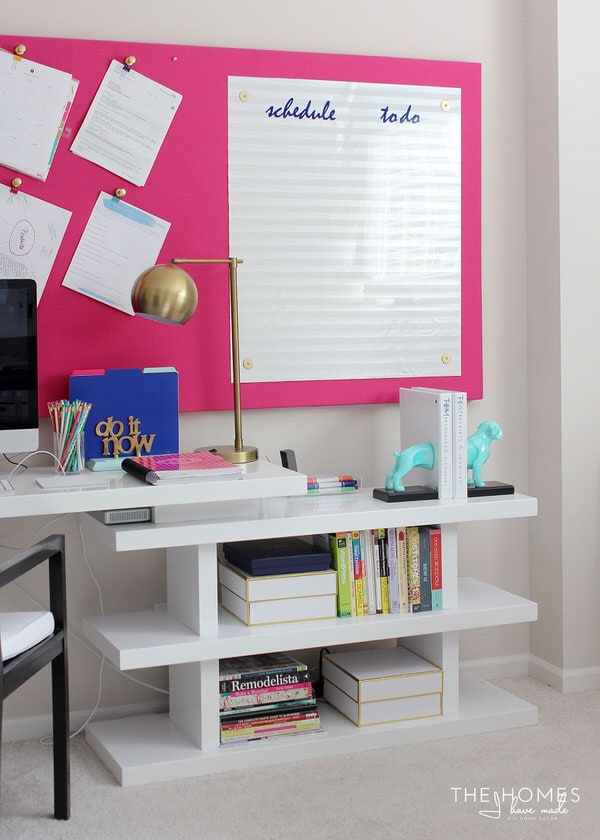
We sold our heavy, clunky black desk (that I never liked) after finding this sleek and simple white version on clearance at a local store. We currently have the desk positioned flat against the wall, but it can rotate into an L formation, making it a super flexible furniture piece for our lifestyle!
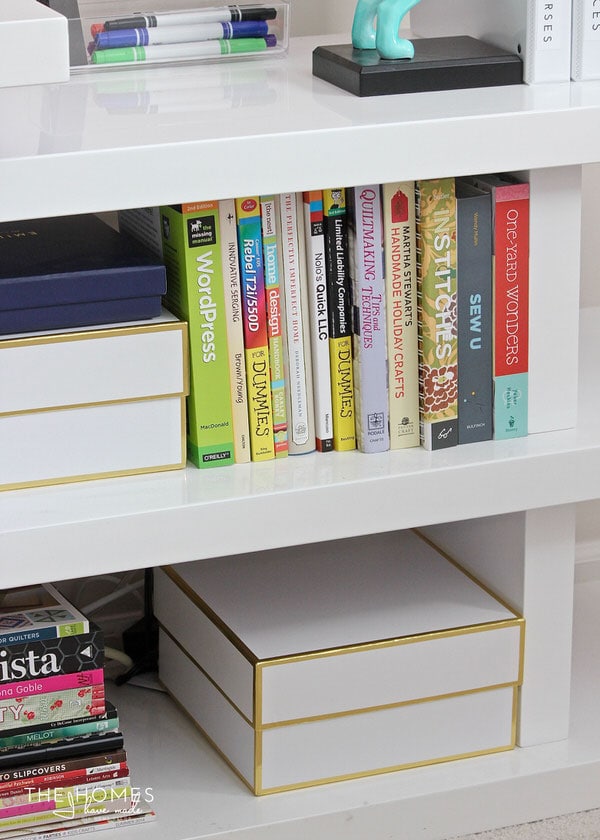
The shelves attached to the desk are a bit low to fit in any storage systems, but since we use the nearby armoire for supplies, they work great for holding books and decorative boxes (for receipts and paperwork).
A new office chair was on the “To Find” list when I dragged this one down from our dining room. The height and size and comfort were perfect…so it stayed!
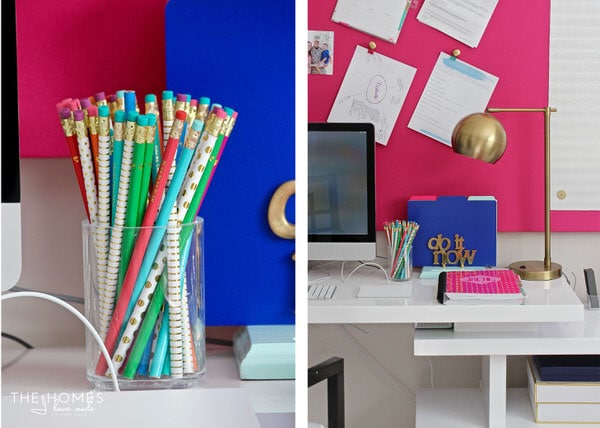
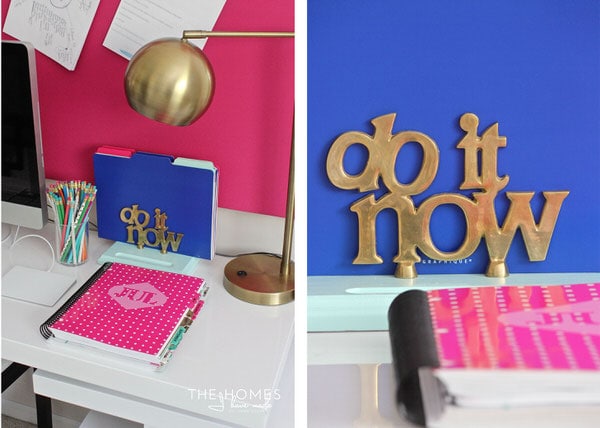
This spot is where I sit and work at all hours of the day…early in the morning, while Henry’s at school and late into the night. Photos are edited, posts are written, printables are designed, and emails are responded to all right here. Admittedly, this spot is usually running over with printable drafts, to-do lists and project notes, but my planner and thrifted To-Do memo holder help me keep track of the important stuff!
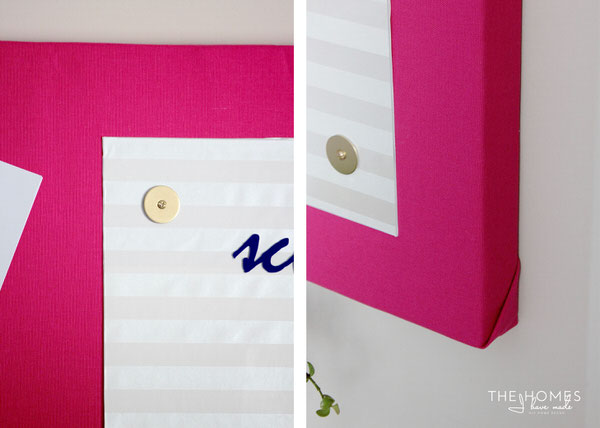
To keep my work surfaces as clear as possible, I like to pin things up whenever I can. As such, I created this extra-large pin board to go over the desk. Not only does it provide a major punch of color for this side of the room, but it also gives me ample space to keep track of ideas, papers, my blog schedule and more. I use the heck out of this pin board and dry-erase surface. My only regret? The bright pink…I’m not sure I really made it work.
In recent weeks, I’ve been reflecting on our year here and the projects/room makeovers I was able to accomplish. It doesn’t feel like I’ve done all that much, but when I do these room recap posts, I’m reminded (and kind of blown away) of how far we really have come in less than a year. More than any other room in this house, this one was pretty much made from scratch since moving in last June, with very little carried over from our last house.
Room Resources
I’ve done my best to round-up the products used in this space. If there is something I’ve overlooked, let me know in the comments!
- White Cabinets – Lowes
- White countertop – IKEA
- White table – IKEA
- Blue stool – IKEA
- White desk – Nebraska Furniture Mart
- White square totes – IKEA
- White Y-Weave baskets – Target
- Gold Lamp – Target
- Grey armoire – West Bottoms, Kansas City
- Blue and white scroll wallpaper – Walls Republic
- Blue and pink flowered wallpaper – Spoonflower
- Brown square-back chair – West Elm
- White and gold boxes – Target
- Dog bookends
- Pencils – Michaels Craft Store
- Owl Planter – New River Pottery
- Gold knobs and pulls – Ebay
- White vases and pots – Marshalls and Target
- Acrylic drawer organizers – Amazon (but no longer available)
New Projects In This Space Since Moving to Kansas
Over the years, I learned a lot from my past craft/office spaces and was able to course correct this time around. I am just so pleased with how this space both looks and functions. I am sure to make some adjustments in our next home, but fingers crossed I can carry this space forward as is!
I’d love to know what you think of this space! Any favorite parts or projects or solutions you would have never considered? And if you’re looking for more great home office and craft space ideas, check out this awesome round-up of incredible offices put together by Shutterfly!
I hope you all have a great weekend! Next week, I’ll be back with my next Organize This project and an awesome DIY art project I am SO excited about! See you then!
Megan






7 Comments on “Modern Home Office and Craft Space Reveal”
It’s so fun to see how your style has evolved! I love this space! It feels like I could walk right in and get to work! Your functionality solutions are inspiring, and I’m already thinking of how I’m going to fix some systems I have currently that just drive me bonkers.
I admit I overlooked the pin board before, but it might be a very handy tool for us! Thank you for sharing!
What a great office/work space! Seeing the paper drawer organizers brings back memories for me of “how I found you” – you had written a guest post on IHeartOrganizing about this project, and I loved it! I cross-referenced/found your site/blog, and the rest is history. As you get ready to depart Kansas, sending you prayers and thoughts for a safe and smooth transition to your new home… you may have mentioned going west… wondering if you’re coming back to CA?!
Hi Megan
I do love this room for every single thing
I don’t make craft myself but you give me great ideas for a room I’m working in our playroom which is not any more as the girls are older and in their own place
I could inspire me with your shelves and bins for our boardgames
Have a nice week-end
Michèle
Megan, this space is absolutely inspiring! Colorful, yet calm and peaceful as well. It makes me want to get my own spaces into shape, but everything about your blog makes me want to do that!
Good luck as you go through your next transition, and know that I will always be excited to see your next post, no matter when, no matter what!
:)Margaret
Oh man this is by far my most favorite room! I love the pink & navy color combo, so bold but man do you make it work!
You made awesome use of your space and room organization to the max! Great work and wow you did accomplish a lot be proud!
Lauren | Lovely Décor
xx
Would this paper and starch trick be a disaster in a bathroom with all of that moisture?
Hi Kate,
I’ve gotten this question a lot; and honestly, I am not sure of the answer since I’ve only used this trick in bedrooms/offices. My suggestion would be to do a test with a smallish cut of paper (10″ square) and leave it up to see if it starts to peel. My hunch is that it will be fine, but I’d hate for you to do all the work and then the moisture be a problem.
Good luck and sorry for the delay in getting back to you!
Megan