North Carolina Craft Room and Office Final Reveal
With under a year left in this 5th house of our’s, I have a lot of full room reveals to tackle in the coming months for you guys (everything is mostly done, I just need to get snapping!). While I tend to blog in “real time” as projects and spaces are completed, I also like to do one final post that shows the full evolution of a room, captures all my favorite photos, and contains all the links for every project from the space in one single post! (You can find other full room reveals HERE.) I know I’ve totally saturated you with posts and updates of our Office/Craft Room (ummm…25 of them to be exact – eek!), but it was a long and tough space to get right. So for old readers who have been here every step of the way: I promise this is the last one (but there is even a new update, so keep your eye out for it!) And for new readers, this is your one-stop shop for catching up on this room! So without further delay, here it is: our FULL reveal of our Office and Craft Room, fully documented in one tidy spot!
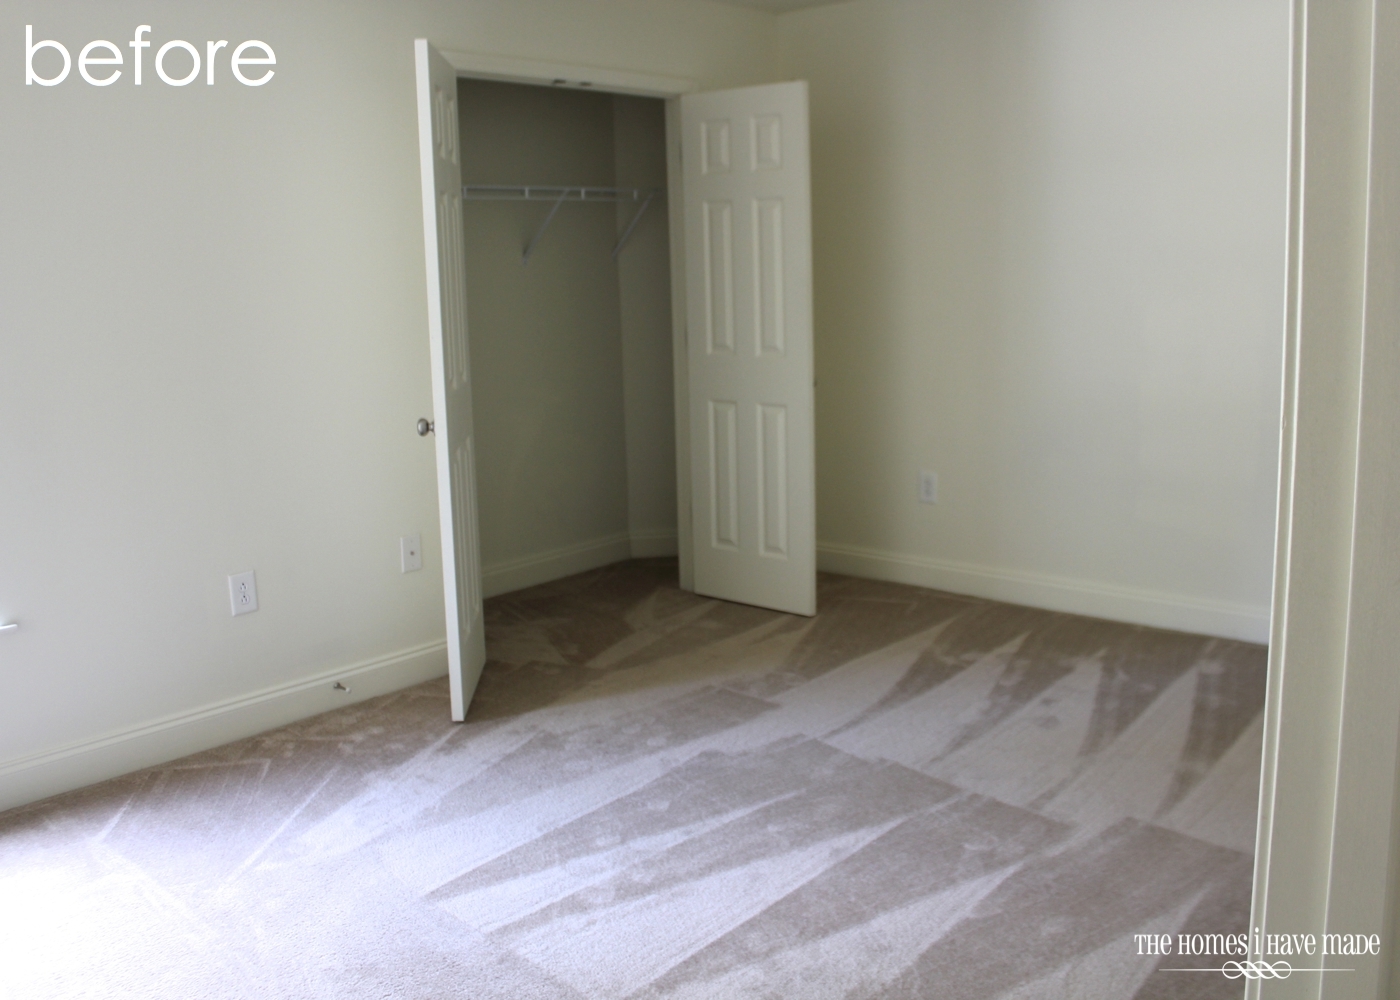
When we first moved into this three-bedroom house, I knew right away that we were going to be sacrificing a guest room/spare bedroom for a combined Office/Craft Room space. This duty station guaranteed a lot of travel for my husband and I was really getting into this crafting/DIYing/blogging thing, so it was very important for me to have a dedicated and closed-off space I could create and work as my time and energy permitted! The room is a big one, measuring 10×15′ with a single window and pretty big closet. Here’s the room the day we got the keys:
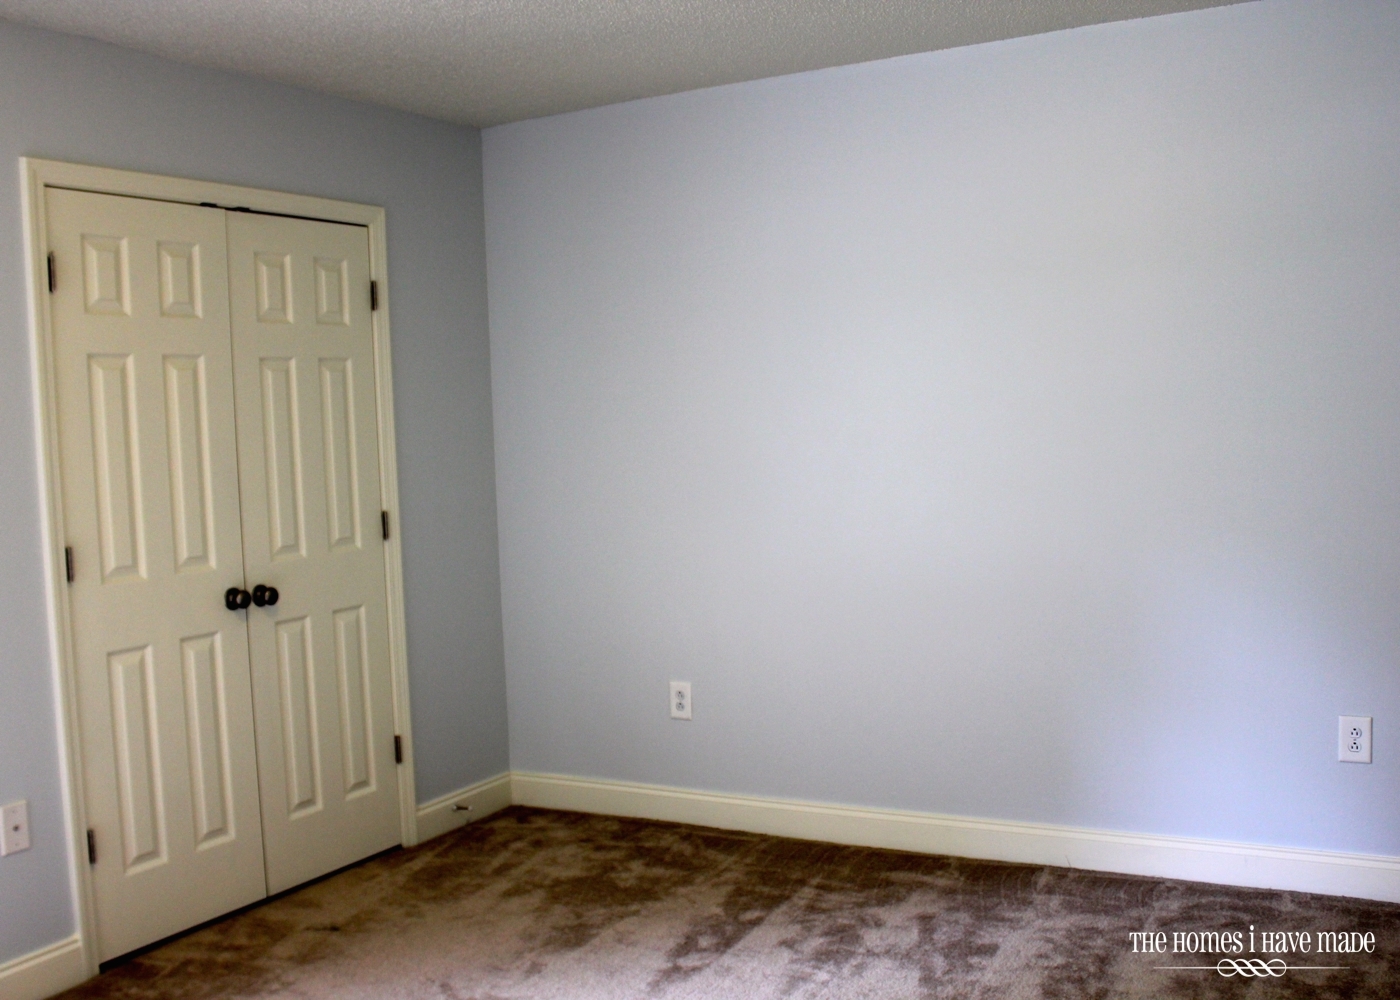
Before our stuffed arrived, we painted the room with Martha Stewart’s Cumulus Cloud. I LOVE this color – in some lights/times of day, it reads pale blue; and in others, it reads very light grey. It’s a crisp and neutral background that provides just enough color without being too strong!
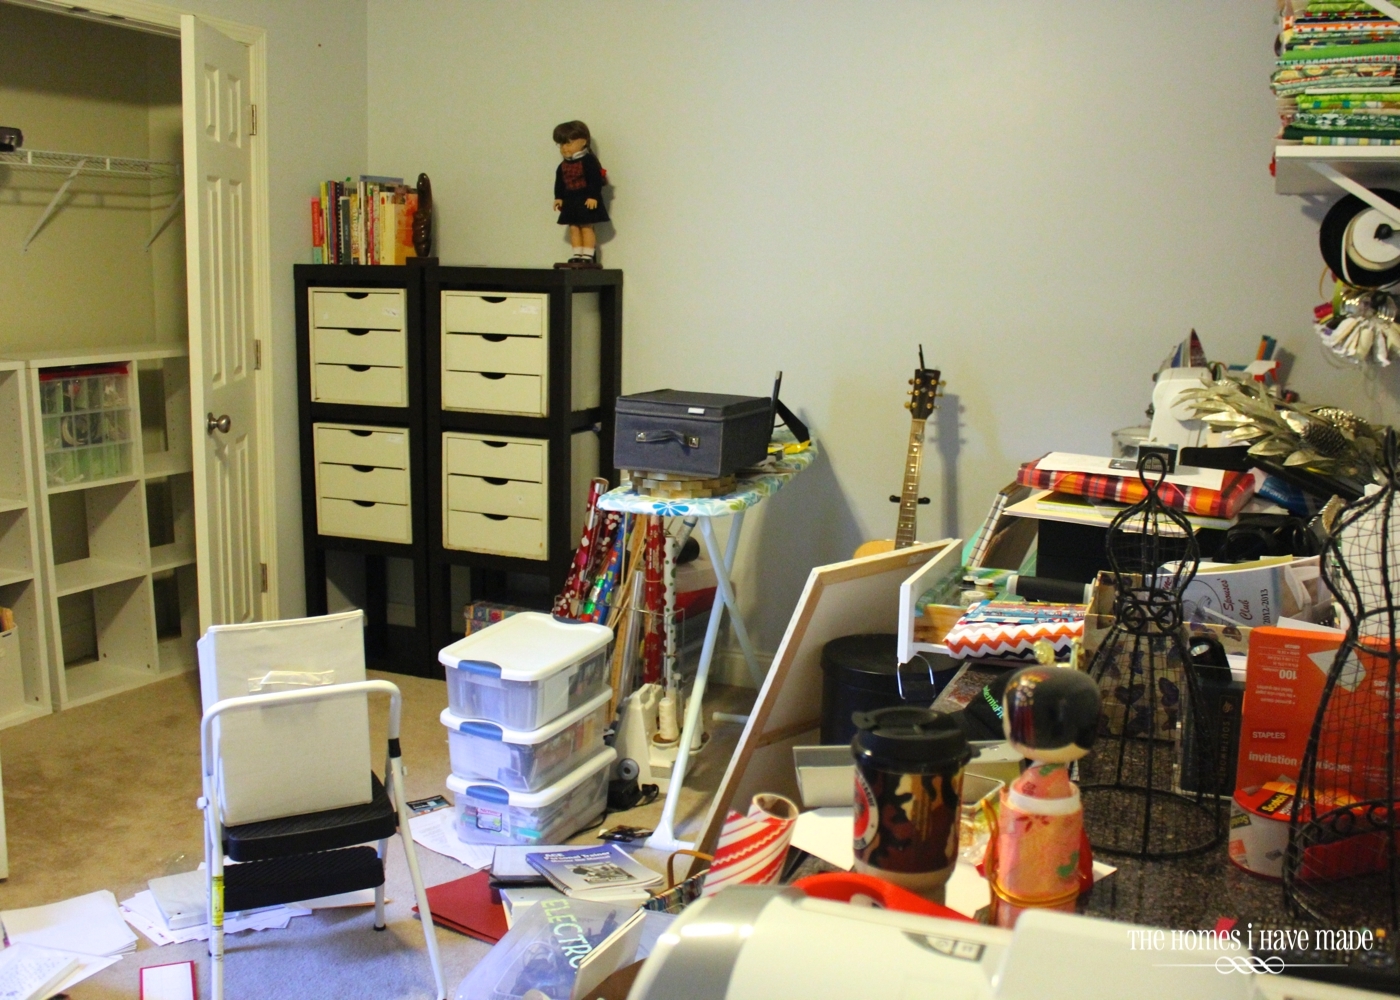
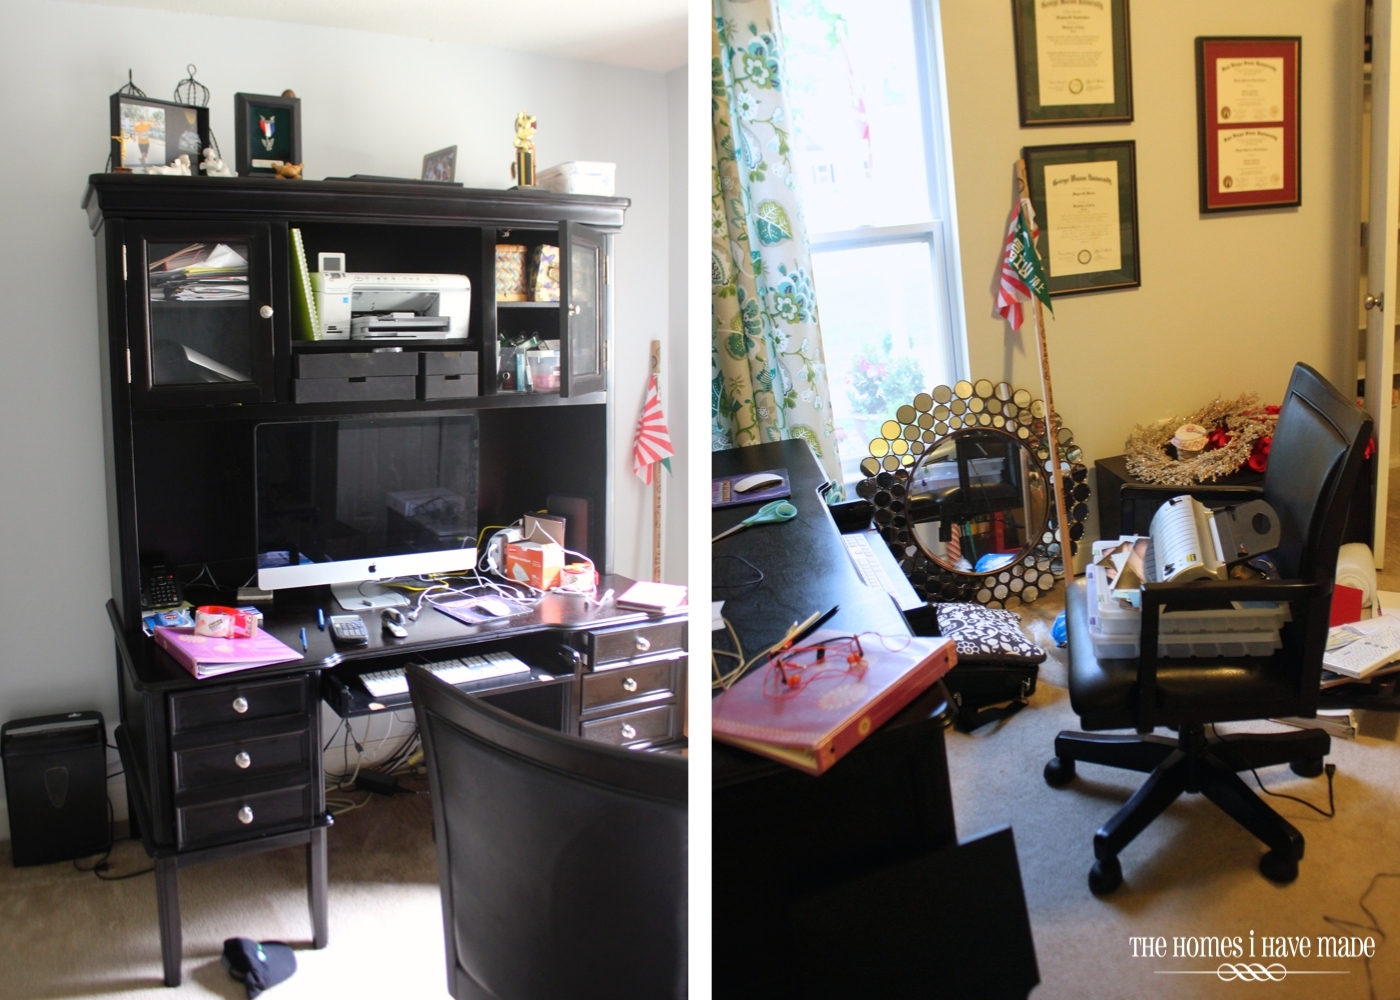
Before getting this room to where it is now, I took quite a few wrong turns, including lots of less-than-ideal storage solutions and a color a palette that wasn’t quite right. Last summer, I emptied everything out (literally) and started from scratch. (Oh – and I have read a few “negative” comments on other sites that these pictures were staged to look like super bad “before” shots. No such thing here. This was the real cluttered deal! And for the record…I don’t stage anything to look any less or more than the way it is in real life – I keep it real around here!)
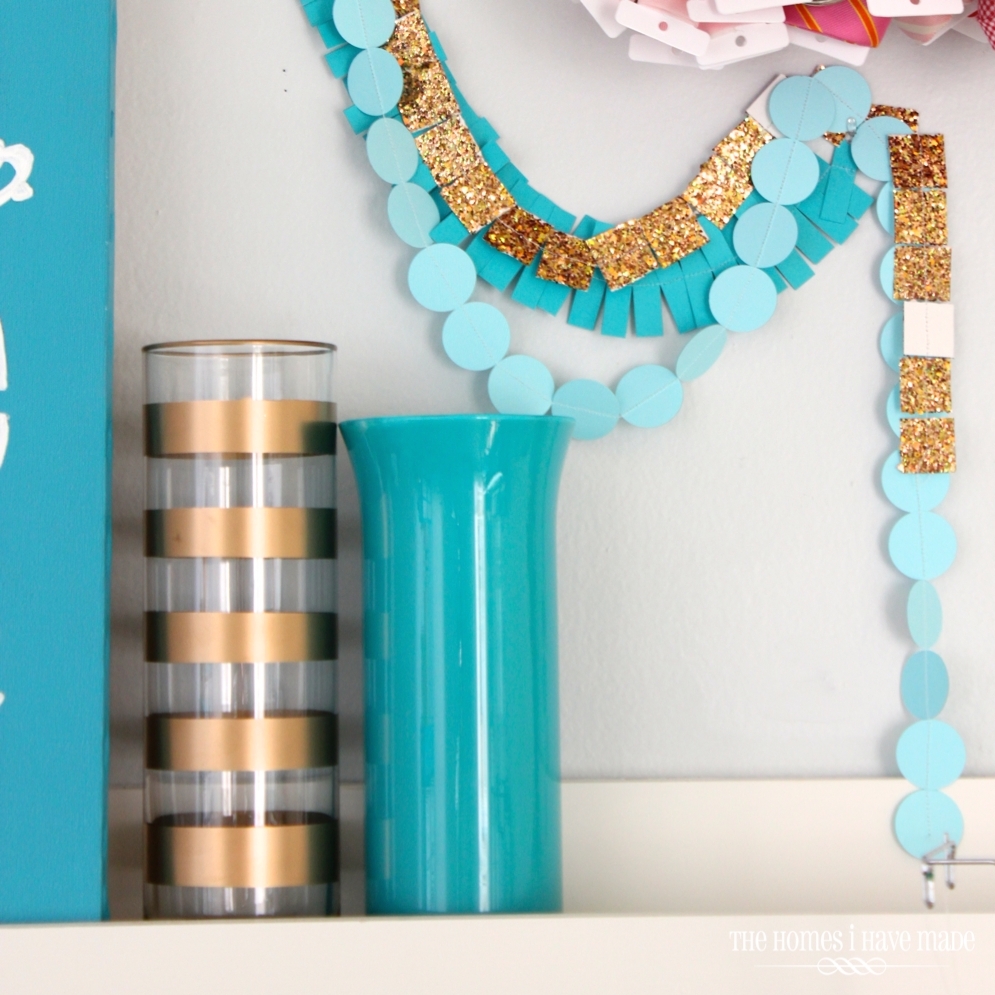
Although I’ve had to re-organize this room a couple times (due to taking on a bunch of new craft supplies from my Mom), the overall design of the space has been pretty set and un-changed for about a year. Lots of white and turquoise, with pops of gold and black make for a fresh, clean and glamorous space – one that I love to be and work in! Let me give you the full tour !!! (Oh, and if you’re looking for links and tutorials for all the projects in these photos, everything is linked down at the bottom for easy reference!)
When you first walk in the door to the room, this is the view that greets you!
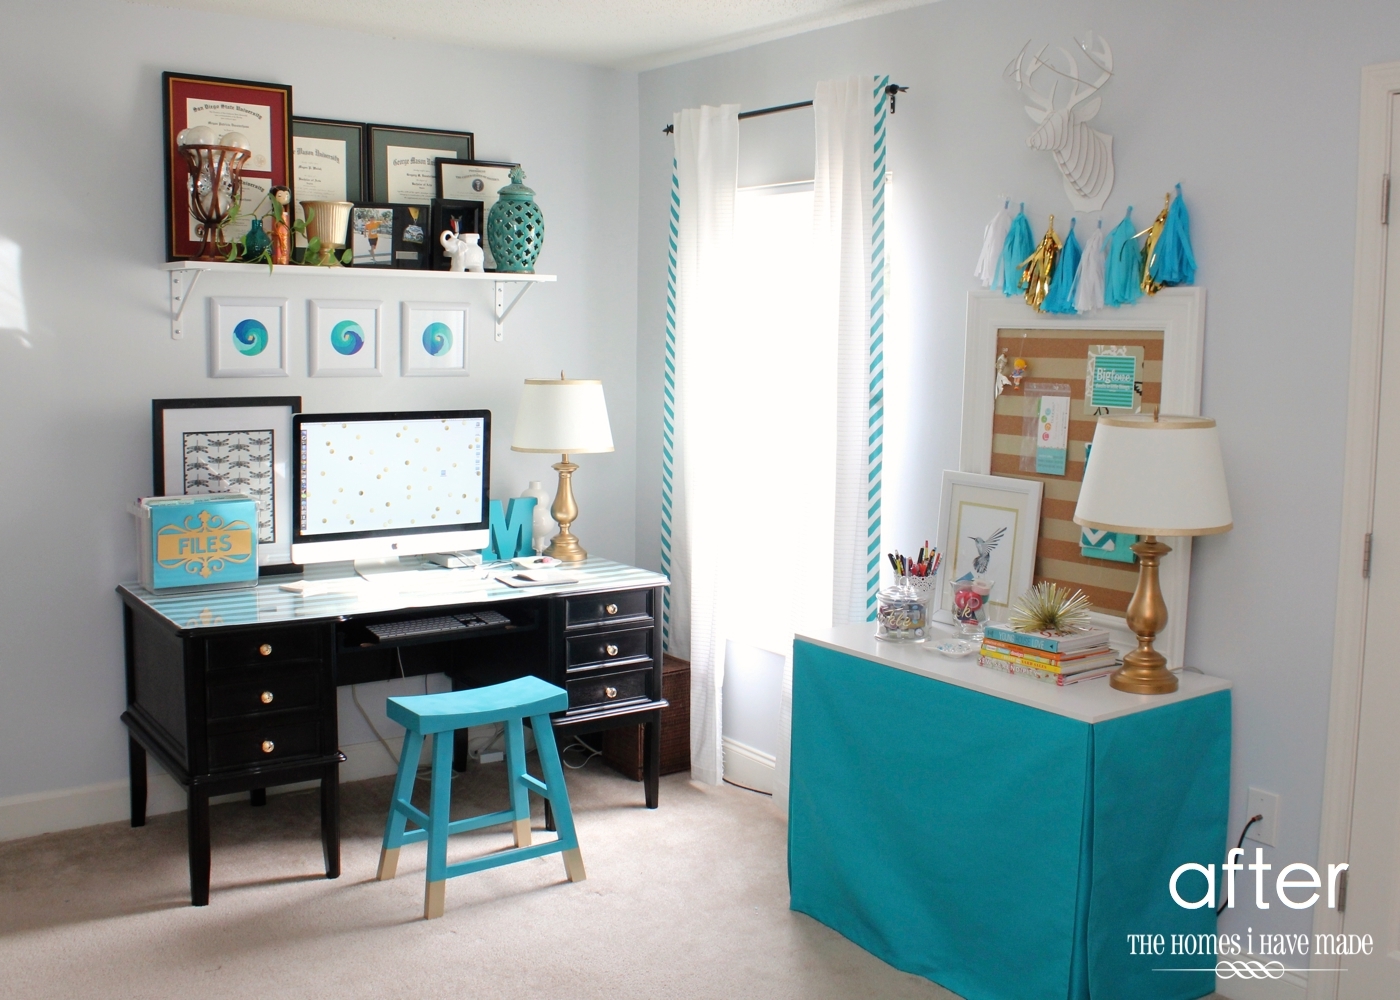
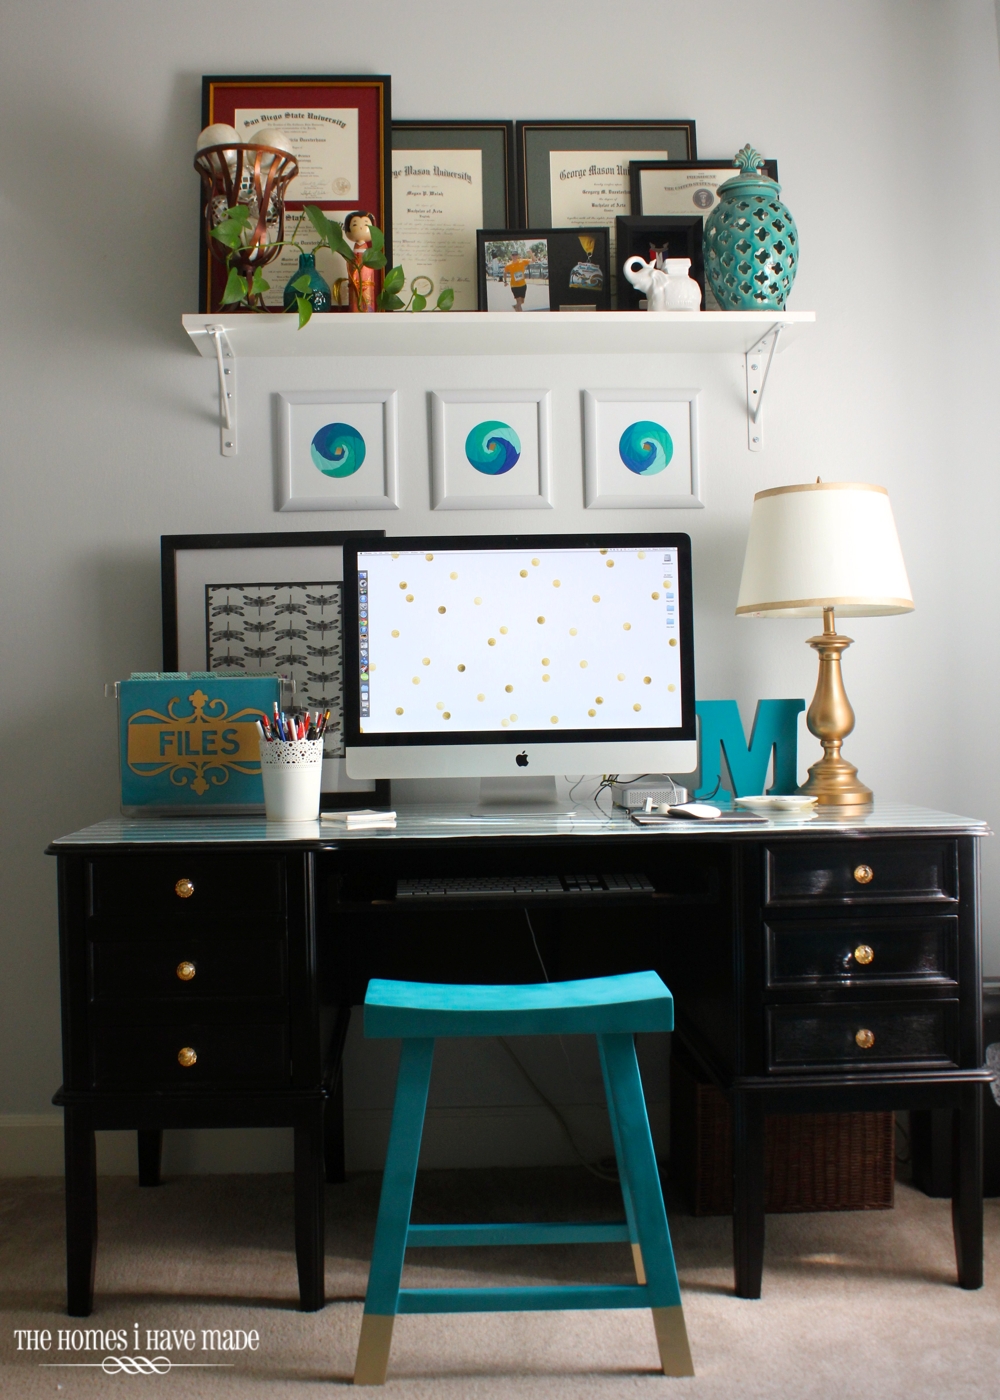
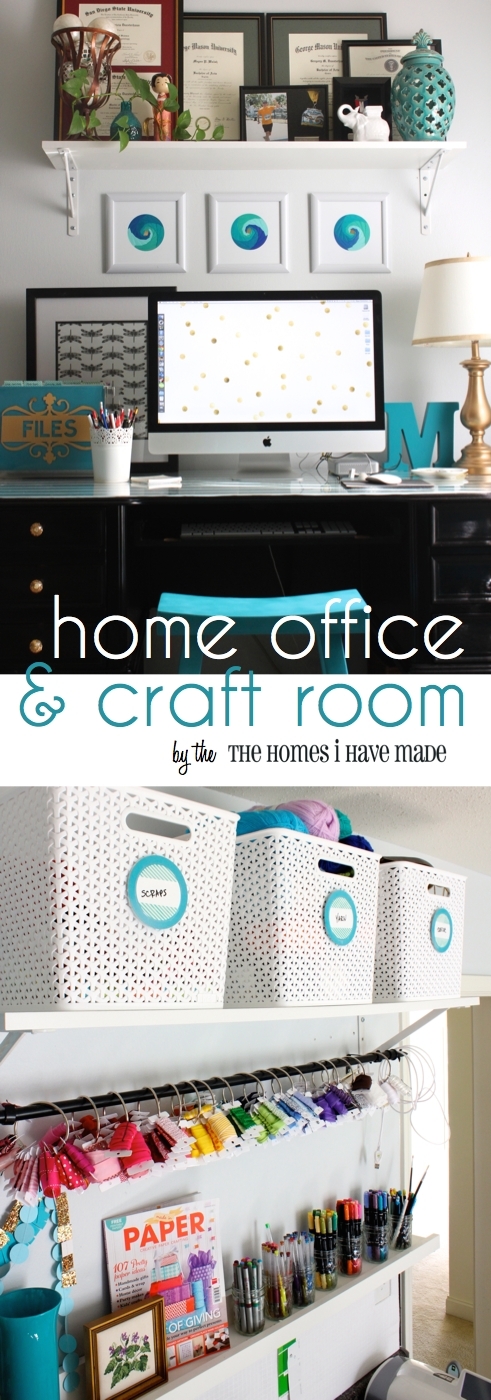
Our office occupies the corner of the room near the window. A large desk paired with a nearby printer/storage/display station is all we require to keep our household (and this little blog of mine) running!
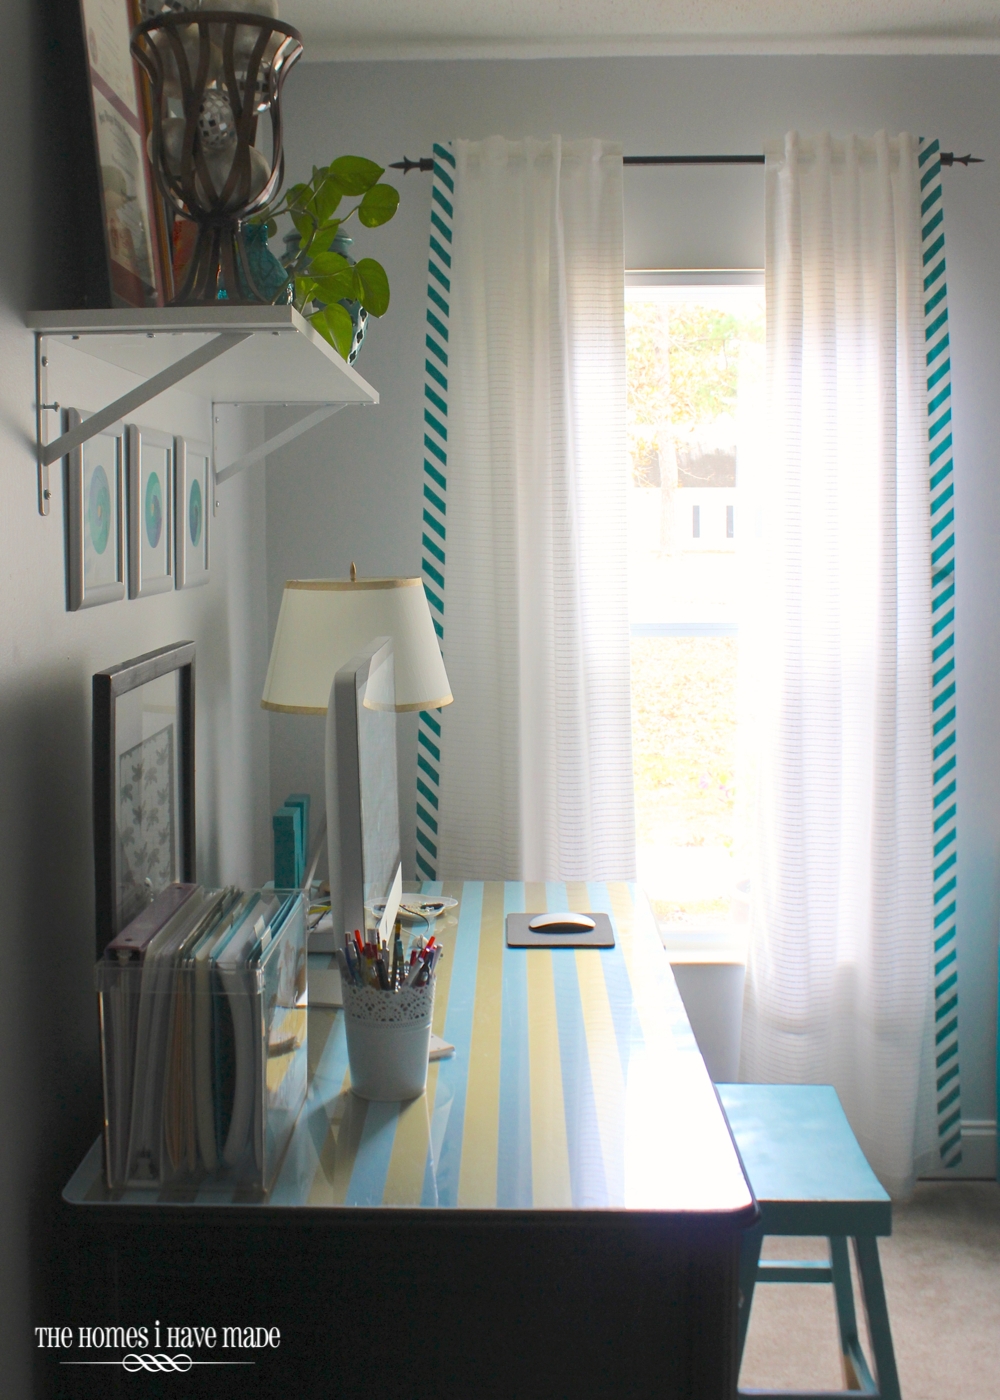
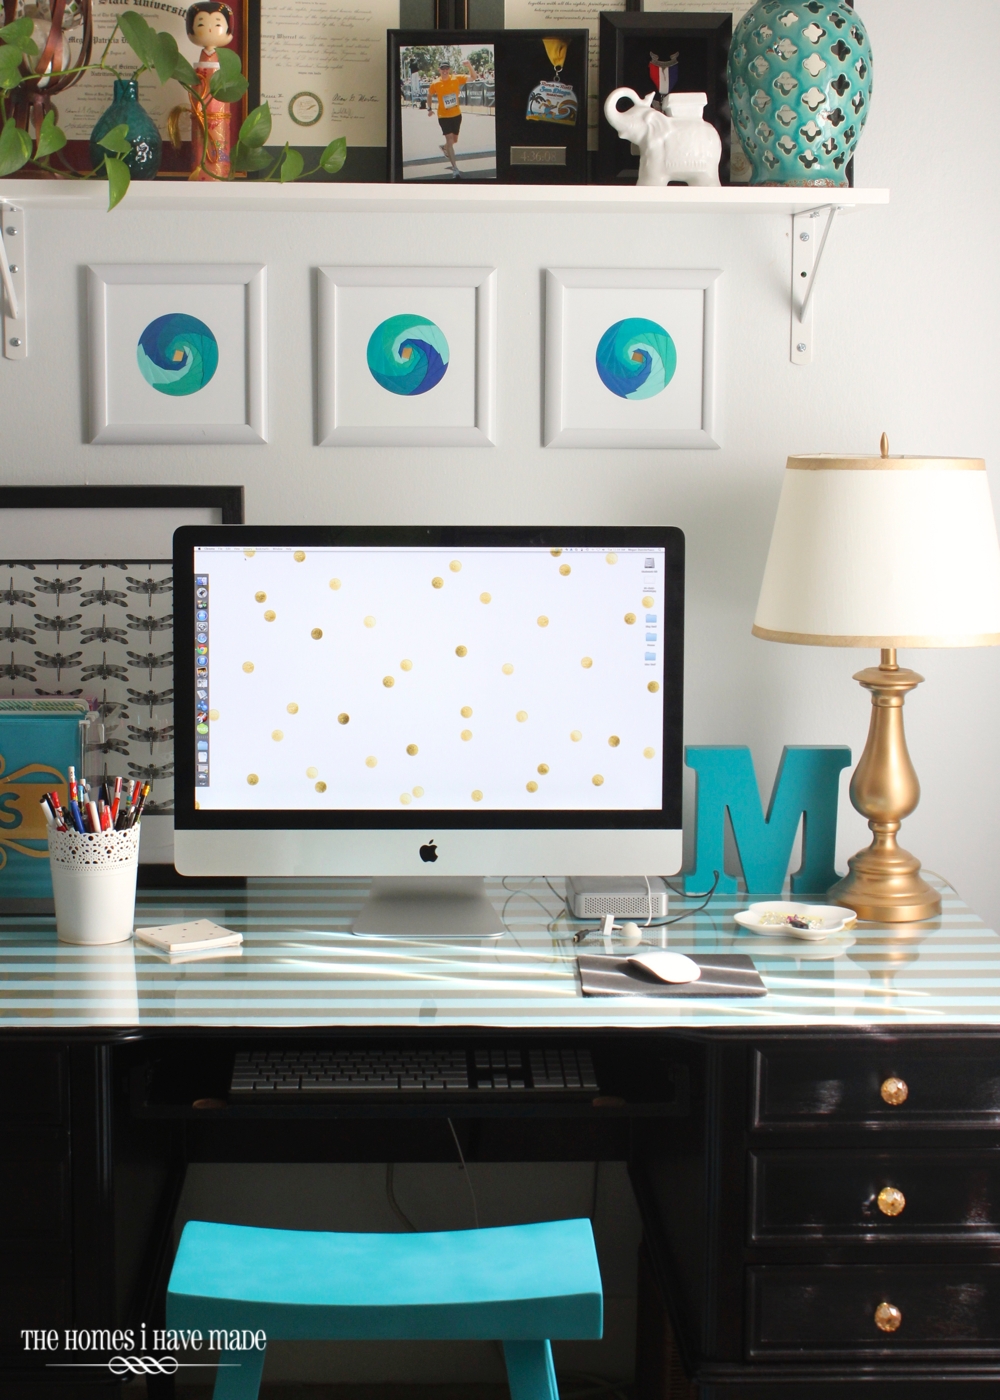
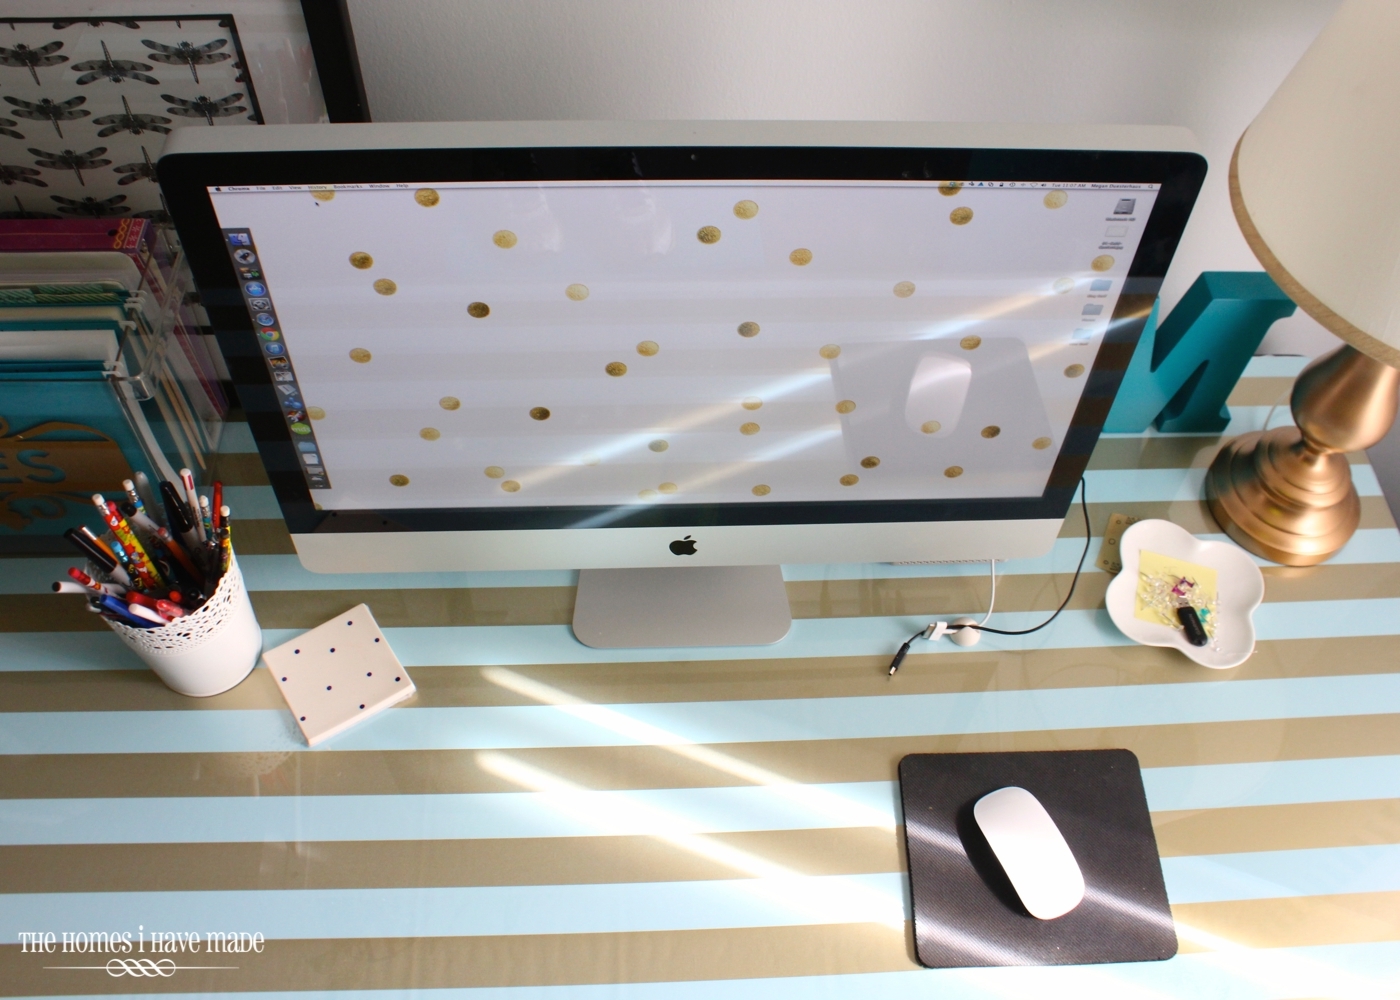
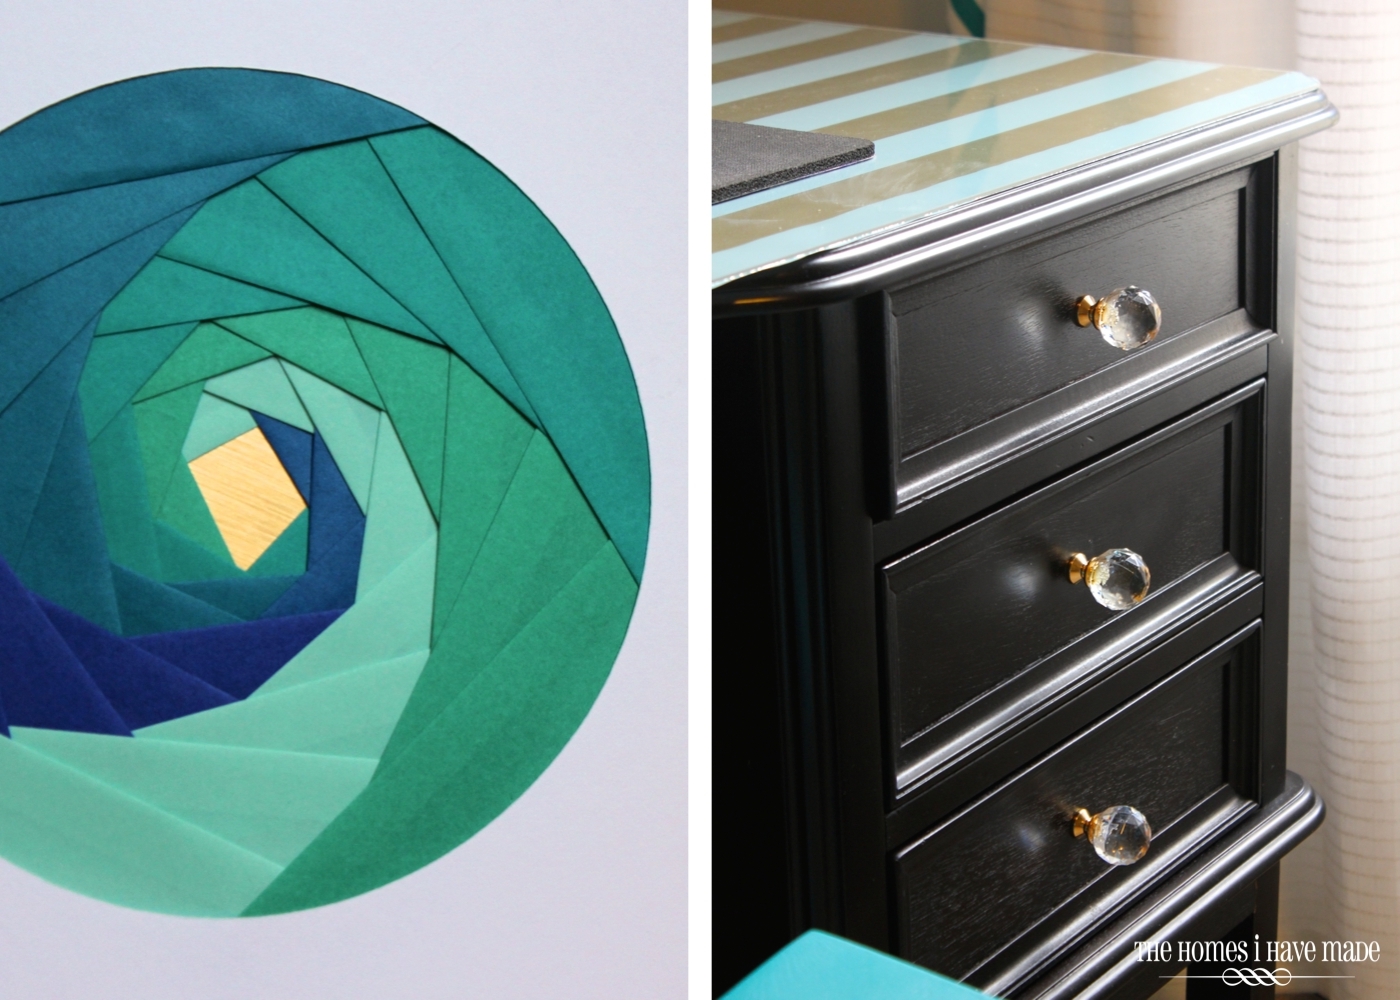
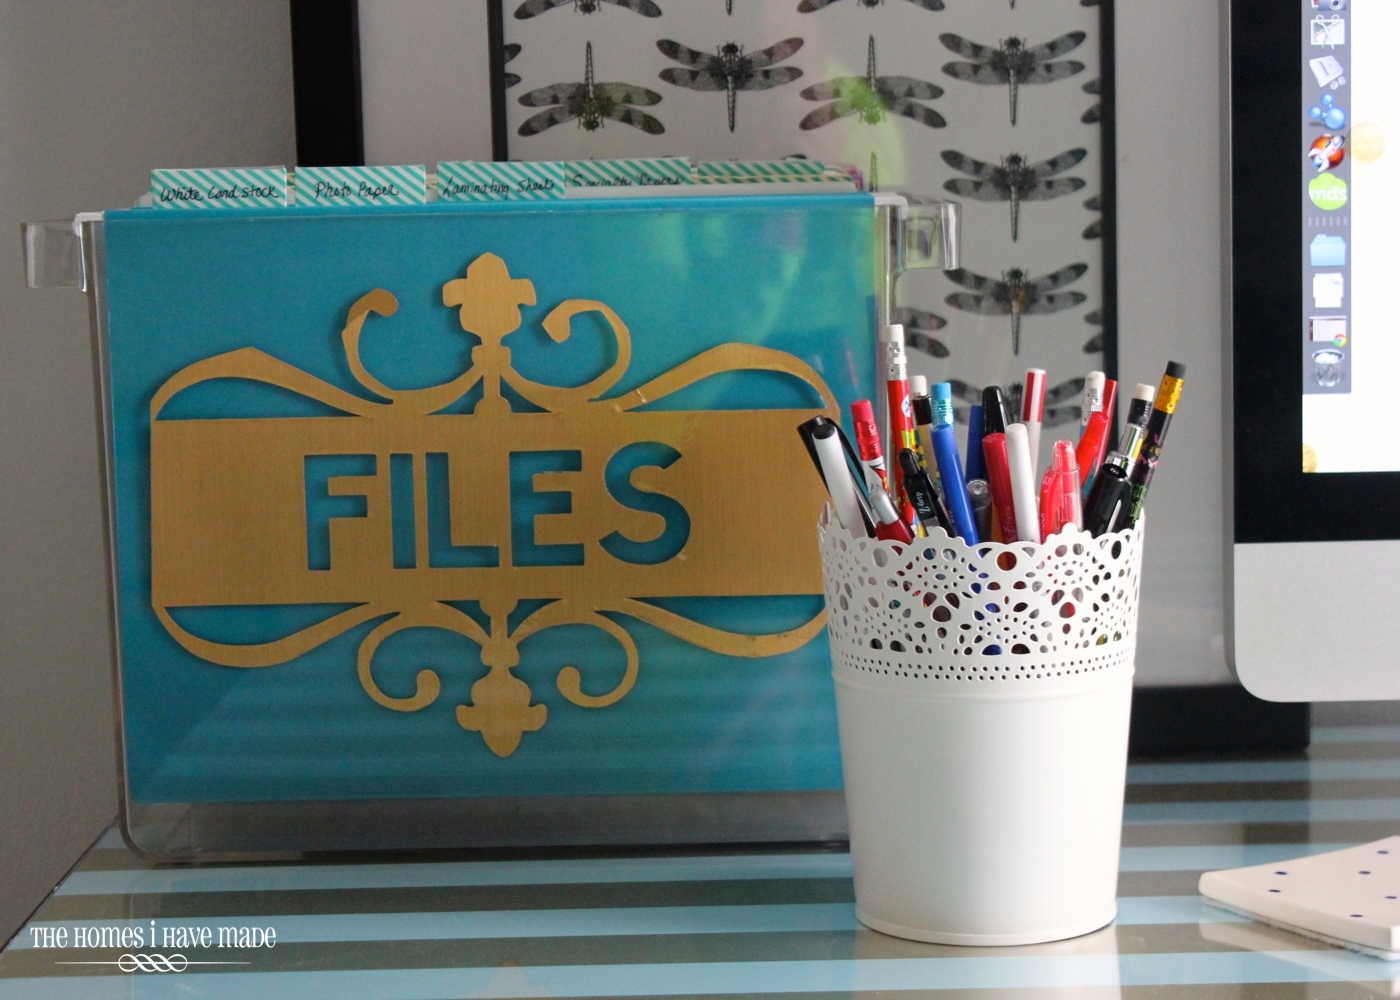
My desk really is my happy place. I just love all the simple details that came together to create this fun and organized work zone. I once hated this large, clunky desk…but over time, I have really come to appreciate how much space I have to work. Not only is there space for our large computer. but there is also plenty of room to work, write, study and craft as necessary!
I’ve still yet to find the perfect office chair, so as awkward as it may seem to some, I still sit upon this little stool to do all my work. Links to all projects in this space is included below!
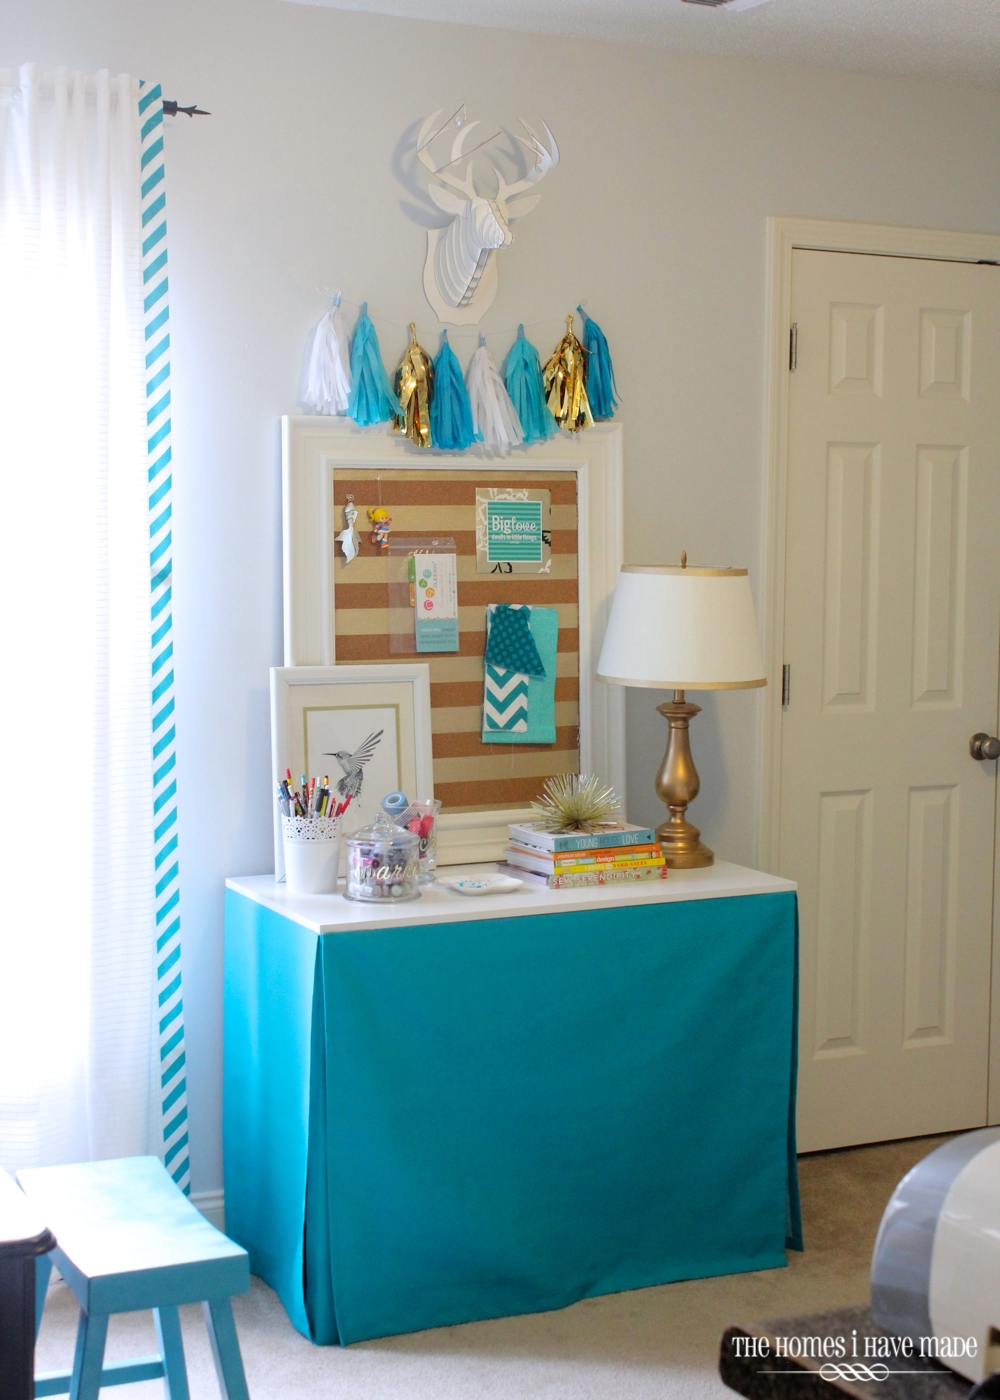
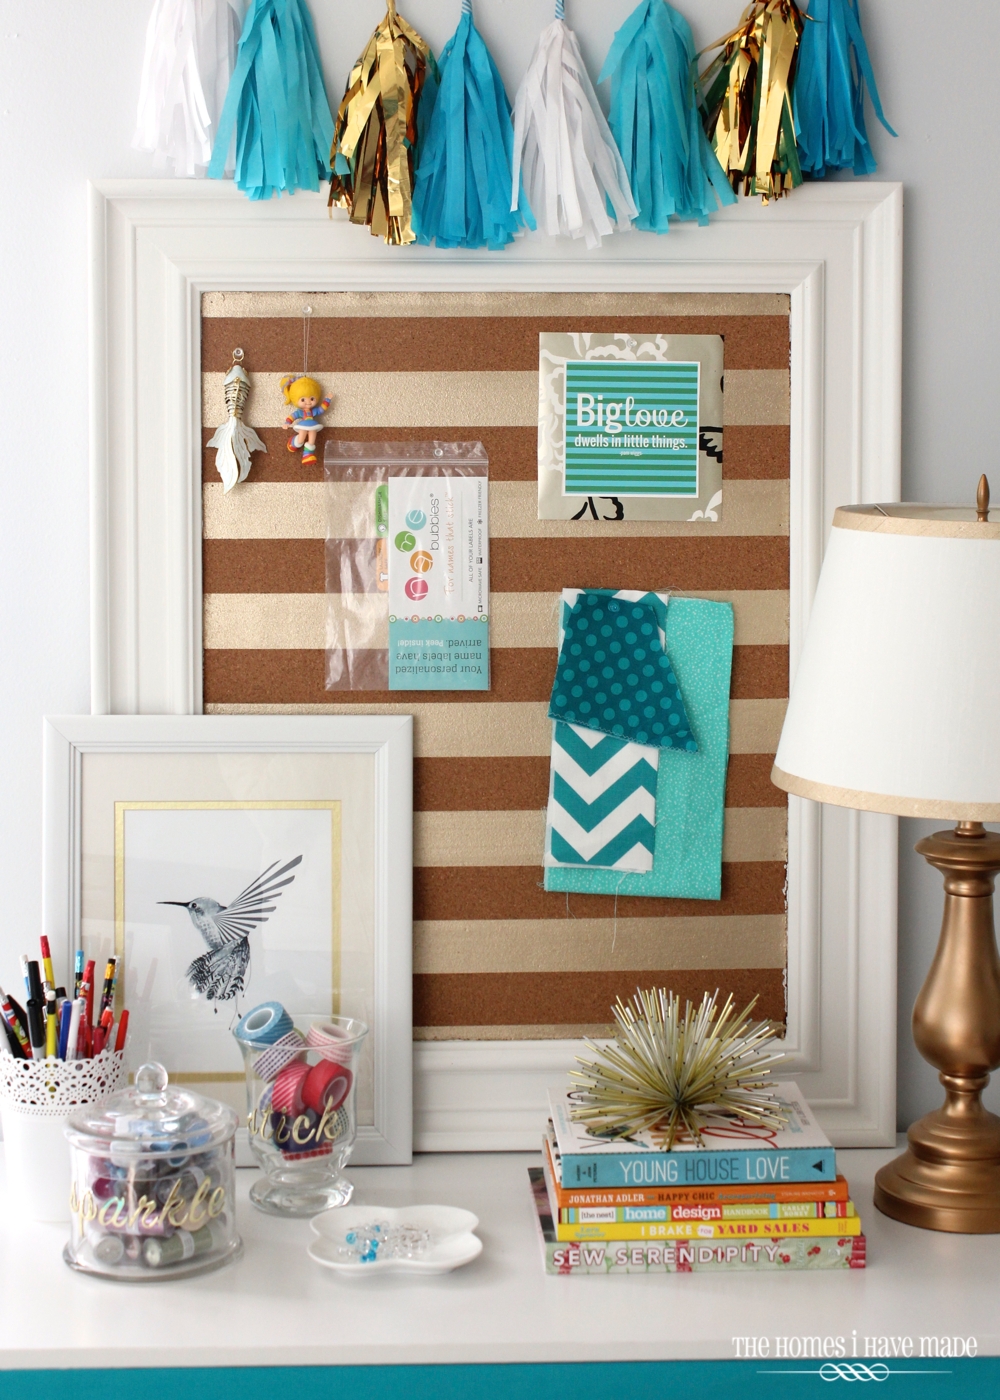
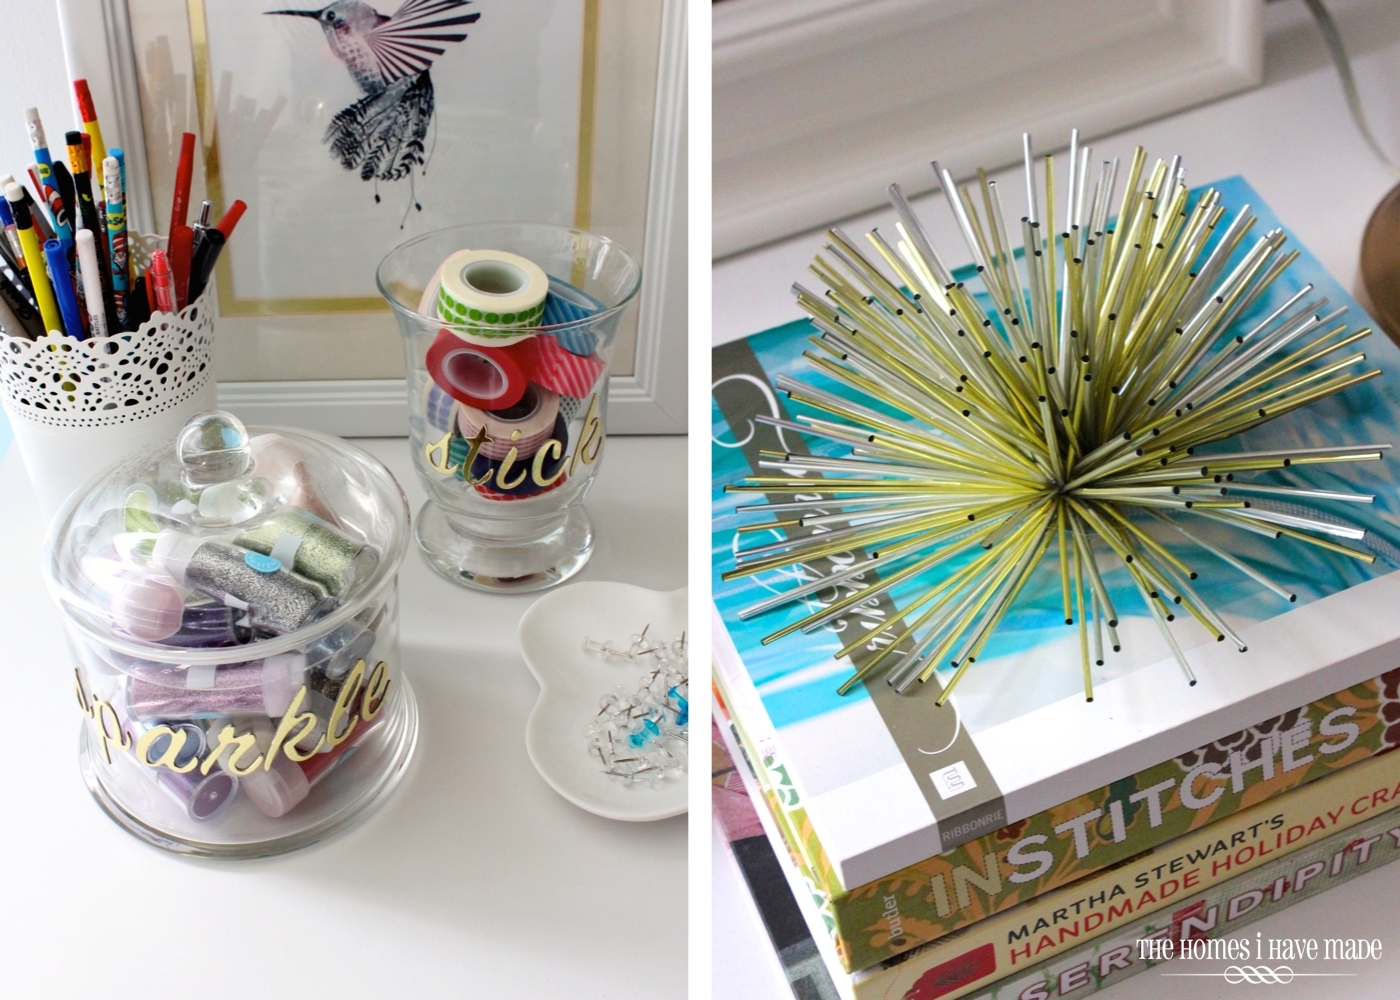
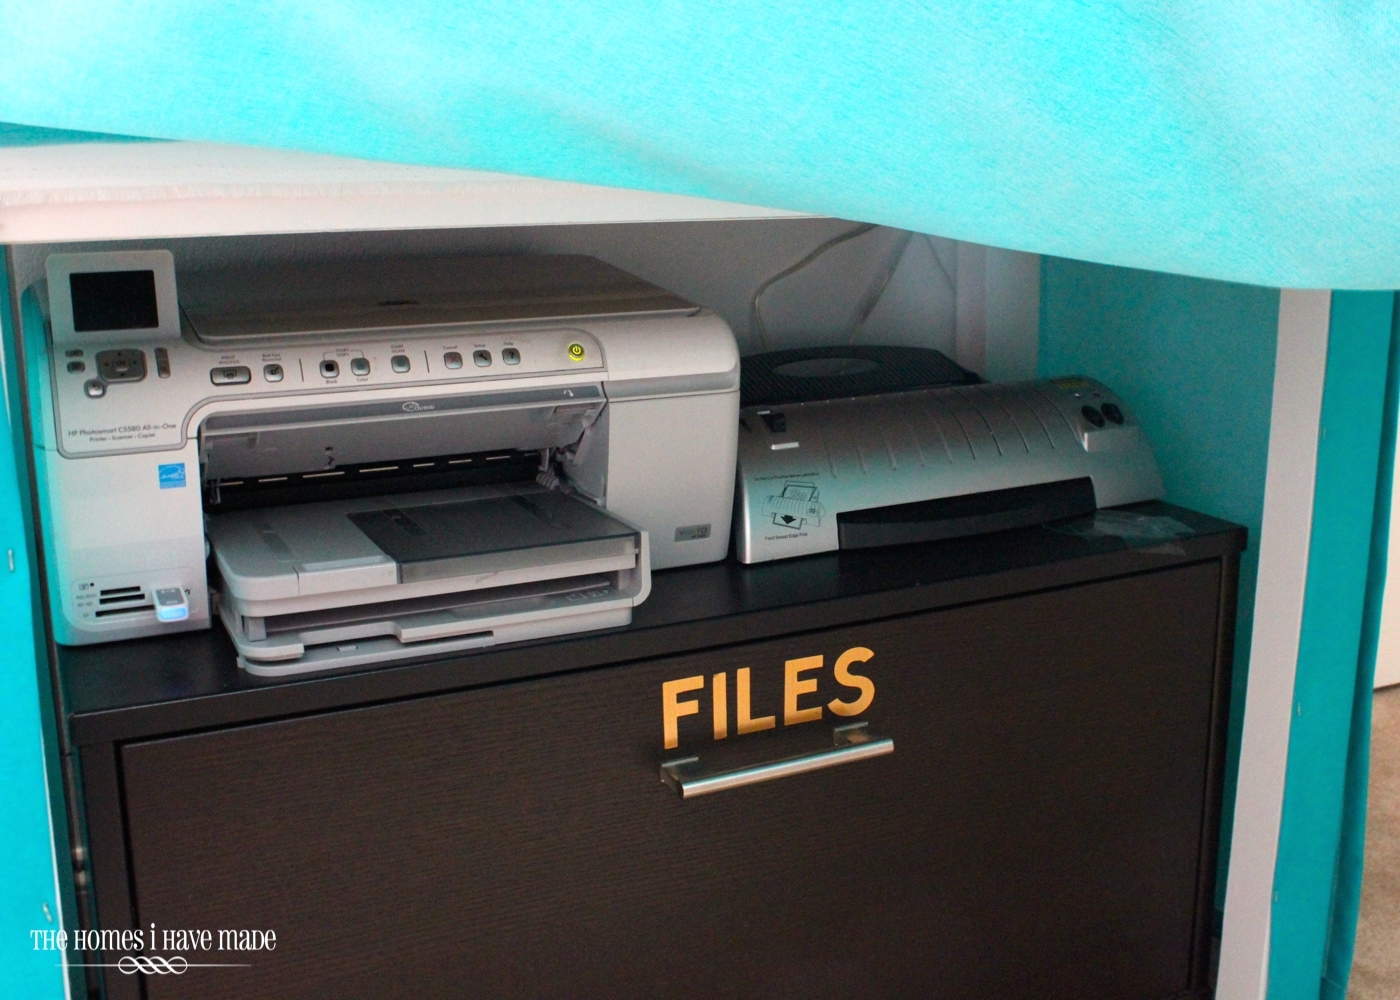
On the little wall between the window and closet, I created a storage and display space by pairing a simple white desk over our filing cabinet…and then skirted the whole thing for a dose of color and to conceal our unattractive printer, scanner, and laminator! On top, I have some fun display space and an awesome memo board for keeping track of important items (like Rainbow Bright ;)!
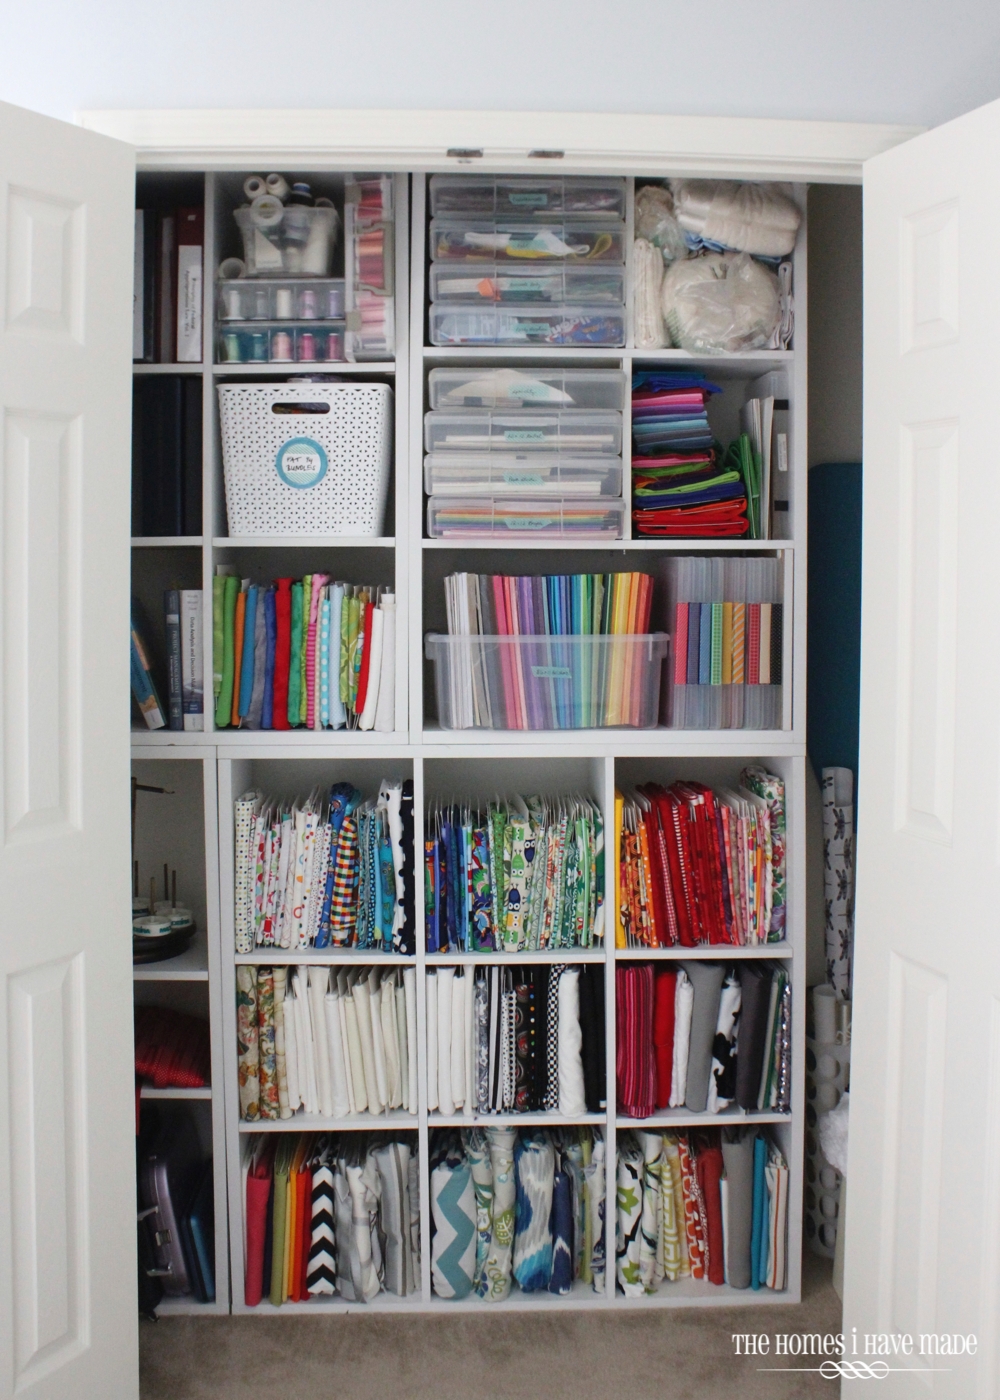
Just to the right of the printer station is the closet, which has undergone what feels like a million re-orgs in the 2.5 years we’ve lived here! When you live in a small house, you really have to make each and every inch work super hard and just right. I thought I had this closet done (bottom left), but I just couldn’t get over all that wasted space in between the shelving units. Imagine my excitement a few months back when I realized how easily these white wire racks come down!!!
With the white wire rack removed, I now have floor-to-ceiling cube storage that holds craft supplies, my husband’s work and school books, photo boxes, and more…AND we even have some empty cubbies! Major, major happy dance! It took me how long to figure this one out? Sadly, 2 years!
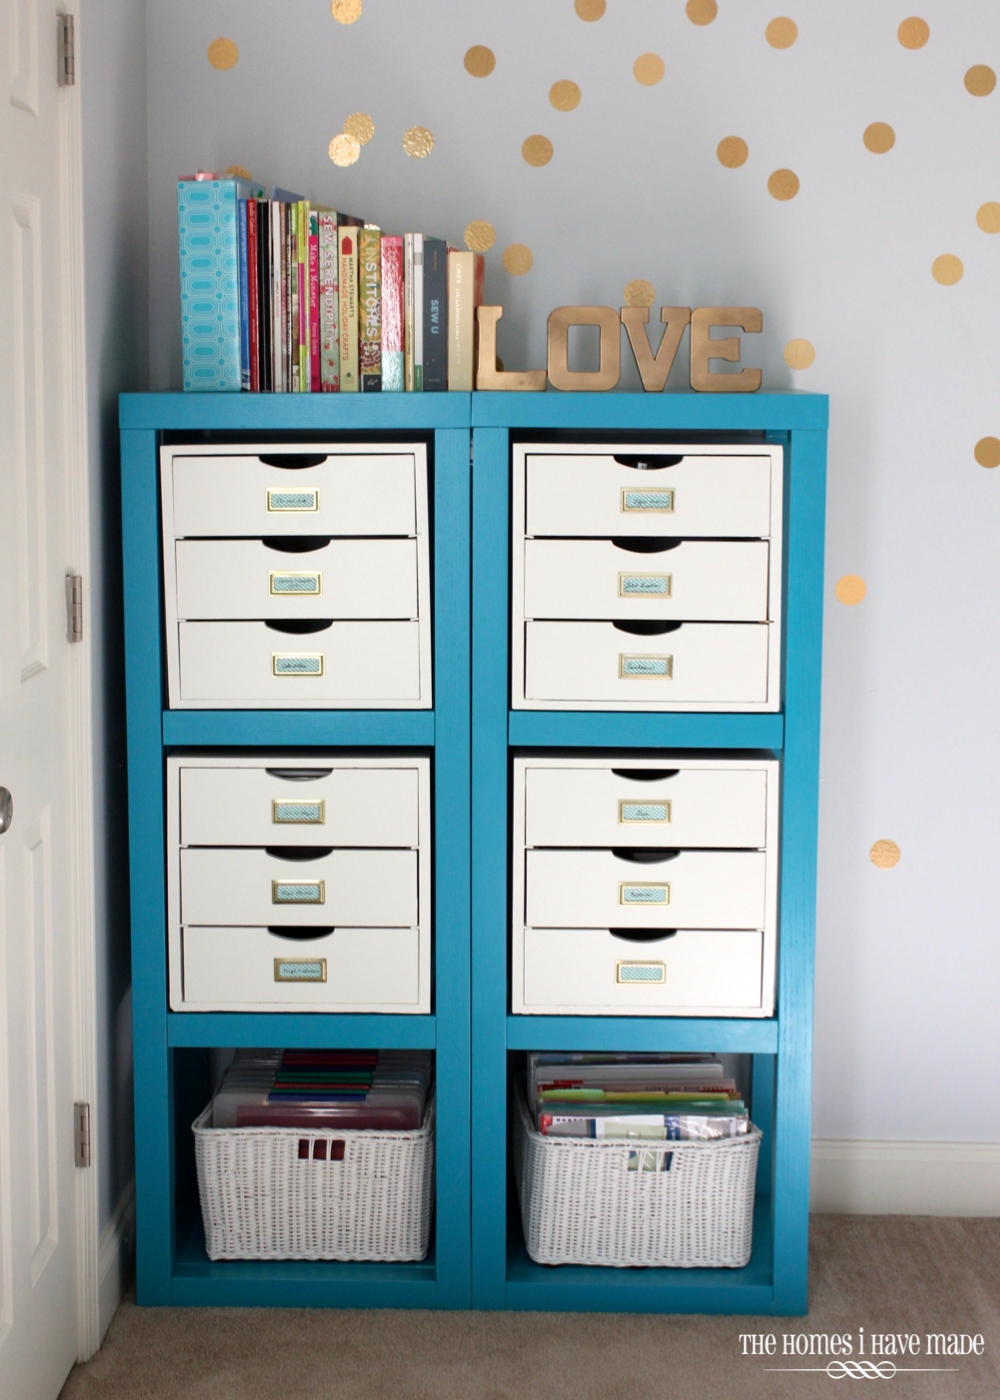
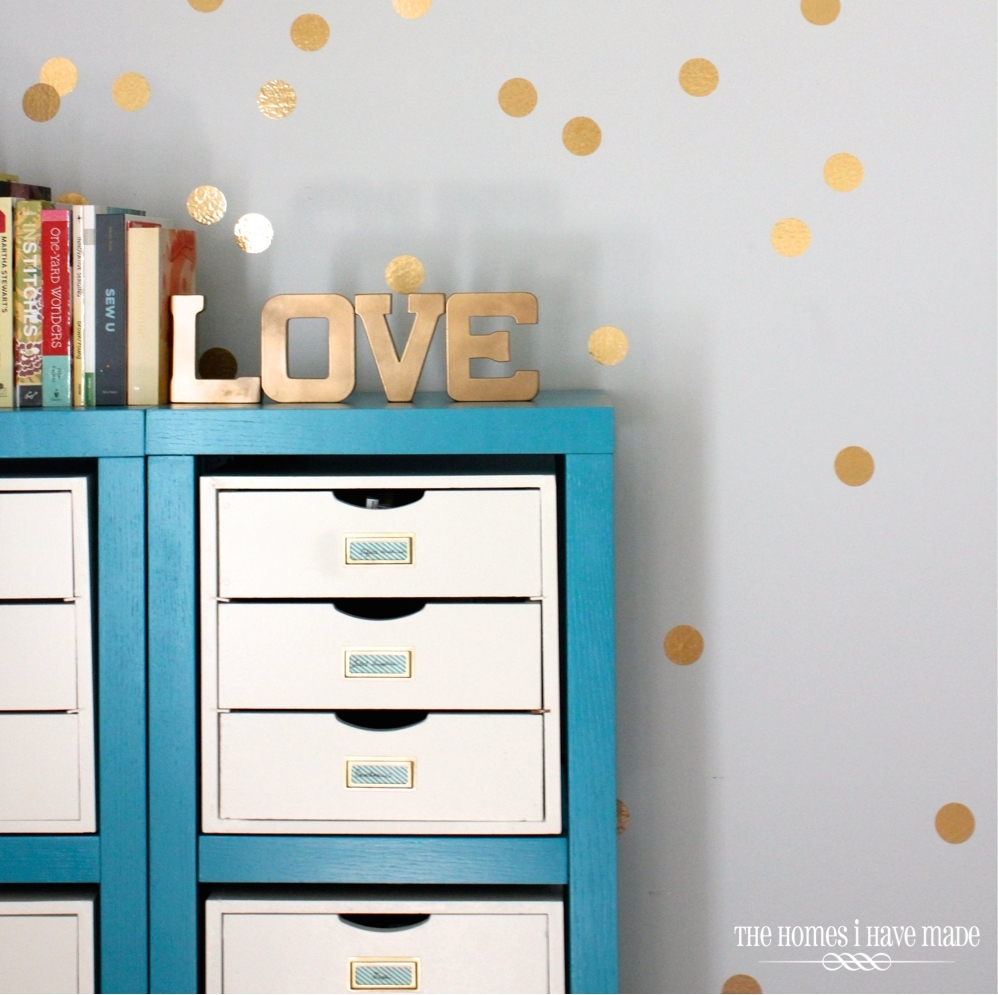
As you make a ninety degree turn from the printer station and closet, you’ll be facing the short wall at the end of the room that features my gold polka-dot wall treatment (one of my post popular and pinned projects ever!) and my blue storage towers. These storage towers are still one of my most gratifying furniture makeovers ever!
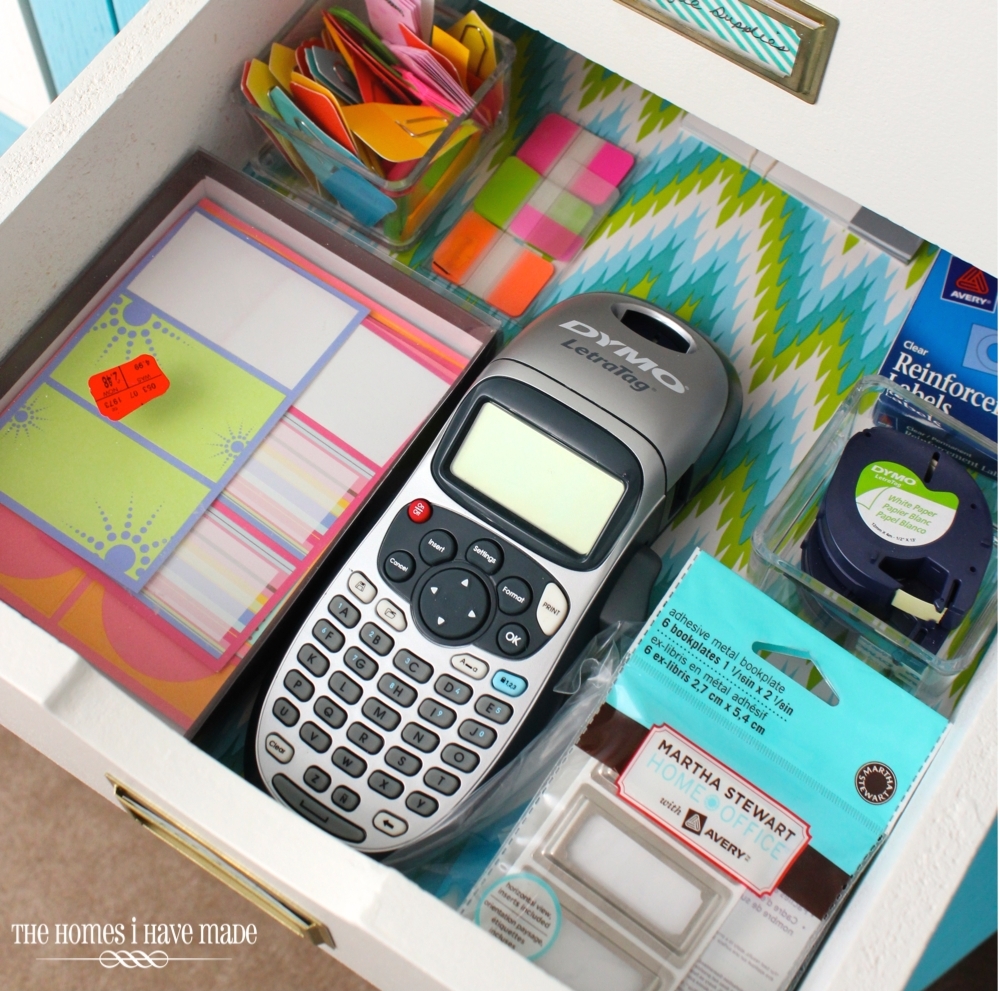
These towers hold office supplies, sewing machine parts, and everything in between. With 12 generously-sized drawers, everything in this space has a proper home!
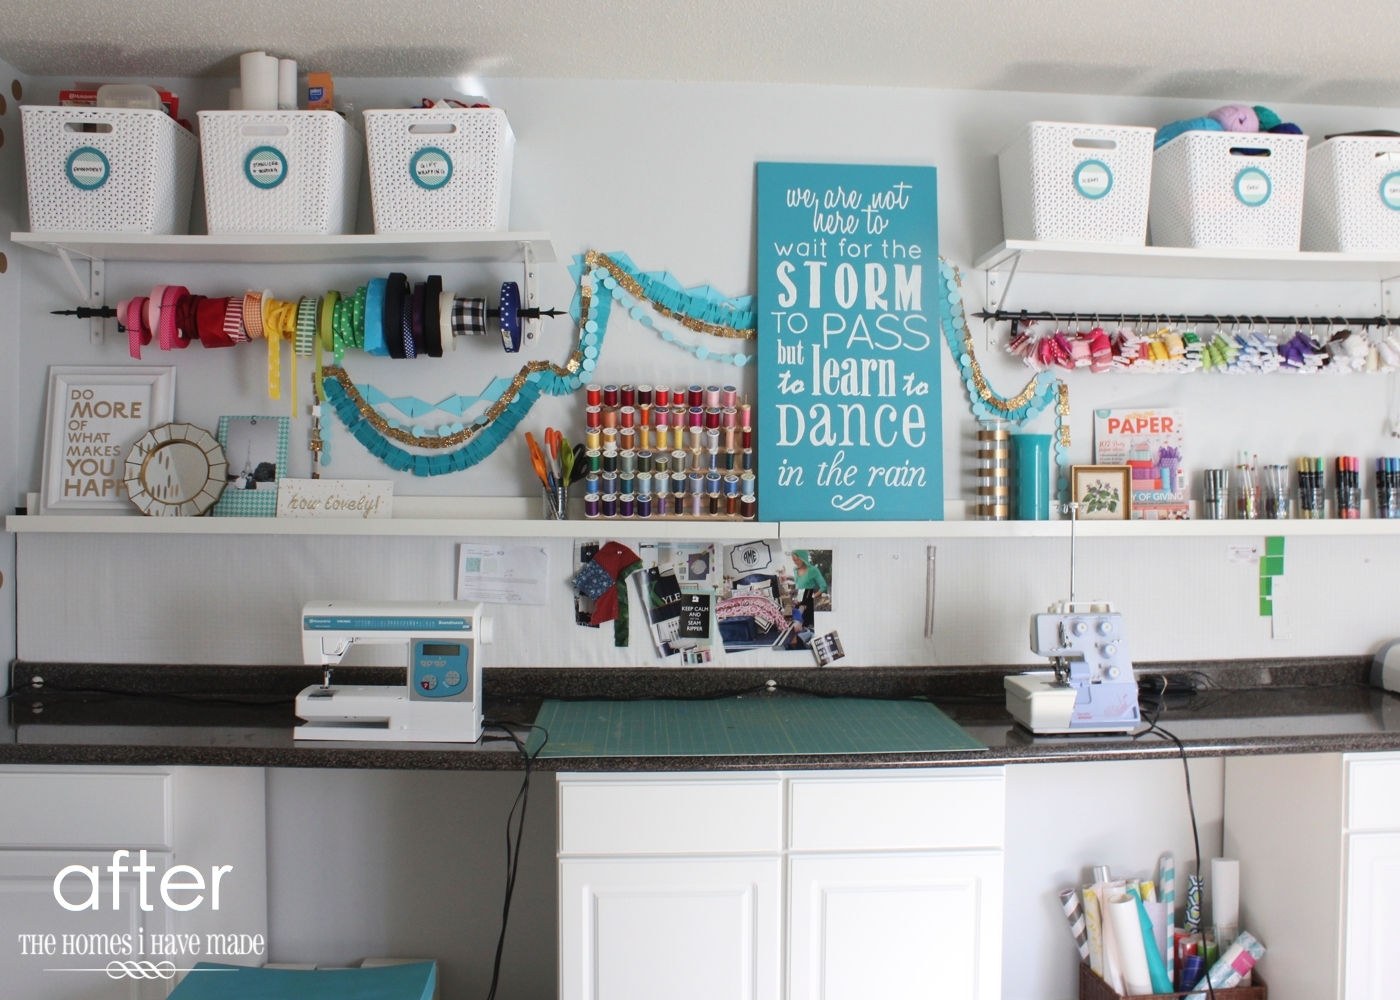
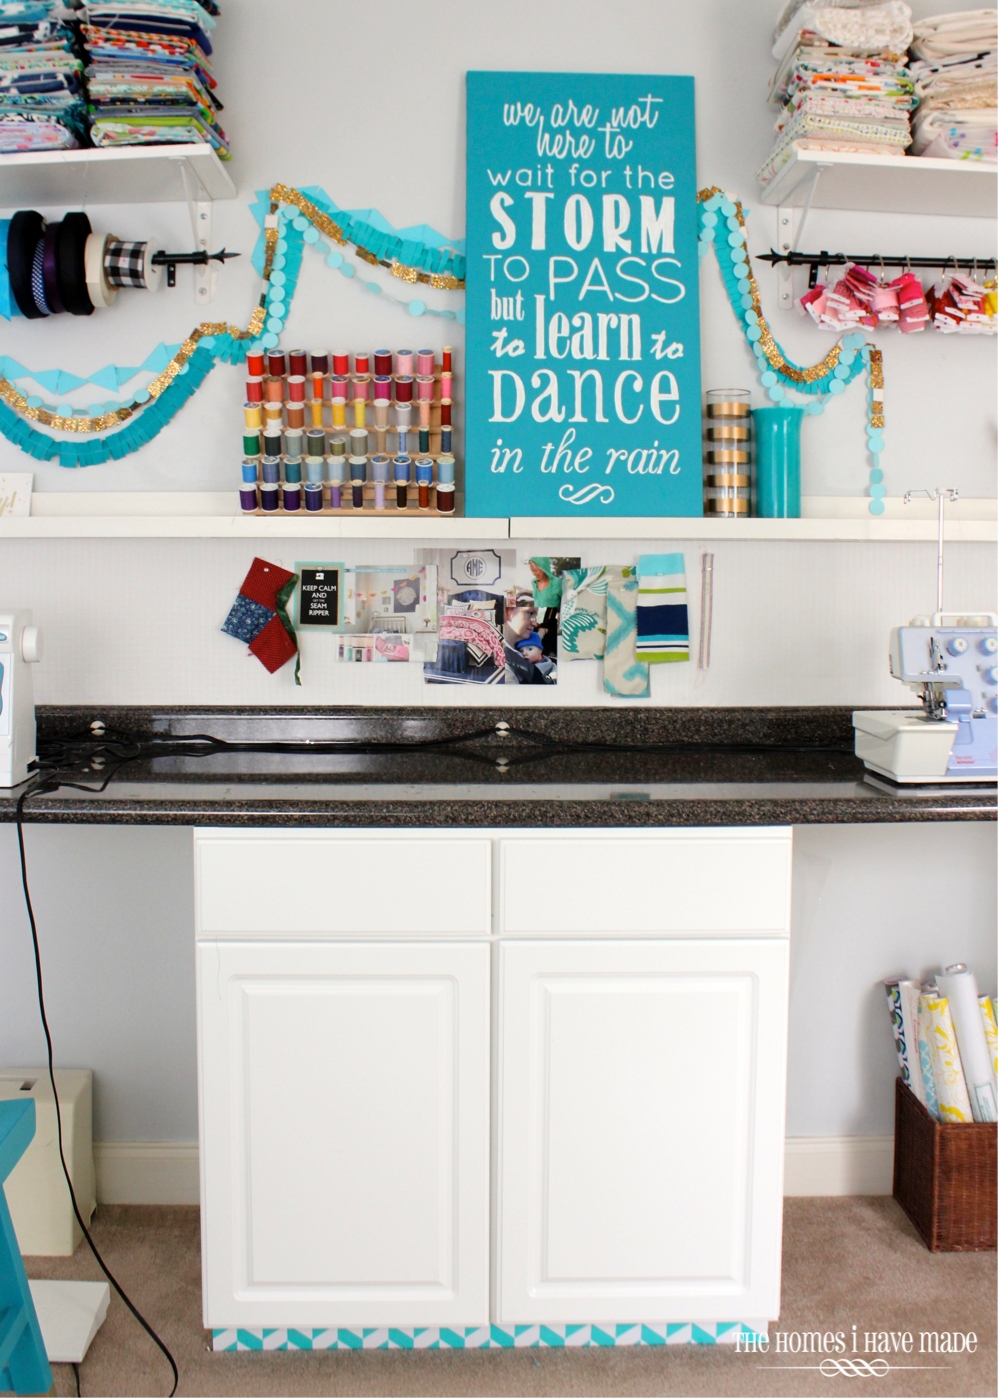
Now make one more right turn to face the final wall: my craft space!!!!
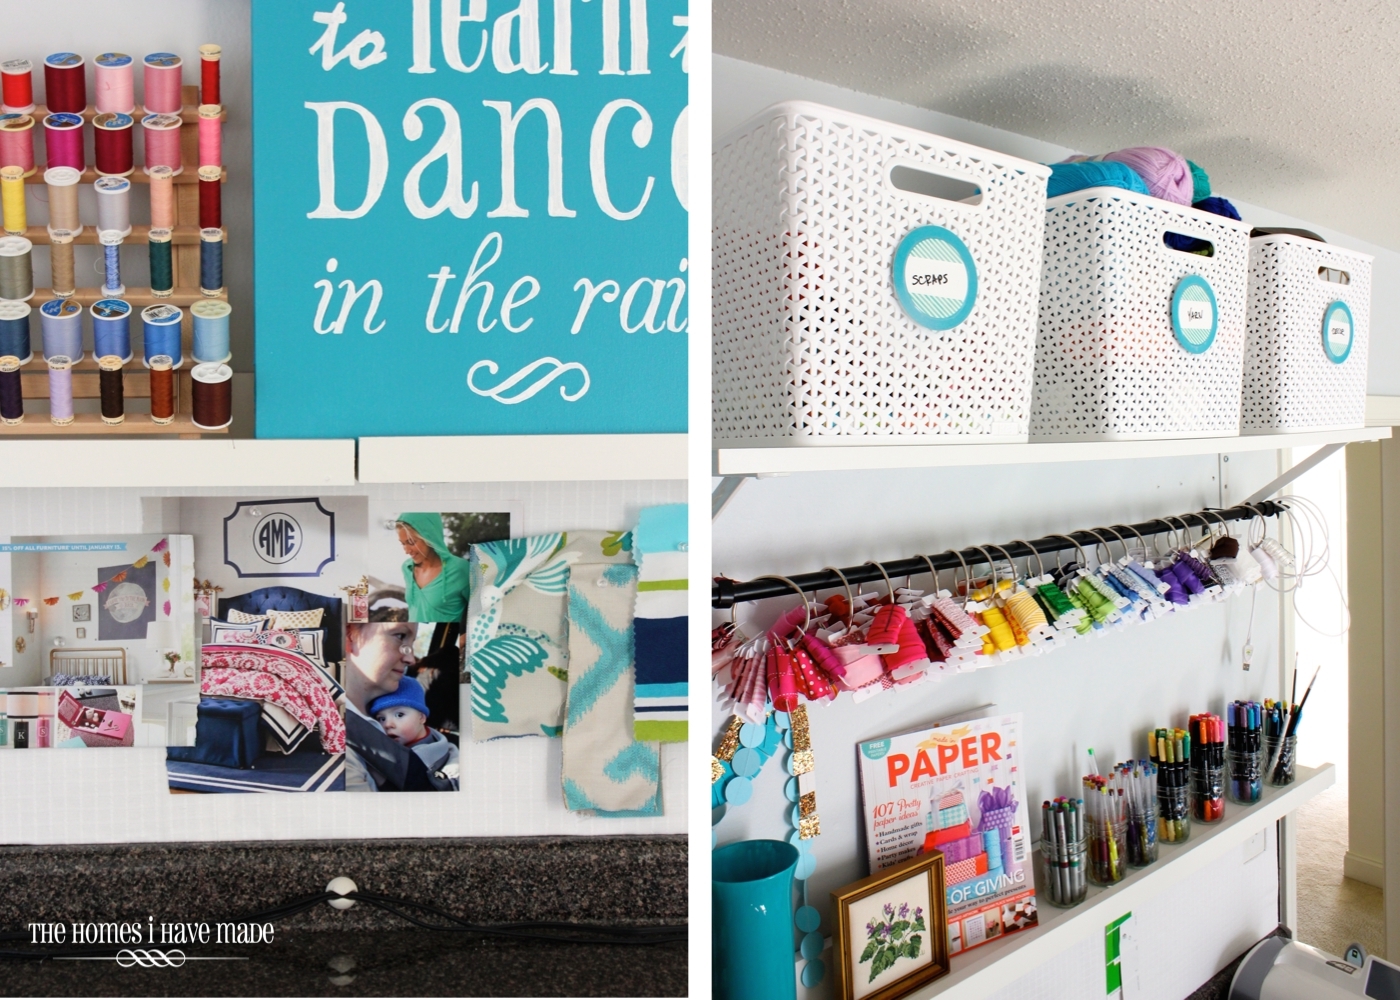
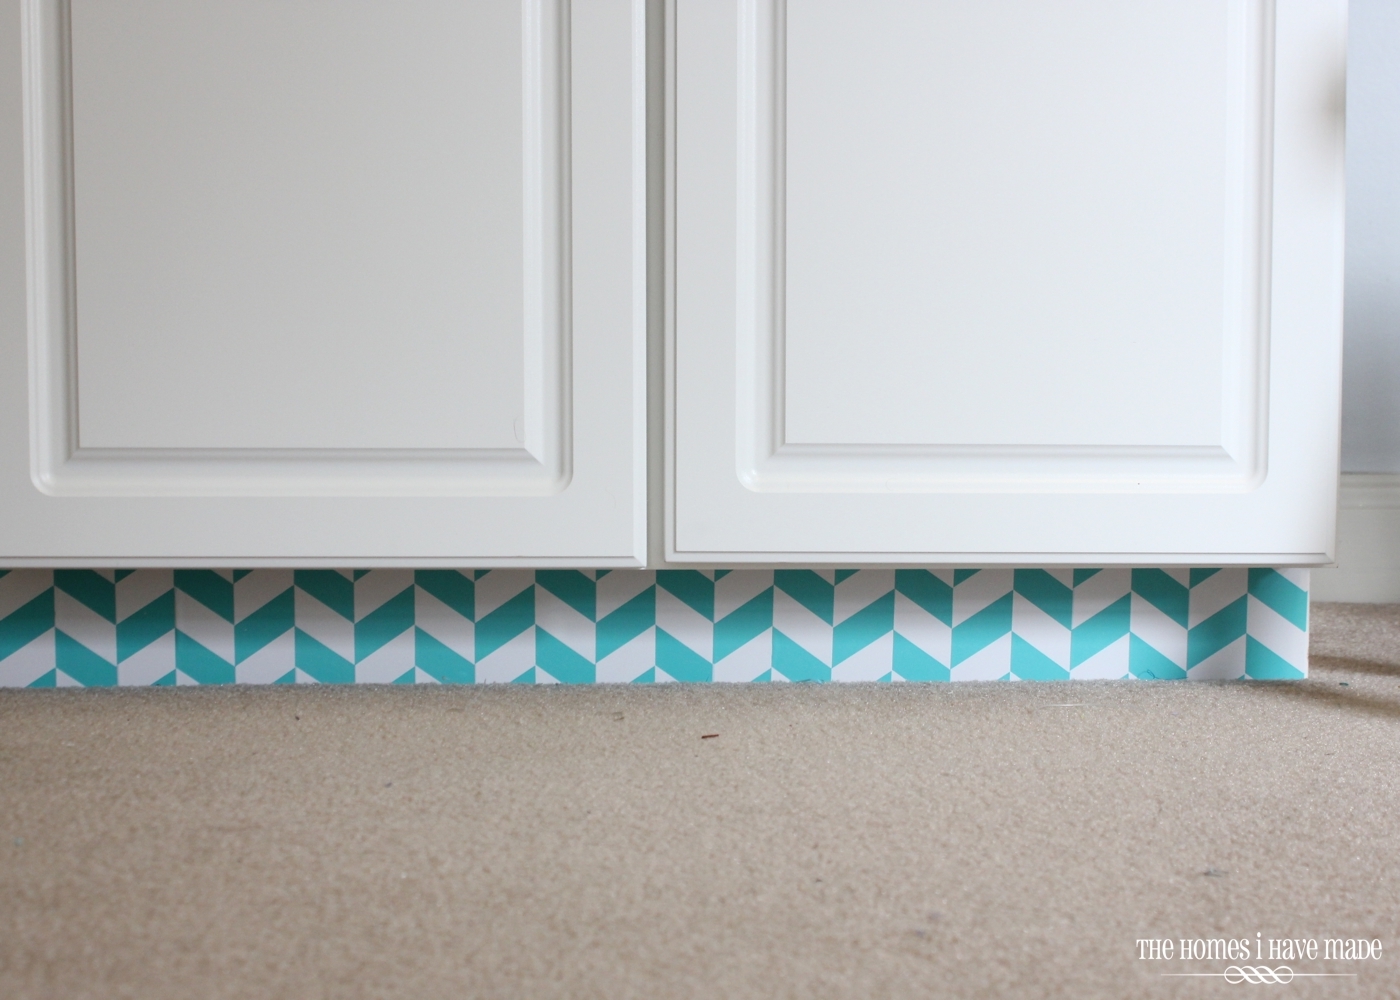
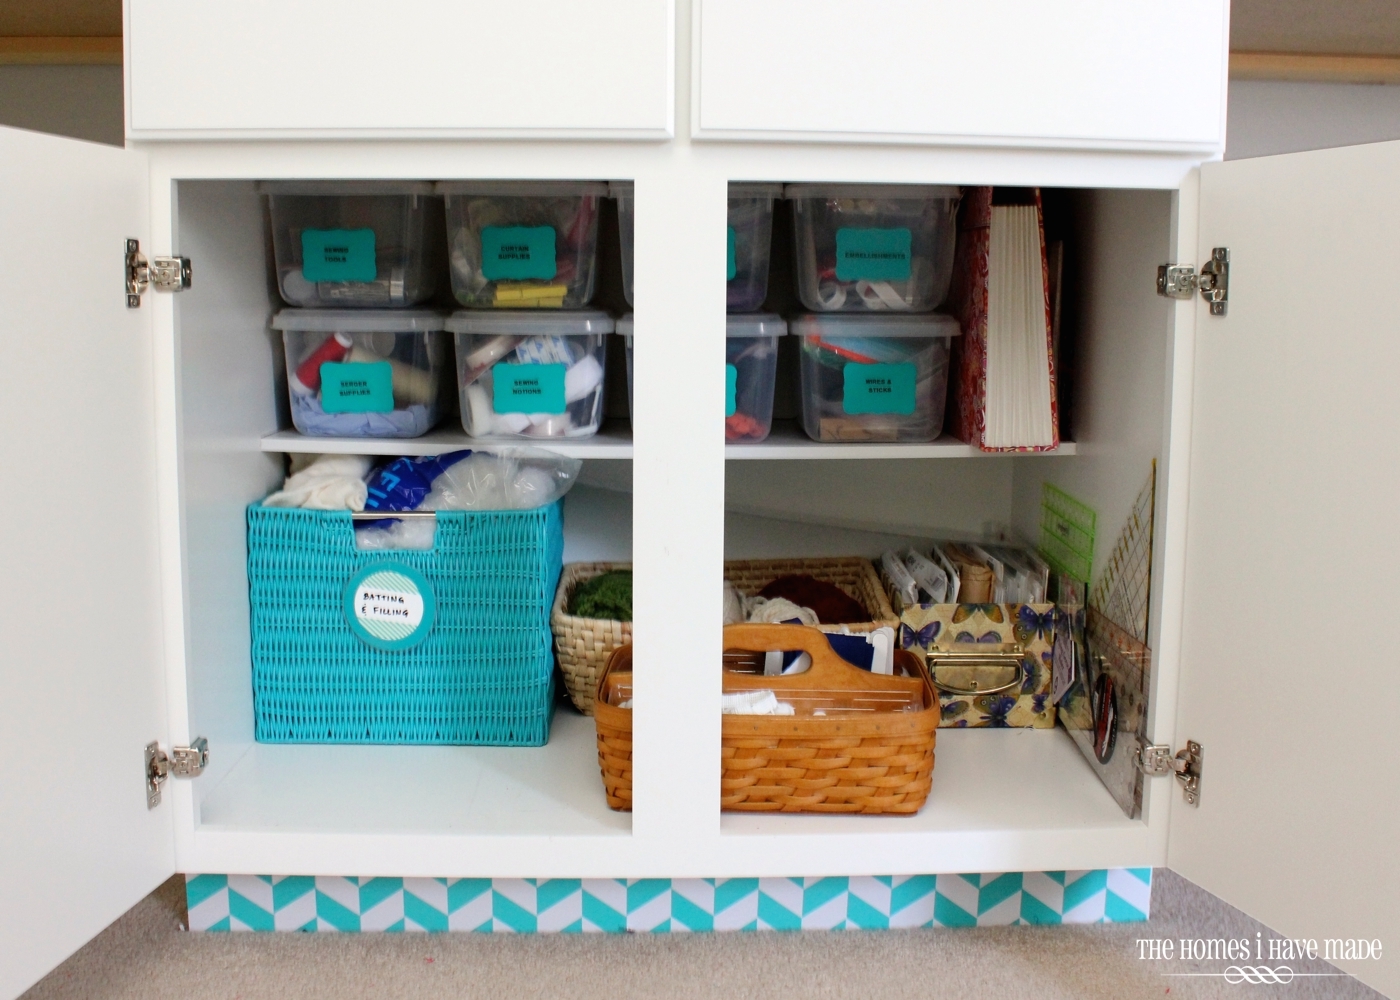
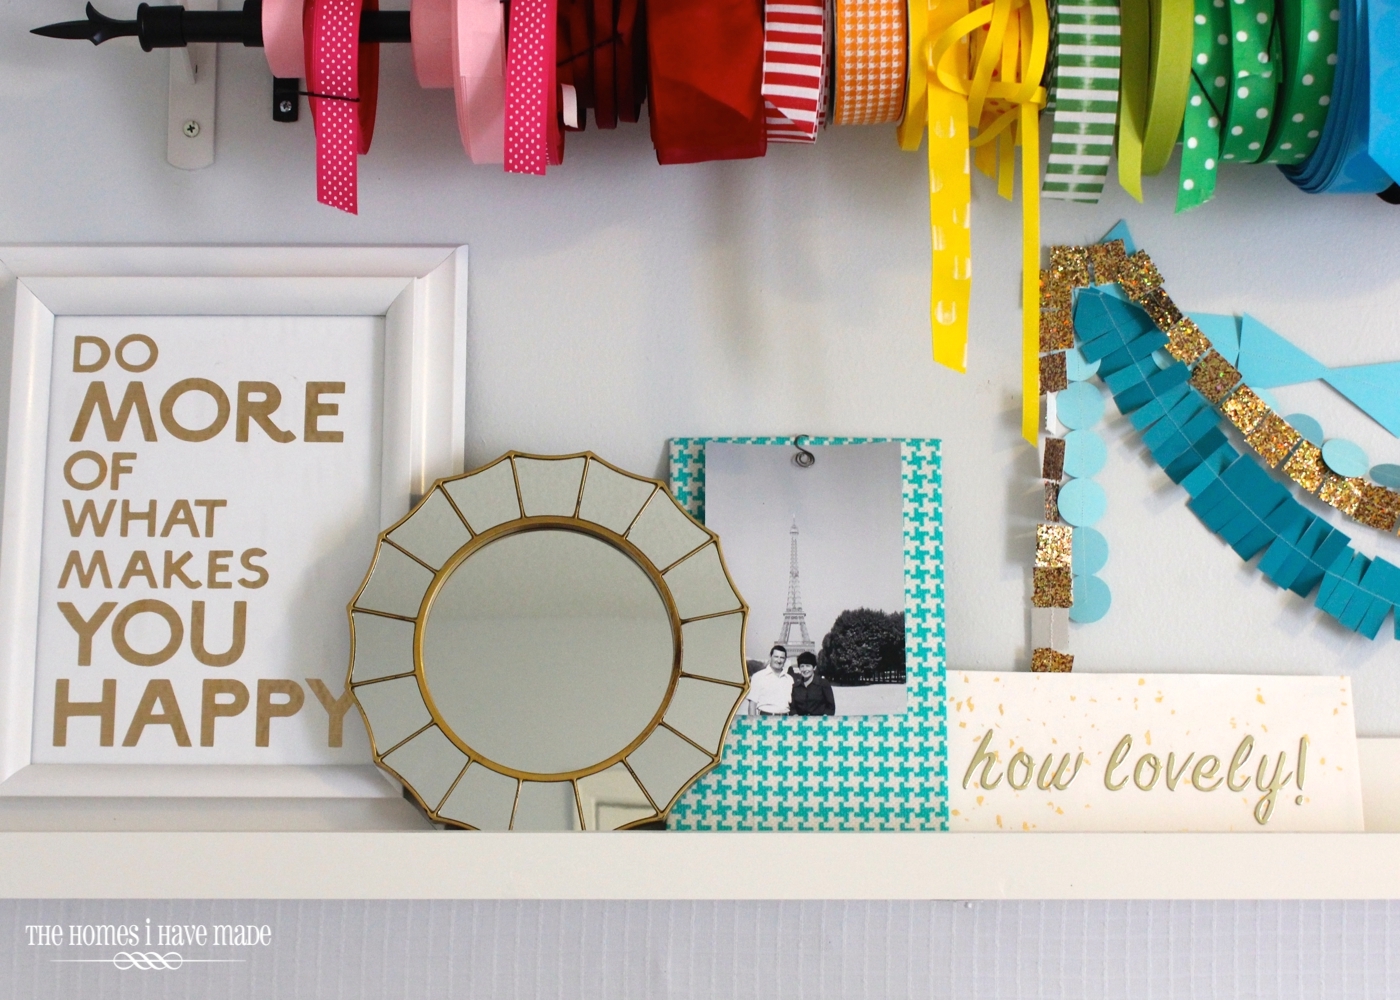
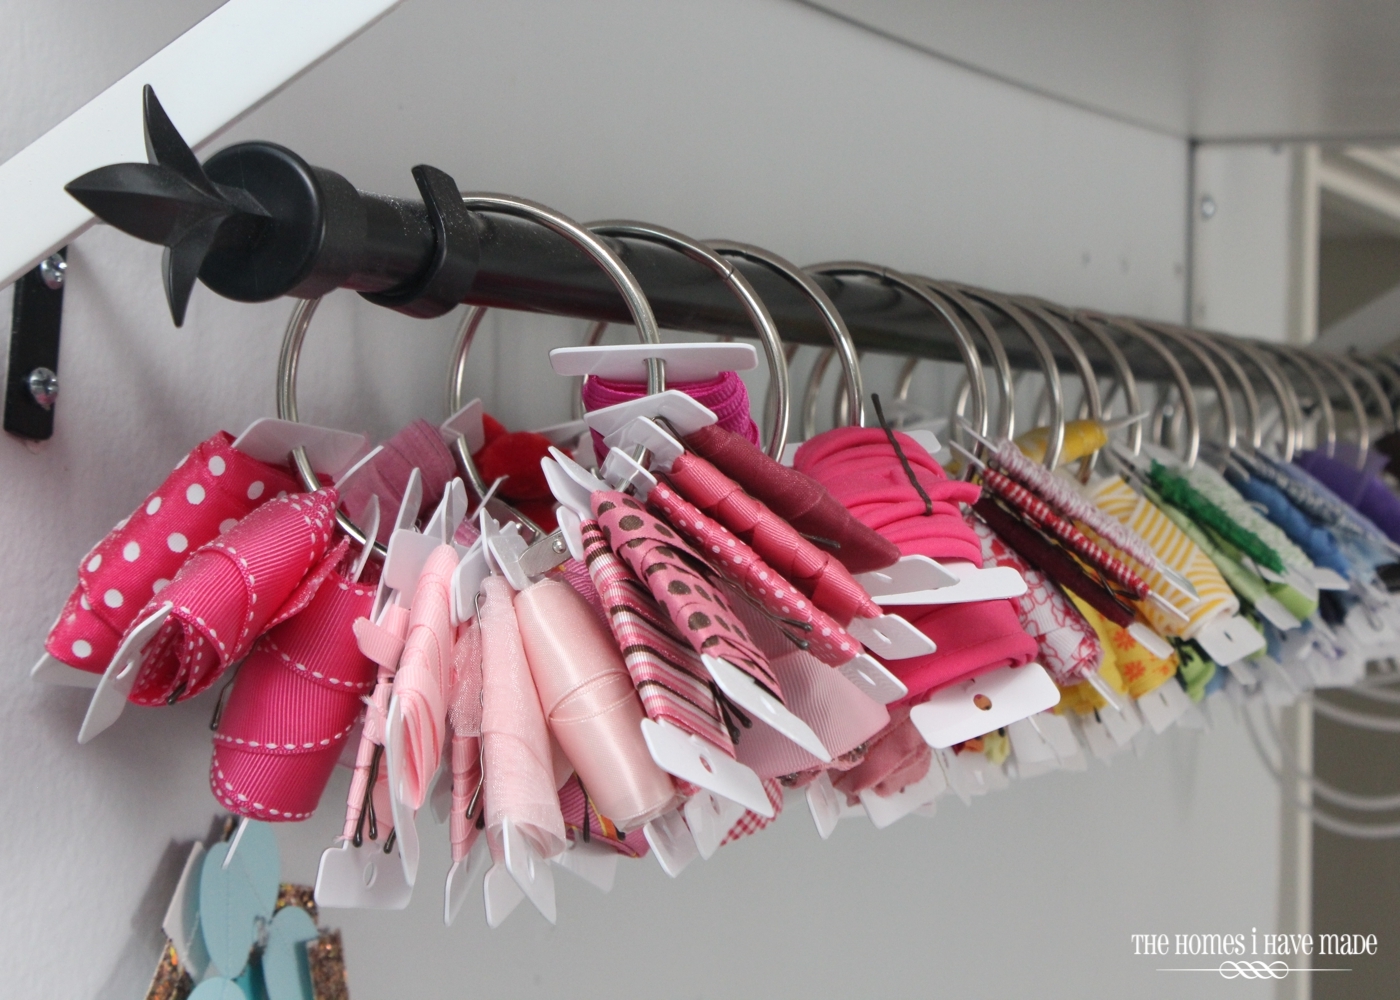
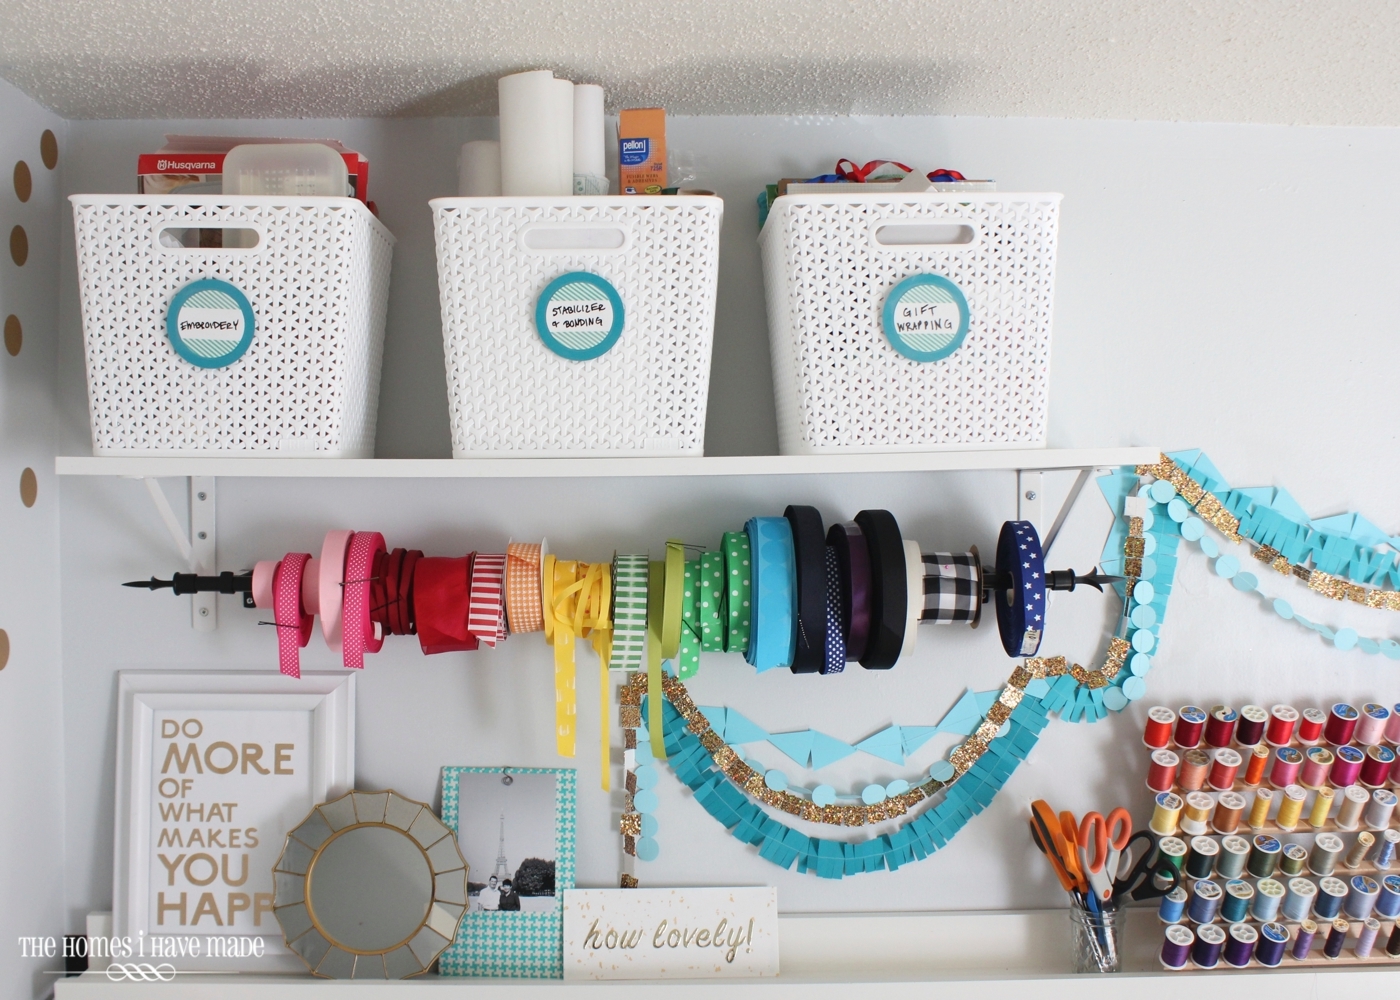
We installed off-the-shelf cabinets and a stock 12′ counter top down the expanse of this wall; and then filled every inch with hard-working and super functional storage solutions. The backsplash is a memo board, the ledges hold art and my most used-supplies, curtain rods hold ribbon, and open shelving supports baskets containing my least-used (but still important!) supplies and notions! The toe kicks were given a herringbone treatment, and I even gave all my boxes, bins, and baskets color-coordinated labels!
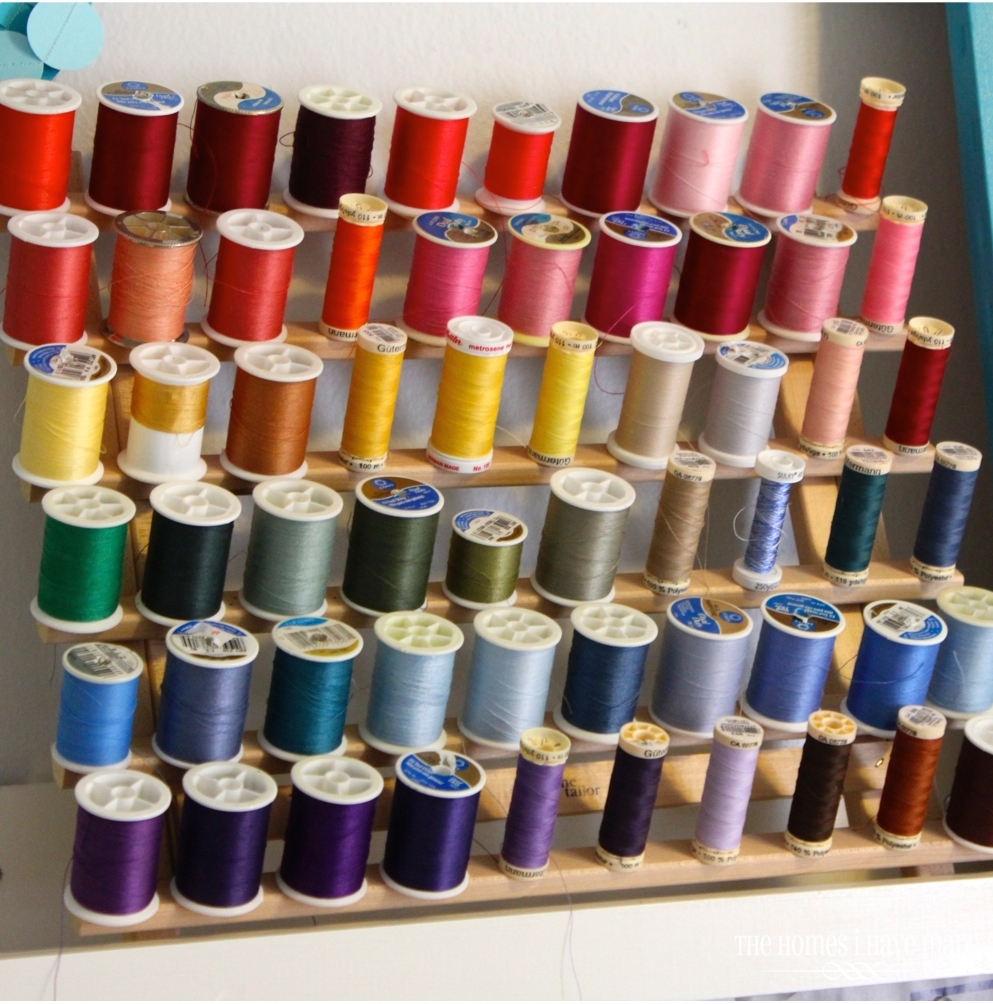
I think fabrics, ribbons, papers, threads and other notions make the best decor…and I just get so giddy seeing their rainbow hues all on display all over this space!
Putting this room together truly was a LONG journey–it’s a real testiment that rooms don’t always come together in a snap. At one point in time, I felt it would NEVER be finished nor look or function the way I craved. But after a lot of brainstorming, re-doing, stepping back and plowing through all with try-and-try again persistence…this room is truly a place where I can relax, be creative and even work hard when necessary!
I spent A LOT of time making this room into what it is, and it’s so nice to feel like I can finally stop fretting about it and just enjoy it. Because I am me, I will always be tweaking things or thinking about how the space could be improved, but nothing has really changed in here for a while…so I am proclaiming the room done…done done done…no more major updates for this room…I promise!
Room Sources
- Wall Color: Martha Stewart Cumulus Cloud
- Stools and Towers color: custom mix
- Black desk: Ashley’s Furniture with knobs from Home Depot
- Lamps: old, old, old but shades from Target
- Floating shelves and brackets: Lowes
- Cube shelving in closet: purchased in Okinawa, Japan years ago
- Bulletin board: HomeGoods
- Turquoise urn: Kirklands
- Cooper lattice vase: thrifted
- Letter M: Marshalls
- White elephant: thrifted
- Gold contact paper for polka-dots: Amazon
- Cabinets and countertop: Lowes
- Filing cabinet: IKEA
- Desk overtop filing cabinet: Wayfair
- Towers: West Elm
- Drawer units inside towers: thrifted
- Stools: purchased in Okinawa, Japan years ago
Anything you’re curious about, let me know!!!
Phew!!!! 25 posts and 30+ photos later, I think this room is fully documented. (I’m exhausted!) I hope you enjoyed the full tour…and thank you for indulging me as I knock out one final post for this space! What do you think about how it all came together? What’s your favorite part? Mine is still the desk area! That striped wrapping paper on the desk still makes my heart dance!
This weekend I’m tackling yet ANOTHER yard sale! Keep your fingers crossed for me that the weather holds out – I need this last bit of junk out!!!! See you next week!
Megan





6 Comments on “North Carolina Craft Room and Office Final Reveal”
Awesome, Megan! Your before looks like mine does now…except I have stuff up higher!
This blue looks magnificent on the photos. Your desk and its surroundings provide the perfect setting for a home office. Functional, relaxing, allowing you to focus on what's important. I guess this is why this blog is so good.
I already have some ideas to improve my little getaway-desk.
Thanks!
Daniel Davies
Star Domestic Cleaners
Hi Megan – just came across to you from one or two bits I was looking at on Hometalk 🙂 Glad I did – you’ve done some awesome work in your house and love this craft space you have produced. The colour is beautiful and actually love it all. I do think where you keep your filing cabinet and printer is a really great idea and looks beautiful and keeps it all out of site.
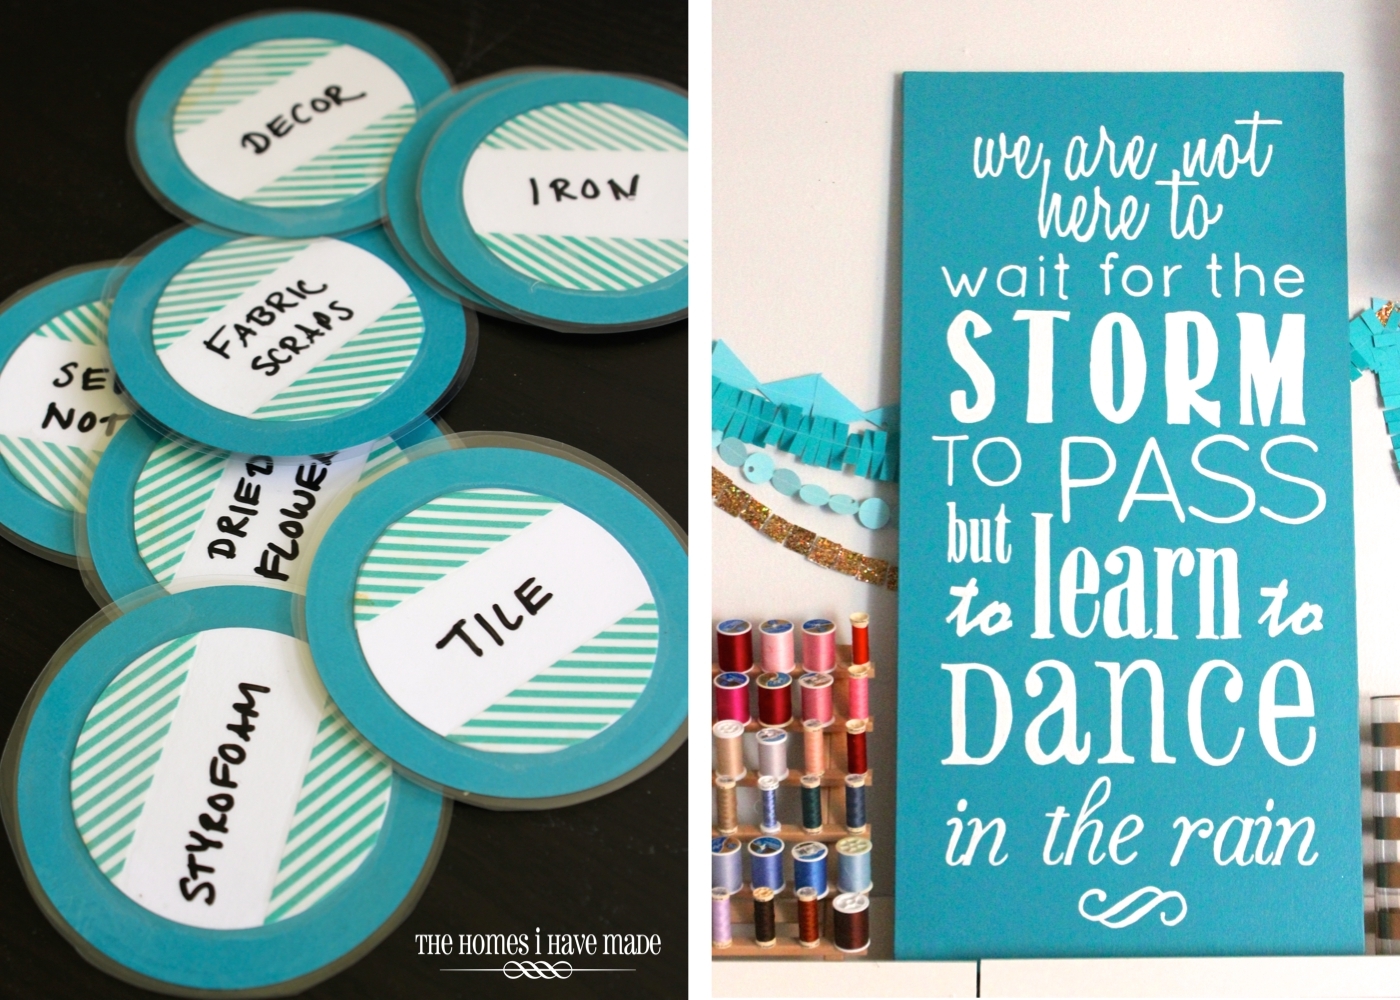
One thing I did wonder that I can’t see anything about and that is your blue and white labels that you have put on your white baskets. Did you make them too or did you purchase them? And… if you don’t mind telling me if you bought them – where from and if you made them – any tips would be much appreciated. They look far nicer than just ordinary ‘sticky’ white labels. – Well done with the whole of the room – it all look just ‘perfect’ to me 🙂
Hi Denise!
Thank you so much for leaving such a nice comment! I am so glad you found me and are loving what you’re seeing! I work hard to create great projects and maintain this little corner on the web, so I hope you’ll visit regularly!
I think you are possibly referring to my DIY Dry-Erase labels? You can find the full tutorial on how I made them here: https://thehomesihavemade.com/2013/07/diy-dry-erase-labels/
They are pretty easy and require supplies you might already have on hand.
Please let me know if these aren’t the labels you were referring to and/or if I can be of any more help!
Have a good night!
Megan
Hi Megan – these are the exact labels, thanks for the link – although I don’t possess the ‘cutter’ you own and I’ve never seen one before 🙁 I will have to see if I can ‘source’ one in either the UK, Ireland or Spain as these are the countries that I visit often 🙂 You’ve made a beautiful job of the whole of your office and love all the ‘specifics’ you have made too 🙂 You have made me want to take some of your ideas – brilliant and thank you so much for replying 🙂 Kind Regards
Thank you so much, Denise! I’m so glad you are finding inspiration in my projects and my home! That’s my goal 🙂
As far as the cutter, you can always just make some circle templates out of cardboard, trace them onto pretty paper and cut them by hand? They may take a little while longer to finish, but you won’t need a fancy machine to get them done!
Hope you have a great weekend!
Megan