Ice Cream Party Invites
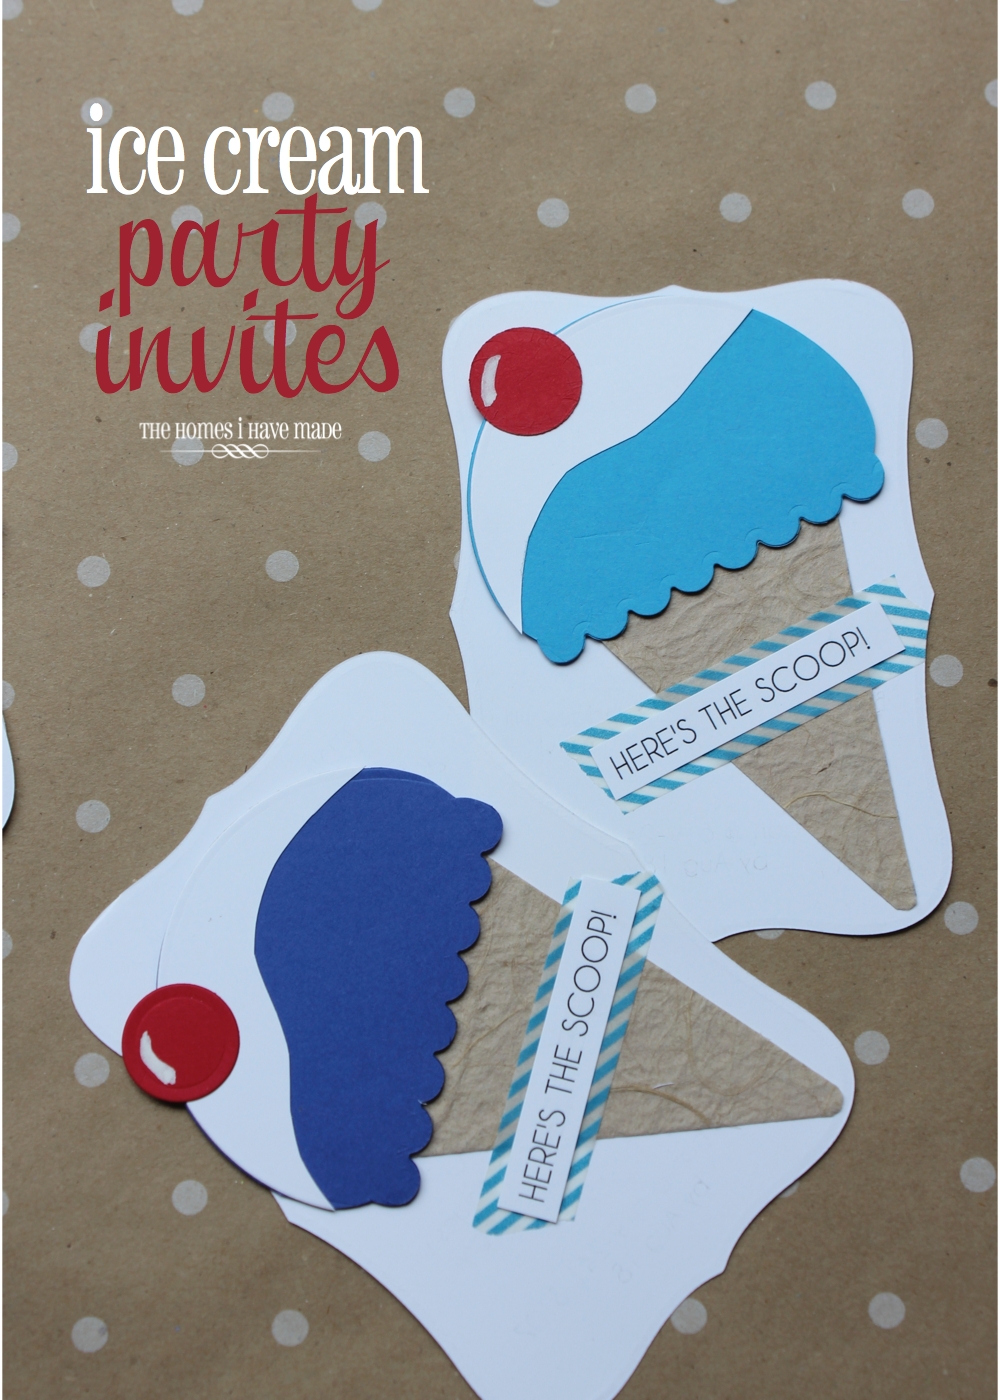
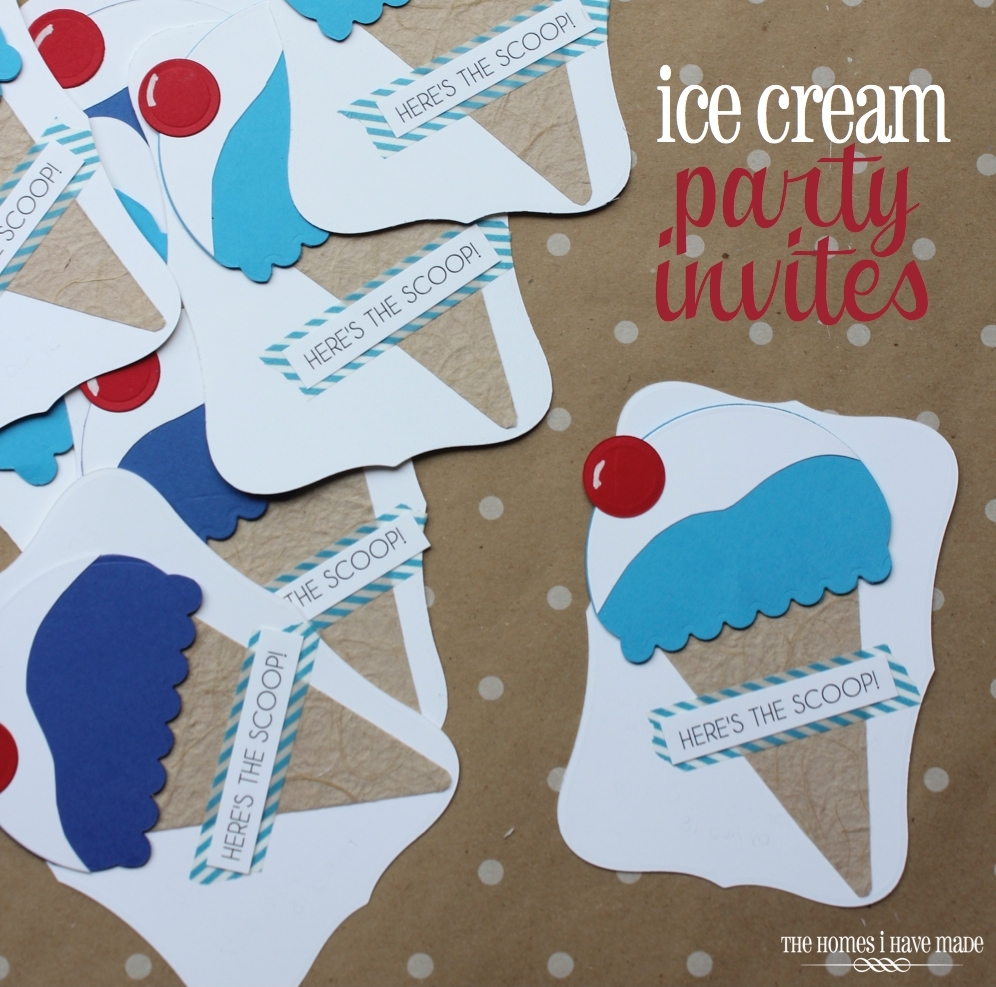
Last week, I revealed a pretty sweet (ha – pun intended 😉 baby shower that I recently threw for a good friend. There were quite a few projects from that party that I’ll space out over the next few weeks! Today, I want to show you how I made the ice cream cone invites for the shower.
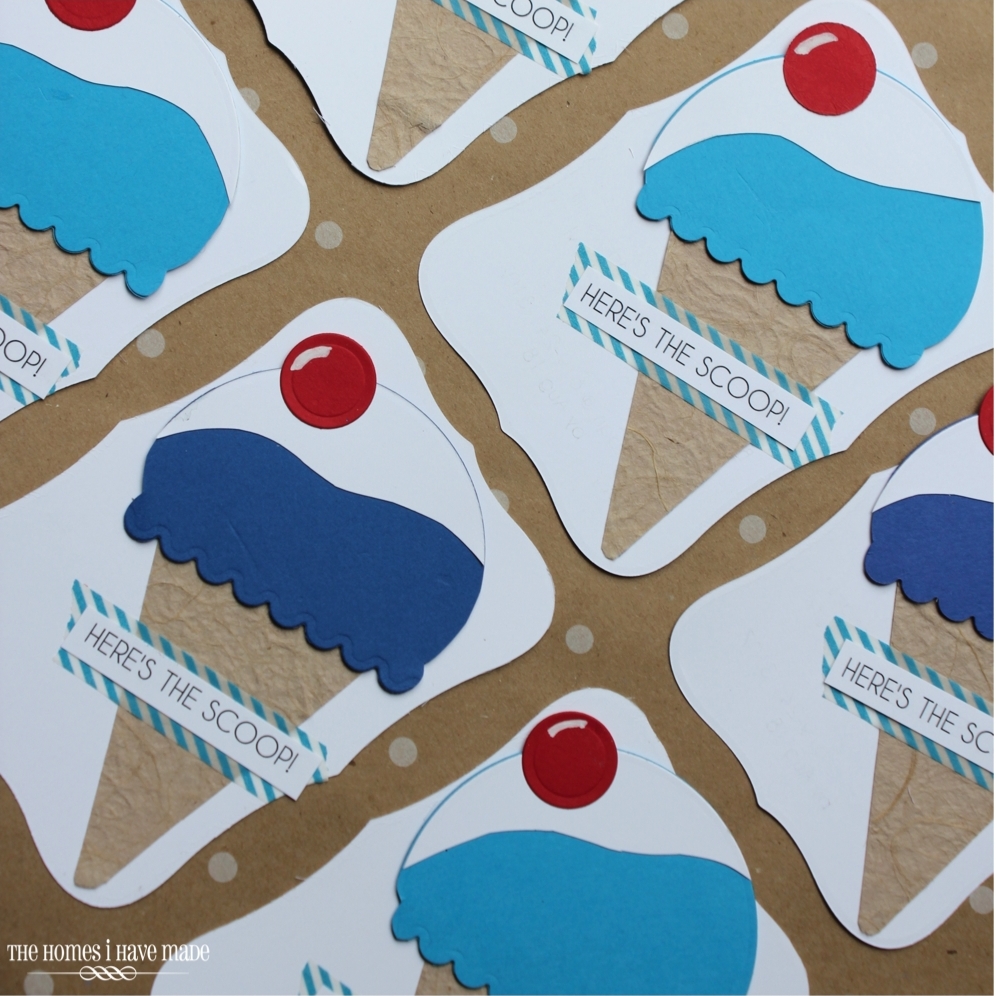
I love paper crafting so much, but I don’t do it all that often. I’m a major sucker for patterned papers and cut-out shapes and textures and cute embellishments, but the creativity required to make really adorable stuff doesn’t come overly naturally to me. So…when these invites turned out so gosh darn cute…I couldn’t wait to get them in the mail AND share them with you here!
As I said last week, I still really love sending out paper invitations to parties because I feel like they set the tone for the whole event. Even though ice cream isn’t typically blue…these blue-scooped invites set the theme and color scheme for this all-boy bash…both for me and the guests! Guests knew what to expect, and they provided me direction when picking/crafting other elements of the party!
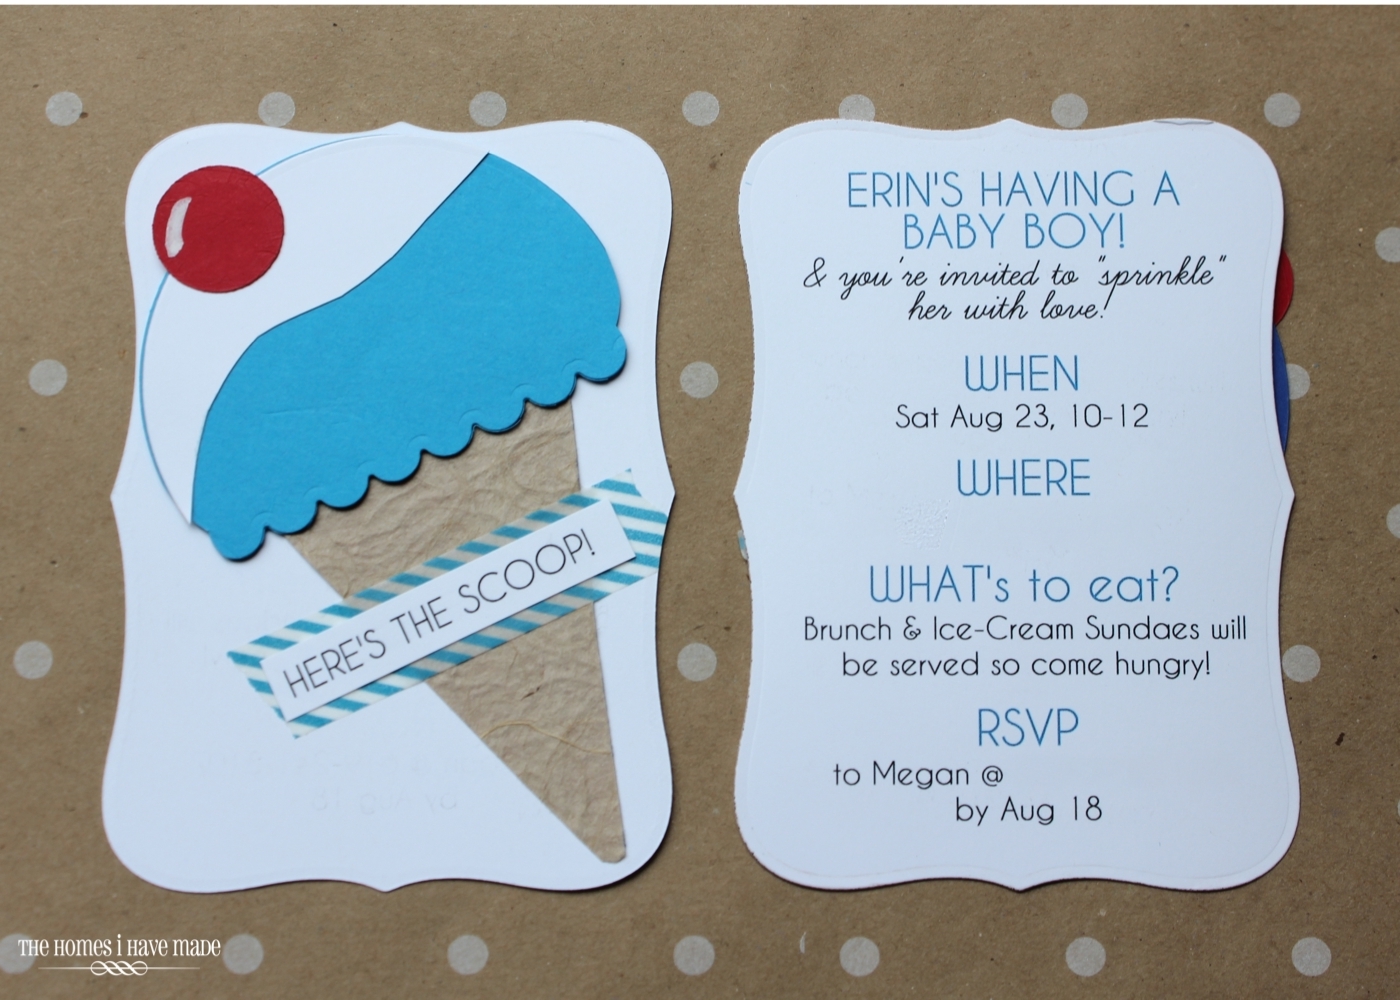
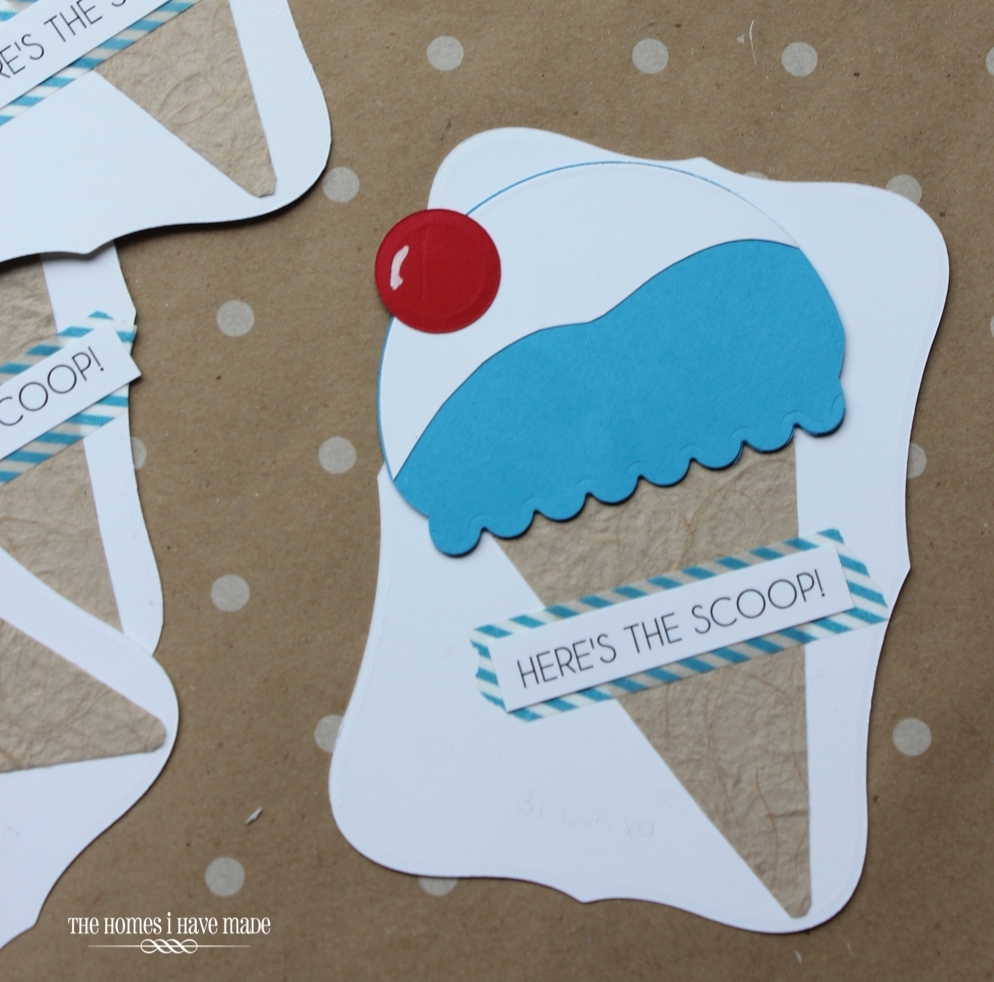
These invites were two sided. On the fronts were the cute ice cream cones; and on the back, all the info! They were sized to fit right into standard 4×6 invitation envelopes.
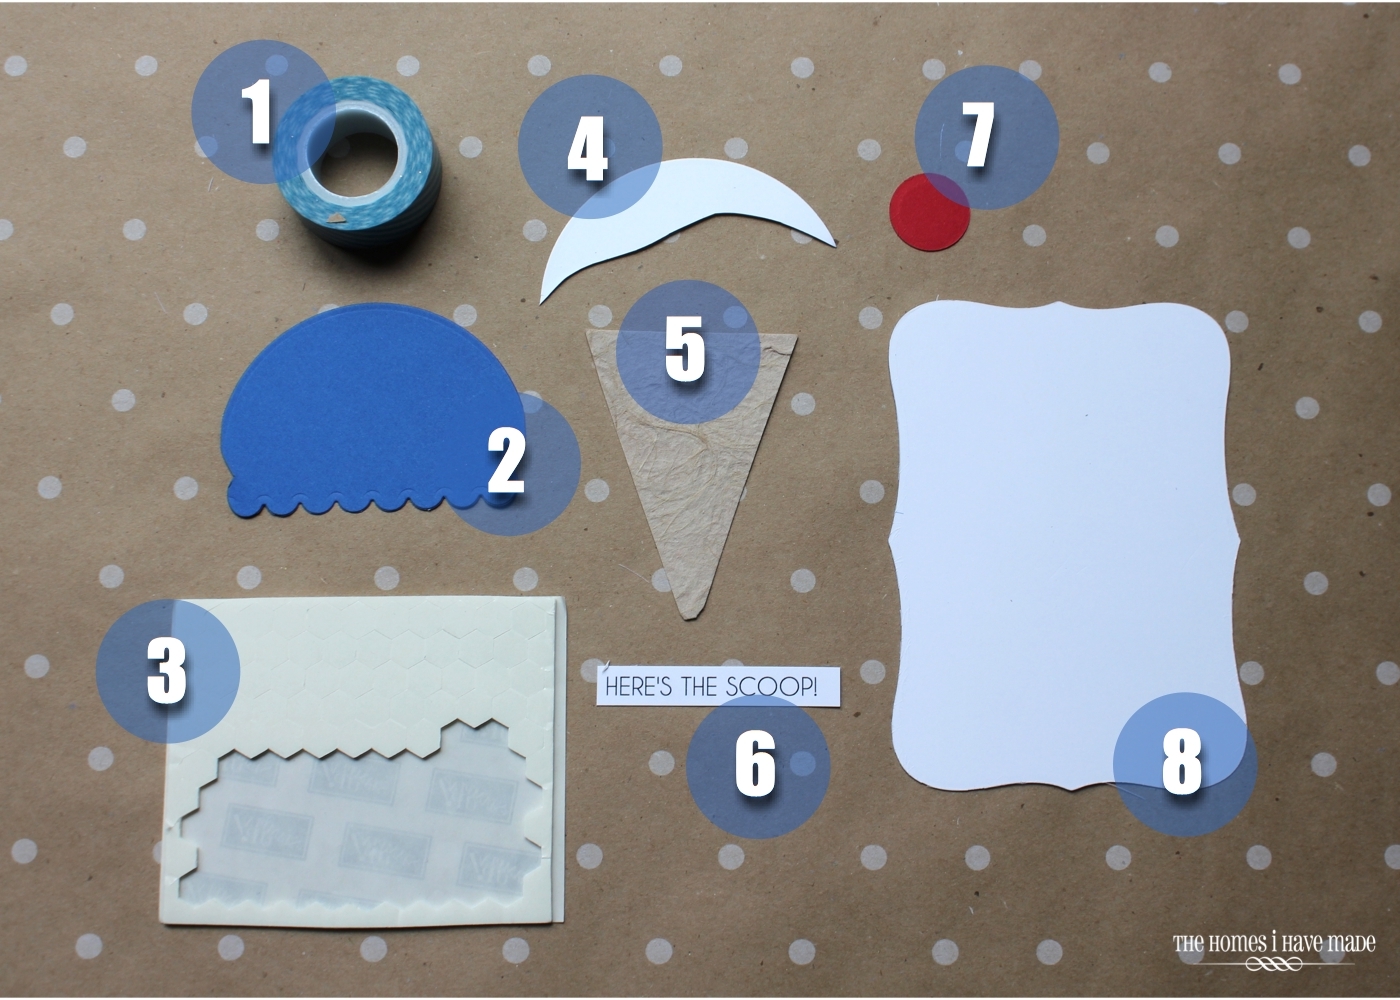
Here are the elements that went into each card:
- Color-coordinated washi tape
- Ice cream scoop – directions below
- Dimensionals (to make the ice cream scoop pop up a bit!)
- Ice cream topping – directions below
- Ice cream cone – a triangle cut from brown textured cardstock
- “Here’s the scoop!” printed onto white cardstock and cut with scissors
- Cherry – made from red cardstock with 1/2″ circle punch
- Card background – directions below
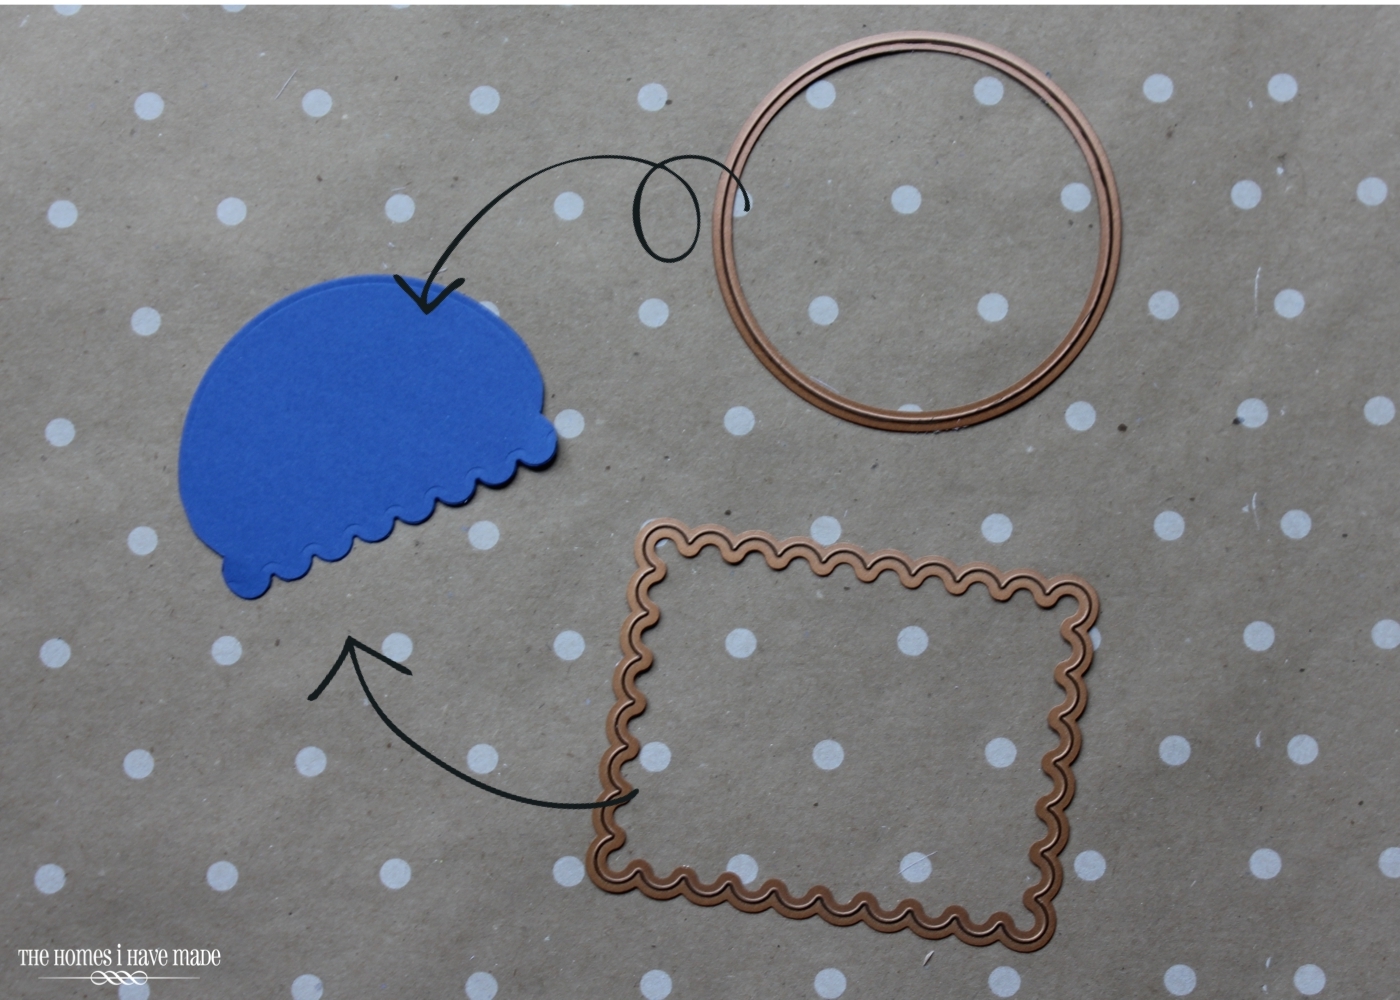
I originally got this paper ice cream scoop/cone idea from the amazing Amber over at Damask Love…I just made mine much bigger! (Do you read her blog, by the way? She does the most amazing things with paper and her photography and staging are impeccable – she inspires me SO much!). Anyway…to make the scoop, I first cut out a bunch of blue circles with a 2.5″ framelet and my Big Shot. I then went back with my scalloped rectangle framelet and cut the bottom edge. Per Amber’s instructions, I also notched the sides of the scoop to make it look more realistic!
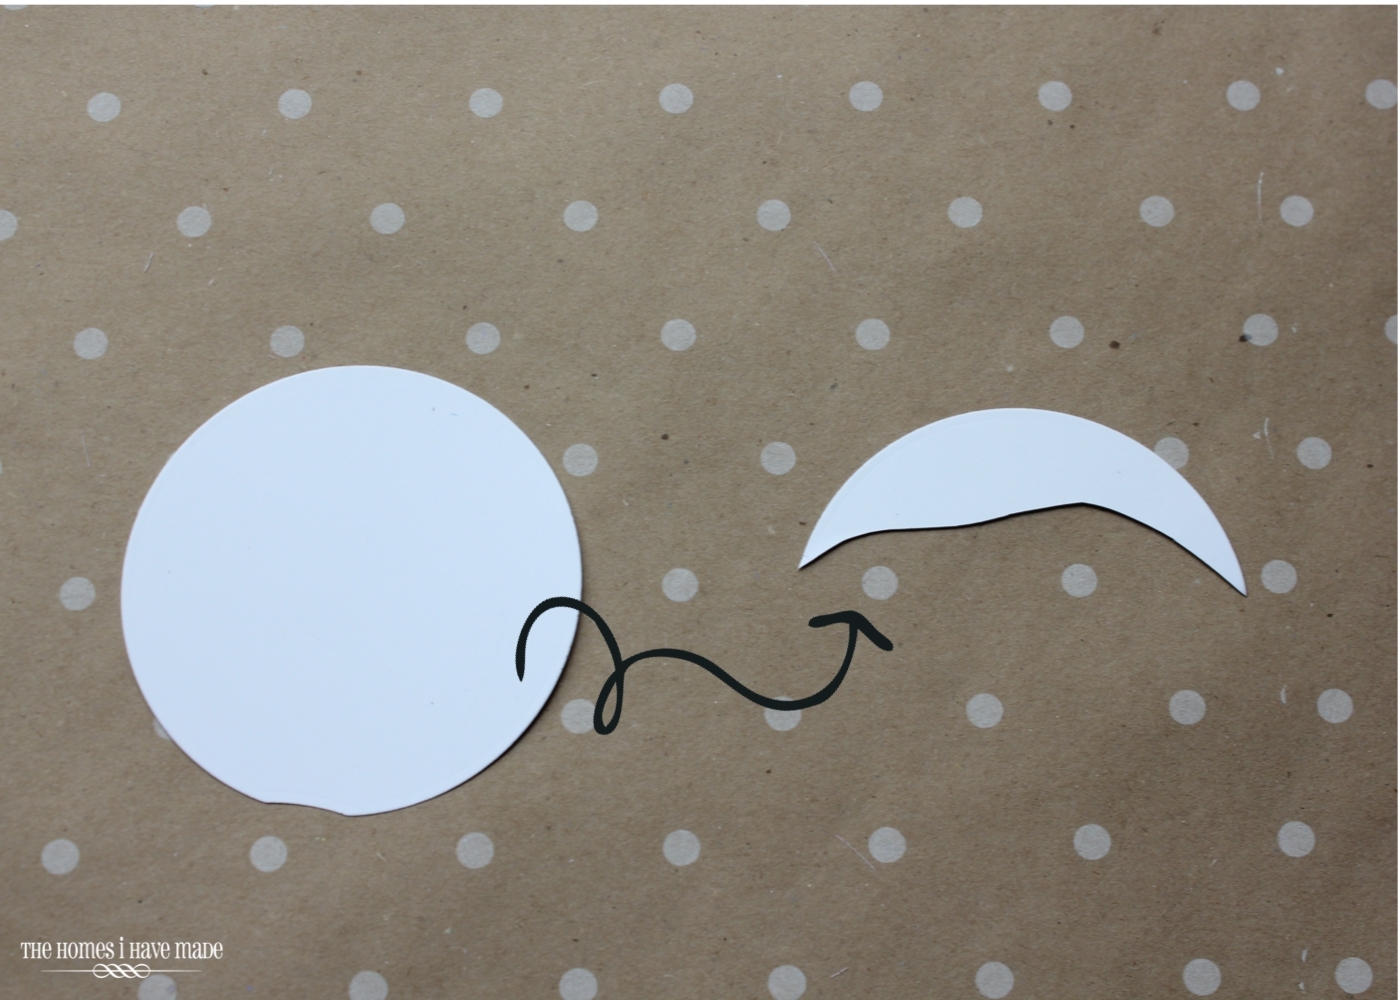
To make the whipped topping, I cut 2.5″ circles out of white cardstock and just free-hand cut away the top portion of the circle with scissors.
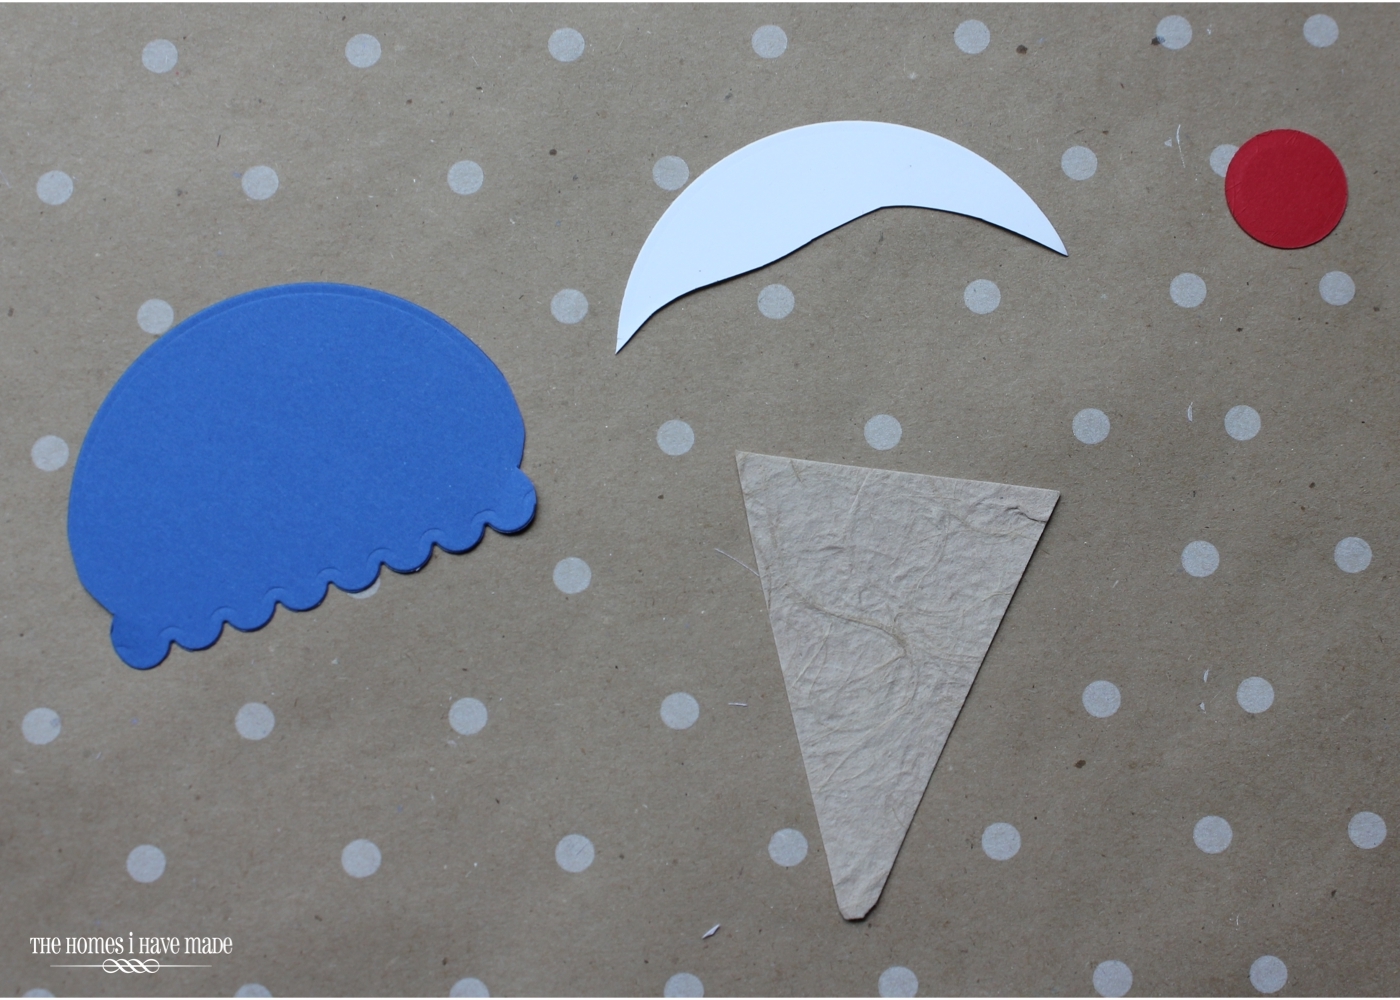
Here are the four elements to make the cone. To put them together, I just layered the white topping onto the blue scoop with roller adhesive, then placed the scoop on the cone using dimensionals. I topped the whole thing with the cherry – just as you would in real life 😉
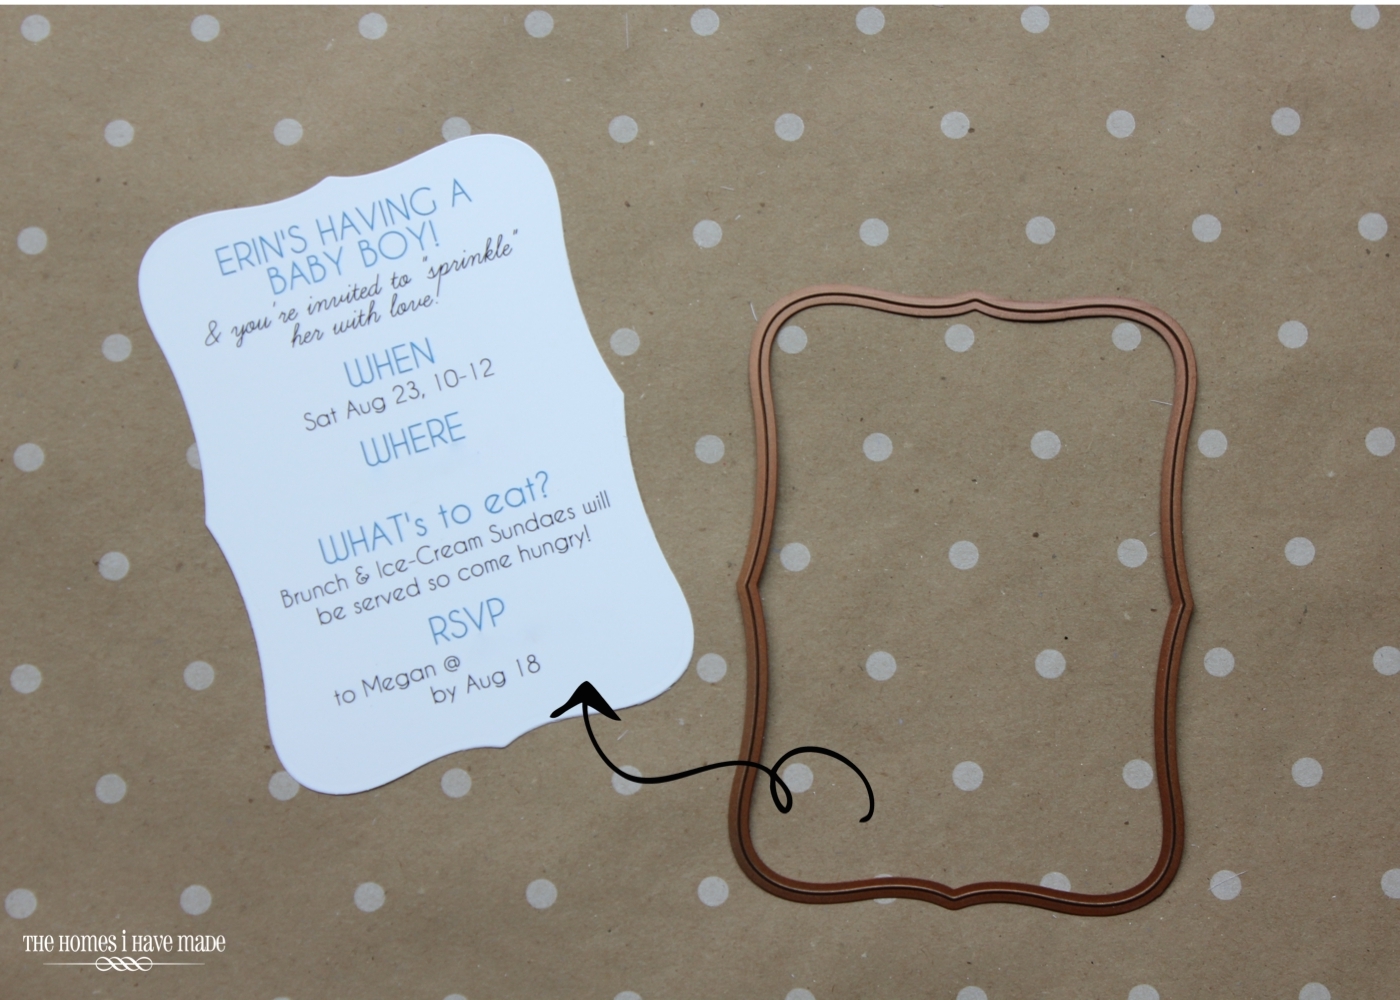
To make the card structure itself super simple (and also very “user friendly”), I really wanted it to be one sheet – double sided. I first designed the wording in My Digital Studio, and printed the word blocks four to a page. I then used the rounded frame framelet and my Big Shot to cut out the words individually. I will say, here is where having the magnetic plates for the Big Shot REALLY come in handy! I was able to center the framelet over the words and cut it out with excellent precision!
With the words all printed and cut out, I secured the ice cream cone to the reverse side, and added a stretch of washi tape and the printed wording. I also used Amber’s trick of using a white gel pen to add the accent on the cherry!
Although these may look a little tedious with all the different pieces, when done assembly-line-style, they actually came together pretty quickly…once I had the design figured out that is! (That’s always my hardest part!).
Like I said, paper crafting doesn’t come super easy to me so when things turn out so adorable, I get pretty giddy! Hope you enjoy this little tutorial and find a way to use it or tweak it for your own use some day!
I’m excited to finally be settling into a crafting and blogging groove. I’ve got quite a few projects in the works and another big garage sale on the calendar for this weekend (will the flow of junk ever stop?) Hope to have some big room and project reveals up for you here soon!
Thanks so much to all of you who commented on Monday’s post, both here and over on Facebook. It’s so fun to feel the love and positive encouragement from you wonderful friends and readers! I hope you all have a great Wednesday!
Megan




One Comment on “Ice Cream Party Invites”
Love the ice cream invitations!! Super cute!!