Office Desk Makeover Reveal
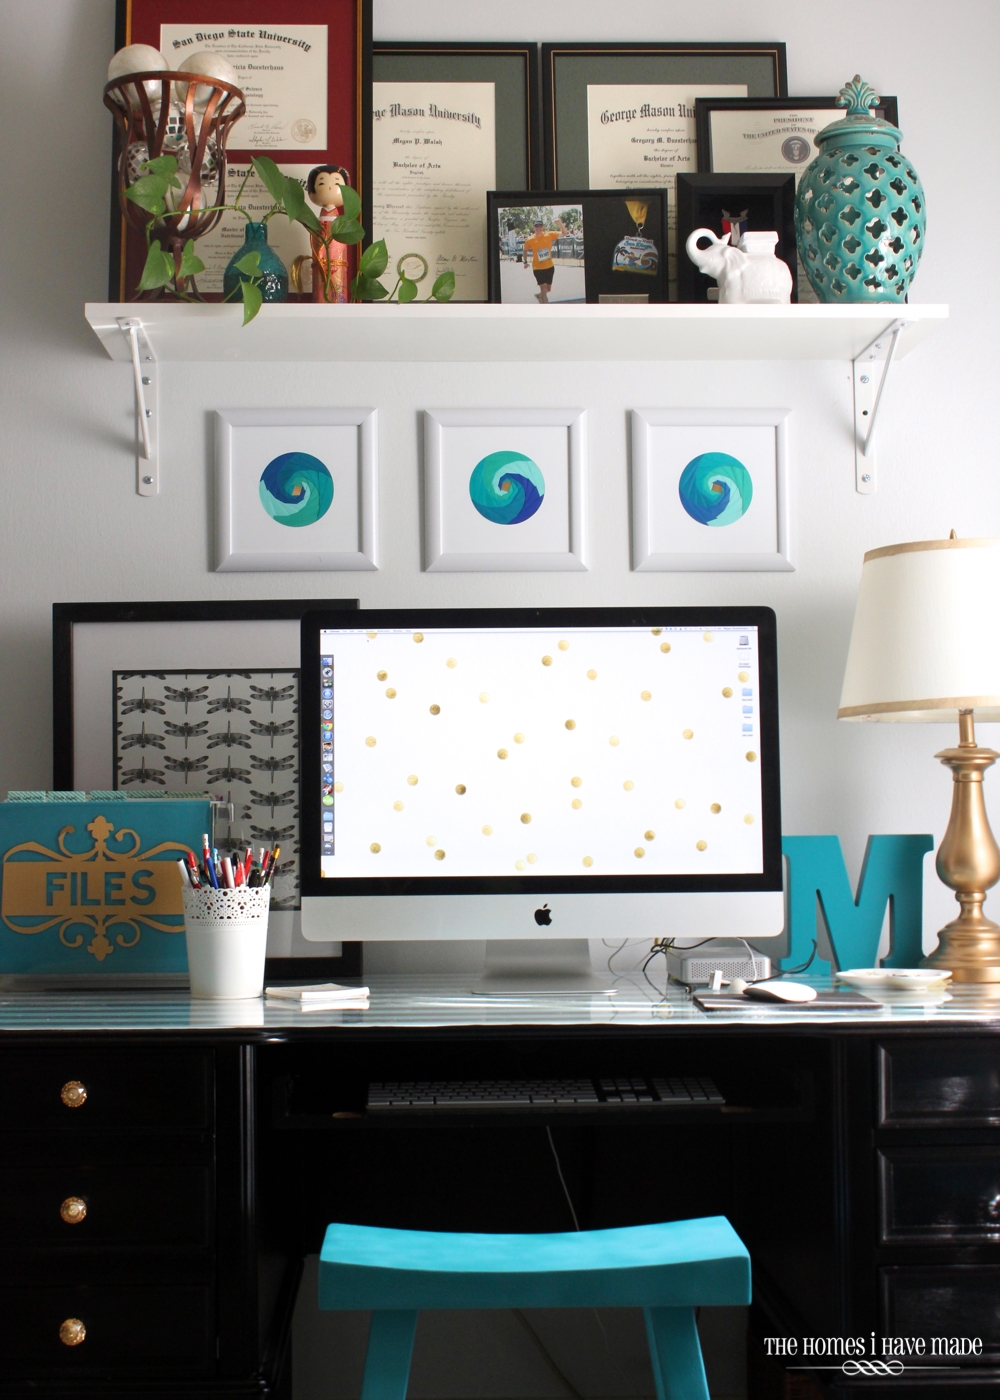
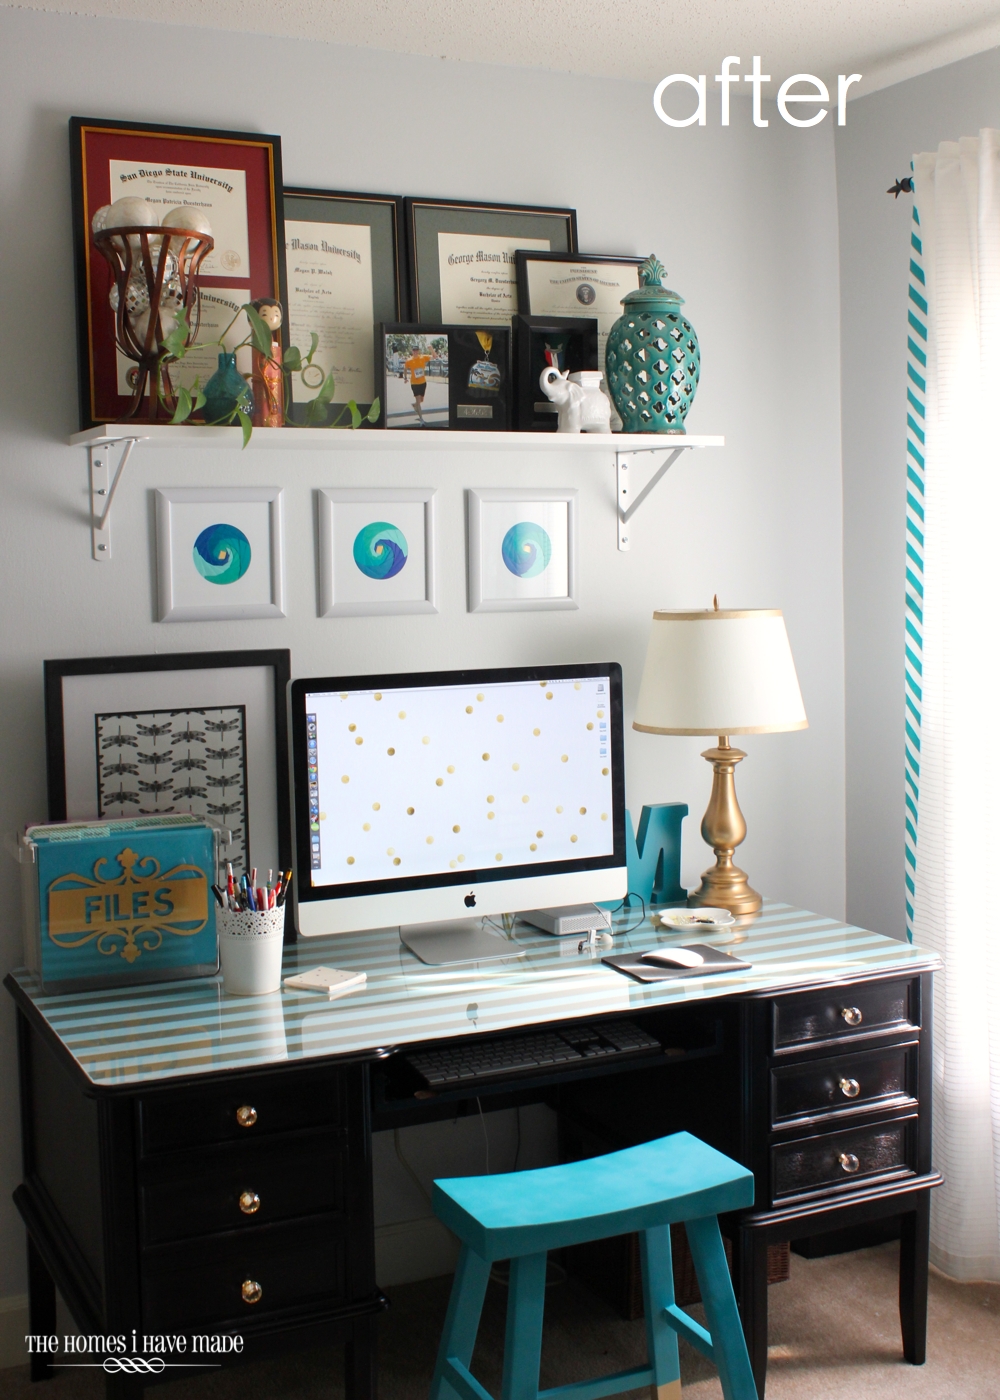
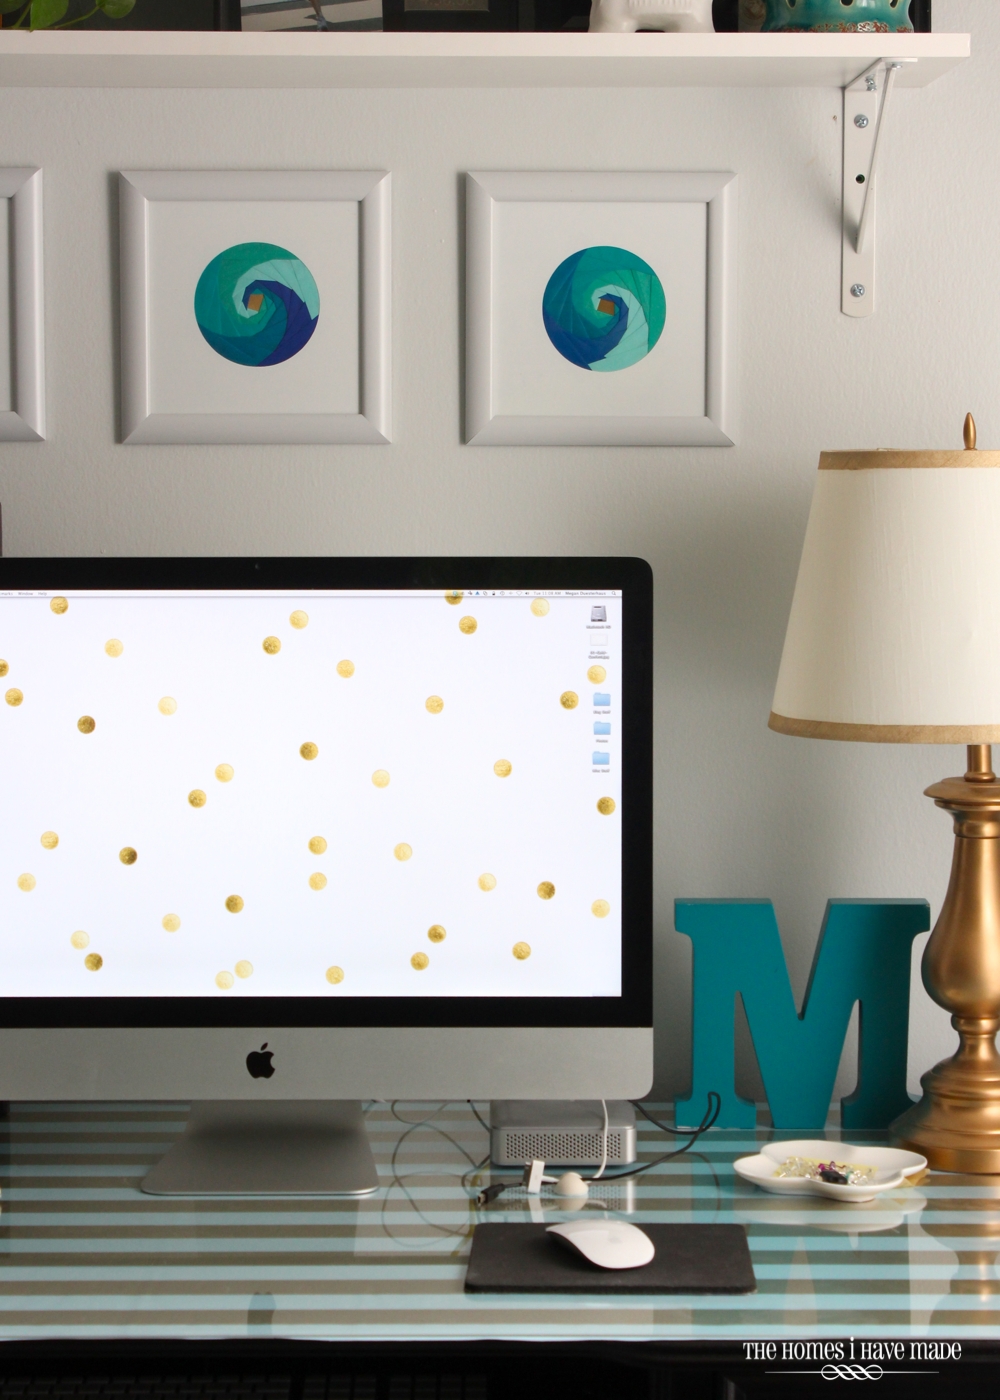
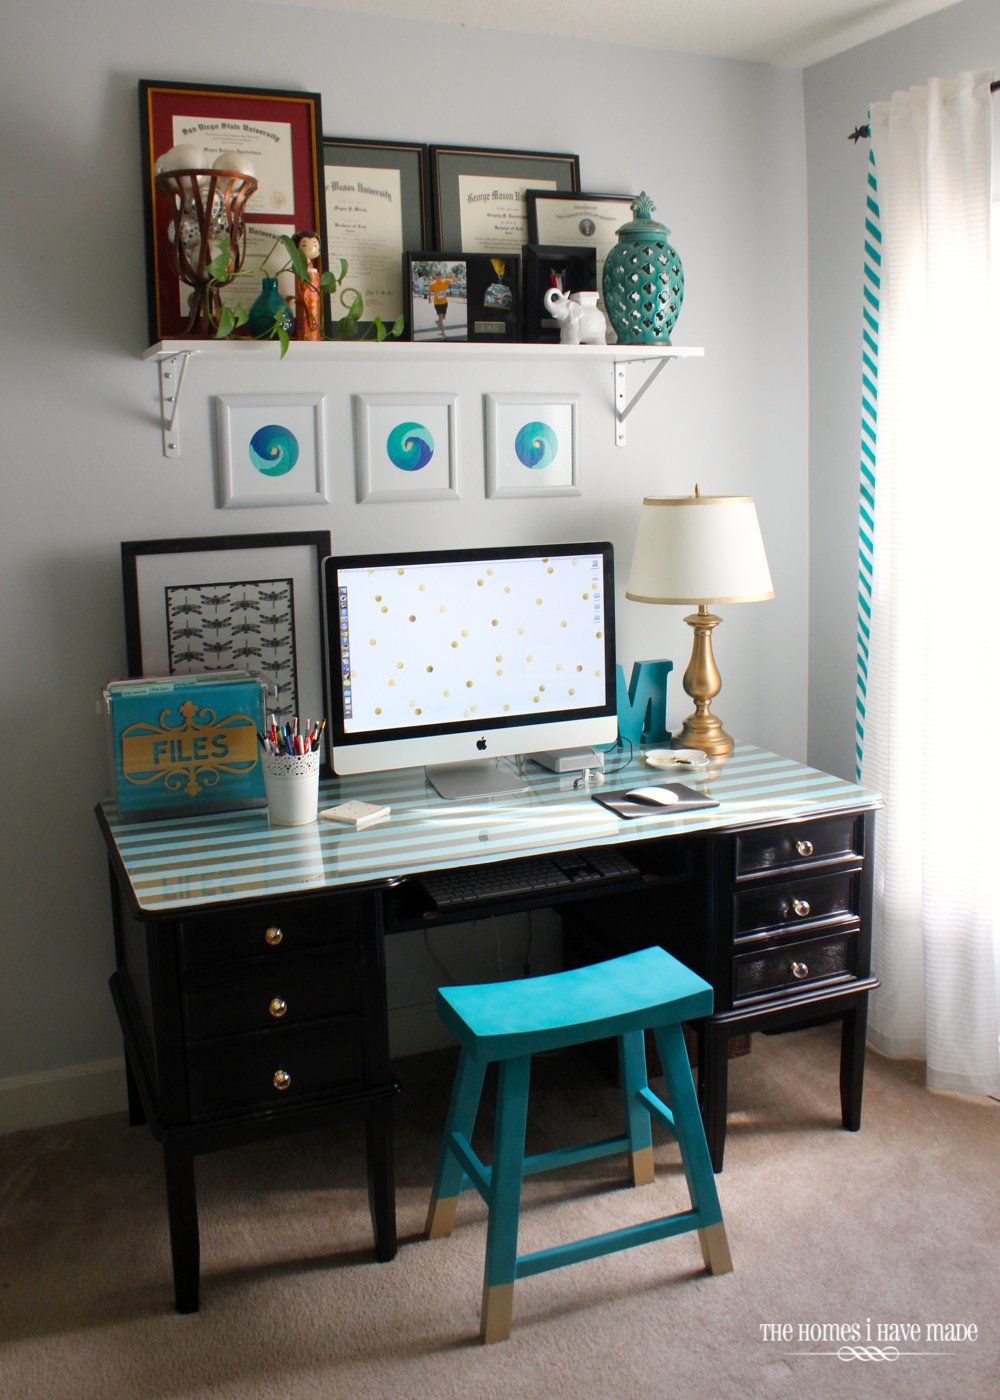
Okay, you guys! I am WAY excited about today’s post. As I hinted in my last few posts, my creative juices have been flowing in over-drive in recent days, and I finally pulled together our desk/work station in our office/craft room. Take a look at my new digs:
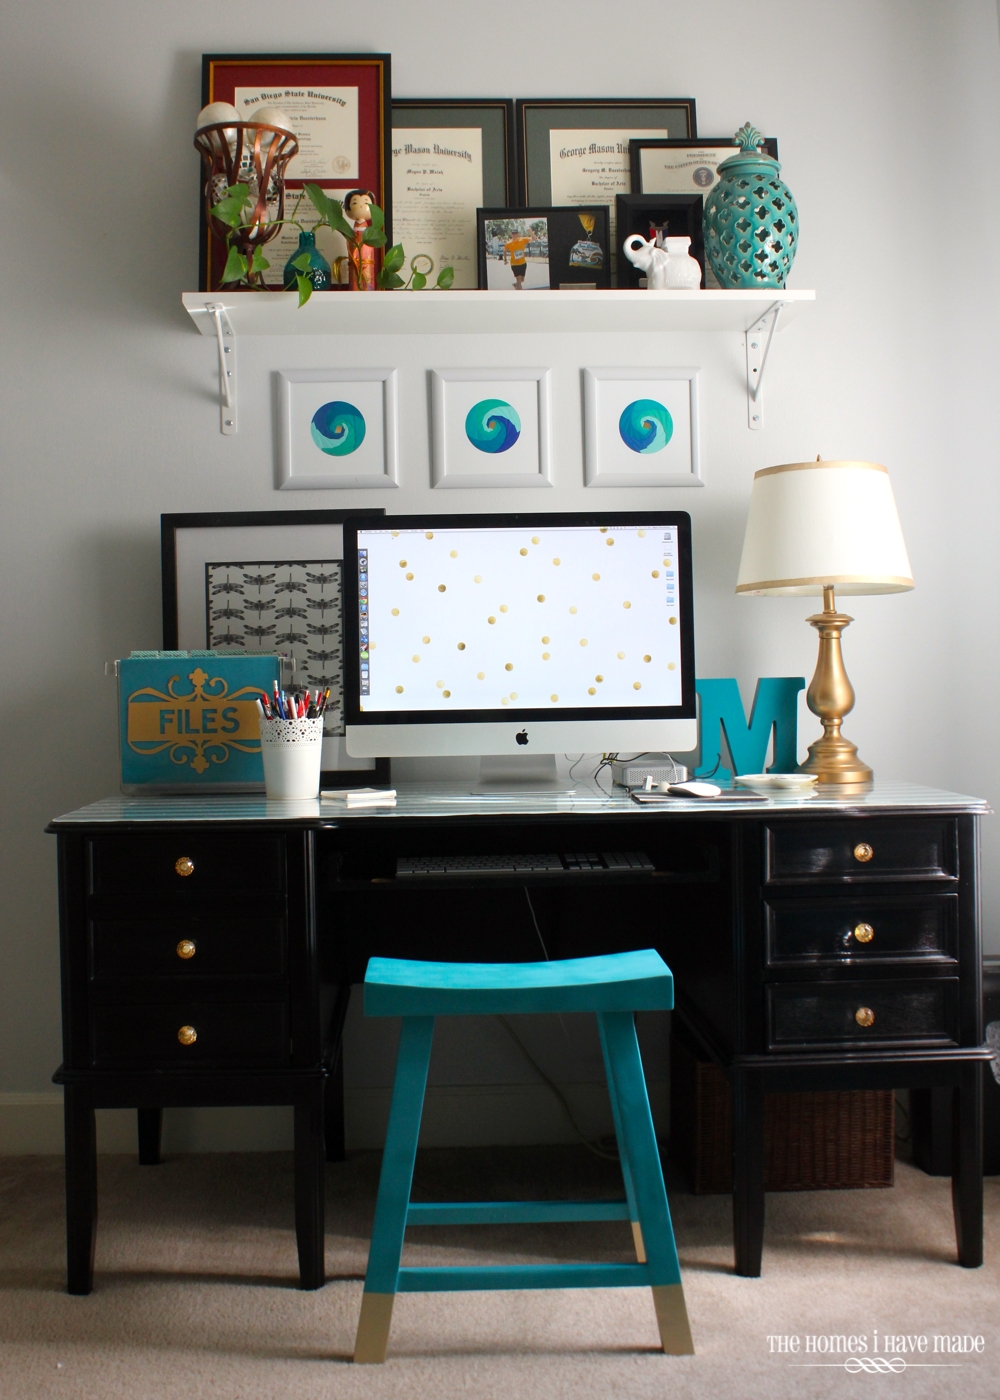
Oh my, you guys. I am just smitten. Let’s take a step back and see the whole thing, shall we?
Gosh – I know, I know…it’s been forever since I’ve talked about or shown you any progress in the office/craft room. (If you’ve been coming around here for a while, then you know I started a big overhaul and makeover back during the summer while my husband was deployed. It was supposed to be my summer project and the ONLY thing I worked on while he was gone.) I did make some HUGE progress in this room. I sorted, purged, cleaned out, and organized every nook and cranny in this room, made over some new office storage, painted some stools, and made an awesome polka dot feature wall. But then I hit a creative wall and my husband came home, so I shifted my focus to other things. But as things tend to do, after a good long break from this space, inspiration hit and I wrapped up this corner of the room this weekend.
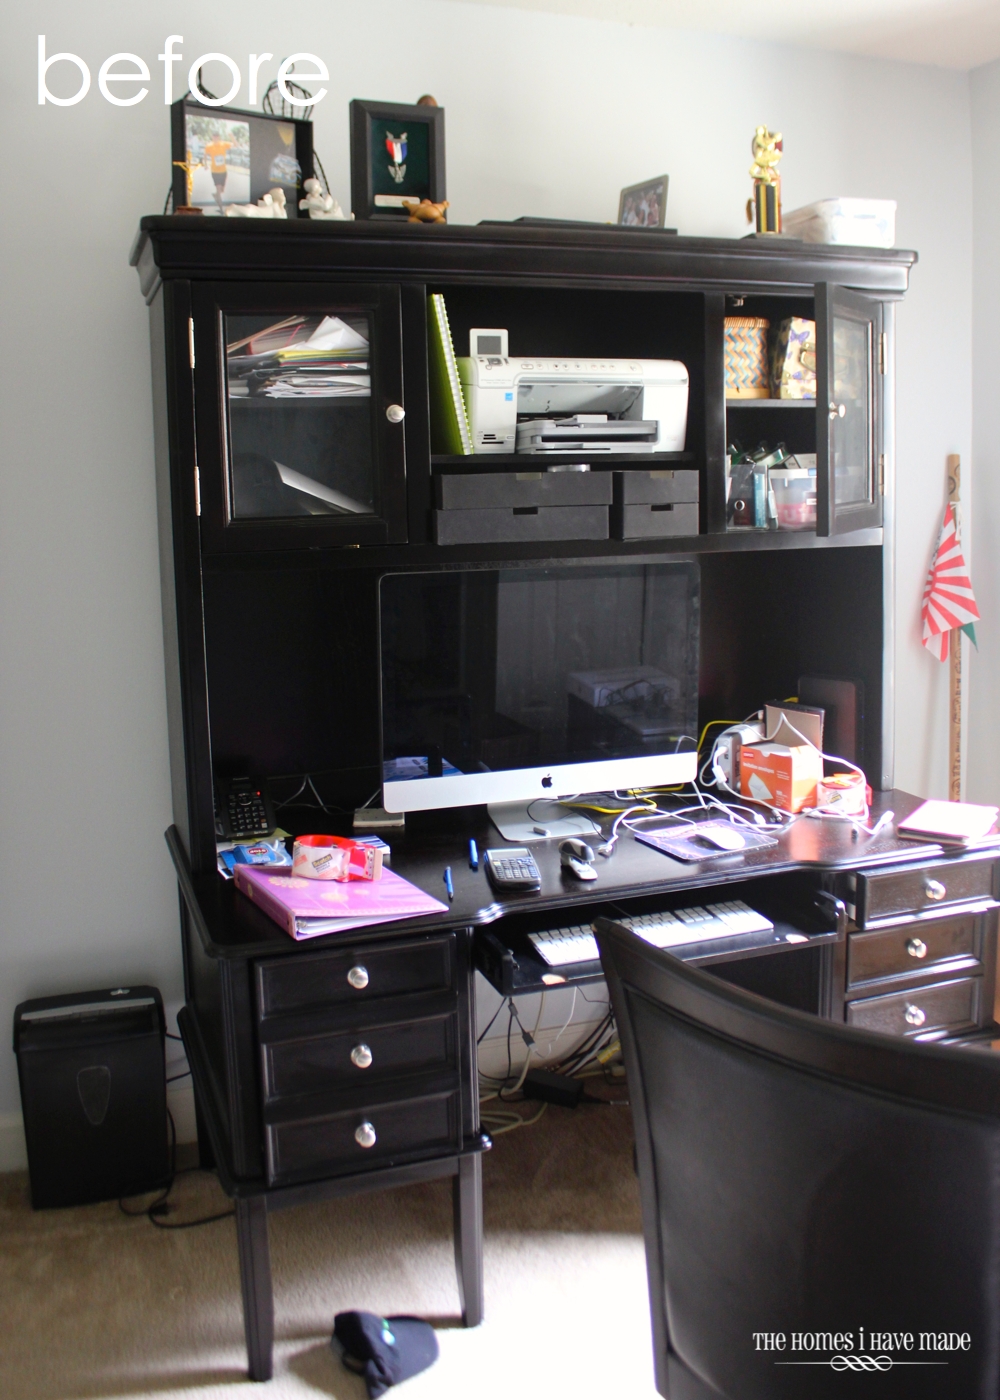
Just a reminder, this is where I started back in the beginning of the summer, (and no, this is not a dramatized “before” shot, this is really what it looked like. Oh the shame 🙁 This desk, which we oh-so-affectionately called the Black Hole, has been our biggest furniture regret EVER. We bought it from a big-name furniture store (before we discovered the wonders of thrifting and consignment). It was too big, too dark, and way too expensive to just get rid of and start over. From the minute it was delivered, I have struggled to organize it and love it…it’s just never worked for us.
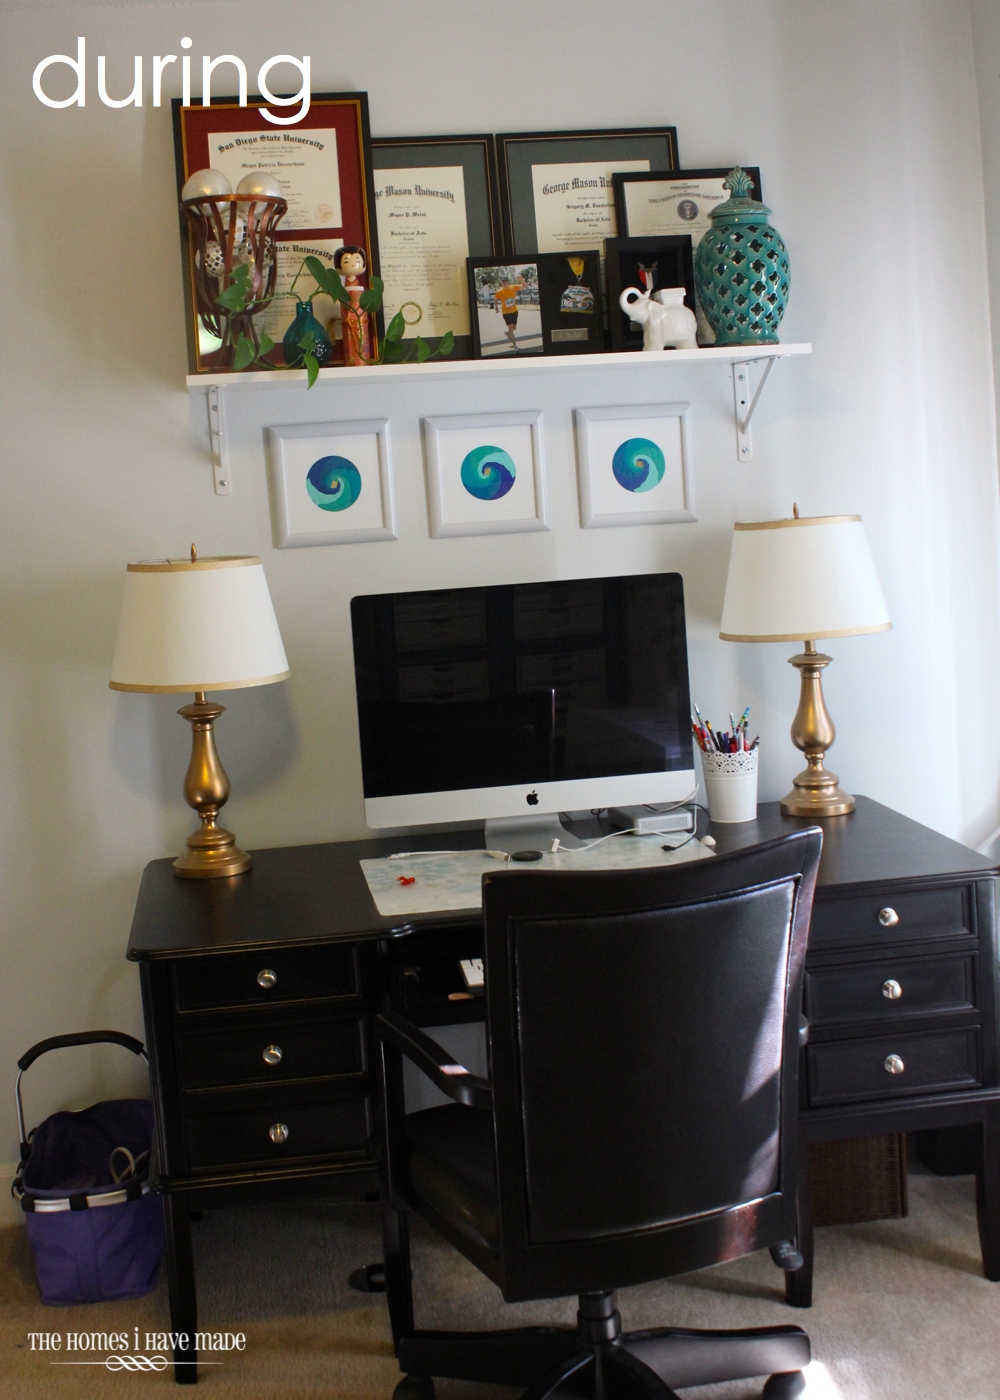
Over the summer, I got the desk area to this point (below). I had a few really good ideas, and then I just couldn’t seem to come up with ANYTHING that would give this space the sophisticated, glam and fun look I was craving. It sat like this for a good few months!
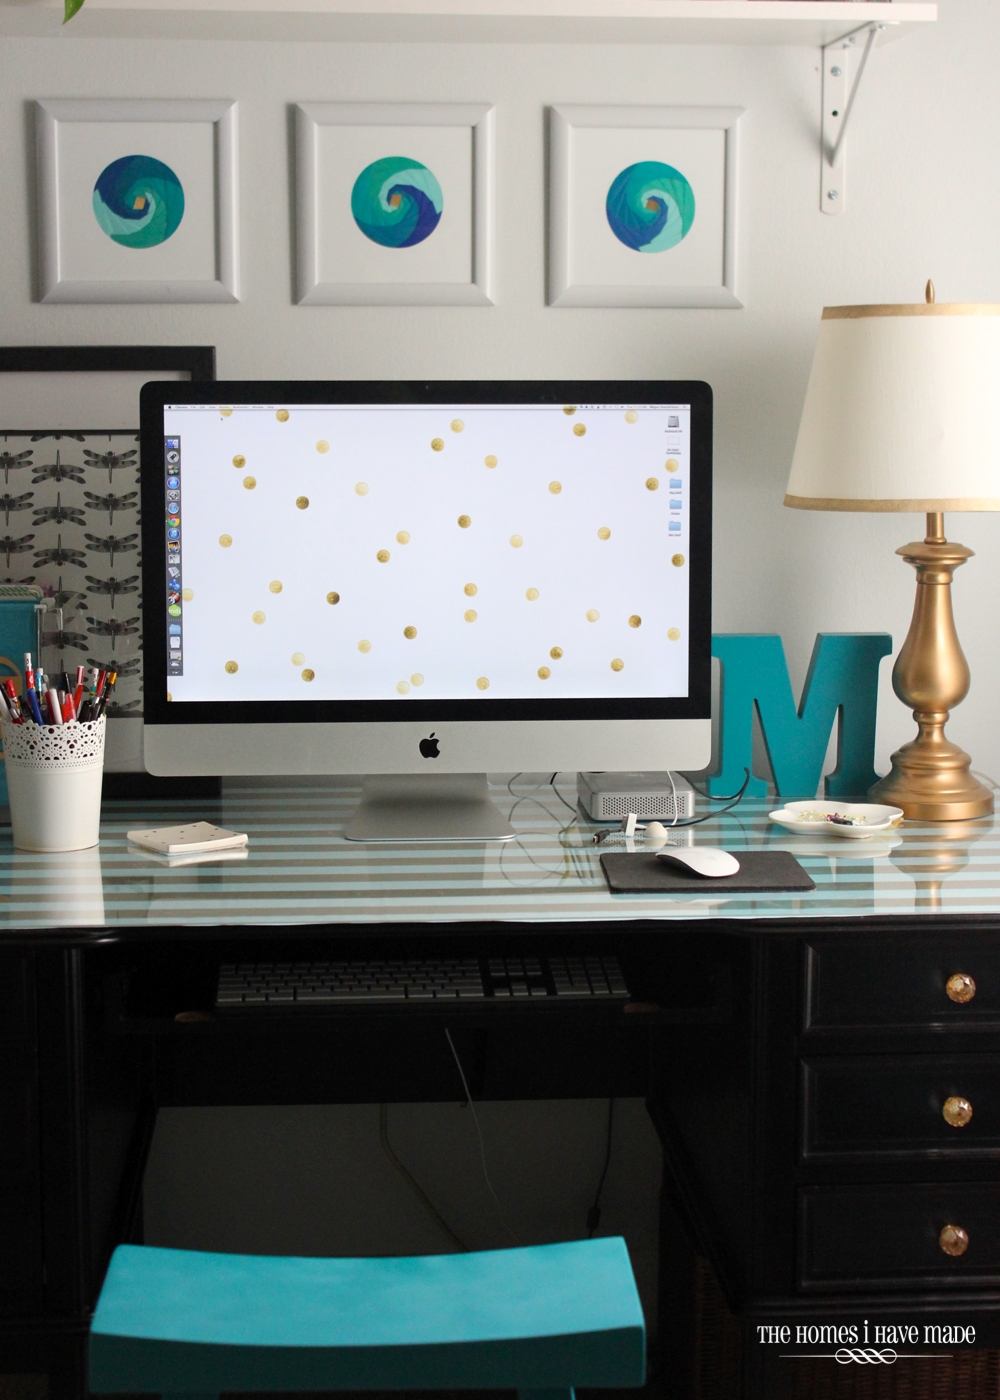
But now, we have a fun, fresh and glam space I love to be in. With just a few really, really simple projects, this corner came together in a matter of days. For the first time in the 2+ years we have owned this desk, I finally love sitting down to the computer!
The biggest change to this desk (and this corner) was that we decided to remove the hutch and replace it with a simple white shelf. Not only did the hutch awkwardly house our computer, but the cabinets never seemed to hold what we needed them to. The hutch was also in front of the one window in this room, blocking all of the available natural light. Although a total waste (because the hutch is now sitting in the garage), removing the hutch was the single best thing we did in this room. All of sudden I could breath in here, there was more light and more energy…and no more big Black Hole for stuff to get lost in!
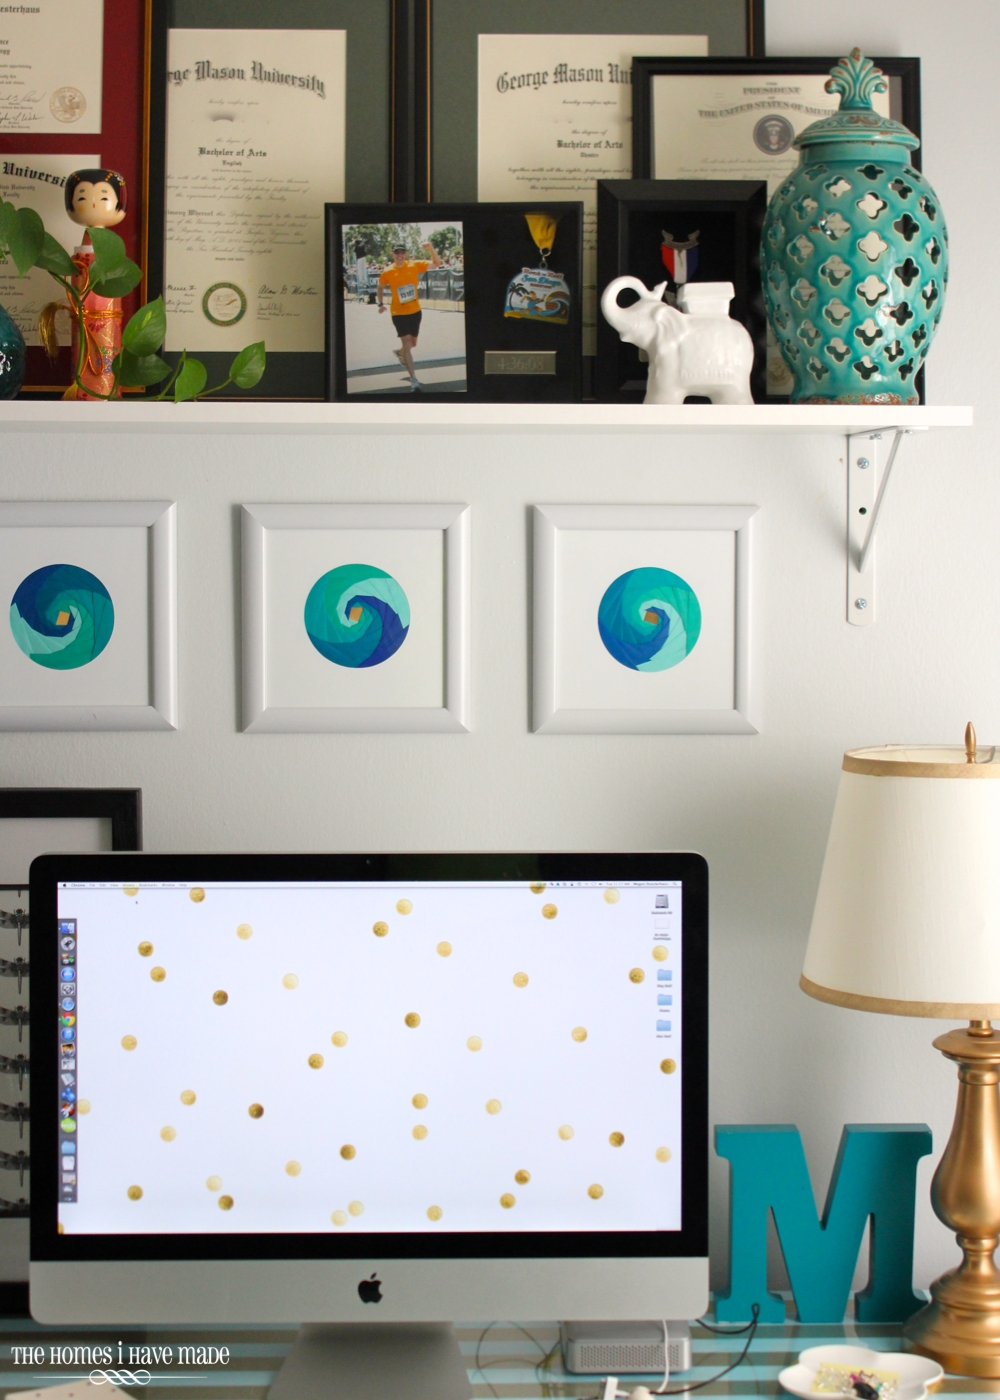
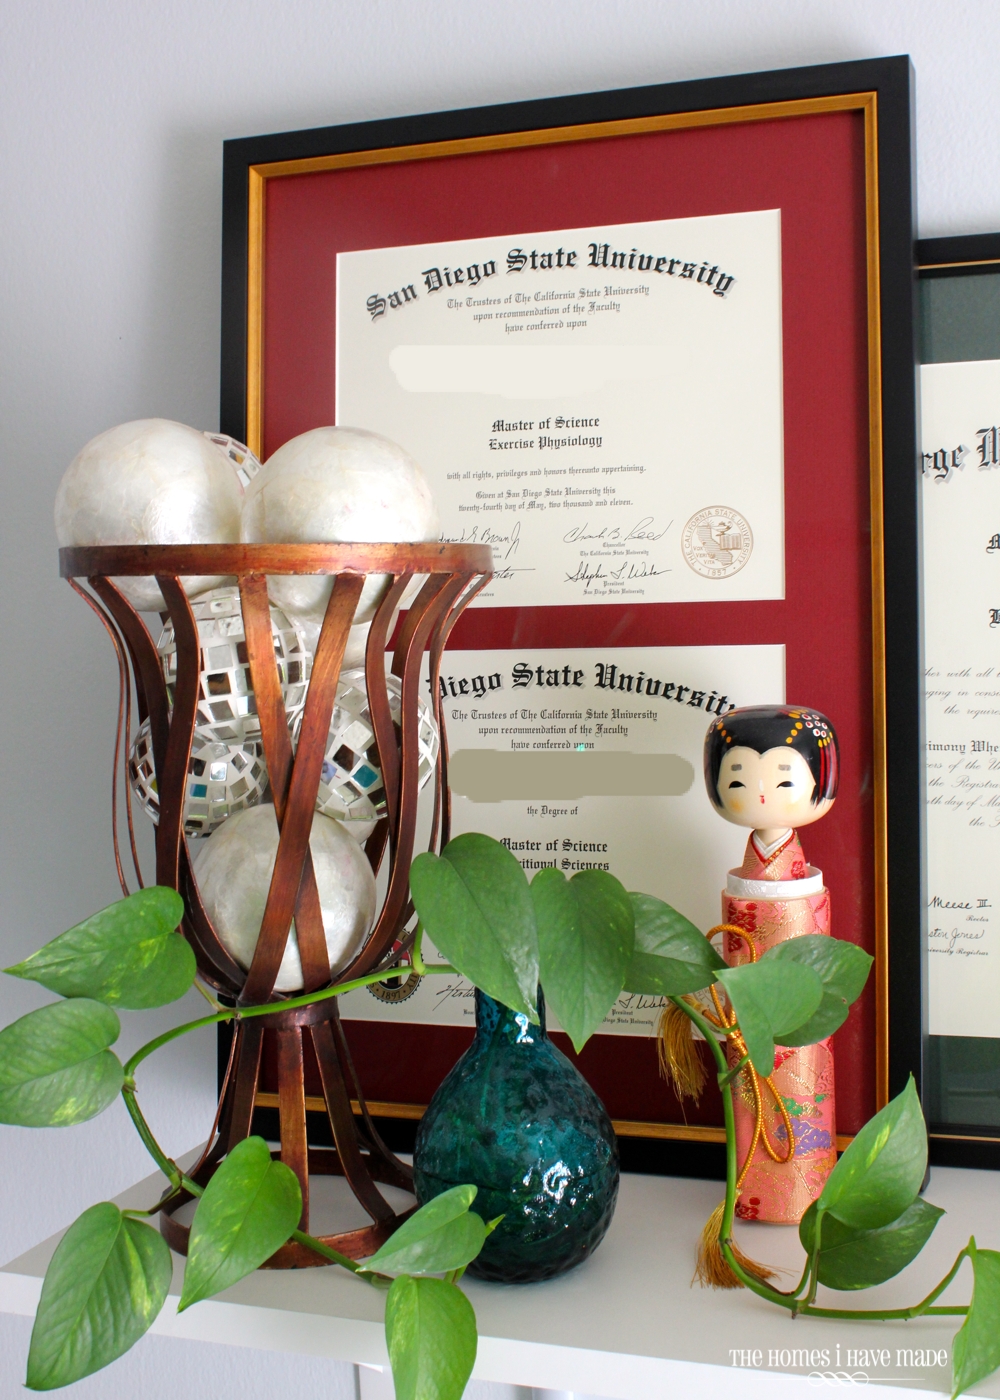
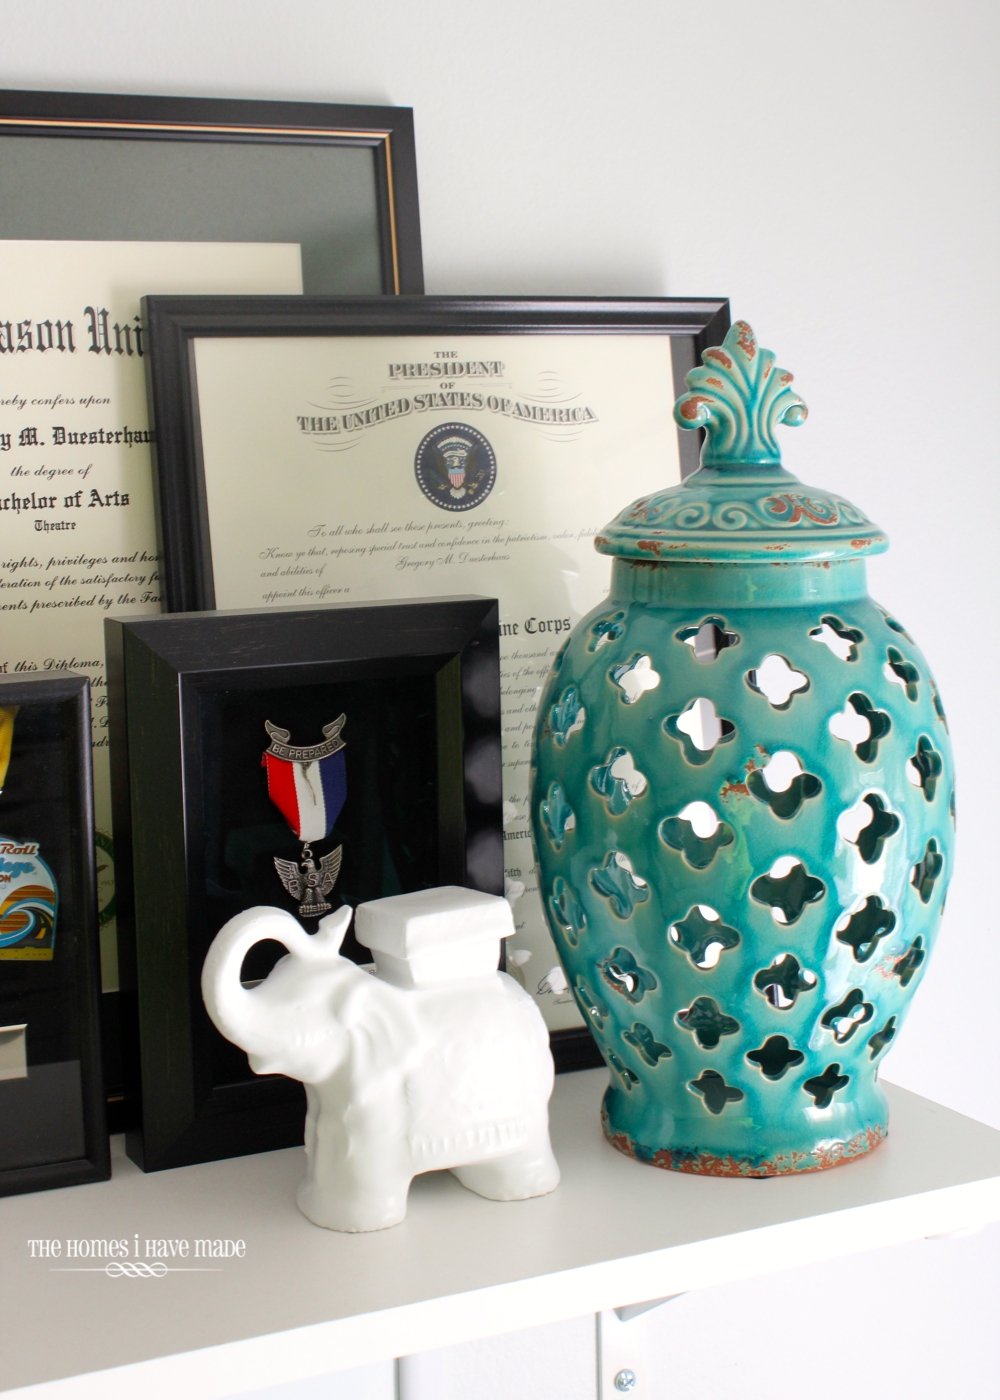
The shelf now oh-so-perfectly displays our diplomas, awards, and a few other accessories I collected from around the house. Instead of an awkward and unsightly gallery wall of diplomas, the grouped arrangement now feels more like a collection of art!
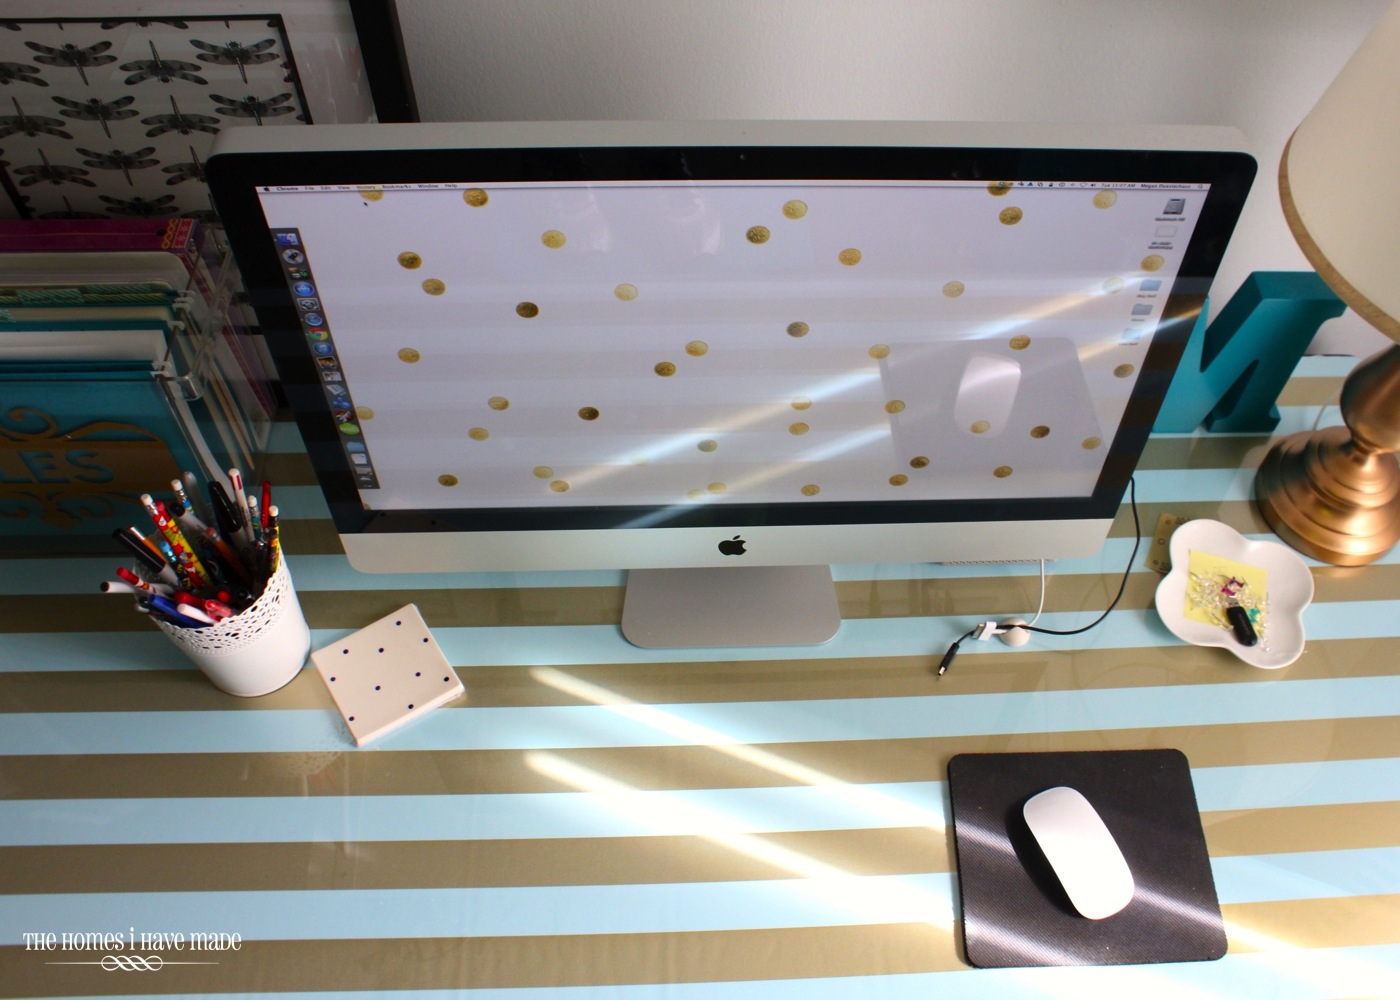
The other big and dramatic change to this desk was the addition of some gold and blue striped wrapping paper under a sheet of plexiglass (bought at Lowes). I still really hated how big and black and heavy the desk felt in this light and bright room, but I couldn’t bring myself to paint it. I just knew in my heart painting it wasn’t the right choice here. I bought this wrapping paper at Marshalls months ago with the intention of doing this very thing. I never got around to it over the summer, but decided to go for it last week. The desk looks like I took 50 pounds off of her and now is just so “me.” Honestly, the $3 roll of wrapping paper is what truly sparked major changes for this room!
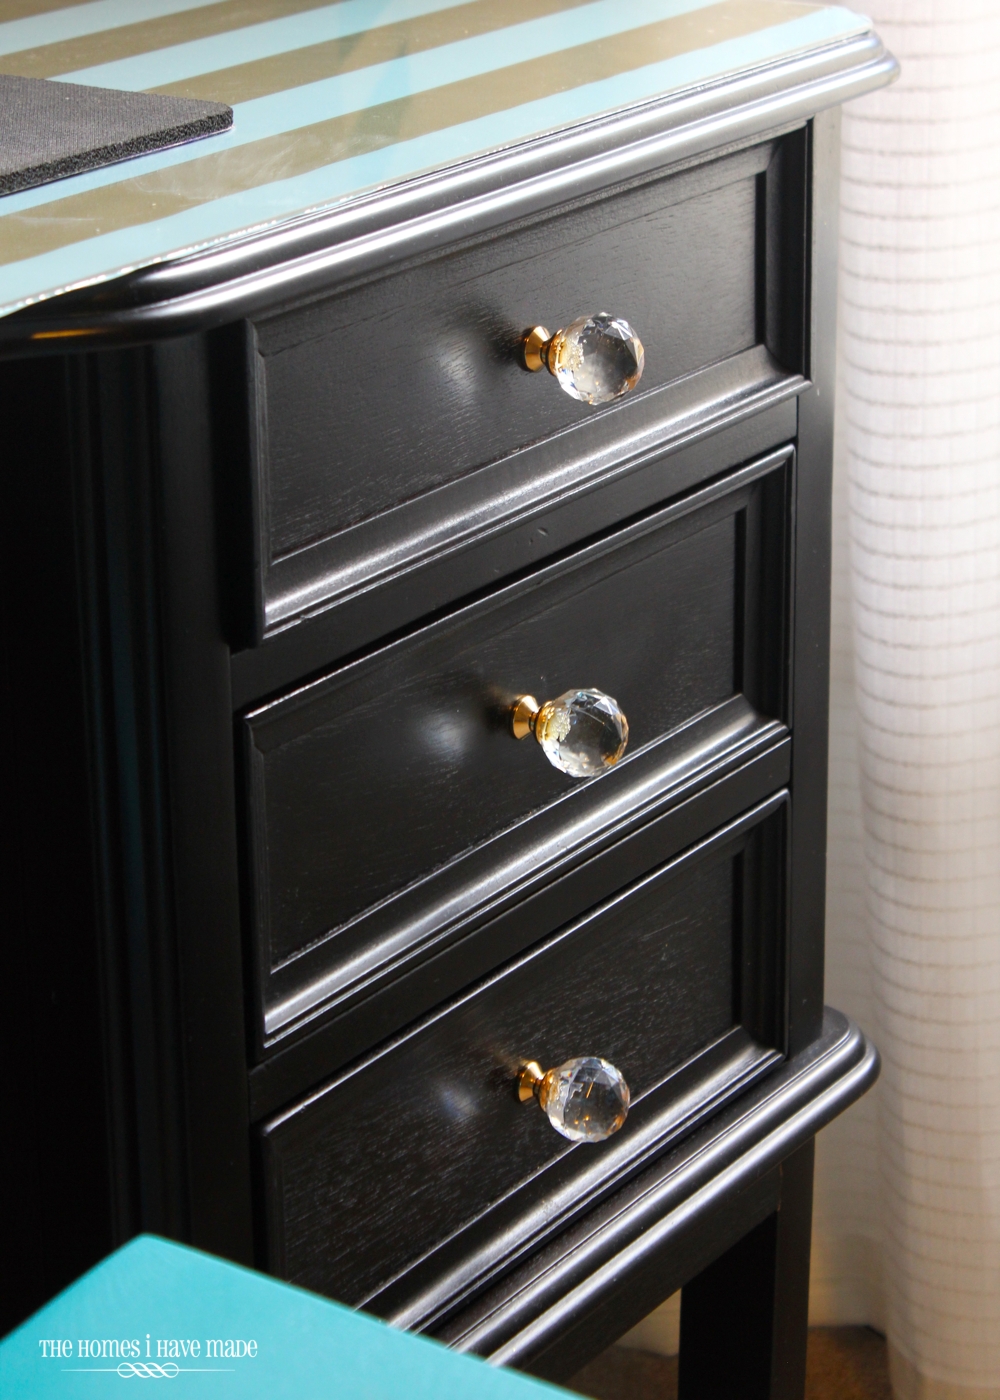
The only other change I made to the desk itself was to swap out its silver knobs for these gold crystal knobs I found at Home Depot. They bring the perfect amount of gold and glam to this very masculine desk. So worth the $20!
With the wrapping paper down and new knobs, my ideas were rolling and I knocked out a few waiting projects for this area.
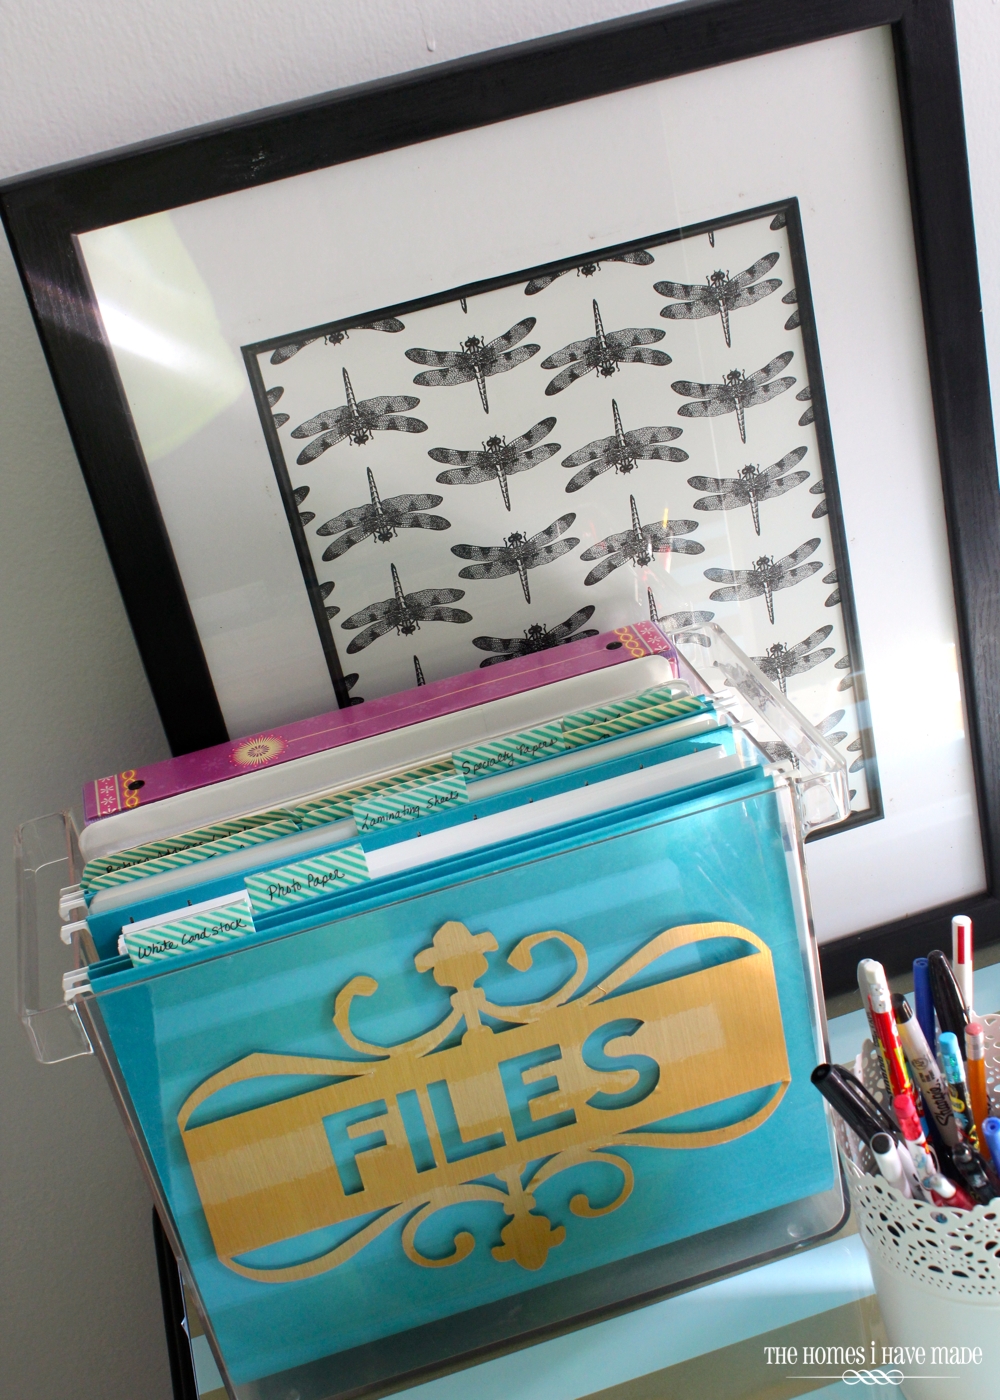
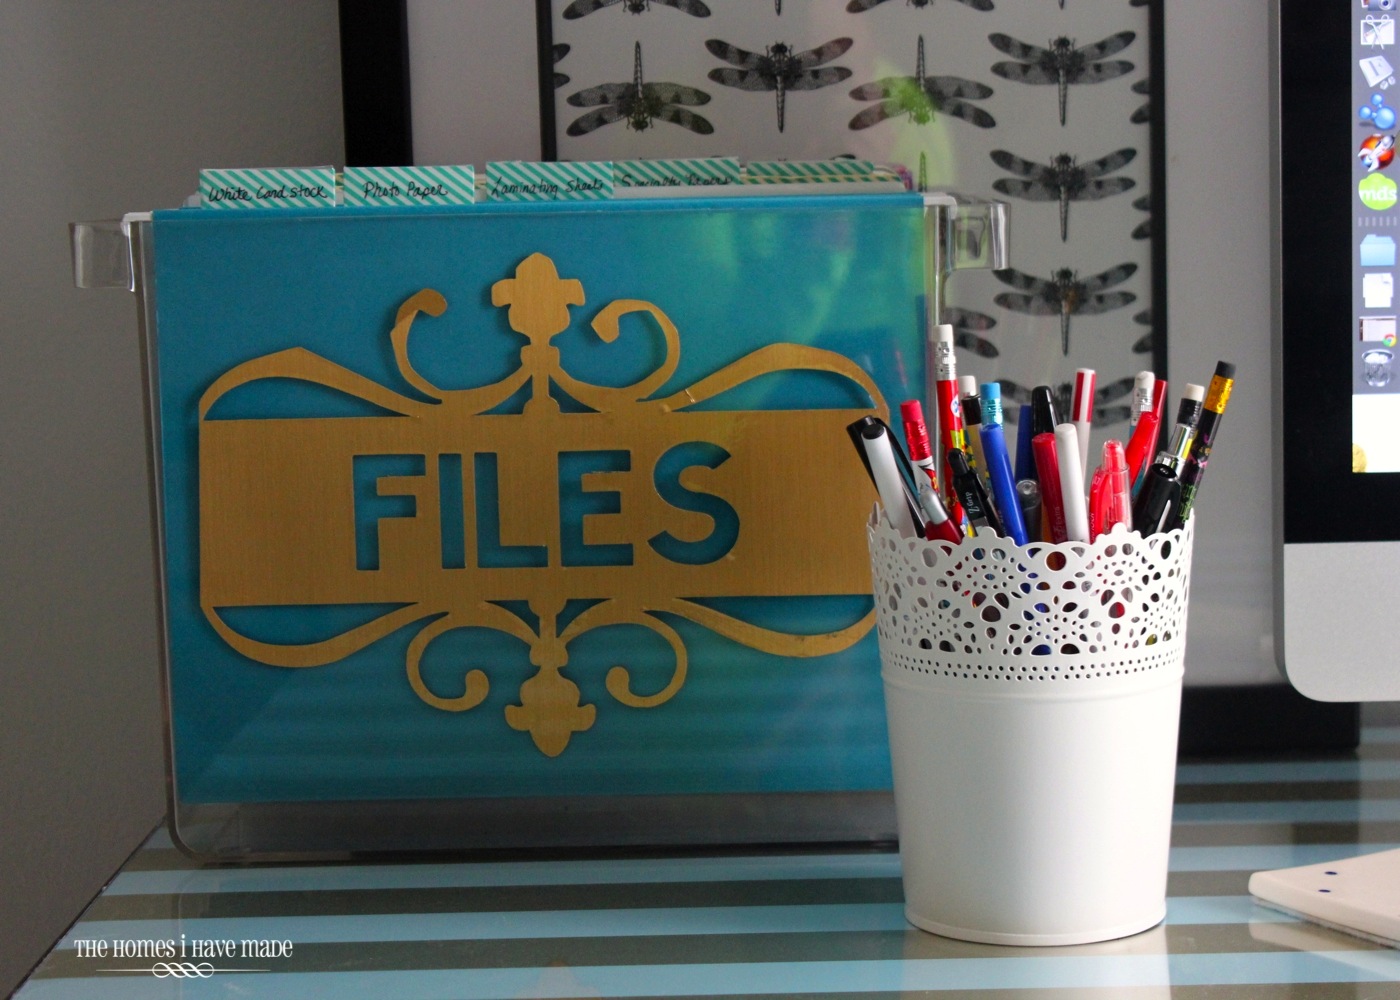
This clear acrylic file box is from Staples. I added the gold “files” sticker and it holds all of my paper, laminating sheets, cardstock, etc. I’ll show you an up-close of this box in the coming weeks! The black dragon flies artwork is also wrapping paper from Marshalls popped into a frame from the garage.
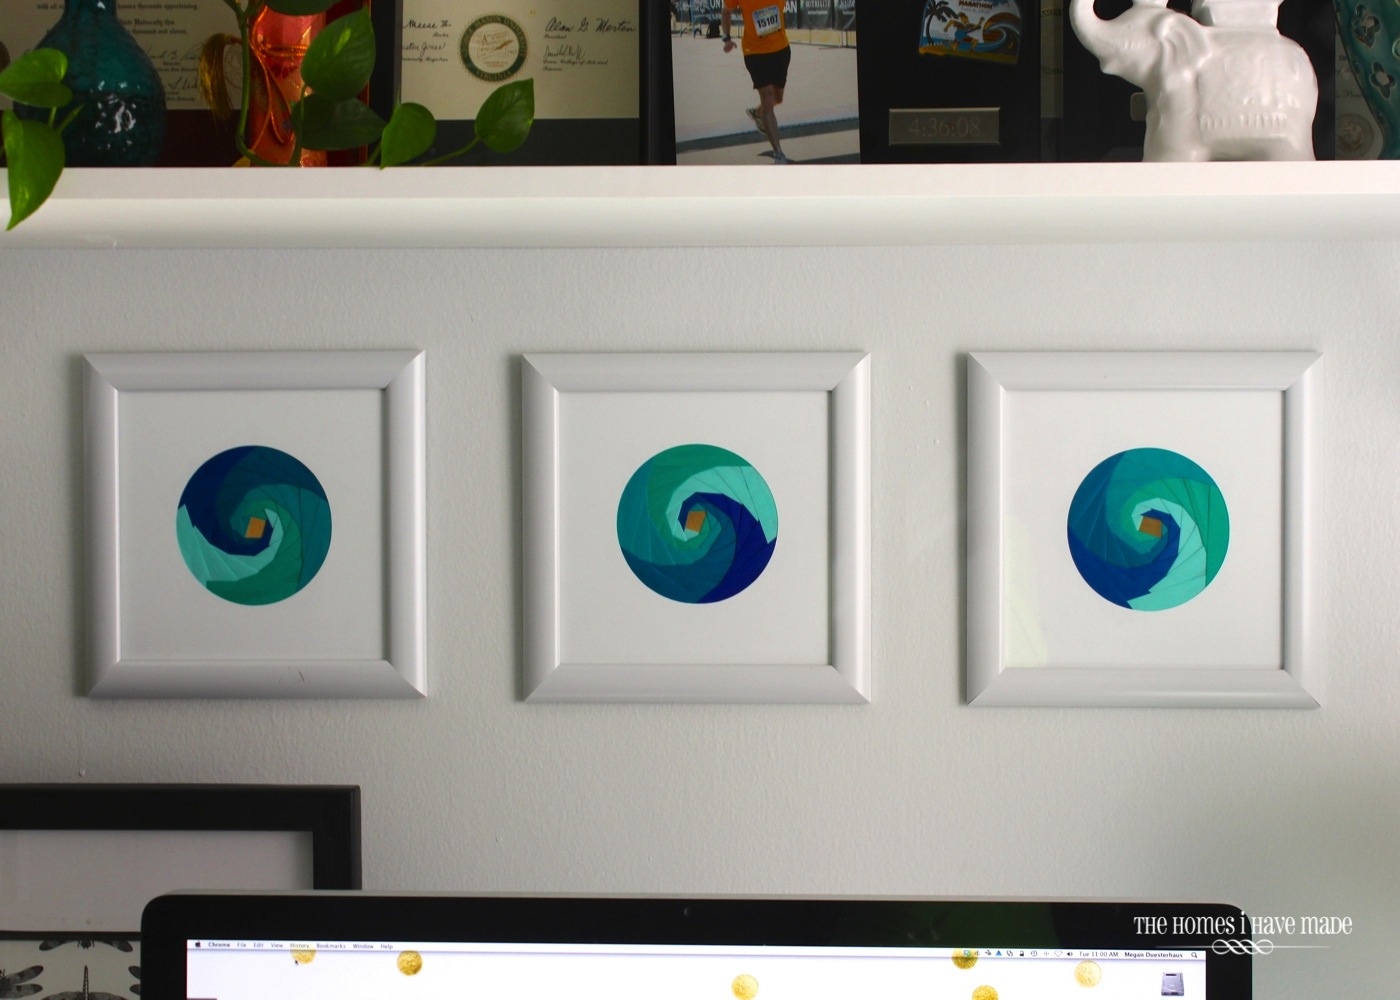
Because I tend to change my looks around somewhat frequently, I don’t like to spend a ton of money on artwork. As such, I am constantly on the lookout for ways to make super cheap and super chic artwork for our walls. These frames are my take on old-school Iris-paper folding. I’ll have the tutorial for you here on Friday. I love their graphic and vivid pop on in the somewhat neutral space!
Just this weekend I was surfing Pinterest and found a collection of awesome computer desktop images. I couldn’t download this gold foil confetti image fast enough! I mean, it looks like it was made for my space!
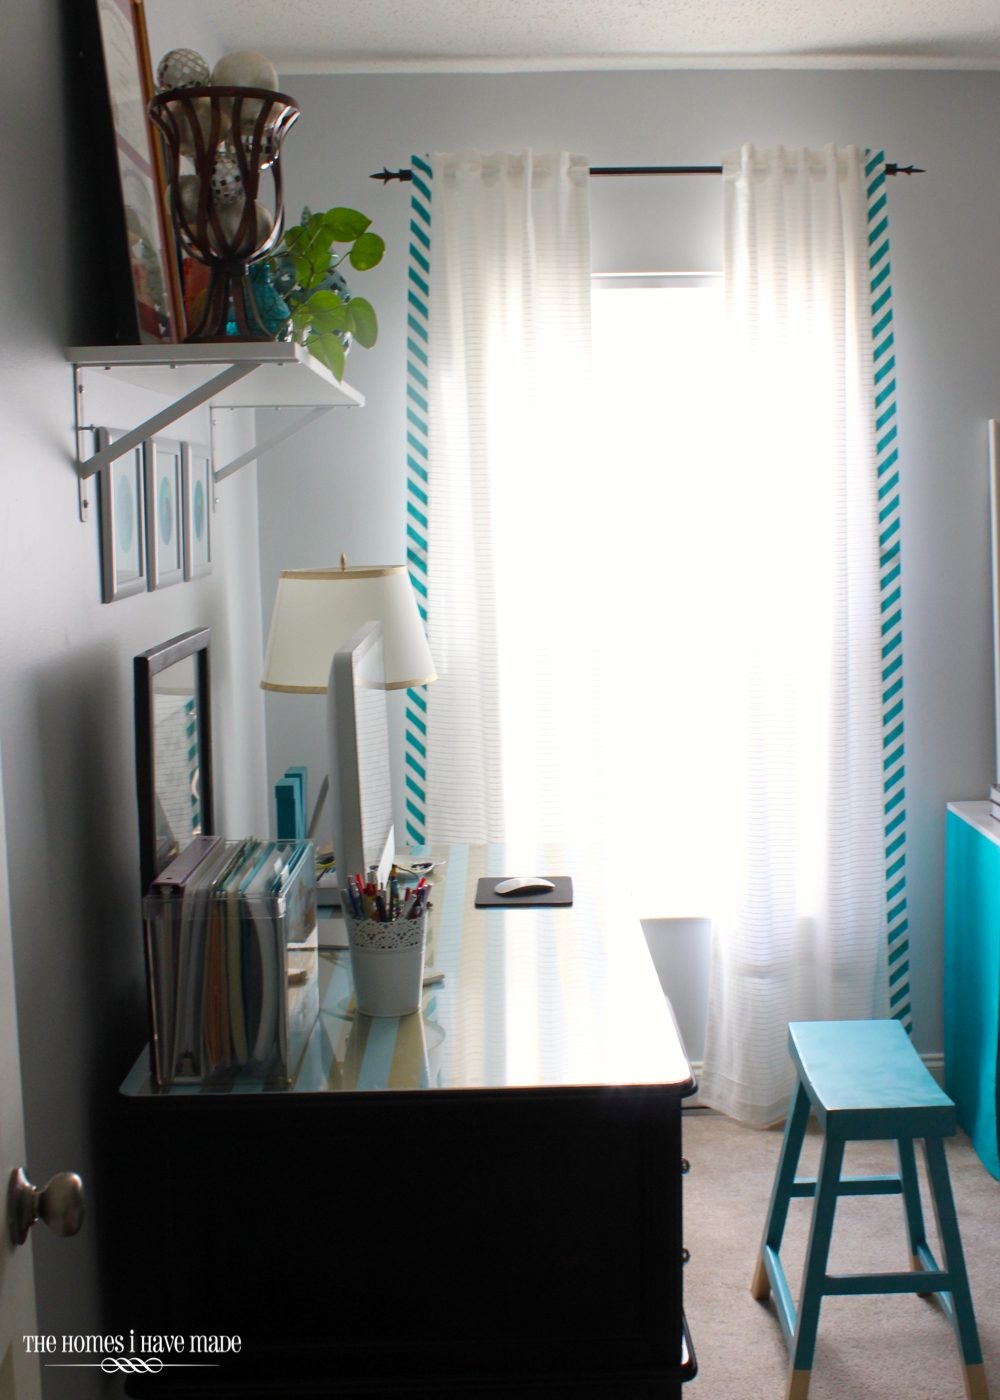
As DIY/home decor projects tend to go, one project lead to another. While I had a curtain hanging up in here, the floral motif in the fabric just wasn’t working for me anymore. I re-cycled some white curtains from an old project into these awesome edged drapes. I have a tutorial for these too, so stay tuned!
Now, instead of walking into a big, black, overpowering desk, this is what greets me as I walk in the office door! (I know you see something turquoise-y there to the right. Hold your horses, I’m still working on that nook…but I’m almost done so stay tuned!)
If you couldn’t tell by all the pictures in today’s post, I am just over-the-moon about this transformation. I’m not sure what made this particular makeover so gratifying…maybe that I turned an eyesore of a desk into a sparkling diamond with very little effort, or because I allowed myself to walk away when the ideas weren’t there and return to it ready to make it something special. Either way, this corner is certainly now my Happy Place!
Now, whenever you read a post here on the blog, you know all the “magic” was done right here 🙂
Hope everyone’s having a great week! Check back on Friday for the full how-to for my iris paper folding art! See you then!
Megan




14 Comments on “Office Desk Makeover Reveal”
I love it!!! It looks so amazing!! There are so many things I love that I don't know where to start. Can't wait to see all the tutorials. It was well worth the wait!! Love it!!
Thank you Crystal! You always leave the nicest comments. Please know they always bring a smile to my face.
The room is simply lovely! I love the color combo you used. 🙂
The desk makeover looks fabulous. I love the new look.
Your work space looks phenomenal! How cute, colorful and functional. I stumbled on your blog today and just wanted to let you know that your posts are wonderful. Thanks for sharing!
This is really pretty and the colors are awesome. Removing the hutch makes the desk seem huge.
I love it! Inspires me to work on my craft room/office that has also become a dumping ground…nice job!
I love the desk! Just wondering if you had the people from Lowes cut the plexiglass to fit the desk? I would love to do something similar to our nasty IKEA desktops, but the Lowes people told me it would probably be cheaper to go buy a new desk! Hmpf. Any thoughts?
Here's the answer I gave to another reader asking the same question:
I actually kept putting off this desk surface project bc I thought the plexiglass would be a total headache and too expensive. I'm happy to report it was neither! Our desk top size fit within one of their standard sizes (this is the one I bought: http://www.lowes.com/pd_78777-1638-1X08126A_4294713160__?productId=3143521&Ns=p_product_qty_sales_dollar%7C1&pl=1¤tURL=%3FNs%3Dp_product_qty_sales_dollar%7C1&facetInfo=). I did buy the plexiglass cutting tool they sell (right next to the plexiglass section at Lowes) and it made cutting a breeze – we had to trim both the length and width. Now, our desk has rounded corners, and I was super nervous about cutting them right. With some work at it, I was able to get the corners somewhat rounded using the cutting tool, and then I used a rotary sander to GENTLY finish them off. I would have loved to round them a bit more, but the plexiglass is pretty susceptible to cracks (which happened on one corner as I tried to sand it), so I didn't want to get too aggressive with it. The plexiglass isn't a 100% match at the corners, but pretty good for an off-the-shelf item that ran me about $40!
I have been wanting to do the very same things to our "too expensive and now regret purchase" of a dark desk! Could you tell me more about the plexiglass from Lowes? Does it come in large sheets and you cut to size? We have an odd corner desk, so it will probably take a few odd shapes I'm guessing.
Pingback: DIY Large Pin Board (with an acrylic dry-erase surface!) | The Homes I Have Made
I’m planning to give my desk a makeover. Thank for sharing this and it gives me a lot of idea.
Pingback: 12 Office Desk Redo Ideas for you to renovate your Work space! - Outdoor Click
Pingback: 12 Office Desk Redo Ideas for you to renovate your Work space! - Spark Love