Modern Paper Iris Art
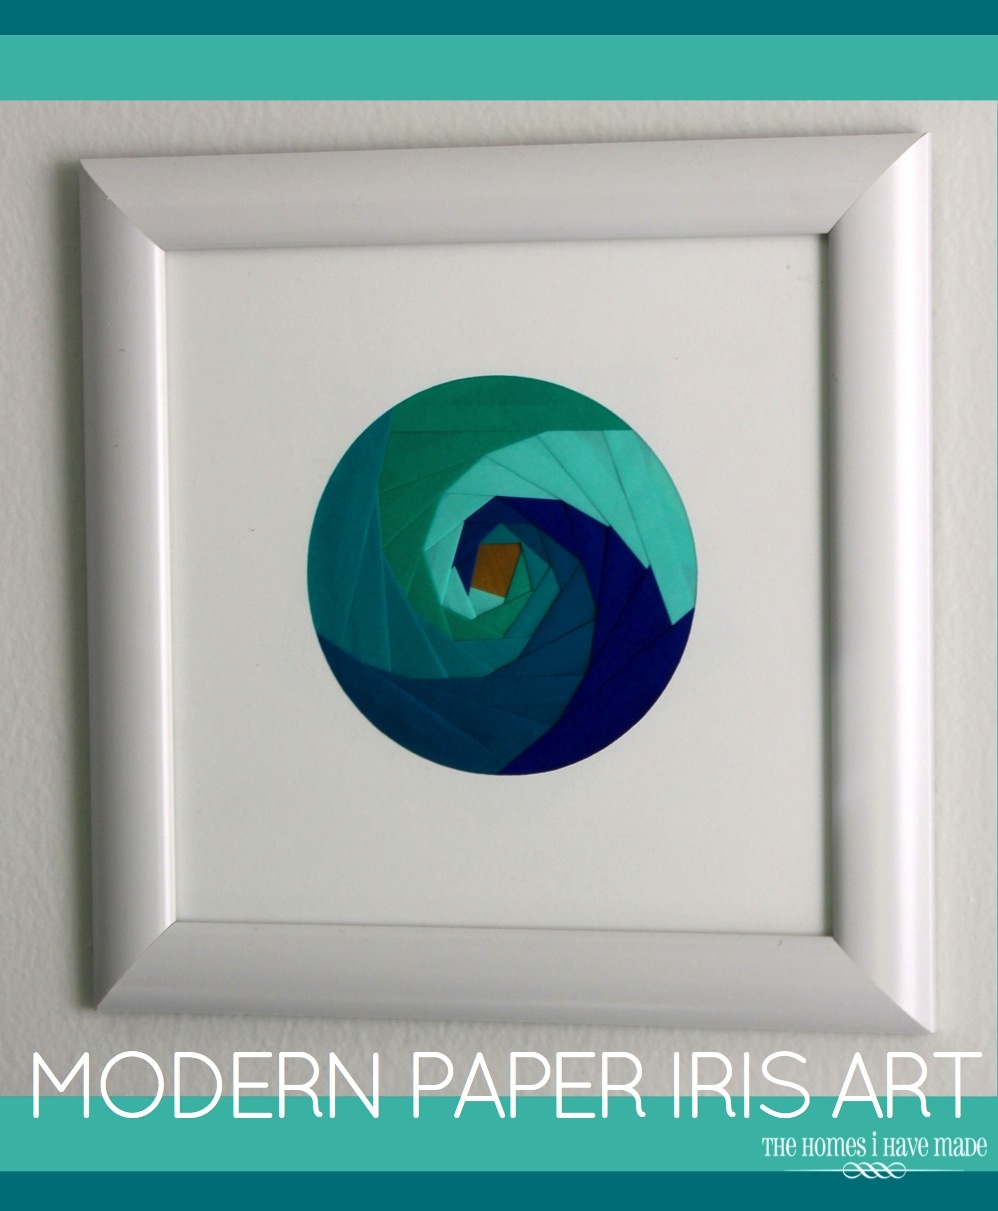
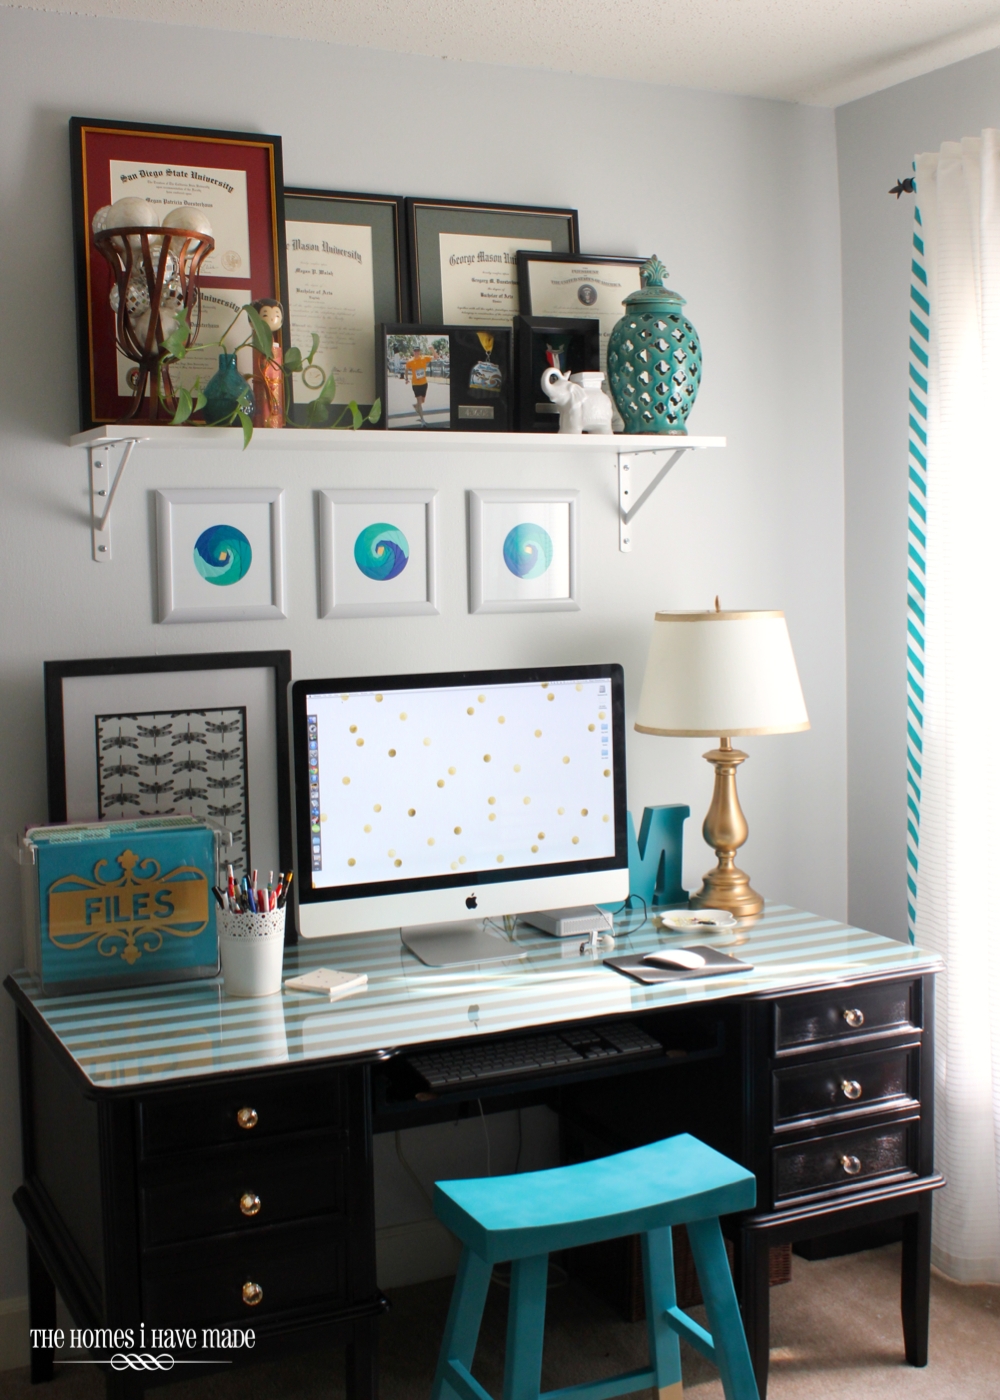
Hey everyone! and Happy Friday!! I hope you all had a good week. As promised, I am back today to show you one of the projects from our office desk makeover (did you catch the reveal on Wednesday?). This simple wall art project is not a new technique; in fact, it’s a pretty old one…and many of you paper crafters out there will likely recognize it. When I was looking for simple and modern art ideas, I came across iris paper folding in an old cardmaking book. I thought I could put my own modern spin on it (ha.ha.ha.) and sure enough, I ended up with some pretty cool artwork!
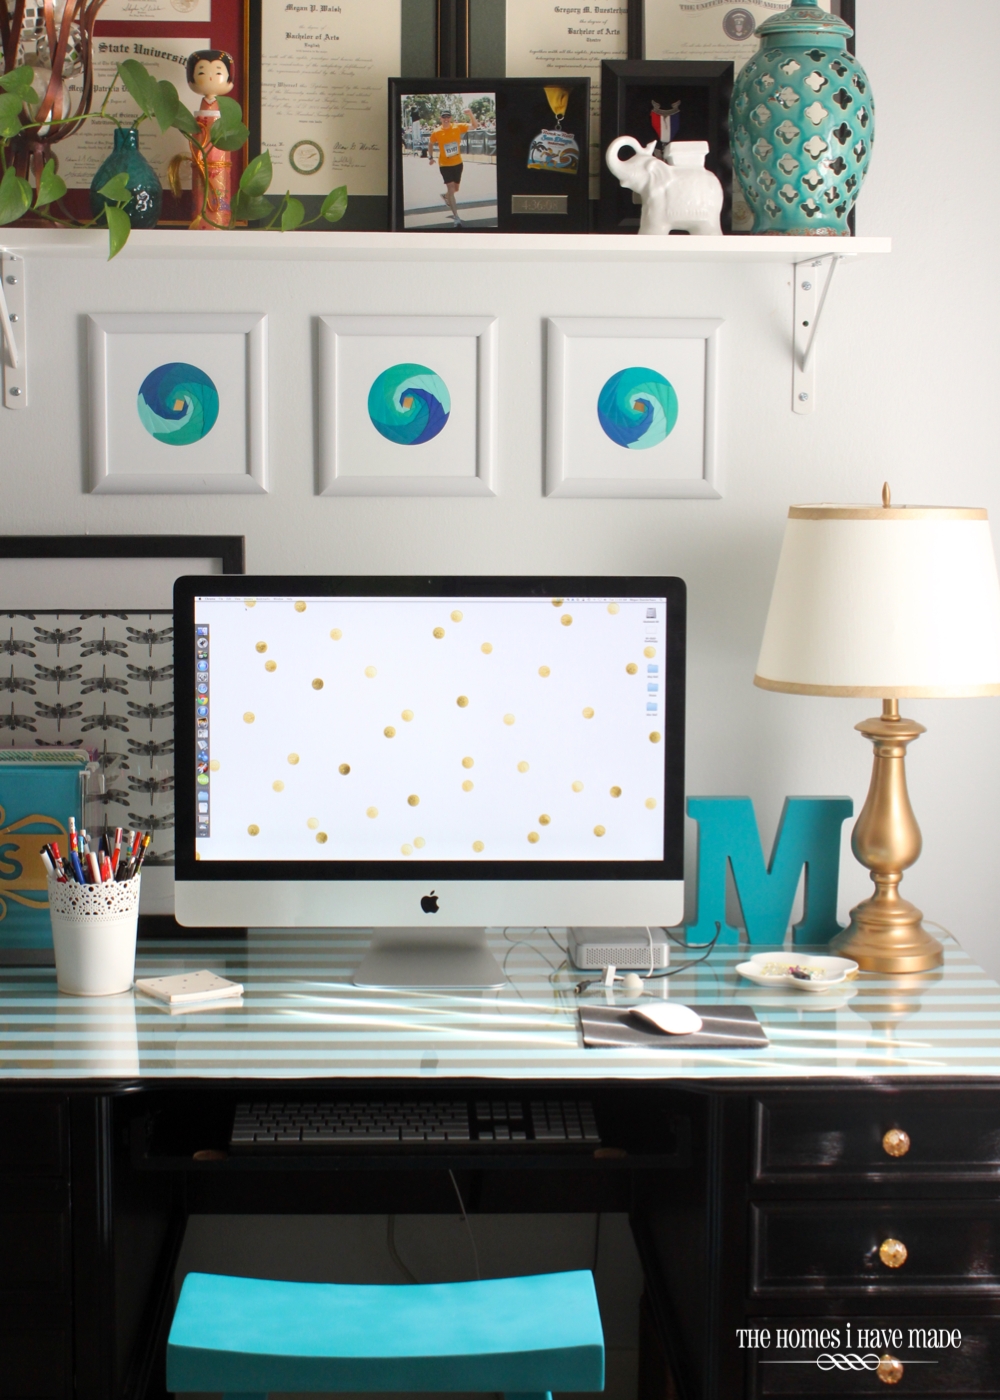
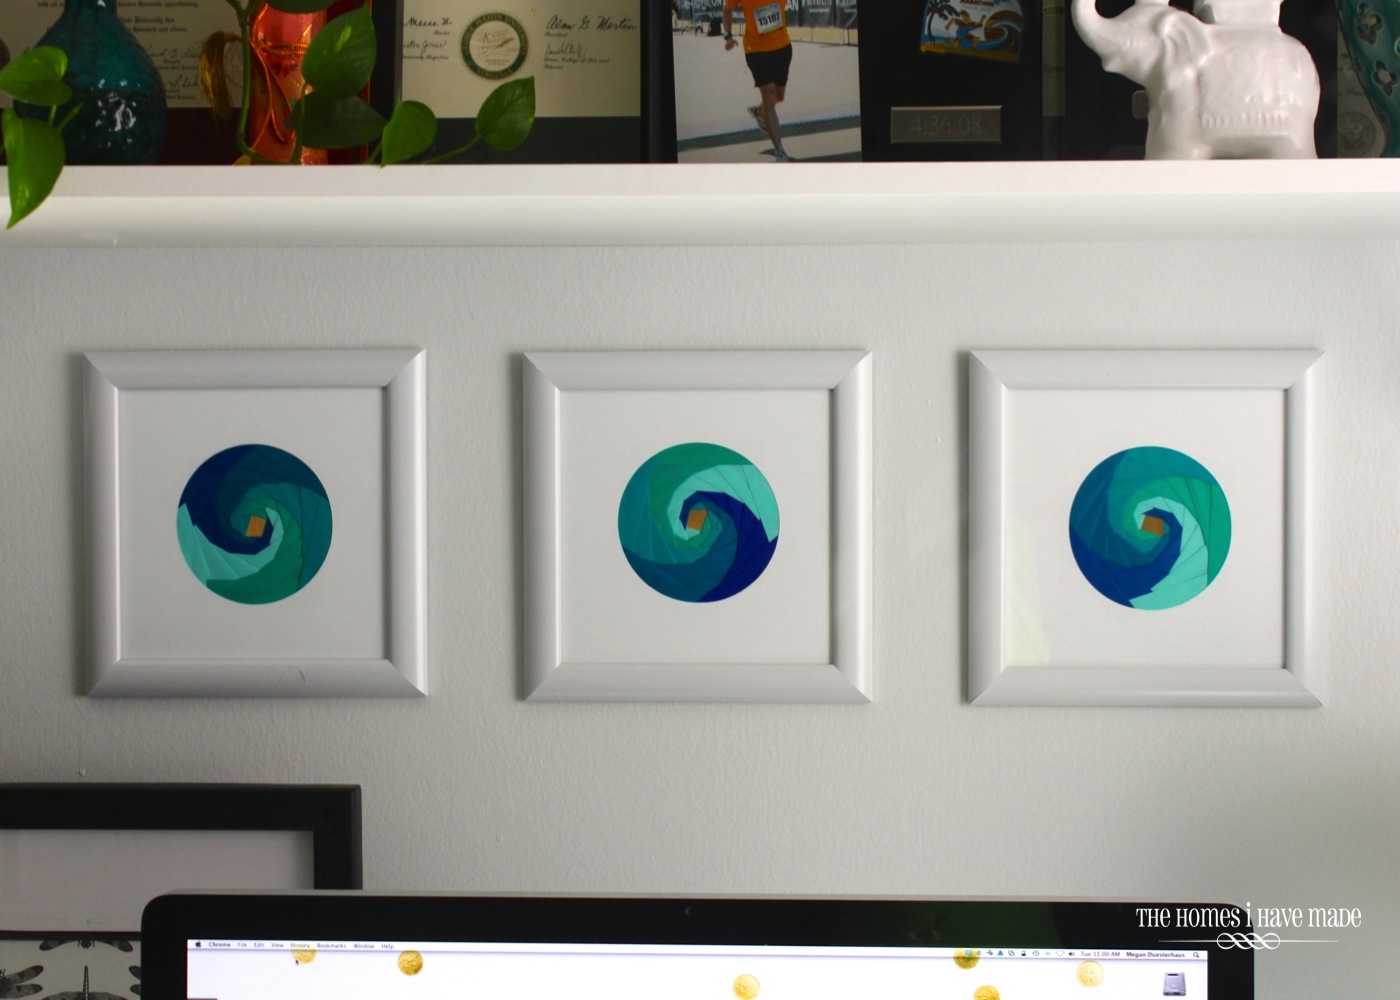
The folded paper kaleidoscope is pretty cool on its own, but done in a monochromatic scheme and grouped together in a set gives a major graphical pop to this work station.
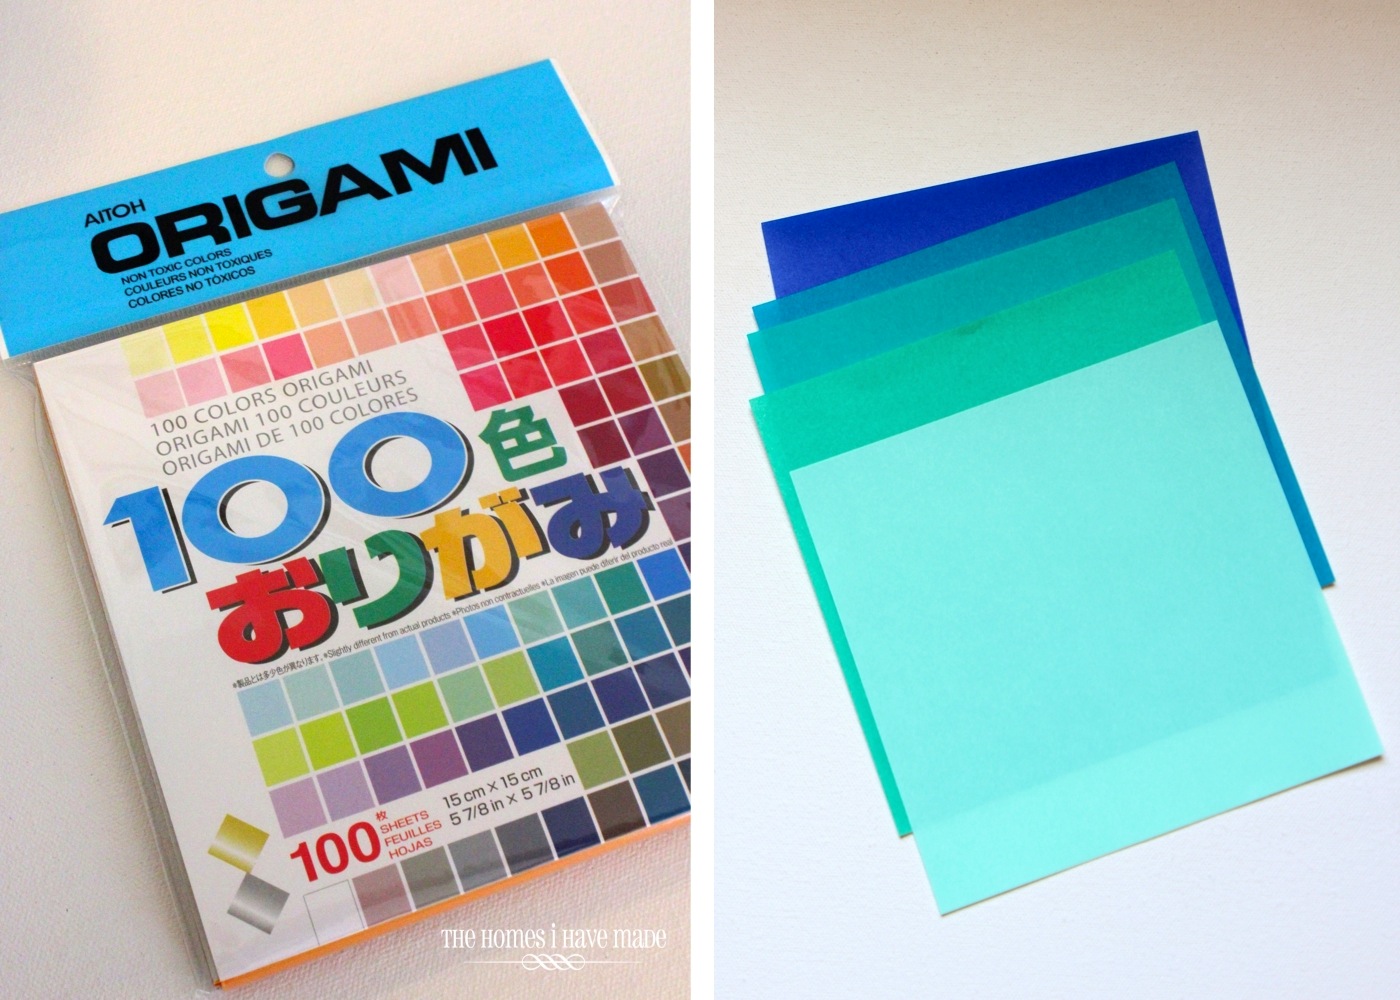
These are super simple to pull off, although they look a bit complicated. Promise, you can knock these out while catching up on your favorite tv show 🙂 To make them, you will need origami paper (ideally) or you could use lightweight scrapbook paper. Because you want crisp clean folds (and it gets pretty bulky), I would avoid cardstock. I picked up this pack of 100 sheets of origami paper at Michaels for just a few dollars. I then picked out all the blue papers and narrowed down my selection to five colors that worked best together.
I then used a paper cutter to cut each square down into 1″ strips. I recommend keeping your colors grouped together; when it comes time to taping your design down, you will be glad to have them sorted!
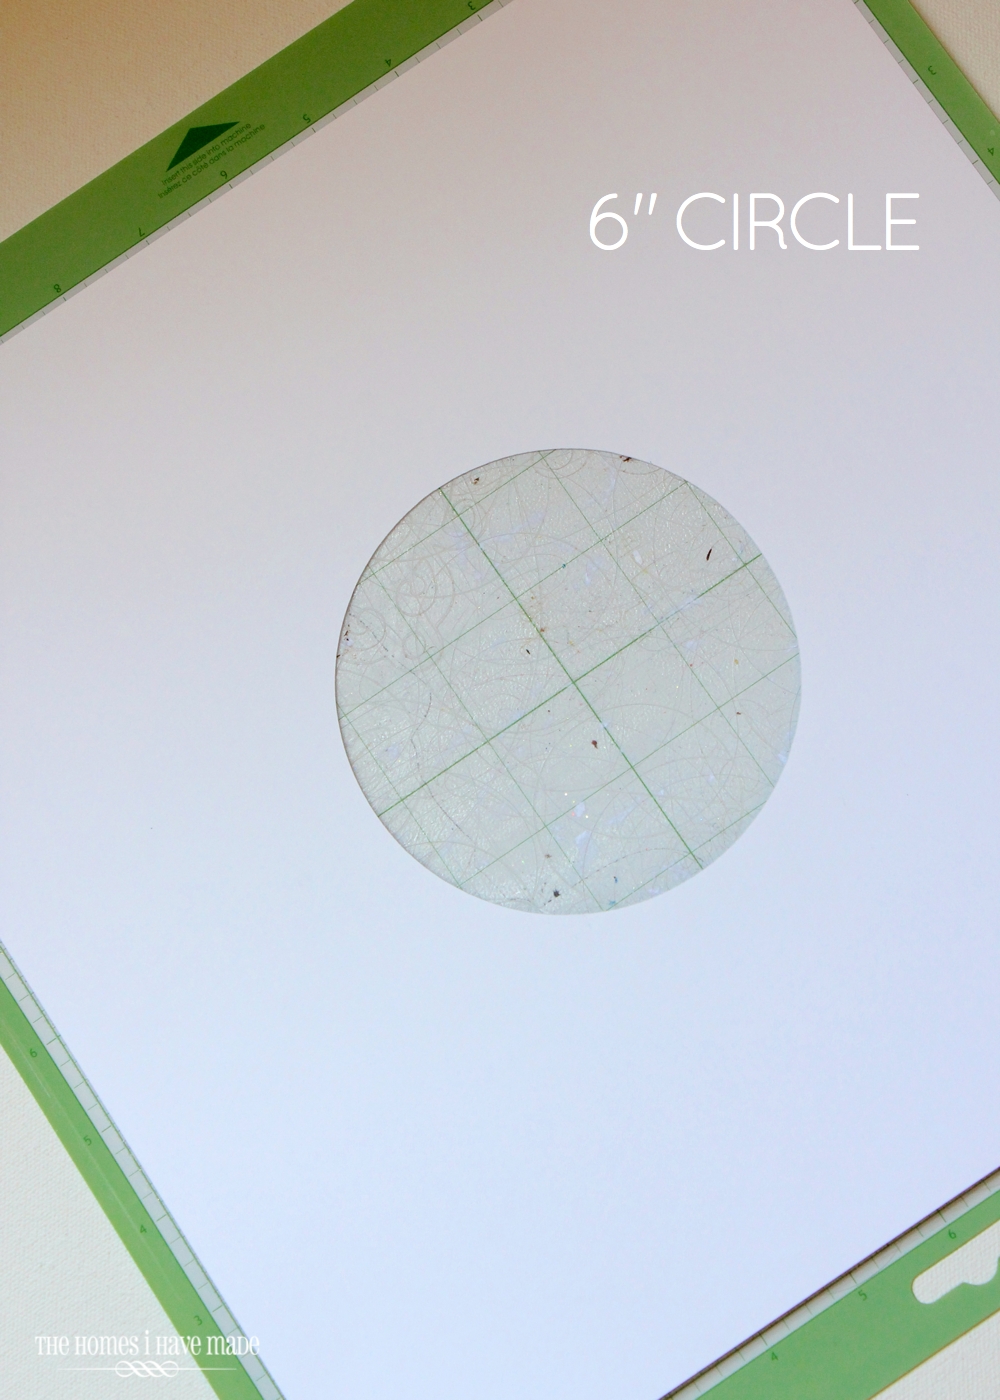
Next, I took a 12×12 sheet of white cardstock, and using my Cricut, cut a 6″ circle in the very middle of my sheet. I cut it in the middle so that I would have equal borders on all sides of my circle, allowing it to fit in any size frame I chose.
Next, you need to find and print an iris folding pattern. Just google “iris folding templates” and find one you like. The one I used is from the book I found the idea in (can’t remember the title!). Once you have the template printed to the size you need to fill your circle, place your white cardstock OVER the template (so that it shows through the window) with the BACKSIDE of the paper facing you.
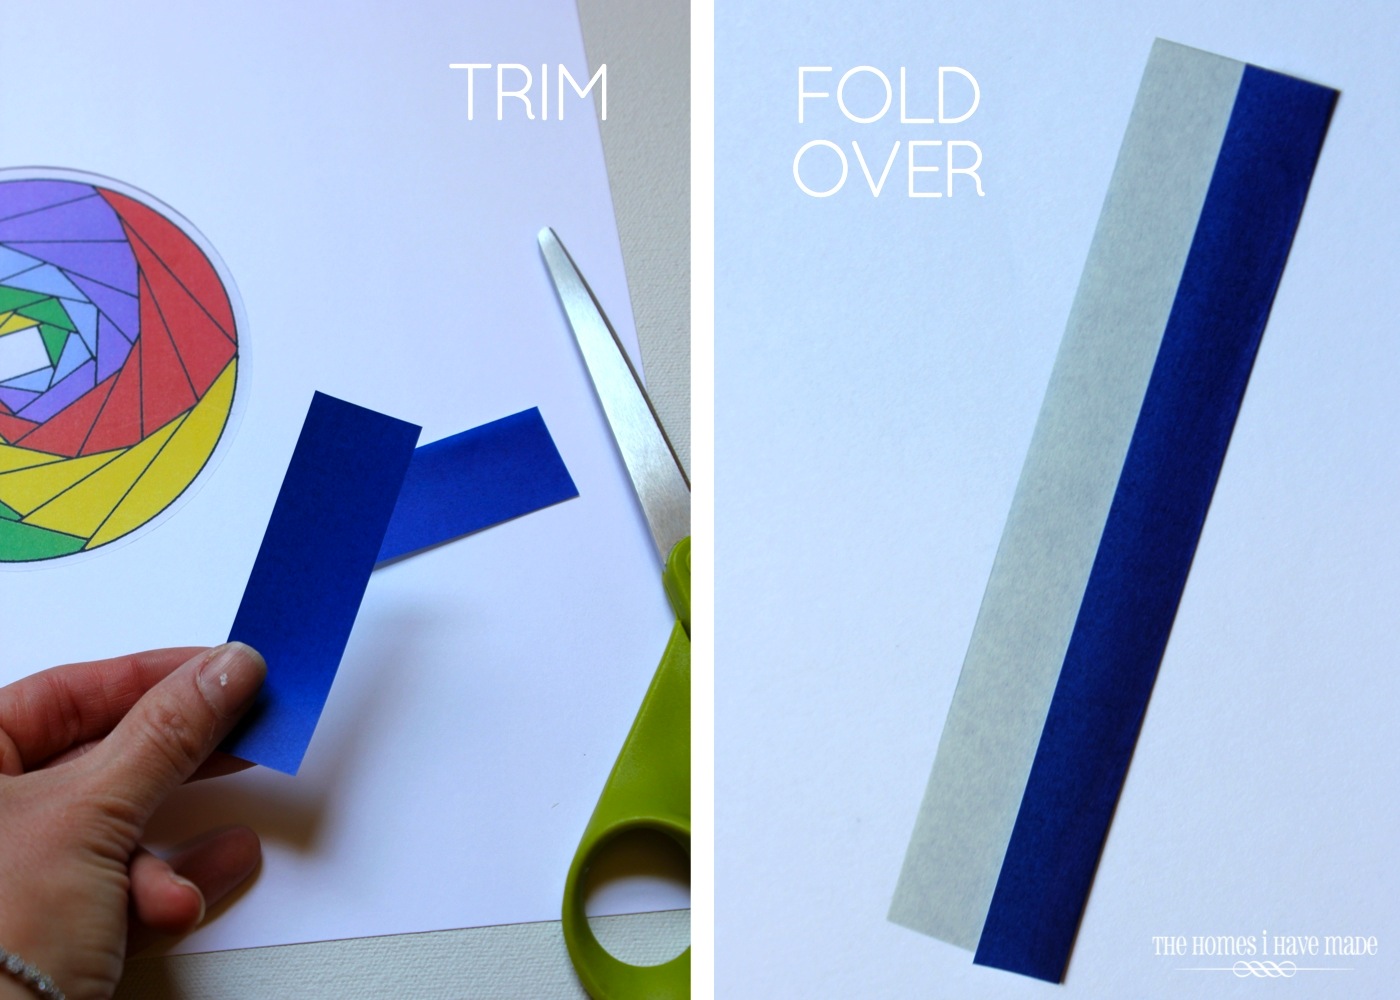
Next, you’re going to start filling the template with your colored strips of paper. I started by cutting down the length of my strips to the length I needed to cover the block on the template. Then I folded the strip over to create a nice clean edge.
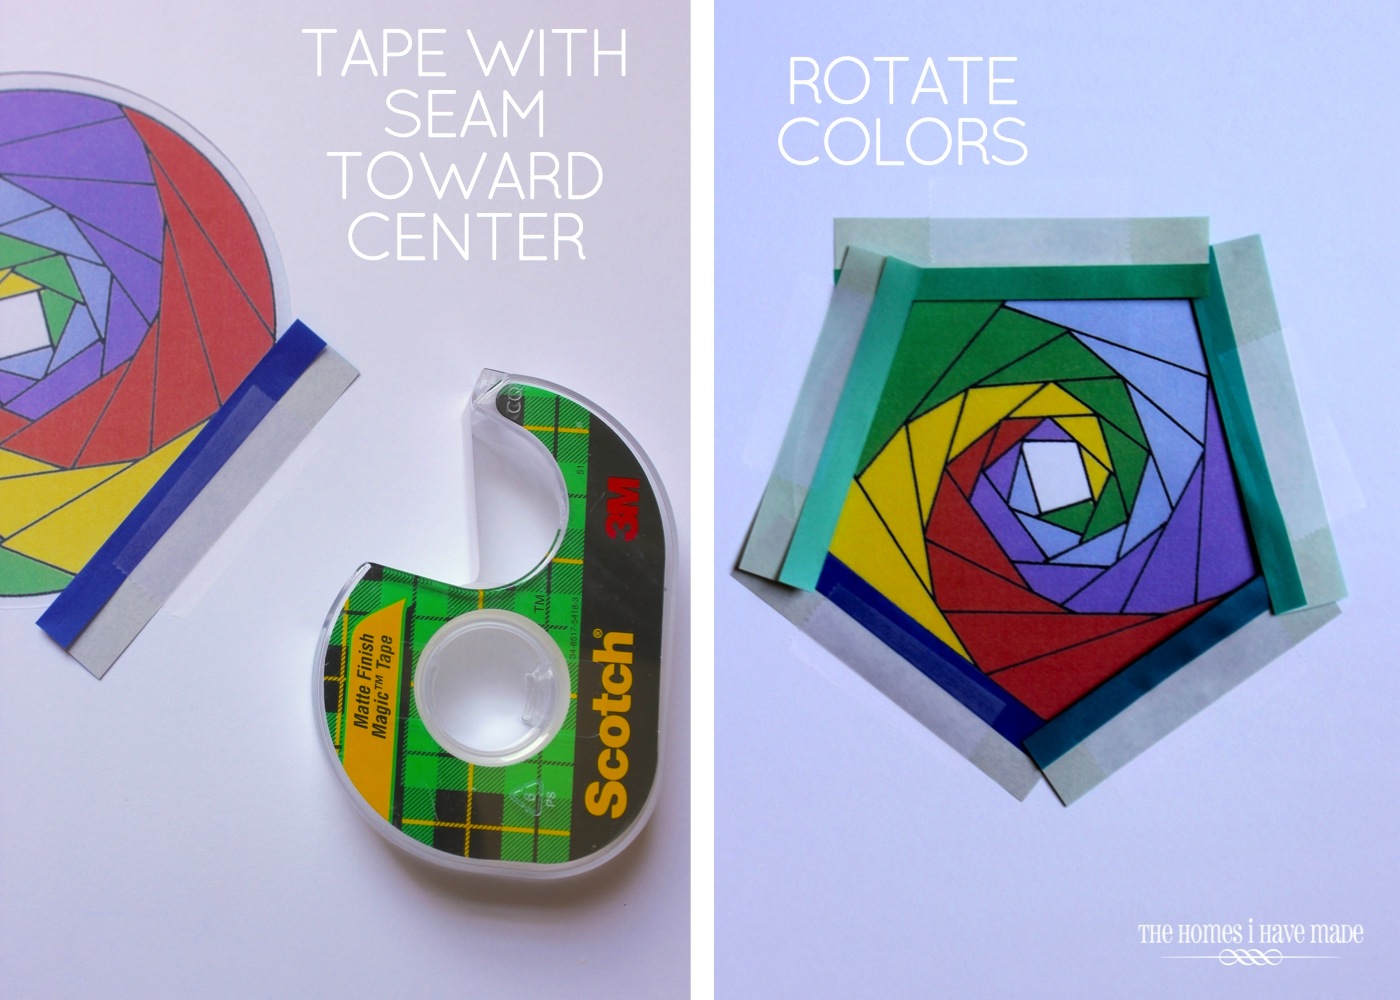
With the folded edge toward the center of the design, I taped down the paper strip on the appropriate color. In the example below, my dark blue paper covered the first yellow block on the template. Continue to work around the design with your different color papers. Each time around, the same color paper should cover the same color block on the template. Be sure to continually check your design from the front to make sure you don’t skip a color or a spot. It can be kinda tricky to correct if you get too far.
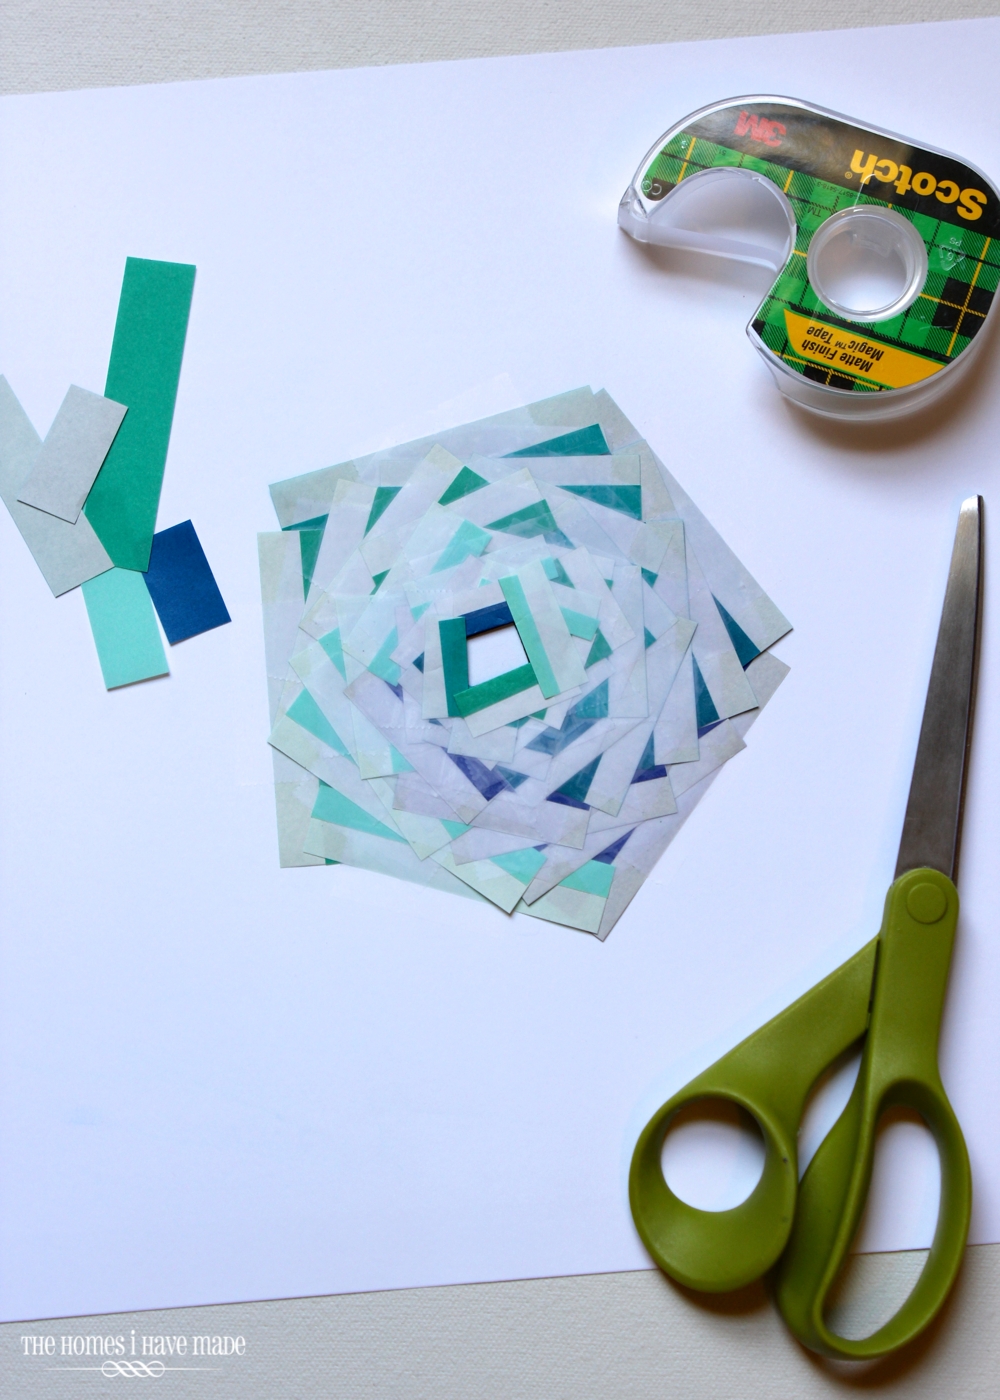
Keep trimming, folding, and taping around and around and around until you fill up the whole design.
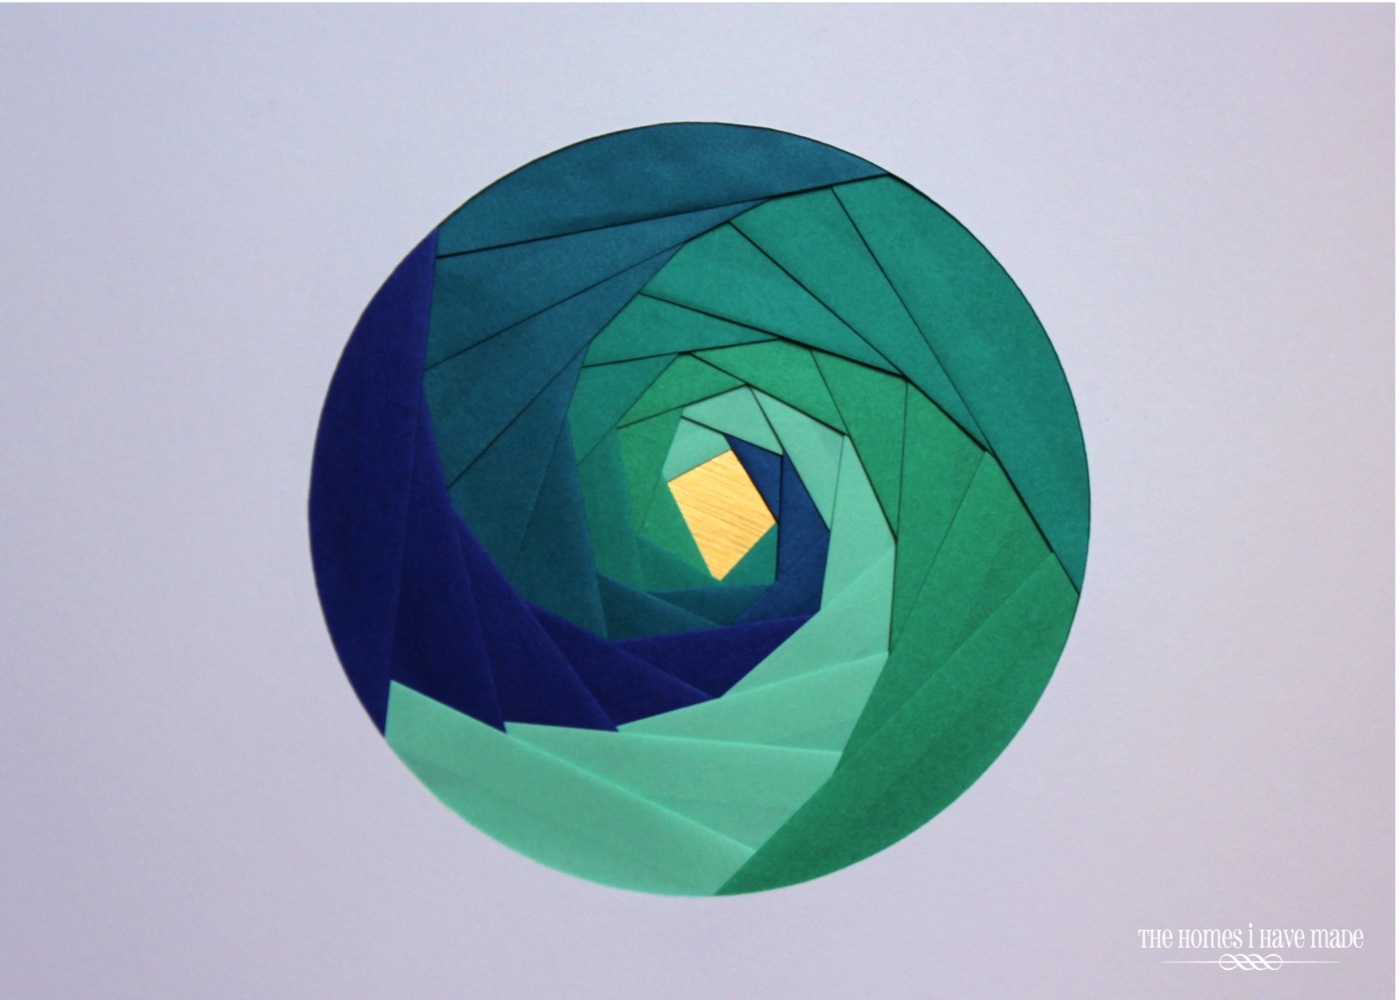
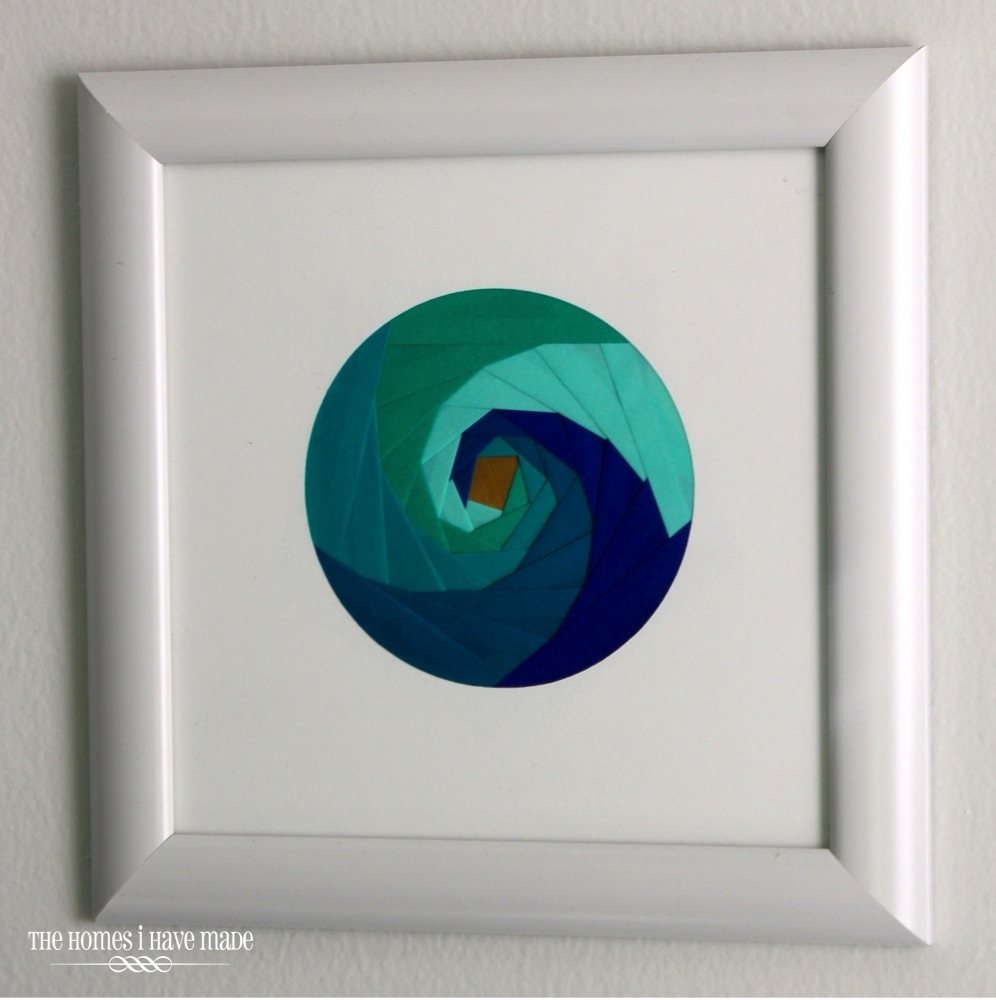
I put a little tiny piece of gold vinyl as the last bit in the center. Here is how my iris ended up!
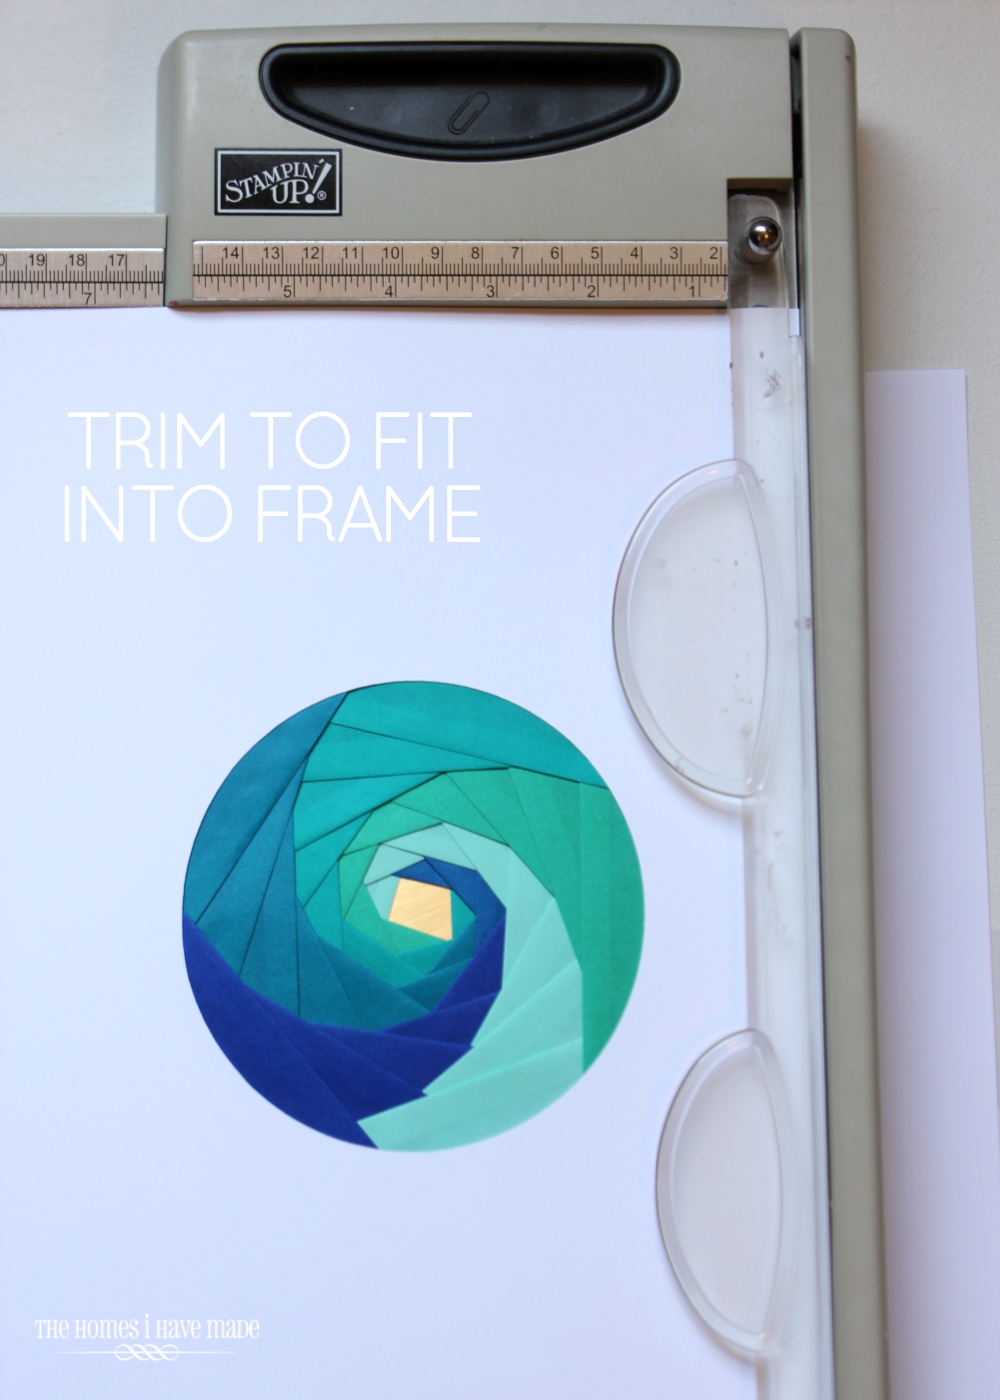
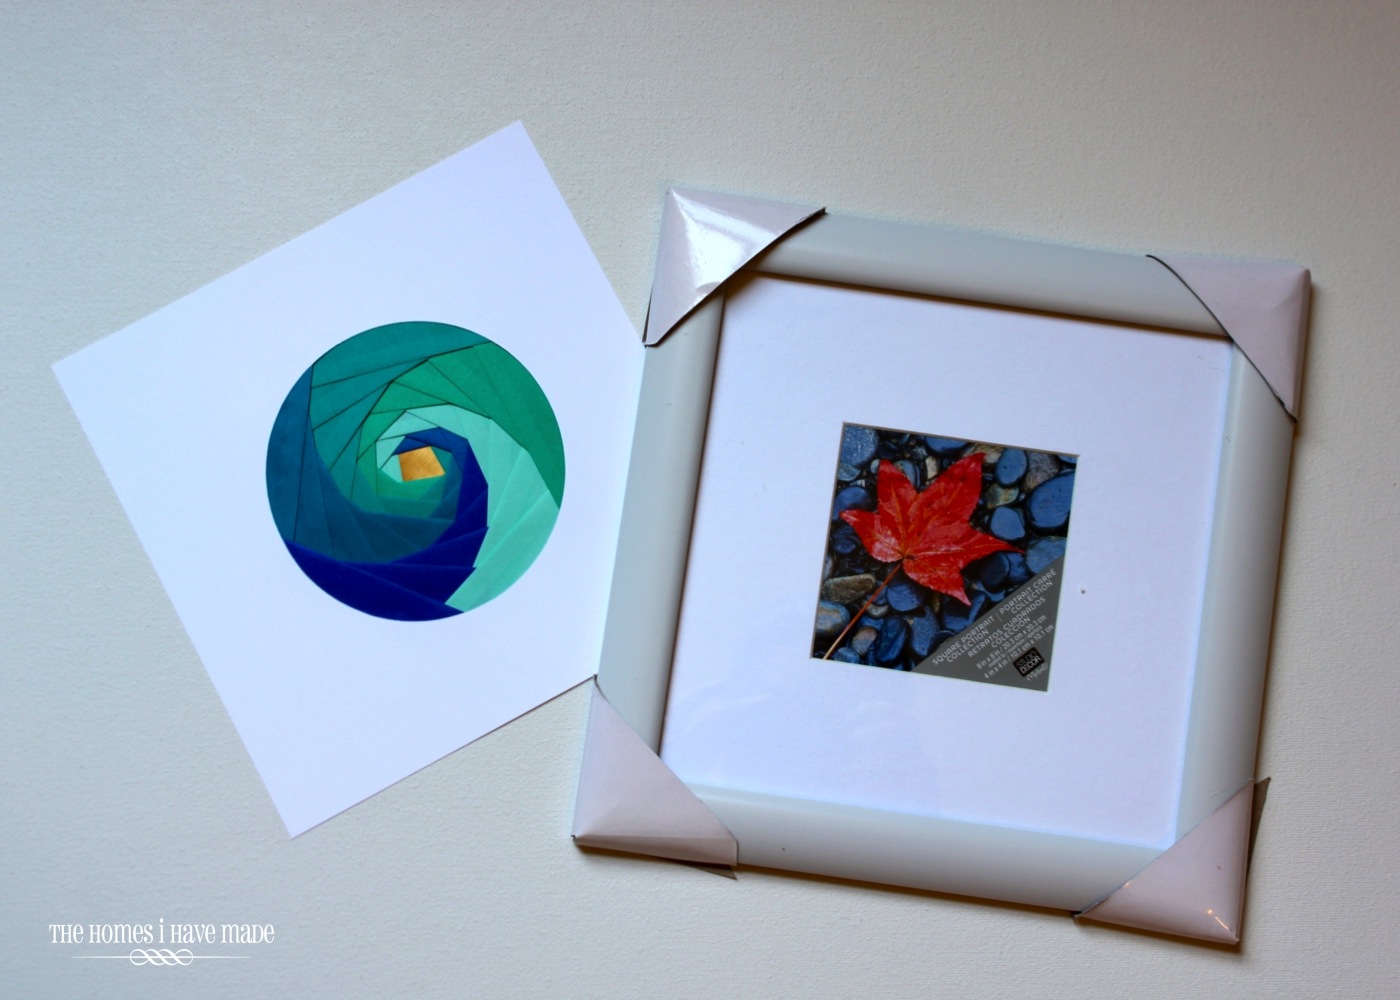
With all the folding and taping down, I measured my frame and cut down my white cardstock to fit, leaving an equal border on all sides of the paper iris.
I loaded up my paper iris into a cheap white frame from Michaels.
There are a million different patterns and ways to do iris paper folding, but I think the monochromatic effect is really interesting to look at!
After I figured out the first one, I made two more EXACTLY like the first. When I loaded them into frames, I rotated each one 90 degrees from the previous one to change up the overall look a bit.
Hung together, they are a super simple pop of color above our desk!
I think this same concept could be cool done on a really large scale, but you’d need pretty big sheets of paper. For now, these little ones are just what this little corner needed!
I hope you all have a great weekend! Next week, I’ll be continuing with a few tutorials from this little office nook. See you then!
Megan







2 Comments on “Modern Paper Iris Art”
So fun – I've been looking for some other DIY art ideas, so this is going on the to-do list! {Found you via TT&J}
Super fun!! Love it!! Thanks for the tutorial!!