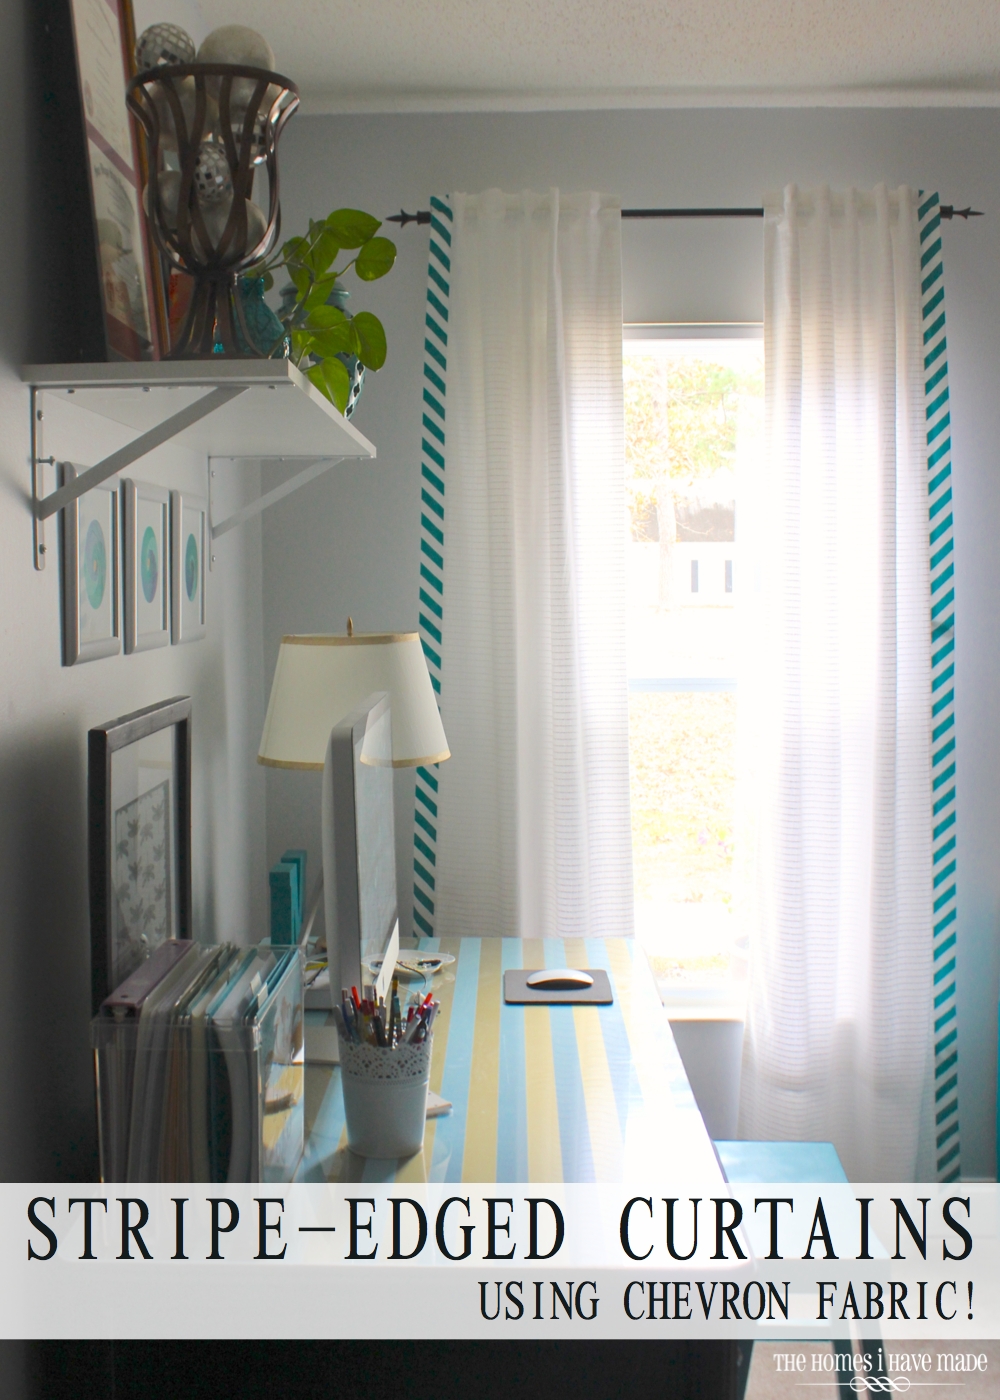
Stripe-Edged Curtains (Using Chevron Fabric!)
Hello, Hello! I hope you all had a great weekend and are enjoying a day off today (if you get one!). I am popping in with another tutorial from my Office Desk Reveal – my new Stripe-Edged Curtains! (This one turned out to be a doozy of a post, so get comfortable 😉
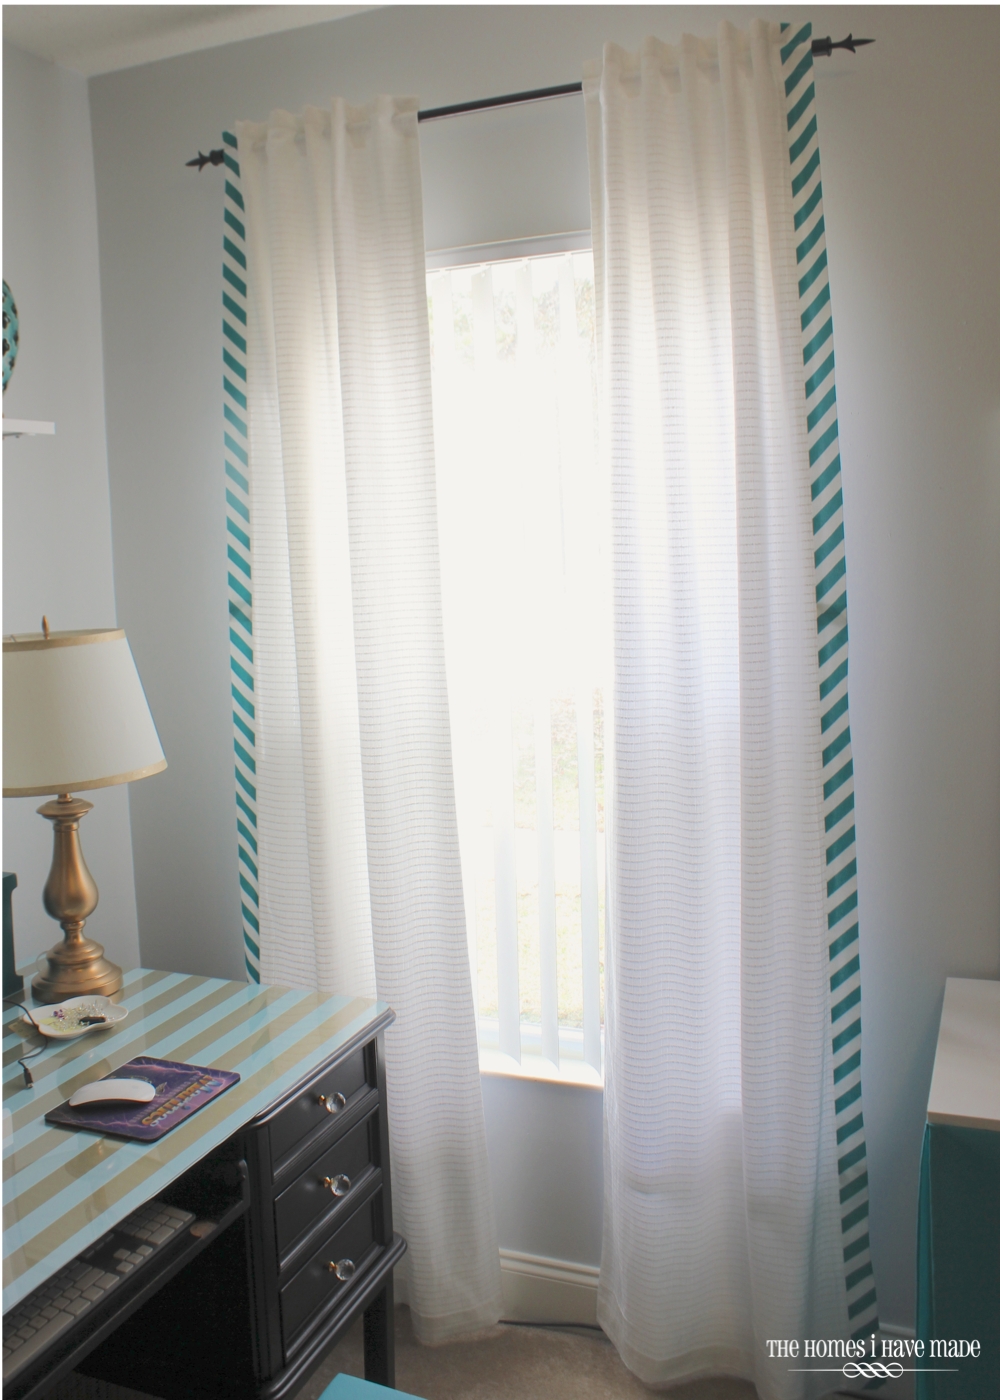
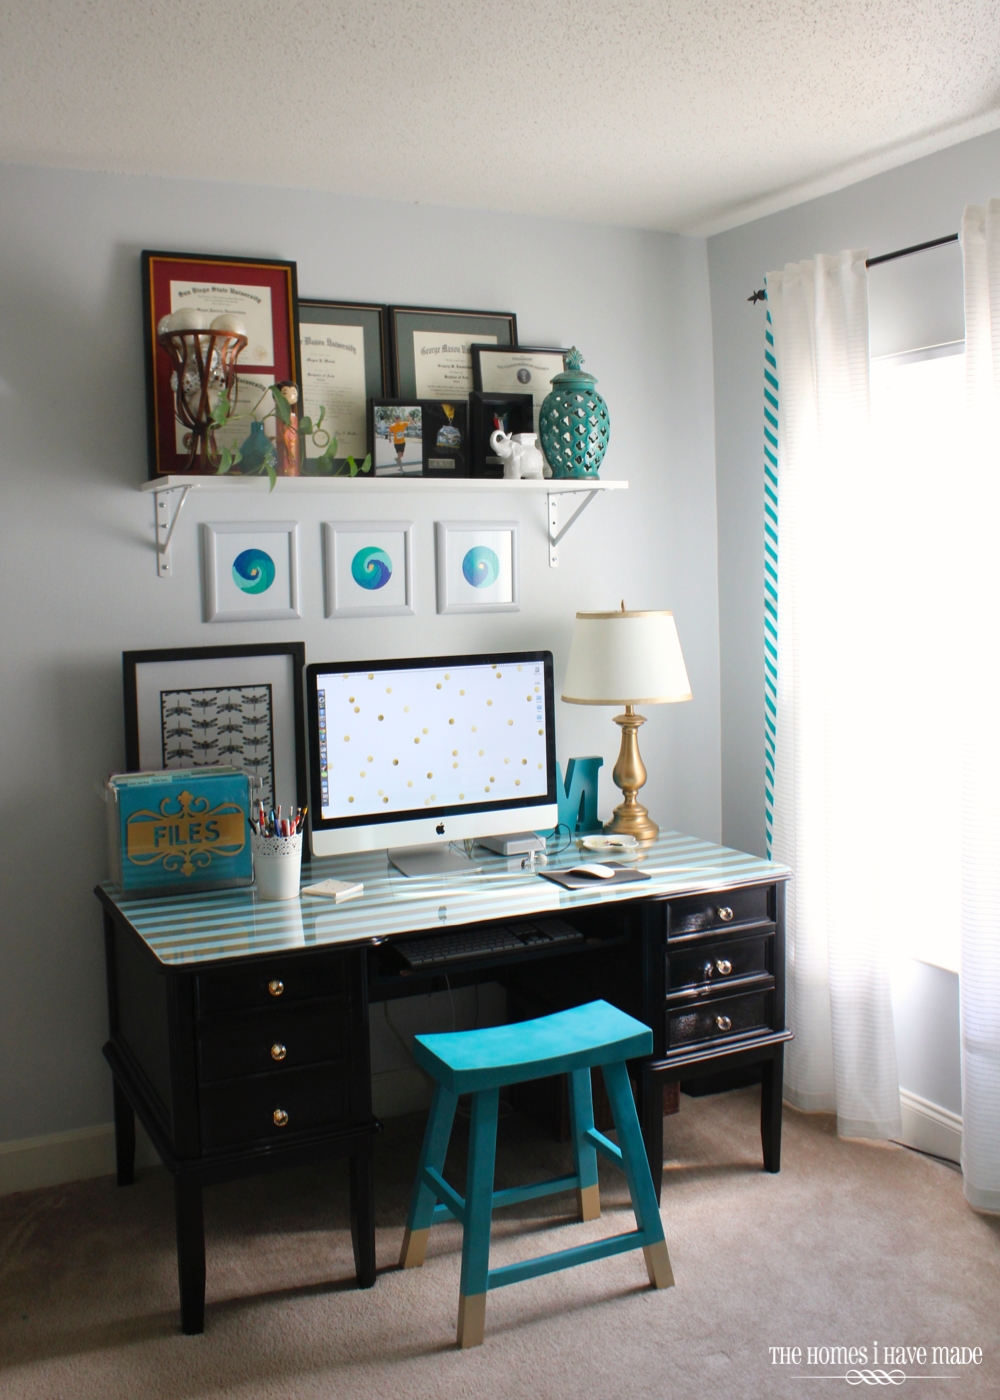
This project was a happy-although-unplanned project! It somewhat came out of no where, and I had these curtains done before I could second guess myself! I’m so glad I didn’t talk myself out of it, because using mostly supplies from my stash and just a few hours, these new curtains brought such a change to this space. While I loved the floral curtain I had in here before, these curtains are light and bright and add a strong graphic pop to this corner (without too much pattern!)
I’m not sure where I came up with this idea. I’m sure I saw something similar somewhere and tucked the idea away in my brain. But last week, I suddenly decided this room needed white curtains with a small hint of pattern…and I knew exactly how I could pull it off. Sometimes (less often than I’d like) a project comes together JUST as I think it will. Love it when that happens. This project was one of those!
This tutorial is going to be half mine (how to make and add the diagonal stripe detail) and half a link to the tutorial I always use to make lined curtains: THIS ONE. It is my go-to curtain tutorial, don’t be intimidated by all the steps – Kelly makes it super easy and you end up with great results!
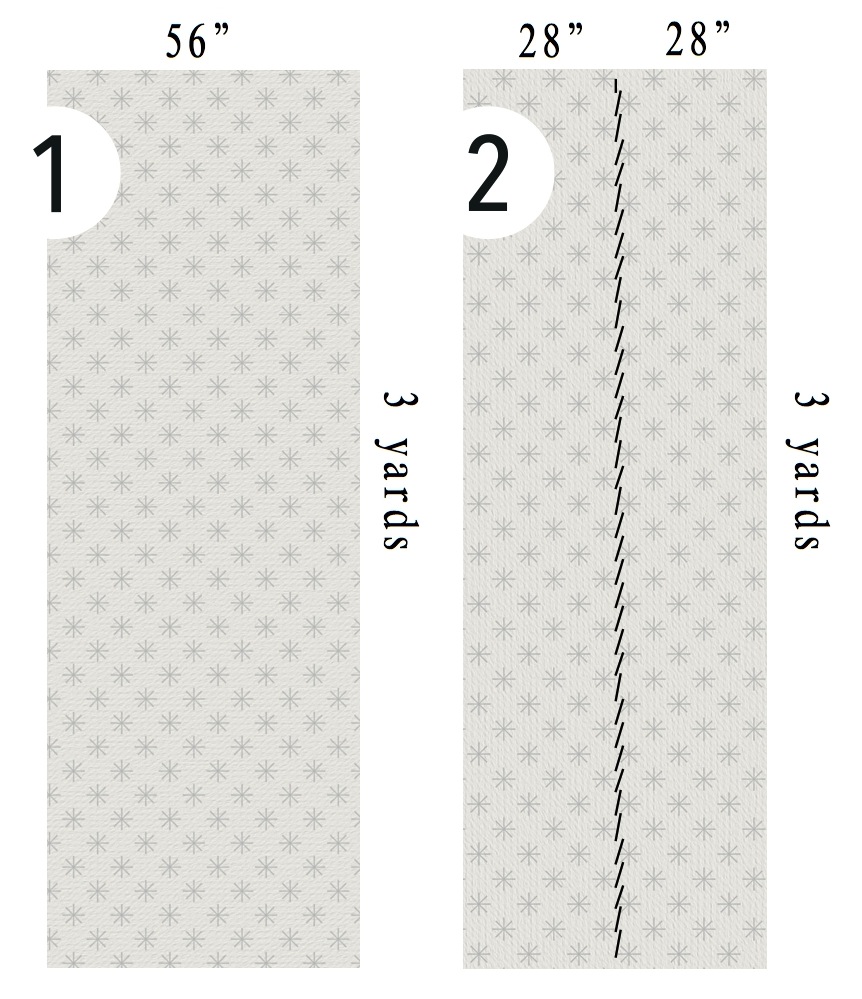
Okay. Let’s get started. I knew my panels were only going to be decorative in nature, so I didn’t worry too much about making them super wide. As such, I re-purposed the curtains from our family room (which I have since changed my mind about and taken down). Here’s a quick run-down of my white fabric: I started with 3 yards of fabric (108 inches) and cut the length down the middle to make two 28″x108″ stripes. (If you want “standard” width curtains, you need to buy twice the amount of fabric and skip this cutting step 🙂
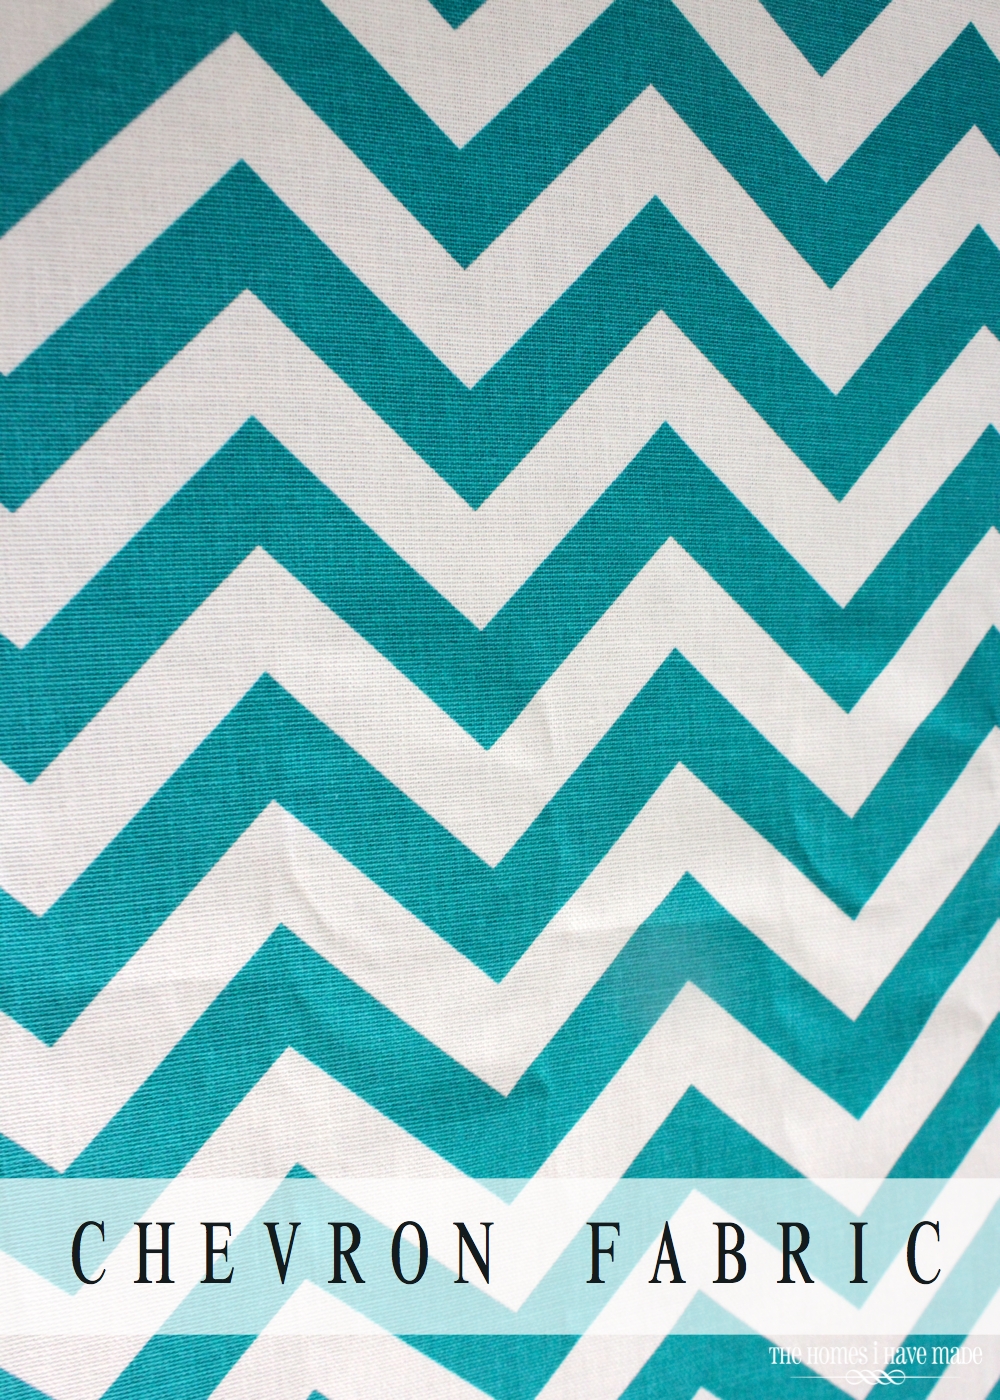
Before you start to use Kelly’s tutorial for the lined curtains, you need to finish prepping the “fronts” of your curtain by adding the diagonal stripe trim. I started with a yard of this Premier Prints chevron fabric.
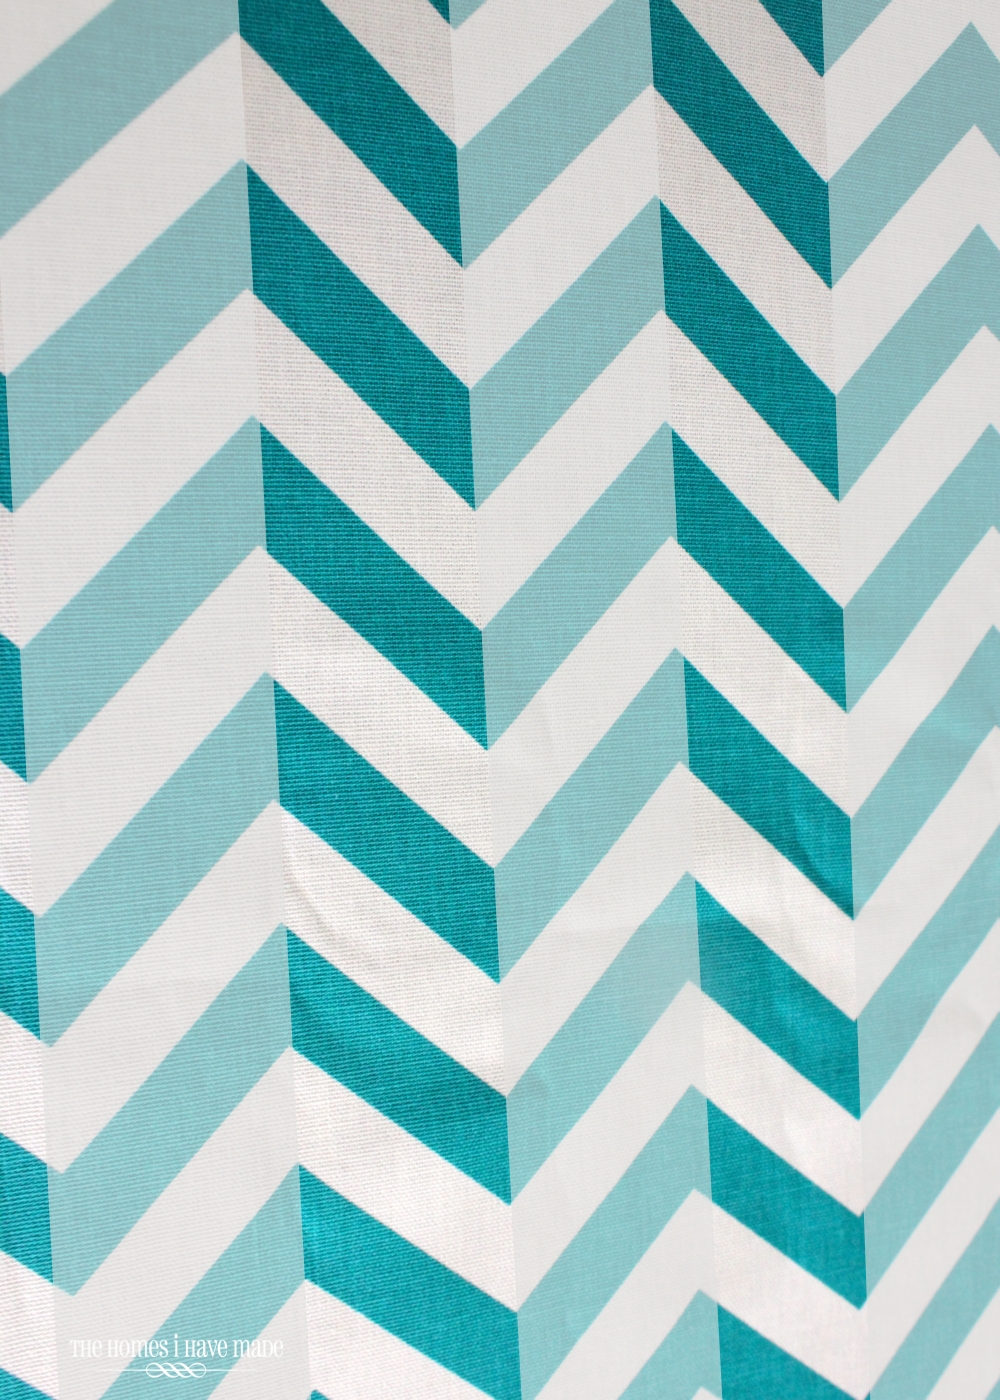
Some of you might be able to see the diagonal sections right away, but if you’re having trouble, let me help you. Below, I’ve shaded off the areas you are NOT going to see or use. See? Half of each chevron will become your diagonal stripe.
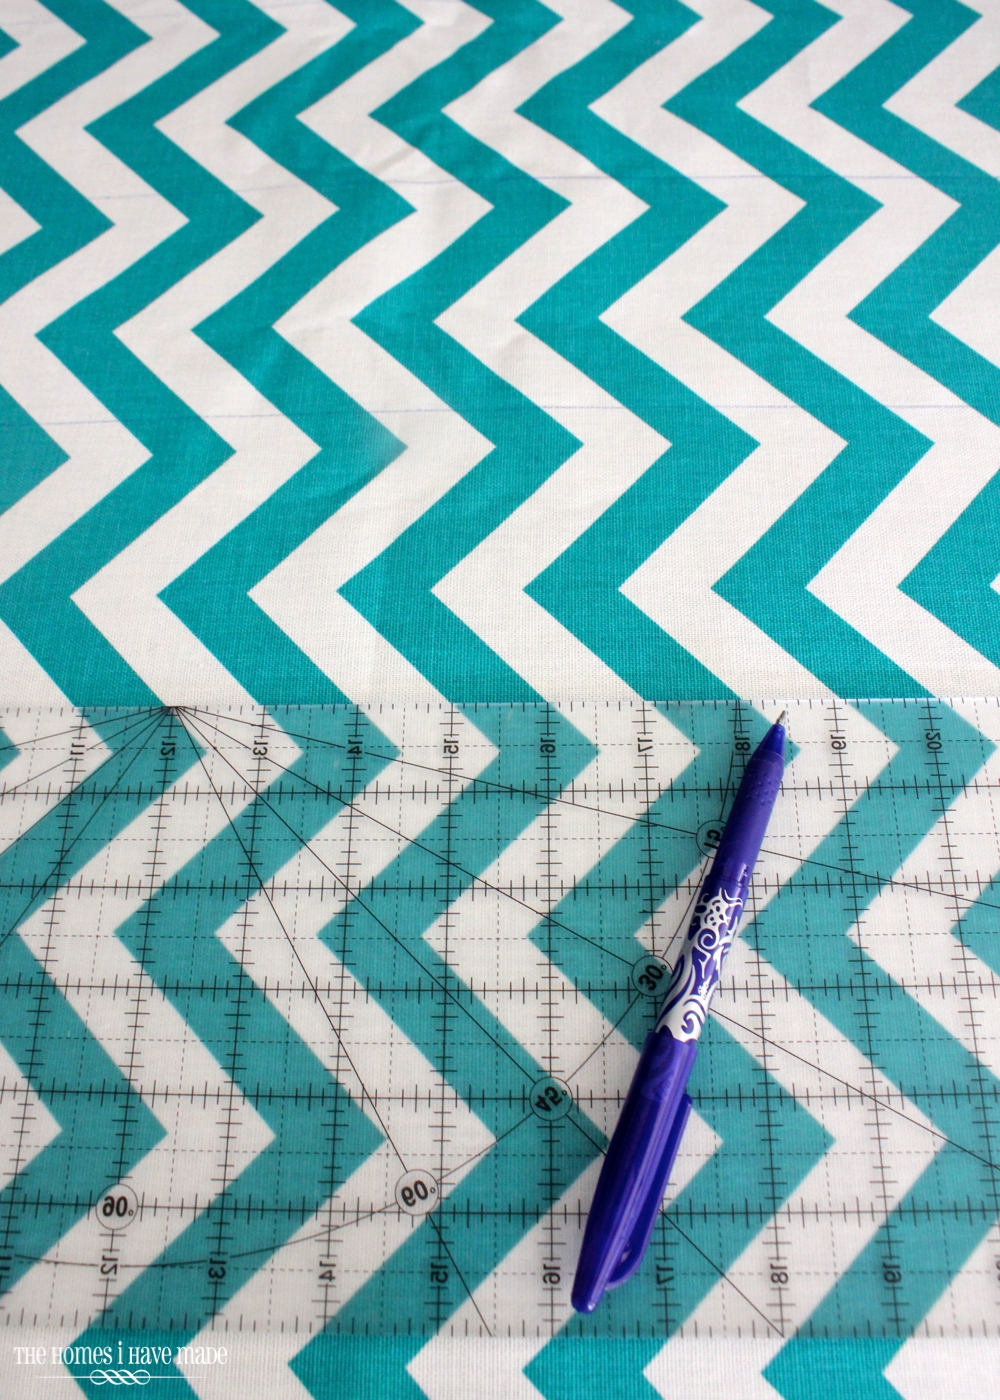
Okay, now the most confusing part. Measuring and cutting your strips of chevron out so that when sewn and ironed, will give you nice diagonal stripes. To make my lines, I used a clear ruler and erasable marking pen.
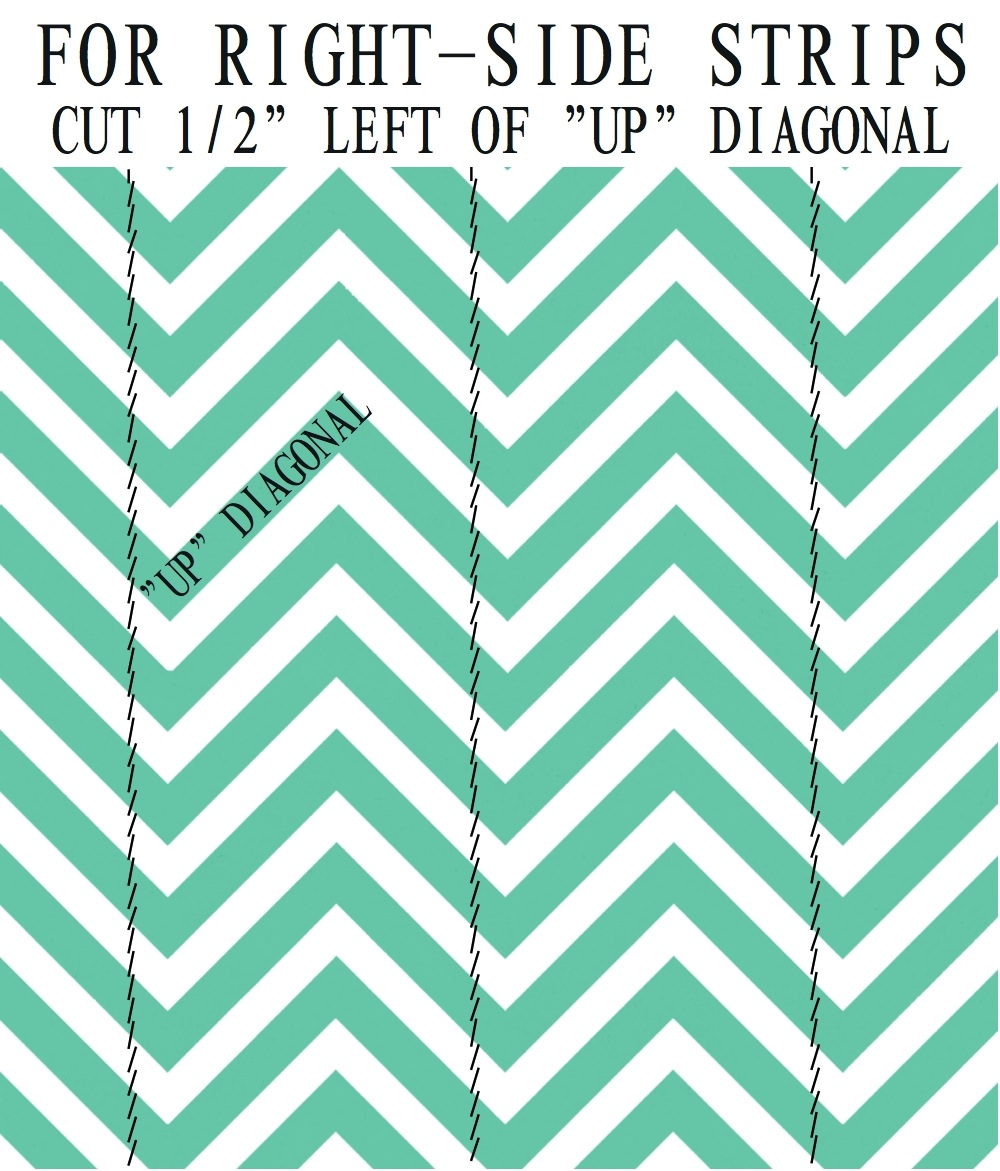
Okay, stay with me here. First, let’s cut strips for your right-sided diagonals. Find your right “up diagonal” (see below) in your chevron fabric. Now measure a 1/2″ to the left of that “up diagonal” stripe. This will be your cut line. Move to the next “up diagonal” stripe, measure 1/2″ to the left and make another cut line. Cut as many strips as you will need to run down the length of your curtain (for an 89″ curtain panel, I used about 3 54″ long strips).
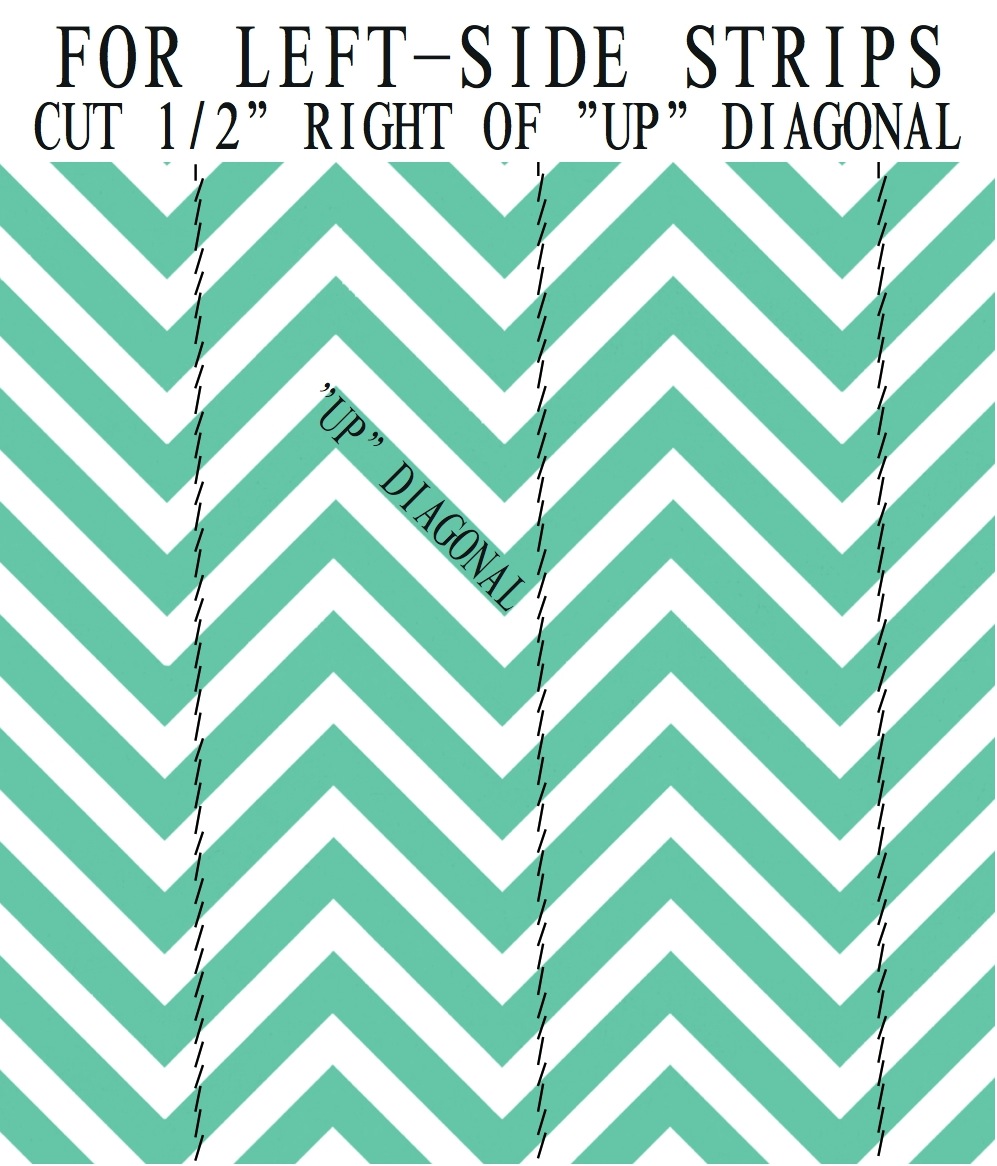
Now, your intuition might tell you that you can just cut all the same strips and flip them over for the other side, but it won’t work if you want your diagonals to point up on both curtain panels. As such, you need to find and measure the left up diagonal (see below). Same as before, find your “up diagonal,” this time pointing left, and measure 1/2″ to the right to make your cut line. Continue making cut lines for as many strips as you need for the length of your curtains.
If you did it right, you should have mirror images in your two sets of strips.
Phew. You’re over the most complicated part, but there is still one more tricky step before you can put your curtains together. My chevron strips were 54″ long, but my curtain fabric was 108″ – as such, I had to match my patterns and sew my strips together length-wise.
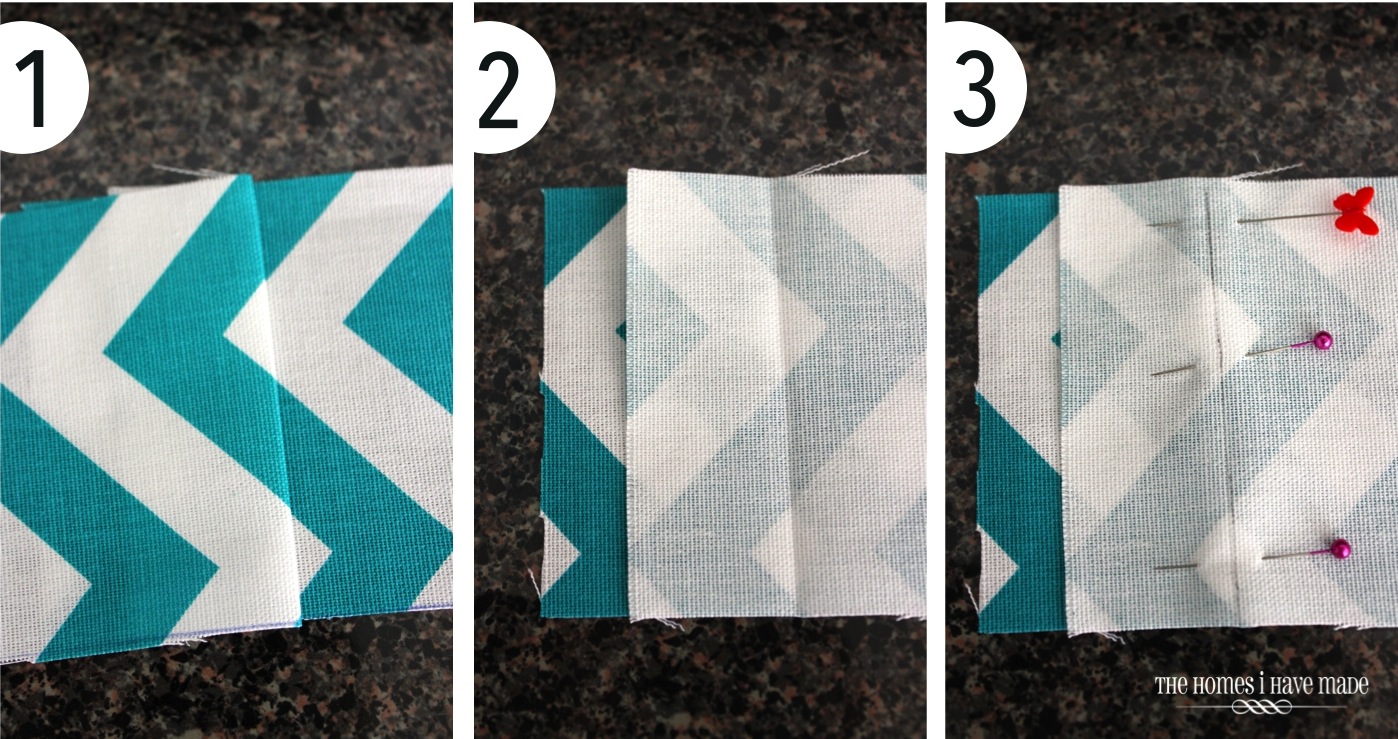
- Start by folding one strip under at its end and finding where it meets up with the next strip, continuing the pattern.
- Once you find where the two line up perfectly, keep your fabrics together and open the fold.
- I find it helpful to mark my sew line with an erasable marker and then pin the two strips together end-to-end.
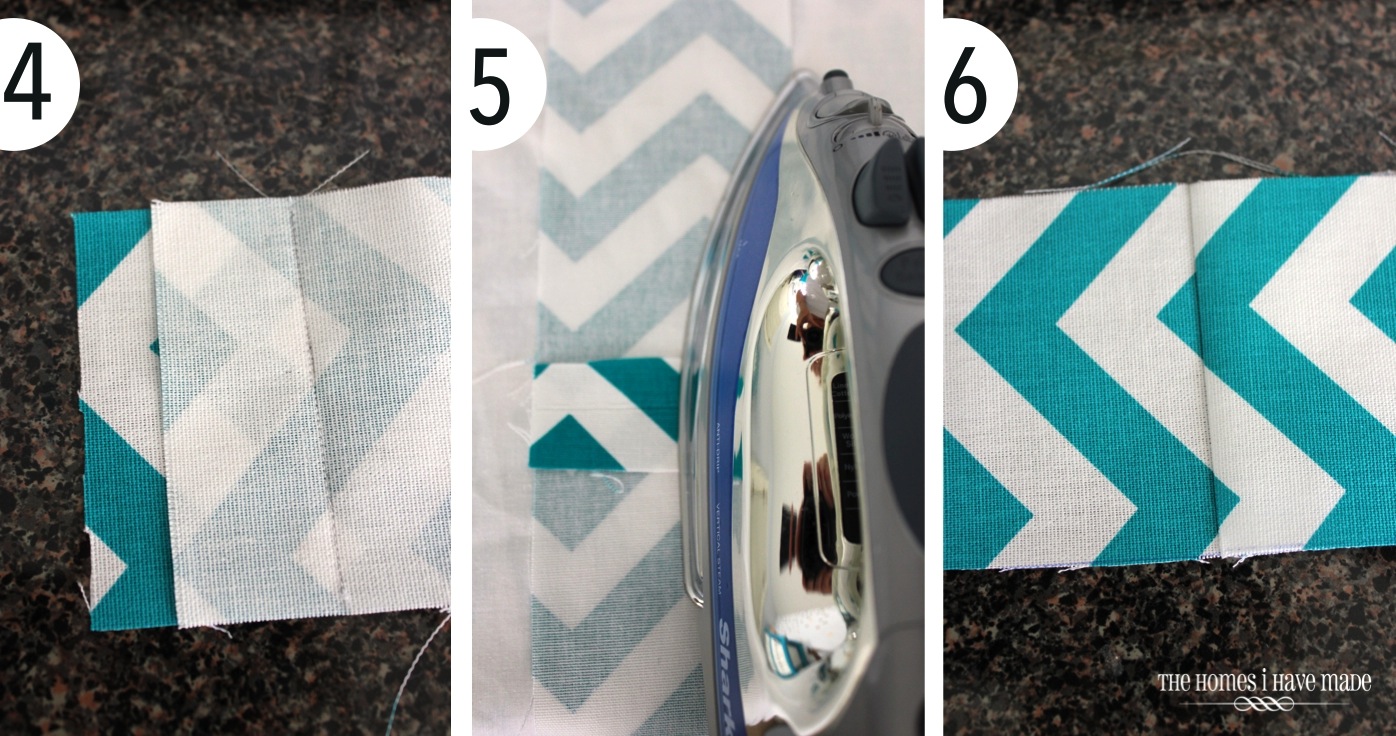
- Sew the seam shut.
- Iron the seam open.
- Flip over and your pattern should continue.
With all my strips of fabric sewn together end-to-end, I could finally attach them to my white fabric. (Note, this picture below is just to show the strips sewn together and how they are assembled as opposites. As you move forward, be mindful of which sides are the right, left, top and bottom of your final curtain panels, as you want to construct these as opposites.)
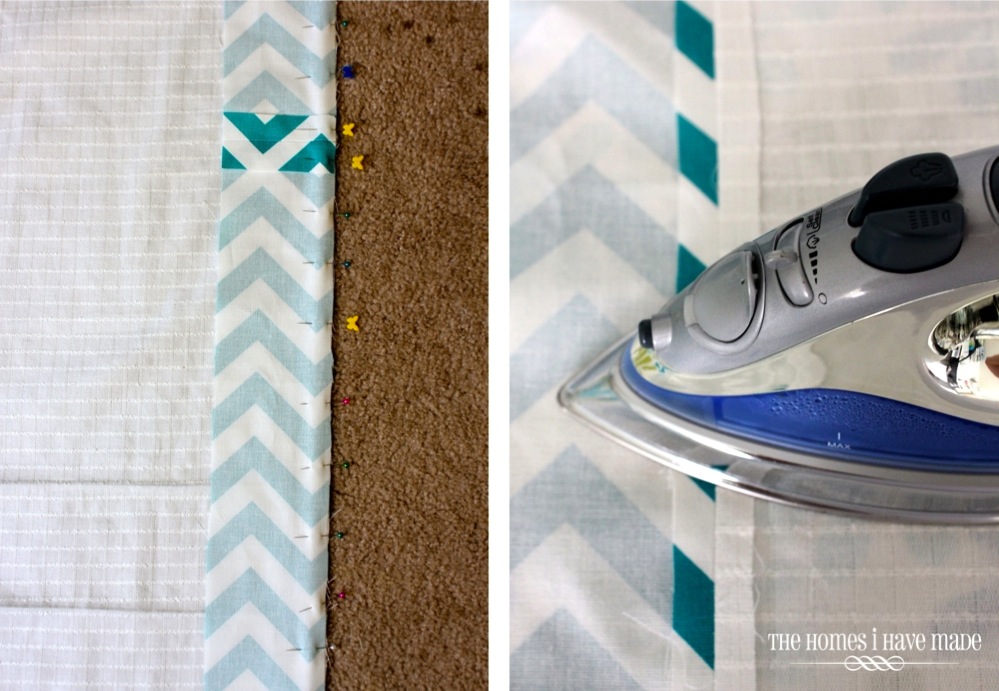
I placed my chevron strip onto the edge of my white curtain fabric with RIGHT SIDES TOGETHER. I pinned them together, and sewed the whole seam shut. I then ironed my seams open.
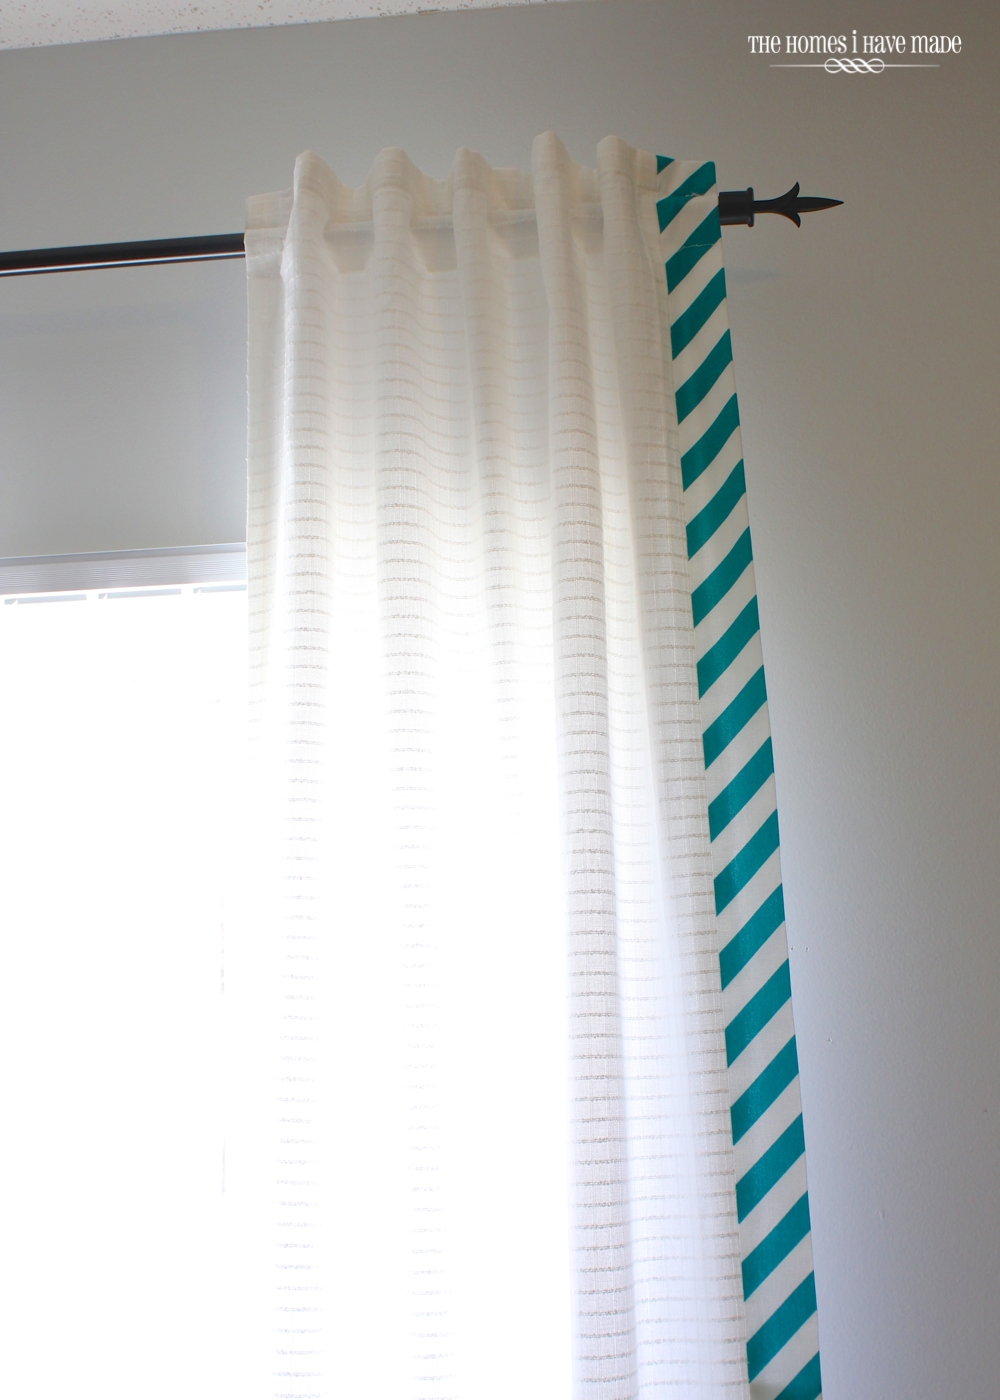
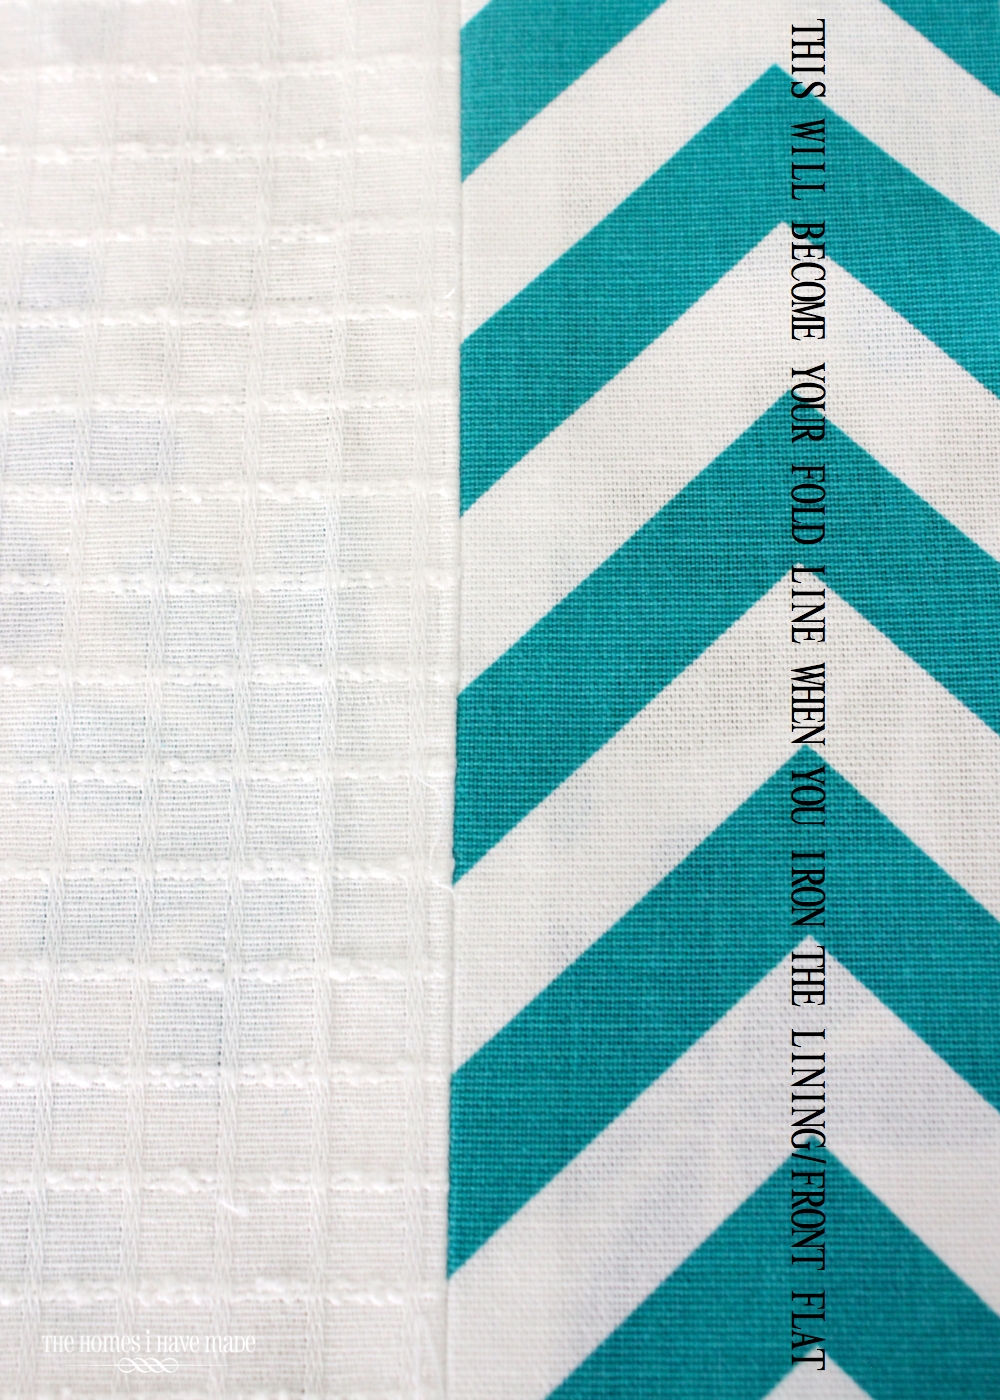
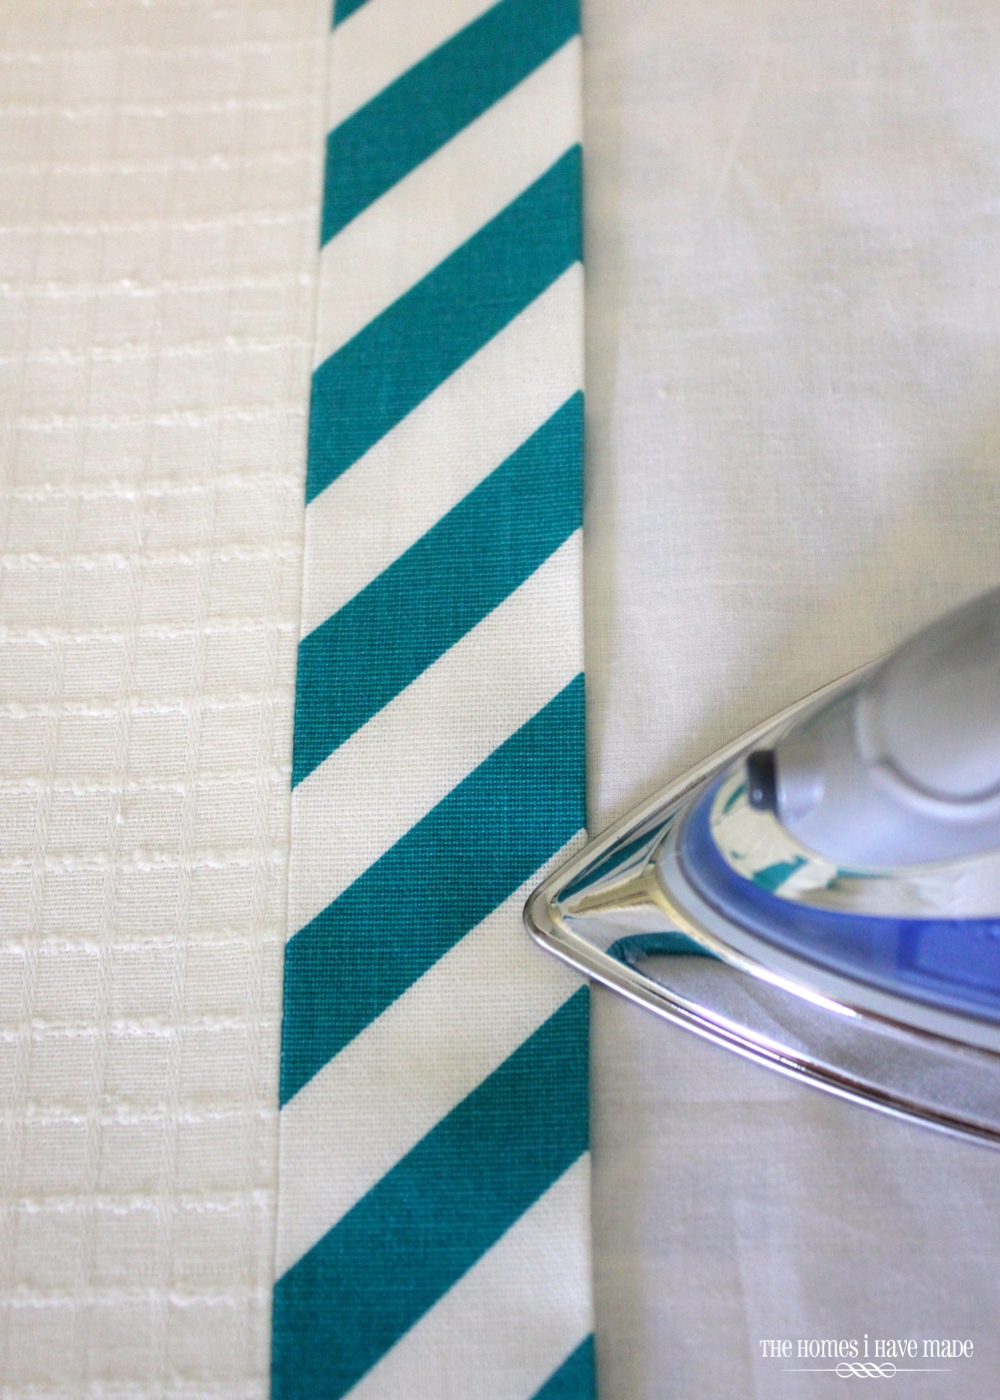
Here is how the front of my curtain panel looked AFTER I sewed on the chevron strip but BEFORE I assembled the fronts with the lining. At this point, you can start to see the diagonal pattern forming. Once you sew on the lining, the rest of that chevron pattern will be turned toward the back and ironed under.
From here, I used Kelly’s tutorial exactly to finish up the lined curtains with tabbed tops, making adjustments based on my specific size/length. When I ironed my curtain panels flat, however, I was VERY conscious to make sure my final diagonal pattern was maintained, and the rest of the chevron pattern was ironed toward the back with the lining.
Aye aye aye! I know all of that seems very complicated and confusing, especially if you’re not a big sewer. I promise though, if you take it step-by-step, it will come together just right! And when it does, you end up with an adorable little detail on some very simple curtains!
I hope you all enjoy the rest of your holiday weekend. On Wednesday, I will have photos of another little nook in this office, ready to be revealed! See you then!
Megan






4 Comments on “Stripe-Edged Curtains (Using Chevron Fabric!)”
I love these curtains!!! They really do make the room!!
Really awesome curtains and I liked some of them and they are not less than the designer curtains those I was looking for in this festive season.
Curtains always provides extraordinary look to your room. These should be matching with your room color.
Thanks for the wonderful tips for the curtains. These look beautiful and I am sure that it would give a fresh feel to the house. Loved these striped edged curtains.
https://www.brigittesingh.com/soft-furnishing/curtains.html