How to Make Typography Art
Happy Monday, everyone! I hope you all had a fantastic weekend and you are ready to take on another week! Last week was a super busy one for me with lots of projects and deadlines, so I spent some time this weekend pulling the house back together and relaxing. It feels so good to be on top of the week ahead as this Monday morning rolls around! At the end of Friday’s post, I mentioned I had a post live over on I Heart Organizing. Not only am excited to have a bunch of new friends joining here today as a result (welcome, everyone!), but I wanted to take a quick minute to catch you all up on this latest project and my office progress, as well as show you how to make typography art. This jumbo-sized one was so quick and cheap…I think you guys will love how it came together!
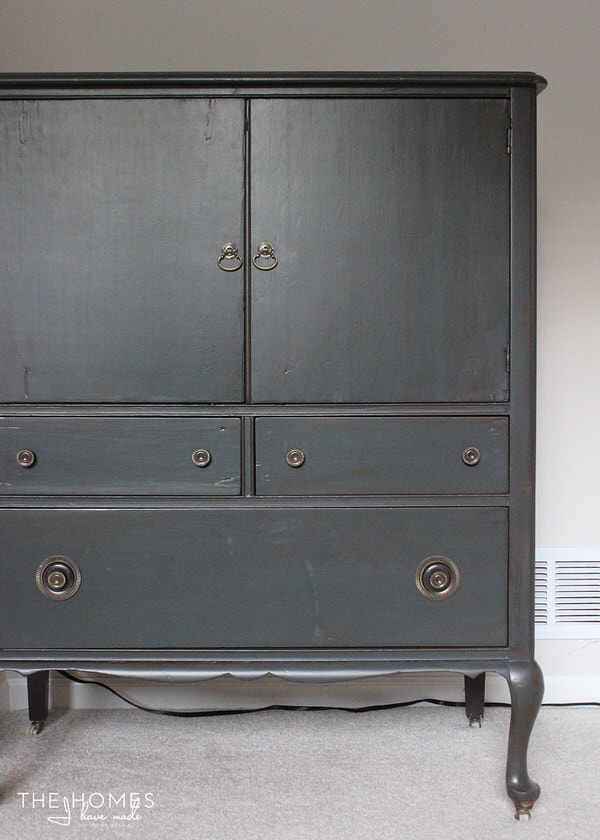
In case you haven’t yet popped over to read about this new beauty of an armoire in my office, the story goes like this: when we moved this past summer, our big, heavy office desk was damaged so I jumped at the opportunity to replace it with a more sleek and simple style (which I haven’t really shown you yet!) While I love the aesthetic of the new Parsons-style design, the desk doesn’t have any drawers, leaving us without a place to neatly store all of our office supplies. Sure I had the pink towers with all the wonderful drawers…but they weren’t really functioning the way I wanted and needed them to. So…the furniture-loving and project-hunting gal in me went off in search of the perfect run-down piece to up-cylce and turn into an office supply storage station. What I found instead was an already repaired and perfectly painted armoire that was exactly what I wanted for a crazy good price. Since I am always on the hunt for furniture than can be repurposed around the home each time we move, I knew this piece was a fantastic investment! So many drawers and so many different storage possibilities!
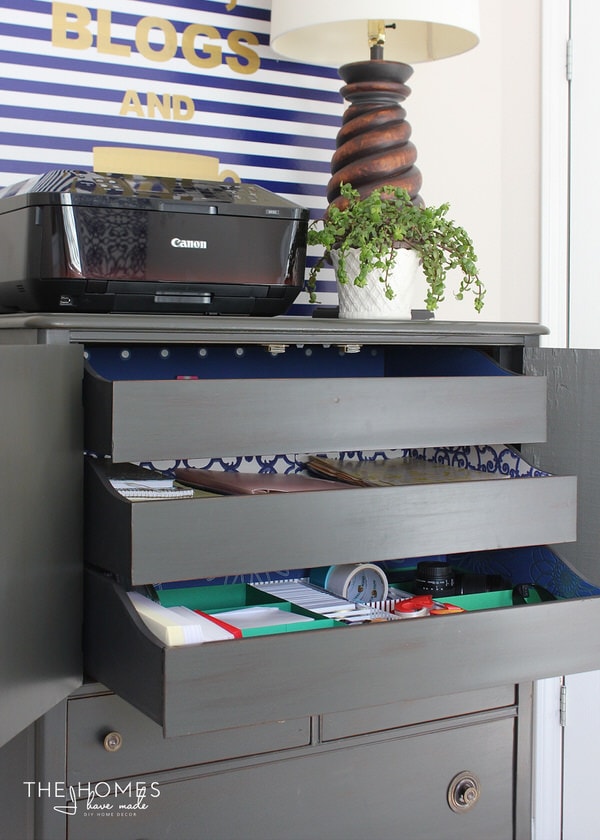
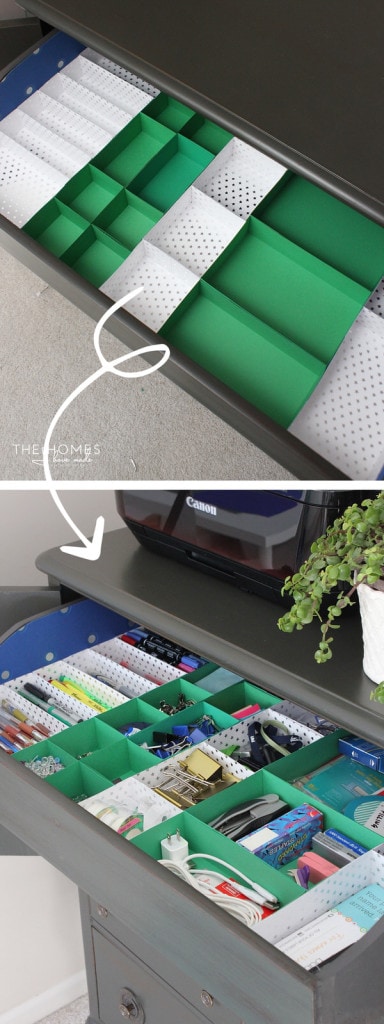
In this house, it’s living in my office…and while I came thiiiiiiiis close to re-painting it blue (of course), I decided to keep the pristine paint job in tact for now. However, I did go to town organizing and stocking every last drawer to the hilt…and I am so giddy over it! I think it might be one of my favorite organizing DIYs ever!
I essentially made a BUNCH of boxes from pretty cardstock, each intentionally sized to fill out the drawers perfectly AND hold each and every supply we have just right. To get the full how-to and see a full tour of how I organized every last inch of this armoire, check out my post on I Heart Organizing here!
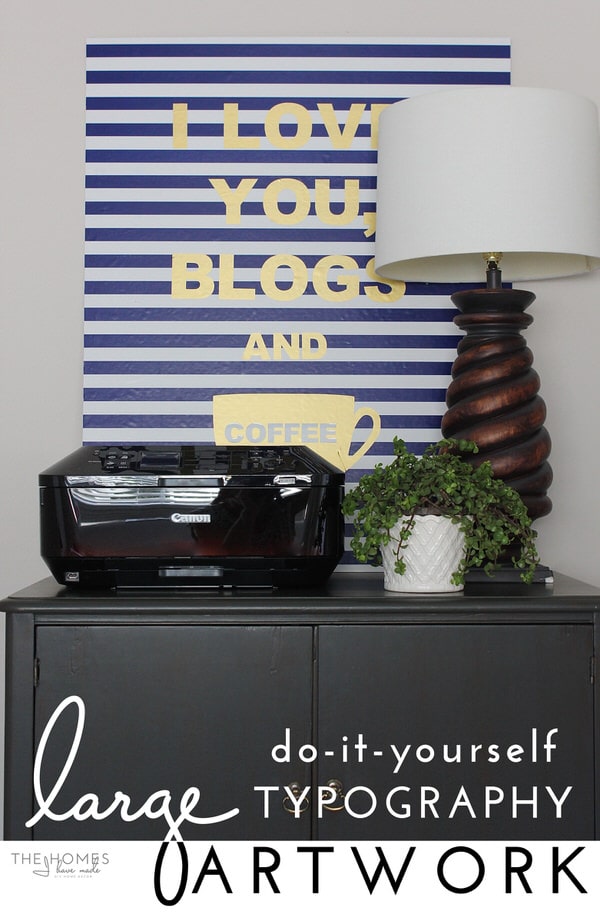
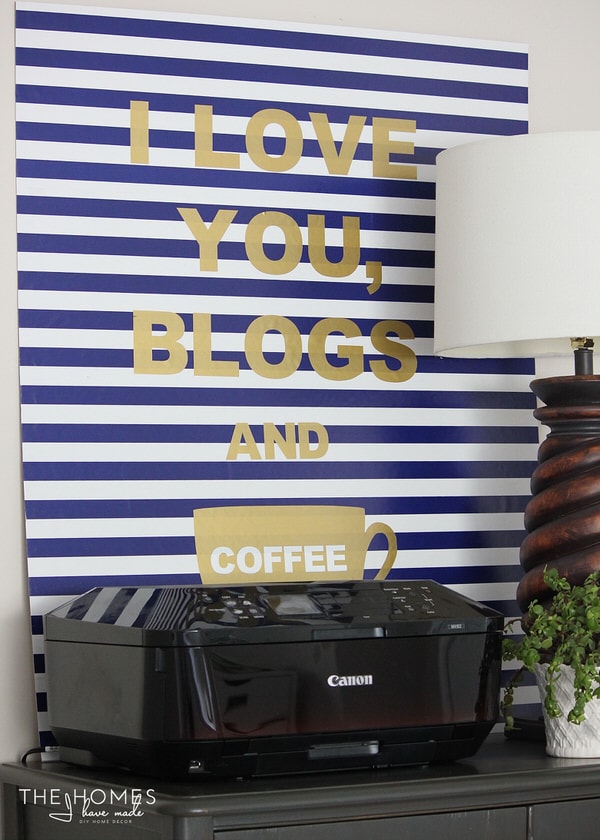
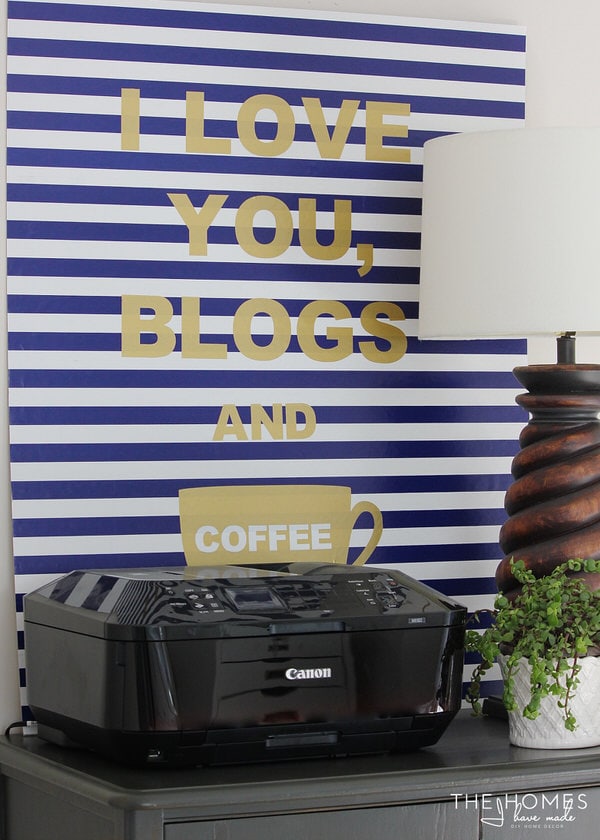
With the inside of the armoire sorted and functioning perfectly, the top became the ideal, out-of-the-way place for our printer (it’s finally off my desk – yay!), and my big chunky lamp that hadn’t yet found a home. However, the nook was still looking a bit blah, so on a whim, I fashioned some jumbo-sized typography artwork using only supplies I had on hand! Large, inexpensive artwork is so hard to find (especially when I have different sized blank walls in each house), so I thought I’d show you how quickly and easily it came together in case you too have a big blank space needing something fun!
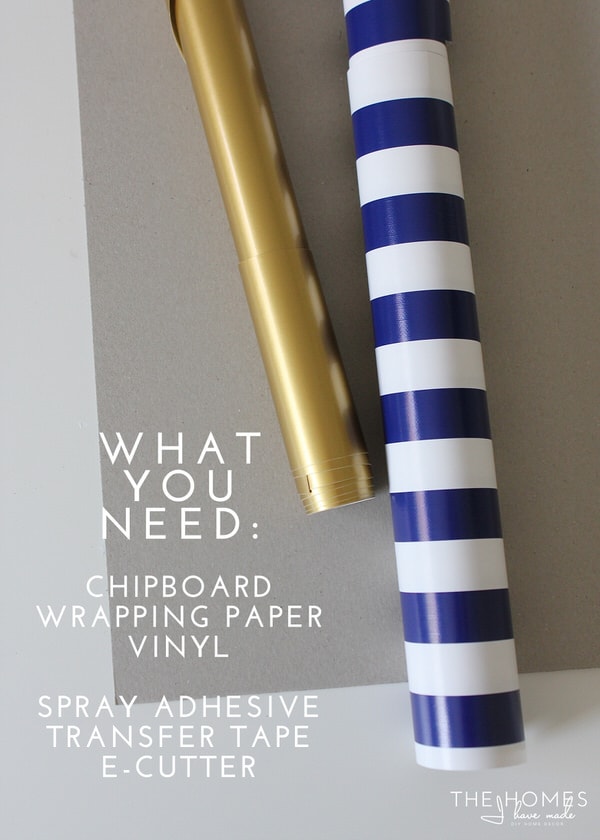
I had everything on-hand, but if you had to buy everything new, my guess is this 36×48″ piece of “art” would cost you about $10! Here’s what you need:
Materials
- Chipboard (cut to the size and shape of your desired finished product). I had a sheet of 36×48″ medium-weight chipboard I purchased for a different project and never used. The dimensions were perfect for above the armoire so I didn’t even bother cutting it down.
- Wrapping paper (in any color or pattern you wish). Of course, I picked navy and white stripes. I’m getting a bit predictable, aren’t I? 😉
- Vinyl (in any color you wish)
Tools
- Spray adhesive
- Transfer tape
- Scissors
- E-cutter (optional)
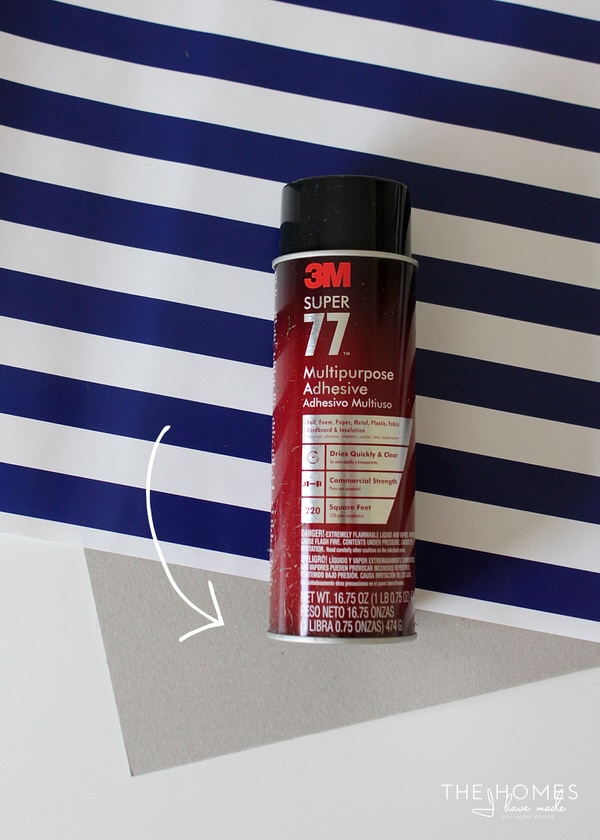
Start by cutting down the wrapping paper to fit the dimensions of the chipboard. If you need to use two widths of paper to cover the entire board, be sure to match up patterns. Secure the wrapping paper to the chipbaord using spray adhesive and smooth it down with a brayer, roller or your hands. Tip: To get the paper straight and bubble free, a second set of helper hands makes a big difference!
Next, decide on an image or phrase to place over the patterned wrapping paper. At first, I had no idea what I was going to put on my stripes, but then I remembered this phrase (“I love you, blogs, and coffee”) that I have loved for so long. In fact, I ordered a poster of this exact phrase months ago, but it turned out to be out of print and I never got one. It’s just so simple, cheeky, and very true for me…and perfect for a blogger’s home office, don’t you think?
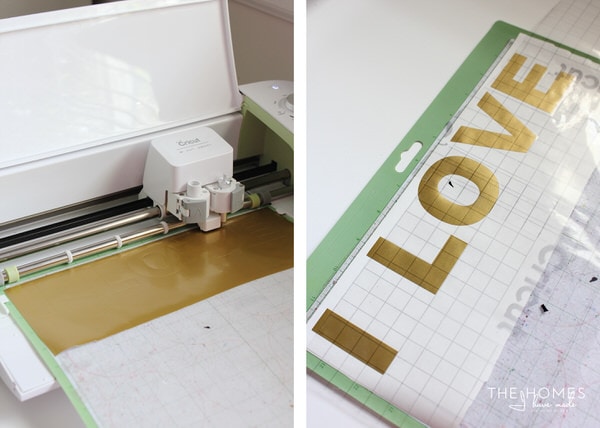
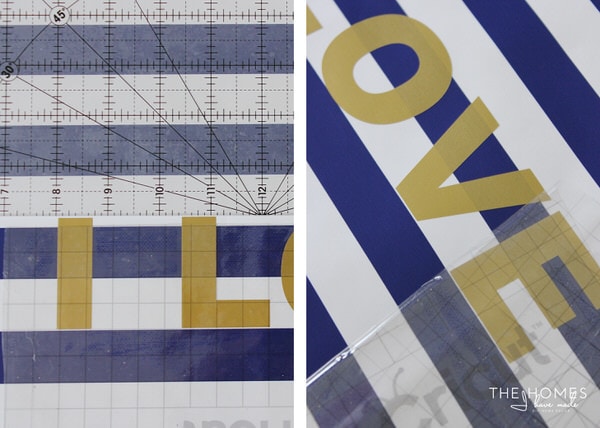
Using an e-cutter and corresponding design software, size and lay out your image to fit on the chipboard just as you want it, then cut it from metallic vinyl. Tip: If you don’t have an e-cutter, don’t fret! You can get the same look by using pre-cut sticker letters!
Place the letters onto the wrapping paper using transfer tape, and be sure to use a ruler to check your placement (both vertically and horizontally) before placing it down.
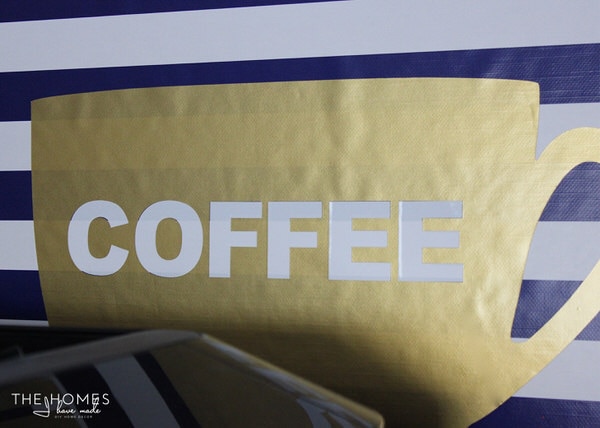
Because the word COFFEE was directly over three different stripes, it was quite difficult to read. To help it stand out a bit more, I re-cut just the word COFFEE from white vinyl and placed it over the already-cut out letters.
I hemmed and hawed about putting acrylic over it, but decided to keep it simple for now. Although it was done last minute, it really is the perfect size, color, dose of pattern, and whimsy to fill out this little nook in the office. After having our printer, laminator, scanner, and every single office supply literally laying around for the last few months, I am so thrilled to have this tidy and functional spot finally pulled together!
I hope your week is off to a great start, friends. Coming up this week, my next Thriving and Surviving Military Life installment, and another big office update! See you back here Wednesday!
Megan



12 Comments on “How to Make Typography Art”
LOVE this art. I am going to be changing up my kids rooms and this will be a great way of giving them some art without worrying if they ruin it! Big win!
And I love what you did with the drawers, making storage spaces that actually fit your items. We are going from a big giant desk with lots of drawers to a desk with 2 drawers. I have to find spaces for all that stuff. But this is such a great idea to get everything to fit perfectly and without wasting space. Thanks for sharing the how to!
Thanks, Kristie!
Such a great idea for kids’ rooms! I keep wishing we could invest in some “real” art, but with our frequent moves, it’s just too risky. These types of solutions will work pretty great for now 🙂
Have a good afternoon!
Megan
Hi, I LOVE THIS !! Where do you find chipboard ?!
Hi Danielle!
Thank you SO much! I bought it at an art-supply store. It cost about $5 for the 36×48″ sheet. I called around to a few local stores to see if any had the double-thickness in stock. They all did 🙂
Hope that helps!
Megan
Hi Megan
What a nice way to put some art in a rented home !
I had already read your post about the drawers in I heart organizing as I knew you through this blog and I’m really smitten with the way you organized your office supplies. I nearly did the same years ago for one drawer but with desk organizers and you know what, it followed us in all our moves but you give me the idea of going even further. Have a nice week ! Michèle
Hey Michèle!
Happy weekend! So glad you liked my art and drawer organization ideas! Sometimes I am so surprised what can be done with paper! Hope you’re able to put some of the ideas to use in your own space!
Megan
Pingback: DIY Large Pin Board (with an acrylic dry-erase surface!) | The Homes I Have Made
What a great little project!! I actually really like this, and it may go on my next project list 😉
Great turn out and I love the blue & gold together, so you and fits your office perfectly!
Lauren Baxter | Lovely Decor
xx
Hey Lauren!
This was a total spur of the moment project (at midnight 😉 because I needed something to balance out the big dresser. Little did I know I’d love it so much! Such a simple and fun project for some temporary and budget artwork!
Megan
Wow! I love everything you have going here! Such creativity! I appreciate you linking up to Create – Share – Inspire Link party! Hope to see more of your fun projects!
Love this!! I’m crazy about Typography, and clueless about the cricut. Which one do you have?
Hi Jen!!!
Thank you so much. I have the Cricut Explore. I had a Cricut Expressions II for a few years, and it made me crazy so I upgraded last Black Friday (which if you’re thinking about buying one, I HIGHLY recommend checking out their sales and bundles then!). I have been beyond smitten and obsessed with this machine, and I use it ALL THE TIME. It has been well worth the investment and beyond. You can read a bit about my early experiences with it here: https://thehomesihavemade.com/2014/12/a-very-cricut-christmas-my-unofficia/ All of which are still true now!
if you have any questions about it, I’d be happy to answer them!
Thanks for commenting and Happy Monday!
Megan