Easy-to-Use Printable Pantry Labels (That Look Amazing Too!)
Of all the labeling projects I’ve shared over the years, by far the most asked about are the pantry labels in our California kitchen. These pantry labels are simple and classic, but are also super easy to make yourself thanks to my editable, printable templates. Today, I’m breaking down exactly how to use my Printable Pantry Labels to make quick, gorgeous custom labels for anything and everything in your kitchen!
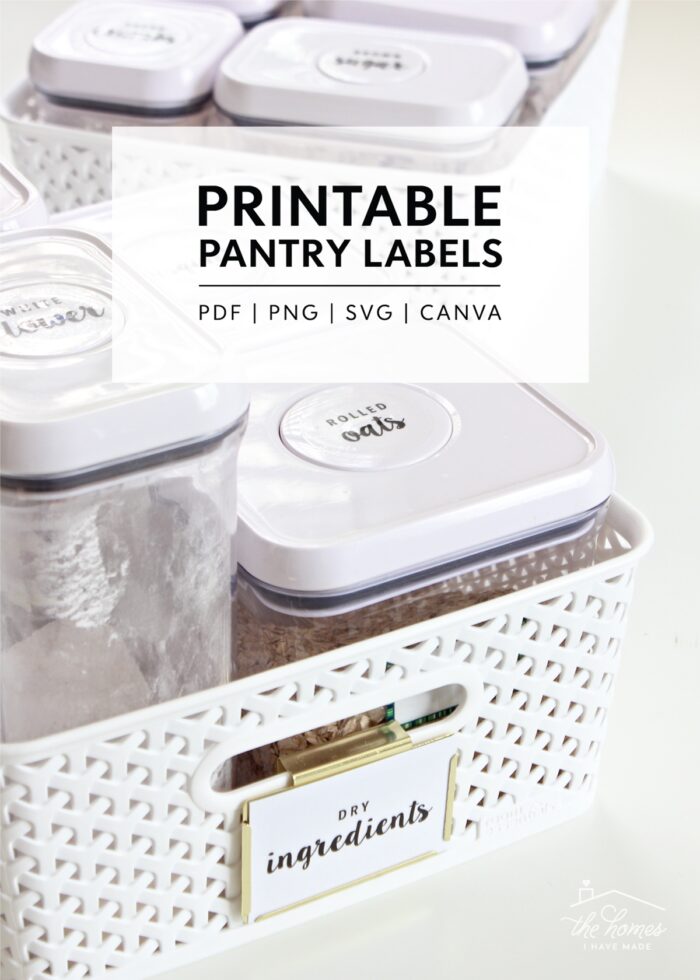
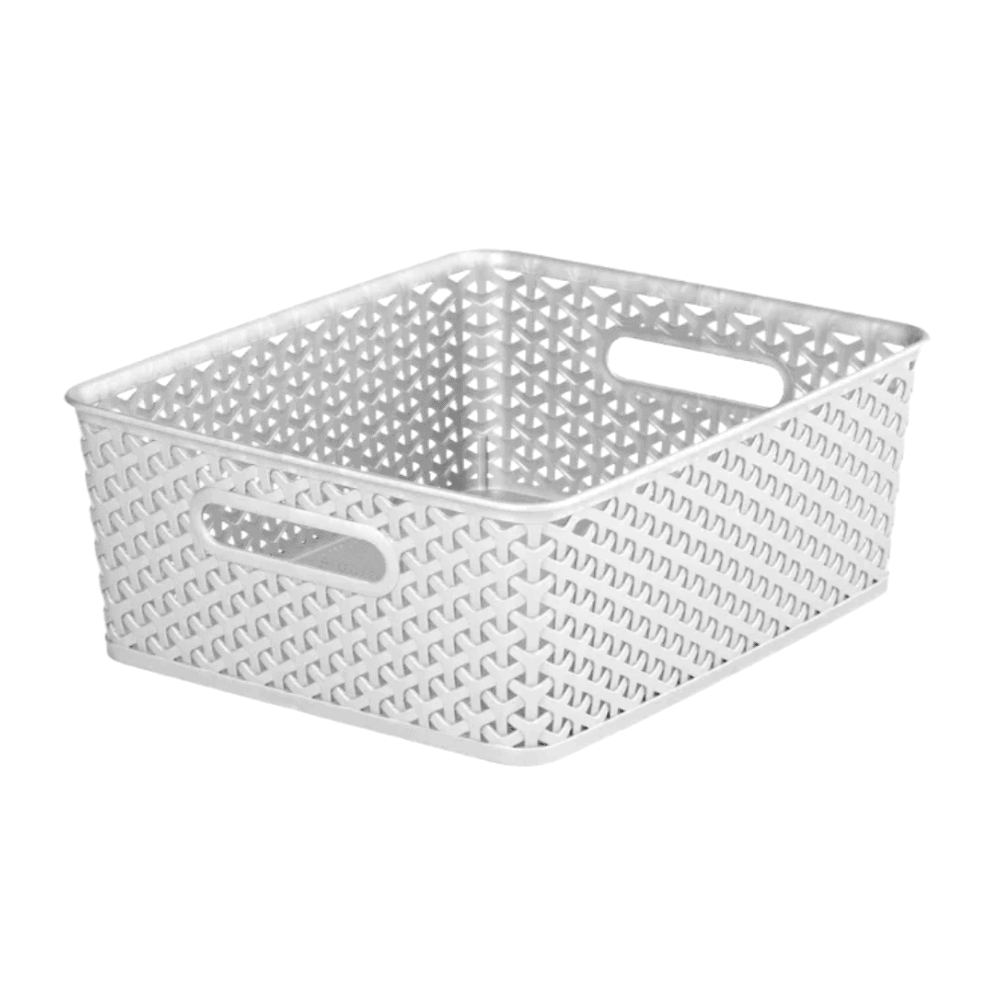
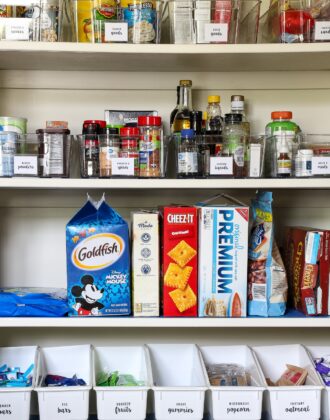
Oxo Containers | Y-Weave Basket | Gold Bin Clips | Printable Pantry Labels
Why Label Your Pantry?
It Looks Good
Go ahead and admit it. It’s okay! Okay…I’ll admit it first: one of the (main) reasons you might want to label your pantry is because it just looks pretty, right?!?
Yes…I too swoon over perfectly pretty pantries with clean, gorgeous labels on each and every matching canister. And as I’ve talked about over and over again here on the blog…sometimes loving how a space looks can be enough to motivate you to keep it organized.
Improved Functionality
But beyond looks, making the effort to label your pantry can lead to improved functionality too.
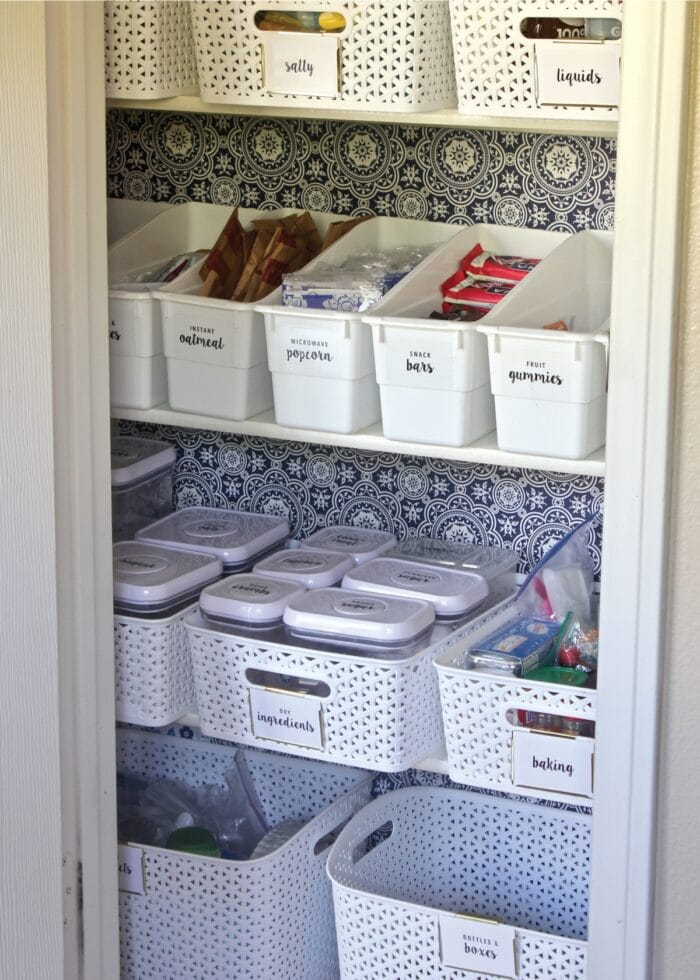
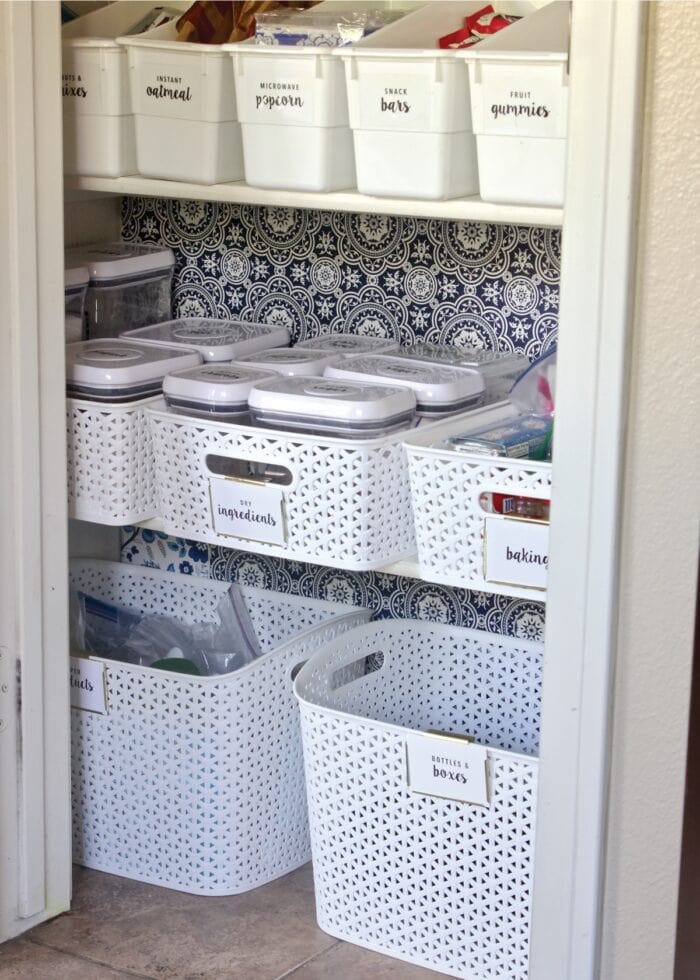
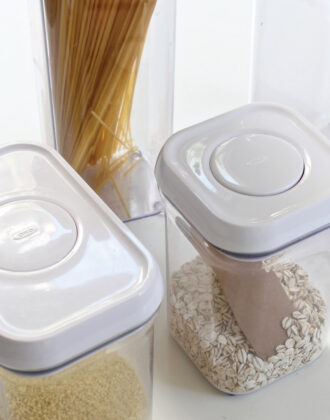
One of my best tricks for keeping an orderly pantry is to take items out of their commercial packing and “decant” them into matching containers. (Read more about why I recommend decanting pantry staples).
Not only does this practice reduce visual clutter; but it also prevents items from going bad and helps you see your on-hand stock more easily. But when you remove commercial packaging, it can be really difficult to keep track of what is flour versus sugar versus pancake mix…at least at a glance. Labels (quite obviously) solve this problem.
Further, labels help everyone (not just you) easily find what they need; and they encourage you (and everyone else!) to put items back in their designated location. Simply put, pantry labels are key to establishing and maintaining long-term order in your pantry!

But there are a lot of things in our pantries…so labeling everything can feel like a very overwhelming task. But it doesn’t have to be thanks to my ready-to-go Printable Pantry Labels!
About These Printable Pantry Label Templates
The Kitchen Pantry Labels Set provides everything you need to make gorgeous, custom labels for your kitchen!
What Pantry Labels Are Included?
This collection of Printable Pantry Labels features a modern multi-font, double-line layout. Thanks to their clean, simple design, they can seamlessly be incorporated into in a wide variety of kitchen styles.
64 Pre-Typed Labels
64 of the most common pantry staples are pre-formatted for you, including:
- Flours (e.g., All-Purpose, Whole Wheat, Bread, Pastry, etc)
- Sugars (e.g., White, Light Brown, Confectioners, etc)
- Baking Staples (e.g., Baking Powder, Cocoa Powder, Cream of Tarter, etc)
- Vinegars (e.g., White, Red, Balsamic, etc)
- Rices (e.g., Brown, White, Jasmine, etc)
- Grains (e.g., Pasta, Barley, Oats, etc)
- Beans & Legumes (e.g., Navy Beans, Red Beans, Pinto Beans, Chickpeas etc)
- Nuts & Seeds (e.g., Peanuts, Walnuts, Pecans, etc)
Type Your Own
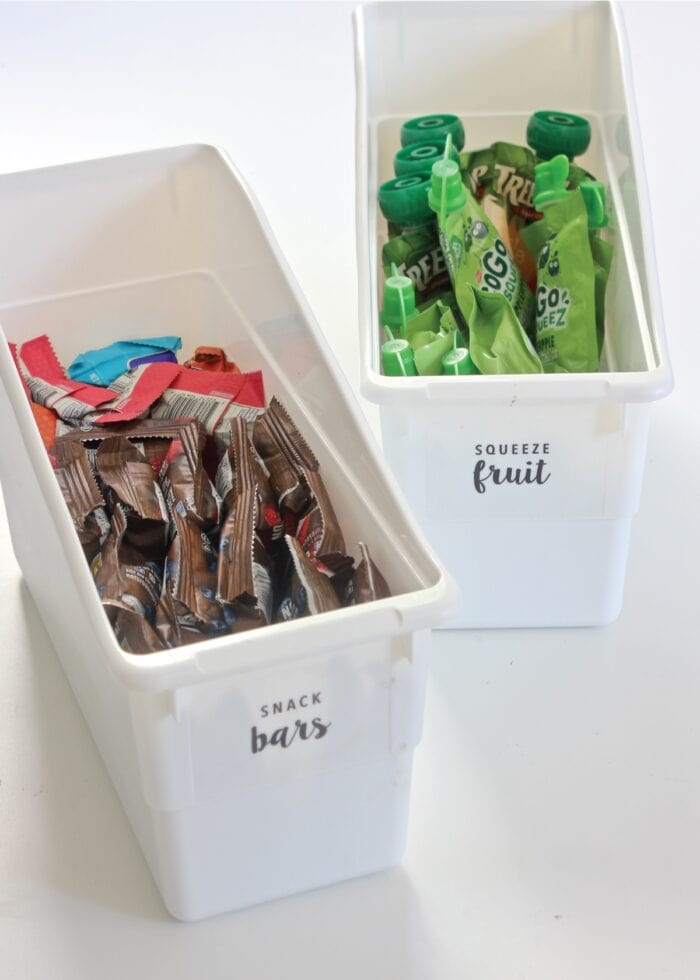
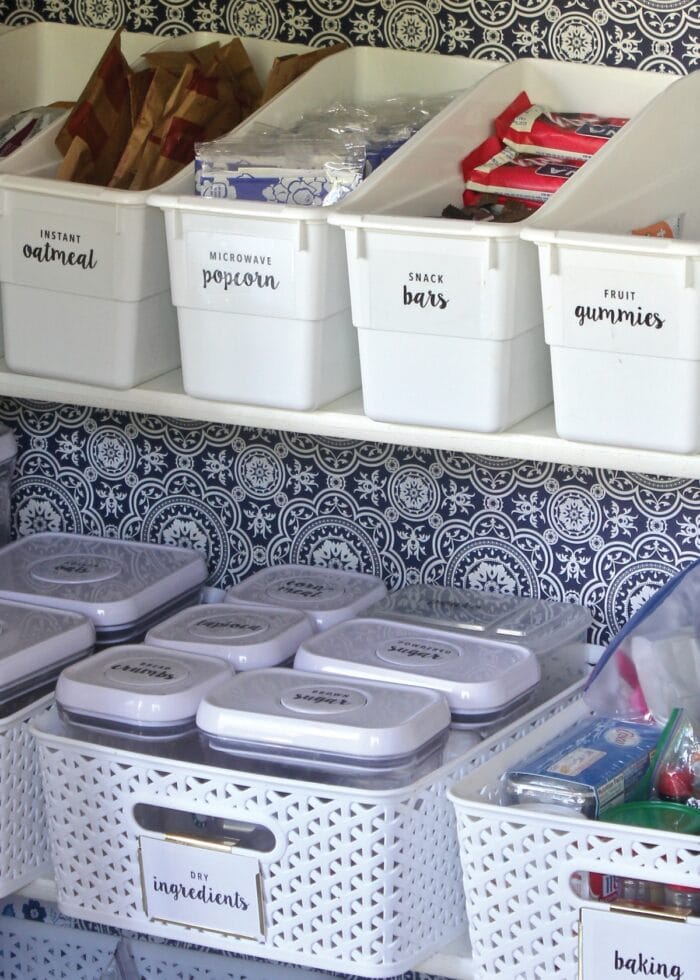
Because I know you’ll likely need to label more than what I’ve provided several options for adding your own text. Editable PDFs and a changeable Canva template can be used to make any label you need, whether it’s for the pantry or somewhere else in the kitchen. (This is exactly how I made the coordinating labels for all our baskets and snack bins!)
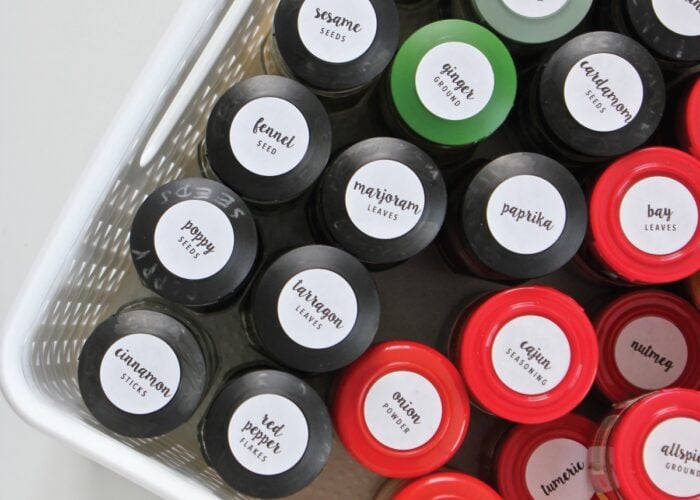
Coordinating Printable Spice Jar Labels
Want to label your spice jars too? 98 coordinating Spice Jar labels are also part of this labeling set too. See more HERE.
What Files Types Are Included?
Although designed to be “printable” labels, I’ve included all 64 Pantry Labels in 4 easy-to-use formats, so you can pick and choose not just what labels you need, but also how exactly to use them.
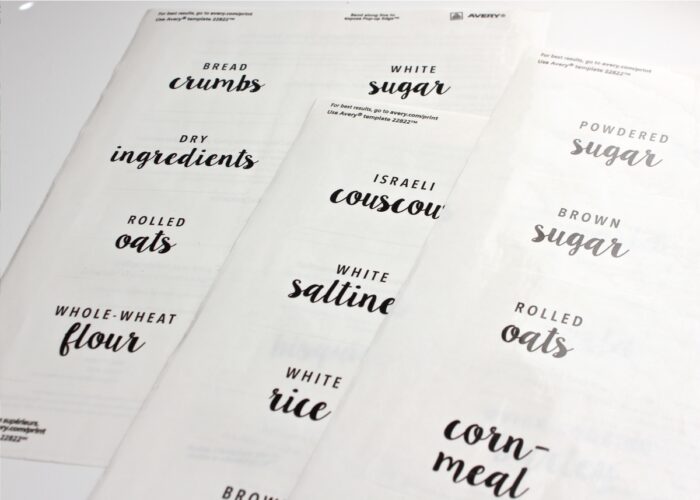
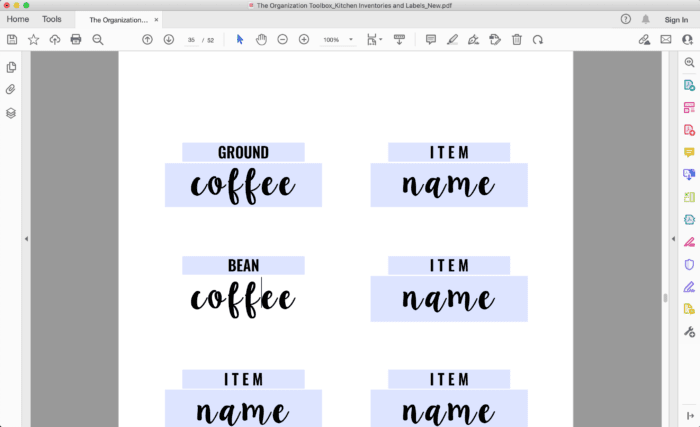
- Printable PDFs – Pre-formatted 8 labels/page for the quickest, easiest ready-to-print option.
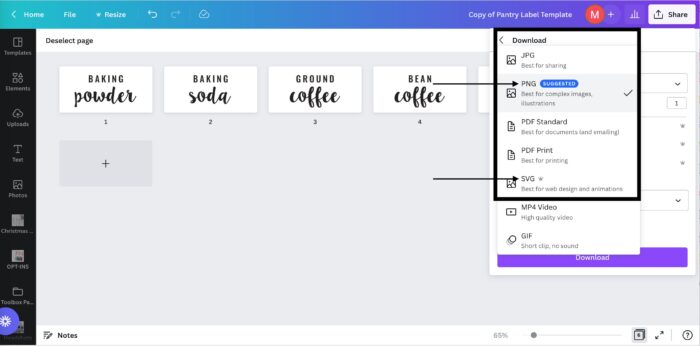
- PNGs – Drag-and-drop individual labels into any label template or design software in order to size and print however you want.
- SVGs – Upload individual labels to your e-cutter software (such as Cricut Design Space) in order to print or cut from your favorite material (e.g., vinyl, sticker paper).
- Canva Template – Need additional PNGs or SVGs beyond what’s included? The editable Canva template allows you to create perfectly matching labels in a snap.
How to Edit the Printable Pantry Labels
As much as I tried to include every single pantry staple I could think of, I wanted you to be able to customize these labels as much as possible. While the particular fonts or colors cannot be changed, there are two different methods for typing in your own labels.
Editing the PDF Files
If using the printable version of the Printable Pantry Labels, you can edit the labels using the free version of Adobe Acrobat Reader (the free version). Once you open the file, light blue boxes indicate where you can type in your own words. Simply click into a blue box and type away!
NOTE! Only the words can be changed. The fonts, size, and colors can not be adjusted within the PDF file.
Once satisfied with your labels, print with your home printer (instructions below) and repeat to make as many labels as needed.
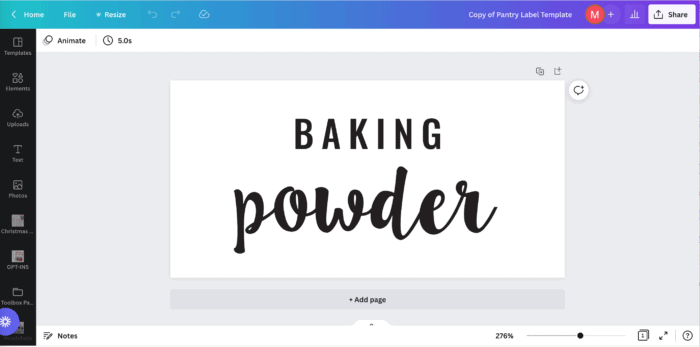
Editing the Canva Template
If you need additional labels in the PNG or SVG formats, you’ll need to create them using the free Canva Template. With this free and intuitive software, you’ll be able to make identical PNG or SVG files to use in your labeling project!
How to Print These Pantry Labels
Supplies Needed
- Printable Pantry Labels
- Printable Paper of your choice
- Home Printer
Print & Stick
The quickest and easiest way to make your own pantry labels with these files is to use the printable PDF version.
Want to save this post?
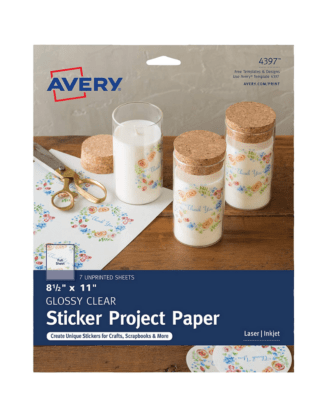
The PDF Pantry Labels are pre-formatted to fit AVERY 22822 label sheets, which are 2×3″ CLEAR glossy printable labels.
After editing the file for your exact foods (if needed), print out the pages/labels you need onto the AVERY labels and then peel-and-stick them directly to your bins or containers.
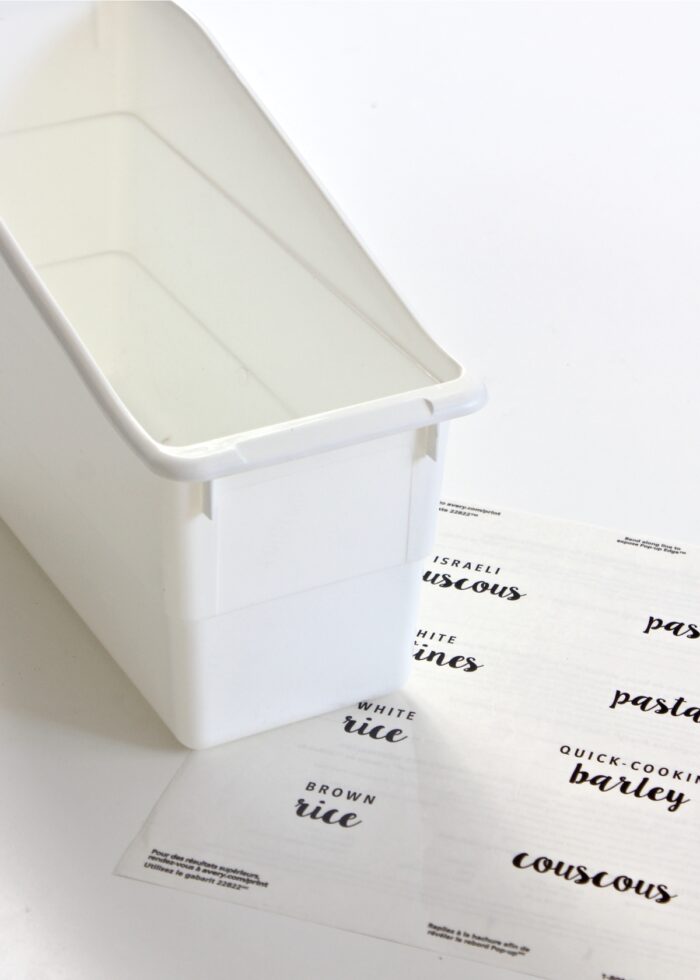
NOTE! I’ve worked with a lot of clear printable papers and am always bothered by the hazy sheen many of them have. The clear glossy paper of the AVERY 22822 Labels is awesome. It is truly clear and glossy, and prints beautifully.
Make Your Own Label Shapes
Keep in mind that you can feed any paper into your printer to use with these Printable Pantry Labels. So if you prefer paper versions of the labels (to go into Bin Clips or other label holders), simply print onto cardstock and trim down to size using a scissors or paper trimmer.
Y-Weave Basket | Gold Bin Clips | Pantry Labels
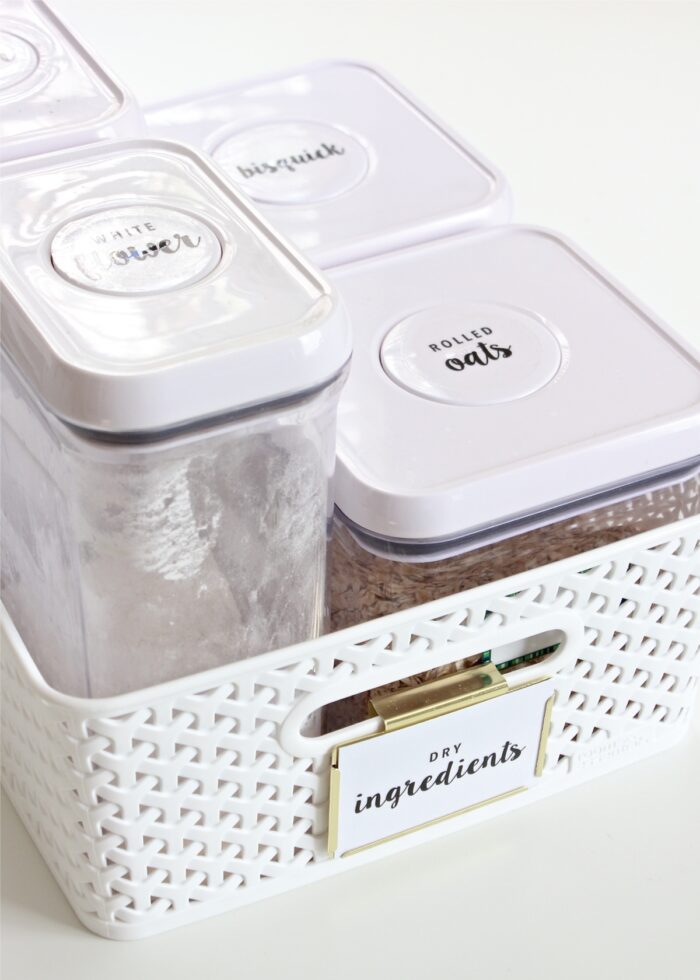
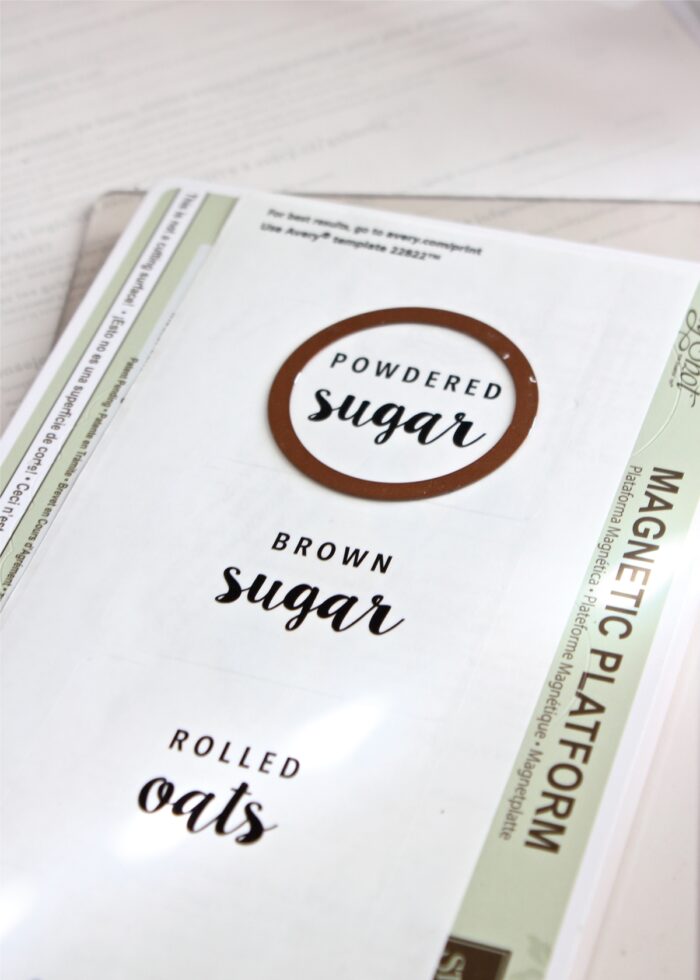
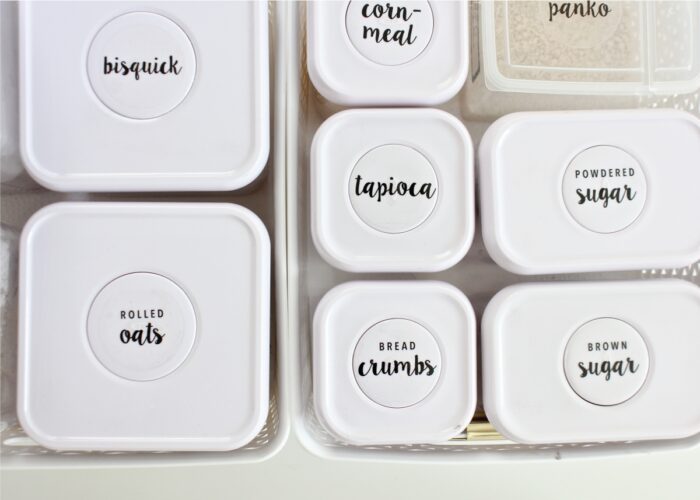
Likewise, you can easily make labels in any shape you need using scissors or punches. For example, to make round sticker labels to fit the tops of these Oxo Containers…
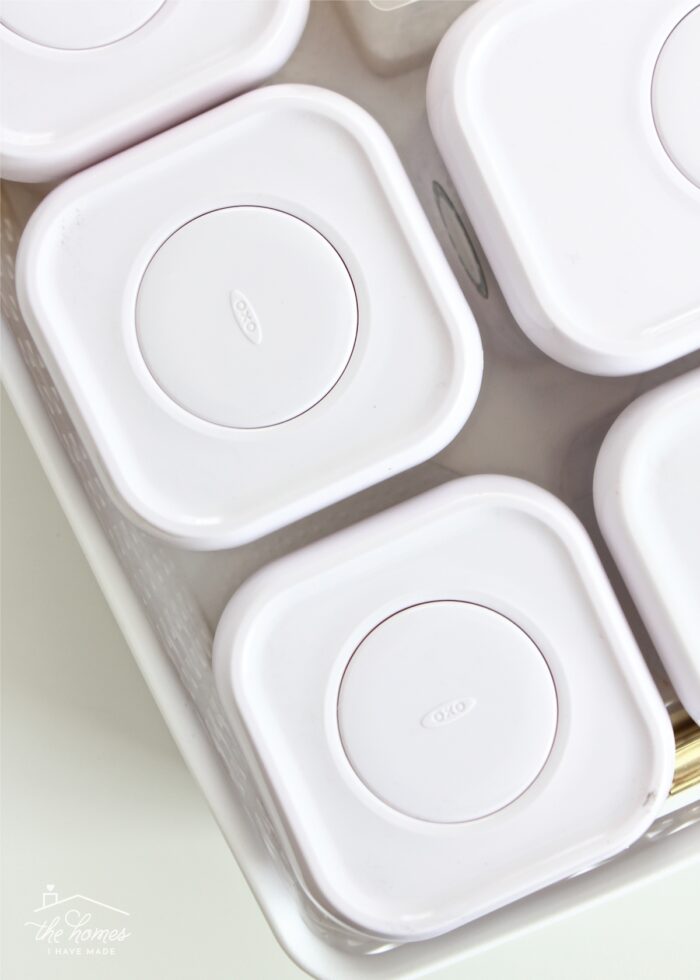
…first print the Pantry Labels onto full-sheet Clear Sticker Paper. Then use scissors, a punch, or die-cuts (which is what I used) in whatever shape you need.
Upload PNGs to Other Label Templates
If you want to use different peel-and-stick pre-made labels such as squares, circles, or other rectangle designs (like these awesome ones with gold foil frames), you can do that too!
- Download the Word version of the corresponding AVERY template directly from Avery’s website (or whatever label brand you’re using).
- Drag-and-drop the PNG versions of each Pantry Label into the label placeholders on the template. To see an example of how this works, watch this video.
- Once you’ve populated your label pages with whatever labels you need, simply print and go!
TIP! This is a great way to still use the AVERY 22822 Labels but include ONLY the labels you need (versus printing out all the pre-formatted ones as they are).
How to Make Your Printable Labels Waterproof
When I first made these beautiful labels years ago using the AVERY 22822 Labels, I didn’t make any efforts to waterproof them. And they lasted for years without any running or bleeding. The truth is, pantry canisters and containers are very rarely washed; and if they are, you can do so in a way that doesn’t completely saturate or ruin the labels.
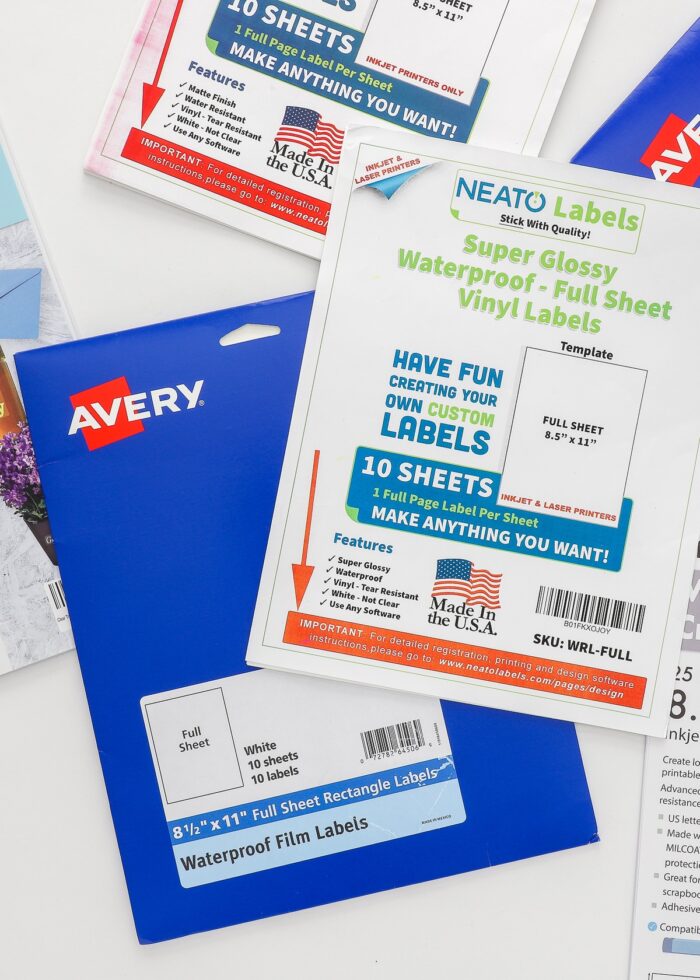
That said, it is now easier than ever to create waterproof labels with your home printer. My favorite papers for waterproof labels are Avery Waterproof Film Labels Full Label Sheets (white) and Neato Clear Sticker Paper (clear).
If you’d like even more information on how to create waterproof labels, see my full tutorial HERE!
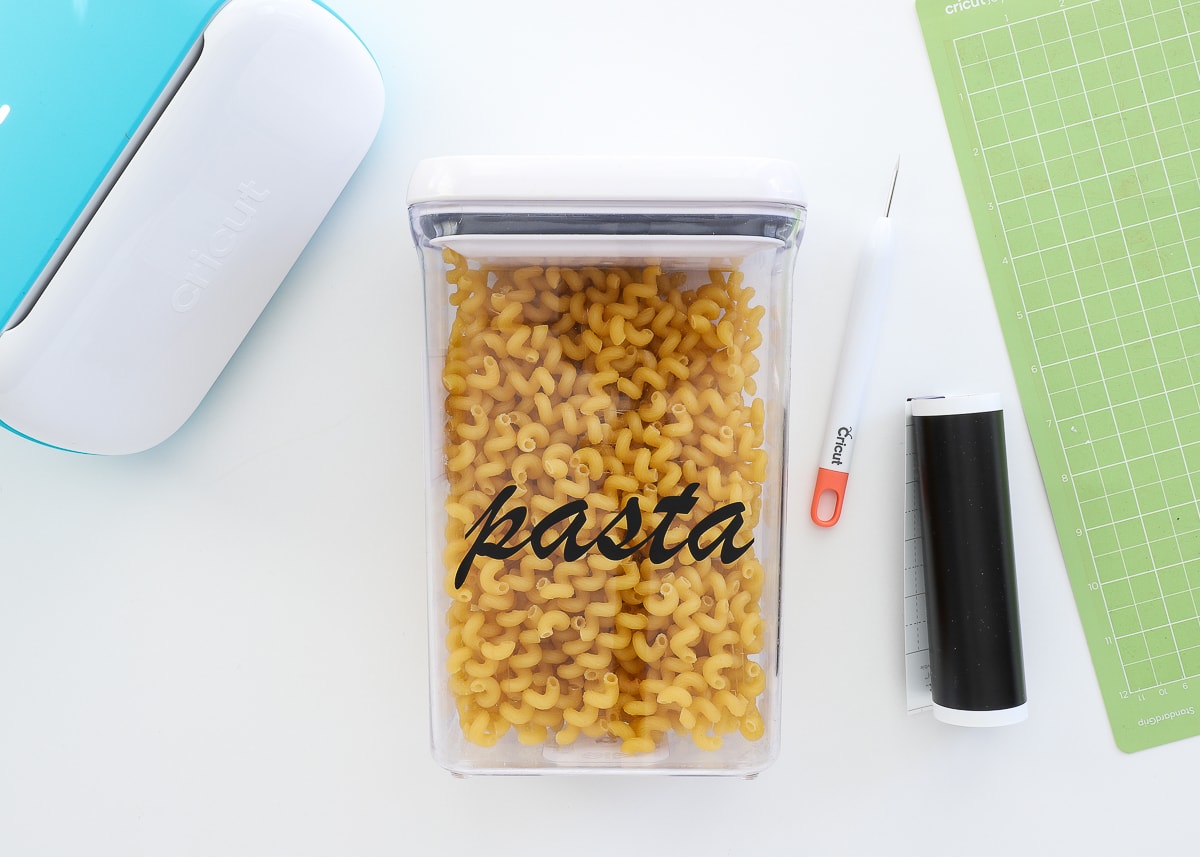
BONUS! Use These Pantry Labels with a Cricut or Silhouette Machine
Although these files are designed to be print-and-go, I couldn’t help but provide the SVG files that can be used with your favorite e-cutter such as a Cricut or Silhouette.
It’s important to know that making these Pantry Labels with an e-cutter will require more work; but the benefit of this method is that you can change the colors of the labels (within Cricut Design Space), make the labels any size, and cut them from any material!
- After downloading the SVG versions of the Pantry Labels, upload the ones you need into Cricut Design Space (see full instructions for uploading your own files here).
- If you need labels other than what’s provided, use the included Canva template to make additional matching SVGs (instructions above).
- Adjust the size of the labels for your specific pantry containers.
- Use your Cricut machine to cut out the labels in your desired material:
Get This Kit!
The Printable Pantry Labels are now available for download from The Organization Toolbox! Click HERE to shop or learn more!

More Labeling Templates
I love making labels, and I want it to be quick and easy for you too! Below are some other ready-to-print templates you can use throughout your home!
- Storage Bin Labels Template
- LEGO Set Label Template
- Garage Toolbox Labels
- Printable Spice & Pantry Labels
- Cleaning & Laundry Supply Labels
- Basic Shapes Printable Labels
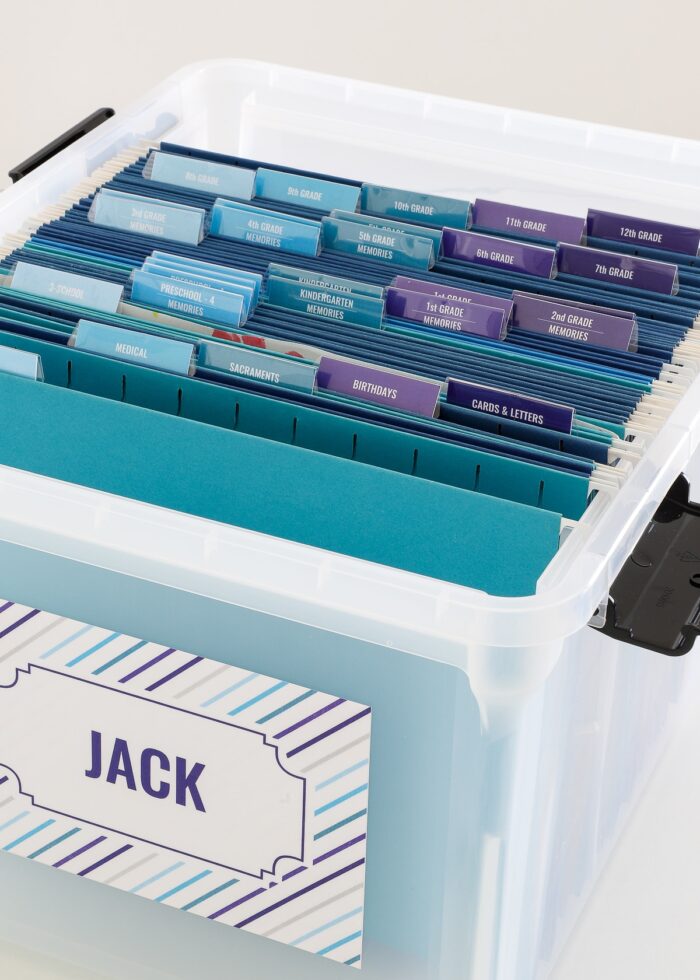
- School Memory Box Labels
- Household Staple Labels
- Toy Bin Labels

It is my sincerest hope that these files help you make all the pretty pantry labels of your dreams with total ease! Thanks to editable text, four file formats, and a plethora of ways to put them to use, you really can have chic, lasting labels for all over your kitchen in mere minutes. Are you ready to start upgrading the look AND function of your pantry?!?
Megan


14 Comments on “Easy-to-Use Printable Pantry Labels (That Look Amazing Too!)”
Woo! You beauty, what a bargain! I think the new Toolbox is totally the right move for you and I’m very excited to update my kitchen binder without re-inventing the wheel. Thanks Megan!
I got it! Looking forward to using the updated and customizable toolbox, and can’t wait to see what things you add.
I know you probably have 5 million printables already slated to come, but one I would like is the little round labels that can go on essential oil bottles. 🙂
Anyway, congrats on the launch, and I hope it is a huge success for you!
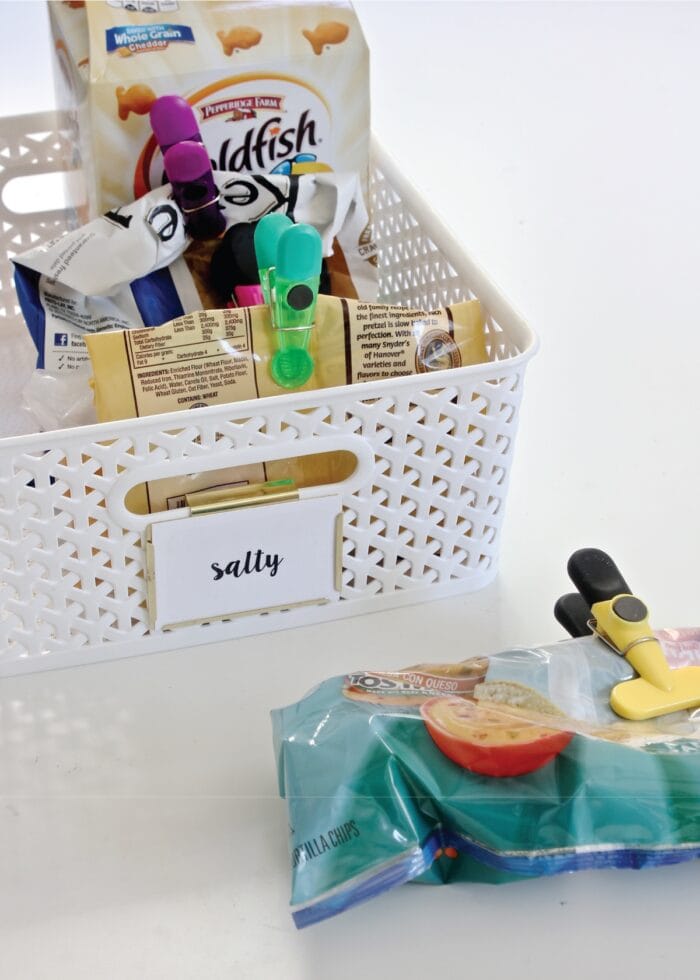
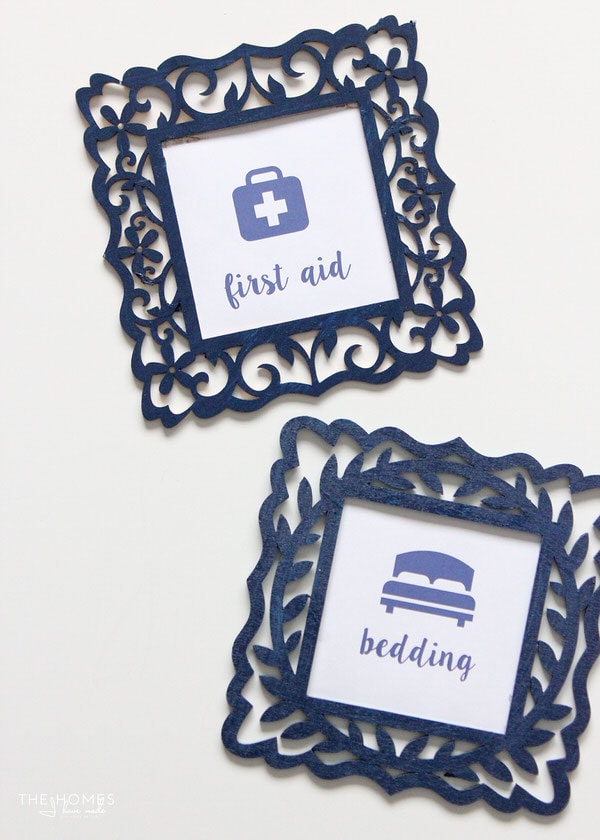
Where did you get the little frames you attached to the baskets for your labels? I love those!
Hey Emily!
Aren’t they awesome! They are from The Container Store and you can check them out here: https://rstyle.me/+om46mwPC1gNFjh9GyDGw0g
Hope that helps!
Megan
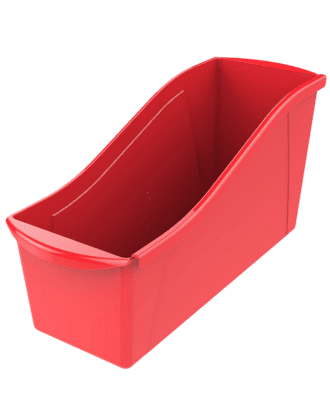
In the 2nd pic of the kids snacks…where did you get those bins? That’s what I’m looking for! Thanks!
Hi Monica!
They are book bins, usually used in classrooms; and I have to admit they are peeerrrfect for snacks! I ended up buying these from Really Good Stuff (https://www.reallygoodstuff.com/durable-book-and-binder-holders/p/160103/) because I wanted white ones. I also have these from Amazon (https://rstyle.me/n/c4qz25cehwp) which are a little cheaper!
Hope that helps!
Megan
Awesome labels! please assist me with the editing part
Hi Bibi,
Where are you having trouble? Once the file is open in Adobe Acrobat Reader, you will see where to edit them (blue boxes).
If you have more specific questions, let me know!Megan
I’m so excited to buy these and use in my pantry! Your pantry post inspired me to finally tackle our ridiculous pantry and I love your tip about keeping all of your organization pieces white to help reduce visual clutter! I’ve already tracked down the Target Y-Weave baskets and the white book bins I ordered arrived over the weekend! And we already owned a bunch of the OXO Pop containers! I’m just a tad bit hesitant regarding the circle sticker labels on the tops of the OXO Pop containers, as all of the 2″ circle punches don’t have the best reviews. Would love to know if someone has had good luck with the one linked in your post or any others, as I do not have a Big Shot machine. I realize this post is a couple years old though so it may be difficult to find out, but I thought I would ask anyway.
Hi Emily!
I am thrilled to hear you’re working on your pantry, it sounds like it’s coming along wonderfully!
I hear ya on the circle punches, but in general, punches can be a little finicky. If it doesn’t work quite right, you can try punching some aluminum foil to sharpen it a bit.
Another thought would be to ask around (scrapbookers, crafters will likely have one), or to trace a paper template and cut them out by hand!
Hope that helps a bit!Megan
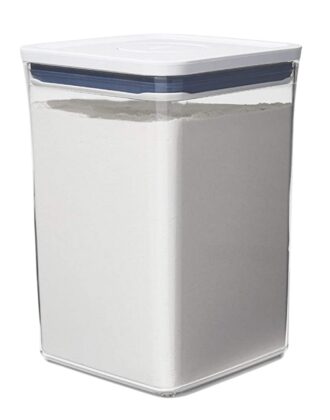
Just thought you might like to know in the photo tops of containers you have spelt White Flour….White Flower.
Hi Maggie!
Yes, I know. The files were fixed long ago, but pictures are harder to change! Mistakes like these keep me humble 😂
Thanks for letting me know though, have a great week!
Megan
Wow! You’ve created an amazing tool that’s sooo easy to use! Thank you for all your hard work! Can’t wait to get started!
P.S. plethora…good word! LOL 😁
Sooo helpful ! I purchased a CircuitJoy and have not used it yet . I think Ivan master all of my clutter, by using your instructions! Thank you, Anne Cool