Practical Tips for Decanting Pantry Items
If you spend any amount of time on Pinterest or Instagram, you are sure to come across perfectly organized pantries filled with shelves of matching containers overflowing with neatly organized foods…nary a cardboard box or plastic bag in sight. Don’t get me wrong…one glance at our fully organized pantry will tell you that I certainly love a tidy pantry, and I absolutely do a fair amount of decanting food items. However, I’ll also be the first to tell you that decanting can be an exhausting and tedious aspect of getting groceries put away…one that I don’t necessarily enjoy. After spanning the spectrum from decanting nothing to evveeerrrrything, I’ve finally landed on a middle ground that keeps our pantry stocked and looking great but doesn’t overwhelm me. Today I want to share my best tips and tricks for decanting pantry items so you can make it a more manageable (and enjoyable!) task too!
What is Decanting?
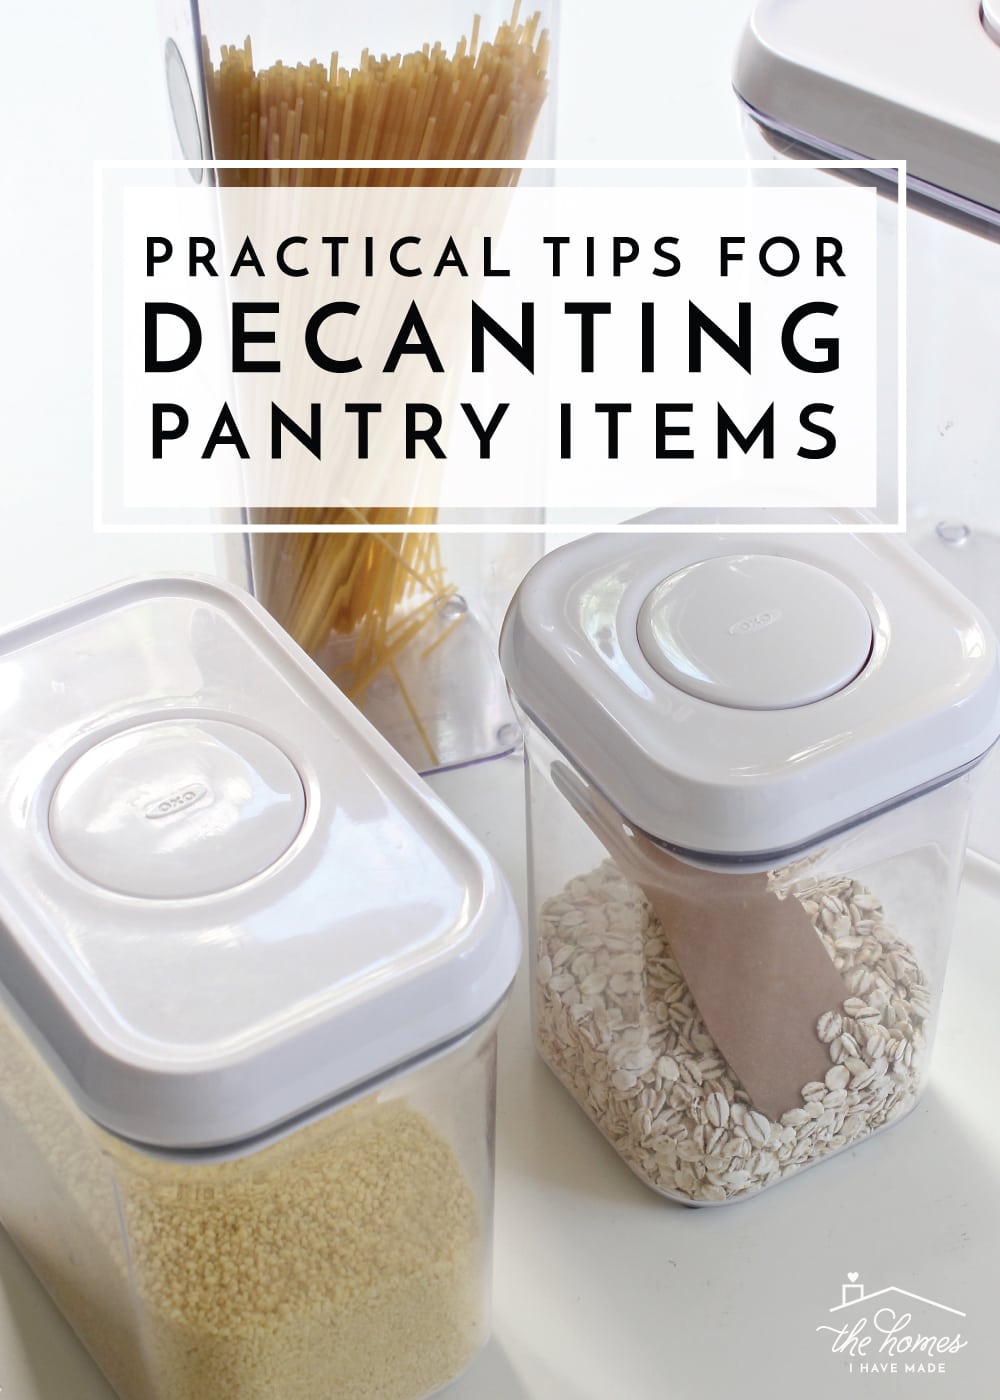
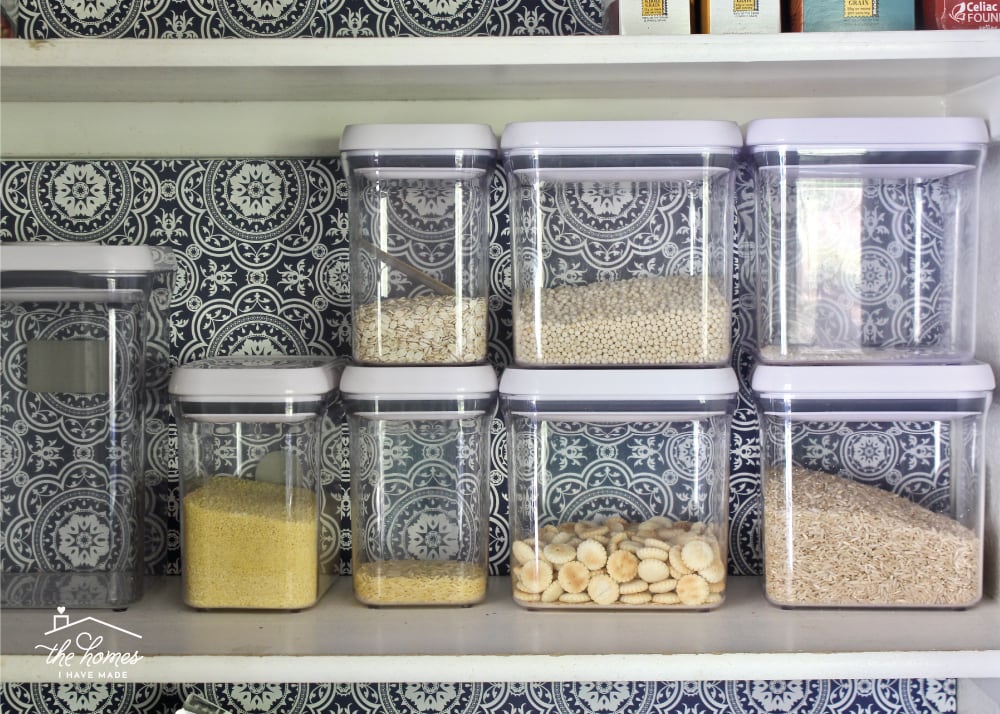
Decanting is a term that is typically used when talking about liquids and means to “gradually pour (liquid, typically wine or a solution) from one container into another, especially without disturbing the sediment.” While the term is most commonly used in chemistry class and wine bars, it’s also become a term used to describe the practice of removing foods from their original (disposable) packaging and placing them into more permanent, often clear, containers or baskets. If you buy a huge bag of flour and pour it into a glass canister on your countertop, that’s decanting. If you dump spices from store-bought jars into your own matching jars, that’s decanting. If you empty a box of granola bars into a snack basket, that’s decanting.
Why Decant Pantry Items?
So what’s the harm in taking boxes of granola bars, cereal, pasta, and baking soda out of your grocery bags and placing them right onto your pantry shelves? Nothing. That is certainly the quickest and easiest route to getting groceries put away. It also eliminates the need to purchase extra storage systems just to place food in/on within a pantry. However, there are a few perks to be gained simply by taking the extra step to remove the outer packaging (most often a cardboard box or plastic/paper bag)…beyond a really pretty pantry.
- Decanting food items eliminates a lot of the visual and physical clutter that accompanies food. These days, it seems like no two bags, boxes, cans or jars are the same size, shape or color, making them difficult to stack and store neatly. Items are more prone to tipping in their original packaging, and some cardboard boxes don’t hold their shape well. By eliminating the packaging, you gain space and reduce the visual mess.
- Eliminating the outer packaging allows you to keep your pantry better stocked. How many times have you scanned your pantry when making a grocery list, you see a box of cereal and think you’re good for the next week, only to discover (later) that the box is really empty. By moving foods to clear containers or open bins, at-a-glance you can adequately assess the stock you have on hand.
- Admittedly, packaging is getting better. More and more food items are now coming with re-sealable closures leading to less food spoilage. However, even with zip-top seals, foods are still more likely to go bad in their original packaging. By transferring foods to air-tight containers, you are more likely to extend their shelf life.
- It’s not very easy to fill up a measuring cup with flour directly from the paper bag (that always seems to rip!). However, in a larger, sturdy container, it’s no problem. As such, decanting powder-like baking items (e.g., flour, sugar, pancake mix, etc) into sizable containers not only helps you keep track of how much you have, but also makes these items much easier to use.
Despite all the pros for decanting items, there are some pretty big cons too: it’s time consuming, it’s tedious, and it can be messy. Putting groceries away is exhausting enough without having to un-package each and every item as well. If you love the idea of decanting but just can’t seem to make it work for you, try these practical tips!
Tip 1: Be Realistic
My biggest and best tip is to be realistic with your personality and time. If you LOVE to decant food items and have all the time (and containers!) to do it, go on ahead. But if you barely have the time to get groceries much less put them away, re-adjust your expectations and set the bar where you can actually reach it. Even if you have the time and storage but simply hate to do it, find other methods that work.
I used to try to decant every last item that came home simply because I loved the way it looked. But putting groceries away was taking time I didn’t have and was leaving me completely exhausted (just from groceries!!!). I found myself dreading grocery shopping even more simply because of the put-away routine. I decided to make it more manageable by embracing quick wins (like dumping snacks into open baskets) and long-term rewards (flour, sugar, and other items I only buy and decant every now and then) and even those small habits make a big difference.
Tip 2: Get Rid of the Outermost Packaging
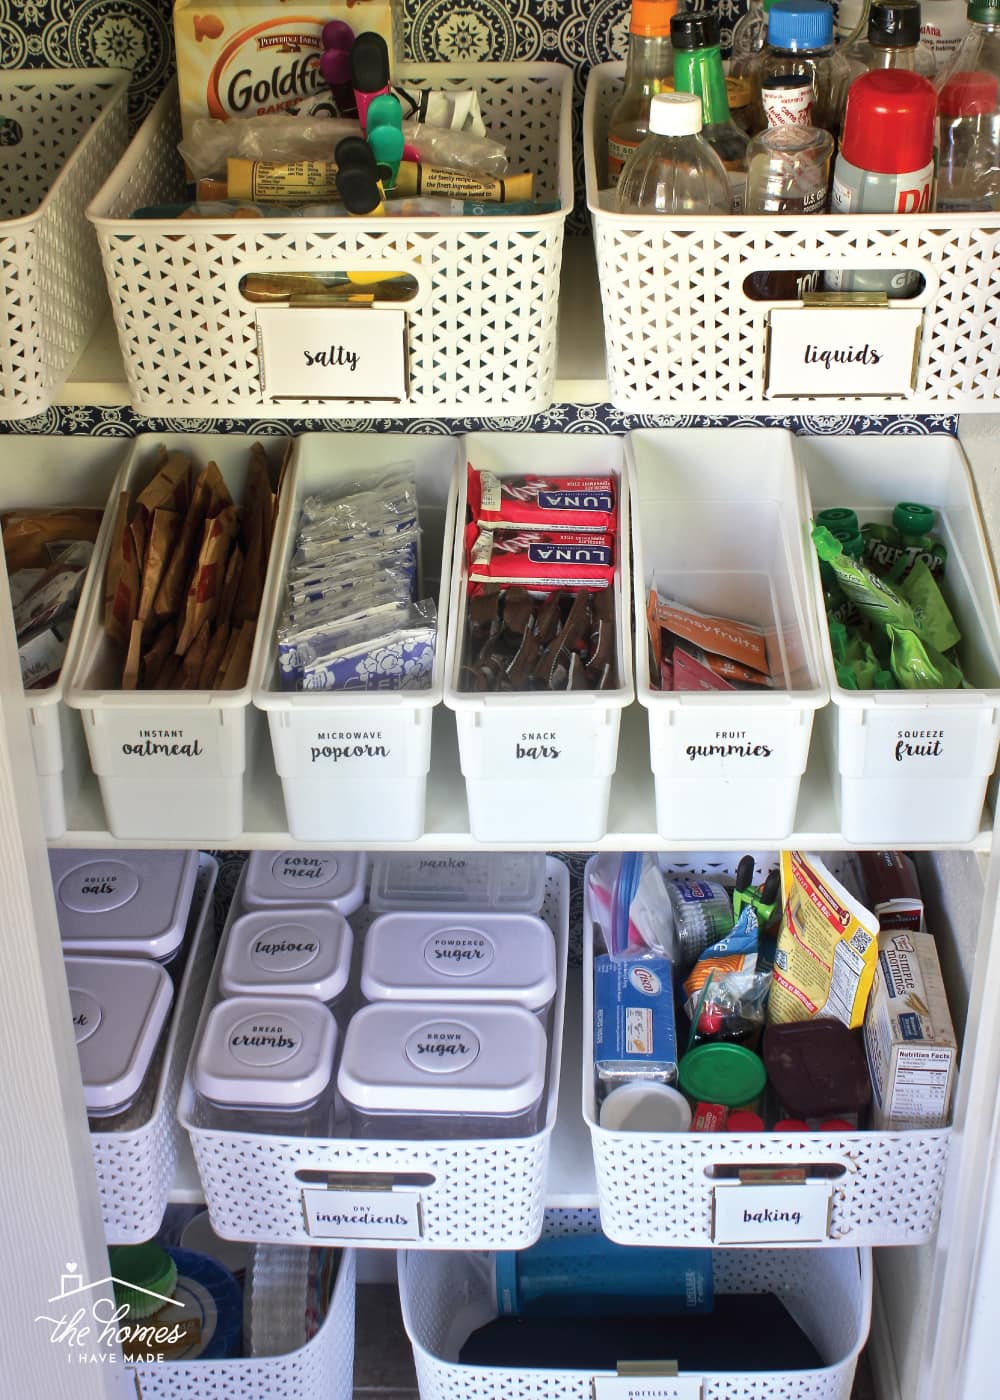
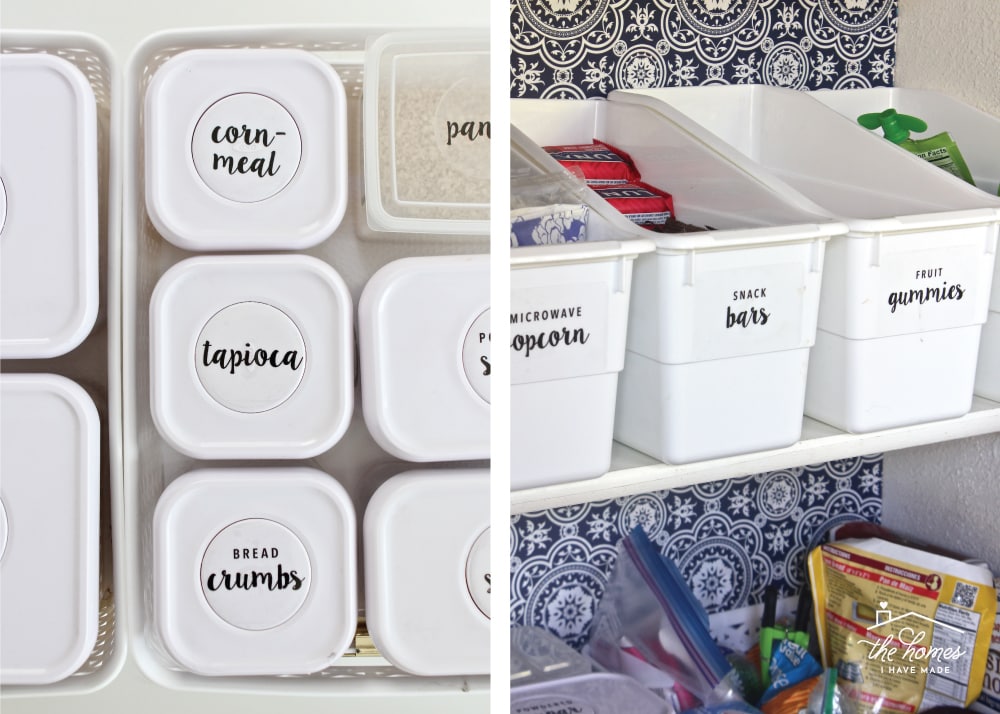
If you do nothing else, I urge you to at least eliminate the outer-most packaging on anything you can. Think about how many items are double-packaged: bags within boxes, wrappers within bags, pouches within boxes etc. By removing the most outer layer, you will free up so much more space in your pantry and keep better tabs on what’s in stock. Open bins or baskets are great for catching these pre-portioned items such as bars, fruit snacks, squeeze fruits, yogurts etc.
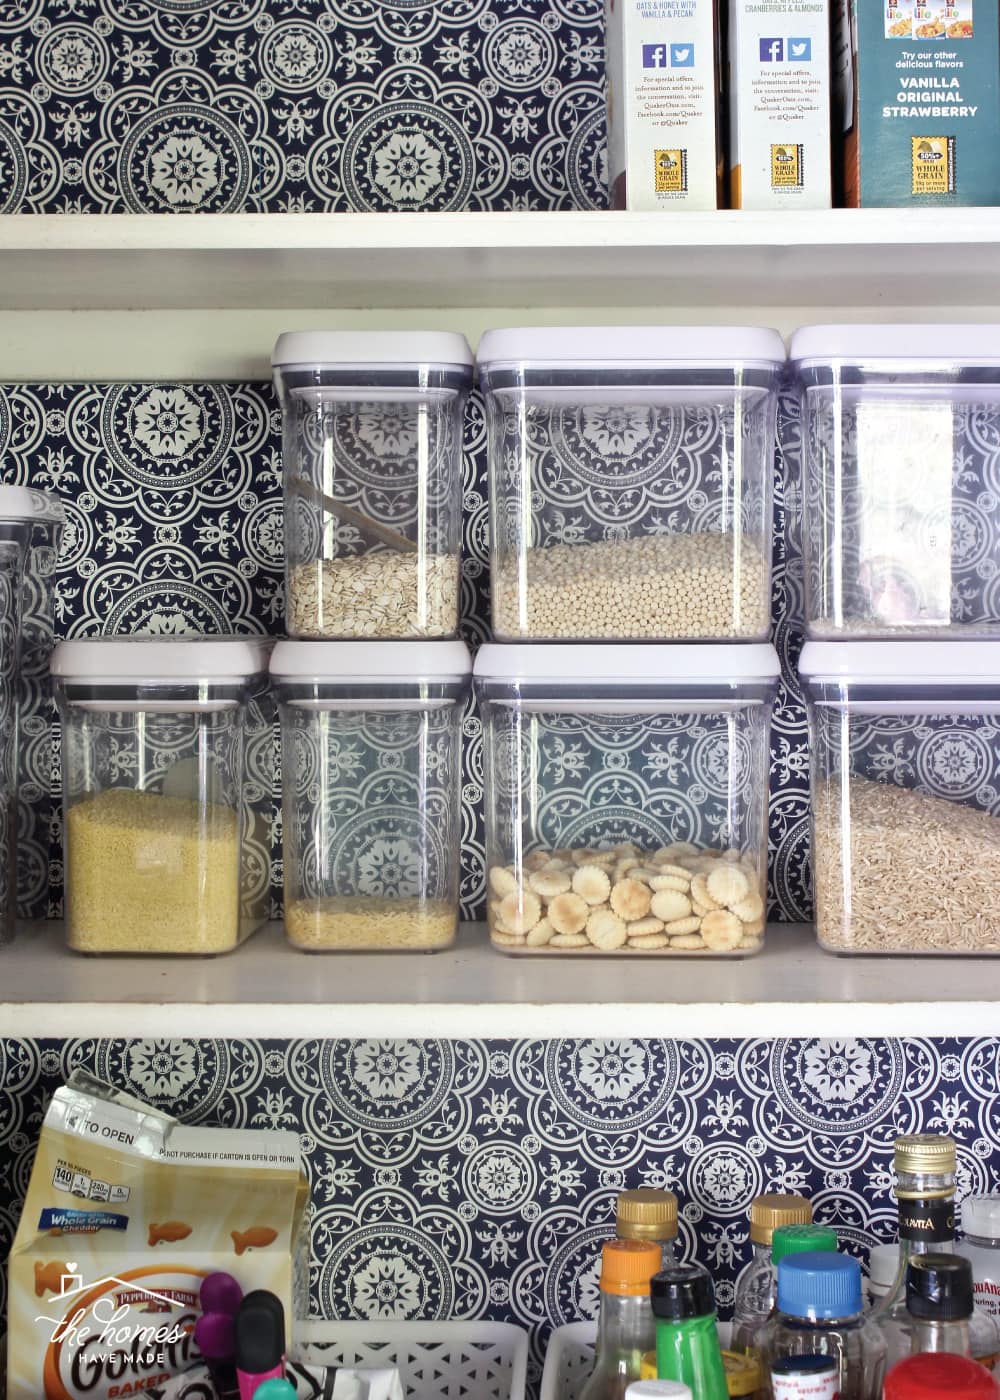
This concept also applies to “staple” foods that come in bags or boxes: flour and sugar, pasta, rice, etc. Although these items will have to be transferred to larger, more permanent containers, you’ll be able to eliminate the need for multiple bags/boxes (for example: three boxes of rice can be poured into one large container) and also keep better stock on your inventory. Large, clear containers are great for holding pastas, rices, etc.
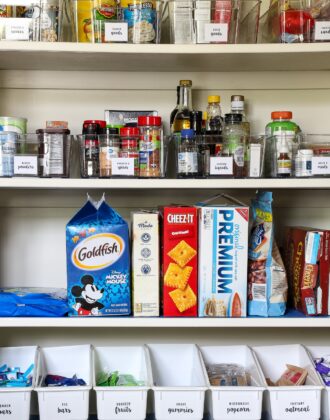
While I do get rid of most outside packaging, I certainly don’t get rid of it all. As a rule, I no longer decant snack foods (I’ll tell you why next), so the large cardboard jug of Goldfish stays. I also don’t decant “pre-packaged” items such as a box of rice pilaf (you know…the kind that comes with seasoning in it), a box of macaroni and cheese, or a box of brownies, etc. These items stay in their original packaging until they are opened and prepared. However, if I were to purchase a bulk box of 10 rice pilaf boxes, I would get rid of the outside box and store the single boxes in a way that suited my space better.
Tip 3: On Decanting Snack Foods
As I said before, I used to try to decant every last pretzel and chip and goldfish because I loved the way it looked. Keeping random, open bags tidy and sealed was certainly a challenge, and I loved that containers allowed me to keep inventory, stack everything nicely, and portion out as needed. But the process of pouring each and every bag of pretzels, chips and cookies into another container was exhausting for me. Additionally, our containers weren’t 100% air tight so items were going stale pretty quickly; and finally, these foods rotated out so frequently that it felt like I was always washing out and swapping containers just because we bought Cheez Its this week instead of Goldfish. (And then I never knew what to do with that last cup of Goldfish at the bottom of the container I now needed to fill with Cheez Its?!?)
I finally decided to no longer decant snack foods and cookies that come in large bags or boxes. Here’s what we do instead:
- Chips, cookies, pretzels, popcorn and other foods that come in large boxes or bags almost always stay in their original packaging. With the exception of the large Goldfish boxes, I do eliminate the outer box if there is one and reduce everything down to the plastic bag that holds the actual snack.
- If the bags are un-opened, they get placed on our top shelf. If we had additional food storage in the garage or basement, we would put them there.
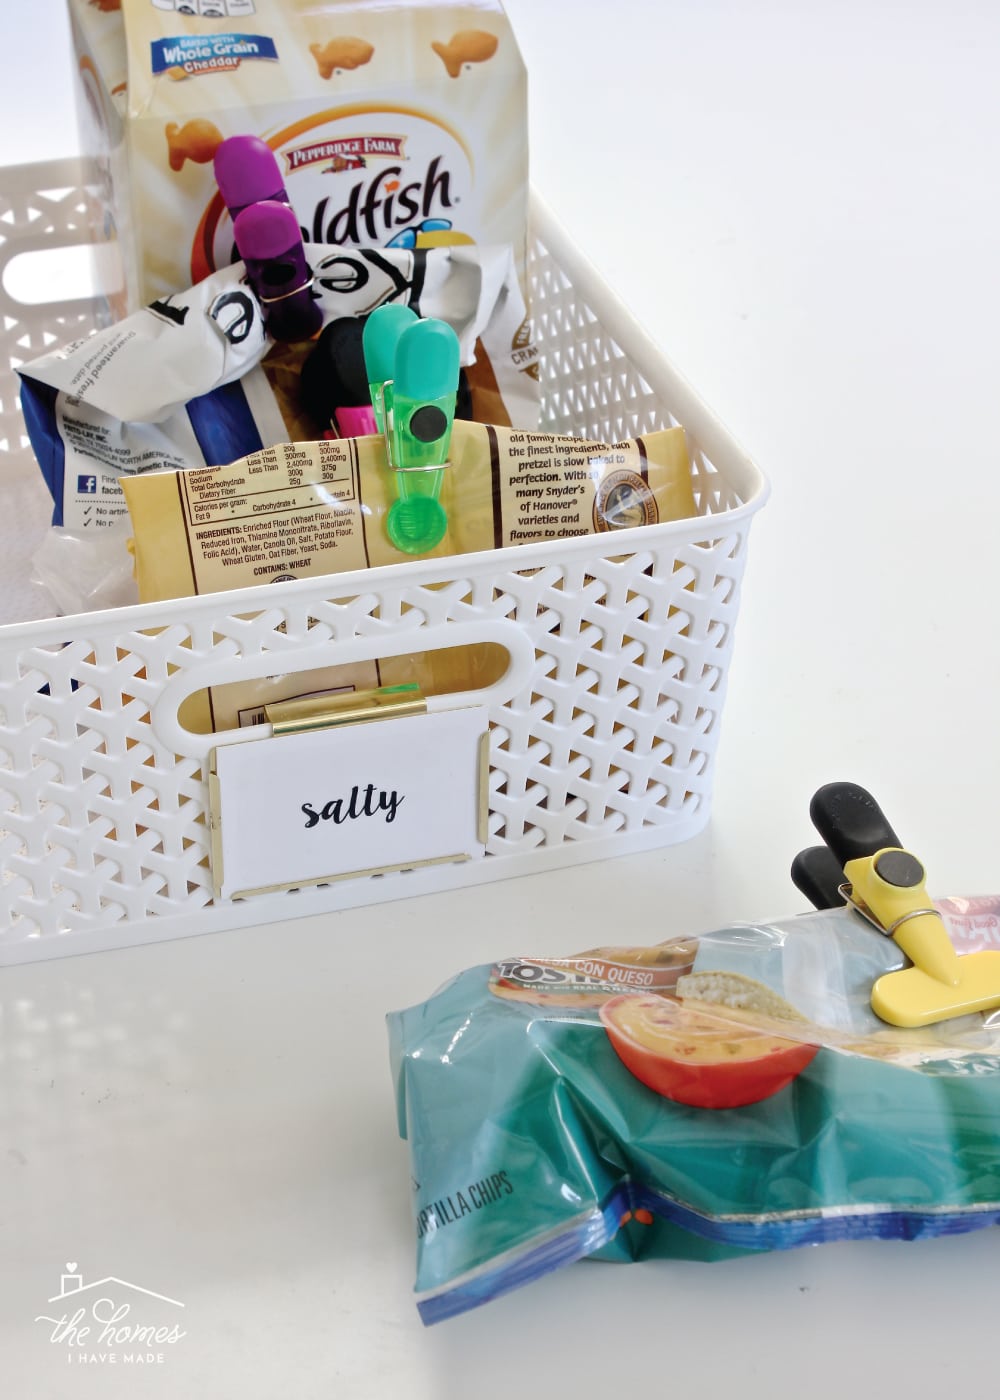
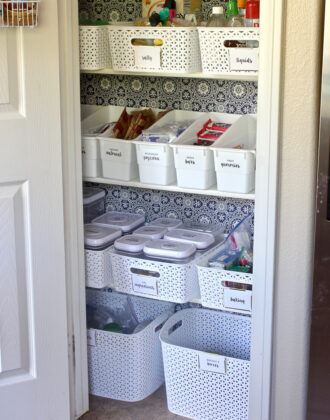
- Once a bag is opened, it is clipped up and placed in a dedicated basket on our pantry shelf. Not only does clipping help the food stay fresh, but we are sure to eat the open bags out of the basket first (thereby reducing multiple open bags). The basket also enforces limits on how many snacks we buy and keep open, and helps keep these random bags stay tidy on the shelf.
It goes without saying that opening a bag, clipping it, and placing it in a dedicated basket is much quicker and easier than pouring it all into a container. However, this method still allows us to keep track of how much is left (it’s pretty easy to see if the bag of tortilla chips is mostly full or almost empty). And…if we pick up different snacks or buy a larger size than usual, no problem…we aren’t committed to certain containers. This method to managing snacks has saved my sanity and I can’t recommend it more!
Tip 4: On Decanting Spices
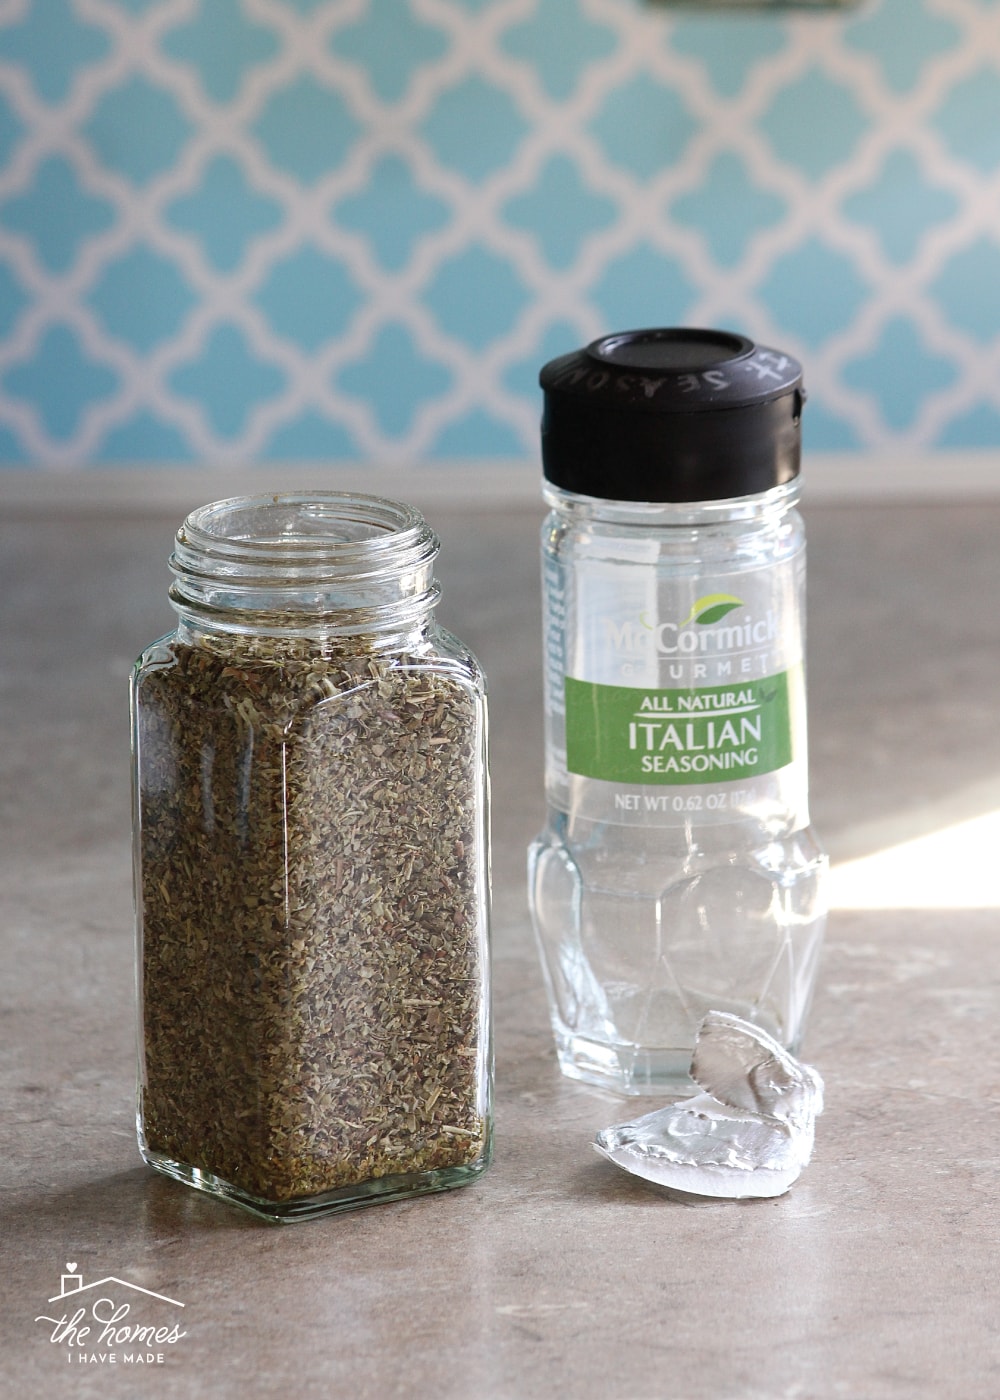
I’ve already written a bunch on decanting spices, so I’ll try to be brief. I certainly love the look matching spice jars as much as the next organization-obsessed blogger. However, I was going absolutely batty that my jars wouldn’t hold all the spices at once time (for example, if I bought in bulk or if I needed to add a new full jar to a remaining tablespoon or so). I’d end up filling my pretty spice jar and then having to store my “leftovers” somewhere else.
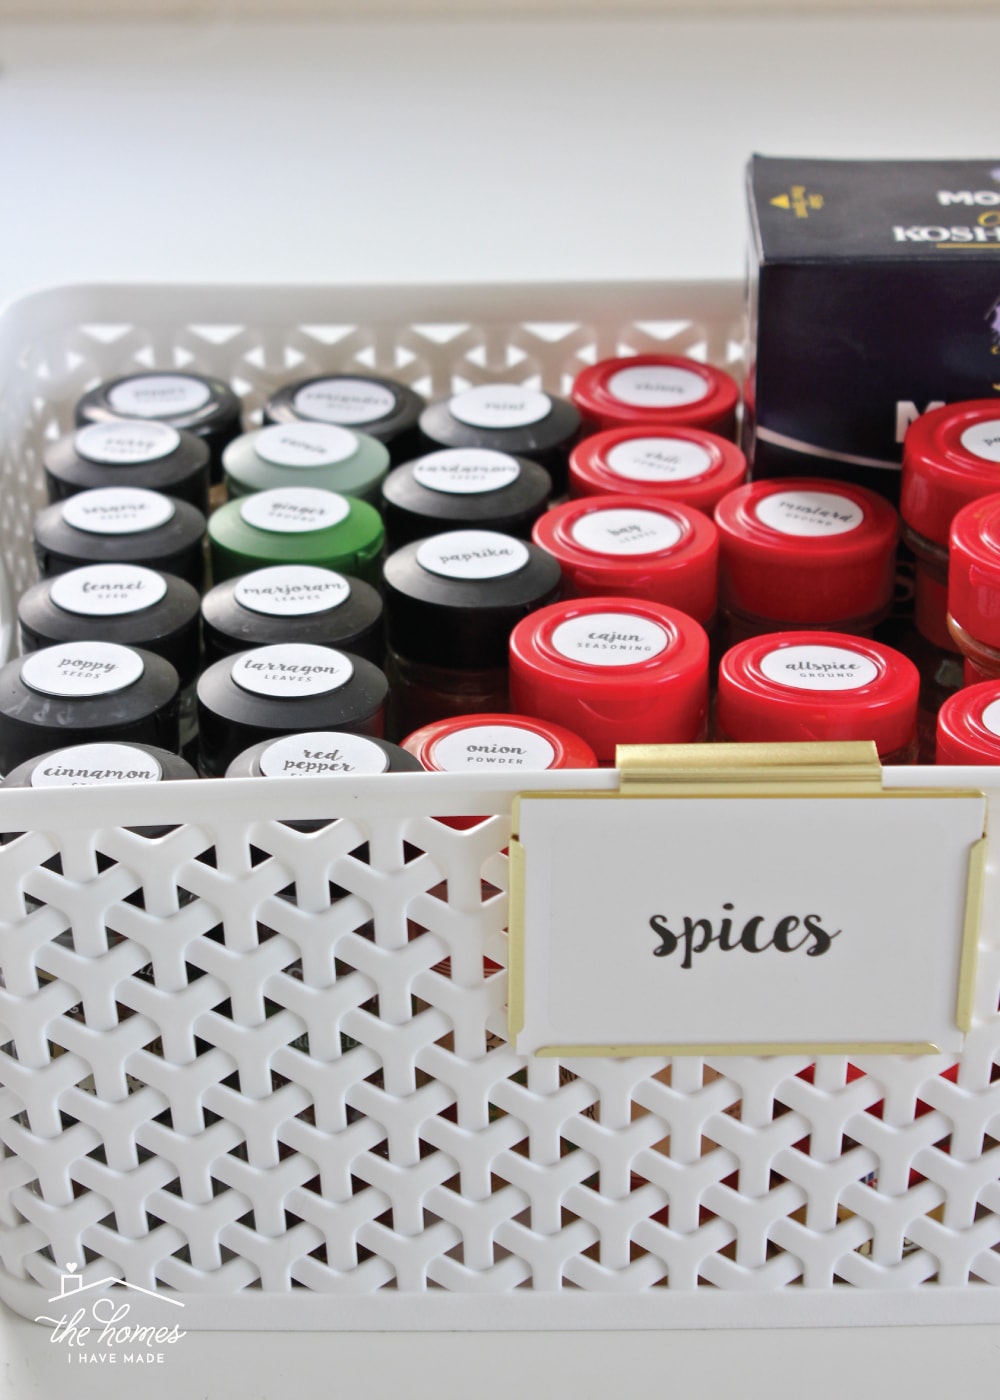
Out kitchens don’t tend to have a ton of storage, and I hate storing items in two different places. As such, I have gone back to just relying on the jars the spices come in. If I buy a backup jar, I simply use whatever jar has a label on it. Once that jar is empty, I move my label to the new jar and start again.
If you really want to decant your spices, I suggest you buy really big spice jars that can hold a full jar plus some. Additionally, make sure you have some out-of-the-way storage (like a basement or garage) to hold the rest of your spices until you need them. If you don’t have out of the way storage, you are simply adding more clutter to your kitchen by storing the pretty jar plus the backup jar.
Tip 5: On Buying In Bulk
I’ve gotten a few questions about buying in bulk and decanting so I’ll address them here. Admittedly, we don’t buy much in bulk. I grew up in a home where there were items stuffed into the back of the pantry, refrigerator and freezer on a constant basis, and my Mom never knew what she had, what had gone bad, etc. It must have scarred me a bit because I like to keep just enough on hand to get us through a week or two. It drives my husband nuts, and I know there are benefits to buying in bulk, it’s just not something we do.
That said…if you buy in bulk and want to be able to decant items into your panty, there is one thing you need to keep in mind: backup storage space.
As I said above, buying in bulk really only works if you have space to hold the excess until you need it. No problem if you have a large, walk-in pantry. If your pantry is small though, you will need to identify another closet or part of your basement/attic/garage to hold the overflow. In this scenario, you can setup baskets, bins and containers in your pantry to hold your “usable” supply, and then backfill from your bulk storage. When making your shopping list though, be sure you check your inventory in your overflow and not just your pantry to prevent from buying even more! This is where kitchen inventories would come in handy 😉
Tip 6: Find Containers to Hold What You Need
If you haven’t gotten the gist of it yet, I advocate decanting pantry items primarily because it saves on visual and physical clutter. If you decant your 5 lb bag of flour into a small container only to need storage for the rest of the flour, you’re simply making more work and more clutter for yourself. To combat having to store items in two spots (unless it’s the bulk situation we discussed above), work hard to find containers that hold your usual supply. If you always buy a 5 lb bag of flour, then you need a really big container to hold it. If your family eats tons of microwave popcorn, you need a large basket to hold it all. If you like to keep baking powder on hand but only go through a single jar once ever 3 years, then a small little clear container will suffice. My point: match your container to your usual shopping amount to eliminate the need for spillover storage.
Tip 7: On Labeling Pantry Items
You all know I love labels…like really love labels. But one glance at my pantry will show you that I don’t necessarily believe in labeling everything. When it comes to a pantry, I recommend taking one of two approaches:
- Label only the items that are (relatively) permanent…as in, they are pretty much always in your pantry, or
- Use easy-to-swap labels that can rotate with your food items.
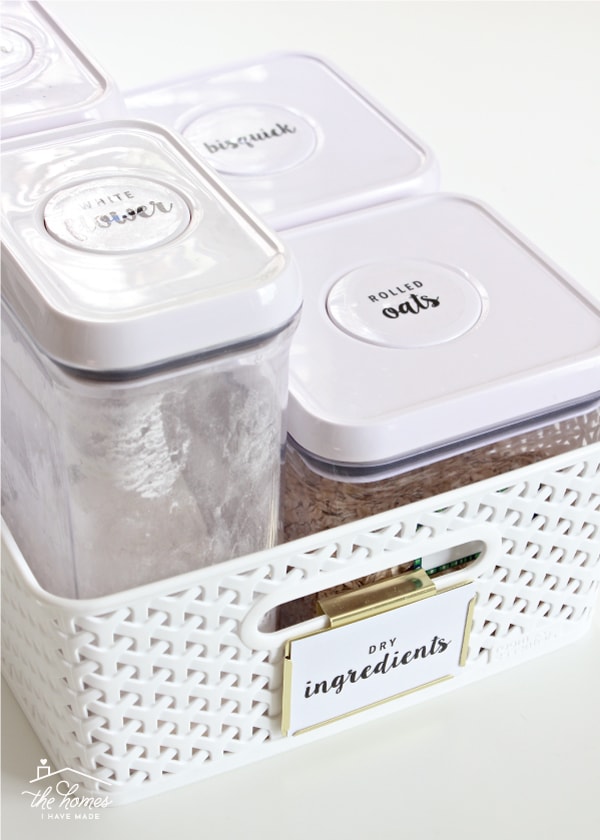
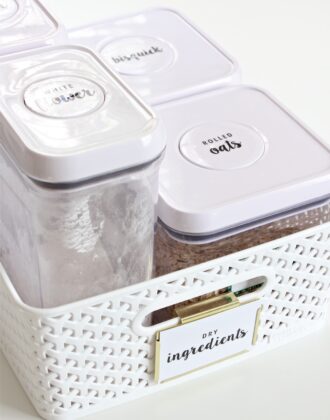
I chose to print and apply labels to the items that are almost always in our pantry. These include things such as snacks (bars, gummies, squeeze fruit, etc), as well as our baking supplies (flour, sugar, etc). These items almost never, ever change so having pretty, printed labels looks nice and is maintenance free.
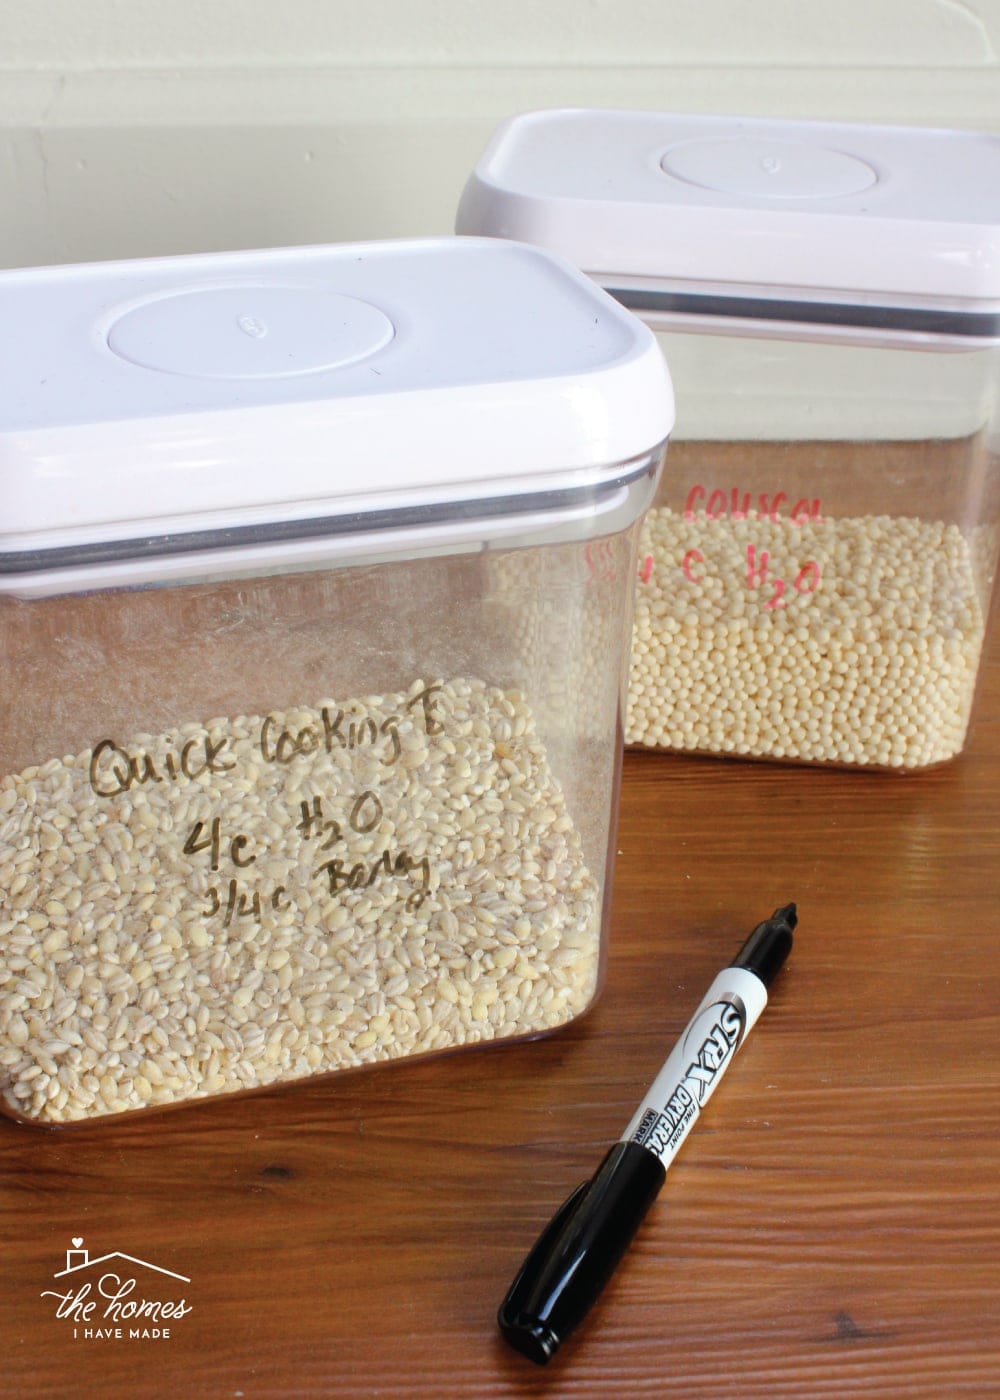
For other foods that change frequently, I either don’t decant them (like our snacks) or I don’t label them (like our dry ingredients such as rice, pasta, etc). These grain items tend to rotate frequently based on the recipes I’m making most, so I don’t label them for convenience. In the case when I need to know what’s inside, I either include a clipping from the box inside or use a dry-erase marker to designate!
Tip 8: On Decanting Liquids
When it comes to pantry decanting, we usually are referring to dry ingredients; but you may also have need to decant certain liquid items too. My main guidance here is to primarily decant liquid items for two reasons:
- You buy oil, vinegar, etc in bulk and need to keep a smaller jar in your pantry for everyday use, or
- Certain items are stored or used “out in the open” and you want them to look nice.
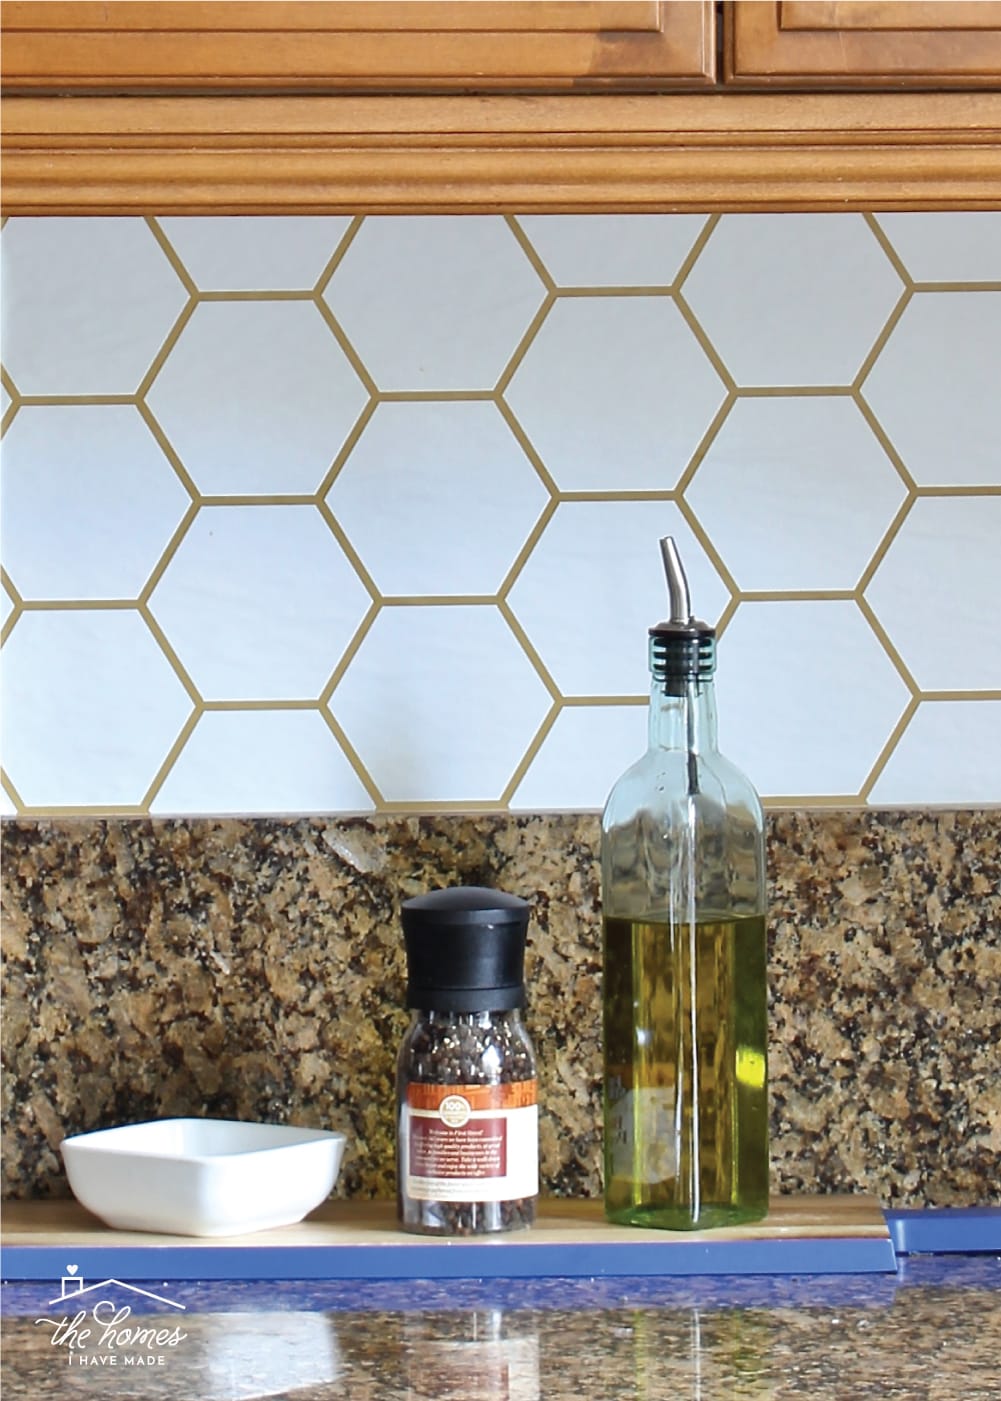
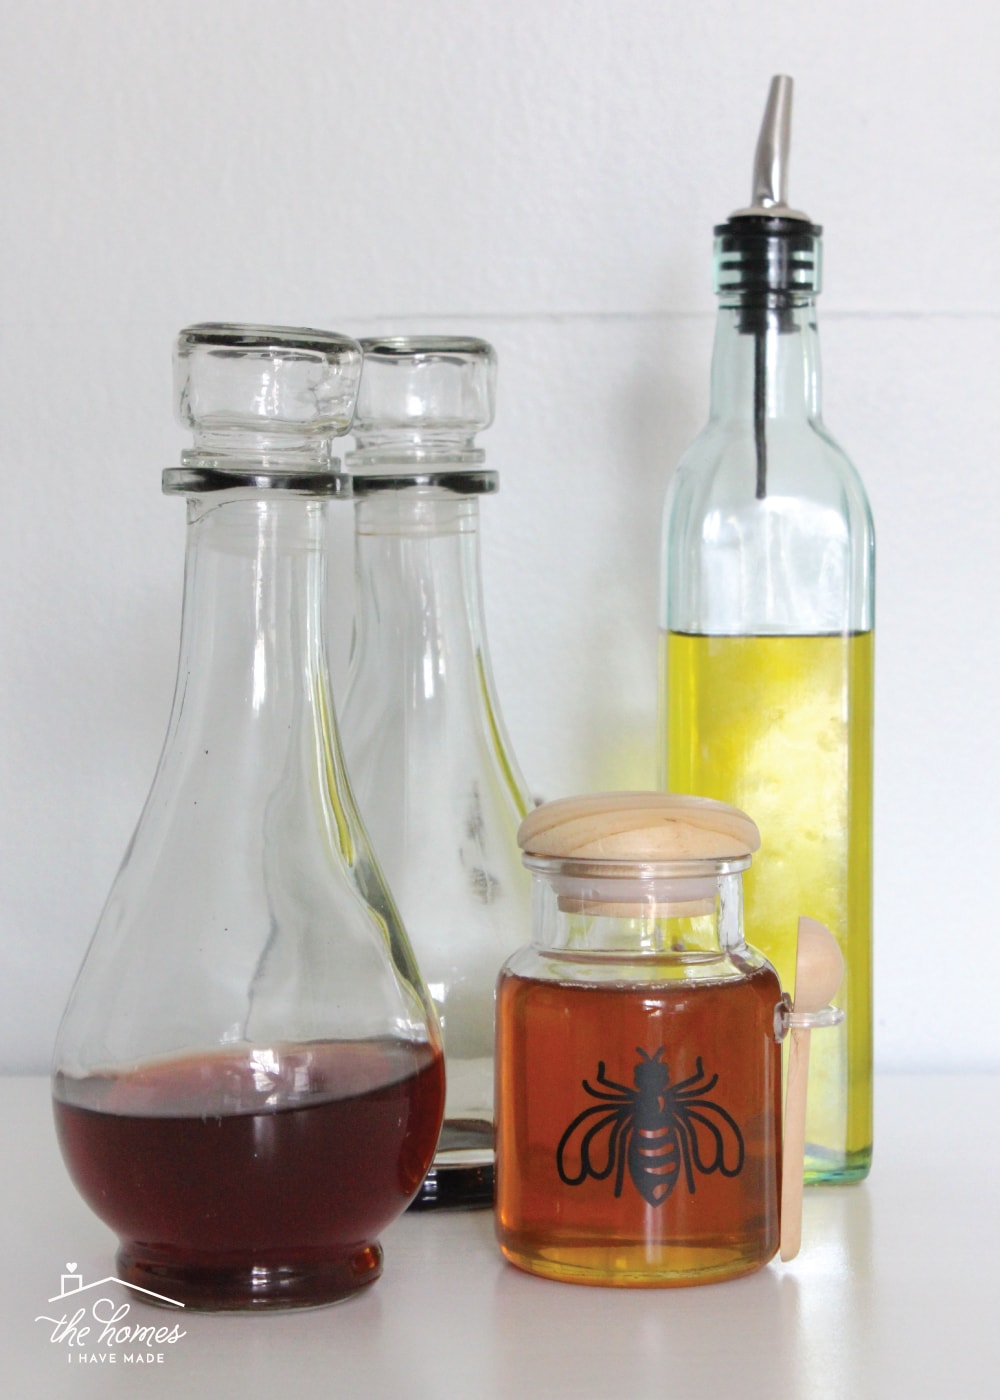
In our home, I decant olive oil into a a pretty jar that sits out next to the stove. I do this because I use olive oil all the time (so I like to leave it out), but by transferring it to a decorative jar, it looks more like a kitchen accessory than a pantry staple.
Even if you have items that you don’t necessarily use all the time but place on the table or serve to guests, you might want to consider finding decorative/permanent jars for them:
Tip 9: Get Inspired
Finally, if you haven’t yet, I recommend you listen to this podcast with Young House Love and The Home Edit. I actually heard this well after I got our decanting methods sorted out, and was shocked at how similar our philosophies are. If you need some more convincing or inspiration to give decanting a try, it’s 30 minutes well spent!
Phew! I had a lot more to stay about decanting than I expected. #storyofmylife I swear I sit down with every intention to keep my posts brief, and I end up writing a novel…every time. Sorry about that. Still…I hope these tips help you embrace the concept of decanting in order to make less mess and more order in your pantry! If you have any tricks that work great for you or problems you constantly run into, don’t hesitate to leave a comment below and we’ll figure it out together!
Megan



15 Comments on “Practical Tips for Decanting Pantry Items”
Another con for decanting is that you lose the instructions printed on the box.
Hey Chris!
Absolutely, I agree. Although to get around that, I usually just snip the directions off the box and throw it in my plastic container (you can see a picture in this post: https://thehomesihavemade.com/2018/09/a-tour-of-our-organized-pantry-from-top-to-bottom/) or use a dry erase marker to jot the ingredients down right on the container itself! But yes – it’s an extra step to consider!
Hope you’re having a great week!
Tip 1: I love wet erase markers for most things prime use dry erase markers for. They don’t smell as bad and don’t wipe off if you just touch it — but are ready to clean with a damp rag.
Tip 2: While I love your spice jar labels, that’s not my speed right now. I use a black sharpie for writing on most lids and a metallic gold for writing on black lids. It’s made it SO much easier to find spices. And since I share a kitchen with two adult children and a spouse, it helps everyone keep things (somewhat) easy to find.
Question: Which types of containers do you recommend? For awhile I used glass jars with screw lids for most things, but pantry moths were able to invade those. In some houses I’ve had an extra freezer and I put EVERYTHING in to that when I can. (Definitely needed when we were in Kenya!) But I’m in Virginia now, and while we don’t have mice in the house, the owner has had pest control put traps around the garage and house. I’m currently double ziplock bagging things which I think will attract mice or other pests, but that is neither a convenient nor pretty solution.
Ideas?
A third method that I’ve used all my housekeeping life is to shop at my local co-op, which has bulk bins for pantry items and spices. I take my own containers (they have masking tape and labels for writing the tare weight and PLU), and fill them. I have glass containers, mostly old canning jars, so I use the basket for my farmers’ market CSA to keep them from jostling and breaking.
If I have a small amount left in a jar that I know I need to refill (i.e. half a cup of whole wheat pastry flour when the cookie recipe needs 2 1/4 c), I just transfer the flour-or-whatever to a small canning jar and put it on top or in the front so I know to use it first.
It makes the putting-away *almost* painless.
For supermarket items like granola bars or cereal I do what Megan does, and just decant the current box into a jar with backup on a higher shelf. It’s easy to keep inventory that way.
I also decant dog and cat food into glass jars on the counter. The 50 lb bags of kibble are stored in a wooden ammo box on the porch, so I don’t have to schlep the heavy bags one step further than absolutely neccessary.
FYI and BTW, I live in a small city in flyover country. The co-op option is far more available than some realize. I also buy dairy there, and produce in the wintertime when the farmers’ market offerings start to contract.
“I just transfer the flour-or-whatever to a small canning jar and put it on top or in the front so I know to use it first.”
This is brilliant. I usually end up dealing with the small amount in the middle while making said recipe and getting frustrated. Love the idea to use a small canning jar for the little bit of leftovers.
Thanks for all of the tips in this post! Love how practical you make it.
You’re welcome. I’ve learned so much from this blog and others like it that I’m glad to have a chance to pass it on.
Another “perk” to decanting: pest control! We live in the ‘burbs, not on a farm or in the middle of a city and still, last year, we had a mice problem. I have always kept a fairly clean home, but the “invasion” made me even more aggressive about keeping counters clean and dry; sinks empty of dishes, food bits, water, etc.; pots and pans scrubbed out (I sadly gave away my seasoned cast iron); and, food kept in tightly sealed and mouse-proof containers. I also use quite a few metal tins with tight-fitting lids, as well as plastic bins like Megan. I even had to remove the pans and electric griddle that I was storing in the drawer under the oven, and store them vertically in an apartment-sized, sturdy, “trash bin” with a lid. No more toothpaste tubes on the bathroom counter, either. Also, I cleared a lot of paper clutter! I sometimes feel like “the crazy cleaning lady”, but it’s worth it to not have pests inside our home. I know that even the cleanest of homes can get pests, so I am not judging anyone- just sharing what has worked for me.
Thanks, Megan, for a great post!
A really good read! I am about to tackle my pantry and this was a really nice motivator. I have very limited space in my kitchen so it is very important for me to use it optimally. Decanting also helps you be able to stack items on top of each other without it falling over or looking messy.
I’m excited to get it done. Thanks
I LOVE the basket labels. Where did you find the. Rackets?
Hi Lauren,
The label holders are from here, and the labels are my own printable kit here.
Hope that helps!
Megan
Any tips on how to manage the first-in-first-out aspect? For example, when filling the flour jar, do you dump out the remaining flour, then add the new flour, and pour the original flour back in?
Hey Amber!
I will admit my husband is MUCH better about emptying contents first, pouring in new, and then pouring the older back in on top. I am not as good at taking the time to do that, so I usually wait to add new in until the container is all-the-way empty.
So not great tips on how to manage it, but I think your instincts are spot on!Hope that helps a bit,Megan
I also decant many items but use jars-mason jars for smaller amounts and for flour etc, larger jars with a mouth wide enough to fit a measuring cup. I have a country kitchen so they blend in well. Another thing I do for labeling is use part of the original packaging. I’ve cut Bob’s Red mill labels and mounted on cardstock and strung on jars with twine or just wrapped the plastic wrapping around the mason top insert. Cooking directions and the expiration date I cut off and add to the jar. I would remind people if you decant don’t forget to occassionally wash the container and decant any remaining product before adding the new so the oldest can be put back in on top. In Cabinets my go to gathering containers are clementine boxes. You can paint or decorate them and they are free!! and stack.
Love reading all your ideas! Life is always so much sweeter when someone shares something that makes your day a little easier!
You have shared a lot of great “pros” on decanting, but have not addressed several cons: 1) you lose shelf-life info (use-by/best-by dates), 2) every time you change the container from original to your own decanter you add bacteria (can’t be helped), and 3) it’s pretty expensive, especially the clear containers. Please comment!
Hi Claire,
Thanks for chiming in with these great questions!
Here’s my two cents on the concerns you raise:
1) Shelf life – I, personally, only really decant dry goods that have a pretty long shelf life. Further, I only buy sizes that fit into my containers, so we move through the contents fairly regularly. So, in general, I’m not worried about items “expiring.” That said, if you are trying to decant items that have a shelf life, you can always write on the side of the plastic container with a dry erase marker.
2) Sure – I guess bacteria is always a concern. I’ve been decanting my pantry staples for ages without any issue. As I said before, I mostly decant dry staples (rice, pasta, flours, sugars) that tend to be cooked/heated before consumption. And, we usually pour straight into the container (without coming into contact with the foods). But yes, this is something to be aware of.
3) Yes – clear pantry containers are an investment, and that’s a personal decision each household has to make. I bought my initial set of containers years ago and have slowly added over time when I’ve seen sales. At this point, I have plenty and don’t need to buy anymore. Containers are something that work great for me so I happily invested my money into them – but that might not be the right solution for everyone.
Hope that helps!
Megan