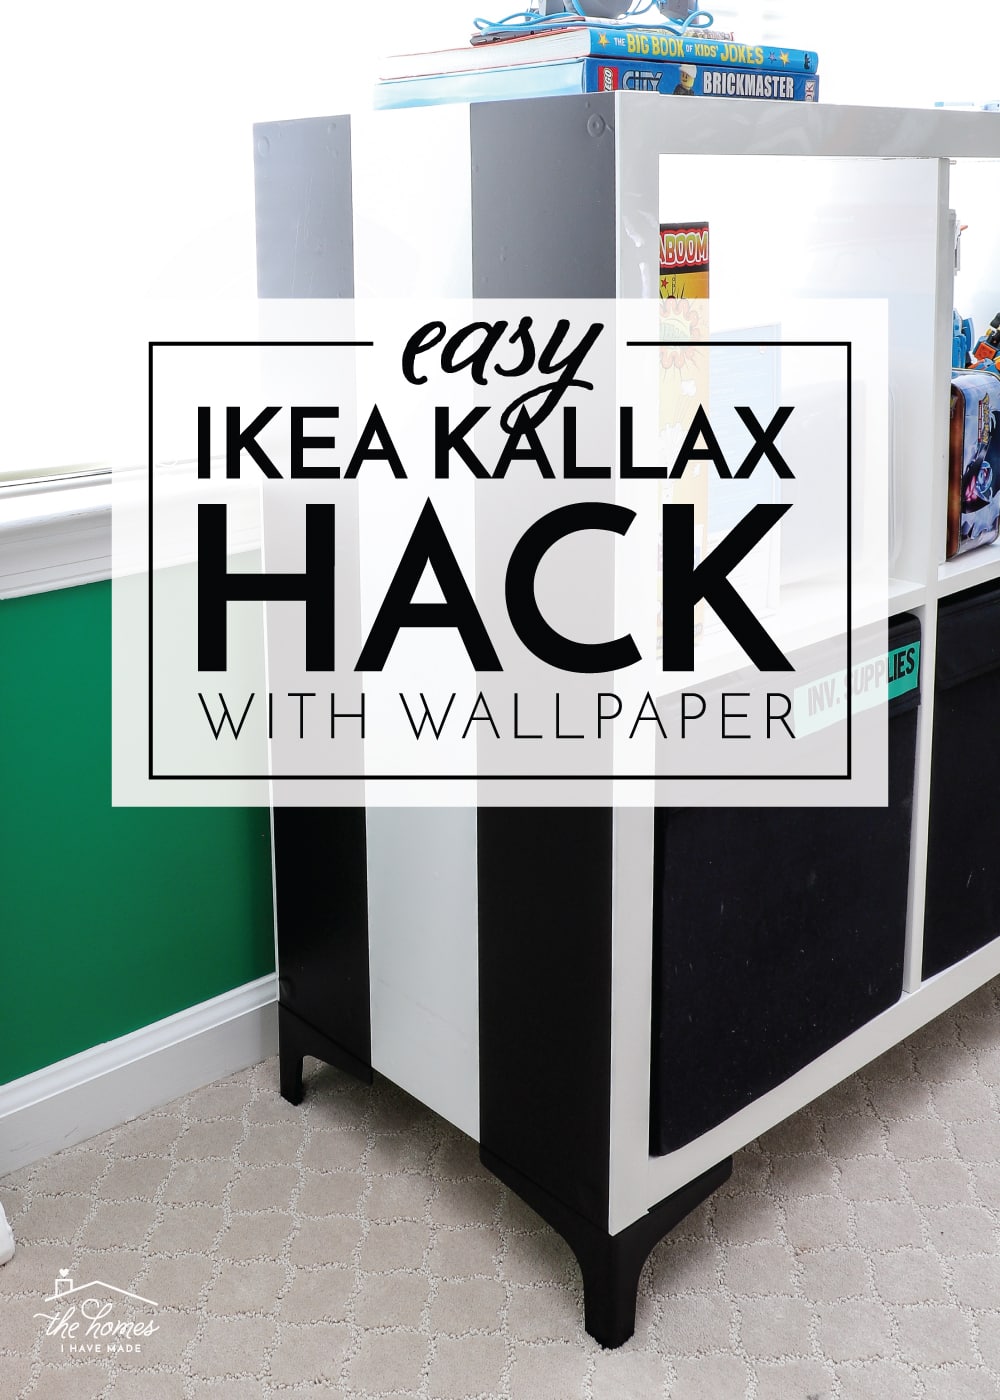
IKEA Kallax Hack With Wallpaper
My brain is constantly churning up ideas for projects around the house, but sometimes I have no where or no place to execute those ideas. So I usually tuck them away for later because if one thing is fairly certain in our lifestyle: a new home full of new opportunities is just around the corner. Such is the case with today’s easy furniture makeover project! For a while now, I’ve been wanting to do an IKEA Kallax Hack with peel-and-stick wallpaper, but never really had the right unit or the right paper to try it with. Then, we recently added this tried-and-true storage piece to Henry’s bedroom and I had a ton of black-and-white striped wallpaper on hand (from scoring it on major clearance years ago!) I gave it a go, and I must say I’m pretty smitten with this easy, inexpensive, and totally temporary Kallax makeover!
Our “Striped” IKEA Kallax
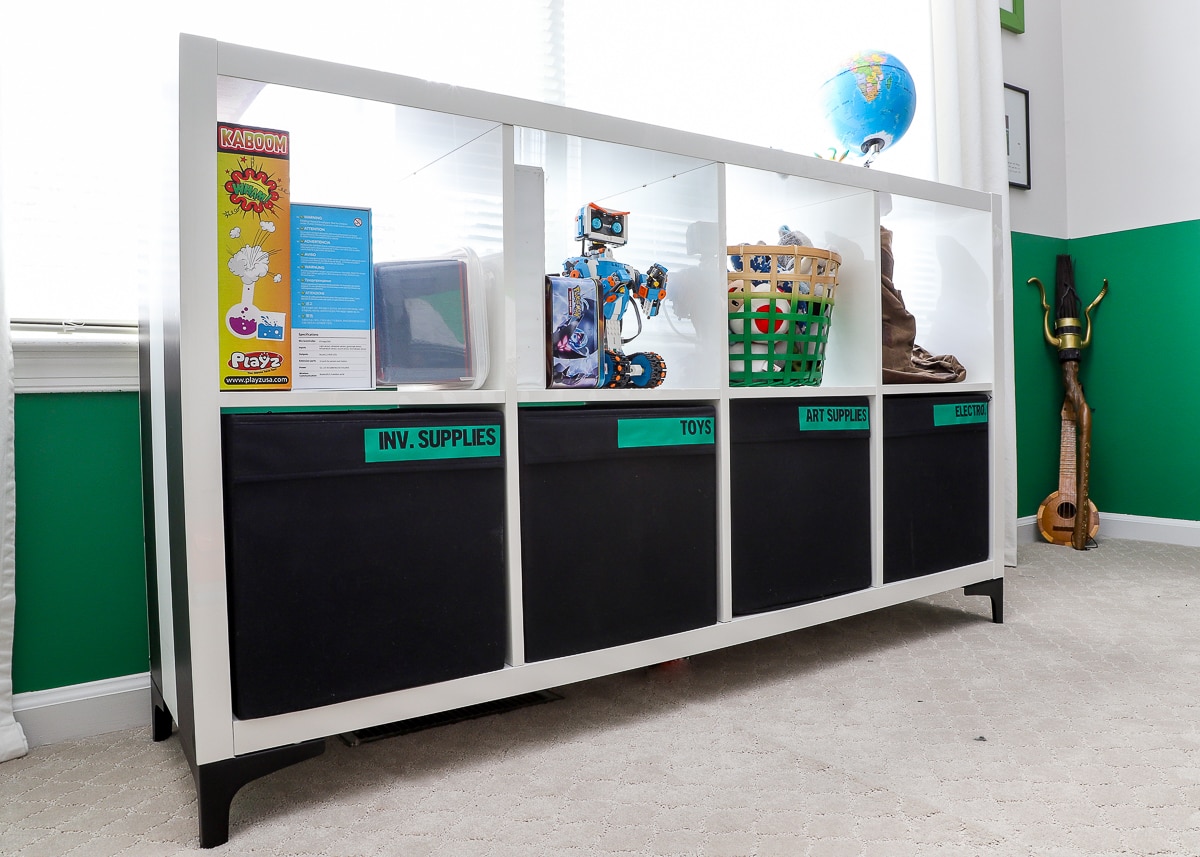
As we were updating and cleaning out Henry’s bedroom in order to get it ready for school-at-home, we realized he was having a tough time keeping it picked up because he really didn’t have any place to put his junk toys. After taking some quick measurements, I realized a 4×2 IKEA Kallax on its side would not only help balance out the room but provide the storage he so badly needed. But while this may look like your standard white unit from a distance…
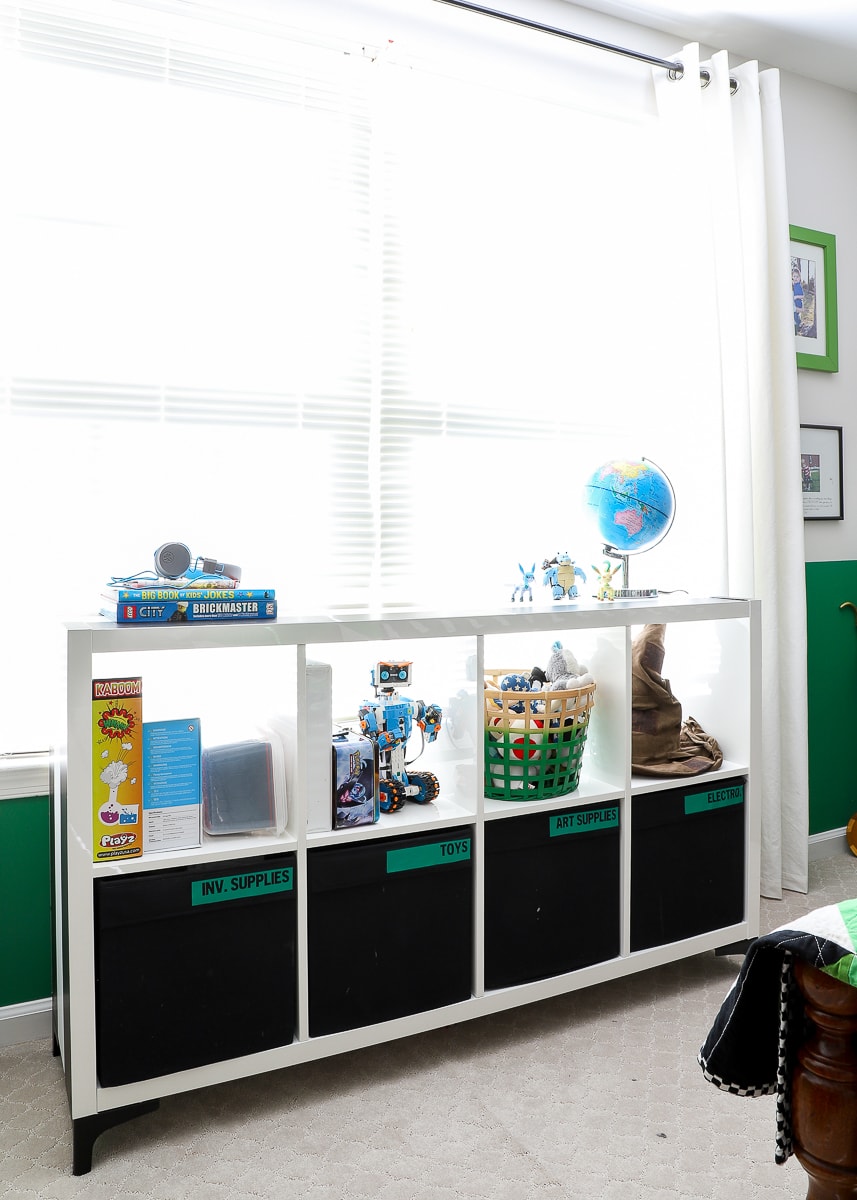
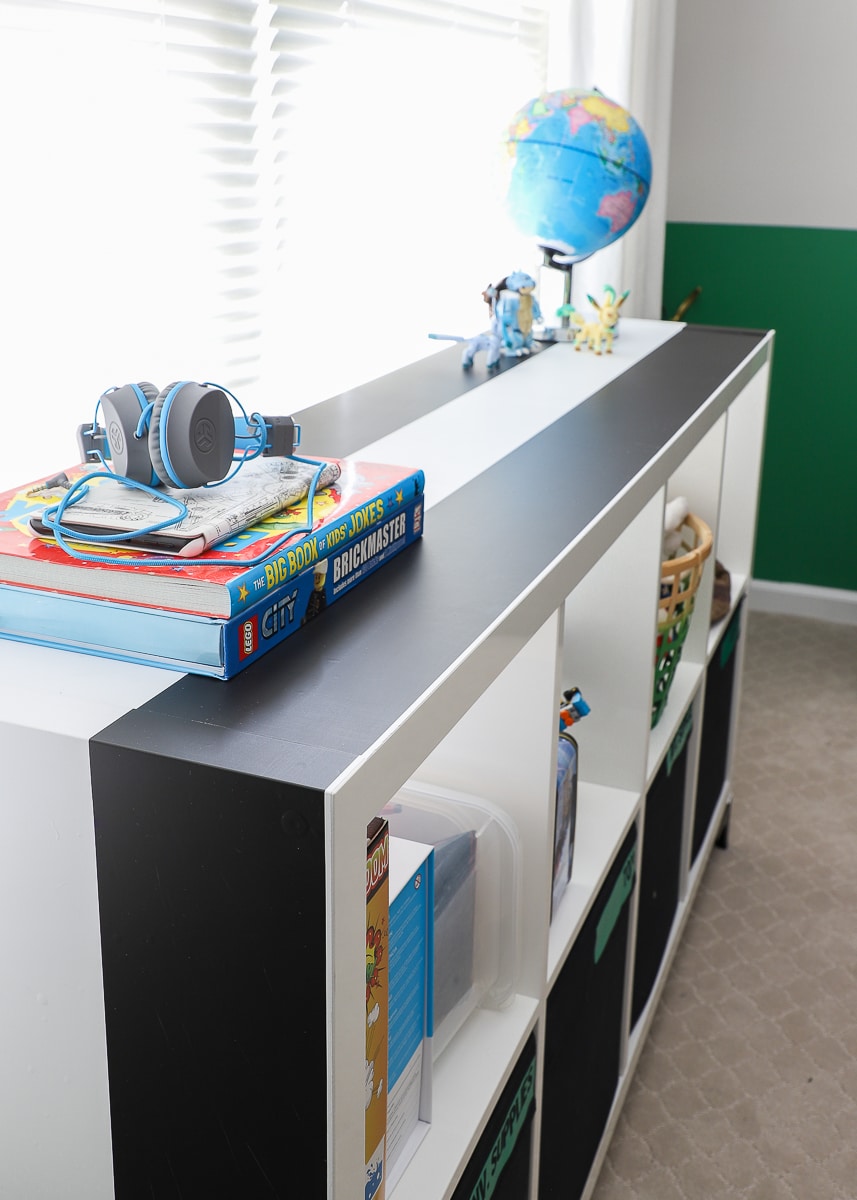
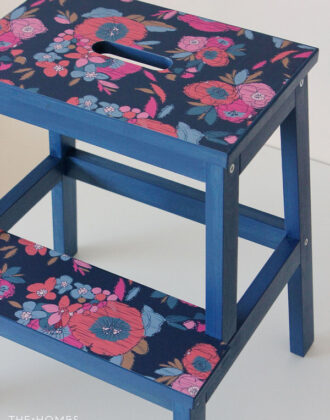
…once you get up close, you’ll notice it makes quite the stylish statement!
Simply by wrapping the outside of the unit in some striped peel-and-stick wallpaper (similar) and hoisting it onto some sleek, modern feet…
…it’s now a fun and functional focal point for his room!
This project really is quick, easy, and budget-friendly. But the tutorial I’m about to share is going to be more of a “do as I say, not as I do” scenario since I ran into a few bumps along the way. That said, I’ve got a few tips to make it go much smoother for you, so let me show you this quick IKEA Kallax hack!
Supplies Needed
- IKEA Kallax or other cube-style shelf like the Threshold version from Target or the BH&G line at Walmart
- Peel-and-Stick Wallpaper
- Amount: How much you need will depend on what size unit you are wrapping. Measure the perimeter of your assembled unit or use the measurements on the website to help calculate how much you need. Most likely, you will need less than 1 roll.
- Pattern: Here is where I really messed up. I wanted to use this black-and-white stripe paper (similar) because 1) it matches Henry’s closet (which I’ll show you next week) and I had about 4 rolls on hand. However, getting the stripes to line up perfectly with the edge of the Kallax turned out to be VERY challenging. This would have been a million times easier with an all-over, non-directional pattern (like I used on this media cabinet.)
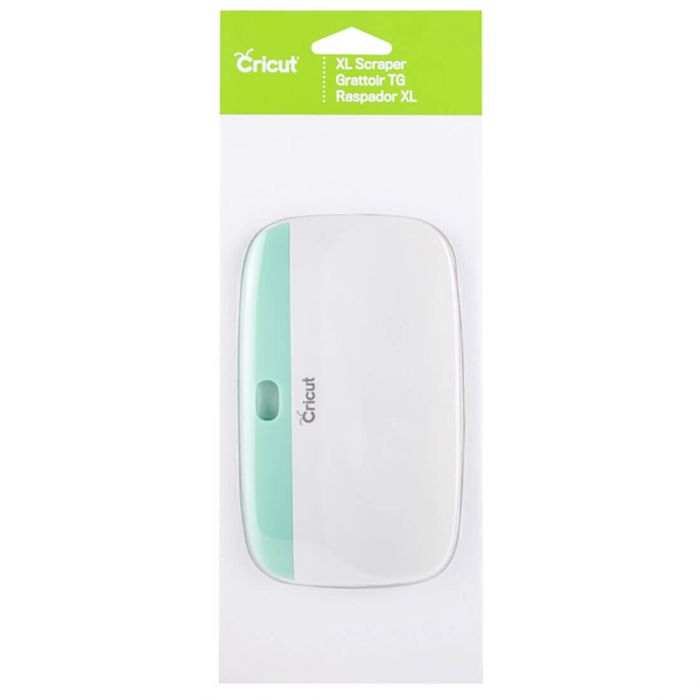
- Large Scraper – Not necessary but super helpful for working out stubborn bubbles.
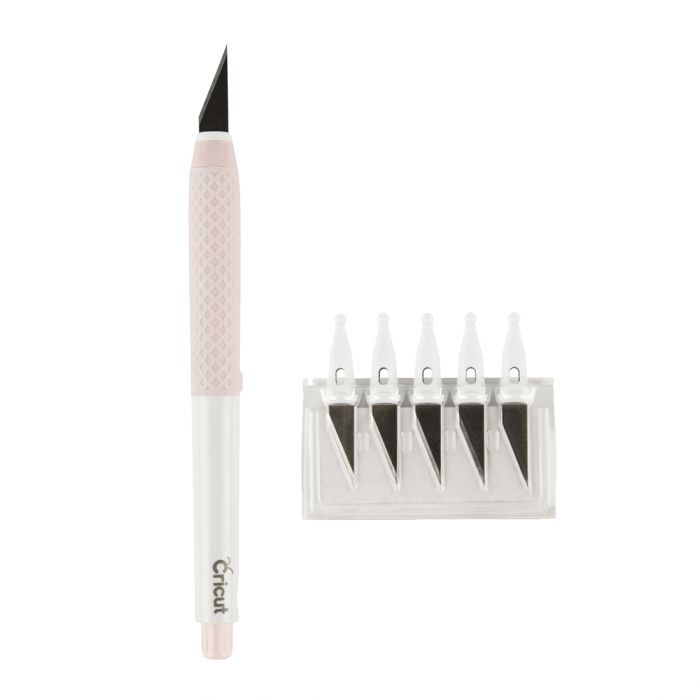
- X-acto Knife – This is my favorite craft knife; it makes cleaning up edges a breeze!
- Furniture Feet – You can pick any furniture feet you like. I used these this time around, but I am also a big fan of these and these!
How to Wrap the IKEA Kallax in Wallpaper
Start by assembling your IKEA Kallax unit if you haven’t already. Once assembled, determine which way you plan to orient your shelf if necessary (e.g., landscape vs. portrait); and then measure the three exposed sides: left, top, and right. (There is no need to waste precious wallpaper along the bottom edge!) Also measure the depth of the sides…in the case of the IKEA Kallax, the depth is 15 3/8″.
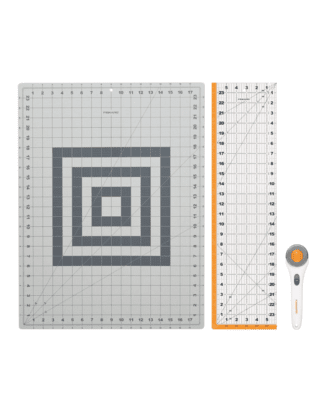
Next, use a rotary cutter, cutting mat, and ruler to cut down your peel-and-stick wallpaper into your needed dimensions. I highly suggest adding 2ish” to both your length and width dimensions to give you some wiggle room. Your cut should look something like this:
Right Side + Top + Left Side + 2″ X Depth + 2″
TIP! Look at your paper’s pattern and ensure you have the best part of the design running down the center. In my case, I centered the white stripe so the two black stripes would be along the edge.

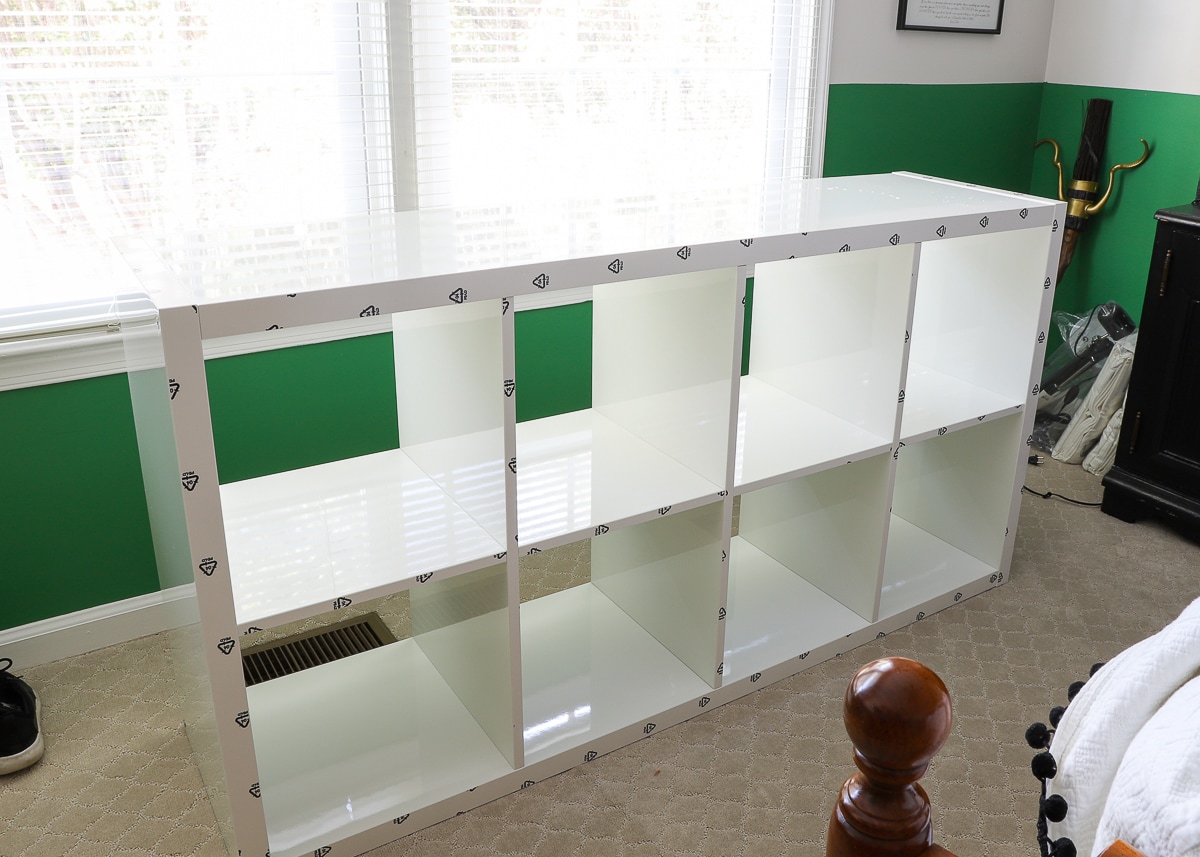
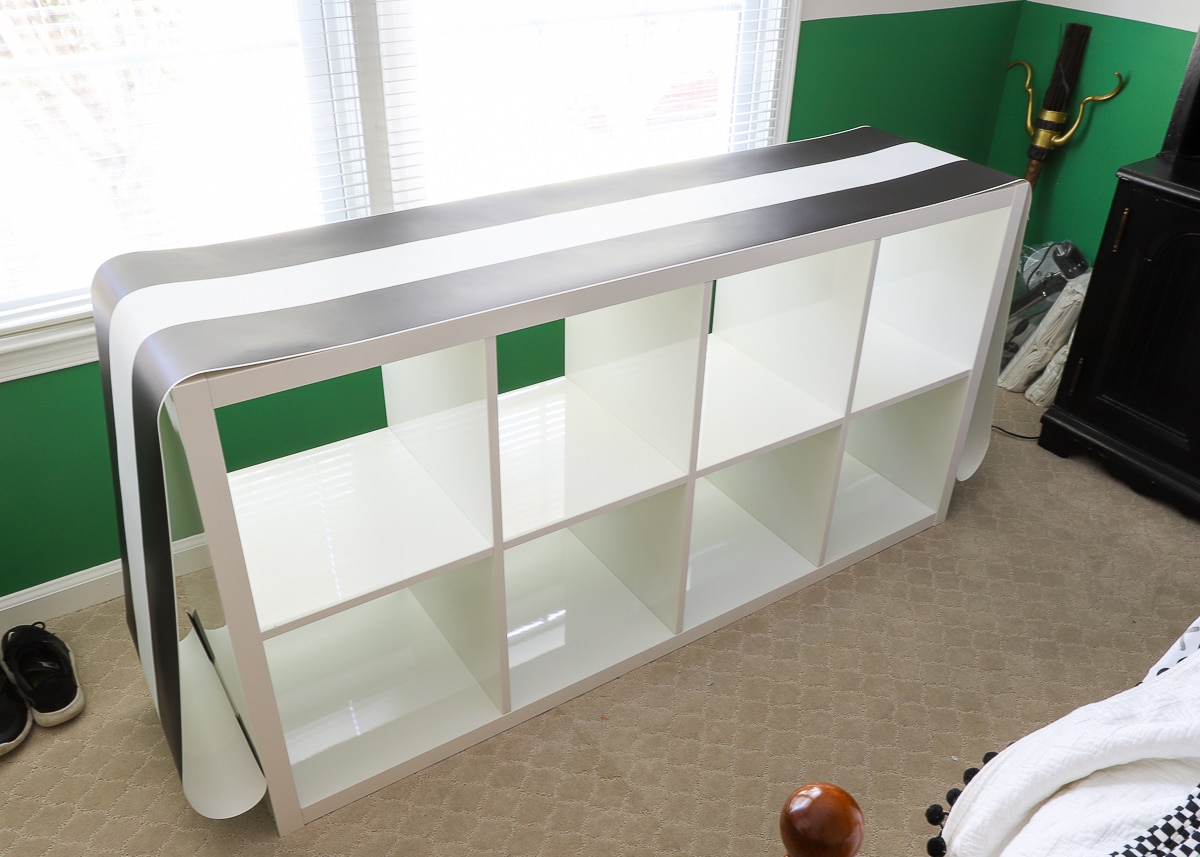
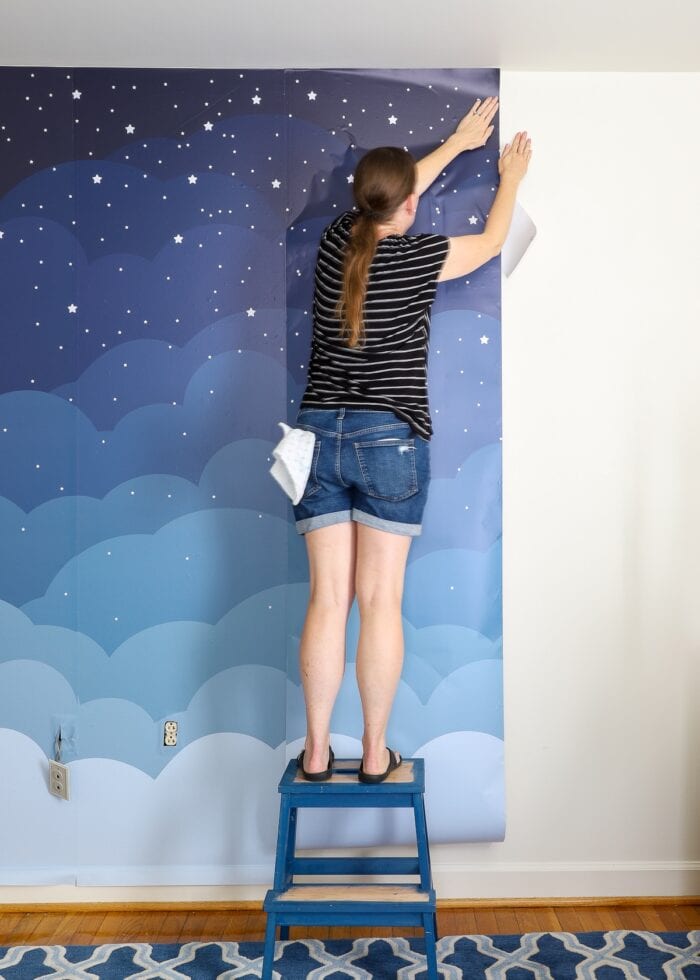
Next, wrap your length of peel-and-stick wallpaper around the three sides of your Kallax unit. I found it easiest to work from the bottom corner of one side, up and over, down to the bottom corner of the other side. I suggest rotating the unit so that whatever side you are papering is upright, and pull the paper backing off as you go. Be sure to take your time, smoothing out creases and bubbles with a scraper as you work. Once the paper is fully in place, use a sharp knife along the edge to trim down any excess paper.
TIP! If you see large bubbles forming, pull off the last few inches of paper you laid and re-smooth it down. Little bubbles can be worked out after the fact, but large bubbles will likely leave you with creases!
Okay…pause for real life! Here is where my project went off the rails a bit. It was VERY difficult to perfectly line up the edge of the striped paper with the edge of the unit. Right when I thought I had it going straight, it would veer and I’d end up with 1/4″ gap on one side. It took many, many (many many many) tries (and I honestly almost gave up) to get the paper running fairly parallel to the shelf. Had I used an all-over, non-directional pattern and cut my paper extra wide, it could have veered as needed and I could have simply trimmed the edges down after the fact. So…I promise…wrapping the unit IS easy…as long as you don’t use stripes! If you really want to use stripes, brace yourself!
Want to save this post?
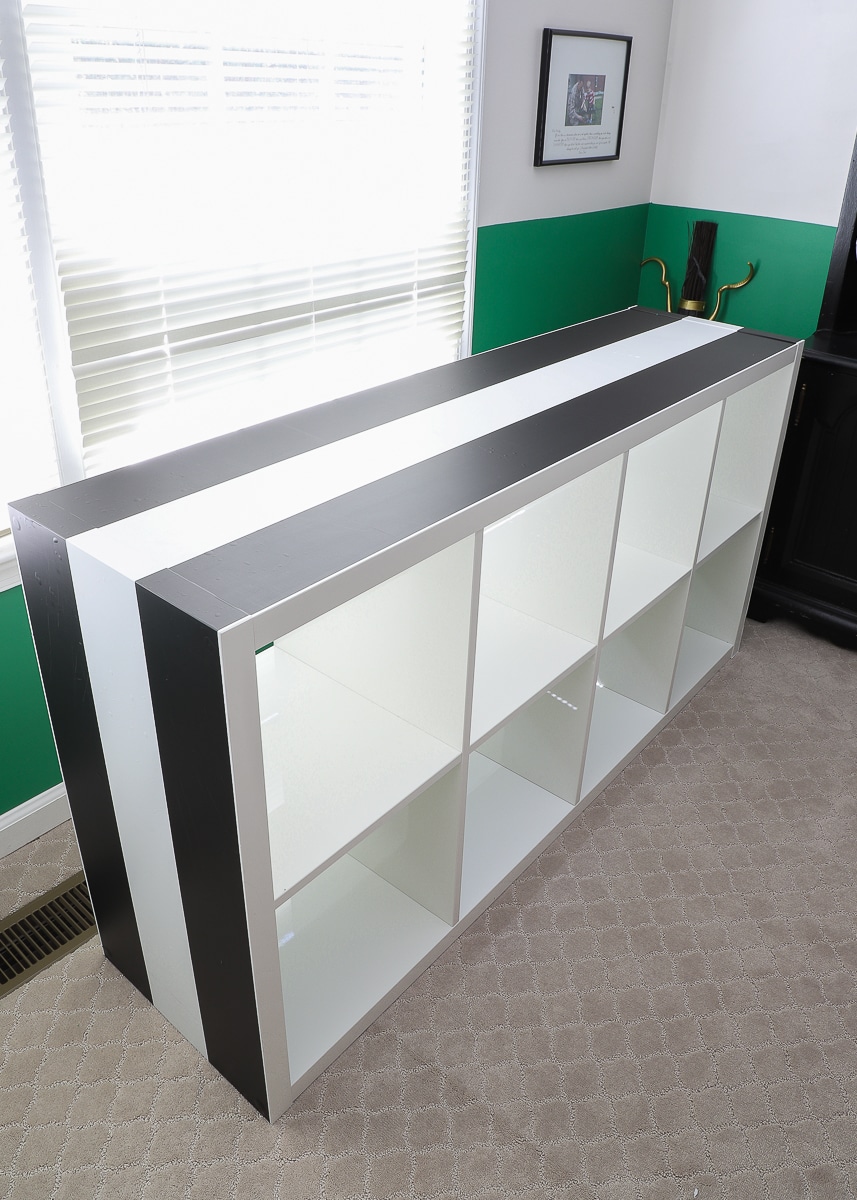
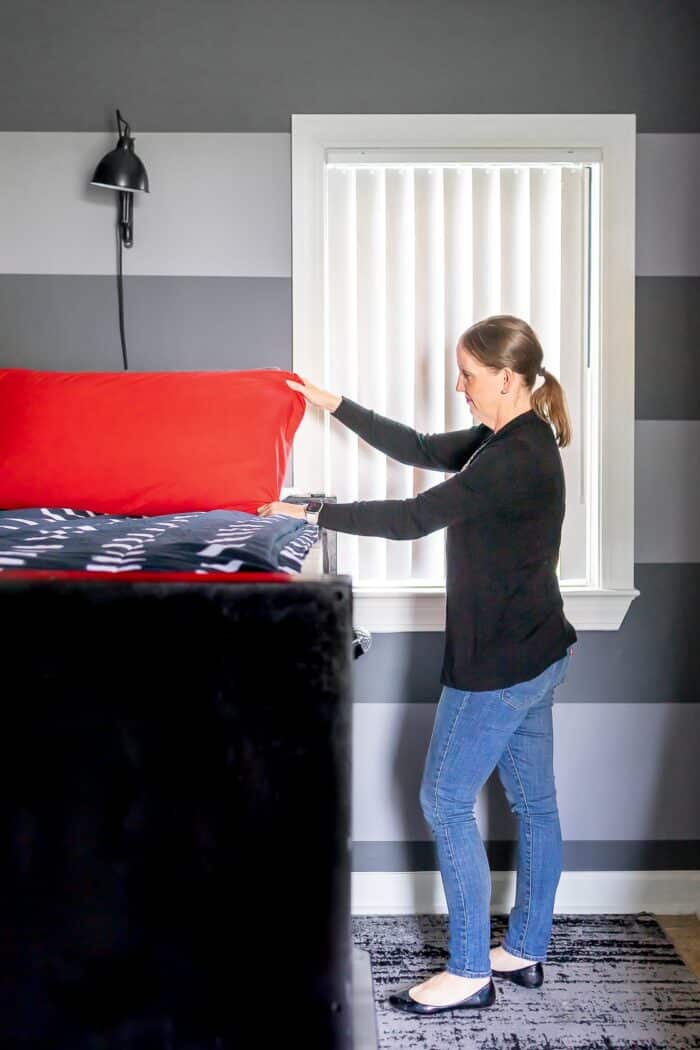
Despite the sweat and tears…it turned out pretty great in the end!
Adding Feet To The IKEA Kallax
Once the wallpaper is wrapped nicely on the Kallax and you’ve worked out any bubbles as needed, the final (optional) step is to add feet. I am a big fan of adding feet to our Kallax units (like I did here and here and here). Usually I do it for style; but this time, we did it to lift the shelf away from the air vent in the floor right under the window.
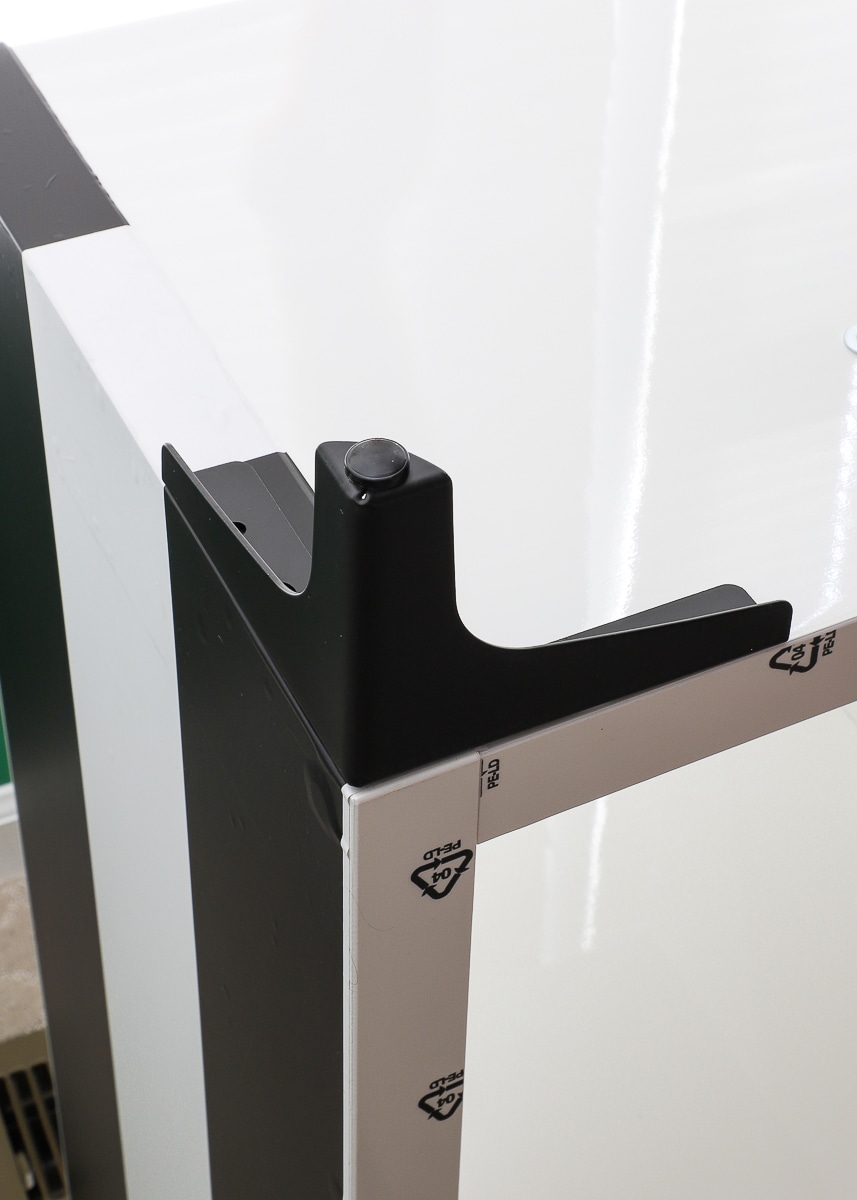
Before moving on, I want to point out something a little “tricky” about adding feet to an IKEA Kallax unit. Up until now, we’ve always added these Capita feet to our Kallaxes. Their design allows you to place the feet wherever you want. But I came across these sleek modern feet and thought they’d look SO stylish on the Kallax. However, because of the way the Kallax unit is constructed and how you may have it oriented, they may not lay quite flush! Let me explain.
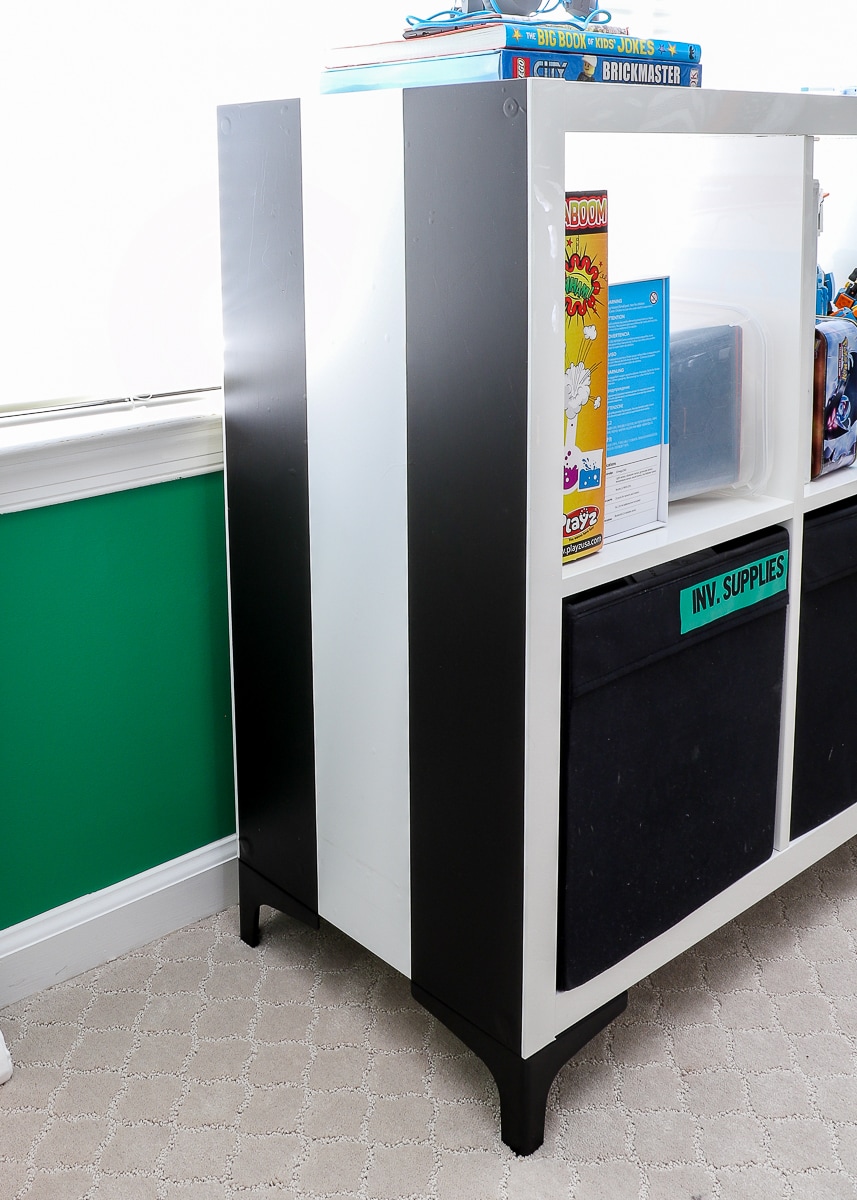
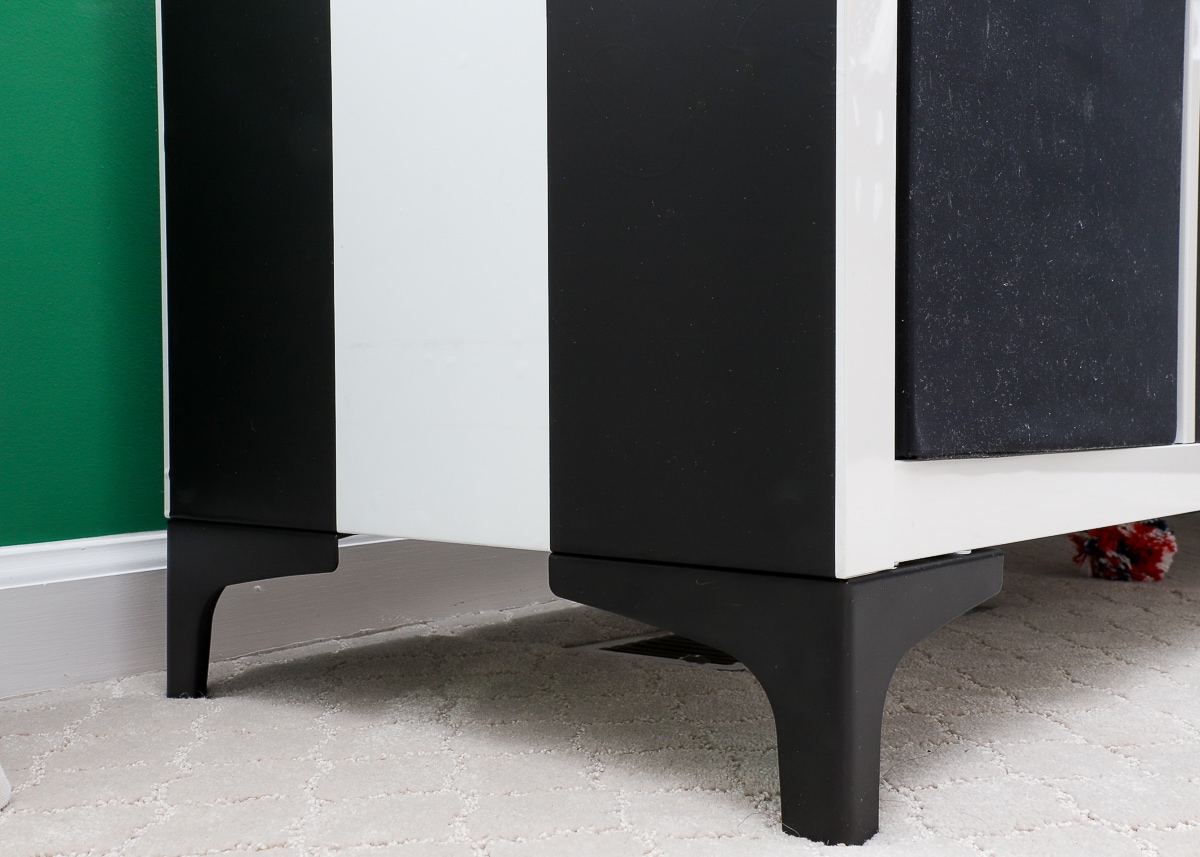
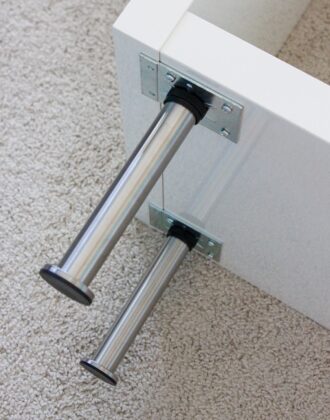
If you choose to lay a 4×2 Kallax on its side, one end of the unit is perfectly flat, so the feet look like this (exactly as I imagined, by the way):
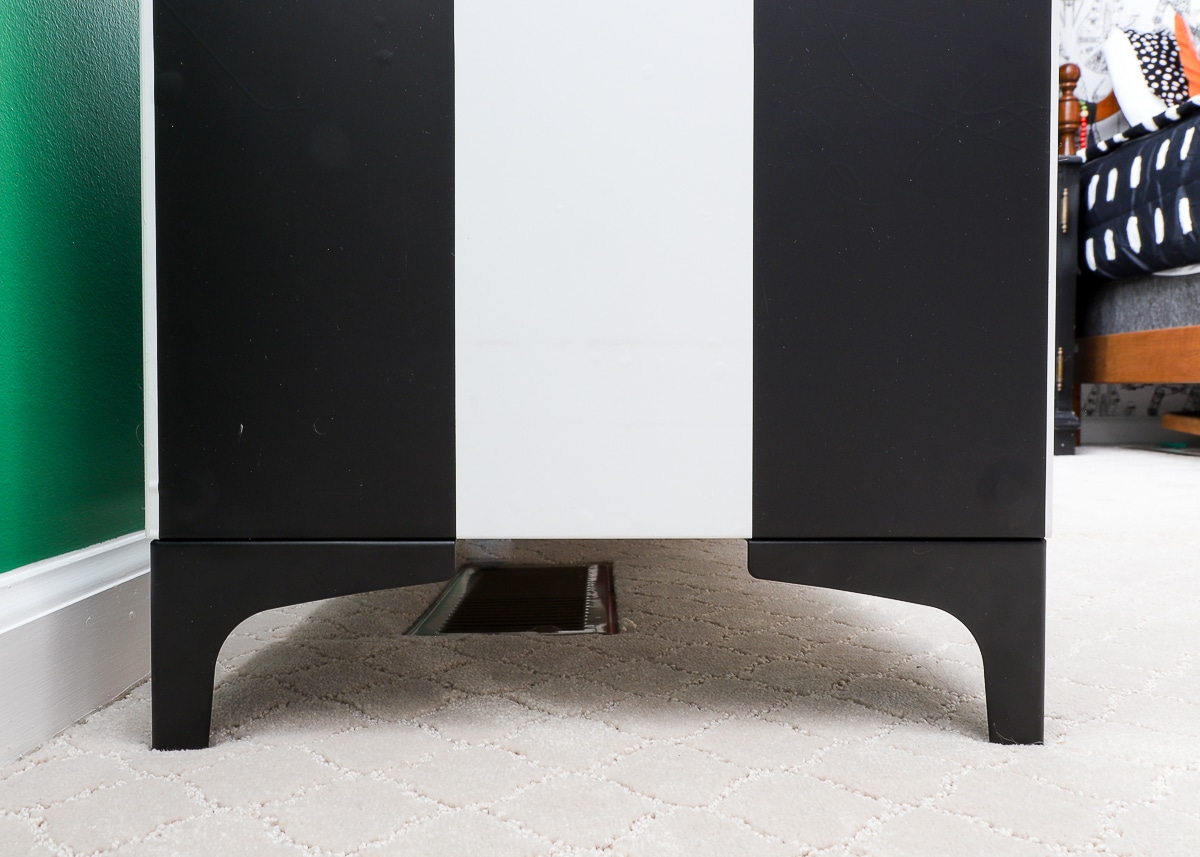
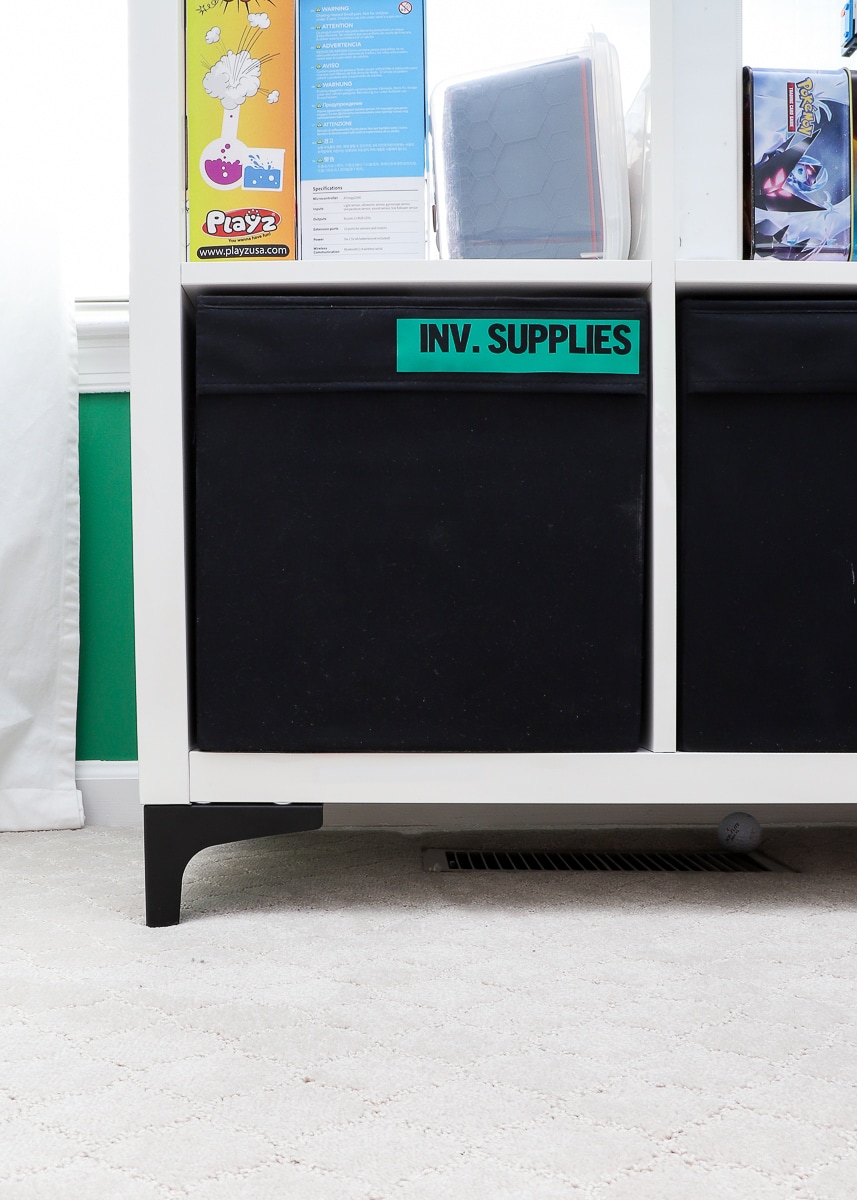
But take a look from the front. Because the horizontal pieces of the Kallax insert into the end caps, the bottom corner is not perfectly flat. It’s not a huge deal (I’ll show you how to deal with it in a minute!), but it’s just something to be aware of.
NOTE: This is only an issue with the 4×2 on its side. A 4X2 standing upright would give you a perfectly flat bottom in all directions, as do the other size units.
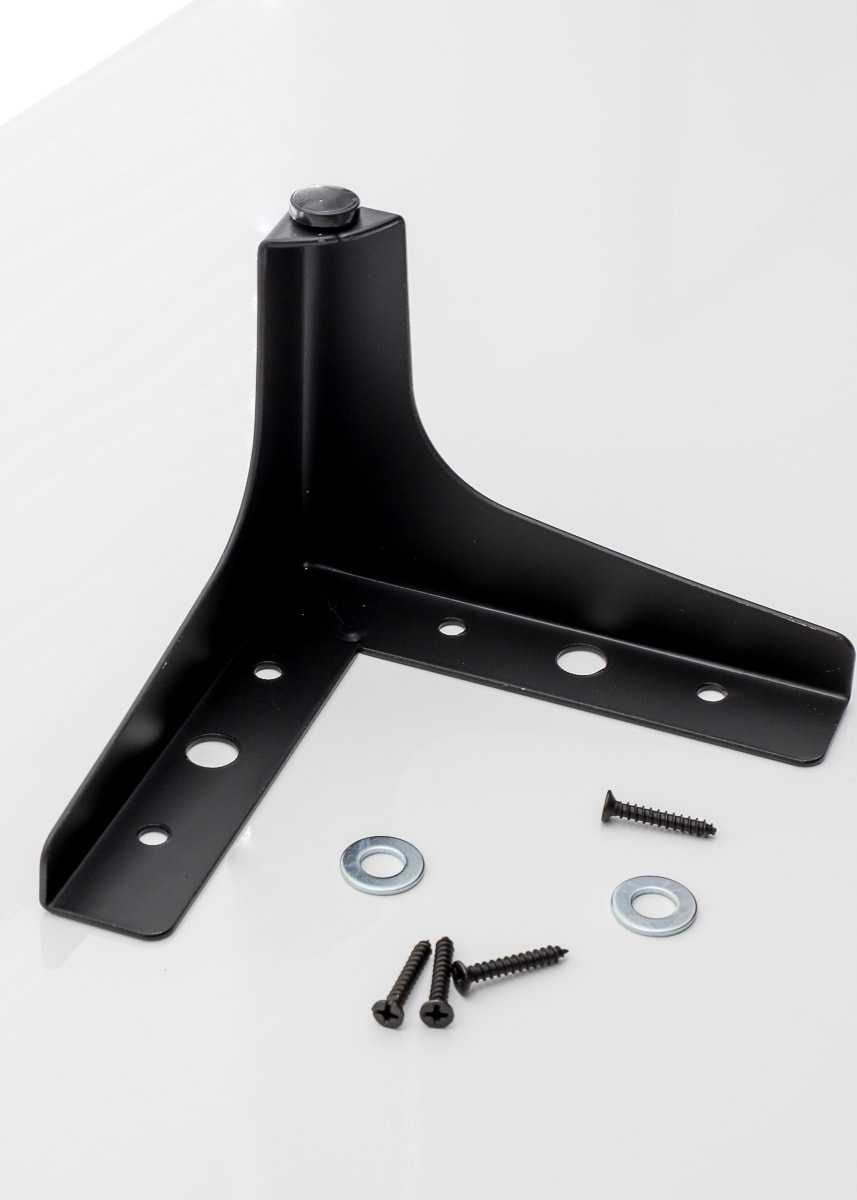
To add these feet to the IKEA Kallax, here is what we used: the feet, the included screws, and two washers.
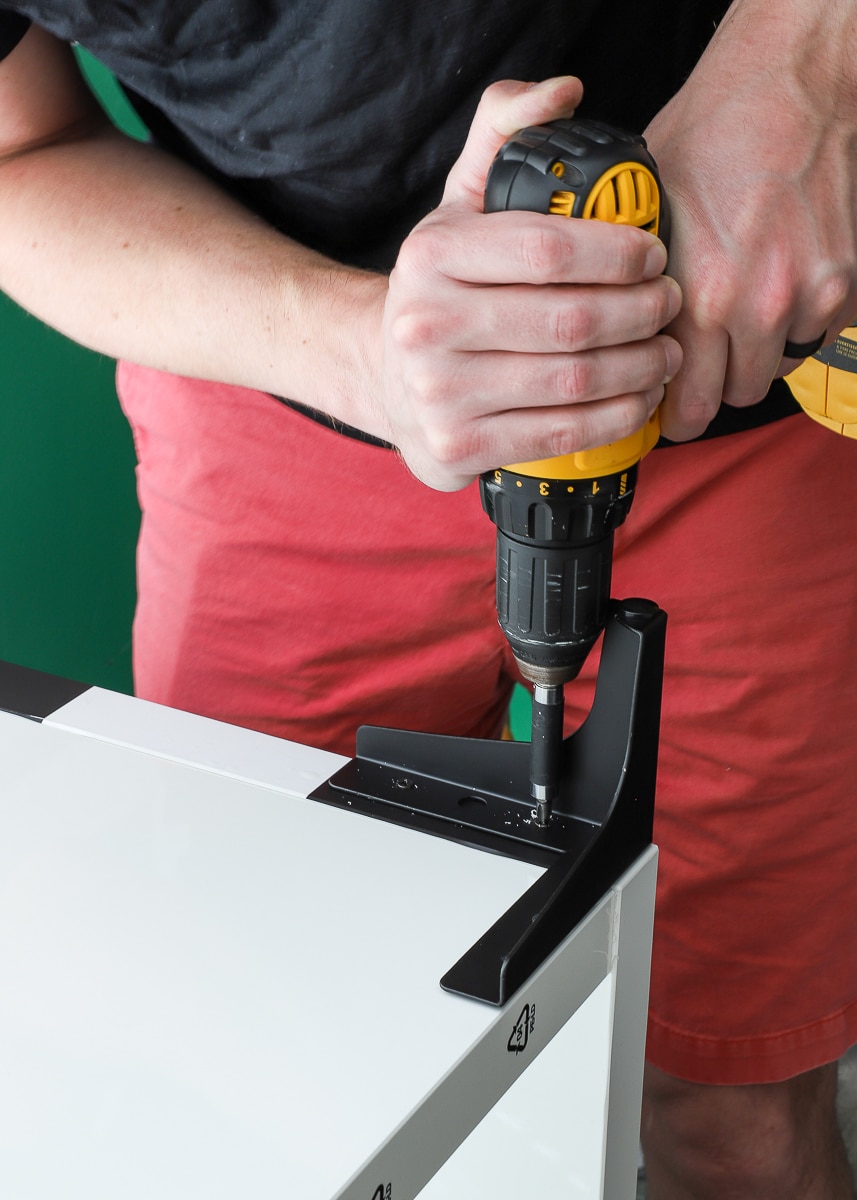
We started by screwing the feet right into the base of the Kallax along the flush side, then slid washers under the two holes along the non-flush side.
While I was originally tempted to come up with some way to camouflage the gap, I ultimately decided it might look even more strange with an extra sliver of black or white in there. For now, I’m content; but I’ll let you know if I ever do something about that gap!
Even though I had some trouble with my stripes, I’m still pretty smitten with this simple IKEA Kallax hack using wallpaper! With my struggling, it took less than an hour start-to-finish, and only cost me the price of the feet since I had so many rolls of paper hoarded away. I think the biggest surprise to me though is how subtle this makeover is. Because the paper is wrapped around the perimeter, the bold pattern doesn’t smack you in the face. Instead, you catch glimpses of it from different angles around the room, helping the whole thing feel a little more “sophisticated.” So if you’ve come across a paper pattern you love but just can’t do a full wall, this might be a great way to incorporate it!
As I’ve mentioned in my email newsletter over the last few weeks, what started as setting up Henry a simple homeschool space dominoed into a full room refresh I wasn’t quite expecting. That said, we’ve made some awesome updates in here that not only give the room a more “big boy” feel, but has changed the function dramatically. Next week, I’m sharing his school-at-home nook; and then later this month, I’ll share the solutions we’re using to help him keep his room organized!
More Great Information on Wallpaper In Your Home
Ready to tackle more wallpaper projects in your home? Check out some of my other favorites!
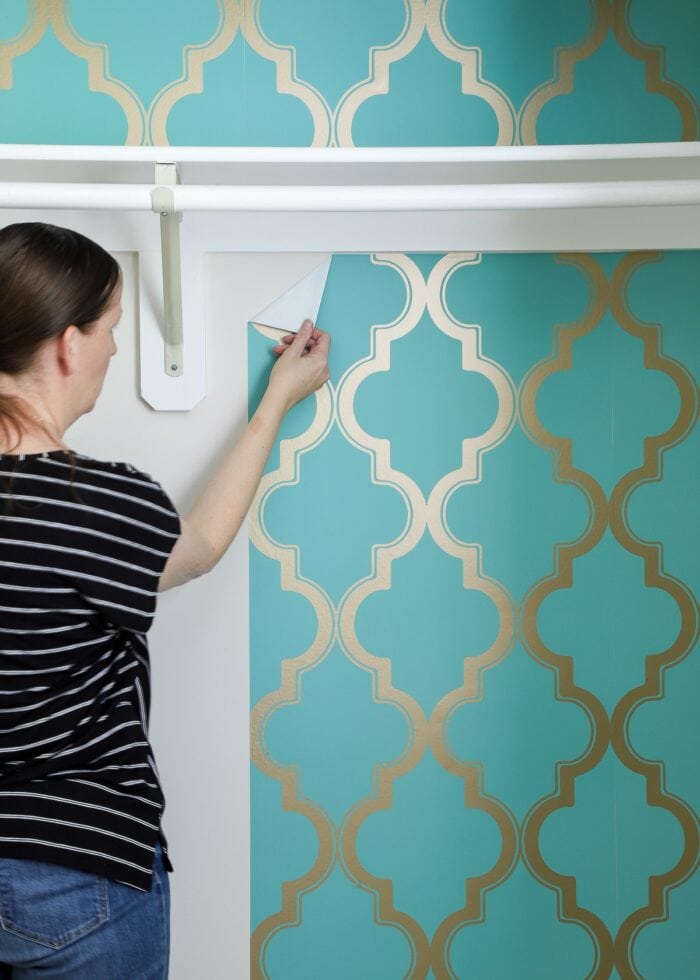
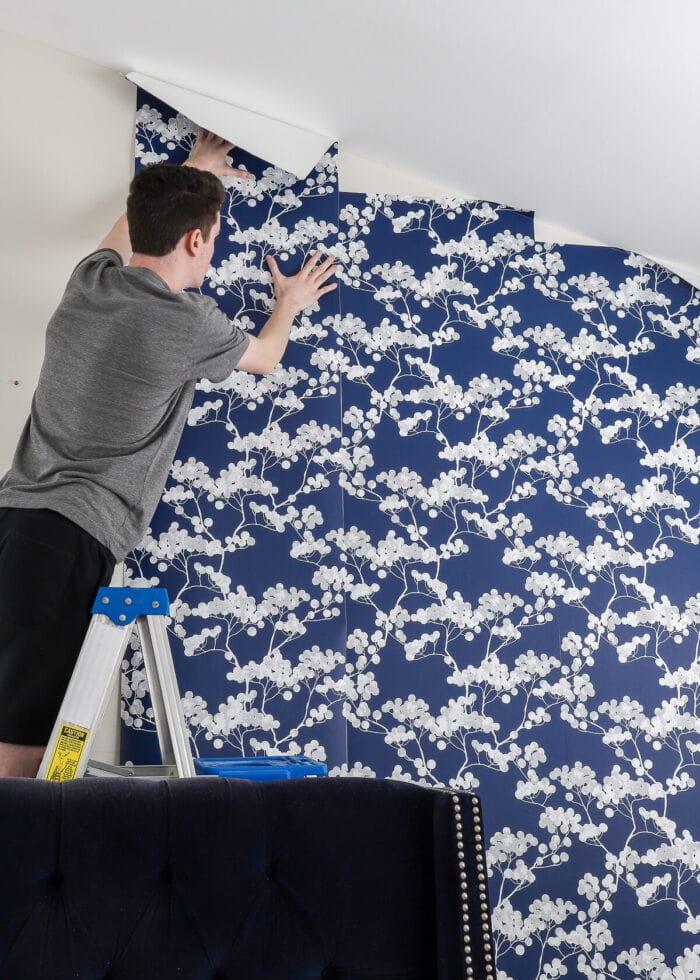
- How to Hang Peel and Stick Wallpaper
- Does Peel and Stick Wallpaper Damage Walls?
- A Complete Guide to Updating Furniture with Wallpaper
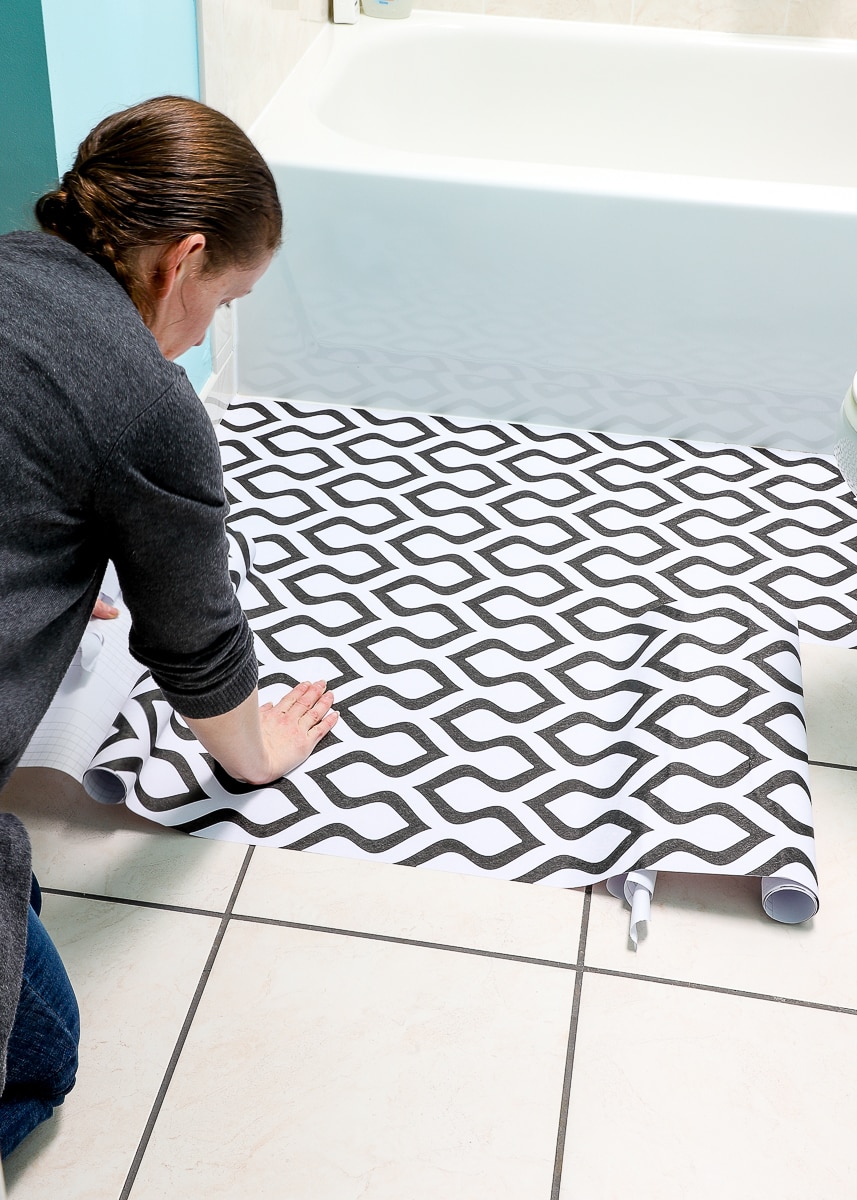
- Can You Use Peel & Stick Wallpaper In a Bathroom?
- Can You Put Wallpaper on Textured Walls?
- How to Wallpaper the Back of a Bookcase | Step-by-Step
- Wallpapering a Stairwell | Tips You Need to Know!
- How to Hang a Wallpaper Mural | Tips & Tricks for Great Results
- How to Wallpaper a Backsplash
- The Best Wallpaper for Your Kitchen Backsplash
- Can You Put Peel and Stick Wallpaper on the Floor?
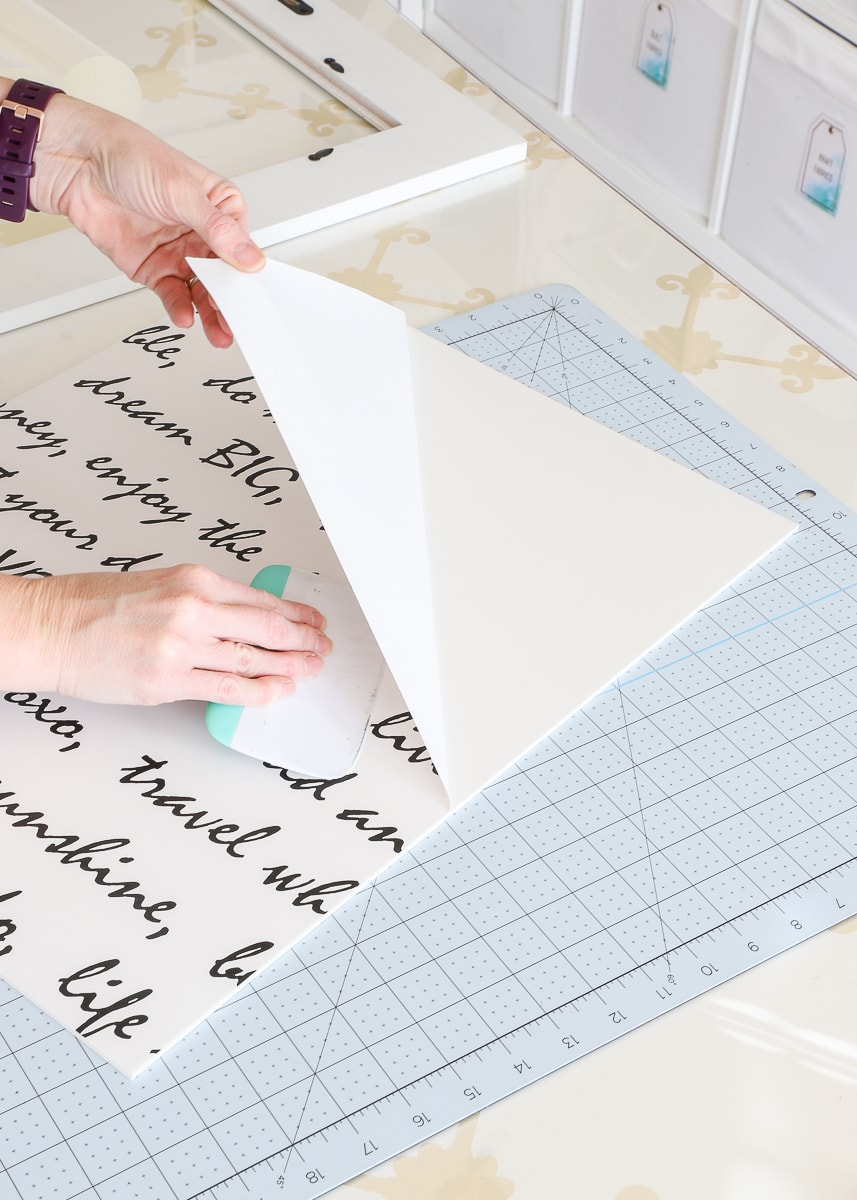
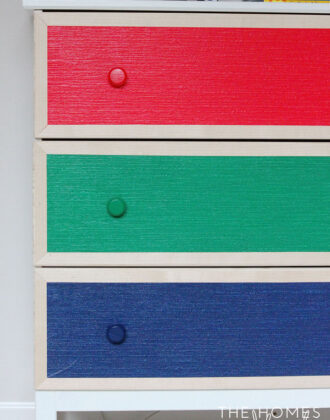
- How to Line Drawers with Wallpaper
- Solid Wallpaper | What It Is + Ideas for Using It
- Wallpapering a Whole Room Versus an Accent Wall | What I Learned
- How to Frame Wallpaper as Art
- How to Use Wall Decals to Look Like Wallpaper
Megan

