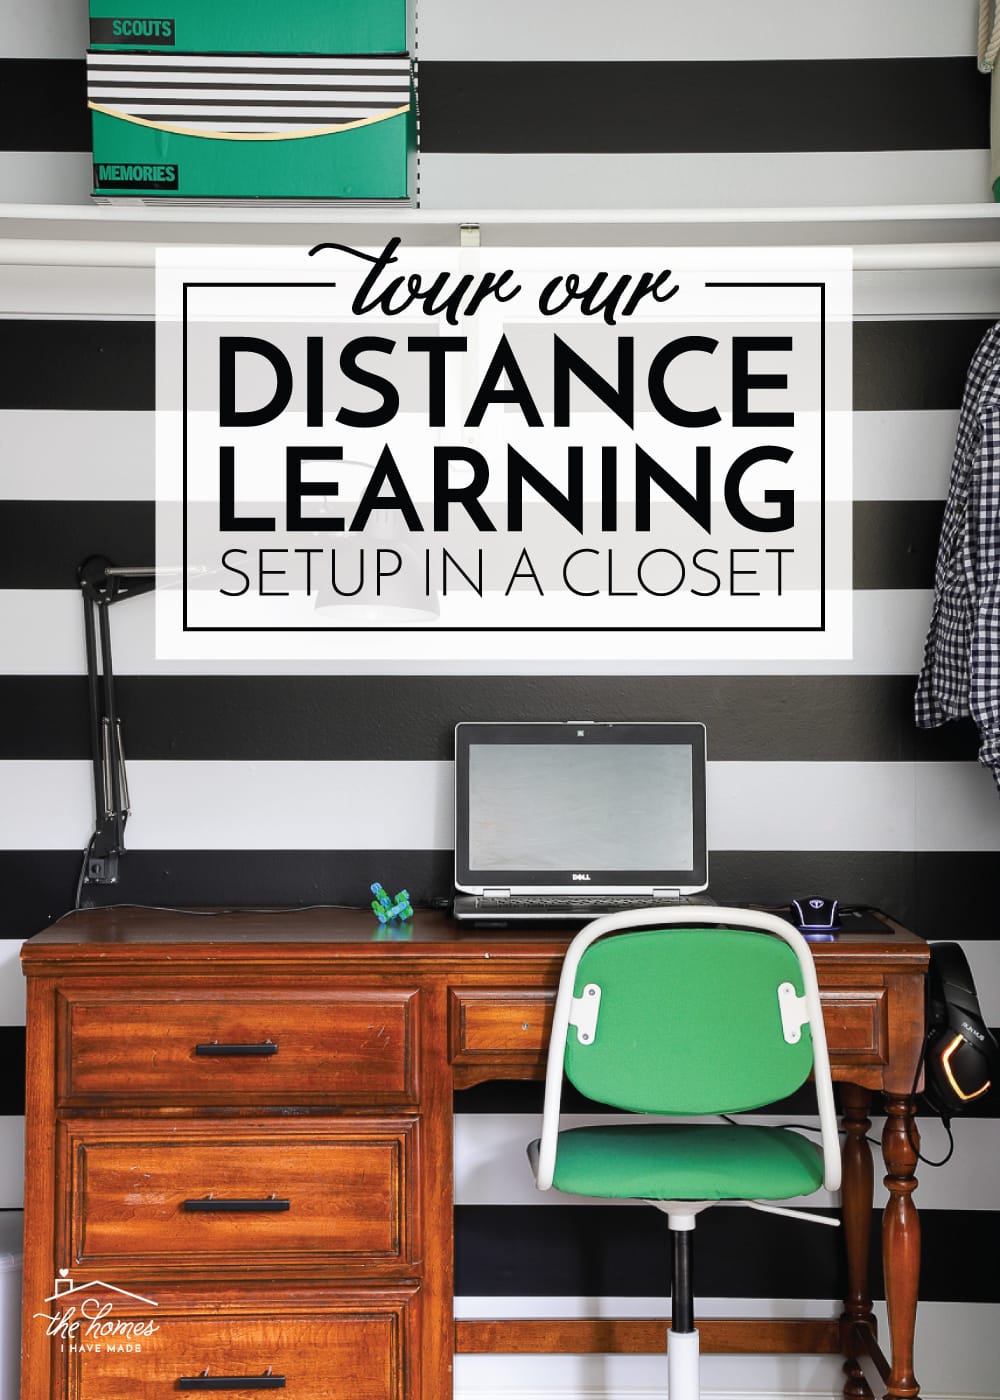
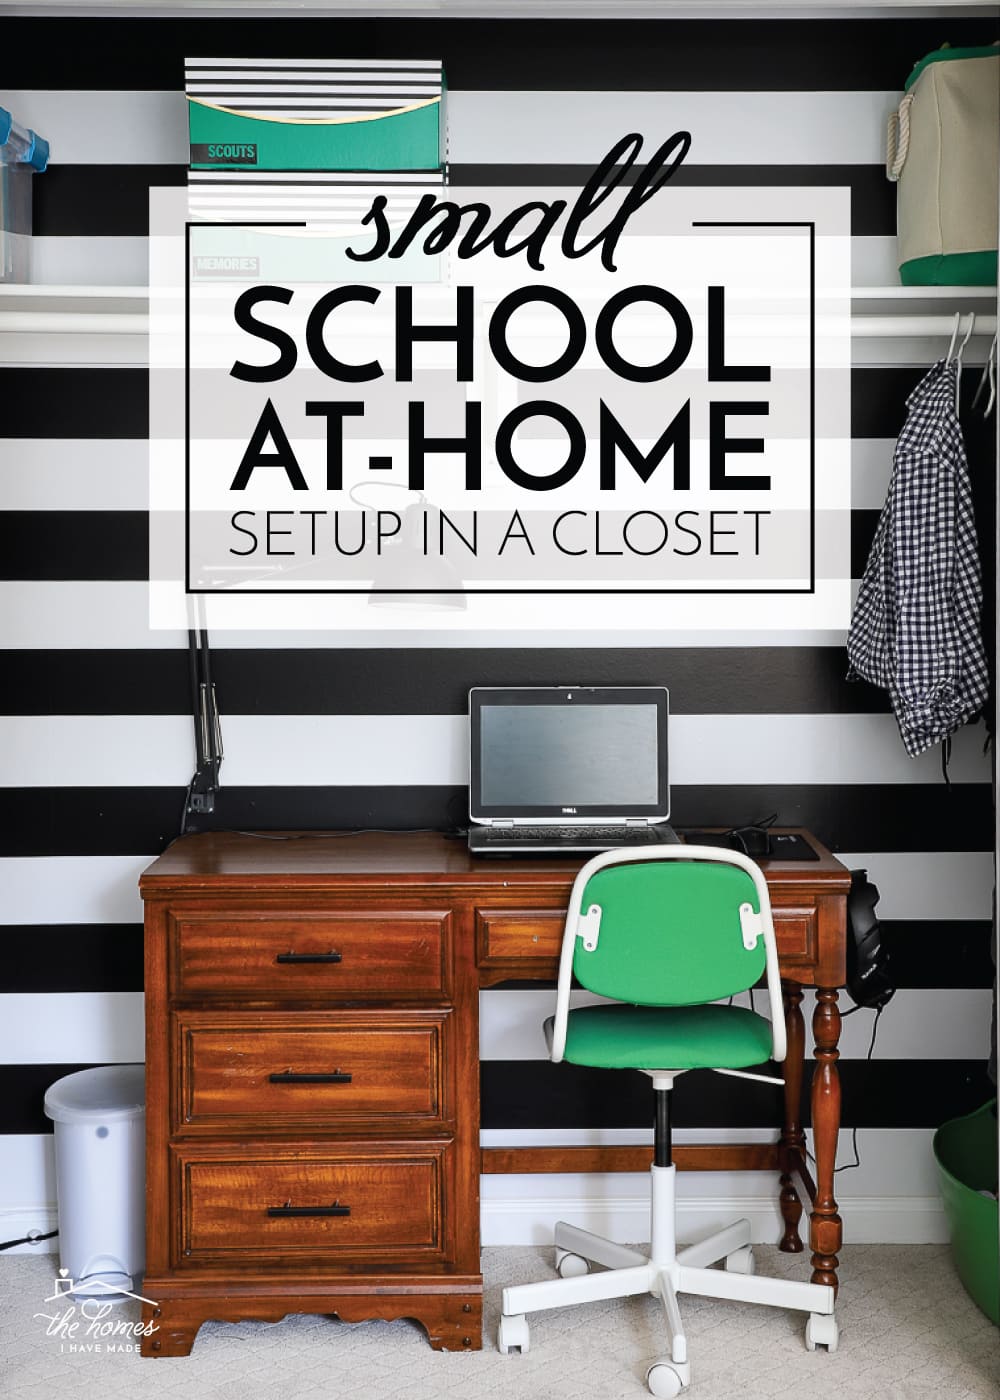
Tour Our Distance Learning Setup!
I am so excited to (finally!) share our distance learning setup with you today! Truth be told, I’ve been working away on this space, little-by-little, for a better part of a month. While the blogger in me wanted to storm in and create an adorable little homeschool space that would look amazing in pictures, I also really wanted and needed to get this space right. Our school district was fairly slow to provide details on what exactly Henry needed for the school year, so it was up to me to think through every little detail based on what would work best for him. Although it took me much longer than I wanted (I was really hoping to share these ideas with you weeks ago so you could apply them as you were setting up your own spaces), we’re a week in and so far…it’s been really good. Let me give you a tour of this smart little school-at-home space!
Finding the Right Spot
First…a little backstory. Henry has ADHD and struggles to stay focused. Back in the Spring, we chose to have him do his schoolwork down in my home office so I could keep an eye on him and help as needed. That turned out to be disastrous on many levels. Not only was it impossible for him to stay on task with his two little brothers literally running around the entire first floor; but having me right next to him, all the time, made him far-too-reliant on my assistance…for everything. So when we learned our school district was starting the year 100% virtual, we knew we had to figure out a better solution…for all of us.
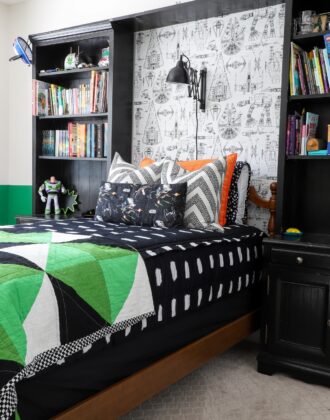
Although it wasn’t intuitive, we determined the best place was to put him up in his bedroom because it is quiet, away from his brothers, and has a door. But in order for him to be successful (while out from under my watchful eye), we had to do two things: 1) remove the main distraction (i.e., Legos), and 2) create a dedicated setup void of “stuff” (including a window which he tends to stare out of). So where did his distance learning spot end up?
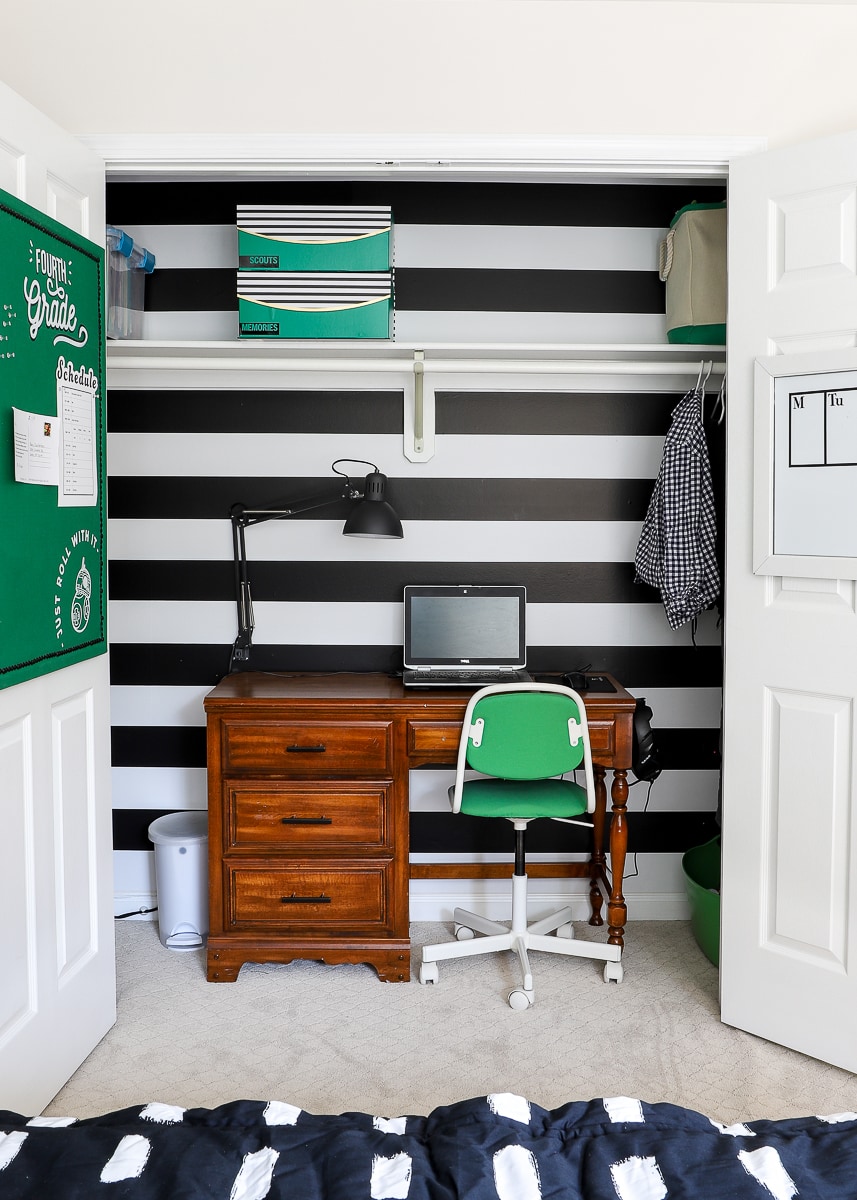
Right here:
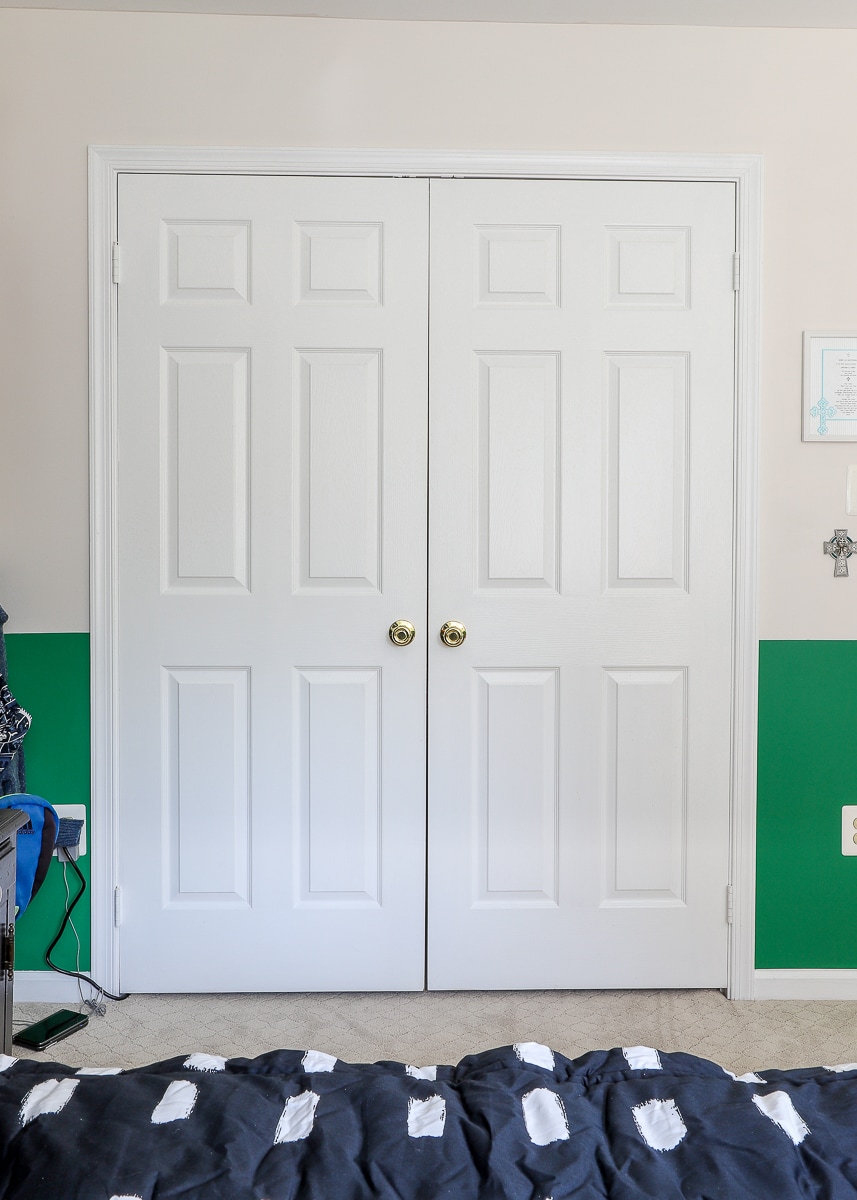
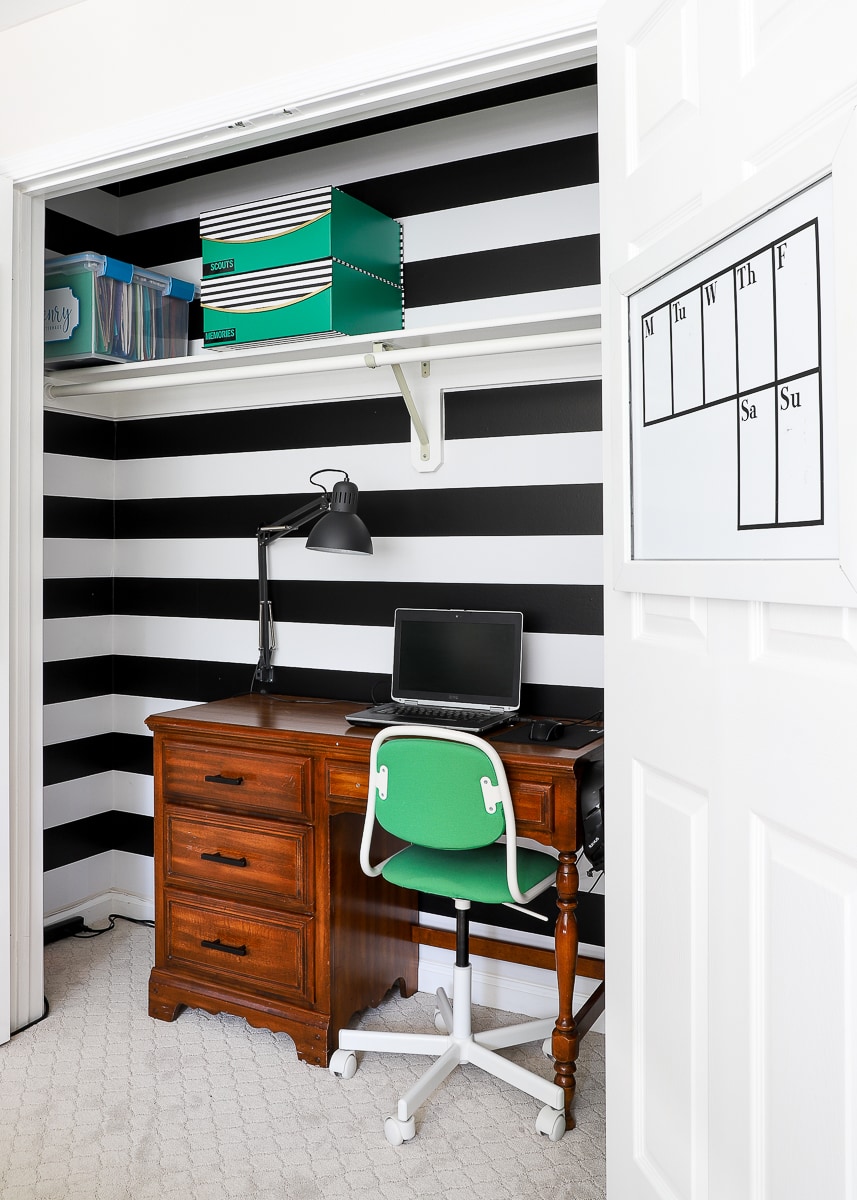
Yep…our son is now spending most of his school day in his closet. But before you start to feel too bad for him, take a look at what’s behind those two doors:
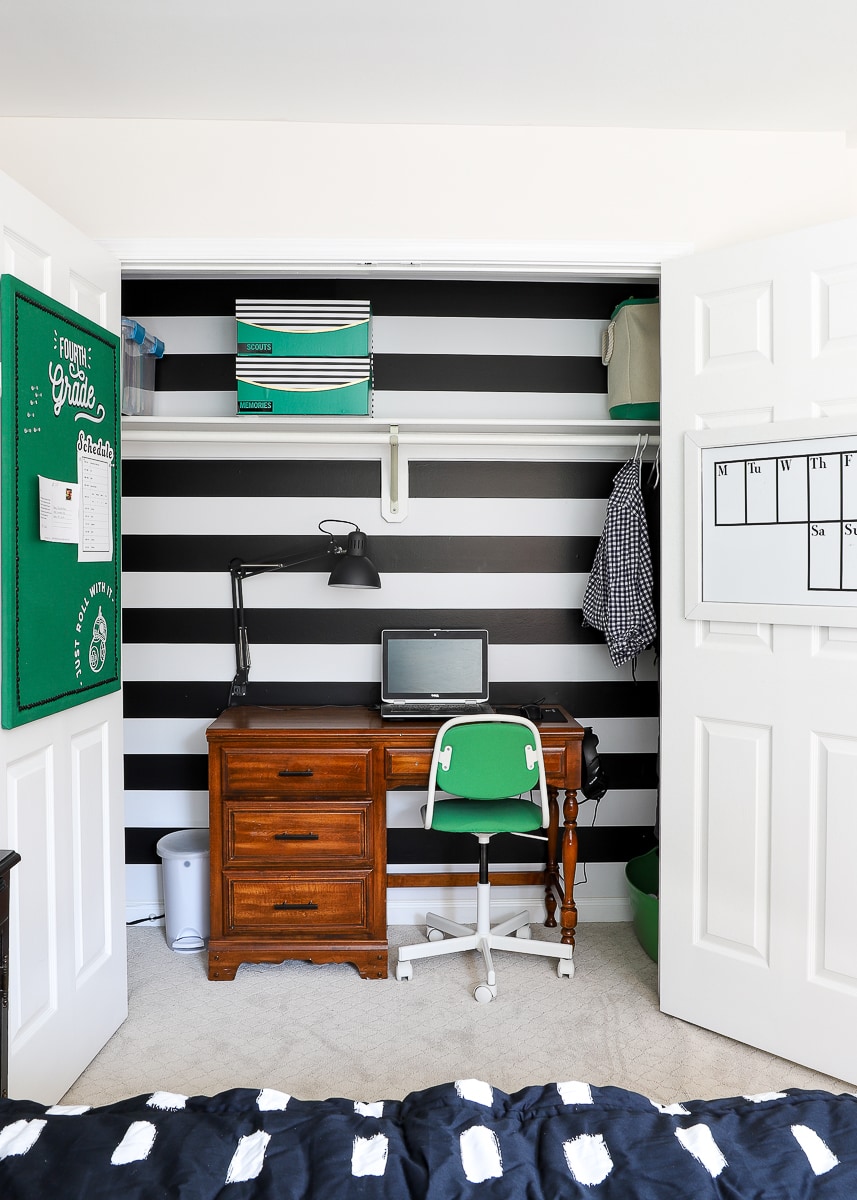
The closet ended up being the perfect place to put his distance learning station for a few reasons:
- Since he doesn’t store much in his closet, it had ample room for his desk and chair.
- He has no toys, books, or windows in direct sight to distract him.
- And best of all: the doors close, so it’s easy to “put school away” at the end of the day.
Again, the blogger in me was so tempted to outfit this nook with a whole bunch of wall systems, boards, caddies…you name it. Instead, I hit the breaks on my hopes for the space and thought hard about what Henry truly needed. I consulted him at every turn, and I’m now fairly confident he’s going to have a very successful start to the year!
Decorative Updates To Our Distance Learning Setup
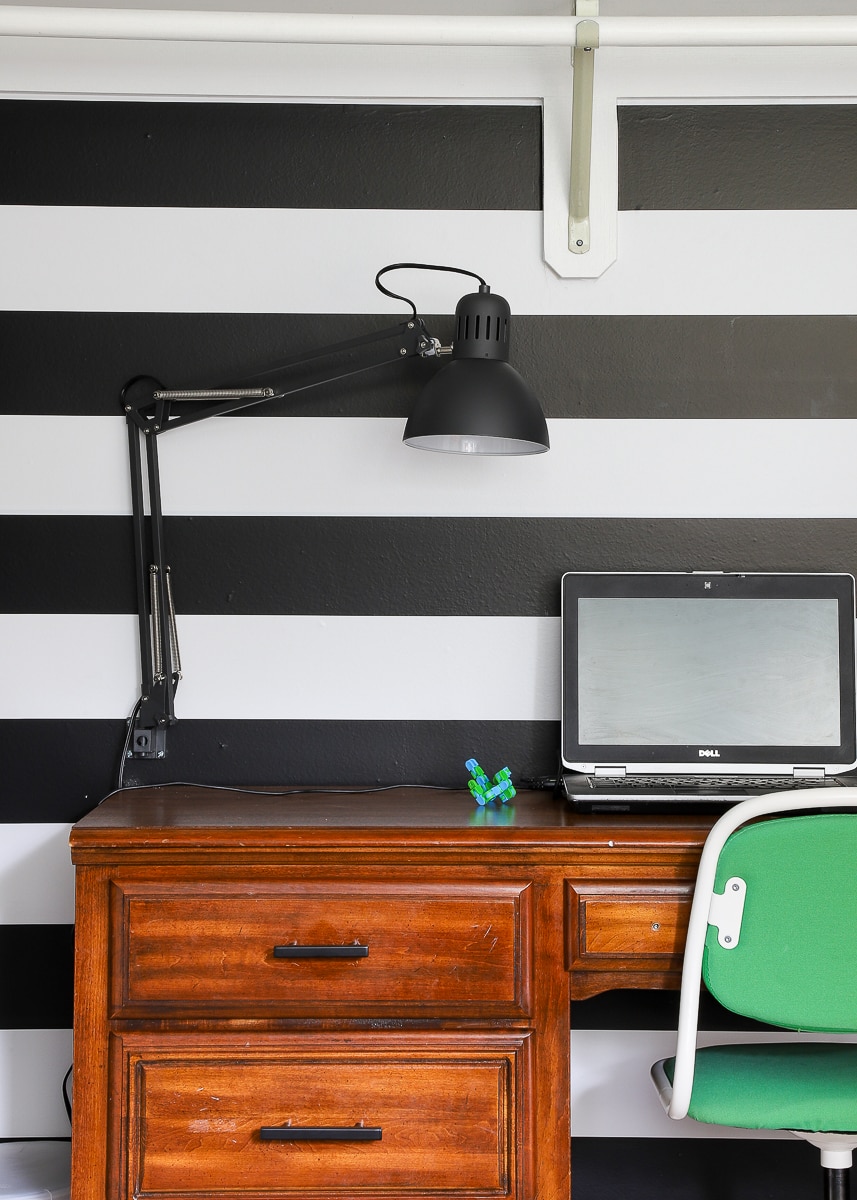
Of course, I can never just shove a desk in a closet and call it a day, so I did give this nook some decorative updates that make it all feel really fresh and fun (much better than staring at a white wall!). Most obviously, the entire closet is now lined with a bold black-and-white striped peel-and-stick wallpaper (similar). Years ago, I scored 5 or 6 rolls of this paper for less than $10/roll. Before we moved in last summer, we lined the bottom part of the closet but never did the top. Taking the paper all the way to the ceiling and around the sides definitely helps the closet feel like a little room!
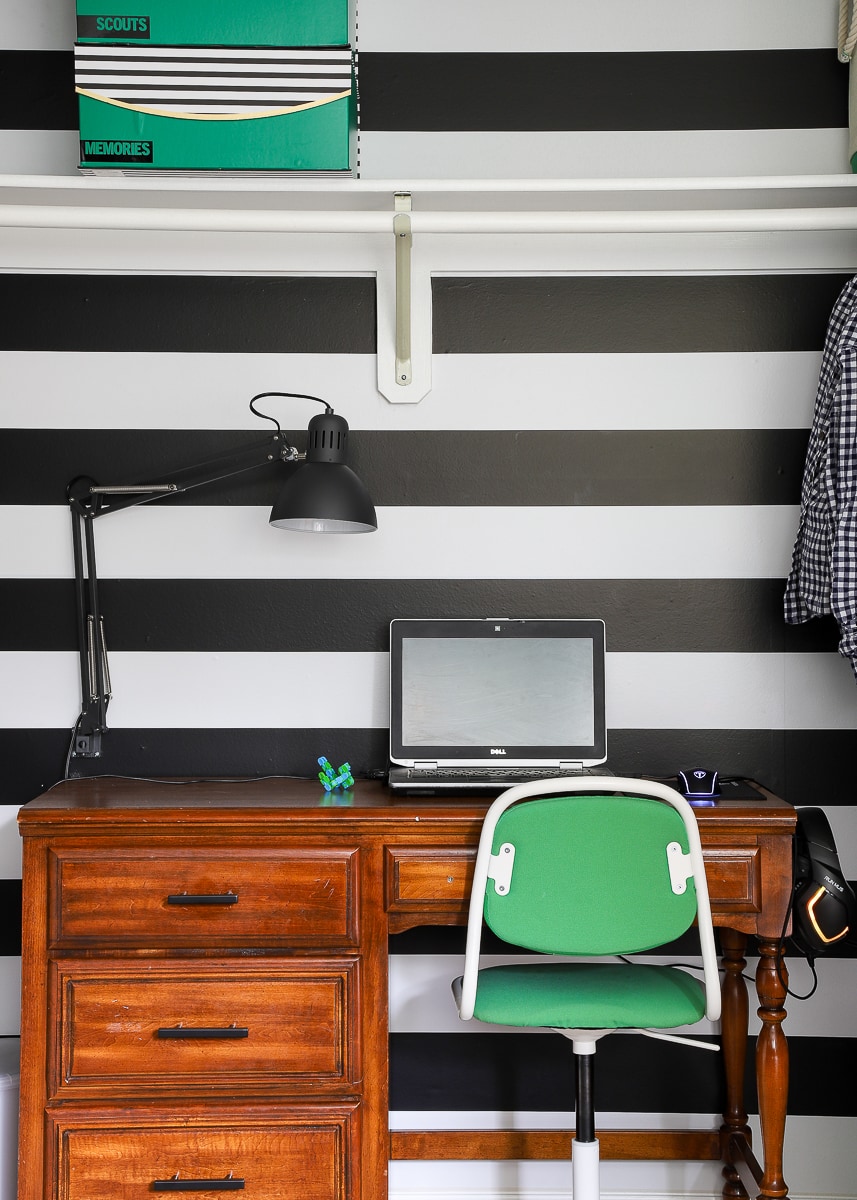
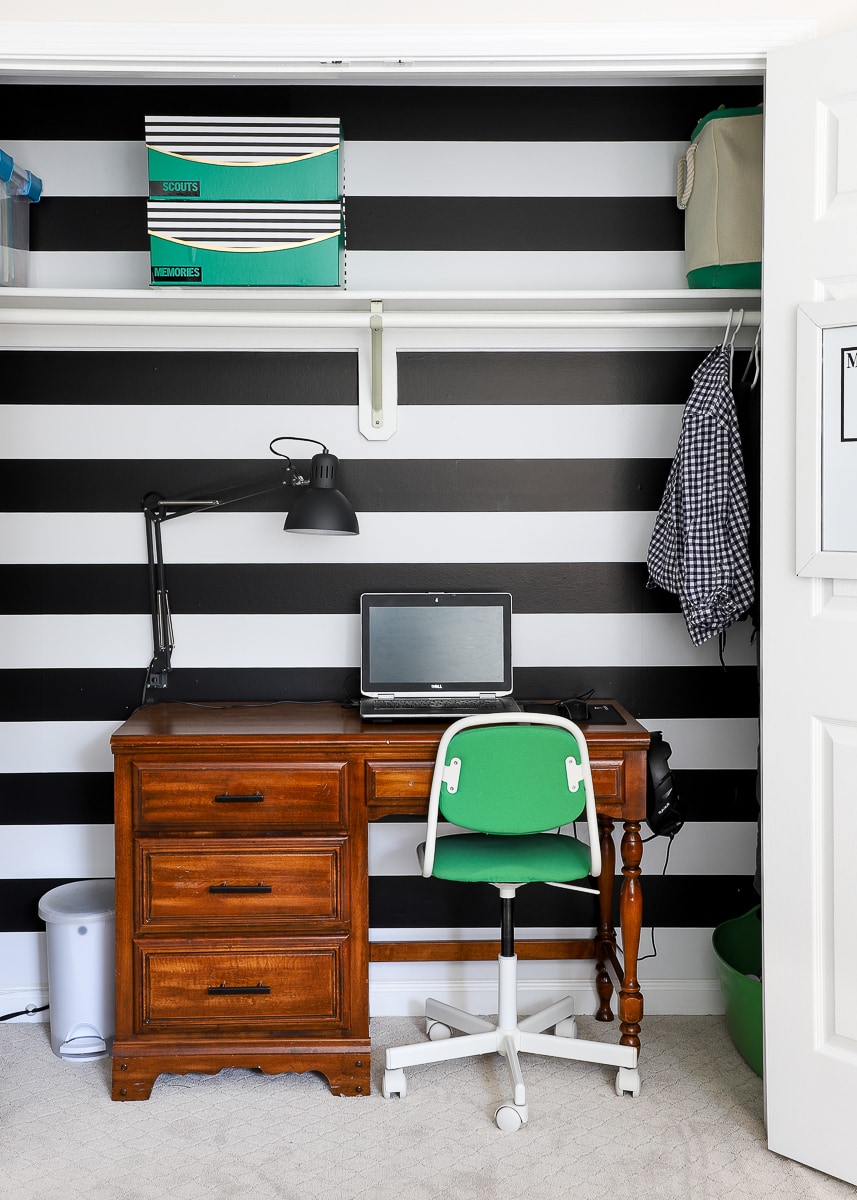
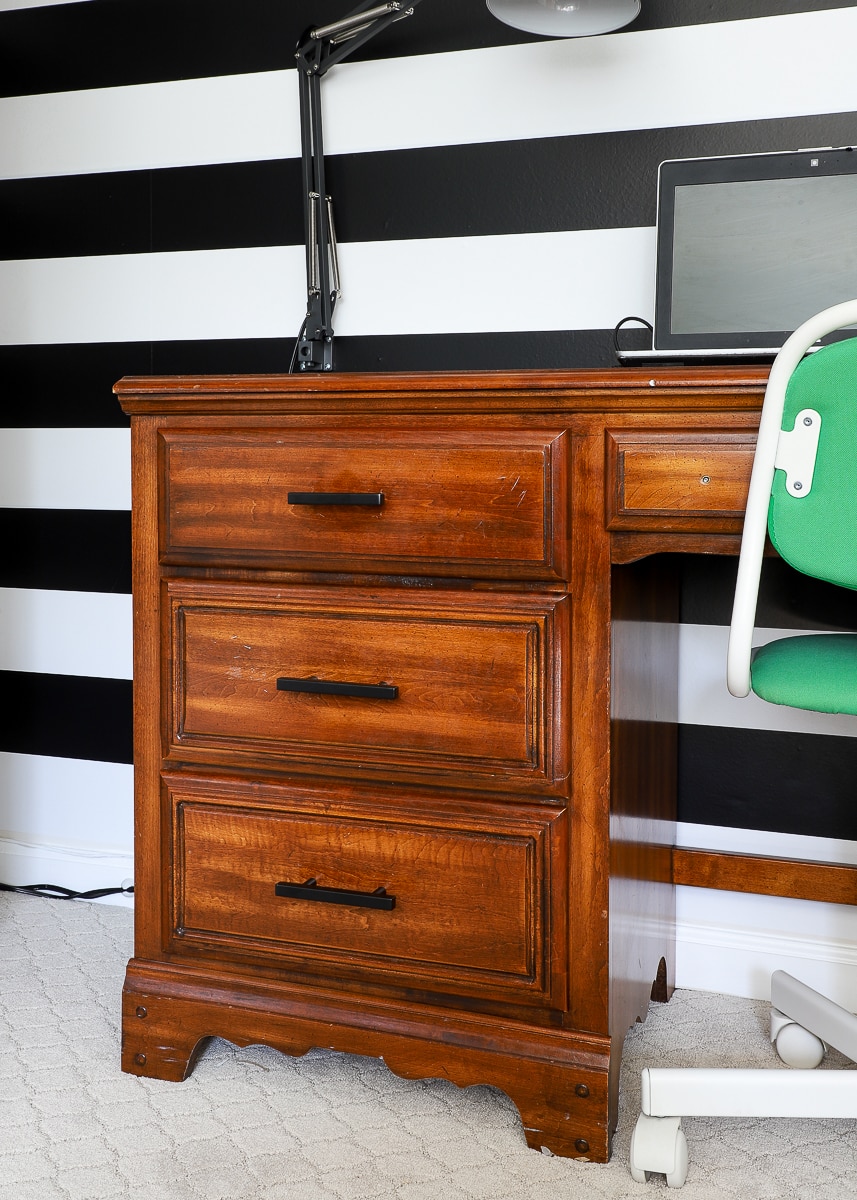
Henry’s bedroom furniture is actually my sister’s old furniture from my childhood home. Although it’s pretty dated, it has continued to serve us well. The small wooden desk is a great size for him, providing just enough room to work on the top and store things in the drawers…yet not too much space to get cluttered up. There was no time to do a full furniture makeover at this time (and strangely, I really like the dated brown on this furniture set), but I did swap out the old hardware for sleek black pulls…
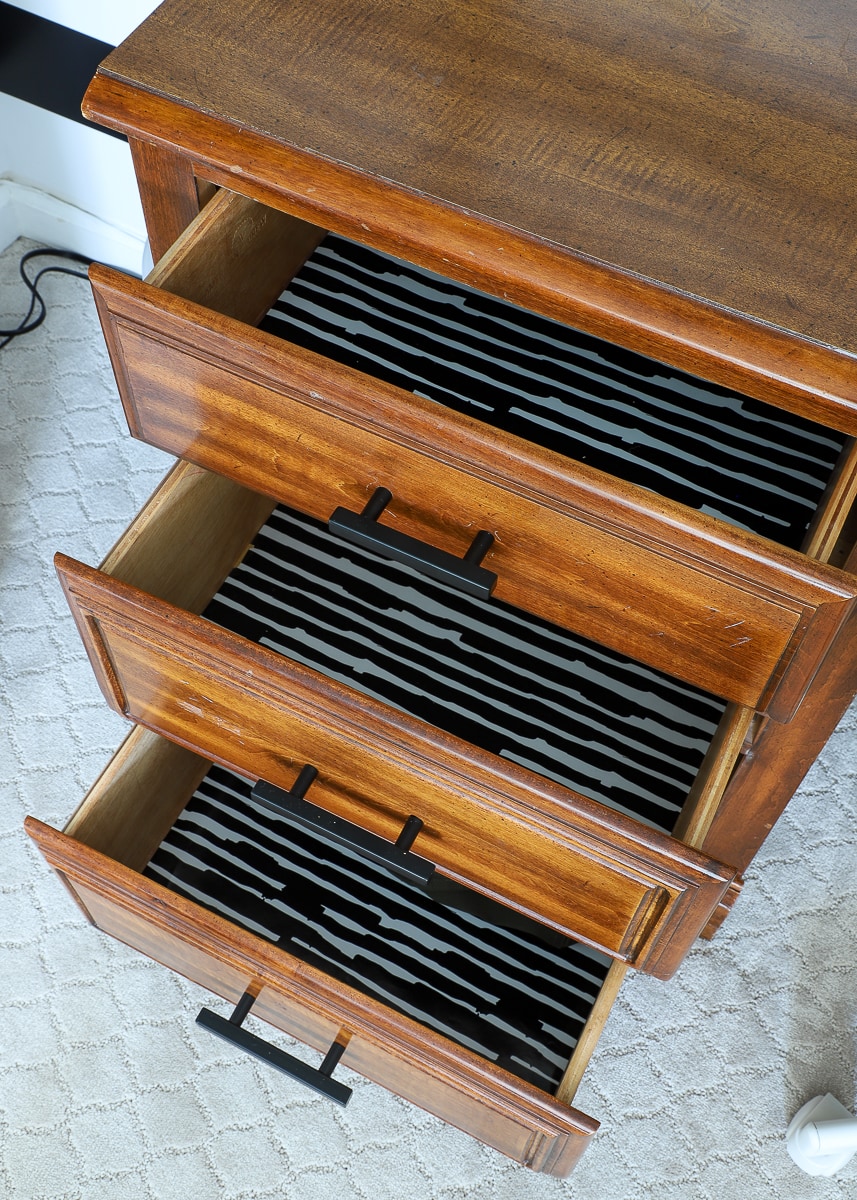
…and lined the drawers with some graphic wrapping paper I had on hand.
TIP! Yes, you can use wrapping paper to line drawers. Just use strong double stick tape underneath it, and cover it with clear contact paper to make it more durable!
With the wall and desk updated, we turned our attention to function.
Carving Out Function In Our Distance Learning Setup
Since the desk is quite small, I chose to leave it completely empty except for his school-issued laptop and mouse/pad. This way, he can work on the laptop primarily; and as needed, slide it over to the left to write or work with other supplies.
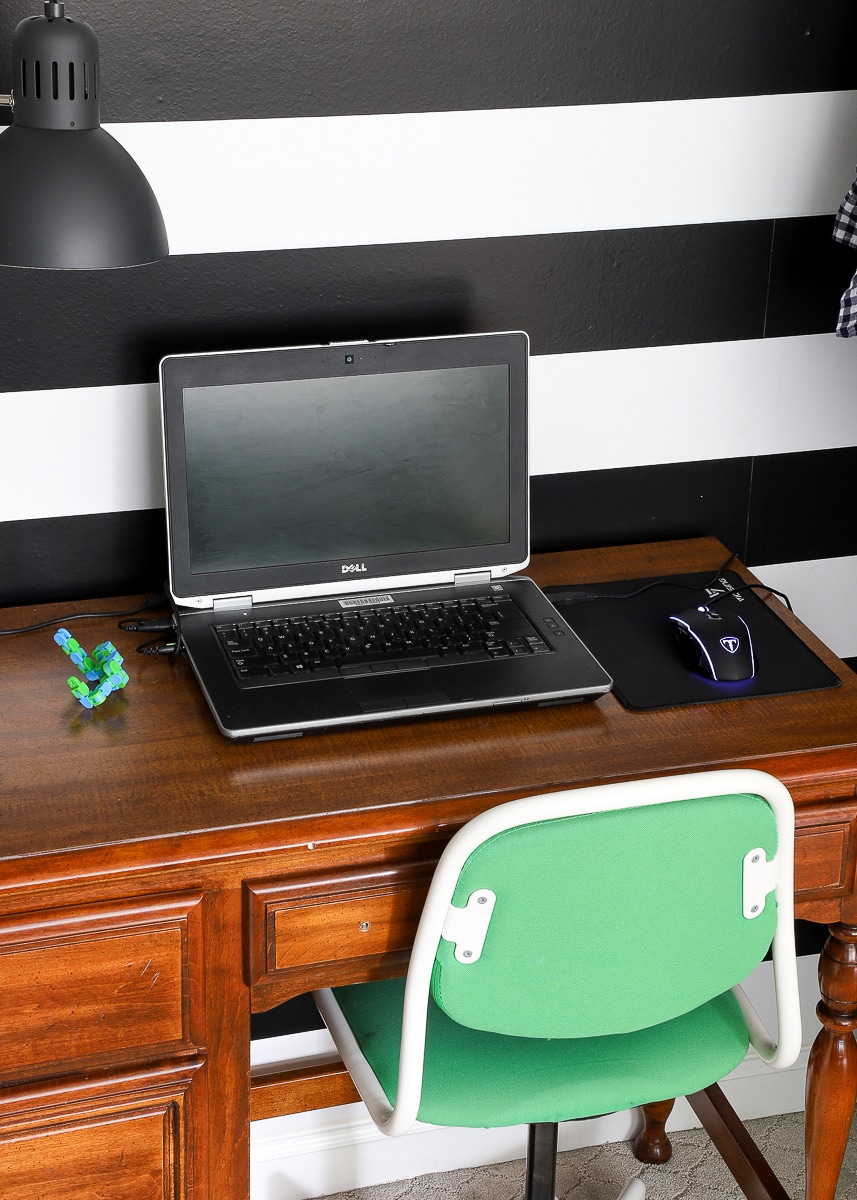
Even the task lamp is mounted to the wall to keep the work surface as usable as possible:
Want to save this post?
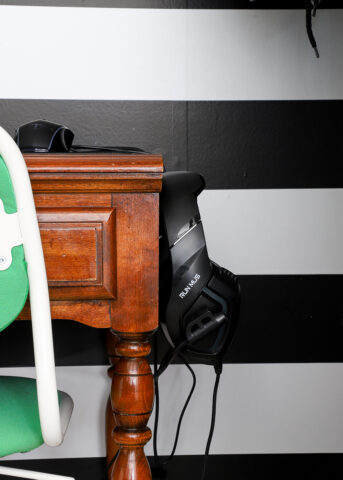
I wanted to reduce any and all “scrambling” as he logs on throughout the day, which meant providing specific places for each and every thing. A peel-and-stick hook on the side of the desk holds his dedicated school headphones…

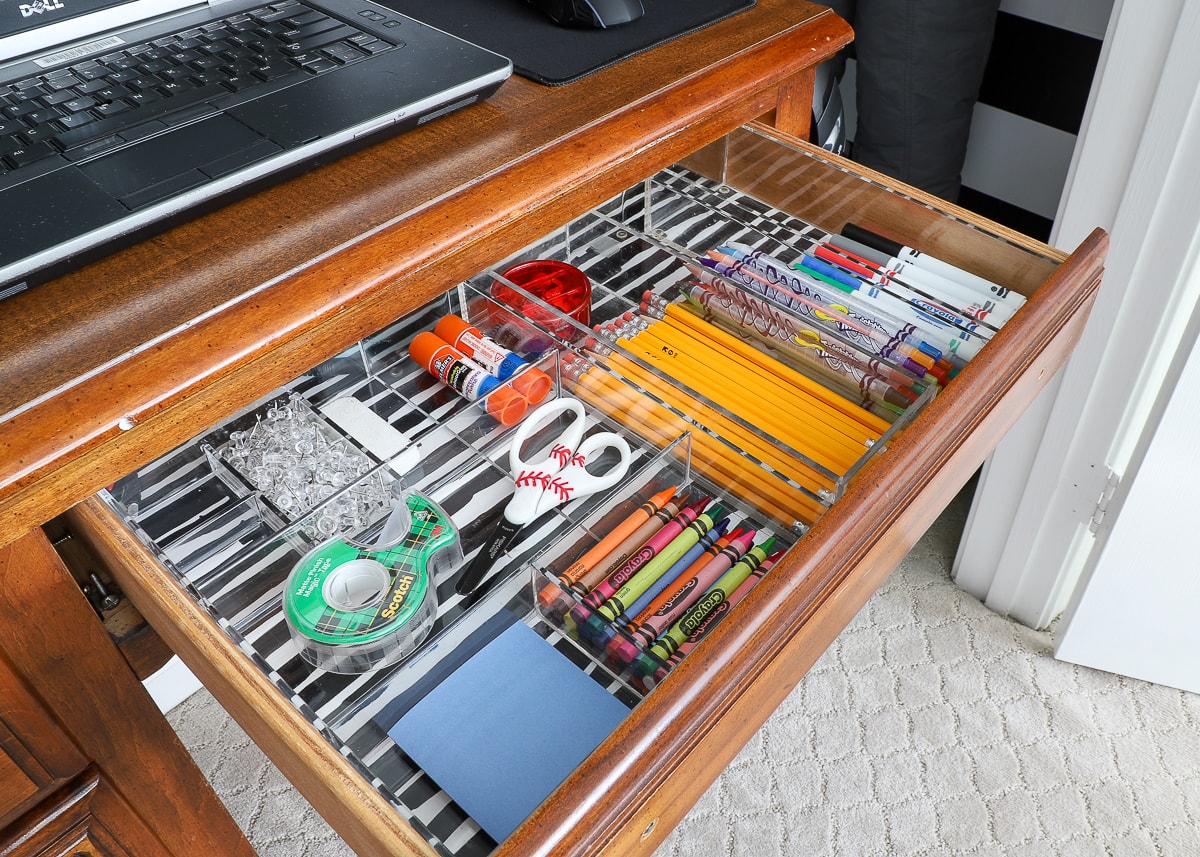
…and a basic set of school supplies are in the main drawer right under the laptop.

To keep this drawer tidy, I rummaged through my extensive collection of drawer organizers to find an arrangement that used up every inch!
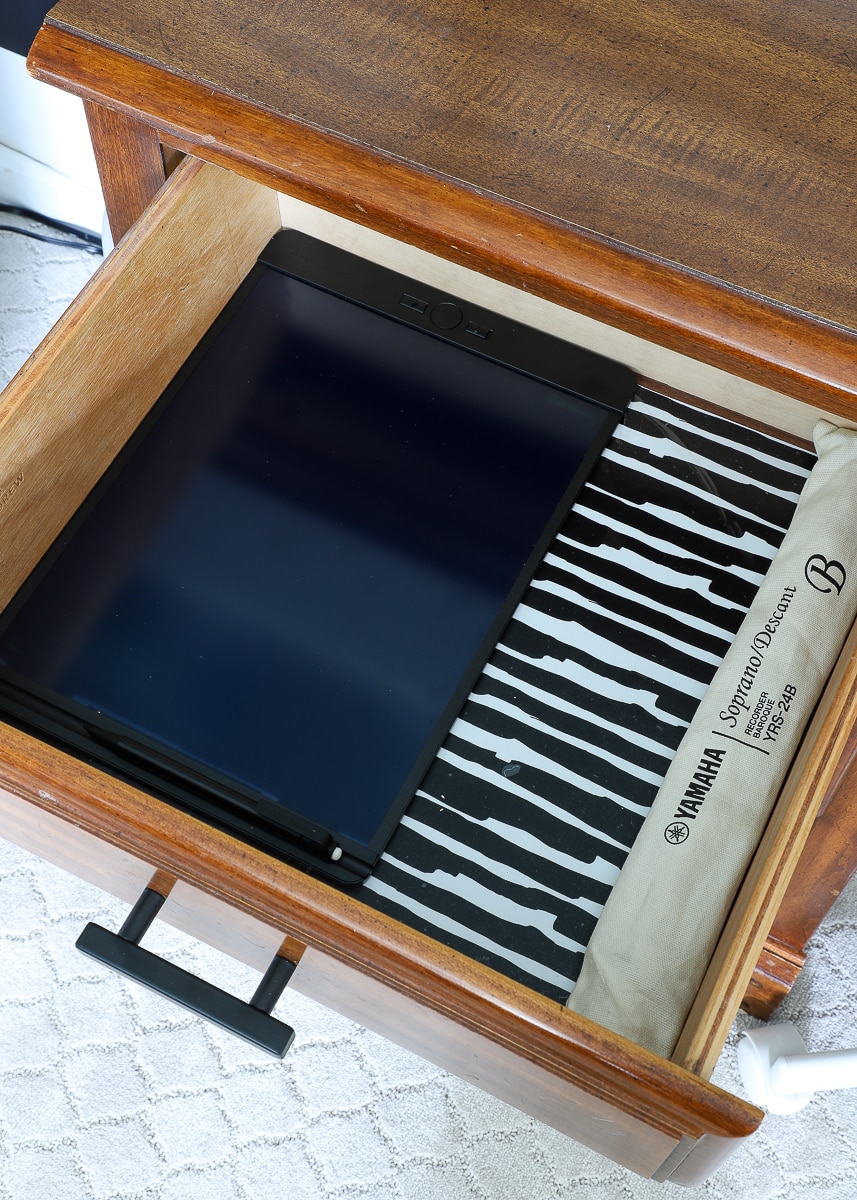
The top left drawer holds an electronic writing pad (to serve as quick scrap paper) and his recorder. The other two drawers hold some paper notebooks (which I’m not sure he’ll even use!) and his Scout stuff for the year.
It was really important to us that Henry be able to close up the closet doors at the end of the day so he isn’t constantly staring at his school stuff. To keep cords from getting caught/unplugged, we secured a power strip to the inside of the closet (with Command Strips) for his laptop and lamp…
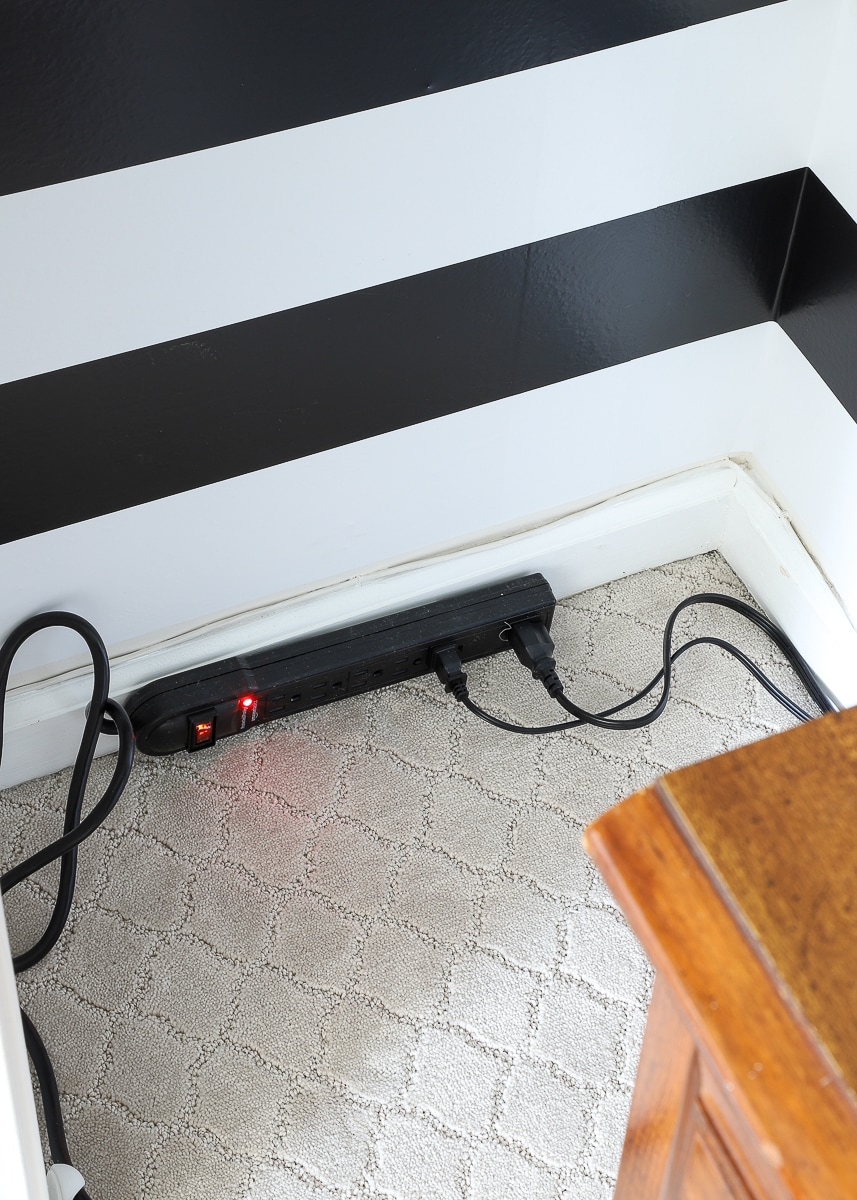
…and used cord clips to hold everything in place and run it around the doorframe to the outlet on the outside. With the cord tucked in nice and tight to the wall, the doors close without issue!
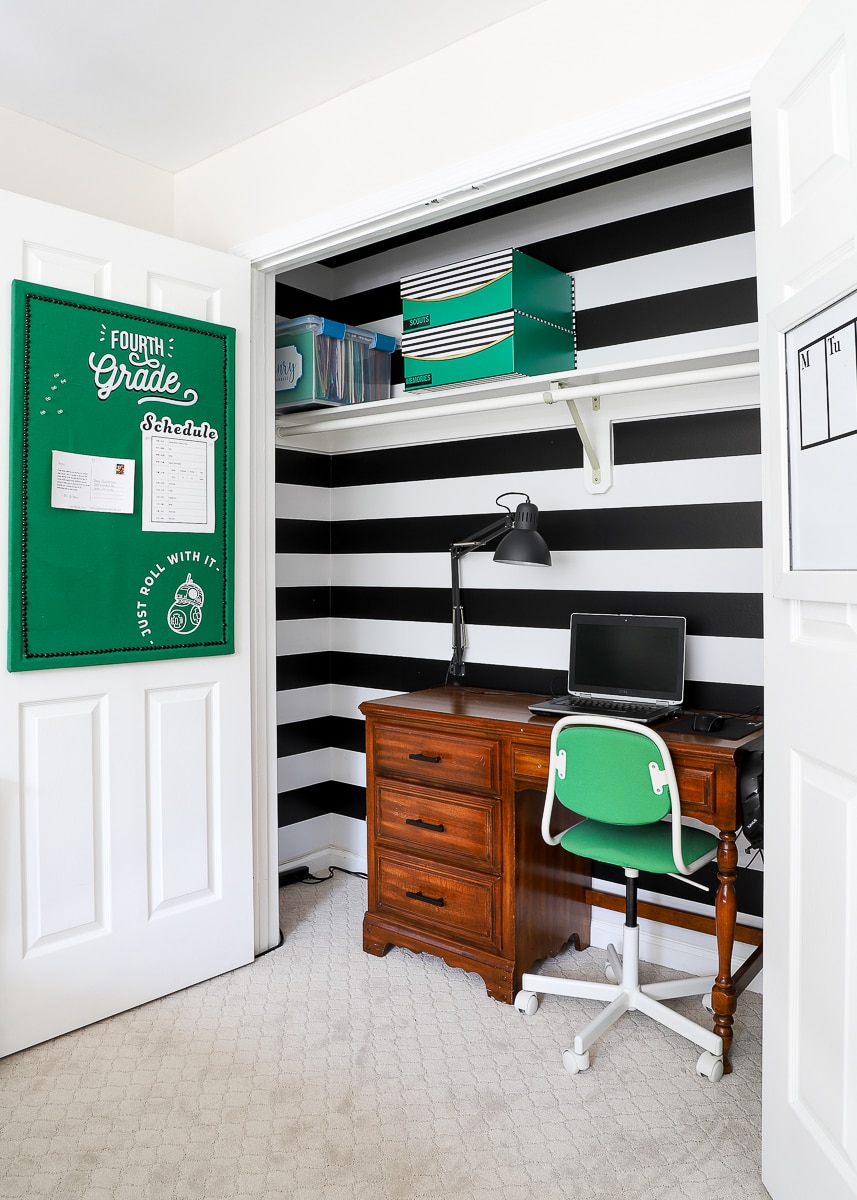
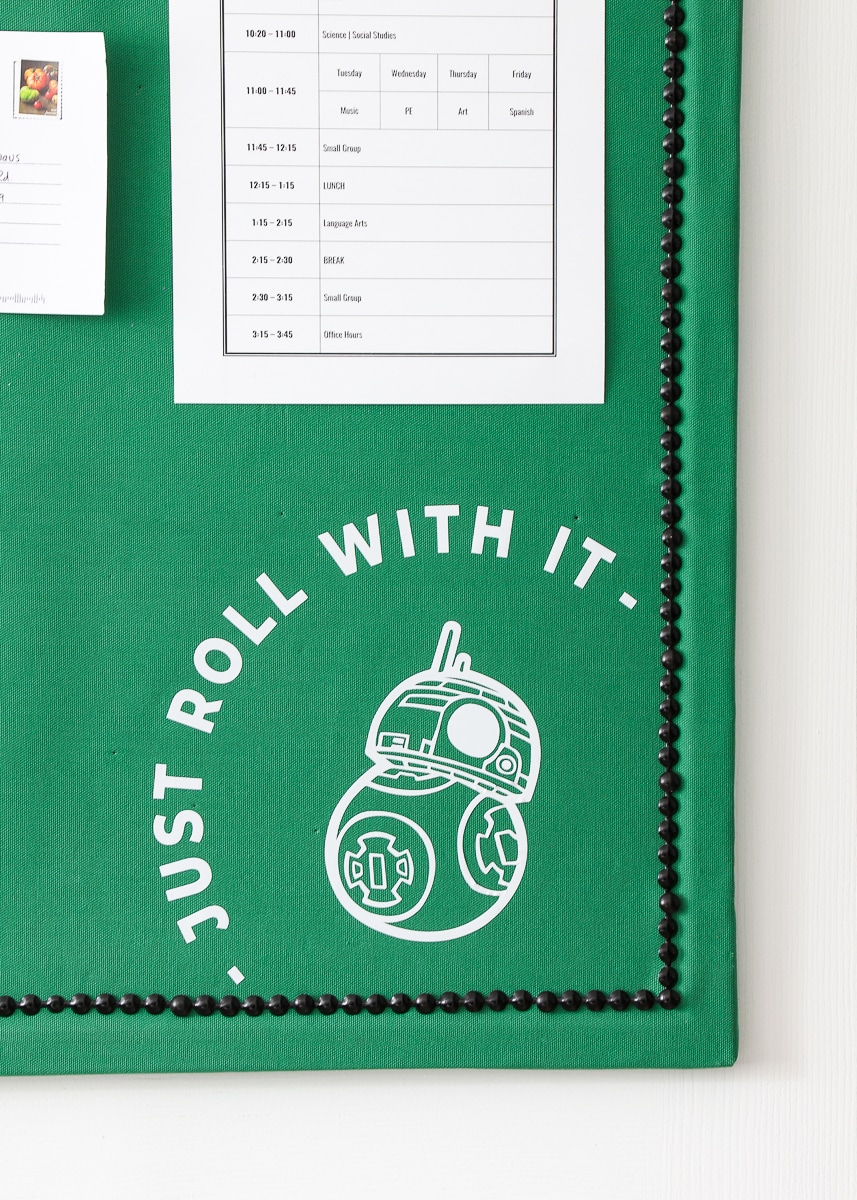
Henry didn’t voice too may requests as we were setting up his space, but he was pretty adamant about hanging up his bulletin board (it had been down in the basement since moving in last year). The wall in front of the desk was too tight for such a big board, so we opted to hang it on the inside of the closet door (with more Command Strips).
It’s actually a great place for him to tack up anything he wishes and needs, and I cut a few quick images from vinyl on my Cricut to give it that “classroom” feel.
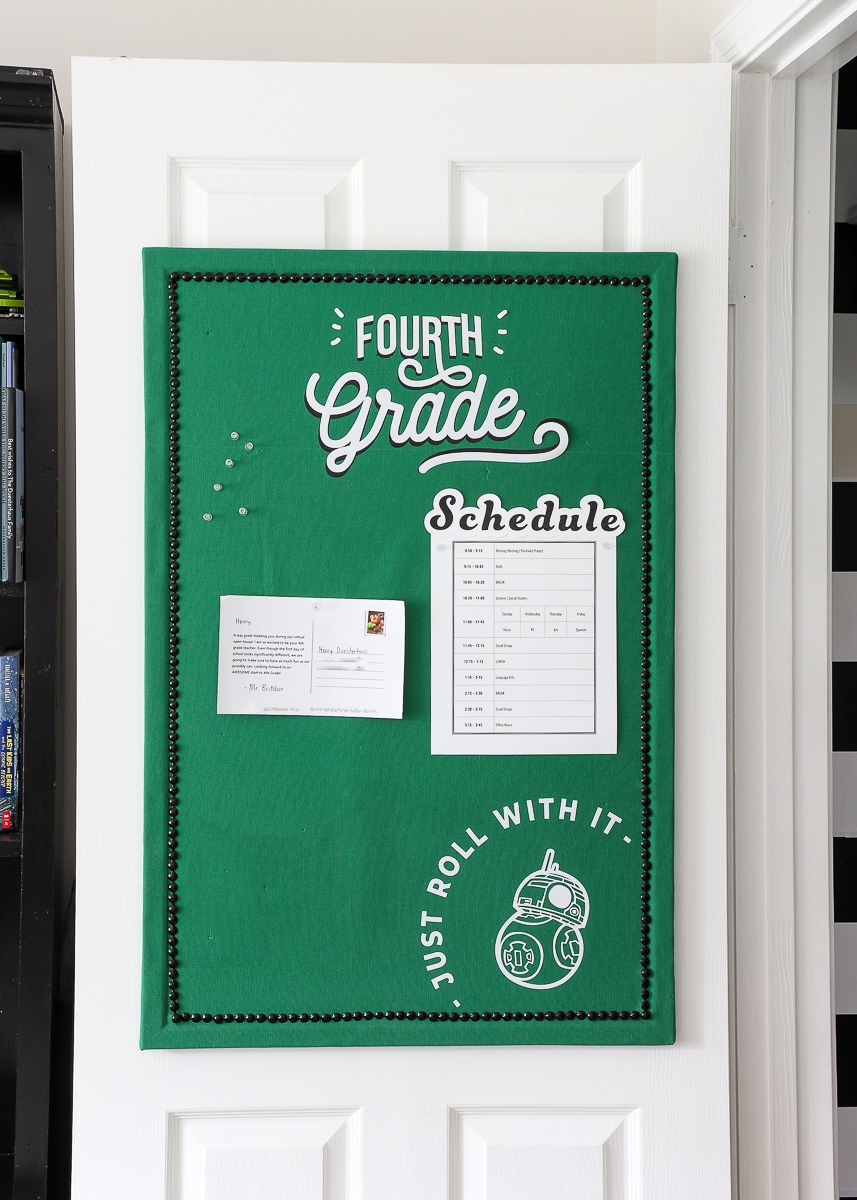
“Just Roll With It” has become our family’s School Year 2020 motto! Through closures and computer glitches, changes and frustrations, this is a happy little reminder for us all!
You likely noticed one more organization system on the other closet door. The dry-erase calendar is actually part of an in-progress project, and I’m super excited to share the rest of it with you in the next few weeks! Also, in my newsletter this weekend, I’m diving into some of the tech solutions we’re using to help Henry be more independent and successful during his school day, so be sure you’re subscribed below!
Although I didn’t get it done as fast as I would have liked, I’m actually really happy we took our time with this distance learning setup. While I was able to incorporate some fun decorative details, it (more importantly) is proving very conducive to Henry working independently up in his bedroom. Giving him a dedicated school spot, free of distractions and containing only the things he really needs, has enabled him to have a great school experience so far. Fingers crossed it stays that way!
Megan
13 Comments on “Tour Our Distance Learning Setup!”
Tune in next week for the side-by-side comparison of Henry’s sleekly designed closet school space and Greg’s dungeon-inspired utilitarian work space in our unfinished basement…🙃
Makes me think of Men in Tights. I’m seeing chains on the wall, skeletons in the corner…
LOL…close….veeeery close 😉
Hope you’re having a great week!Megan
Love your funny comments!
This is so great, and thanks for the reminder to focus on my kiddo’s needs and not my desire to make things super cute! I’m working on making a space workable for our brand-new college freshman *and* for the rest of the family who share portions of the room. He’s a clutter-bug with ADHD and a musician, so there’s a ton of stuff and a huge keyboard/amp setup to wrangle. Your solution is giving me a lot of inspiration, especially in how simple yet attractive it is. Thanks!
Hi Janey!
I am so glad to hear the ideas I shared proved helpful to you! Good luck with finding solutions for the whole family!
Happy Wednesday!Megan
Love it!! So impressed with how great and functional with not any over the top that won’t be used 😀. Love the motto!!
Thanks Sarah!
I guess the “proof is in the pudding” and so far so good!! I keep walking into his room and saying “Wow, it still looks good in here!” Fingers crossed it stays that way!
Happy Wednesday!Megan
This is ace, good job guys! It’s a good reminder that simpler is often better, particularly for kids who have already had to deal with so much change this year. I’m going to keep this in mind as I update my 8 year old’s room.
I love the focus on your kiddo, the great way to get electricity into the closet and still be able to close the doors, and the aesthetic of it all. Nice job! Got some good inspiration for a couple of my own projects – thanks! And good luck to you and Henry during this new school year! Looks like you’re off to a great start!
Thanks so much, Lisa!
All the mental effort to figure things out has (so far!!) been worth it! He’s doing great up there on this own, and every time I walk in his room I’m shocked it still looks good! Fingers crossed it stays that way!
Happy Wednesday!Megan
You have done a wonderful job with this! Bonus, it gives Henry a bit of independence, too. 🙂 Bravo, mom! 🙂 <3
Hey girl!!
Thanks so much. You know what…it’s working SOOOO well. He is doing great going up and doing his schoolwork all on his own. I think giving him some independence has helped him take this whole thing seriously! And I sure needed him out of my hair too 😜
Hope you’re doing well!Megan