DIY Decorative Memory Boxes
When I was organizing Henry’s room to get ready for distance learning, I was looking for a way to corral his old Scout uniforms/books/awards, as well as all his childhood memorabilia. After rummaging around the basement, I came across some old decorative storage boxes that were destined for the donation center. On a total whim, I gave them a quick makeover using supplies I already had on hand, and they turned out so much better than I expected! I actually wasn’t planning on posting this project; but in my most recent reader survey, so many of you asked for even more “easy” and “repurposing” projects, so here we are! Today I want to show you how to update any old storage boxes you might have laying around into customized decorative memory boxes for your family’s special mementos!
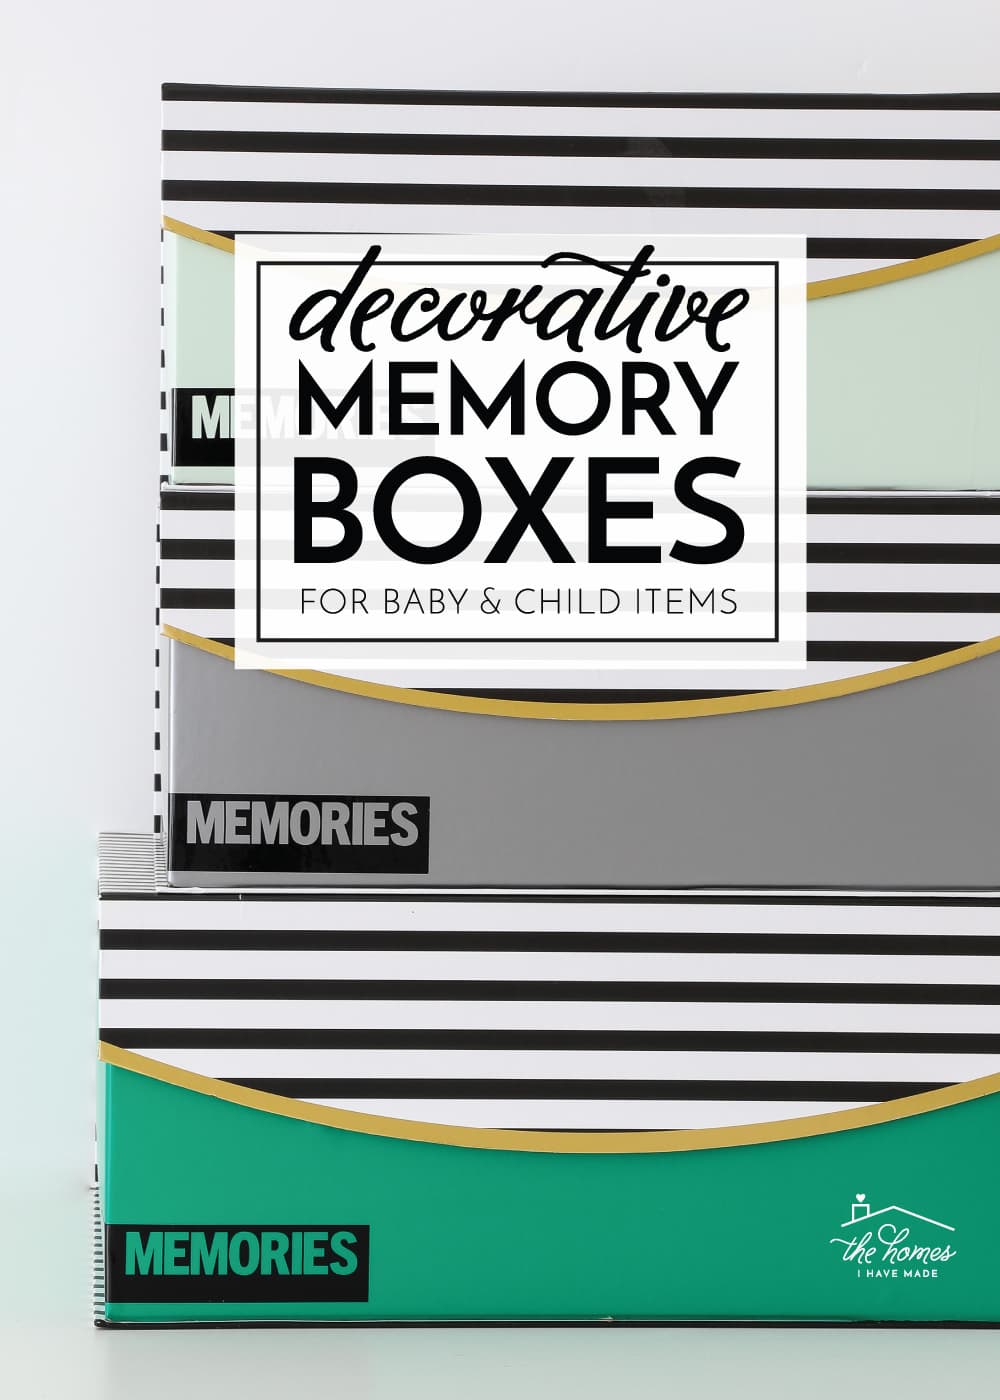
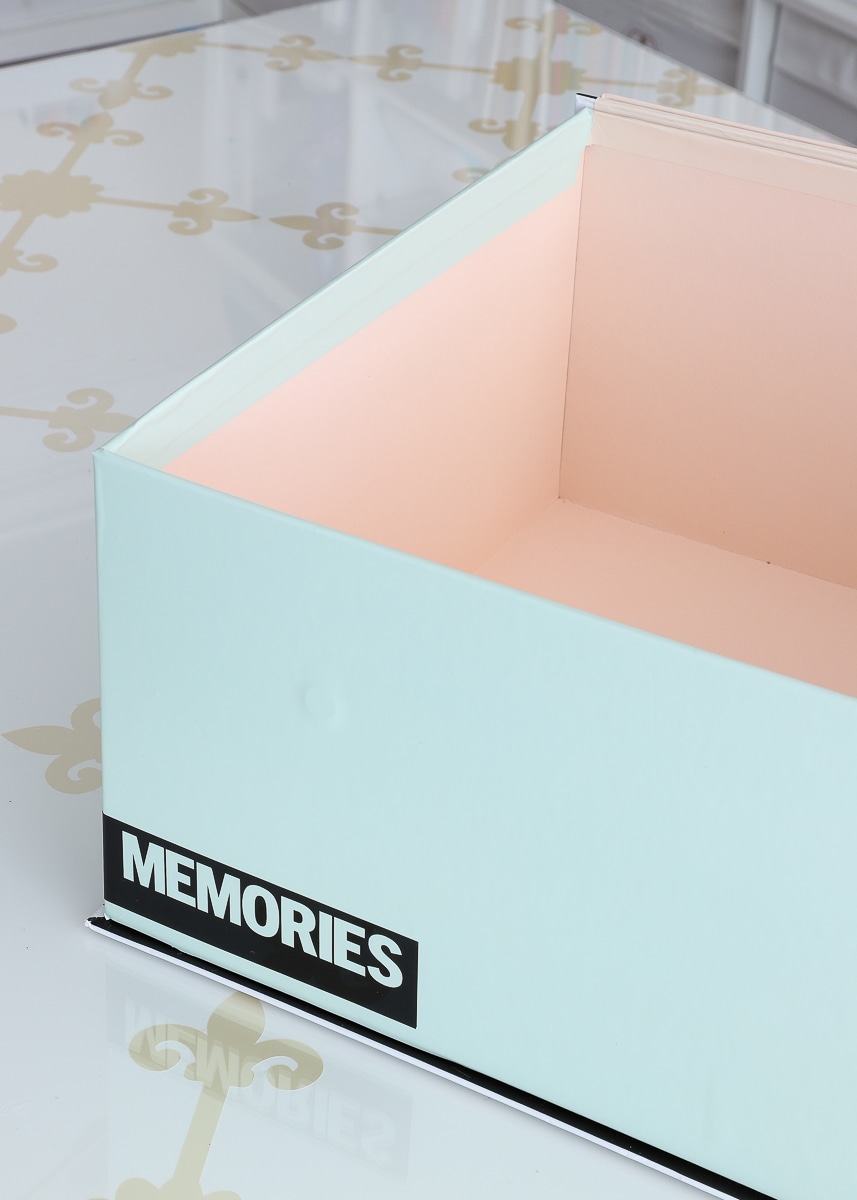
Below is a snapshot of the decorative boxes I dug out of the basement. Long-time readers likely recognize them from under our media cabinet in our last home (they used to hold DVDs, video game controllers, candles, etc). Since we completely re-imagined how we store our media in our current home, the boxes have been sitting, dusty and un-used, for the last year or so.
I’m sure you are familiar with these “decorative storage boxes.” You can literally find them all the time in stores like TJ Maxx, Home Goods, Michaels, Hobby Lobby etc, in a wide variety of sizes, shapes, and styles. They are usually pretty sturdy and a great size for their price, which make them ideal for memory boxes. However, finding ones that are juuuuust right for your decor might prove tricky since patterns rotate regularly and many tend to be a smidge on the “tacky” side. Whether you can’t find a set of boxes you love, enough that match, or (like me) have some old ones on-hand, it’s actually pretty easy to give them an aesthetic makeover so they perfectly suit your space!
Years (and years and years ago…before peel-and-stick products were widely available), I actually attempted to paint some similar boxes with latex paint. Although I blogged it as a “successful makeover,” they remained fairly sticky and chipped pretty easily. I’ve had it lodged in my memory to never try that again.
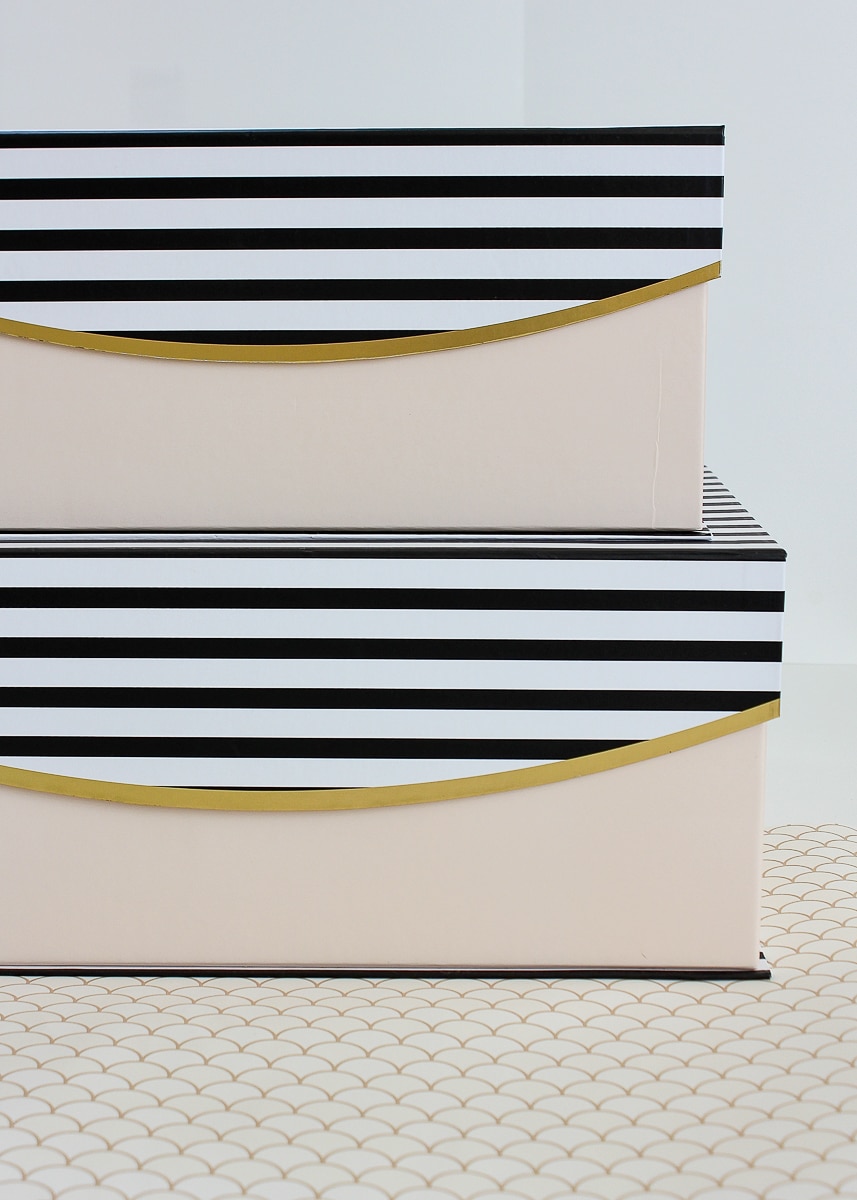
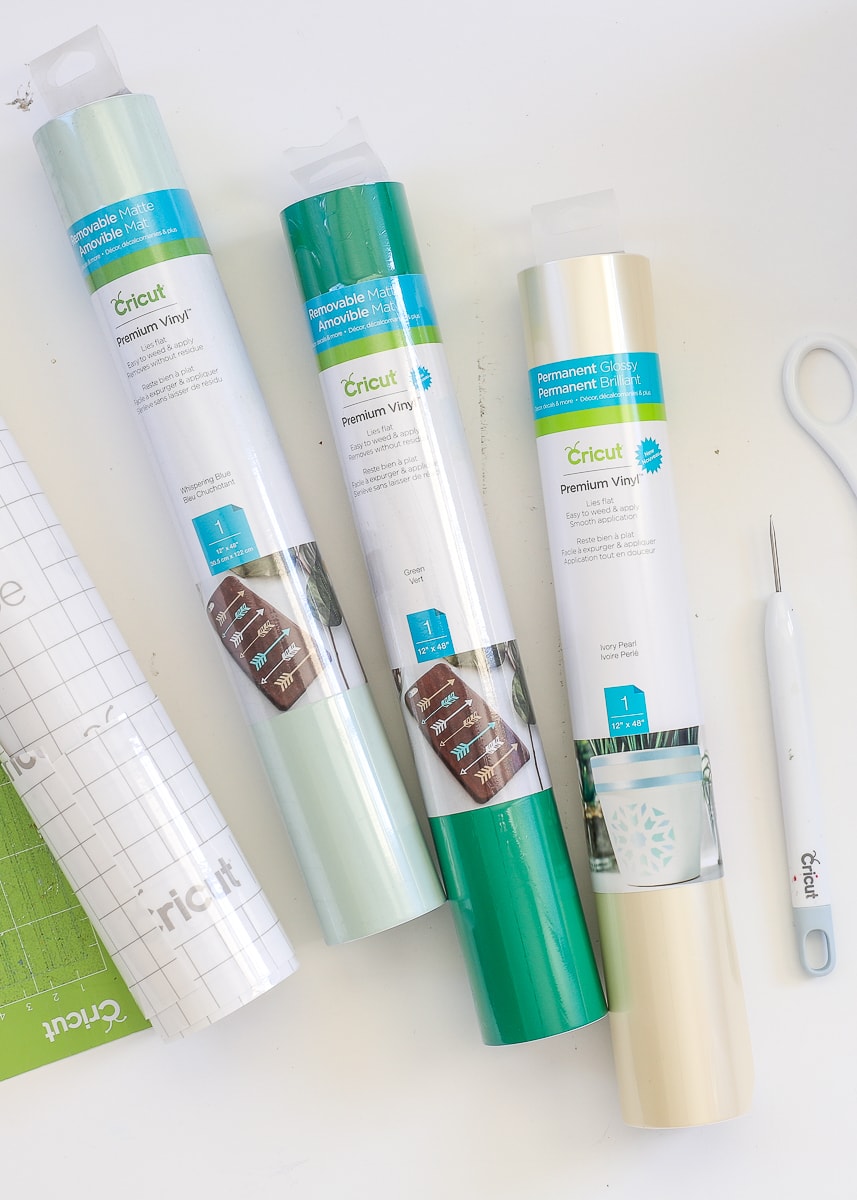
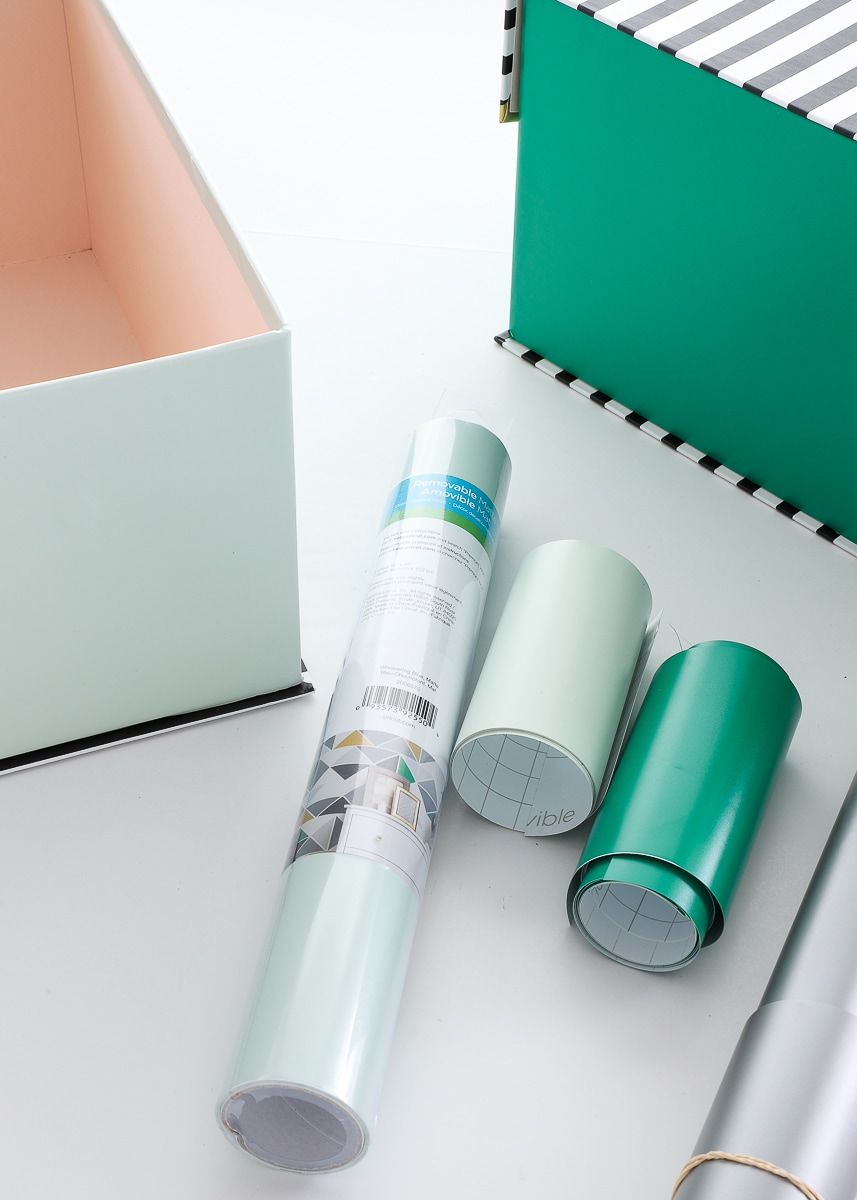
When I considered these boxes for Henry’s closet, I loved the black-and-white striped tops with the gold edging, but the pink bottoms weren’t ideal. So after rummaging through my supplies, I discovered I had some leftover Cricut Premium Vinyl (I got it all for this table makeover but didn’t end up using the blue and green) and decided to give it a go!
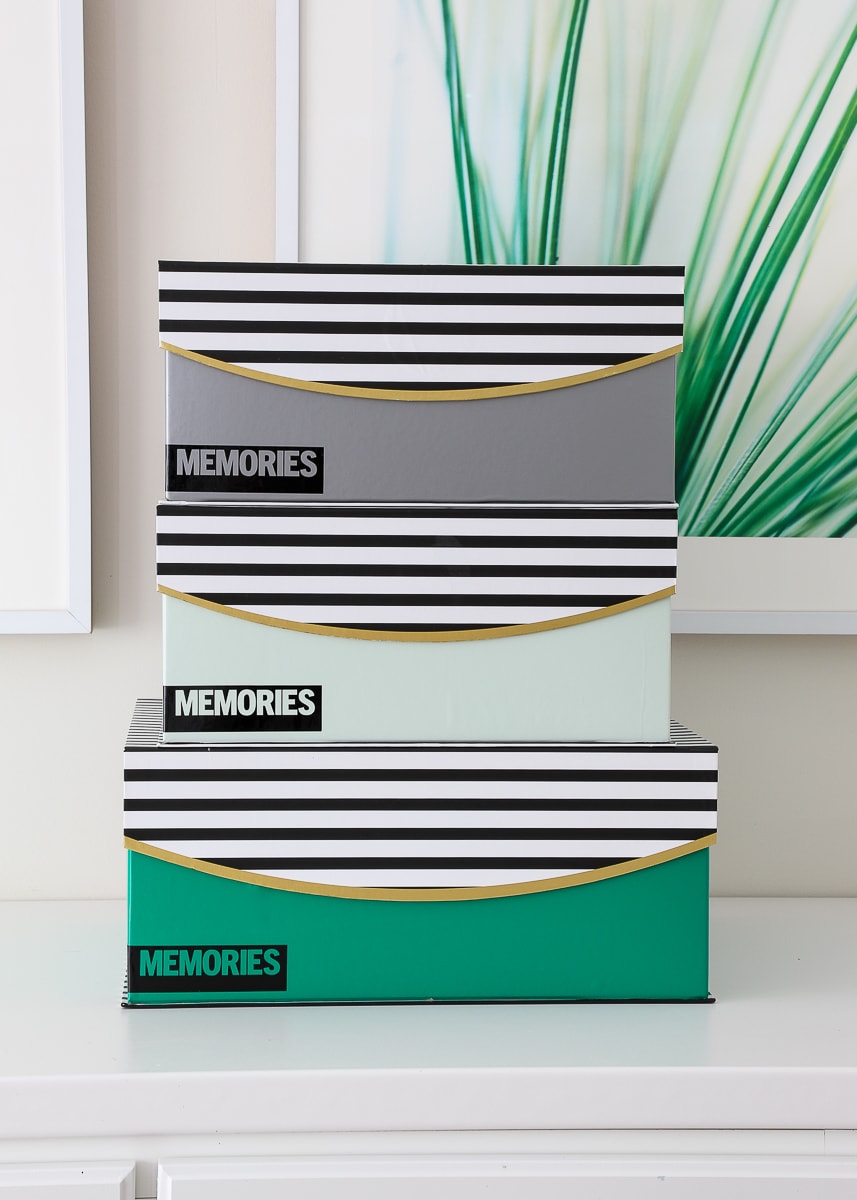
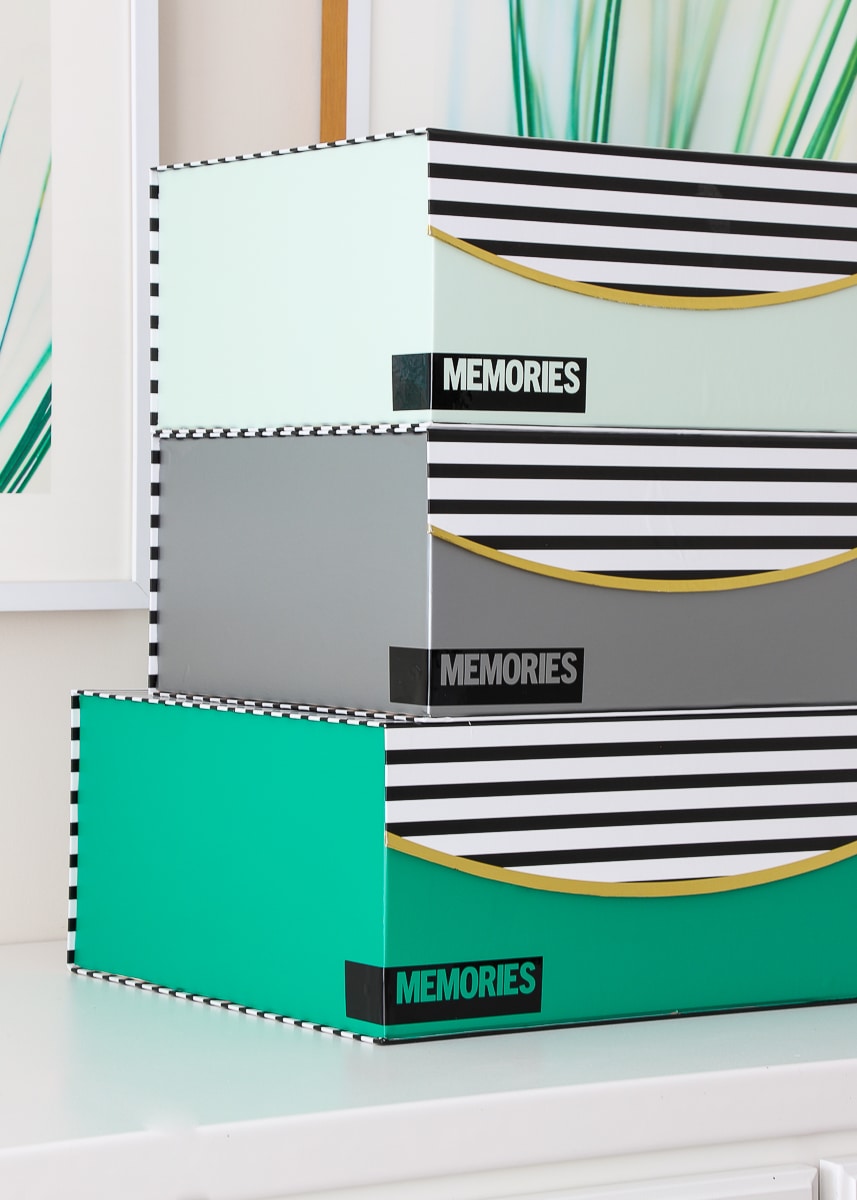
Having attempted to lay large swaths of vinyl before, my expectations were very, very low. I was ready for bubbles, creases, and lots (and lots) of exasperation and wasted vinyl! However, the result was a perfectly opaque covering that laid smooth, bubble free, and almost looks like it was always there! Cricut’s Premium Vinyl claims…and literally says on the label…that it “lays flat.” I genuinely think that’s why the vinyl covering turned out so nicely. I’ve worked with a lot of vinyl, and I’m pretty sure nothing else would yield similar results. I’ve wrapped boxes in contact paper and even wallpaper before, but there’s something about this solid-color matte vinyl that looks so clean and chic.
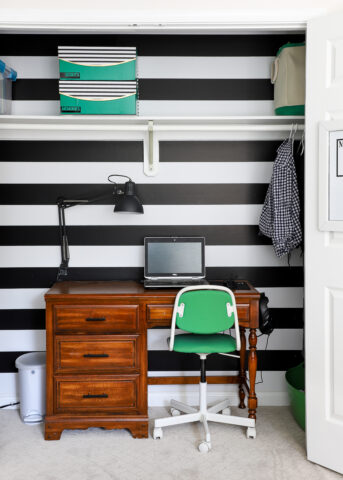
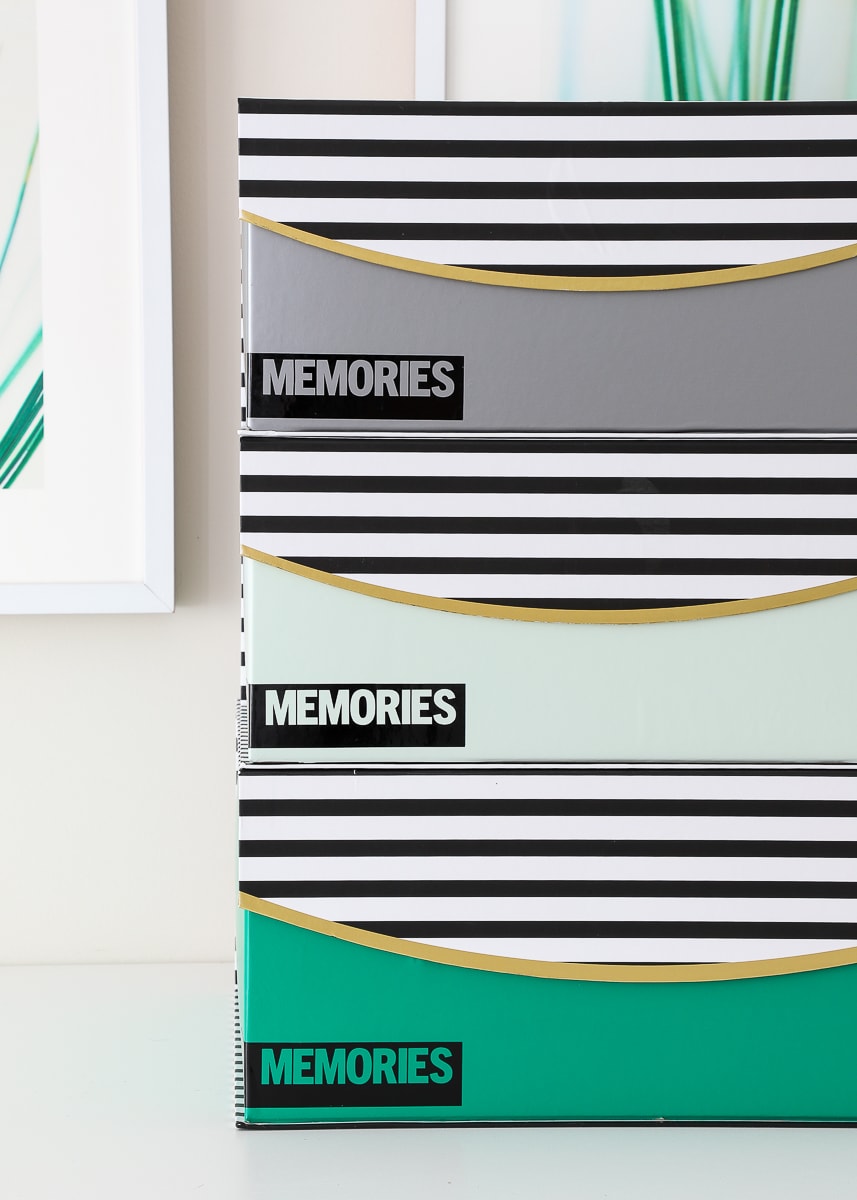
I was so obsessed with how the green boxes turned out, that my endeavor to make some storage boxes for Henry turned into a bigger project making matching versions for Sam and Jack as well! #storyofmylife
The process was fairly simple:
- Supplies: You don’t need much! I used this vinyl and this X-acto knife.
- Measure: Start by measuring the perimeter of the box and add an extra inch for “cushion.” Then measure the height and add an extra inch to that dimension as well.
- Cut: Using the measurement grid on the back of the vinyl, cut it into one rectangle that wraps around the box in a single stretch.
- Wrap: Wrap the perimeter of the box in the vinyl. Work slowly, pull the paper backing off as you go around, and smooth bubbles out with a scraper.
- Clean Up: Once the vinyl is wrapped around the perimeter, slit the vinyl at each corner, folded the excess over the top and smooth it down toward the inside. For the bottom, fold the raw edge under the box or use an X-acto knife to trim a clean edge.
No matter what size or shape box you have on hand, the process will generally be the same; although you may need to adjust if you are trying to cover lids as well. However, doing just the sides or just the lid may be enough to transform/coordinate your box(es), and uses the least amount of vinyl as well!
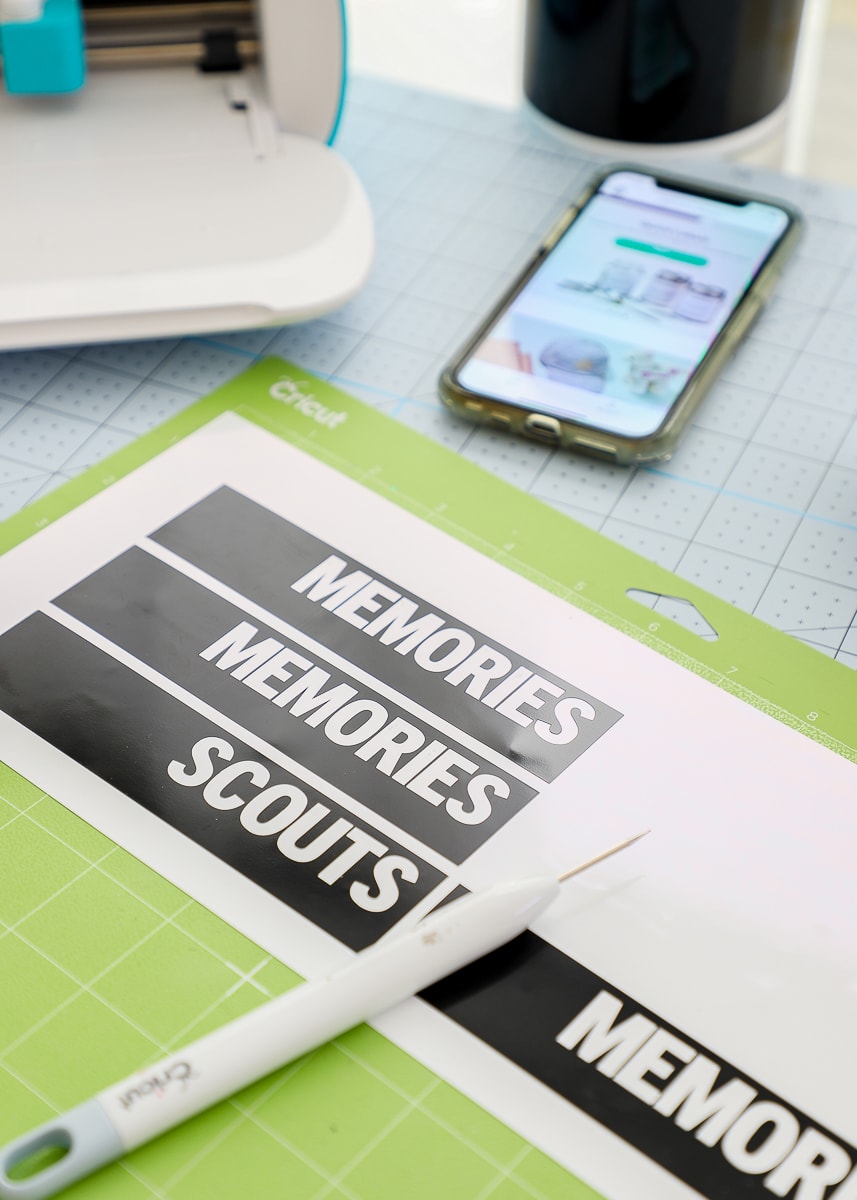
Once the boxes were all covered up, I made some quick vinyl labels with my Cricut Joy (see how I made them HERE)…
…and wrapped them around the corner edges of each one.
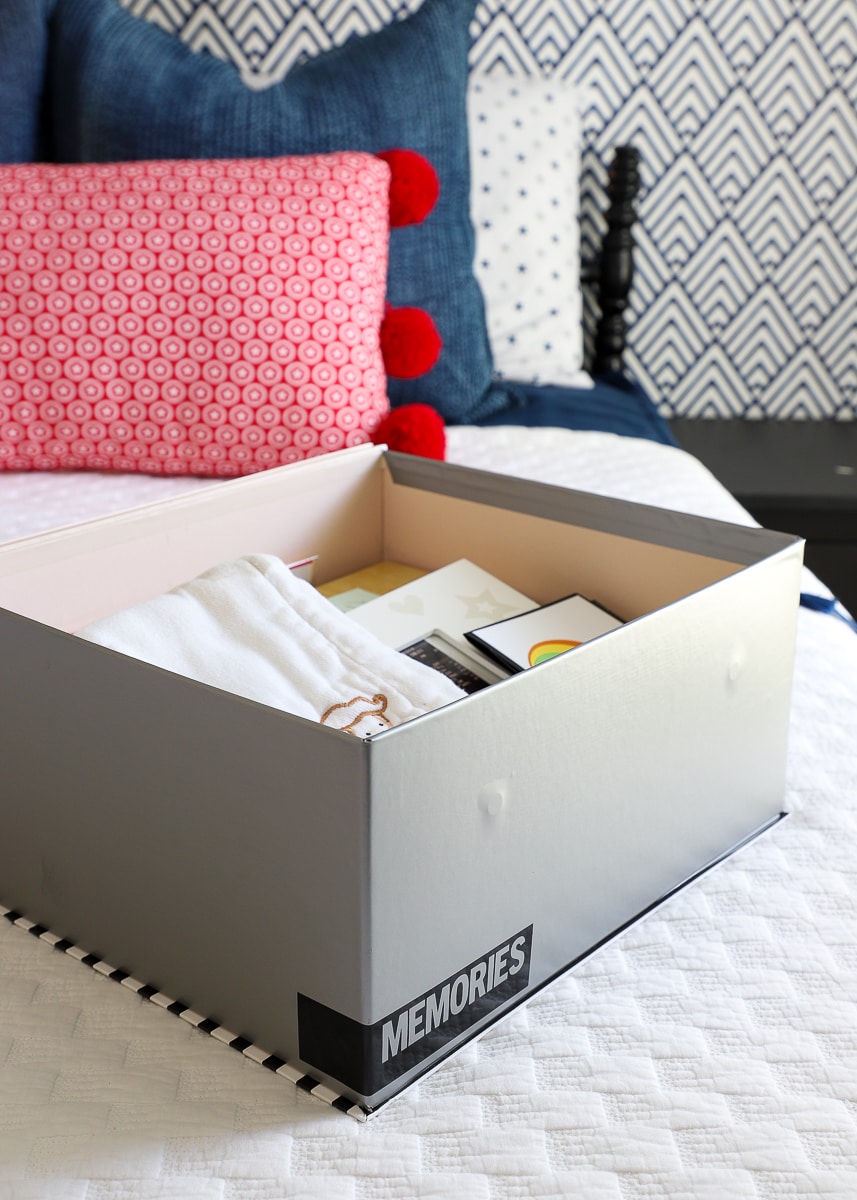
Finally, I filled the decorative memory boxes up with the boys’ baptism candles, birth announcements, first birthday party invitations, etc.
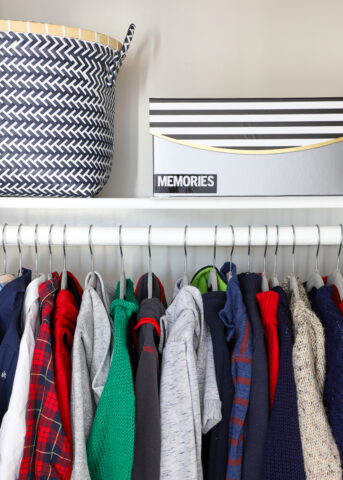
Now, they each have a memory box sitting on their closet shelf, and it’s oh-so-easy to add special items as they come up (rather than letting them pile up or get buried in random drawers)!
If you have some decorative storage boxes on hand you no longer love, or even come across ones that are mis-matched or don’t coordinate, vinyl is such a great option for updating and/or repurposing them them into decorative memory boxes. Since vinyl comes in so many colors, you’ll be sure to find something that works for your space, allowing you to make perfectly coordinating accessories or even create a set when one doesn’t exist. That said, vinyl can be a bit pricer than your standard contact paper, so keep an eye out for sales when you can score rolls for 50% off!
This simple little project makes me so darn giddy! I’ve been wanting to buy/make some sort of decorative memory boxes for each of the boys, and I beyond thrilled to come up with something that I already had on hand, was able to customize to each of their bedrooms, and looks so darn adorable. Those unexpected victories are one of the reasons I love DIY so much! Getting items out of my basement sure is a great bonus too 😉! Happy organizing, indeed!
Megan



3 Comments on “DIY Decorative Memory Boxes”
What an AMAZING & AWESOME idea!! 👏 I love everything about this post. Repurposing boxes and covering them in Vinyl, they really turned out so clean and sharp looking!! I also love the organization of Henry’s school papers too!! It almost makes me want to stop everything right now and get a jumpstart on that project for my son. Unfortunately I have to hold myself back and finish my existing project. I can tell you I’m so looking forward to working on both projects now that I was originally dreading to do. Thanks for sharing your WONDERFUL IDEAS Megan!! BRAVO!!!!! ❤️❤️
You are so welcome, Kathy!
I too was just so shocked how great this project turned out, so I’m thrilled to hear you are inspired too!
Good luck with your projects!Megan
Hi love all your tips! But if I down load the Joy app on my phone can I still have the Joy on my computer for Cricut design space?
Thanks
Lisa