How to Use the Cricut Joy App to Make Labels…FAST!
One of the best things about Cricut Joy is its ability to make gorgeous, custom labels with relative ease (hello, mat-free cutting!) But as any Cricut user can attest, the design software (Cricut Design Space) can have a steep learning curve, making even the simplest projects a bit time consuming. But if you use the Cricut Joy App instead, creating labels is (almost) as quick as using a traditional label maker. Today, I want to show you how to use the Cricut Joy App to make gorgeous custom labels…FAST…so you can stop fussing with software and get back to organizing!
What Is the Cricut Joy App?
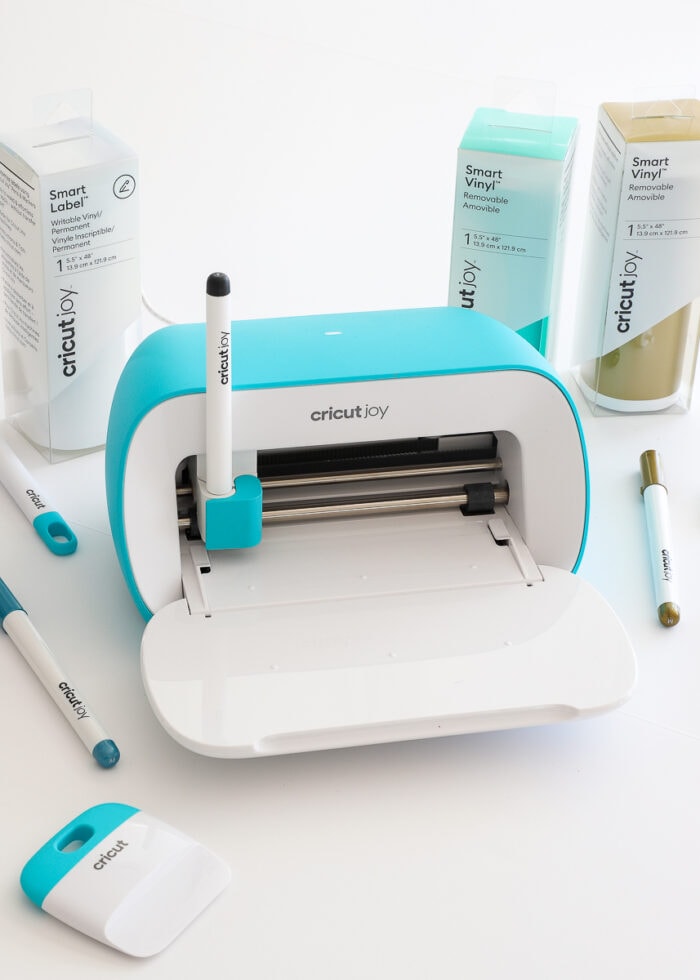
The Cricut Joy machine was designed for compact, transportable, easy, and quick cutting. So to enhance that ease and portability, the companion Cricut Joy App allows users to browse, pick, and make projects with just a few taps…no designing required!
Users of the standard Cricut software (i.e., Cricut Design Space) may be jarred (and perhaps a little frustrated) by the lack of tools and flexibly within the Cricut Joy App. But really, that’s the beauty of it!
When you don’t have the time, interest, or ability to fuss with every element of your project, the pre-loaded designs within the Cricut Joy App are literally ready-to-go, ultimately allowing you to make your project from start-to-finish in a matter of minutes (even if you’re a true beginner with a brand new machine!)
Is the Cricut Joy App Different Than the Cricut Design Space App?
Yes, these are two completely different apps. While the Cricut Design Space App is the mobile-friendly version of the full Cricut Design Space software, the Cricut Joy App is a much slimmed down version designed specifically for making quick, easy projects with Cricut Joy.
While some designs, fonts, and features between the two apps will be similar, the Cricut Joy App has less inherent design capability. The projects in the Cricut Joy App are mostly designed to be created as is, although you can change some fonts, sizes, etc.
Not sure which app to use?
- If you want to create a project from scratch or have very specific control over every single detail of your project, you’ll want to use the full-featured Cricut Design Space App.
- If you need a perfect card, label, or decal done in a moment’s notice…you can skip all the design work with the Cricut Joy App, thanks to their “guided design experience” (meaning they did all the design work for you!)
Can You Use the Cricut Joy App With Any Machine?
The Cricut Joy App is specifically designed to be used with Cricut Joy. It cannot be used with any Cricut Explore or Cricut Maker machines.
What Can You Make Using the Cricut Joy App?
The Cricut Joy App is designed to make specific projects in just a few minutes. While you can make a project from scratch using the (fairly limited) design tools, it is best for making these single-material DIY projects:
- Cards – Cricut Insert Cards, Cuttaway Cards, invitations, etc
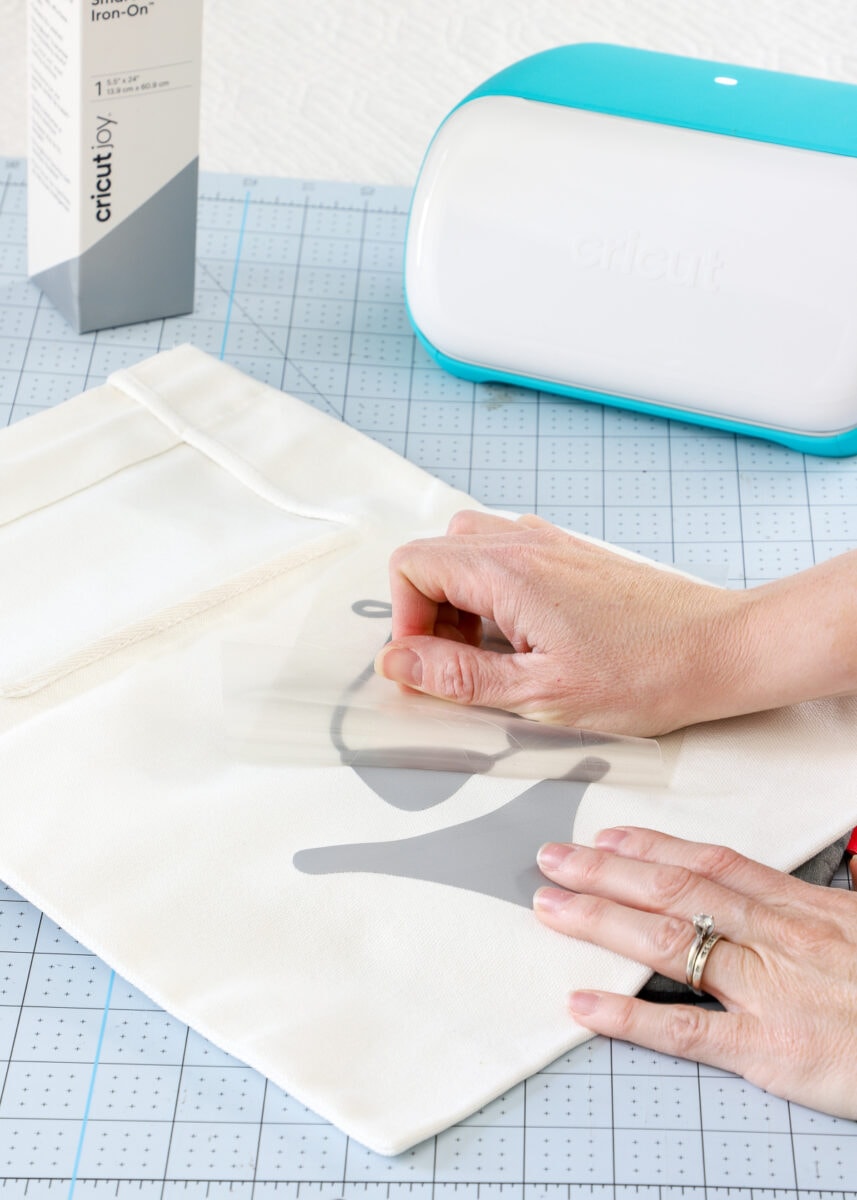
- Iron-On Transfers and Infusible Ink Heat Transfers – for t-shirts, tote bags, etc
- Vinyl Stickers and Decals – for water bottles, notebooks, etc
- Paper Crafts – such as gift tags, cupcake toppers, etc
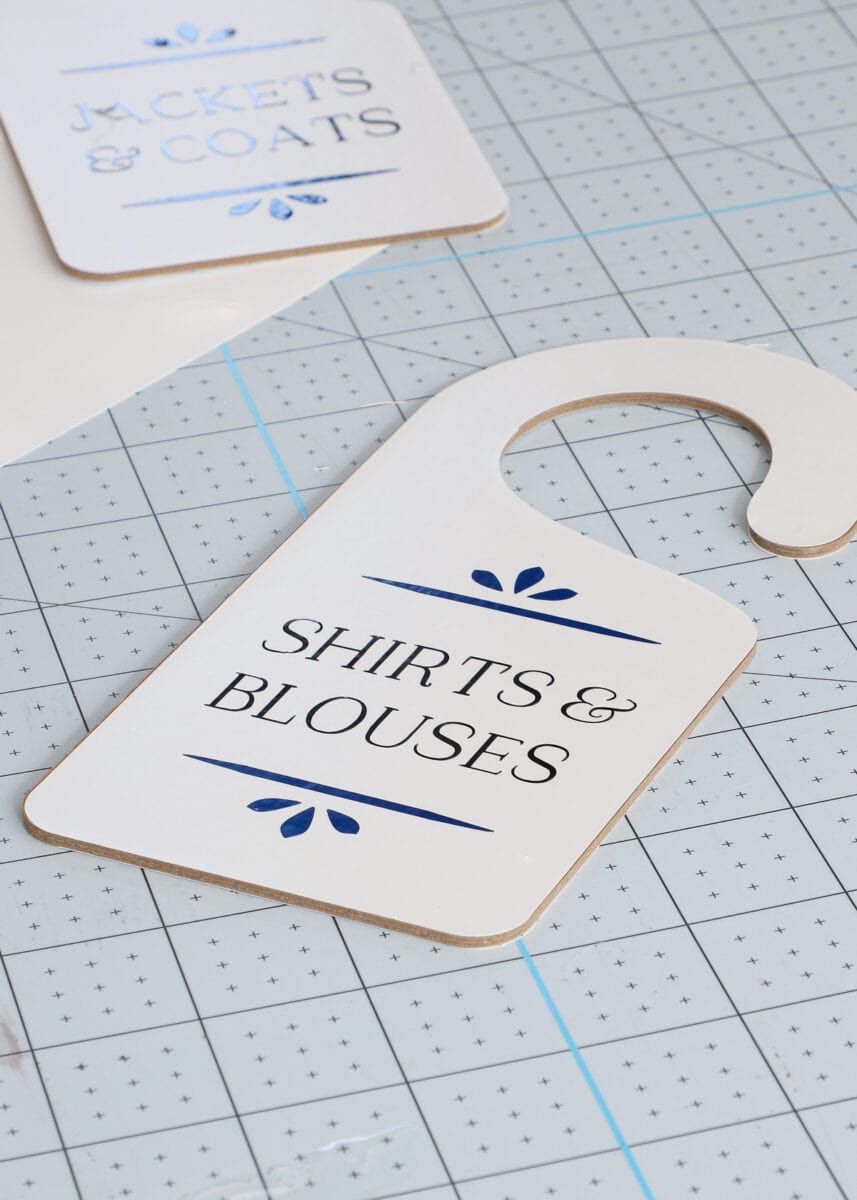
- Labels – custom stickers, party place cards, etc
What Kind of Labels Can You Make with the Cricut Joy App?
If the Cricut Joy can cut the material, you can make it into a label!
So while you can most certainly use unconventional materials (e.g., construction paper, vellum, scrapbook paper, etc), you will mostly likely want to make your labels out of cardstock, Smart Paper Sticker Cardstock, iron-on/HTV, vinyl or writable vinyl.
Can You Create Your Own Design with the Cricut Joy App?
Sure! But as mentioned, the Cricut Joy App doesn’t feature the broad range of tools and complex projects found in the Cricut Design Space App.
Further, while your Cricut Access Membership will give you access to all the fonts and images for free, the Cricut Joy App has a limited image library and only a handful of curated fonts. That said, you can upload and use any of your own images and SVG files.
Video Tutorial
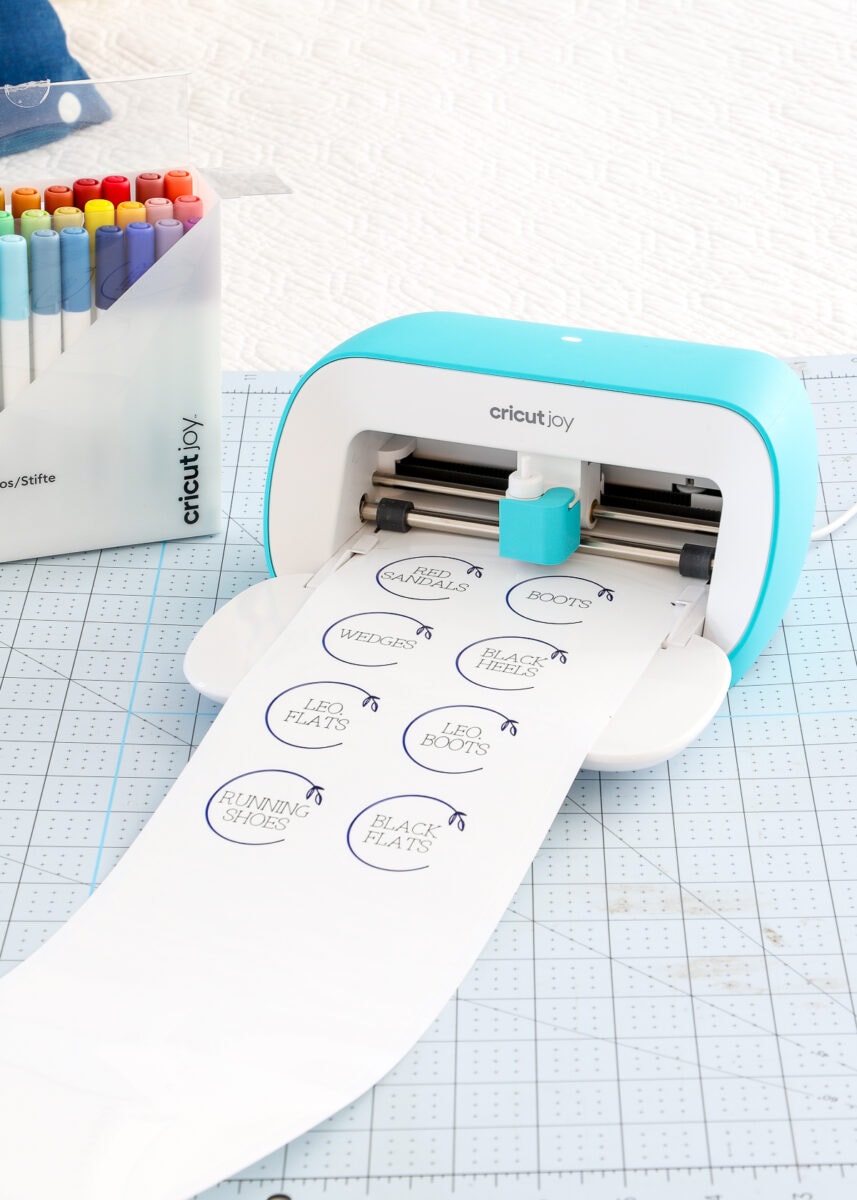
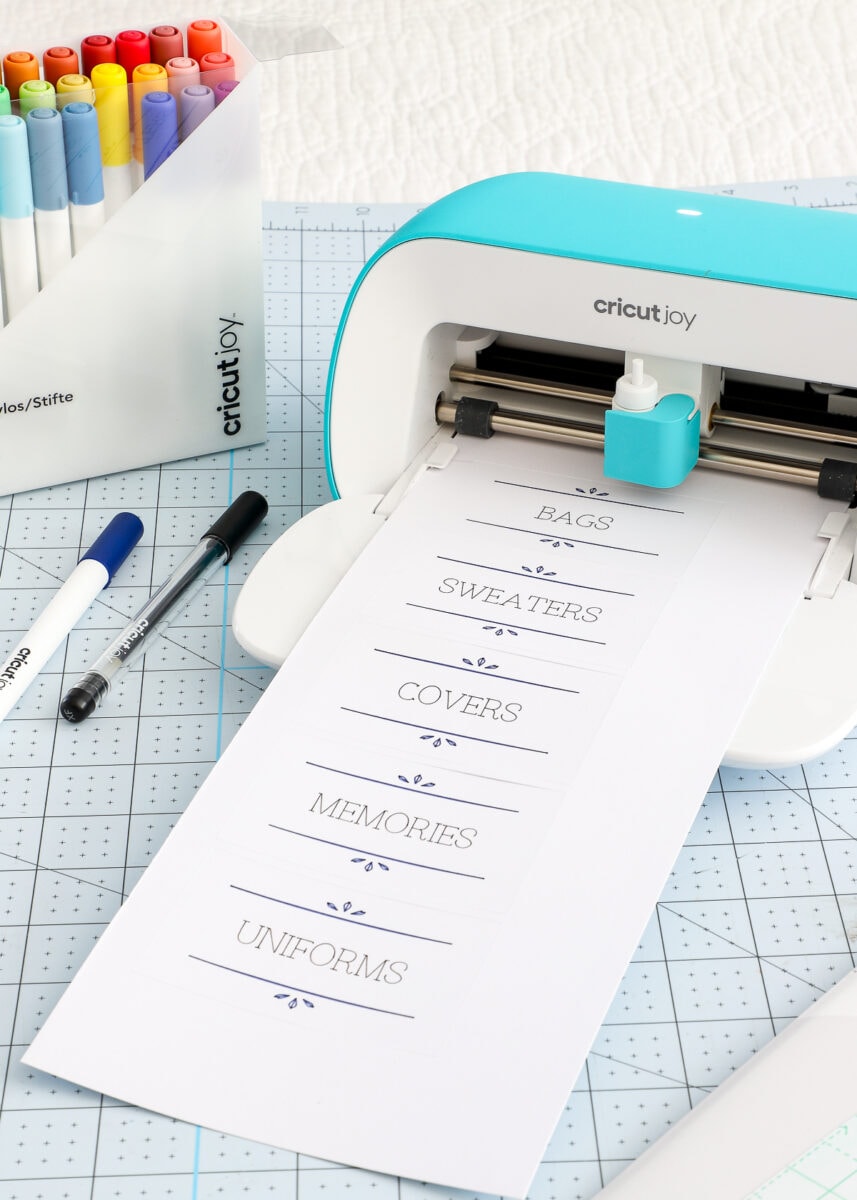
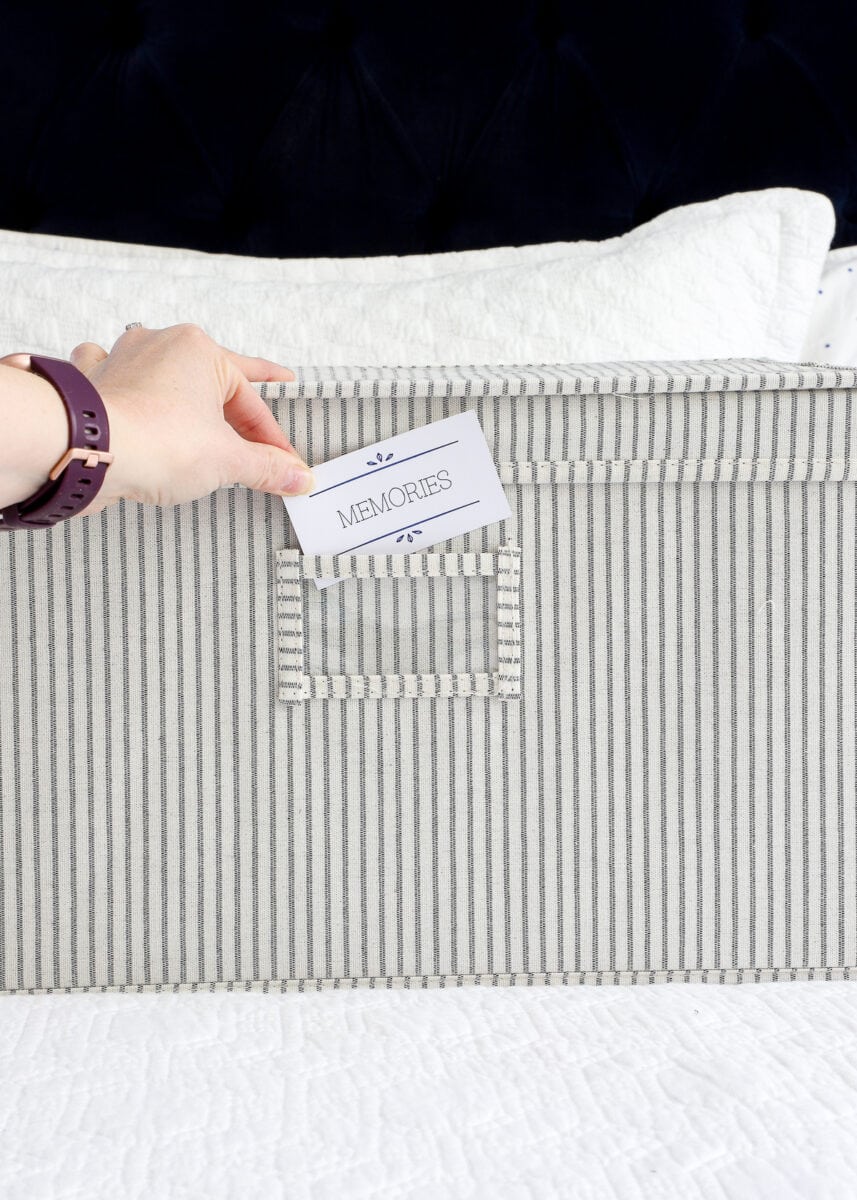
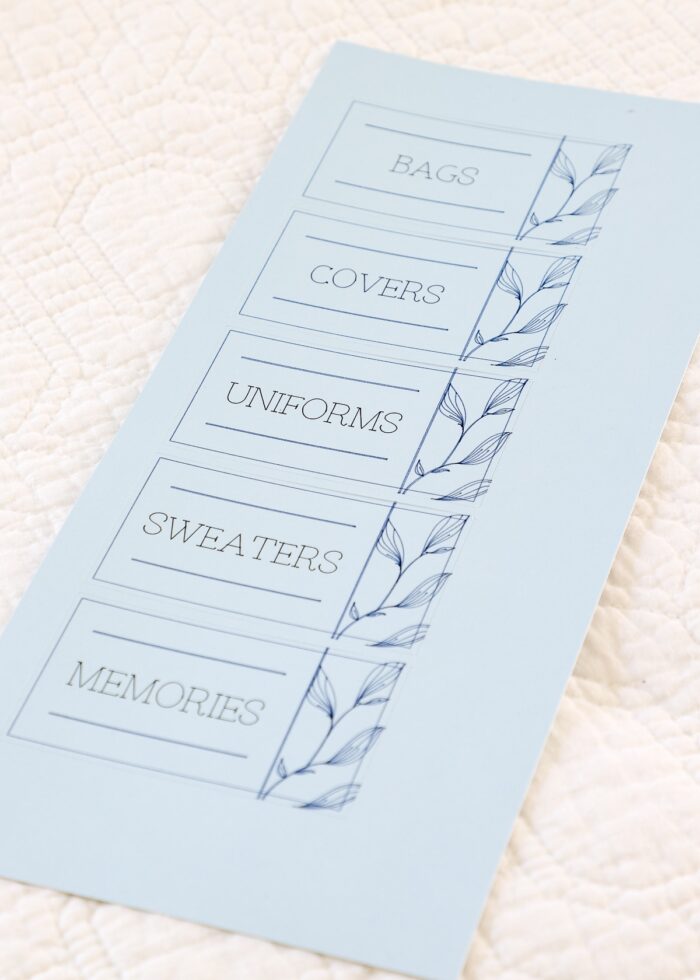
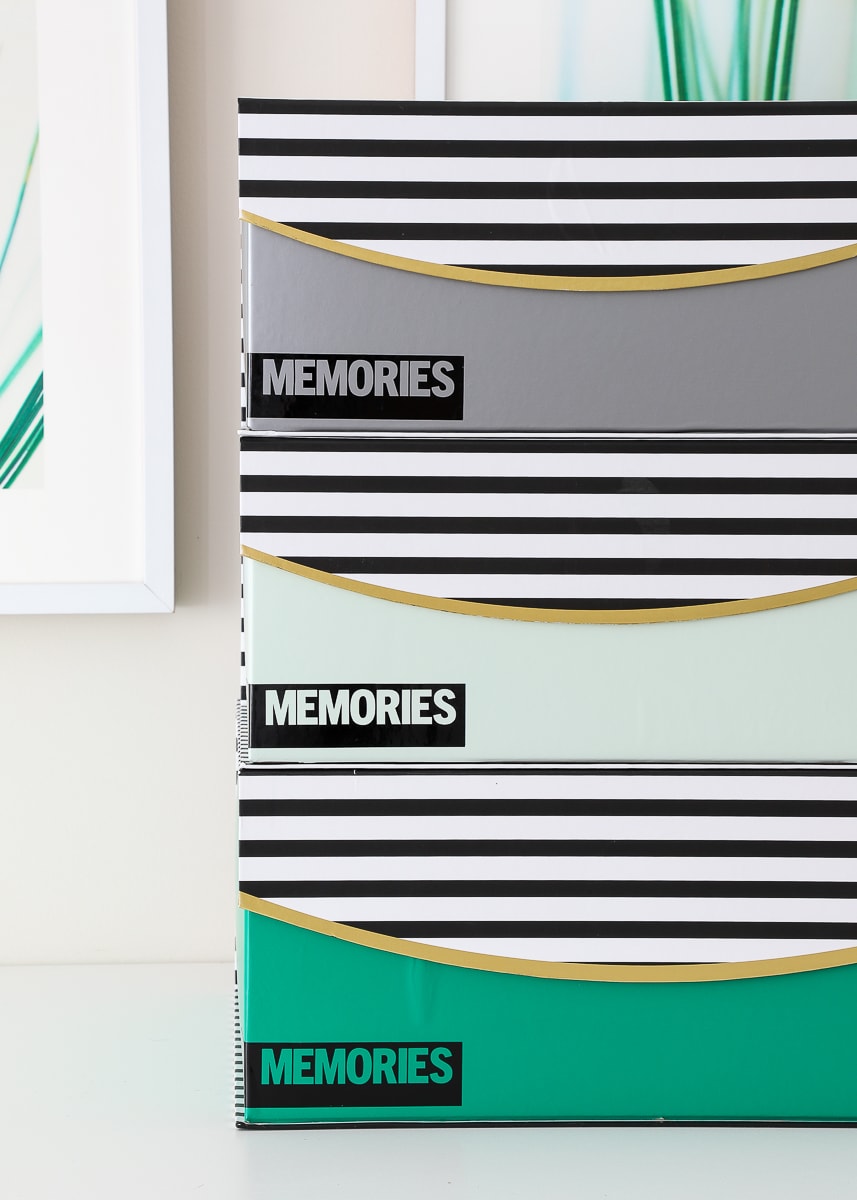
It is best and easiest to see Cricut Joy App in action. Here’s my exact screencast as I made labels for these memory boxes.
How to Make Labels with the Cricut Joy App
Admittedly, when I first opened and started playing with the Cricut Joy App, I was a bit frustrated. It was actually so basic that I couldn’t do a lot of the “specialty” design functions I’m used to doing in Cricut Design Space.
But then it occurred to me that that is the point. I often spend waaaaay too much time designing my labels (or any project for that matter), which usually distracts me from the organizing task at hand.
Want to save this post?
By using the Cricut Joy App, the design work is done for me, so I can get my labels made and back to organizing.
Whether you’re making labels for spice jars or the kitchen pantry, the playroom or electronics cords, you’ll love this easy and intuitive process!
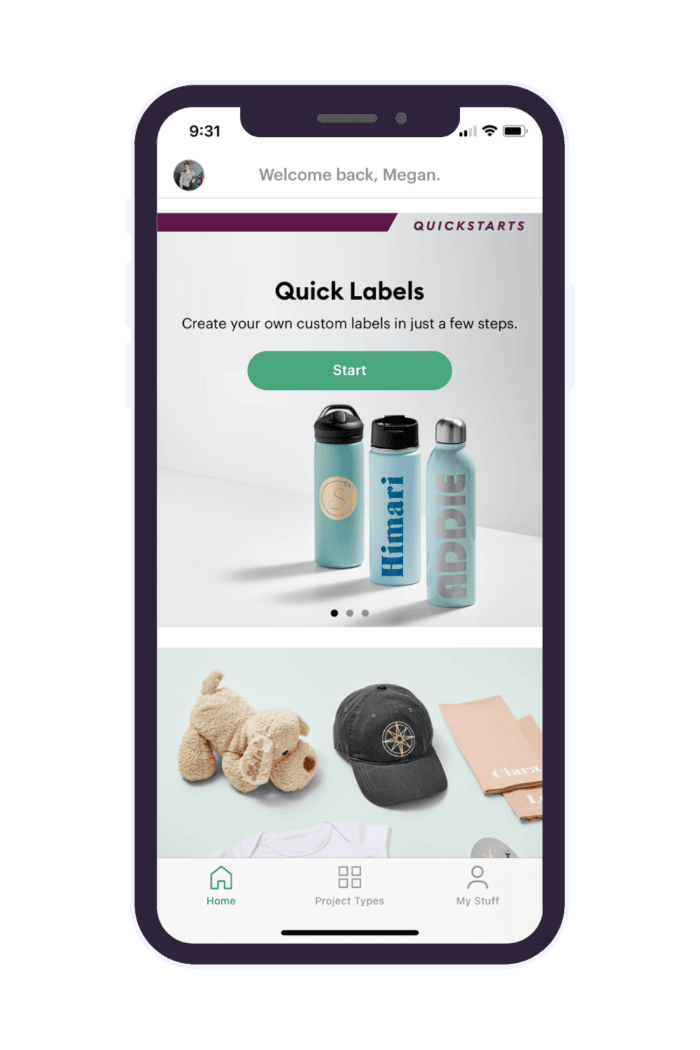
Step 2 – Select “Quick Labels”
As mentioned above, the app includes quick projects for vinyl decals, iron-on designs, cards, etc. But to use the nifty label maker built into the Cricut Joy App, select “Quick Labels” from the welcome screen.
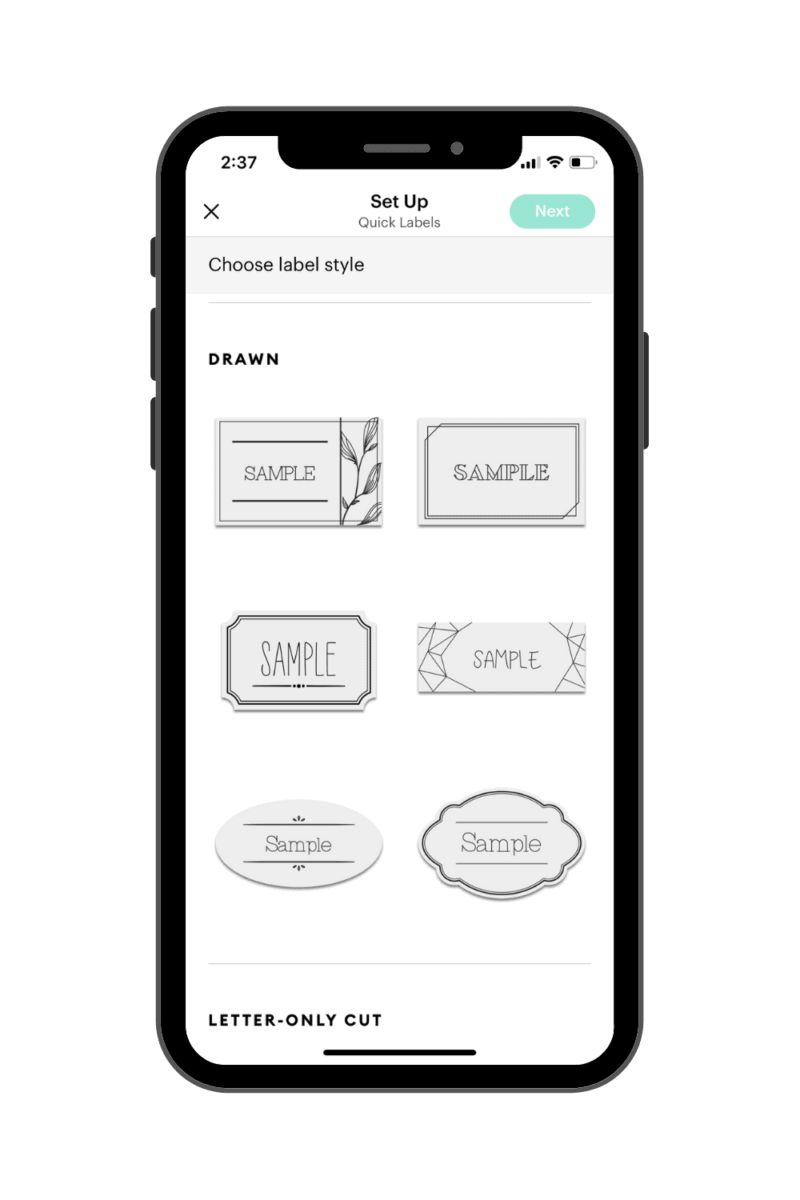
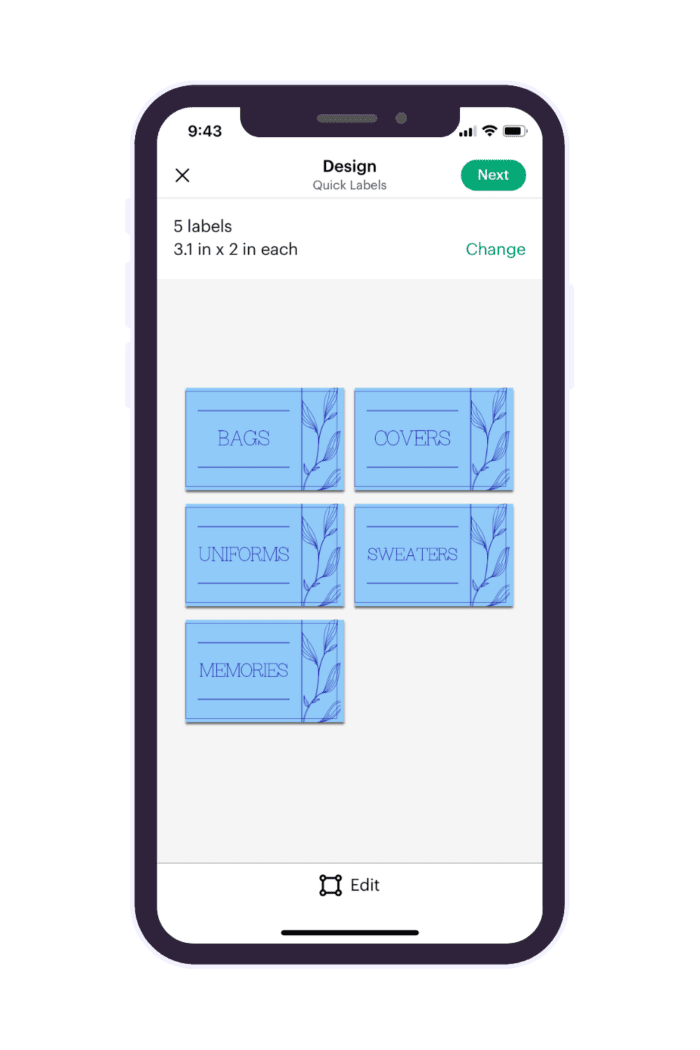
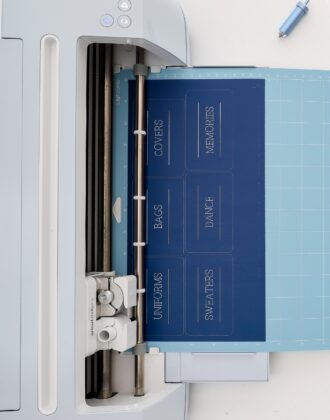
Step 3 – Choose Your Label Design
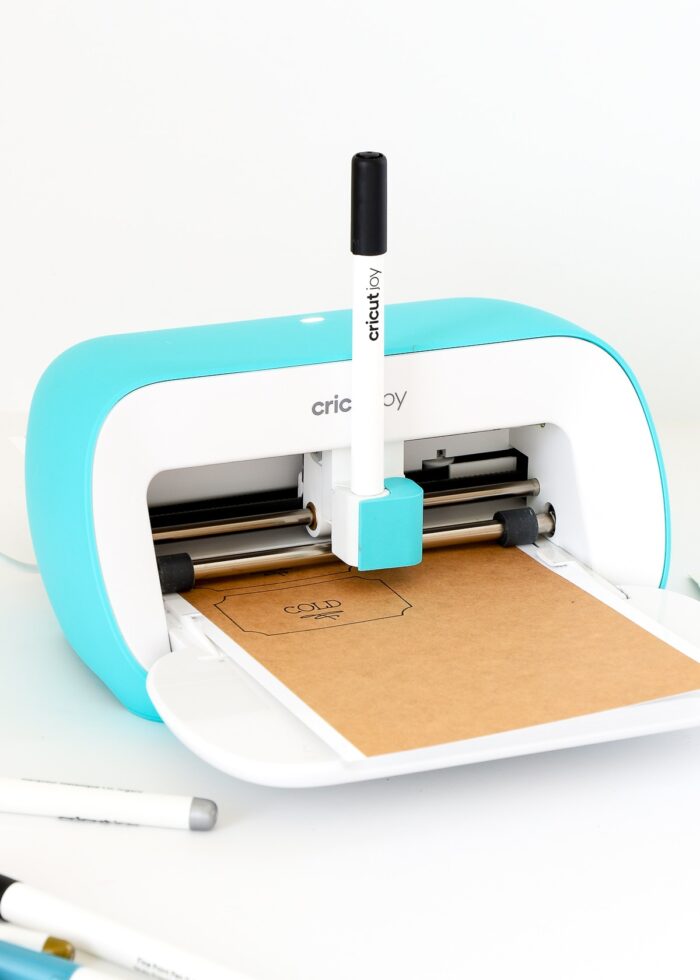
The Cricut Joy “Quick Labels” tool features 24 professionally designed label styles, including both “cutout” designs (made with blade+material), as well as “drawn” designs (made with pen+blade+material).
Based on your container and the aesthetic you’re going for, select the label design you want to use.
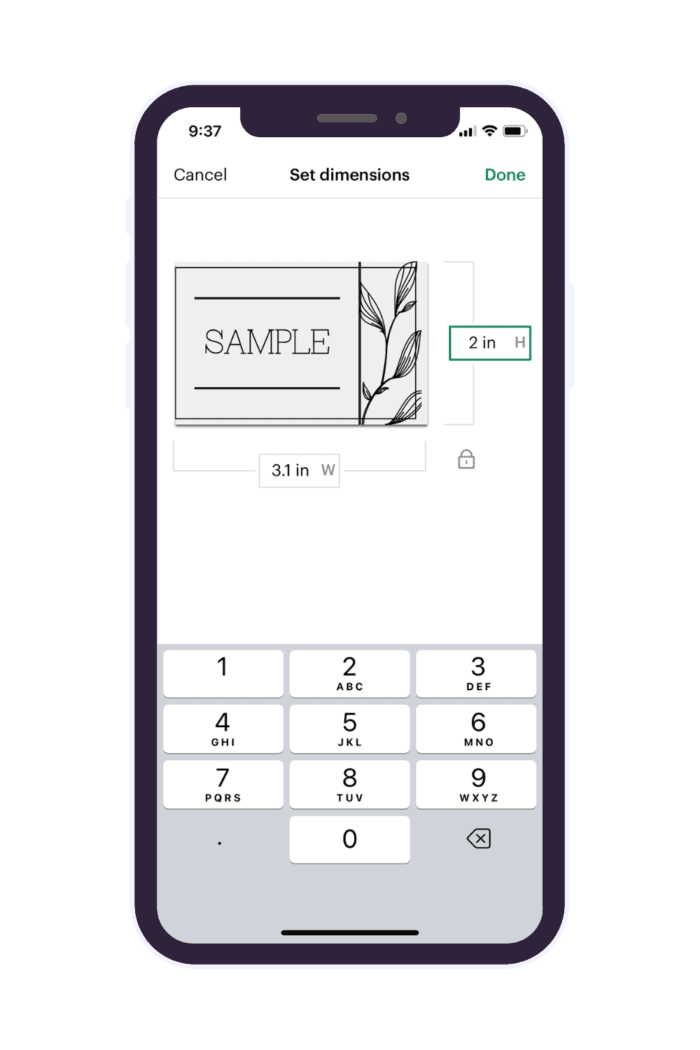
Step 4 – Customize Label Size
After selecting your label design, type in the dimensions needed for your bin or basket. You can type in any size within the Cricut Joy dimensions (4.5″ wide x 48″ long) and even unlock/lock the proportions as needed.
By setting the size at the start, you’ll end up with a set of labels all the same size/design no matter how long your text is.
Step 5 – Add Label Text
One of my absolute favorite things about making labels with the Cricut Joy App is that there is no need to fuss with text boxes, sizing, spacing etc. You simply type your label names…all at once…into the “Enter Text” feature:
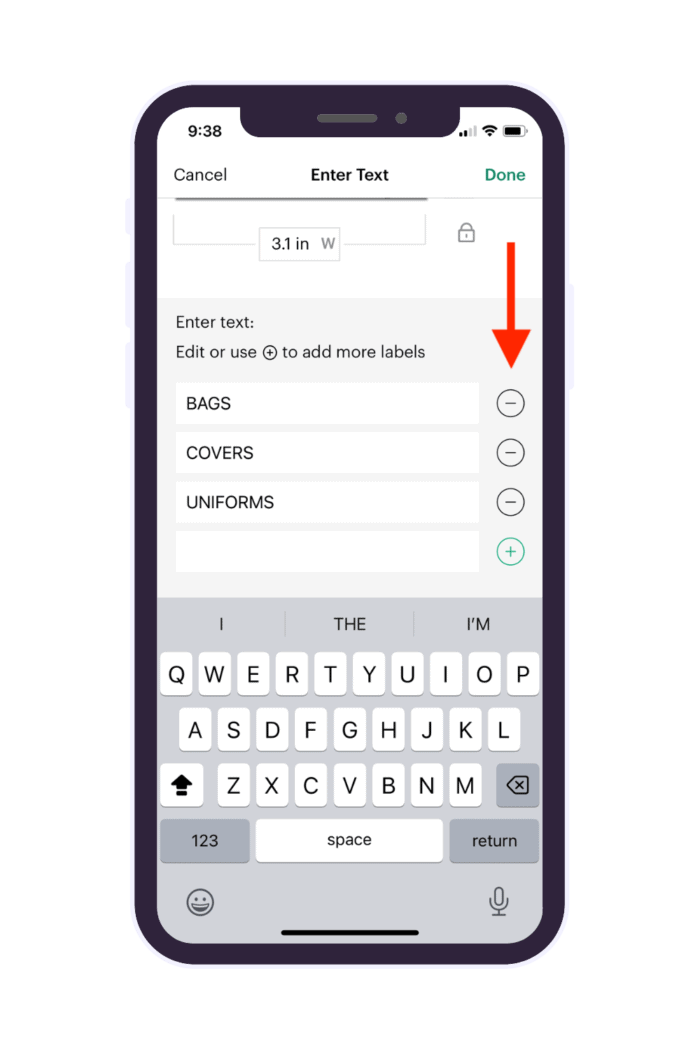
…and the app perfectly populates each label for you! (Best thing ever!)
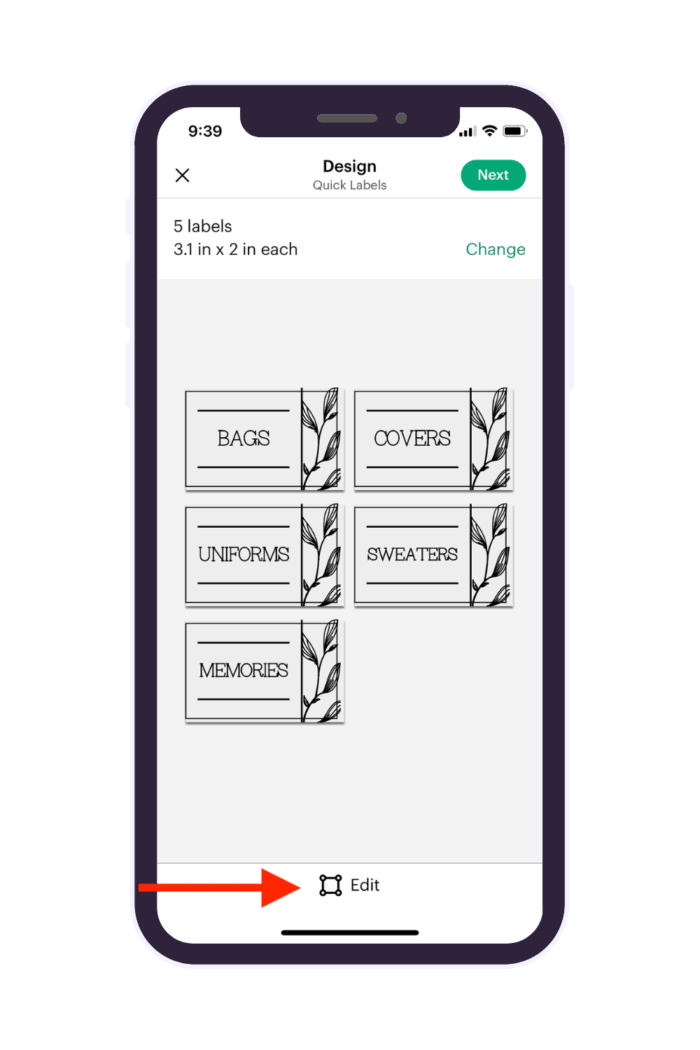
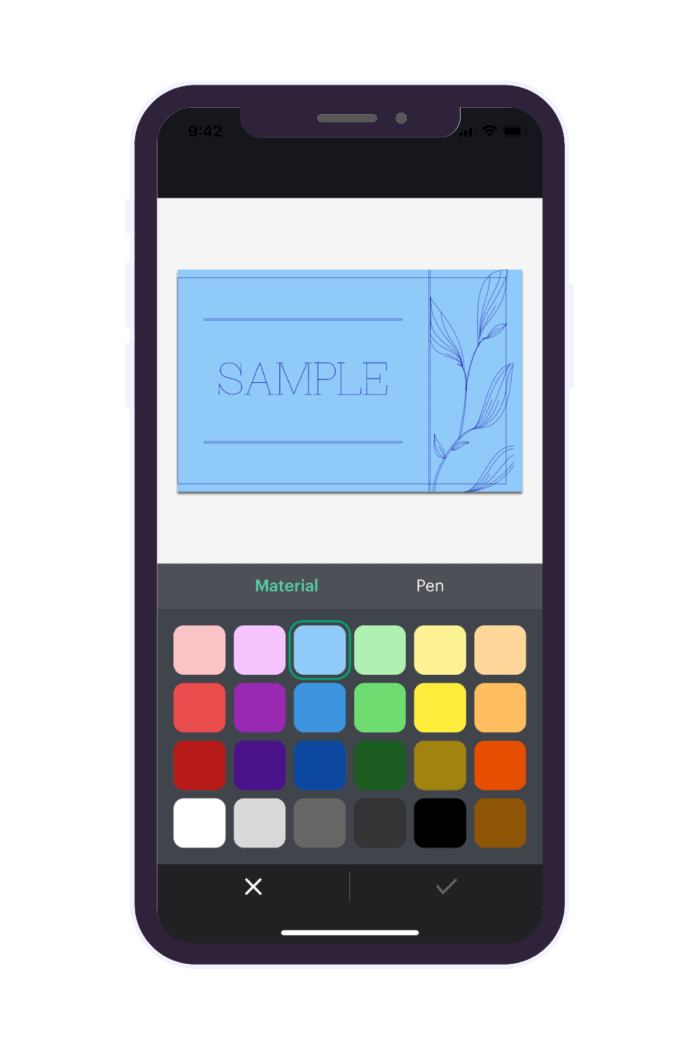
Step 6 – Edit Labels As Needed
If desired, you can edit colors (material or pen) or font styles within the app using the Edit button on the bottom of the preview screen. This is a great way to preview how the finished labels will look.
Once you are satisfied with your choices, you can send the labels to your Cricut Joy!
NOTE: At this time, there is no way to assign details to be made with the Cricut Joy Foil Transfer Kit on “Quick Label” projects. If you want foil accents on your labels, you will need to create the labels from scratch.
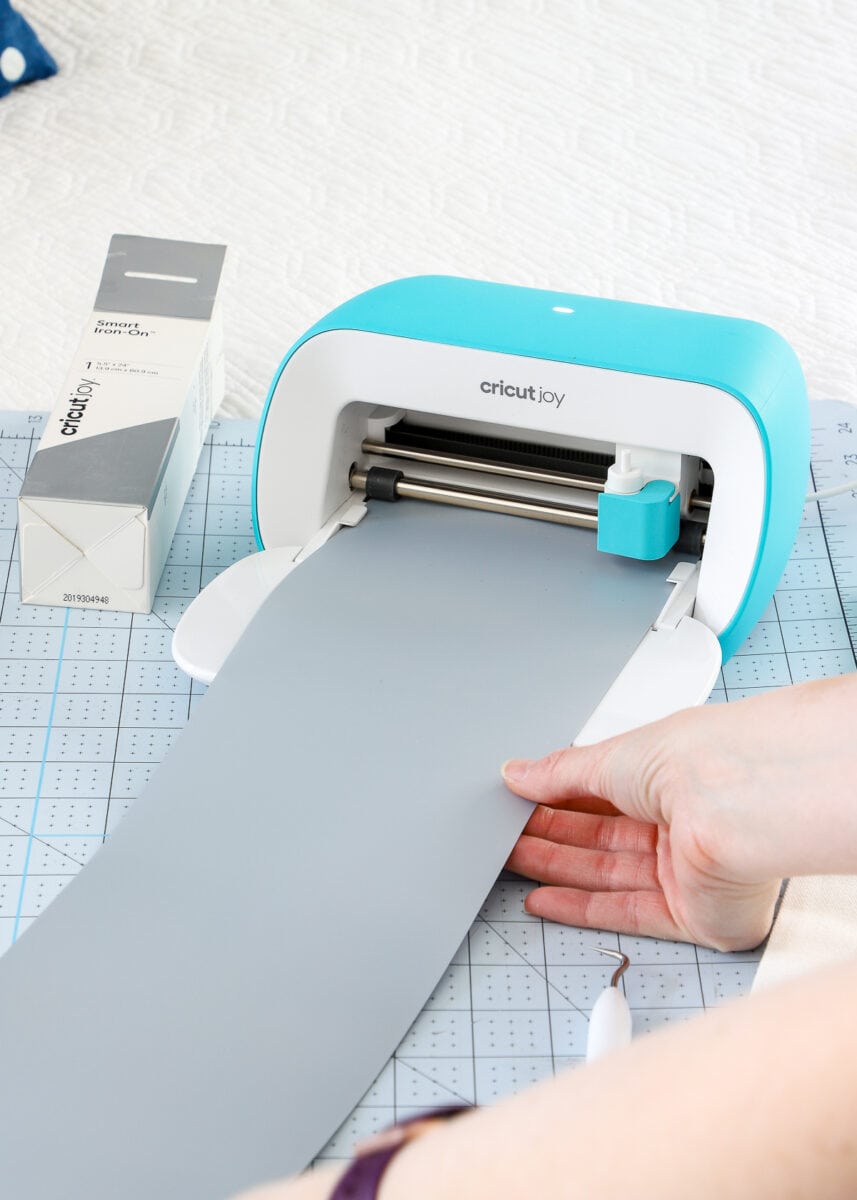
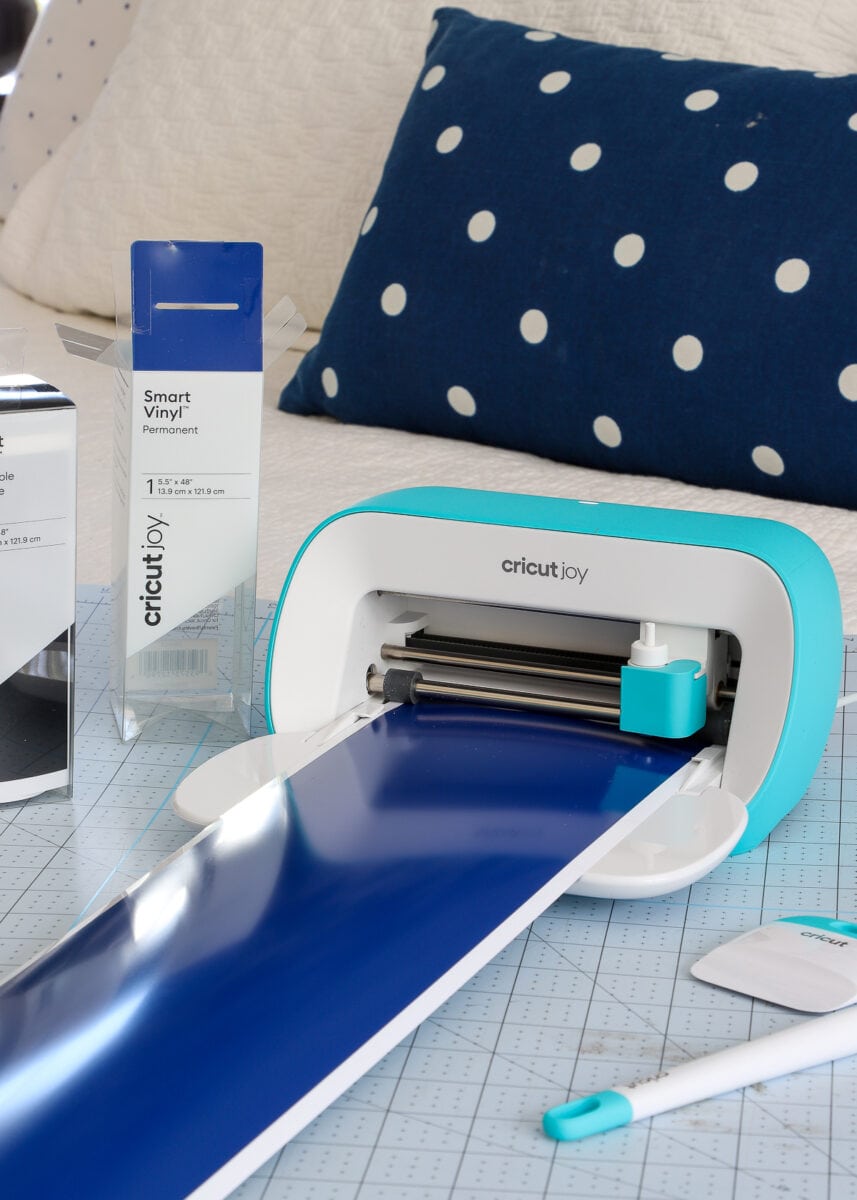
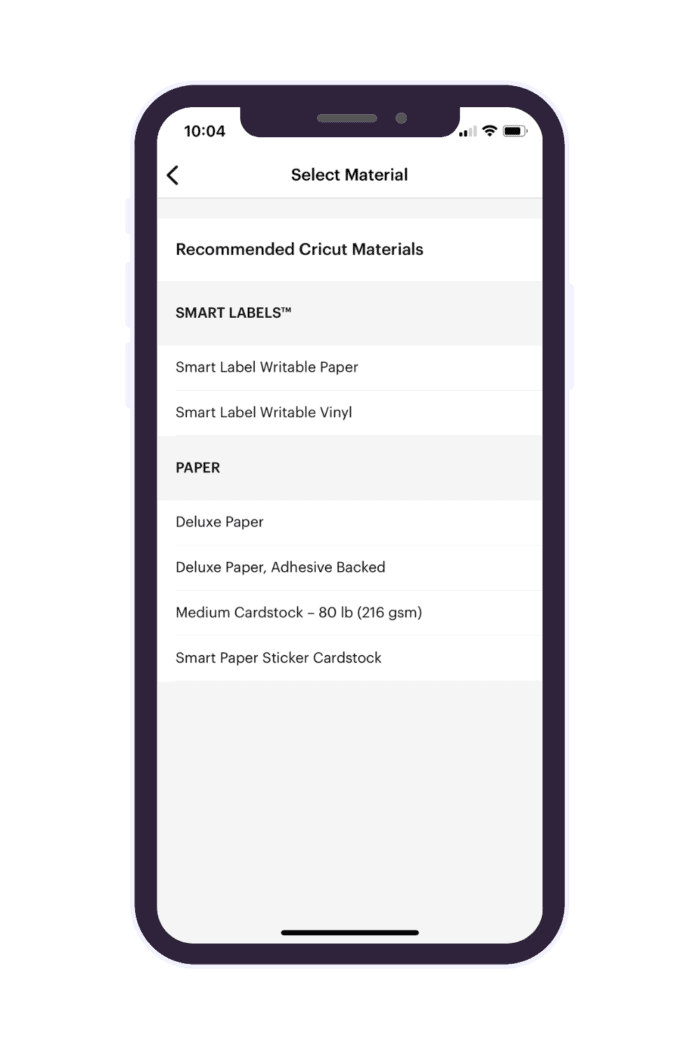
Step 7 – Select Your Material
Based on whether your labels are “cut only” or include a drawn feature with the pens, the Cricut Joy App will pre-populate the available materials. Simply choose the material you’ll be using for your project (popular materials include Smart Vinyl, Smart Label, Smart Paper Sticker Cardstock, etc), and the app will figure out the rest (e.g., how much material you need, if you need a cutting mat or not, etc).
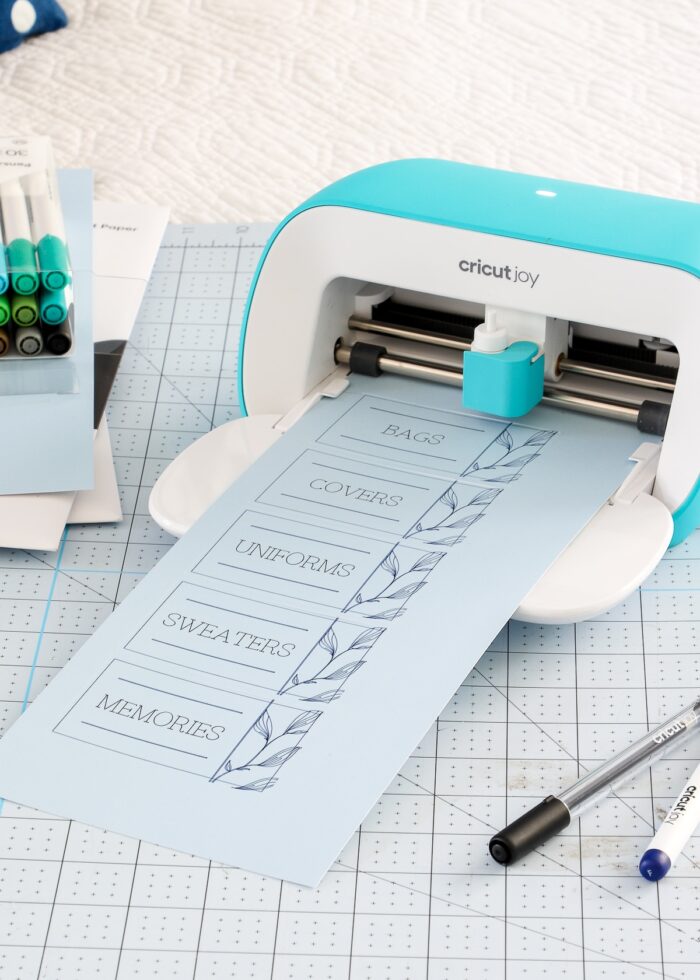
Step 8 – Let Cricut Joy Make the Labels
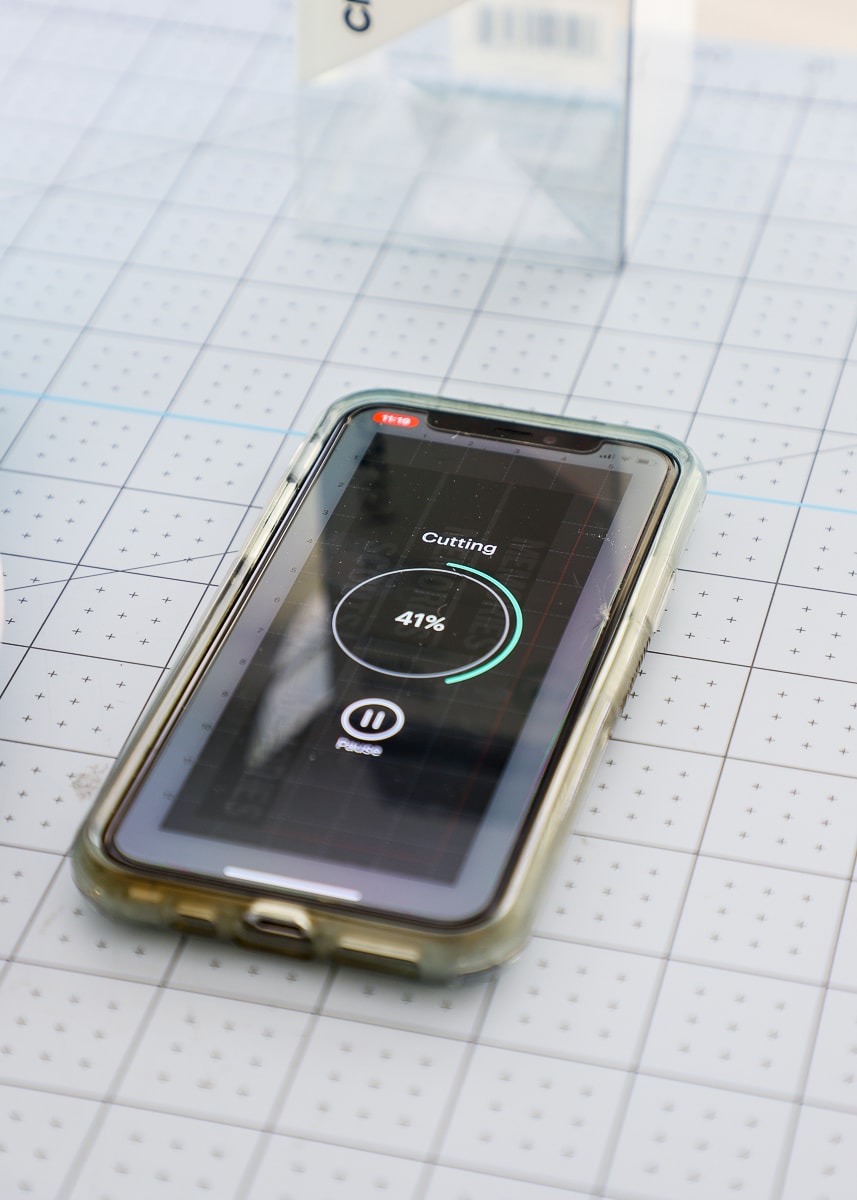
When you click the green “Make It” button to send your labels to the machine, the Cricut Joy App will provide very visual, step-by-step instructions. This means you don’t need to remember what comes next or refer back to my blog posts for what to do.
Just follow the in-app screen prompts for loading tools/pens into the housing, feeding materials into the machine, cut progress, and more!
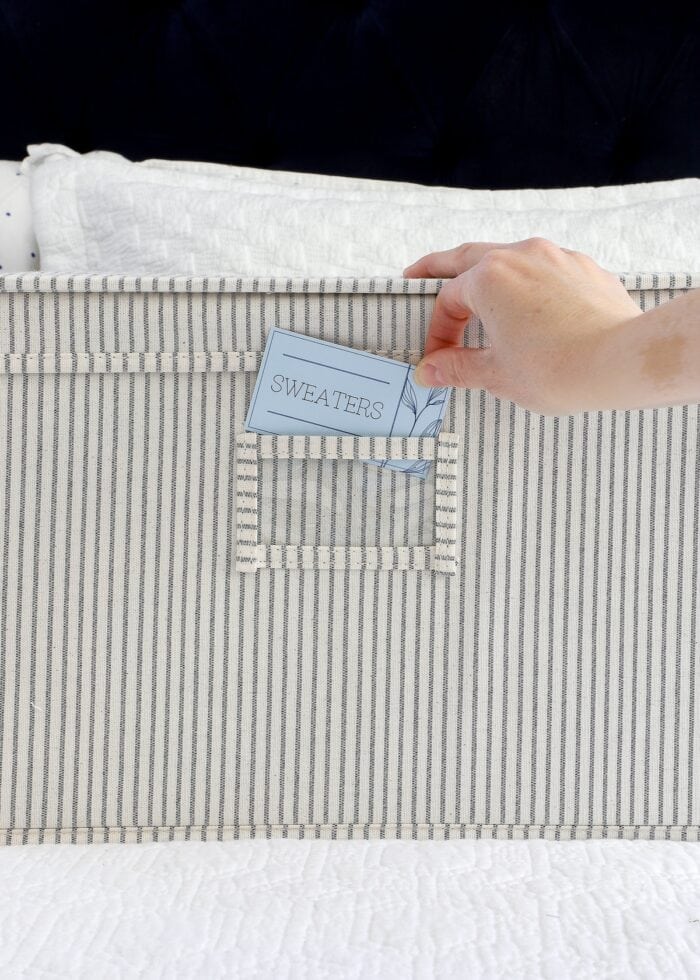
Step 8 – Finish the Labels
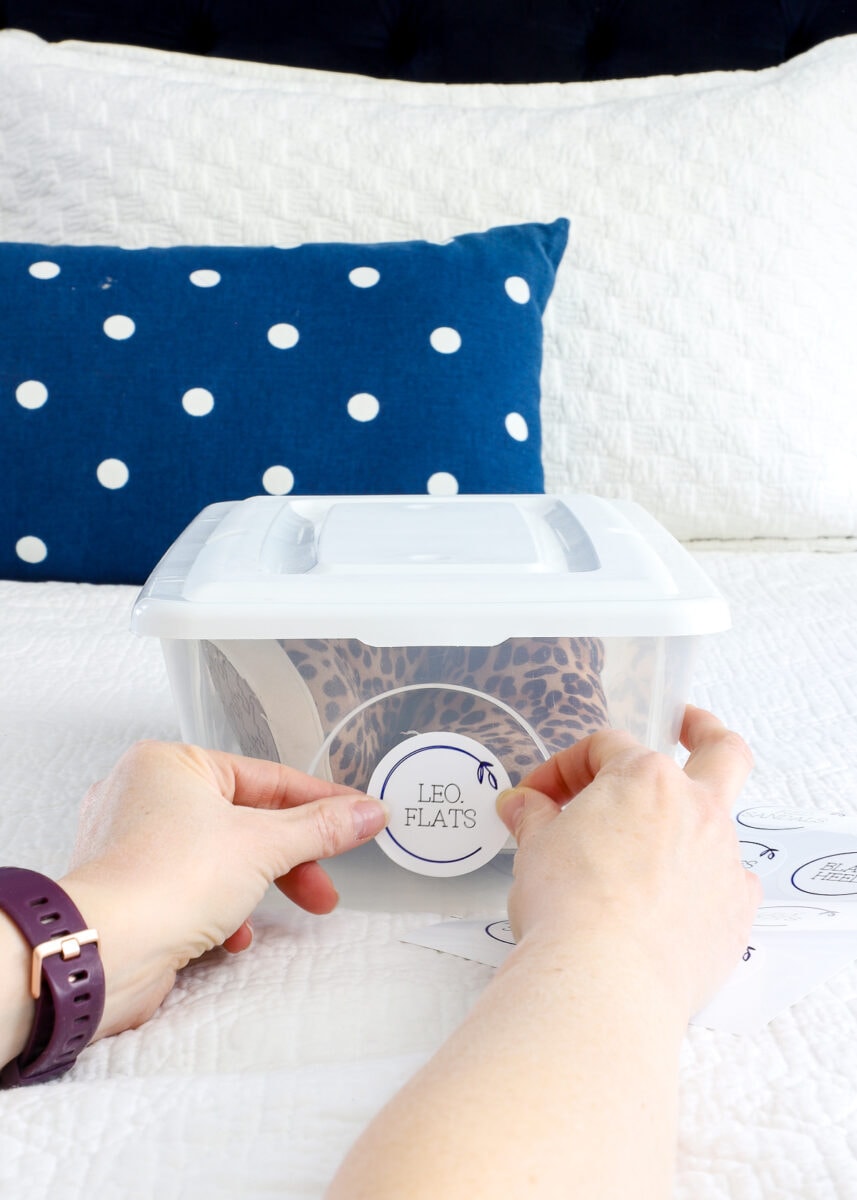
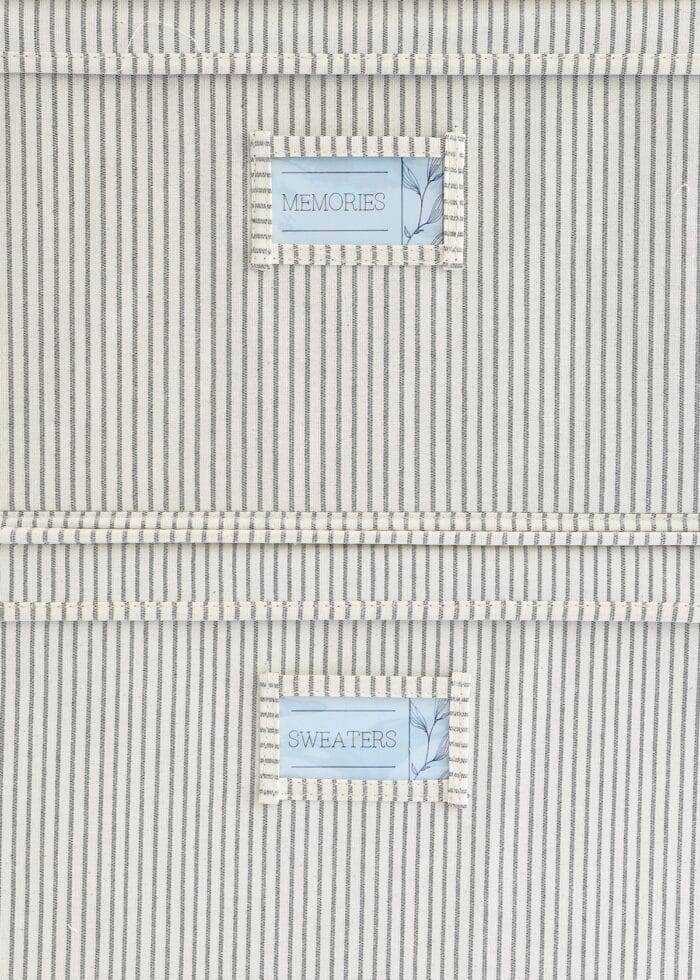
Finally, once the machine is done cutting, the Cricut Joy App will provide you with step-by-step assembly instructions for applying your finished labels to your projects.
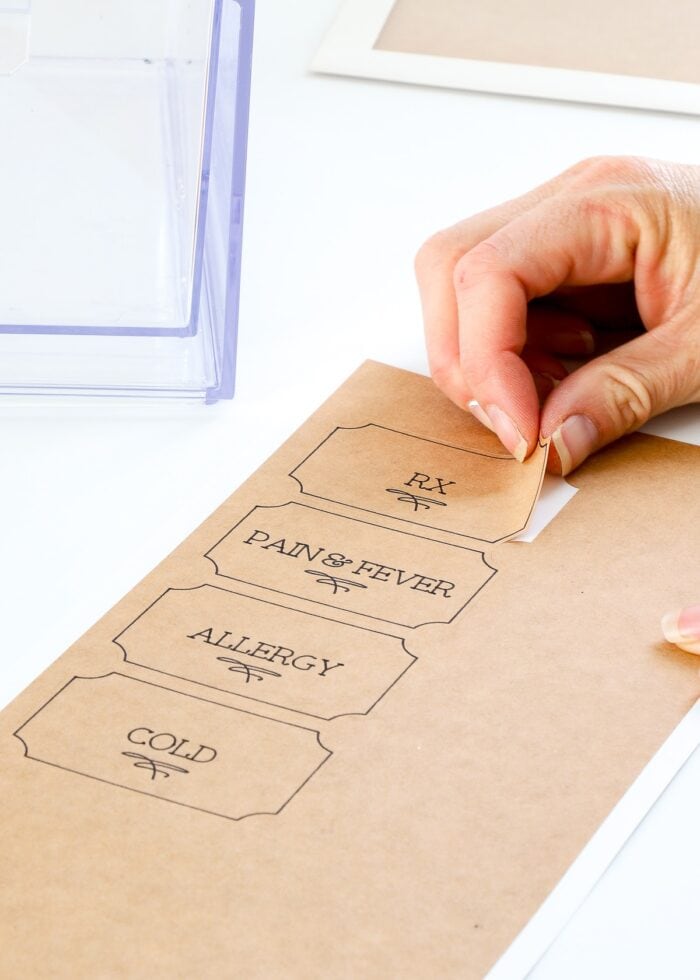
Paper Labels
If your labels are made out out of paper (either a cutout or with the Cricut Joy Pens), this will likely mean removing them from the mat (or paper backing) and loading into a label holder.
Vinyl Labels
If you make labels with vinyl, you will need to use a weeding tool to prep the labels and then move the labels to your final container with transfer tape. If you need help with this, learn more here: How to Make Vinyl Labels with a Cricut | A Comprehensive Guide
More Cricut Joy Tutorials
Crafting and labeling with your Cricut Joy is SO much fun! Be sure to check out these other great tutorials:
- How to Make Labels with Cricut Joy
- How to Make Cards on Cricut Joy
- 2 Easy Ways to Make a Custom Sticker with Cricut Joy
- How to Address Envelopes with Cricut Joy
- Playroom Labels with Cricut Joy
- Return Address Labels with Cricut Joy
- How to Cut Smart Stencil with Cricut Joy
When I first tried the Cricut Joy App, I was super frustrated that I couldn’t make anything “fancy,” so I sort of discounted it. Then, when I just needed some labeling projects done and off my To Do List, I gave it another go and was beyond smitten with its smooth, simple functionality. (And more so, how quickly I was done!) It was a good reminder that easy and done is often better than tedious and time-consuming and never done.
So while the Cricut Joy App won’t allow you to make the precise labels of your dreams, it’s a handy gadget to just get some labels made…and some pretty ones at that! If you are a professional organizer, teacher, or just a perfectionist designer, I highly encourage you to give the Cricut Joy’s companion app a try on your next labeling project…I’m pretty sure you’ll love it too!
Megan
4 Comments on “How to Use the Cricut Joy App to Make Labels…FAST!”
Hi Megan,
Thank you for sharing this. It is going to be exciting to use this new Cricut Joy app. I’ve been putting off making labels in my new pantry nearly a year ago because it seams so time consuming but this new app might be the answer to my procrastination. We’ll see what happens next. At least I’ve downloaded the app on my Smart phone. Hahaha. That’s a start. :o)
Thank you so much for. this great information. I learn more from you about Cricut Joy and what you can do with it than I ever do from Cricut themselves!
It looks like this app no longer exists. Do you have any others that would be good for the Cricut Joy for beginners
Hi Megan,
I am new to this exciting adventure and yes a bit overwhelmed.
I need to do some labels with my grand daughters name in them and when I make them, the machine cuts out the text. I actually want the label around the text cut only and not the text.