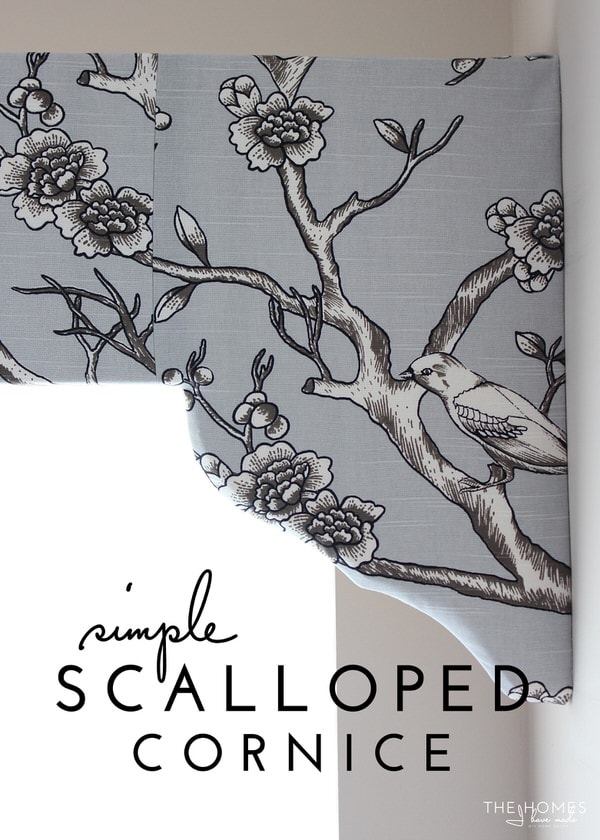
How to Make a Simple Window Cornice With Scalloped Edges
I’ve been tied up with a bunch of seasonal and free-lance assignments and small crafts lately, that it feels like forever since I’ve made some progress on the house. There are quite a few projects I am eager to get done and even have everything to make them happen…it’s just a matter of deciding to do it and carving out the few hours to make it happen! This past weekend, I was bound and determined to knock out a simple project I’ve been wanting to do in our master bathroom. I am thrilled with the result and how easy it was…and I think you guys will like it too!
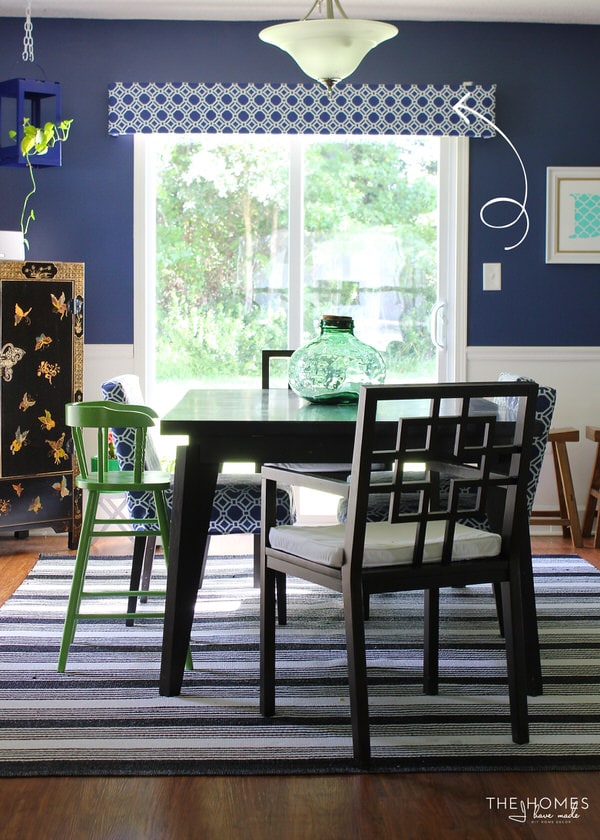
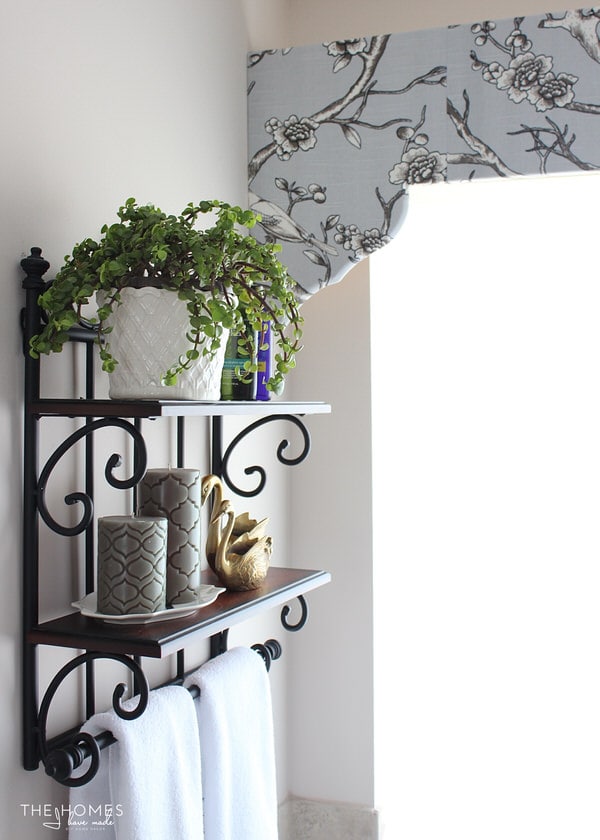
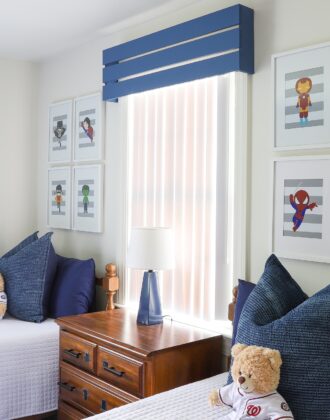
Just a quick re-cap since it’s been a little while…Here is our current master bedroom: a large and well-lit space that I’m outfitting with a palette of navy, white and grey with silver/chrome accents.
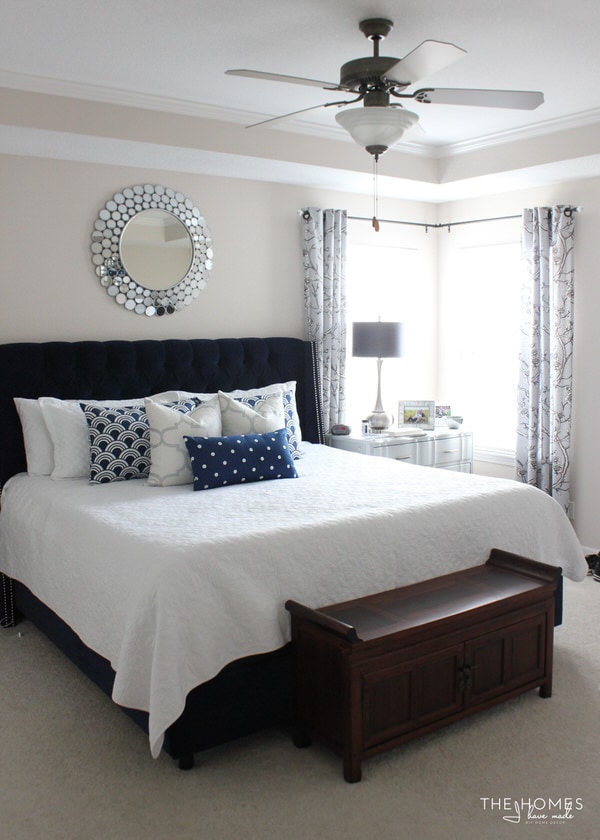
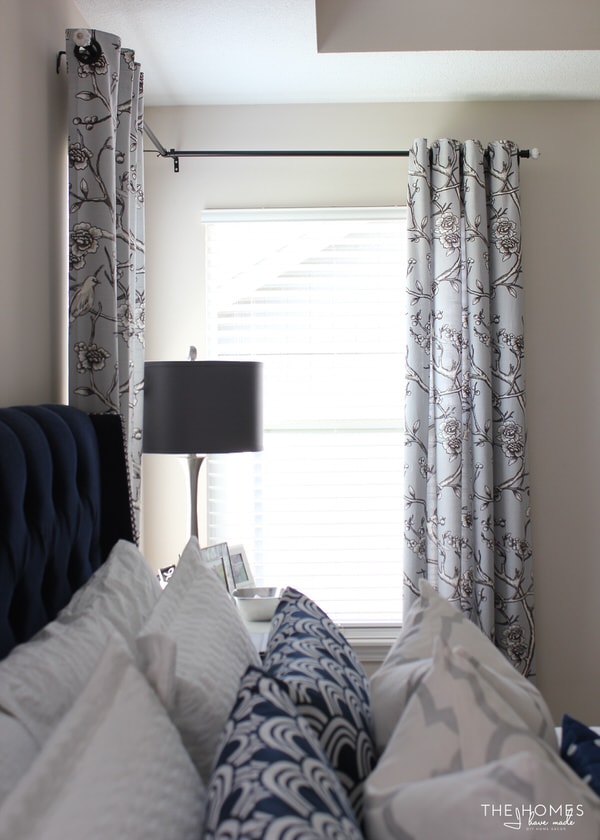
One of my favorite elements in our bedroom are the grey floral curtains…which actually used to hang in our bathroom in our last house!
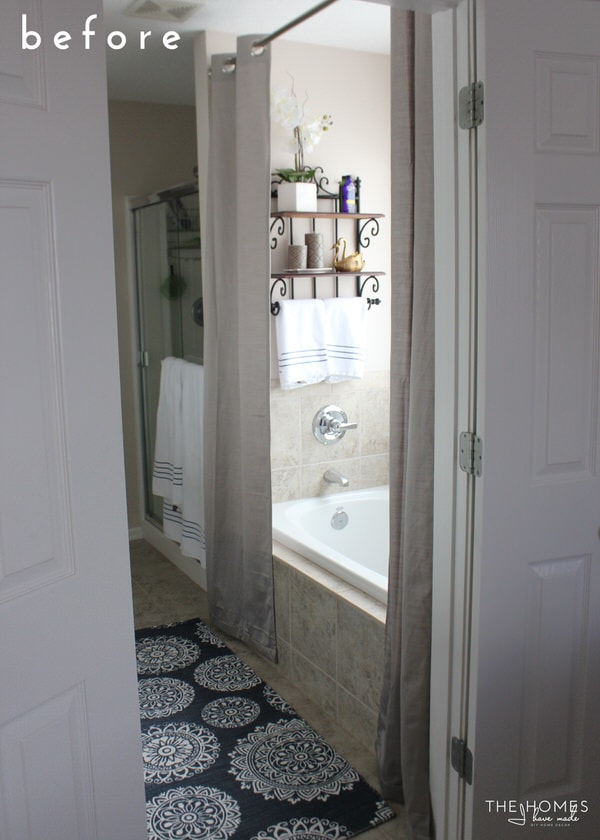
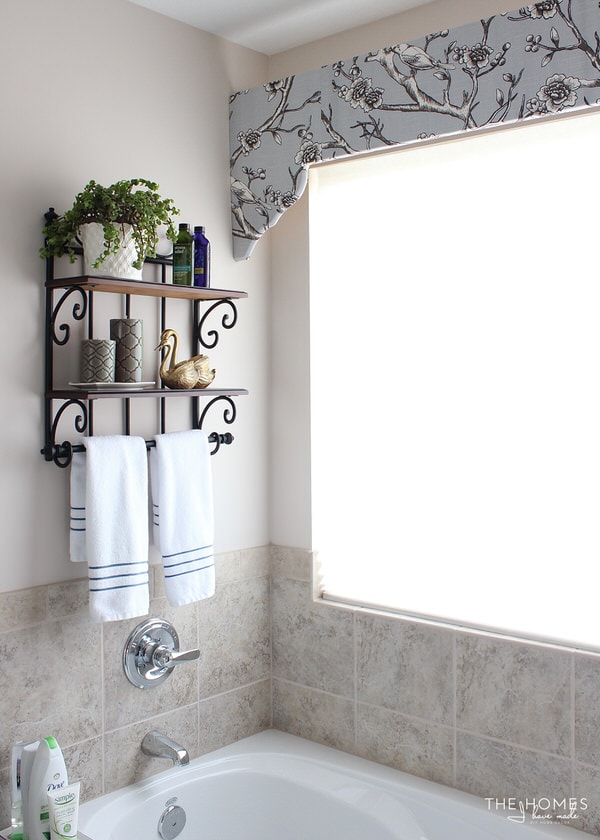
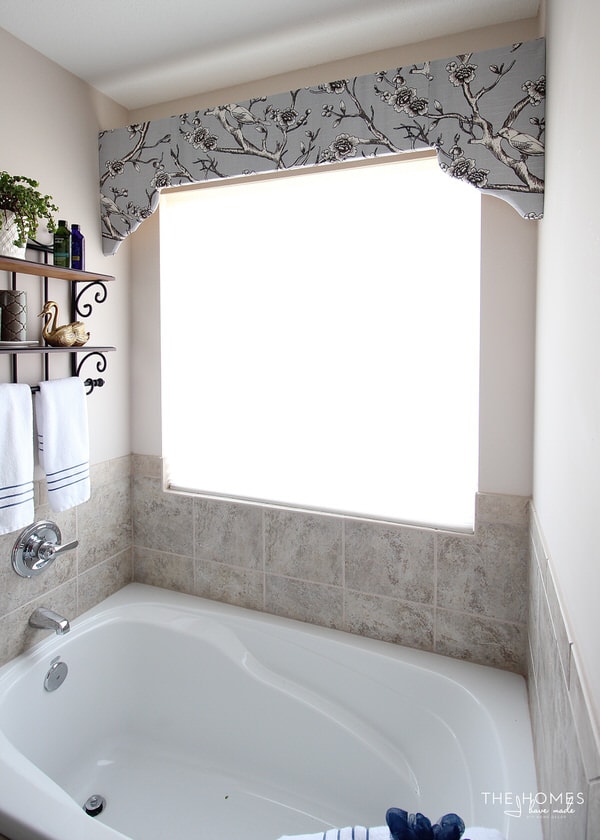
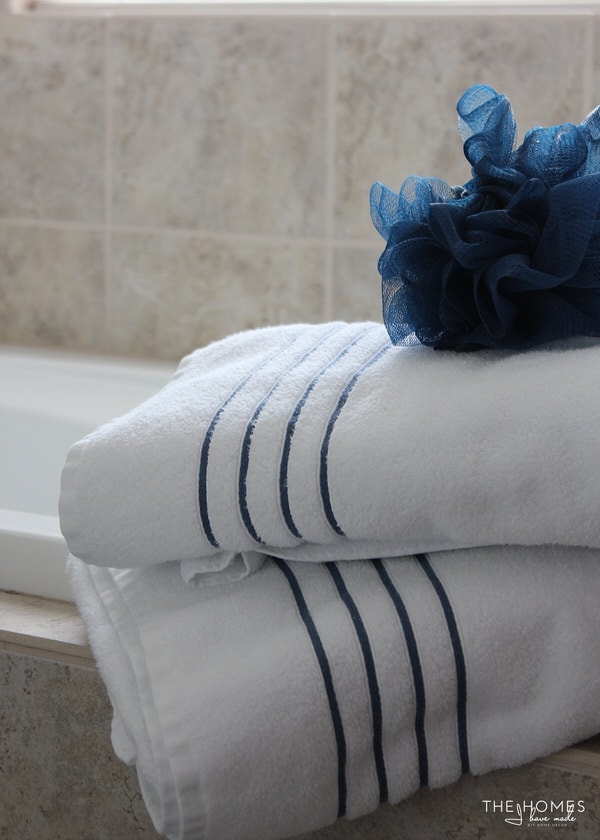
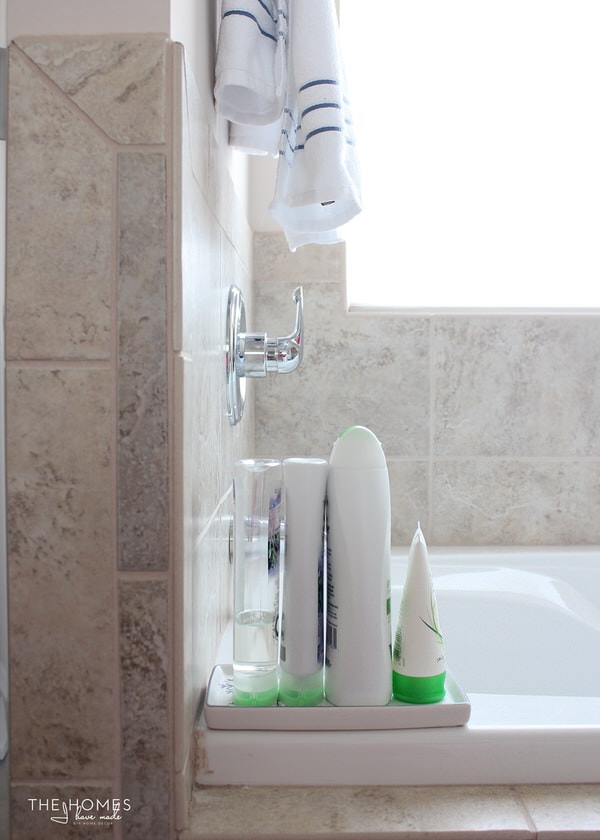
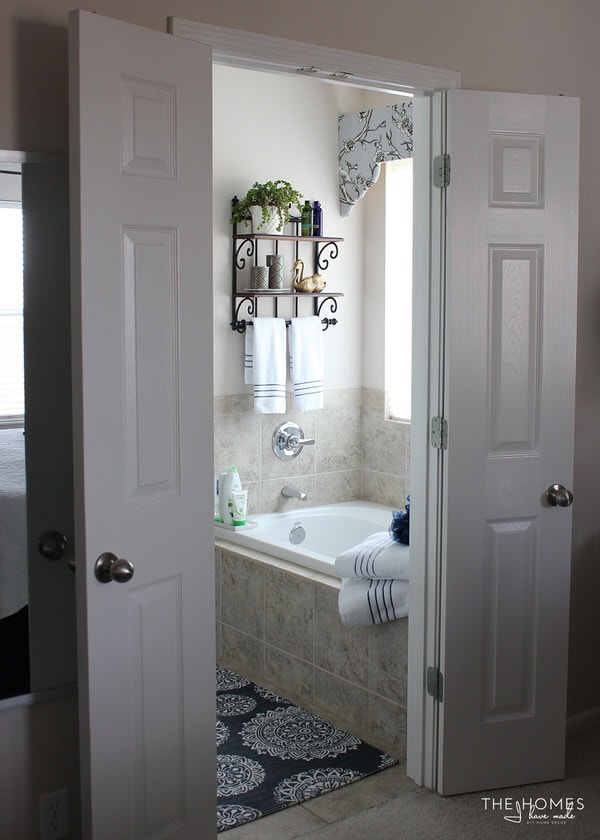
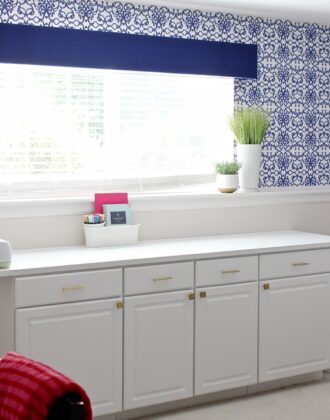
In the adjoining master bathroom, we have a nice spacious layout featuring separate tub, shower, and toilet areas…and a nice large that allows in nice and bright light all day long! The last you saw this space on our Three-Months In Home Tour, I had some curtains hanging in front of the tub on a tension rod. However, I never really liked this solution…it felt fussy and blocked the great light from the window and the clean lines of the tub.
A few months ago, I made the case for putting up window treatments…even in a rental…even for a short period of time…even in the bathroom! To me, nothing else can finish off a space as quickly and easily as a simple curtain or valance; they just provide a lot of bang for so little buck! In here, the long curtains really weren’t doing it for me, so I determined something much more tailored would be a better solution. Also, I really wanted to connect the bathroom to the adjoining bedroom by using up a remnant of the bird fabric I had leftover from making the curtains.
After picking up a few small supplies and a few hours of my time, I had a lovely scalloped cornice that worked much better in the tub nook!
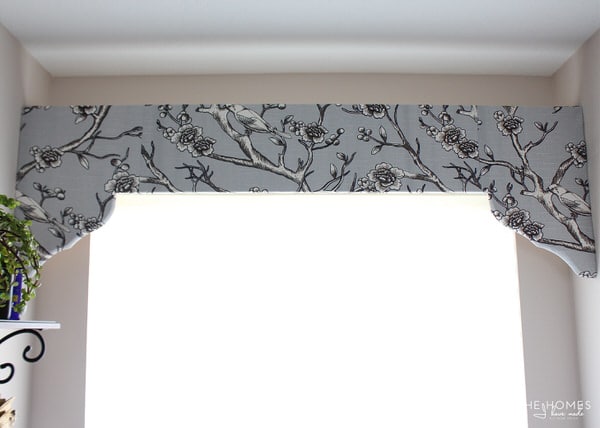
Admittedly, so many of my projects are simply born out of a desire to use items from our last home(s), or more specifically…get them out of the garage! Did my bathroom need a window treatment? Certainly not. But I hate piles of things out in our garage, I love projects, and I love repurposing items and finding new homes for them…so projects like this one are a win win win! Since moving in, I’ve found a home for three of the four cornice boxes that used to be in our last home. I had one more sitting in the garage; and with a little bit of tweaking, I knew the master bathroom would be the perfect spot for it!
In addition to the assembled cornice from our garage and the fabric and batting I had on hand, I also picked up two basic wood shelf brackets, as well as four metal strips (which I only used two of!). In total, this little project cost me about $12 and two hours!
How to Make a Simple Window Cornice
(If you’re starting from scratch, here is what you’ll need!)
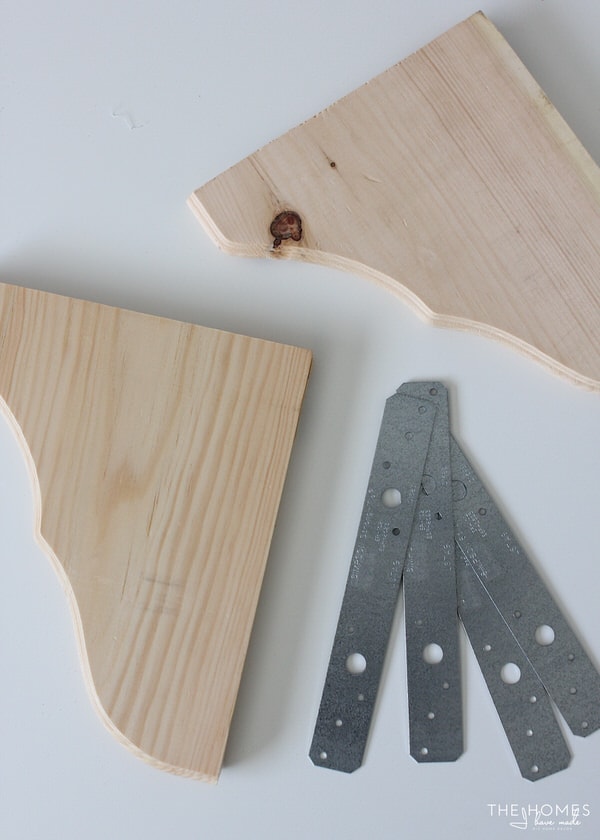
- 1×10 pine board, cut to your desired length (have it cut at the hardware store if you need to!)
- 2 1x4s, cut down to 10″ lengths
- 4 L-brackets
- 2 wood shelf brackets
- 2 metal strips
- Batting (enough to cover the entire board with 2-3 inches extra on each side for wrapping)
- Fabric in the color/pattern of your choice (enough to cover the entire board with 2-3 inches extra on each side for wrapping)
- Wood screws
- Tools: Electric screwdriver
 , staple gun/staples, scissors, sewing machine (only if you need to piece together your fabric), tape measure
 ,
,  /staples, scissors, sewing machine (only if you need to piece together your fabric), tape measure
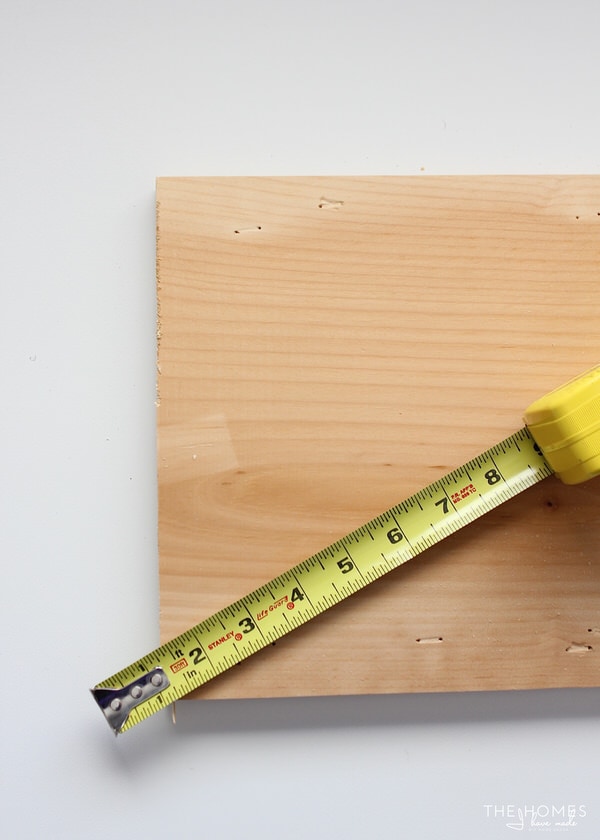
I started by removing the fabric, batting, and all the staples from the original cornice box, then trimmed the wooden board down to a dimension that fit perfectly into the bathtub nook. Note – this is a fantastic project for nooks or spaces with close walls. If you measure your board to fit juuuust right, it will fit snug into the alcove without needing any hanging hardware! Finally, a project that didn’t require me to put more holes in the wall!
If you’re starting from scratch, measure your nook or window and cut the 1×10 board down to that dimension.
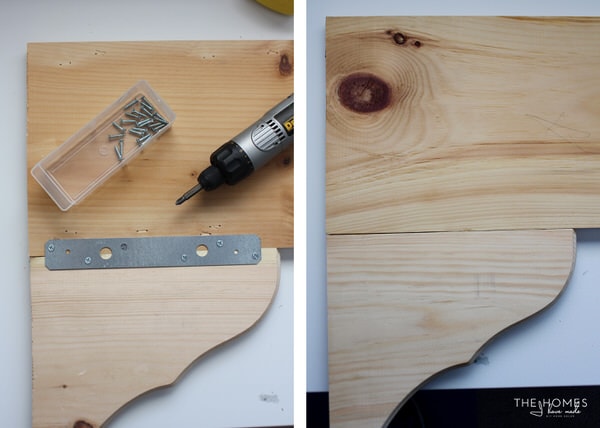
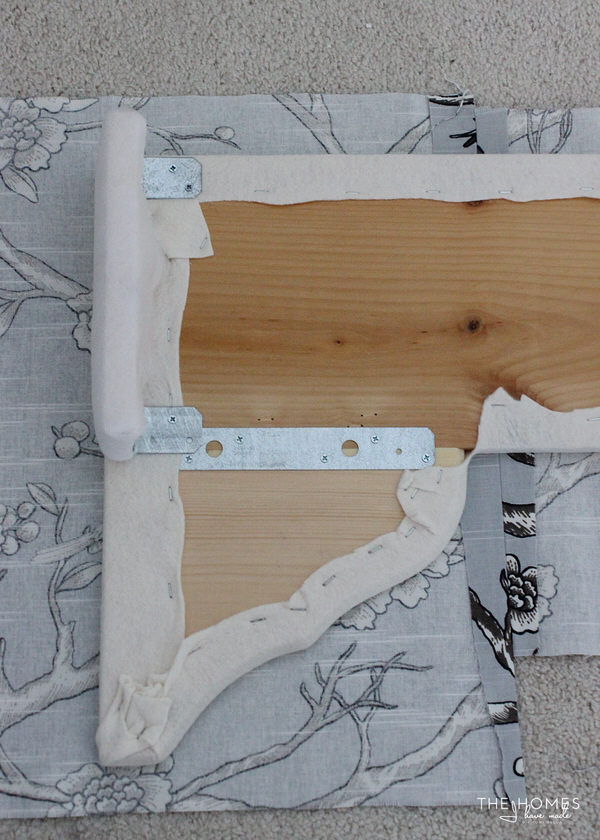
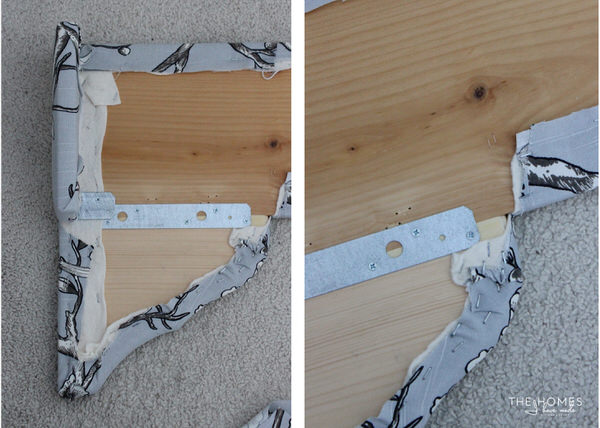
Next, to create the scallop look, simply secure the wood brackets to the 1×10 board using the metal strips and wood screws. I originally planned to secure the brackets on both sides, but determined that strips along just the back were sufficient. Note – if you are handy and have a nice arsenal of tools, you can certainly cut a shape from wood instead of using pre-made brackets. Further, you can attach the bracket to the 1×10 using a jig system. However, if you aren’t the most handy (like me) and want this done pretty quickly and easily, this is a great cheater method 🙂
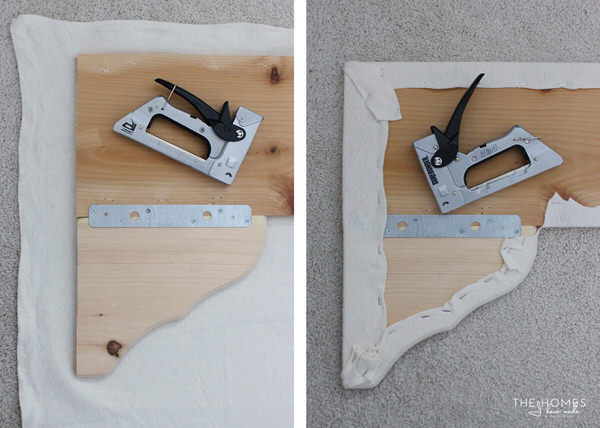
Next, trim a piece of batting down to the size of your board, and place your board right-side-down onto the batting. Trimming as you go, use a staple gun to tightly secure the batting to the board all the way around. Take care to pull the batting taught and use as many staples as you need around the curves and corners.
Want to save this post?
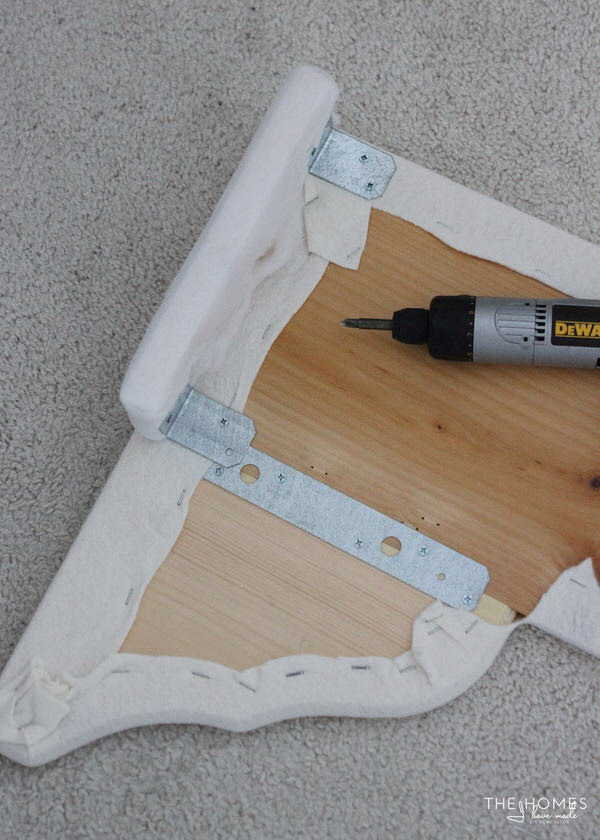
If your board is not going to sit tight into a nook, now is the time to attach some basic 1x4s to each side of the cornice board with L-brackets. Be sure to wrap each one in more batting before securing. I chose to put the side supports back on just in case it didn’t fit tight enough in the nook, and I needed to secure the cornice to the wall.
Next, cut your fabric down to the size of your cornice box, adding about 3″ on each side for wrapping. If your cornice box is longer than your fabric width, you may need to sew several pieces together. Try your best to match the pattern (if you’re using one) and iron everything flat before moving onto the next step!
Once your fabric is prepared, place it right-side-down onto your work surface and then place the cornice board on top, also right-side-down.
Working carefully, wrap the fabric around the board, folding, trimming, and stapling as you go. Admittedly, going around curved edges and sharp corners can be tricky. Take your time, trim the fabric when necessary and use as many staples as you need!
With the cornice wrapped, all that’s left to do is hang it up! If you’re not wedging it into a nook like I did, I recommend using more L-brackets to affix it to the wall. Ours’ took some pretty good nudging, but we finally got it into place…completely hardware free!
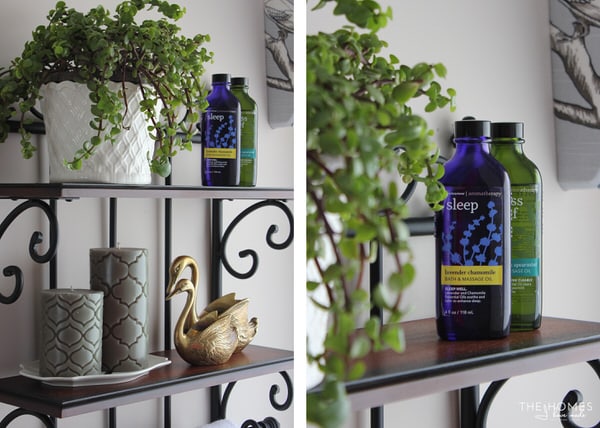
While we’re here, I thought I’d give you a look around the bathroom so far. I have one more project up my sleeve for this space (ahem, that shelf) before I call it done.

Other Great Window DIYs To Try
Looking for other great solutions for your windows? I've got you covered with these other smart DIYs!
- How to Make a Window Valance with Foam Insulation
- How to Sew a Window Valance
- How to Make a Window Valance with Foam Core Board & Wallpaper
- DIY Modern Wood Valance
- DIY Cornice Box with Scalloped Edges
- How to Hem Curtains | A Foolproof Method!
- How to Hem Curtains Without Sewing
- How to Widen Store Bought Curtains | An Easy Fix!
- How to Remove Vertical Blinds
- How to Install Your Own Blinds or Shades
- Roller Shades for Windows (When Curtains Aren’t an Option!)
- How to Hang a Curtain Rod Without Drilling into the Wall
- How to Hang Curtains On Rings (With Perfect Results!)
- How to Hang Curtains In a Corner Window
- How to Completely Cover Up a Perfectly Good Window
- 6 Easy DIY Window Valance Ideas (You Can Totally Make In an Afternoon)
Little projects like this one are so gratifying. So often, I get caught up in big makeover plans or stalled out by indecisiveness. Yet again though, I am reminded that a simple project (requiring both a small time and cost investment) can positively impact my home and my mood! I’m really excited to have this one checked off the list…and that darn cornice board out of the garage!
Megan
15 Comments on “How to Make a Simple Window Cornice With Scalloped Edges”
The rug. Oh I love that rug. And you are so correct. A small and simple thing can make all the difference in the world. We are in the middle of switching around the kids rooms so they each get their own. I can’t wait to get this long drawn out project finished! Just so I can finish up the little projects that will make it all so amazing!
I think “nudging” might be too soft a word here. In any case, it’s up!
Glad the “nudging” worked. Trying to figure out how you would have used L-brackets to hang this with no top lip or top board to attach the L- bracket to?
Hi Megan
I do love this idea and the way you use what you already have with some update ! What a simple but so lovely bathroom ! You told us you don’t like piles at all, I can see it again here even when they are hidden in your garage. Have a nice time. Michèle
How beautiful! I like that you make the things yourself and try to make everything look pretty and cozy. It is important, even if your house is temporal. I totally agree about the curtains. Whenever I move I feel as if something is missing until I put curtains on the windows and hang the pictures and paintings on the walls.
SJ + simplyconversing.wordpress.com
Found your blog through the Milblogging FB group. Wow, love the color palette in the master and the bathroom looks so pretty! Love how you tied it all together 🙂
Where did you get this bird fabric? I must have it. Such a smart idea to use the shelf ends! Love this. Please let me know where to get the fabric.
Hi Kathy!
So glad you love this project, and yes, that bird fabric is just the best! You can find it here: https://www.fabric.com/buy/ui-134/dwell-studio-vintage-blossom-slub-dove?cm_vc=756b1813-cbc1-43b3-84bd-29889bf8fb7b
Hope that helps!
Megan
Pingback: diy-window-treatment-tutorials
I just got my long 1 x 10 board today. Everything else I already had. I am so glad I finally get to use those things. I am making one for our sliding glass door. Wish my luck and thanks for posting this.
Megan, each week I look forward to the wonderful posts you create for all of us! You offer such beautiful creations that all can clearly learn from you directions. I wish I was younger and had help…but I still get many ideas from you. I love the photos and clear directions…along with all the items to purchase in order to complete the project. When I see all the creativity in your head…I also see a better version of Martha Stewart and Better Homes and Gardens moving to the front of the pack! You truly are awesome.
This project of yours inspired me to dress up my window in my dining room. First I got shutters for privacy (are home is very close to the next villa). Then I added a drape, then trimmed it with a wide velvet ribbon and made a 90” by 15” cornice and covered it and added ribbon. I love it! I wish I could post pictures but there is no access to my adding pictures.
I love it!
That is so me!
Turn stuff in garage into useful decor in house.
Thanks for the inspiration!
Your ideas are so creative and inspiring! But, I’m particularly interested in the black wrought iron shelf in your bathroom. It’s beautiful! Can you share where you bought it?
Hi Sue,
Unfortunately, that shelf was already part of the rental home when we moved into it. And we now haven’t lived in that home in about 8 years so I don’t really have a way of tracking down the source.
I imagine you could find something similar on Amazon.
Sorry I can’t be of more help here!
Megan