DIY Photo Stocking Hooks (with Walmart Photo!)
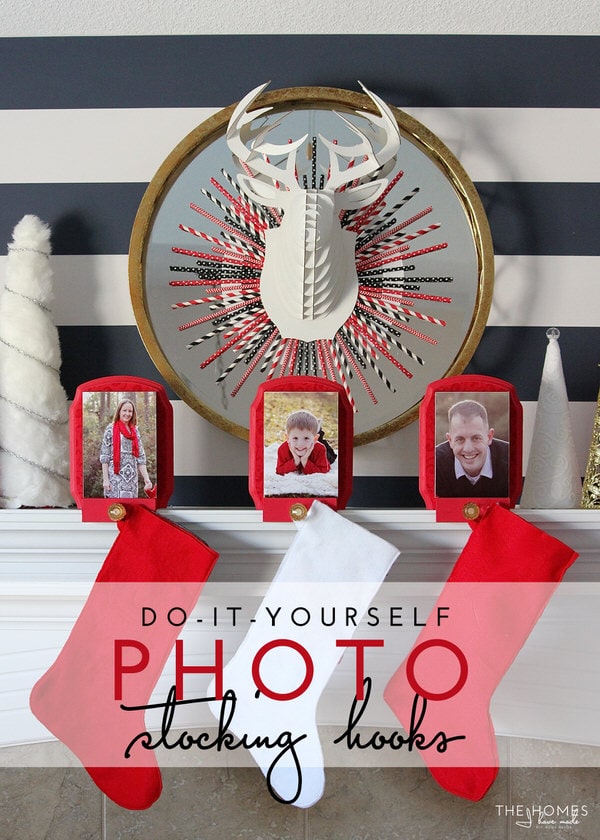
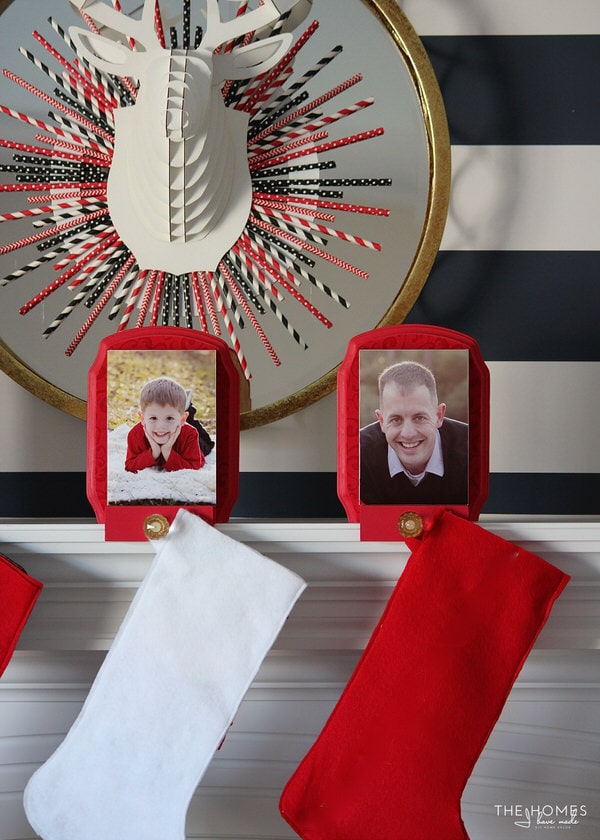
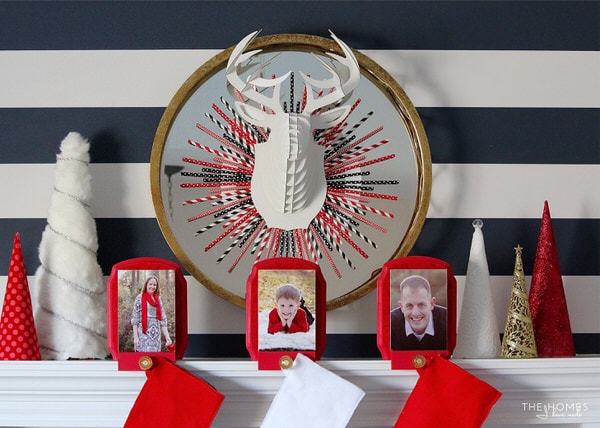
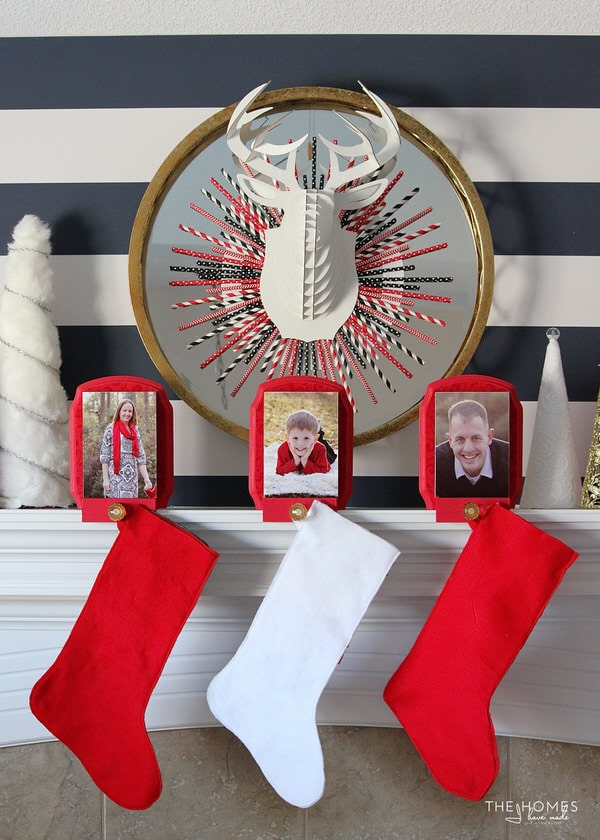
 With the Thanksgiving holiday behind us, it’s time to shift Christmas crafting and preparations into high gear! I’ve been a busy elf behind the scenes in recent weeks, and I am excited to start sharing aspects of our holiday home with you all! For the first time ever, we actually have a fireplace with a mantle to decorate for the holidays! It’s also been years since I’ve decorated with red for Christmas, but it just feels so right in our neutral and navy family room in this new house. The foundation and super star of my mantle display this year are these awesome DIY Photo Stocking Hooks I made in partnership with Walmart Photo. With this project, you can easily keep track of whose stocking is whose while showing off your beautiful family for all to see!
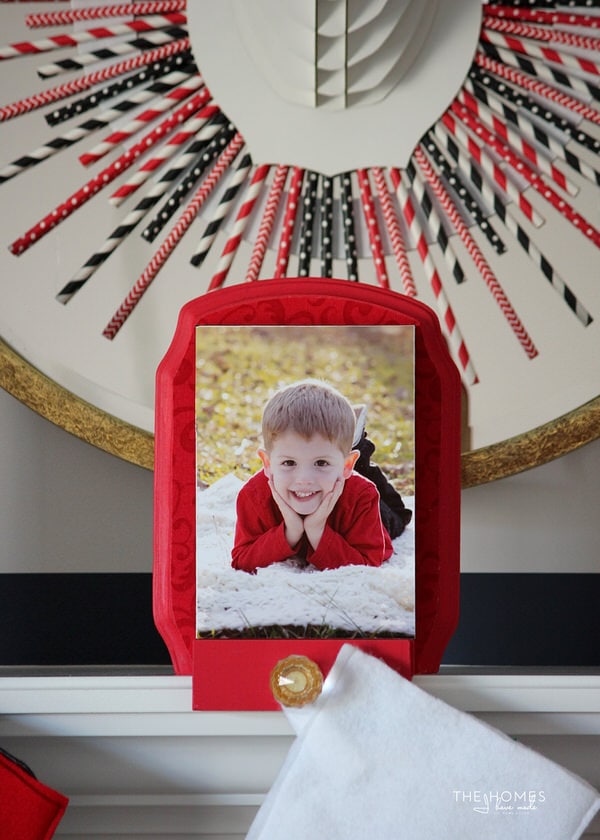
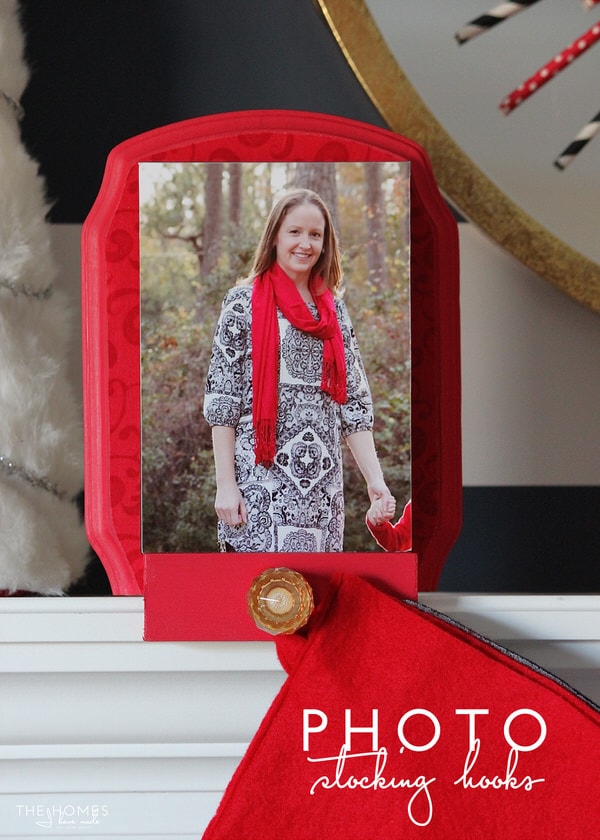
To make the hooks, I combined some basic supplies from the craft and hardware stores with 5×7 Mounted Photos from Walmart Photo. The vibrant photos on the stand-alone boxed “frame” make these an eye-catching and simple DIY to put together!
HOW TO MAKE PHOTO STOCKING HOOKS
For this project, you will need:
- Mounted Photos of each of your family members from Walmart Photo in your size choice (Mounted Photos come in 5×7, 8×10 and 8×20, and are available in most stores for free Same Day pick-up. You can order in-store or order online and get started on this today!)
- 1 decorative wooden plaque in a shape and size that works with your photo (can be found in any craft store)
- 1x2s trimmed to the same width as your Mounted Photo (I used 5×7 photos, so my 1x2s are cut to 5″)
- Acrylic craft paint in the color of your choice
- Holiday fabric in the color/pattern of your choice (optional)
- Heat-n-Bond (only if you are using fabric on the plaque)
- Decorative knob or hook
- 2″ wood screws
- Wood glue
- Double-stick tape (optional)
- Tools: Scissors, paint brush, drill/drill bits, electric screwdriver, iron, saw (circular, miter, or table)
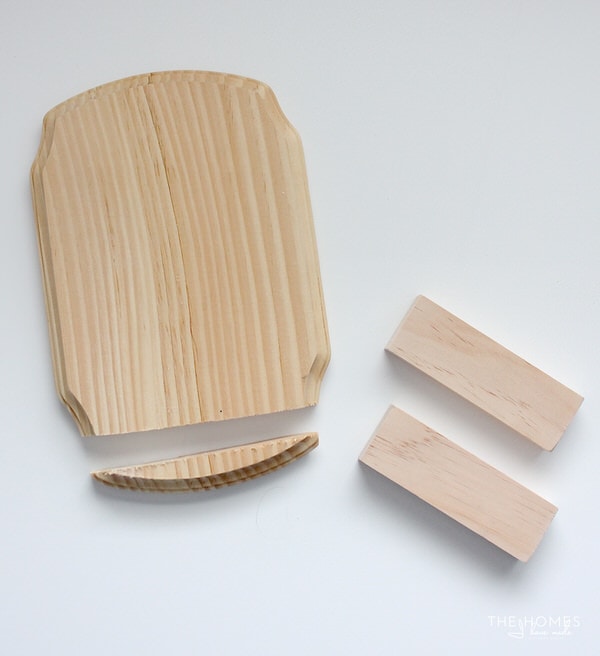
Start by trimming off the bottom edge of the wooden plaque to create a flat surface to stand on. Be sure to use your Mounted Photo on top of the plaque as a reference to determine how much to cut off. Also trim down two lengths of 1×2 to match the width of your Mounted Photo. Seen below are 1x2s trimmed to 5″ each.
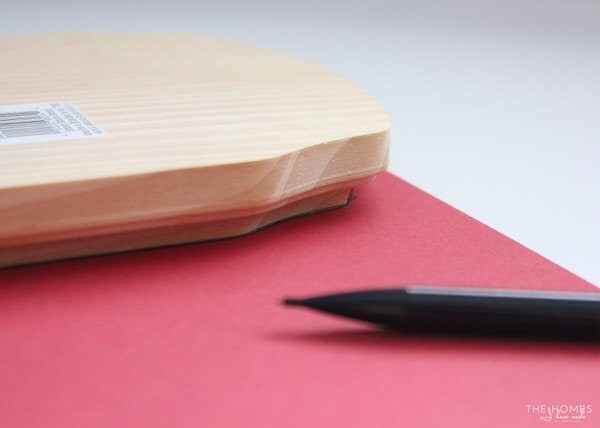
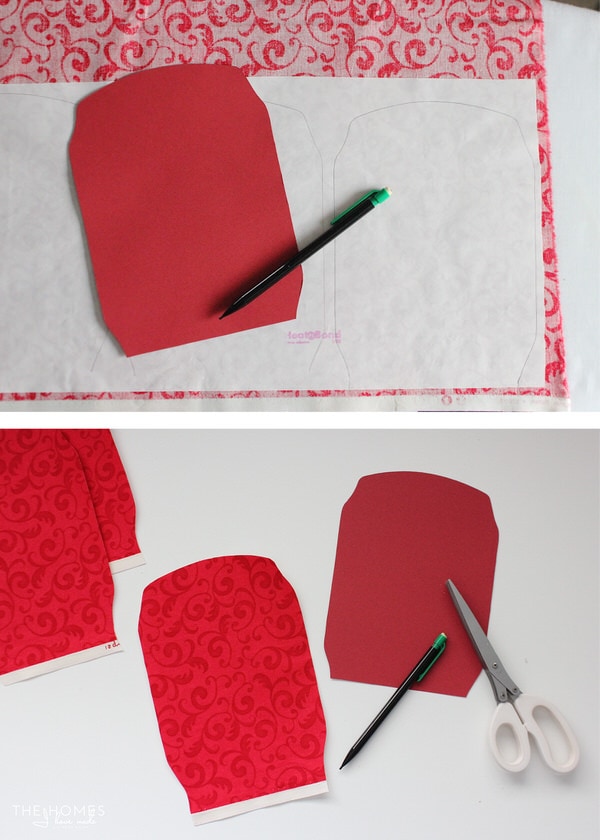
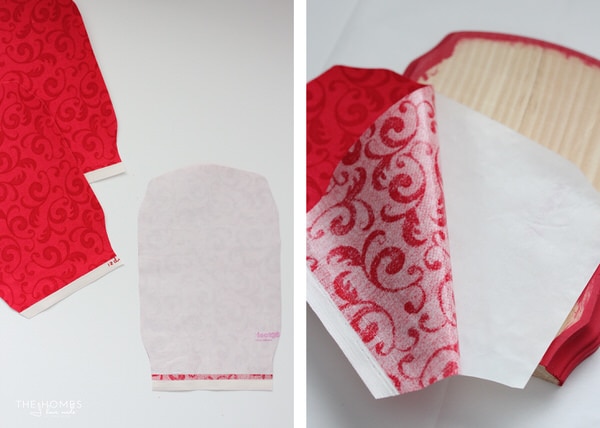
To give the stocking hooks a bit more pizzazz, I recommend adding a fabric panel to the front of the plaques. To create a fabric panel, flip the plaque over onto heavy cardstock and trace the edge with a pencil. Cut out the template with scissors.
There are several ways you can add the fabric to the plaque, but I find securing it with an iron-on fusible web works the best. Iron Heat-n-Bond to the back of your fabric, with the paper side facing out. Then trace your template onto the paper-backed fabric and cut one for each plaque you’re making. Not only does using Heat-n-Bond allow you to easily secure the fabric to your wooden plaque, but the paper also makes for easier tracing and cutting!
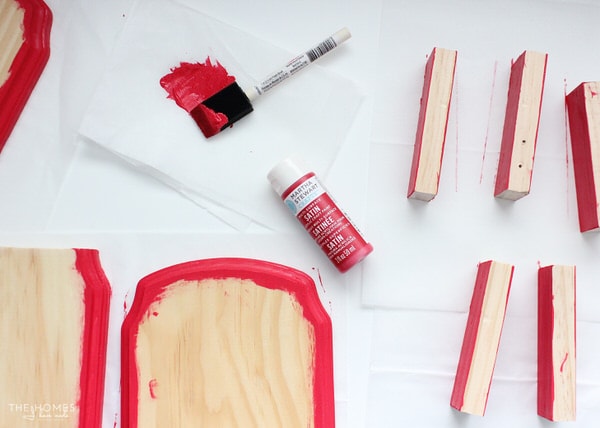
Since the fabric panel will only cover the front surface of the plaques, use some matching acrylic paint to color the edges. While you’re at it, paint all the sides of the 1×2 lengths of wood as well. I am always surprised at how well acrylic paint covers and how quickly it dries. You can certainly use other paint here (latex or spray), but acrylic will make this entire DIY come together more quickly!
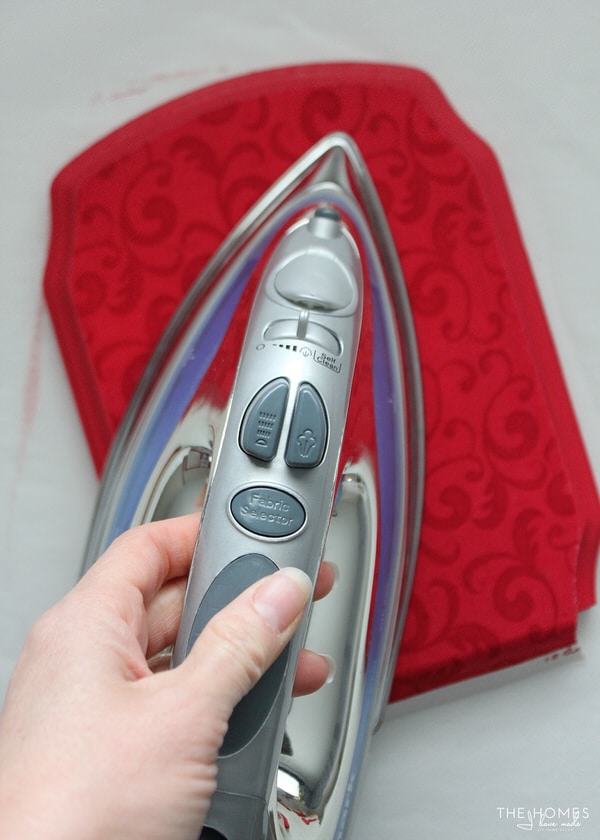
With the paint dry, remove the paper backing from the fabric panels and line up the fabric (bonded side down) onto the wooden plaque. Use a hot iron to secure the fabric to the plaque. Ensure it is fully secured and cool before moving on! (NOTE: if you have any excess fabric hanging off the edge of the plaque, it can easily be removed with a sharp utility knife!)
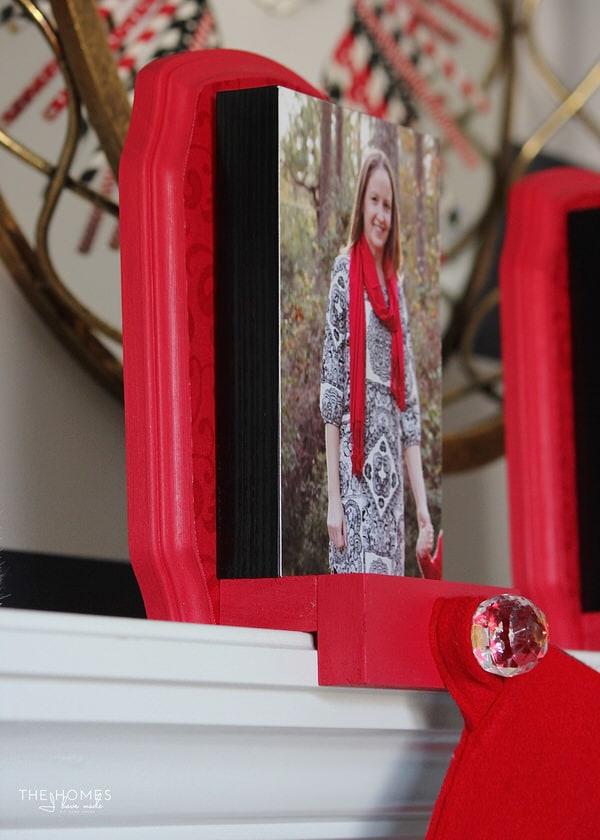
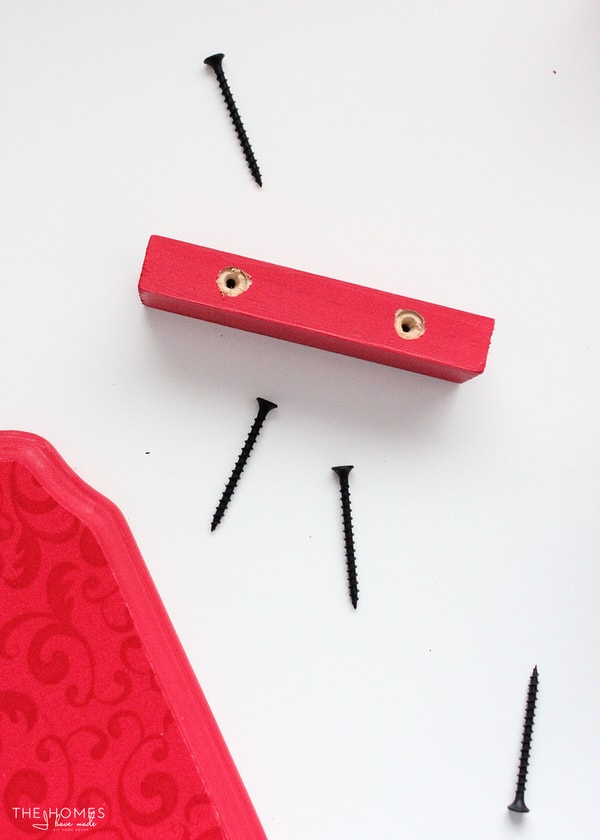
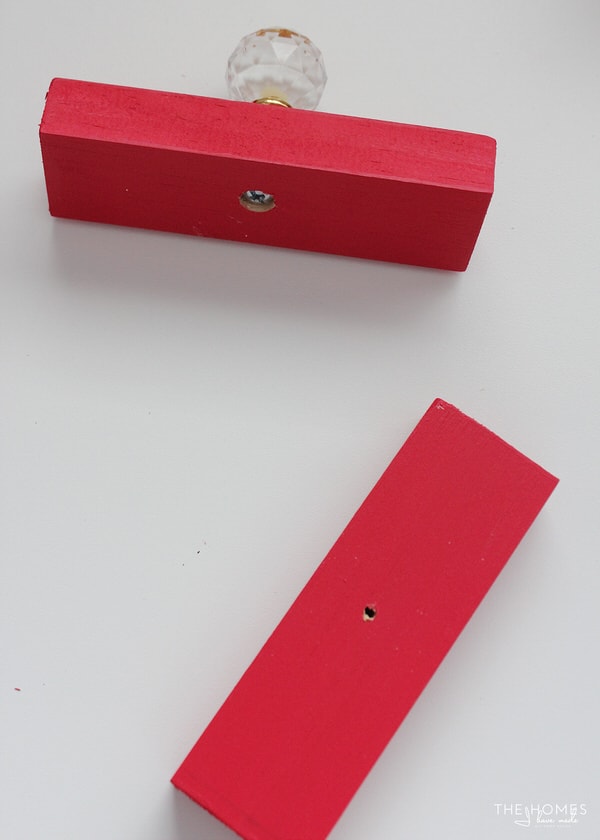
To make the hook ledges nice and secure, I recommend screwing the horizontal 1×2 and then gluing the vertical 1×2 on top. Start by pre-drilling into the sides of one of the 1x2s, using a paddle bit to create room to countersink the screws.
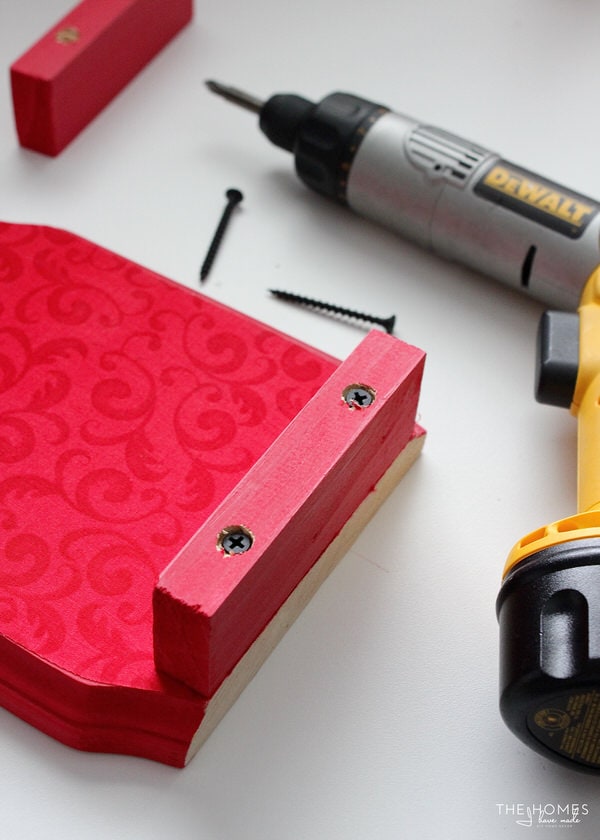
Using long wood screws, carefully attach the 1×2 to the bottom of the wooden plaque, ensuring the base edges line up.
Before gluing on the other 1×2, first add your decorative knob or hook to the front center of it. Again, countersink your screws so everything will sit nice and flush.
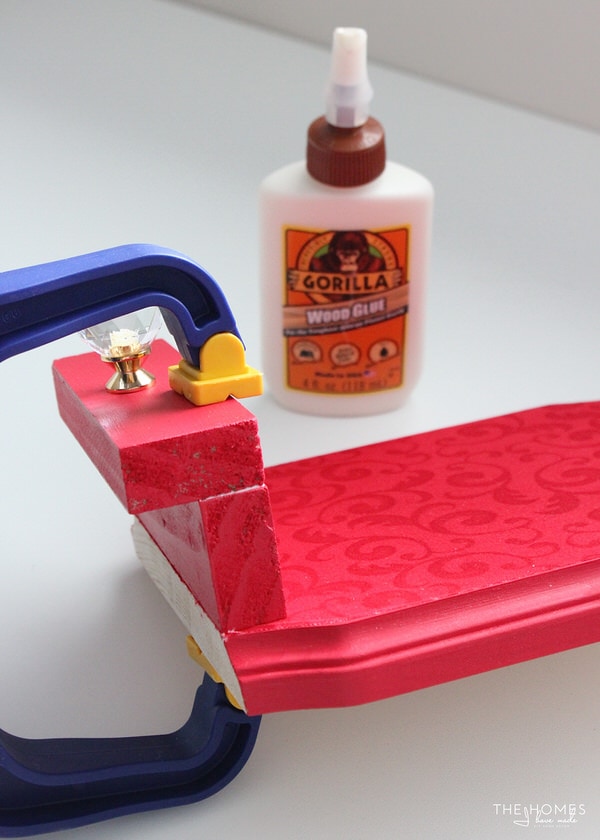
With the knob/hook in place, attach the final 1×2 to the front of the first 1×2 using strong wood glue and a clamp. Make sure all your edges are lined up before allowing it to dry for the recommended time.
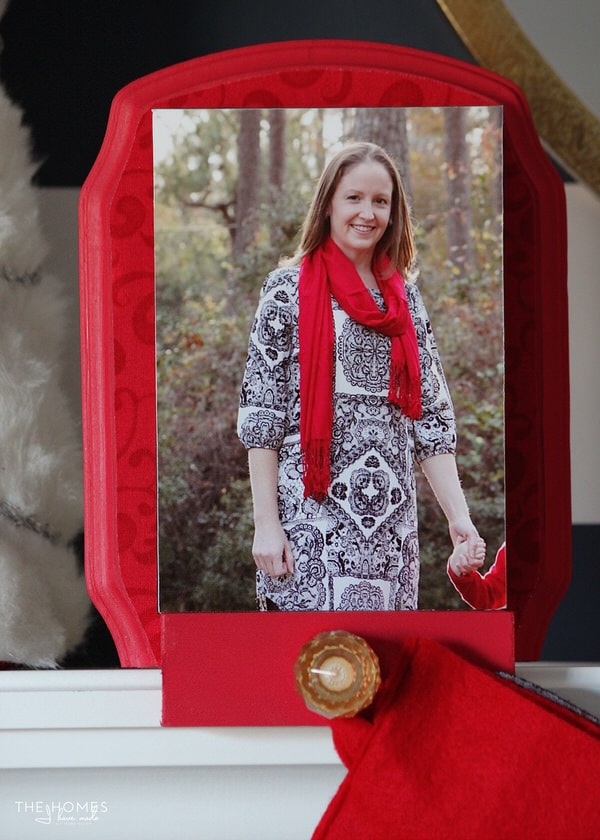
The final step is to add on your photos or place the hooks on your mantle! The photos can stand on their own, but I added some double-stick tape along the bottom/back to keep them in place. I love that I can easily swap out the photos each year with our most current photos just by getting new Mounted Photos printed at Walmart each season!
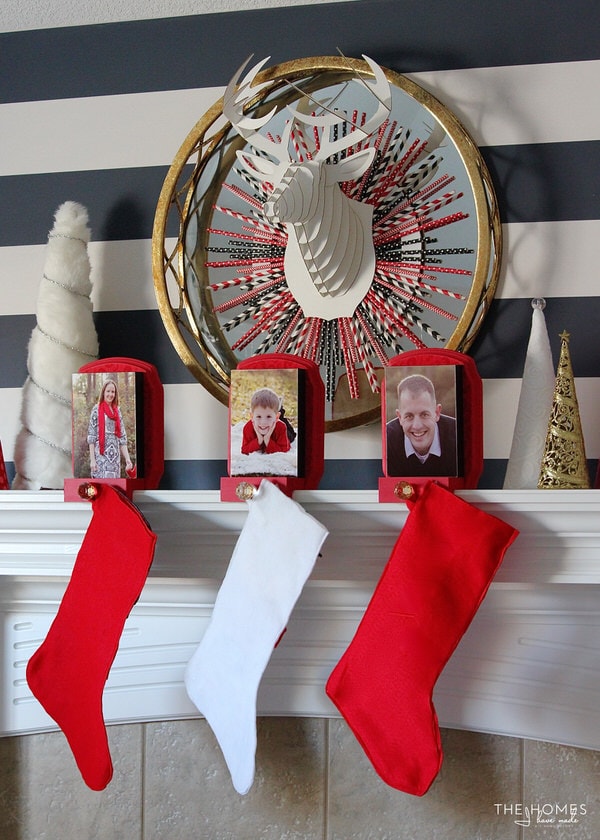
Place the Photo Stocking Hooks onto your mantle, hook on your stockings, and wait for St. Nicholaus to come!
While we’re here, I thought I would give you a quick tour of our holiday mantle this year!
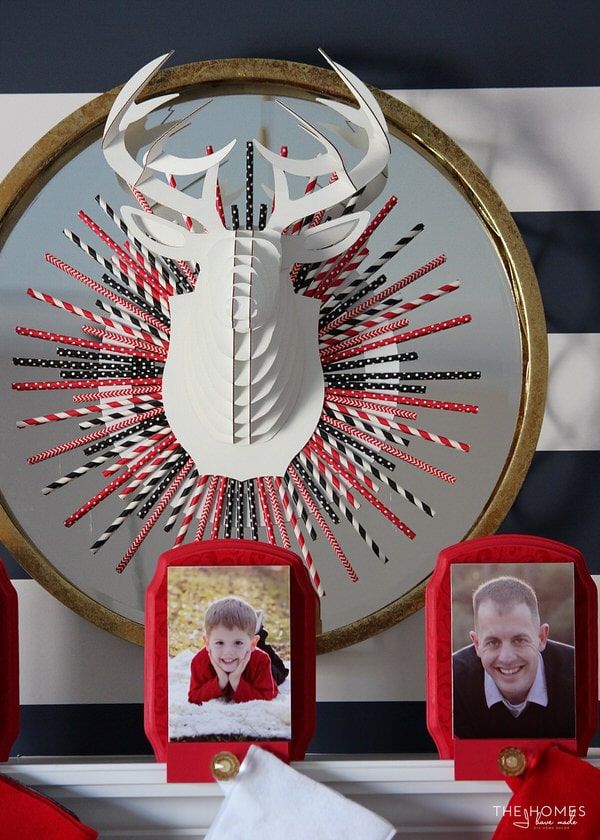
The other big star of the show is this darling wreath I made from paper straws. It’s easily one of my favorite holiday crafts this year, and I have the tutorial coming for you soon!
The Mounted Photos from Walmart Photo are what make this project personalized and just so simple to make! Each 5×7 Mounted Photo costs $9.96, but Walmart.com is currently running a 25% Rollback on all Wall Art through 1/5/2015! With 3,500 Walmart Photo locations nationwide (or order online at Walmart.com/photo!), you can get these and many other gifts for free Same Day pick-up in store – perfect for last-minute gifts! Visit HERE to get more details, order these and see so much more!
I hope you like these Photo Stocking Hooks and will give them a try to add some fun and personalization to your holiday displays. These are such a great deal, I can’t wait to come up with more great ways to use them!
Be sure to visit Walmart Photo’s brand page on BlogHer.com where you can read other bloggers’ posts.
I hope you all had a fantastic holiday! See you back here next week with a fresh week of new content!
Megan
Megan



4 Comments on “DIY Photo Stocking Hooks (with Walmart Photo!)”
So cute! I always wait too long to buy the ones I want. But what a clever idea to diy a way cuter solution. And you could always do a printable art or something if you didn’t have current pictures. I love what you have done with your mantle. I can’t wait to see what else you make this year!
Happy Thanksgiving (late!) Kristie!
Thank you so much for this. After all my blog drama this week (which may or may not have been noticeable to you), it was such a comfort to see your comment come through on Friday. It was my first single all was back to normal 😉 I am super excited to get our house all decked out for the holidays, stay tuned for more 🙂
Happy Sunday!
Megan
Hi Megan
What a so lovely mantle decoration ! I love the colors as red is my favourite Christmas one and of cours this idea and the photos are so cute. Have a nice week-end. Michèle
Hi Michèle!
Thank you so much for this! I am really excited to use red this year, which I haven’t done in years!! I hope you are well and had a nice weekend. Excited to be home from our Thanksgiving traveled and settling back into our routine!
Happy Sunday!
Megan