DIY Paper Straw Christmas Wreath
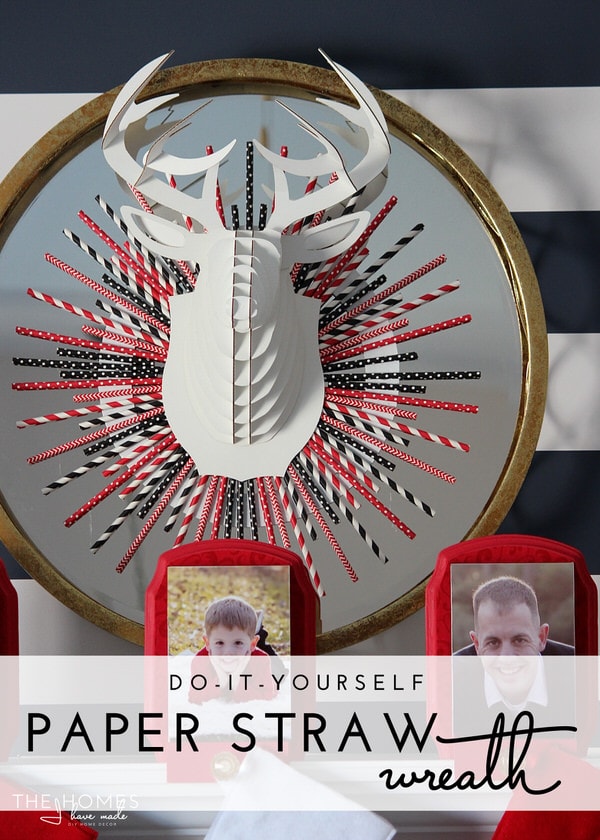
Last year for Christmas, I made Henry’s pre-school teacher a wreath made out of pencils from the Target Dollar Spot. I loved that Christmas wreath so much that I really didn’t want to give it away…but alas, I couldn’t justify keeping the pencil wreath as it was much better suited for a school teacher. However, I’ve been wanting to re-create it ever since. When I was rummaging through the dollar section at Michaels a few weeks ago, I was inspired all over again by their fun paper straw selection! With just a few packages of paper straws, two wooden wreath forms and a lot of hot glue, I was able to make my own whimsical starburst wreath that works much better with our home decor.
This wreath is so simple to make yet so impactful in a holiday display. These days, you can find paper straws in every color and pattern you wish, so the possibilities really are endless!
To Make a Paper Straw Wreath:
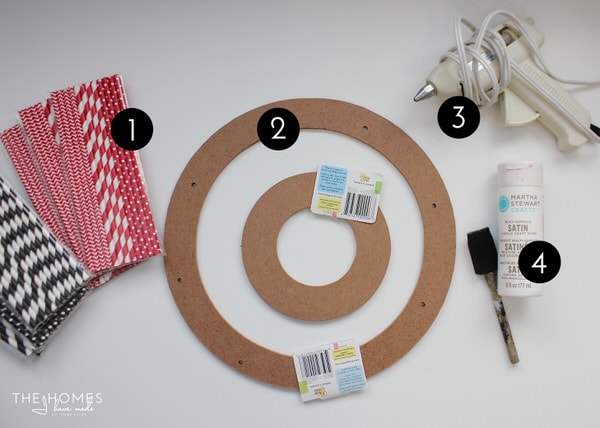
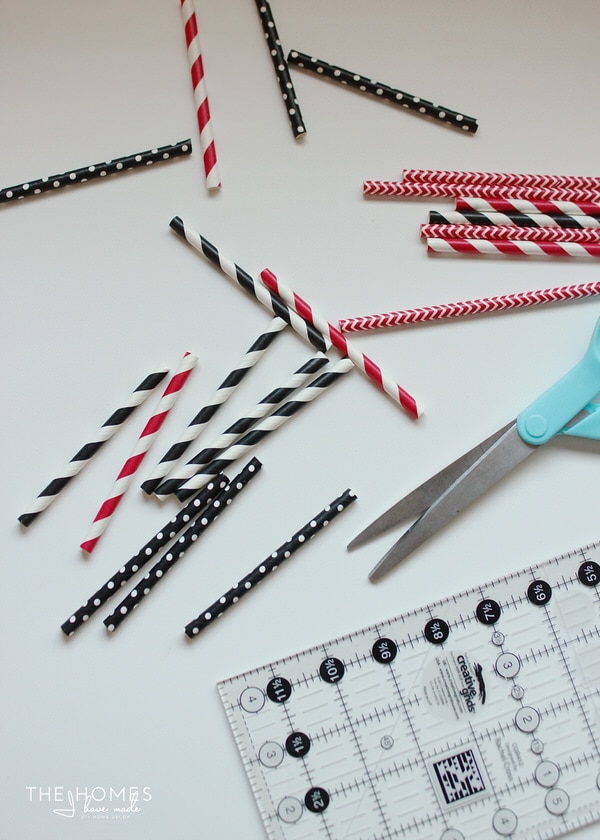
- Paper straws
 in the colors and patterns you wish (TIP: by more packages than you think you’ll need so you have the option to make you wreath as full as you want. You can always return un-used packages later!)
 - Wooden wreath forms in two nesting sizes (I used 14″ and 6″)
- Craft paint in a color that coordinates with your straws
- Hot glue sticks
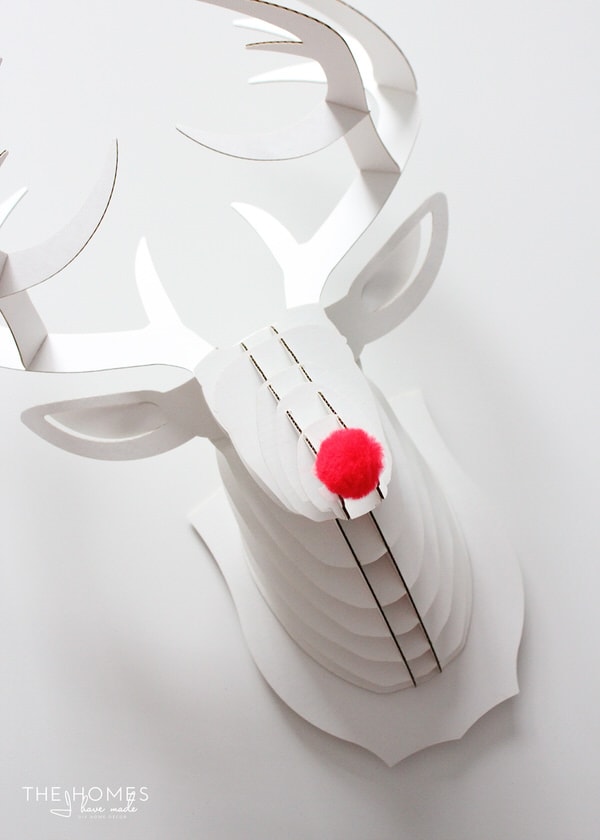
- 3D deer head (optional) (mine is this one in medium size!)
- Tools: Paint brush, hot glue gun
 in the colors and patterns you wish (TIP: by more packages than you think you’ll need so you have the option to make you wreath as full as you want. You can always return un-used packages later!)
 ,
, 
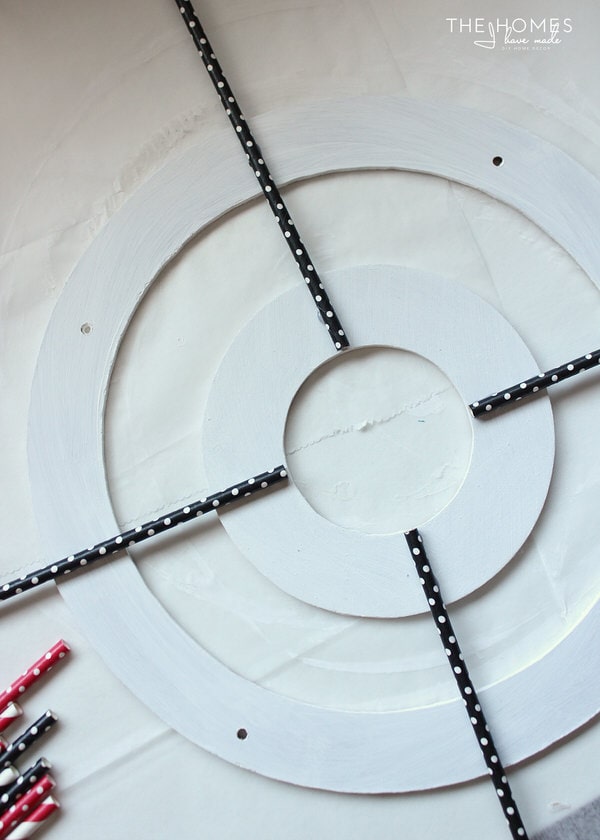
Start by painting the wooden wreath forms with your craft paint. I needed a good three coats to get good coverage with the white over the brown wreath form. I love using acrylic paint because I can re-coat within minutes!

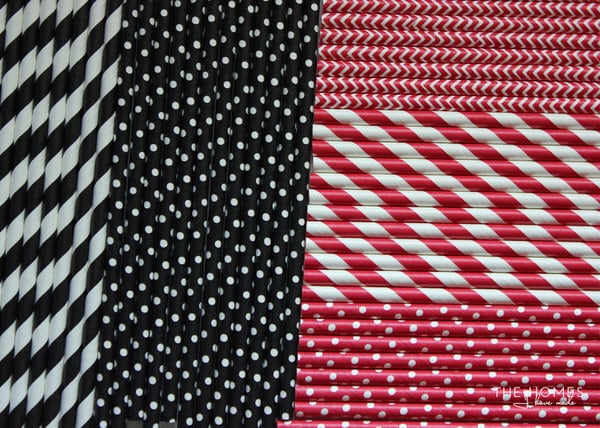
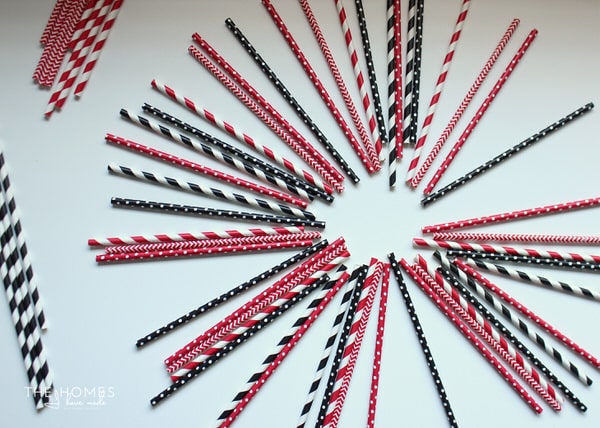
Next, remove the straws from the packaging and just play around a bit with the different colors and patterns. Start to identify a pattern that can be repeated all the way around the wreath.
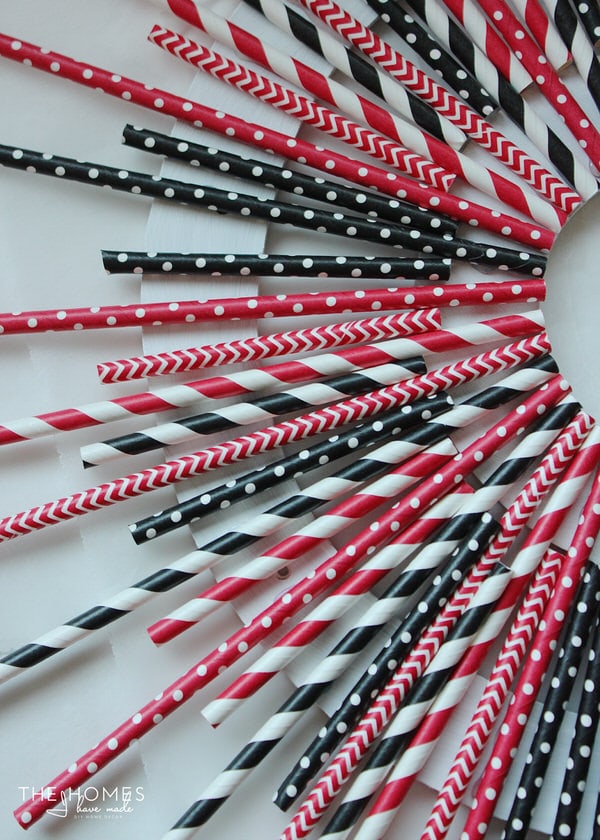
To keep my spacing even and my pattern organized, I found it easiest to split the wreath forms into quadrants and build in each section. Simply use hot glue to secure the straws to the wreath forms. Ensure the middle form is centered within the bigger form before gluing the first few straws in place.
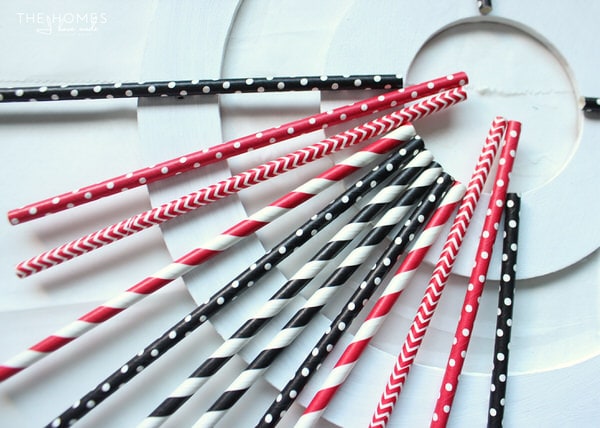
With the quadrants identified, fill in the section with repeating patterns of straws placed at different lengths.
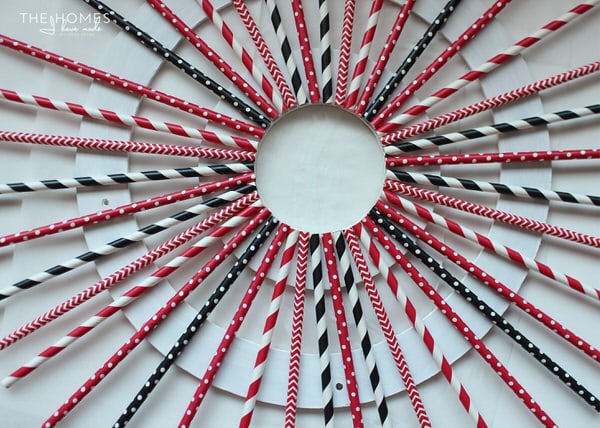
Continue to fill in the entire wreath, ensuring your spacing and pattern remains consistent the whole way around!
Want to save this post?
A single layer of straws all the way around is certainly sufficient, but to give it a slightly fuller look, trim down straws and fill in any and all gaps between the straws already glued in place.
Unlike the pencils in last year’s wreath, the straws are quite simple to cut to length and squeeze into tighter spaces. Just continue to cut, glue, and repeat your patterns until the wreath is as full as you like it!
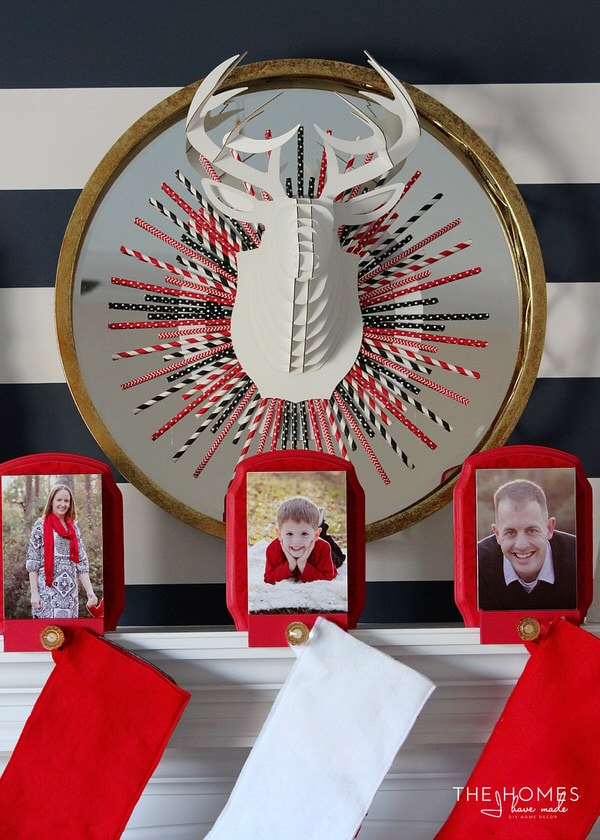
With all the straws glued into place, I could have left the wreath as is, but I couldn’t resist adding my cardboard stag head to the center of it. It’s held in place on top of the straws with Command strips
 .
.
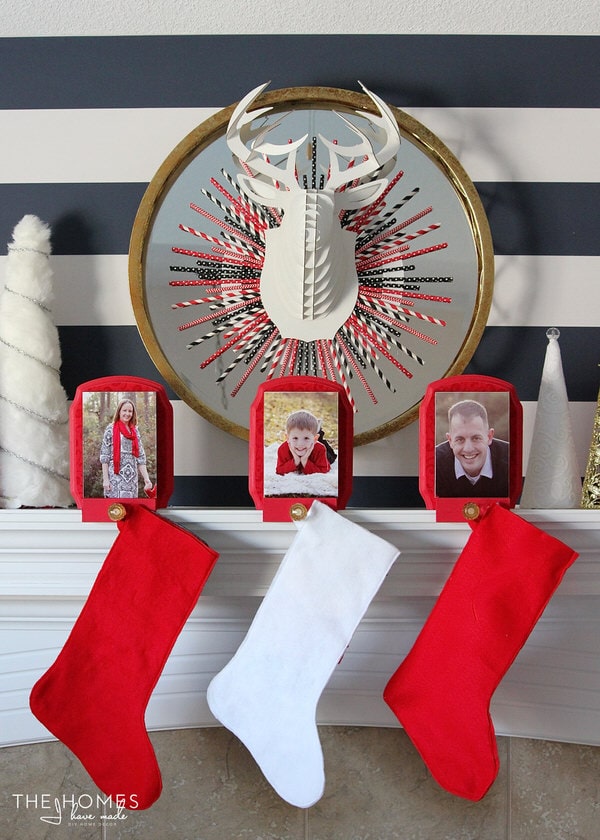
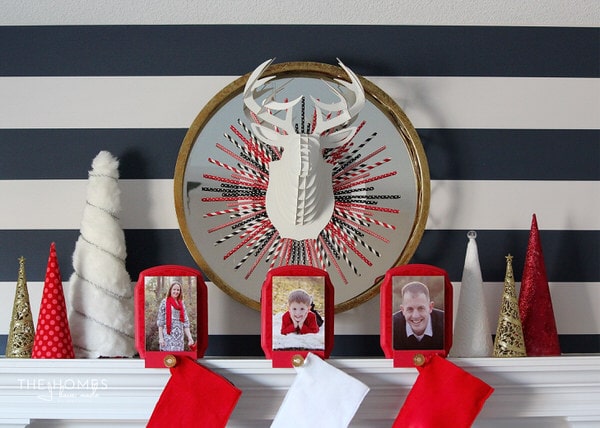
The wreath is light enough that it can be held up with another Command strip or you can loop ribbon/cording through the wreath forms and attach it to a hook. I’d like to say that I was smart enough to size my wreath to fit into our gold mirror as it is, but that was really just a happy accident. The mirror gives it a nice frame and more of a presence…gosh I LOOOOVE the way it looks up there on our mantel!
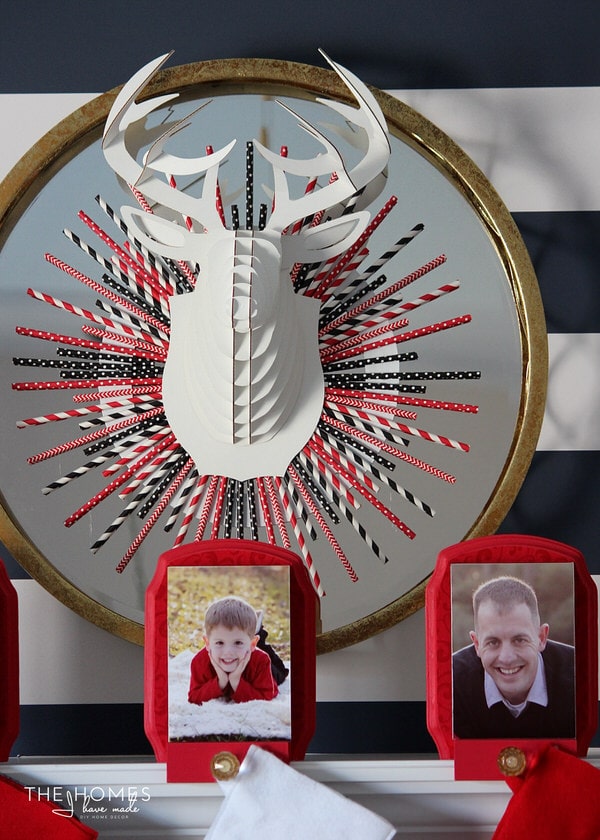
I actually started my mantel display with the wreath and then rounded out the whole arrangement with more red, white and gold accessories that I already had. I’m just so smitten with how it came together. It’s been YEARS since I’ve decorated with red for Christmas, and I am so excited to be pulling it all out this year. Be sure to check out my Photo Stocking Hooks tutorial here!
Christmas crafting is so much fun for me. After months of moving, unpacking and relatively big home decor projects, I’ve been enjoying getting back to some smaller and simpler projects. It sure it putting me in the holiday spirit, and I can’t wait to get our whole holiday home done! After being gone all week for Thanksgiving, I’m feeling a bit behind in that department. Fingers crossed I have everything ready to show you next week!
Although my home might not be fully ready for Christmas, I have some more fun DIY projects like this one in the queue. Be sure to come back here Friday for a Christmas DIY you’re going to love! See you then!

*affiliate links used
Megan
3 Comments on “DIY Paper Straw Christmas Wreath”
What a fun idea to use colorful straws. So cheap and perfect for Christmas decor. I love how you used the mirror to frame out the wreath. I pulled out my decor this year and was struggling with it in the boxes…and then as I was putting it up it was all so magical. Crazy how Christmas decor can do that to you. 🙂 Can’t wait to see what you do with the rest of your house.
Absolutely awesome idea – it’s so cool! Thank you.
Hi Megan
What a lovely idea and I do love Rudolph the red nosed reindeer. It’s one of my favorite Christmas character having discovered the song in Danish through my friends up there ! I have told you before but let me tell you again, I do love the colors you have chosen. As we will celebrate Christmas at my mother’s home as every year the decoration will be there. Have a nice time preparing the Holiday ! Michèle