Smart & Stylish Solutions in a Builder Basic Bathroom – Master Bathroom Final Reveal
Happy Presidents’ Day, friends! I hope you all had a great weekend and are able to squeak in one more day of relaxing and family/friend time today if you have it off! I had the kind of weekend that frustrates a DIYer…nothing seemed to work out right, I made several trips to the hardware store and still ended up with wrong materials, and was far less productive than I was hoping. Most times, creating and decorating brings me so much fulfillment and joy, but this was one of those weekends I had to step away because I was getting far more angry and frustrated than necessary. If you find yourself feeling defeated with projects gone awry, don’t feel alone – it happens to all of us! I find stepping away keeps me from loosing my marbles and wasting my materials. Fingers crossed I can pull myself together and show you what I’ve got up my sleeve here soon!
In the meantime, I wanted to knock off another final “reveal” in this house because friends, time is ticking down before we deconstruct this home and move on to the next (details to come soon 🙂 I feel a little ridiculous even calling this post a “reveal” because the teeny tiny en suite bathroom is this house is one of the worst we’ve ever had. Small, awkward, poorly lit, and about as builder basic as it gets. I really had a challenge giving this bathroom any style, and faced an even bigger hurdle trying to photograph it.
Still, this is our real life bathroom…and I like to keep it real around here…AND I am sure I am not the only one out there struggling to make a bad bathroom function and look smart. After almost three years of little tweaks here and there, I did ultimately land on some simple and stylish solutions for this batty bathroom that help me hate it a little less 😉
Here’s the bathroom on the day we moved in. It’s tucked into the very back corner of our small master bedroom. It has a super awkward, skinny layout with s double sink/vanity in one section, and the toilet and shower behind a second door (talk about crowded!).

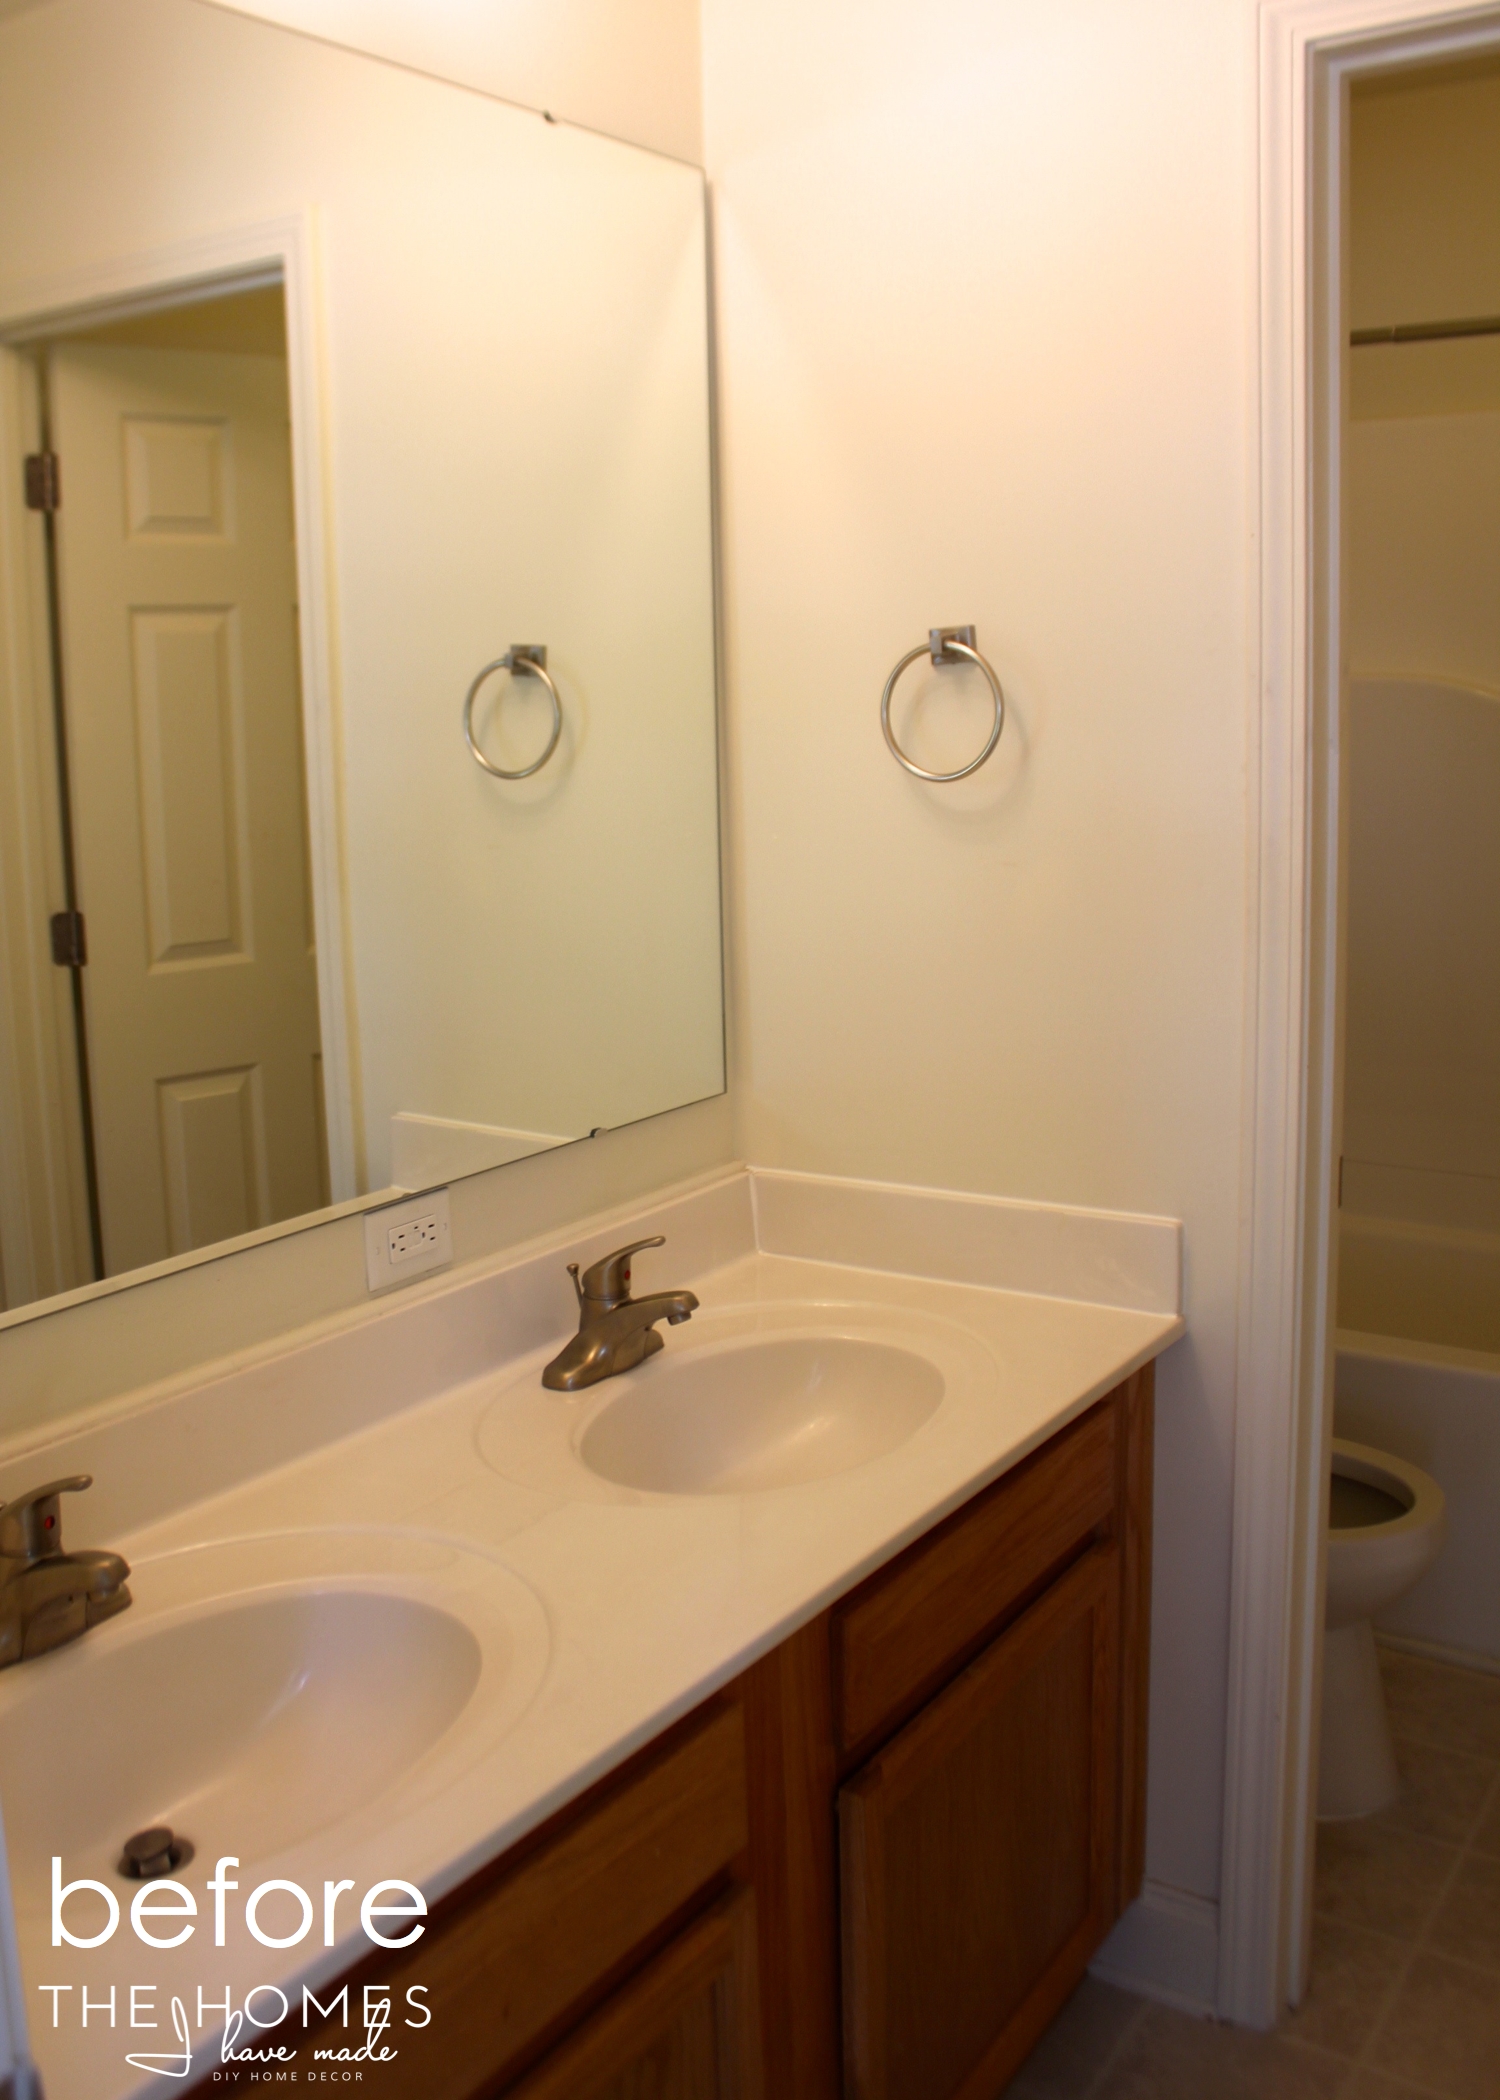
One of the very first things we did when we moved in was remove the door between the sinks and toilet/shower sections of the bathroom. While the door does add privacy, it felt so crowded and cumbersome. Removing the door was a simple and reversible fix; it is stored safely up in the attic, and we’ll put back before moving out. If you’re a renter/military family and a room’s layout or flow just isn’t working for you, consider removing doors – it’s one of my favorite tricks for changing the whole feel of a space!
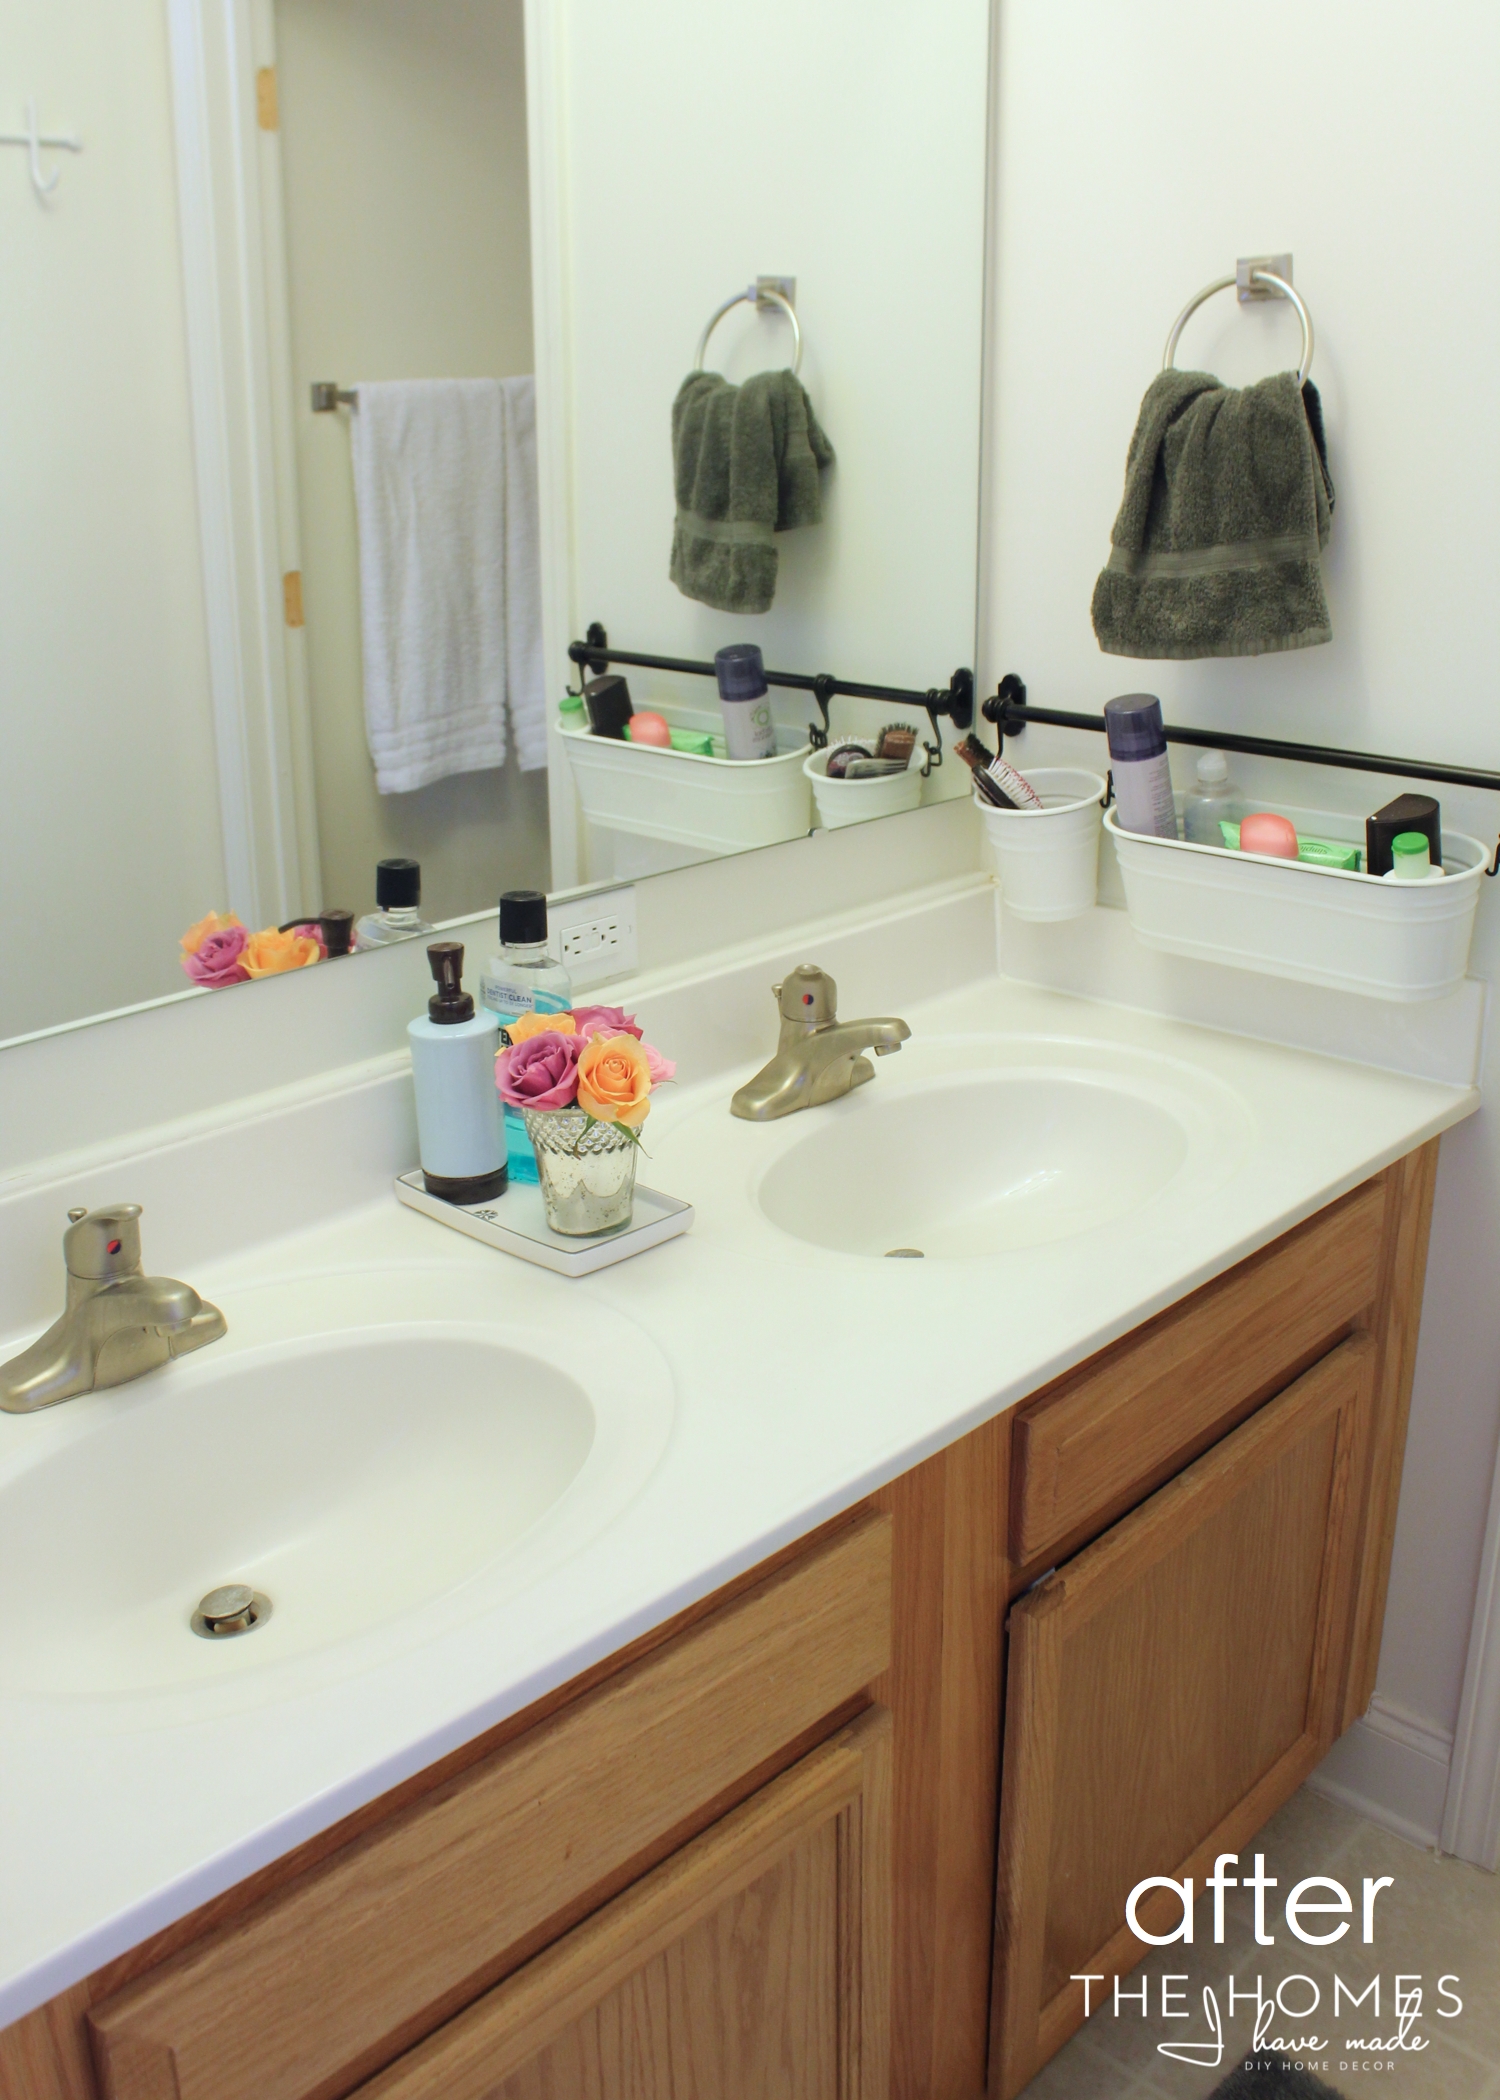
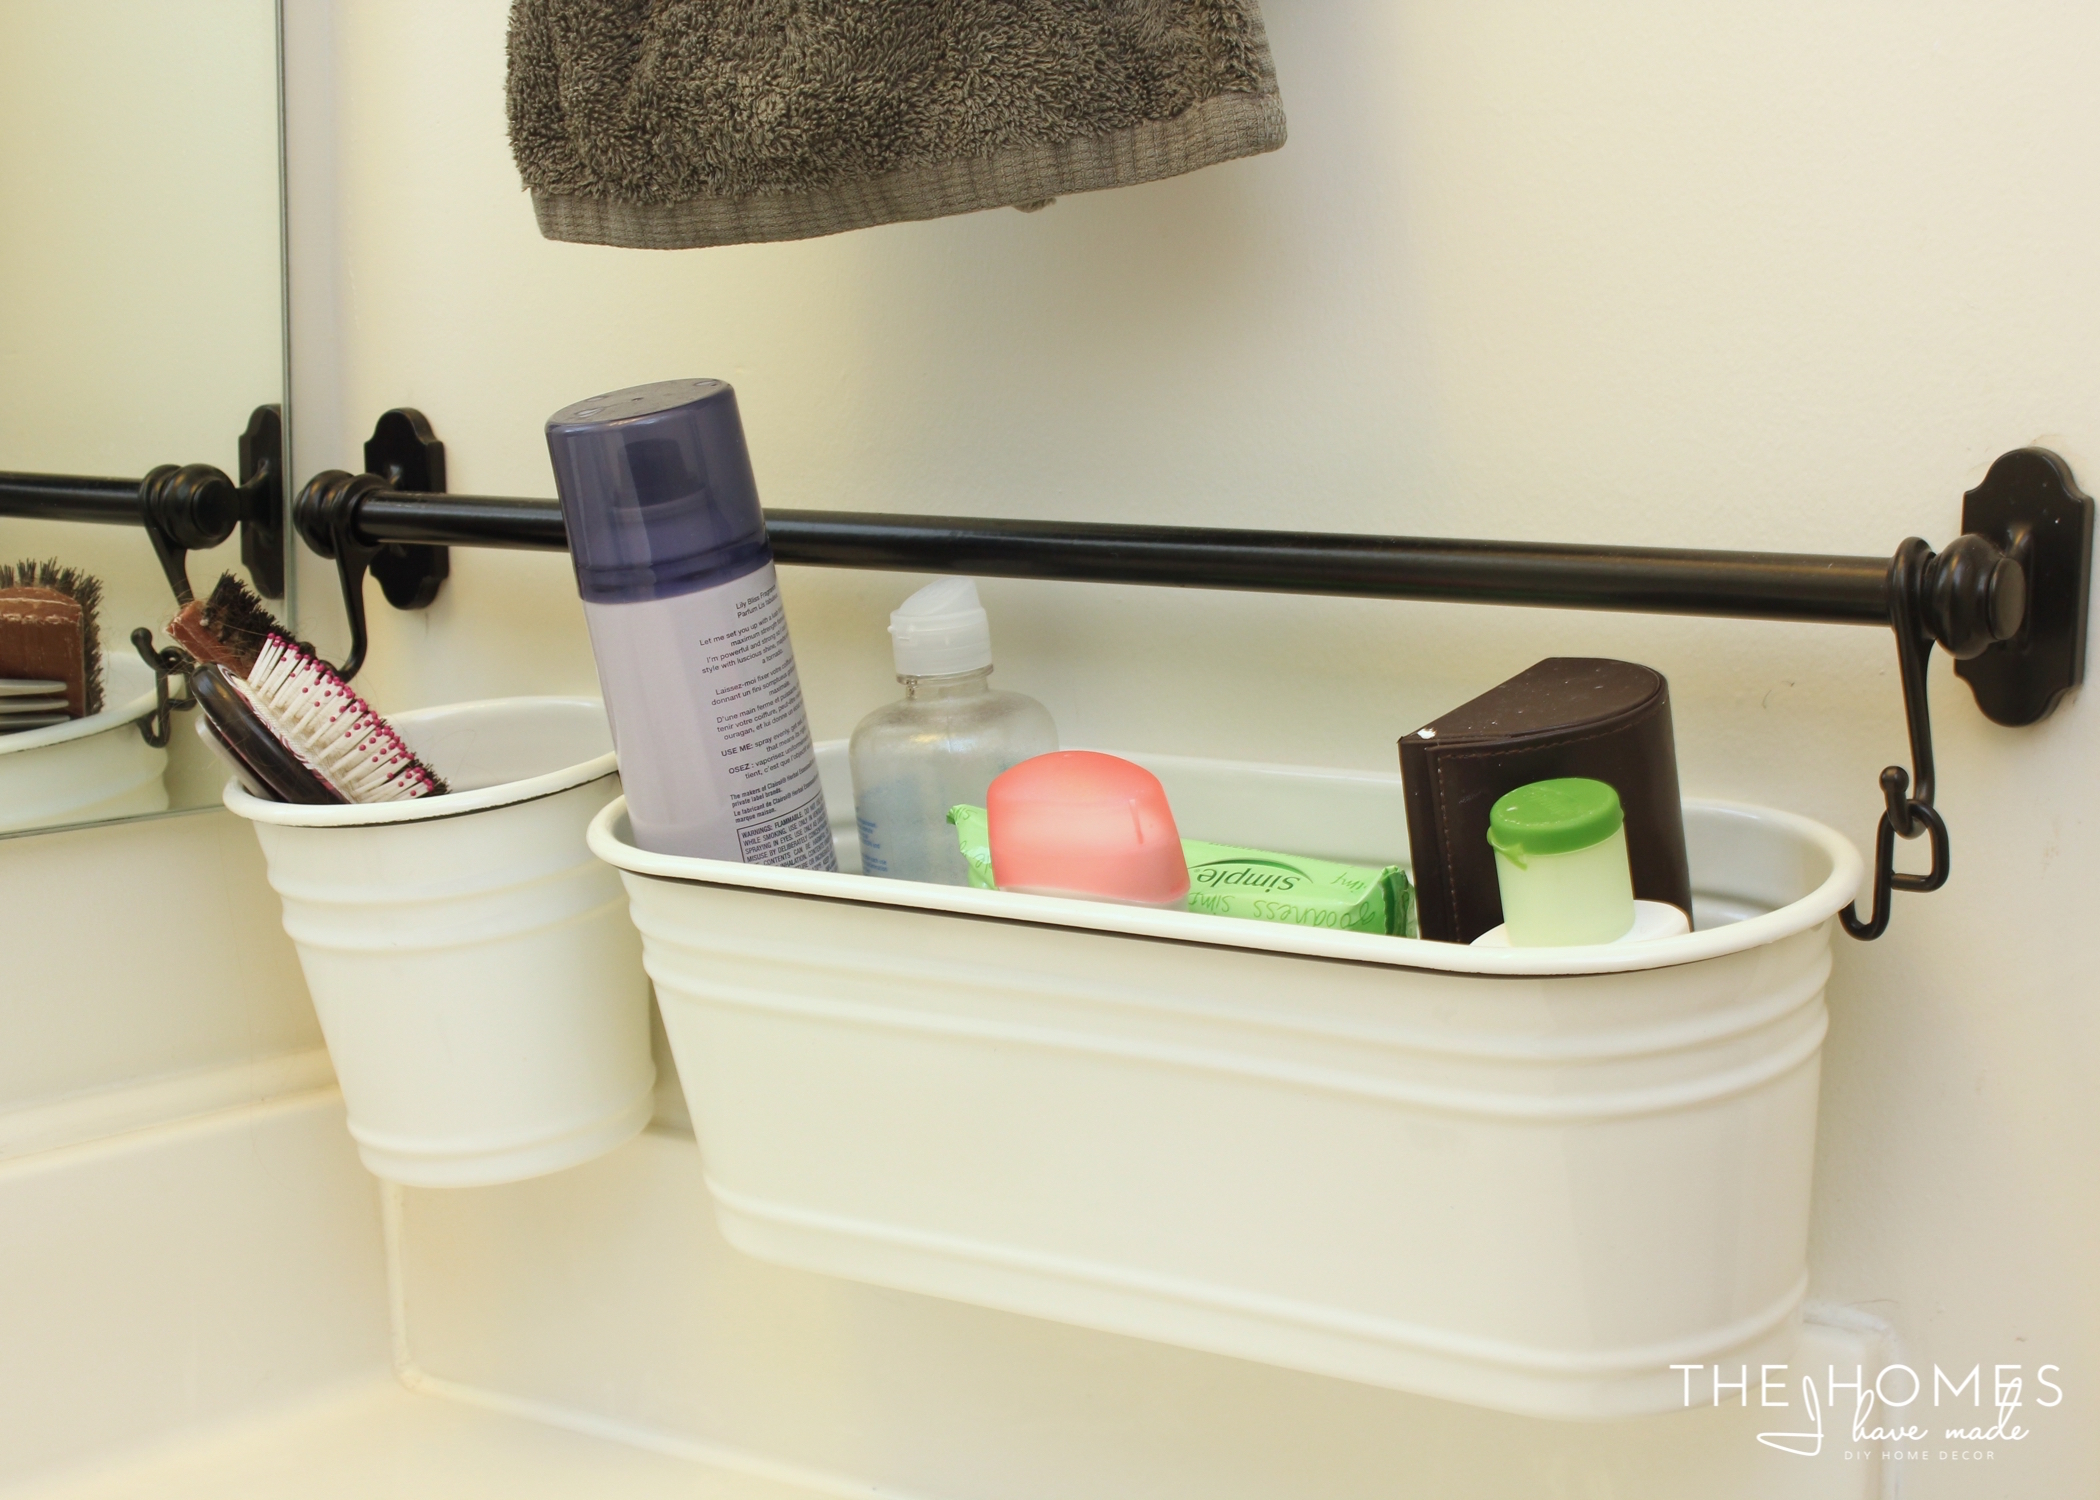
We love having a double vanity, but the two sinks left us with practically no counter space. After months of our toiletries crowding and cluttering the counters, making getting ready AND keeping the area clean a complete headache, I decided to make use of the wall space along the sides of the counter. I installed the somewhat pricey but so-worth-the-money Fintorp Series from IKEA on each end of the counter. These bins are spacious, sturdy, easy to install, and easy to take down as needed. They have been so wonderful for corralling all of our supplies and keeping the counter free of clutter. I love that they have removable grid bottoms, making for super easy cleaning!
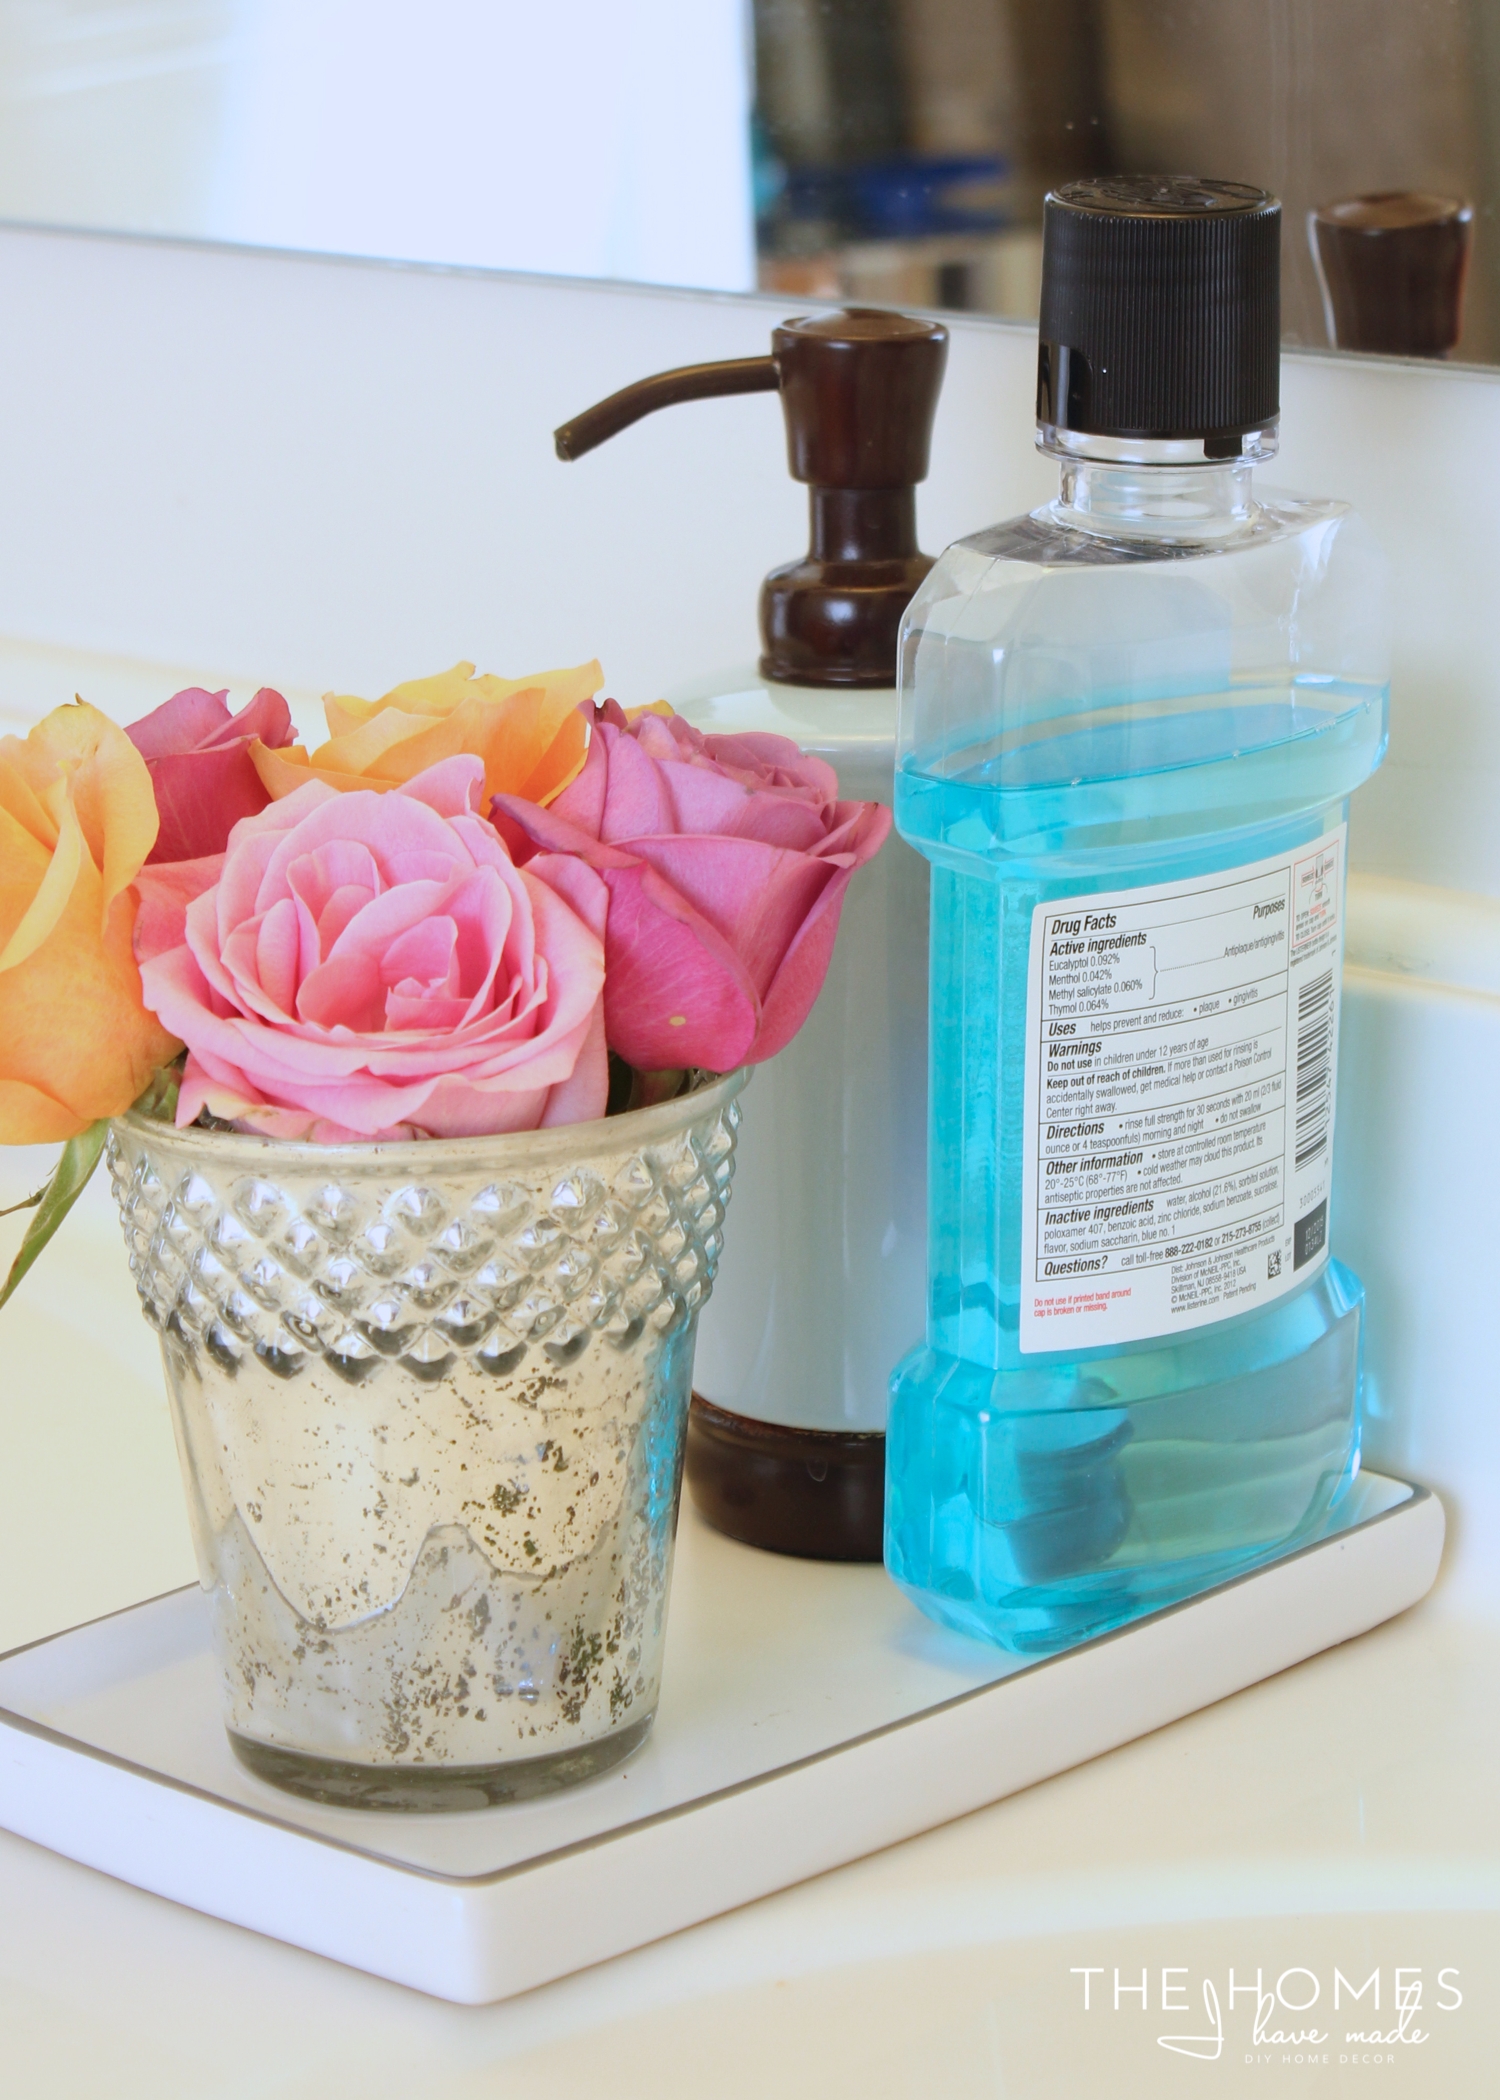
Trays always help random items look intentional and like a set so I utilized a small skinny tray from Target to hold our mouthwash, soap dispenser, and a small vase. And I said I like to keep things real, right? So yea, I don’t keep roses in our bathroom…this little cup usually holds my little flossers (which aren’t nearly as photogenic 😉
Want to save this post?
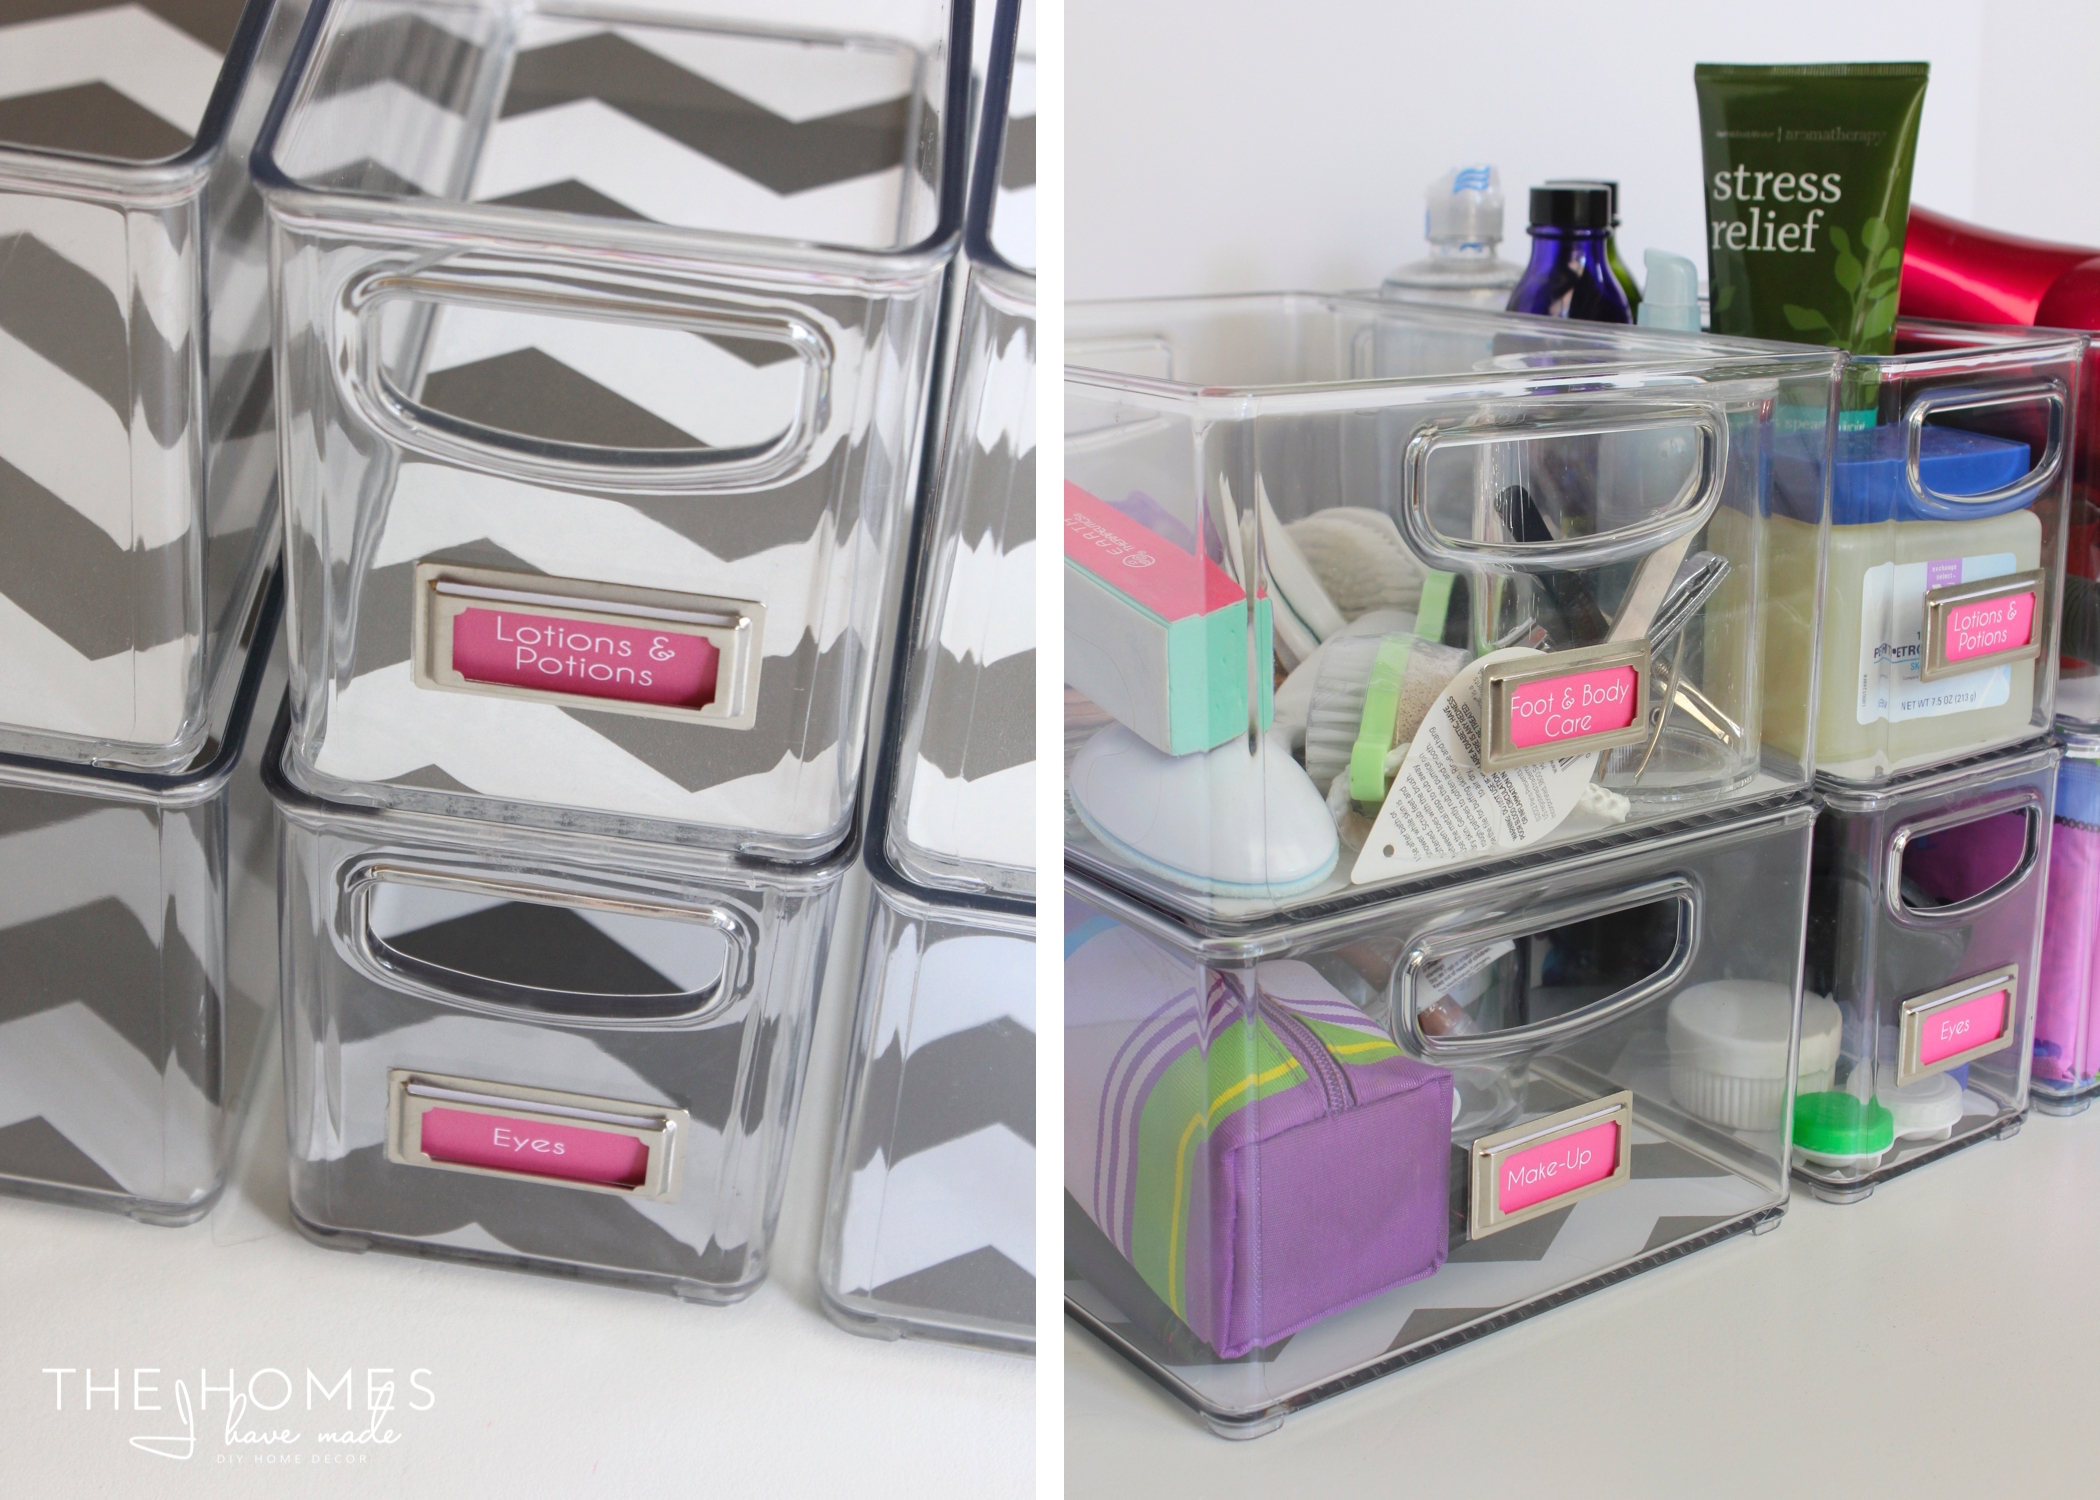
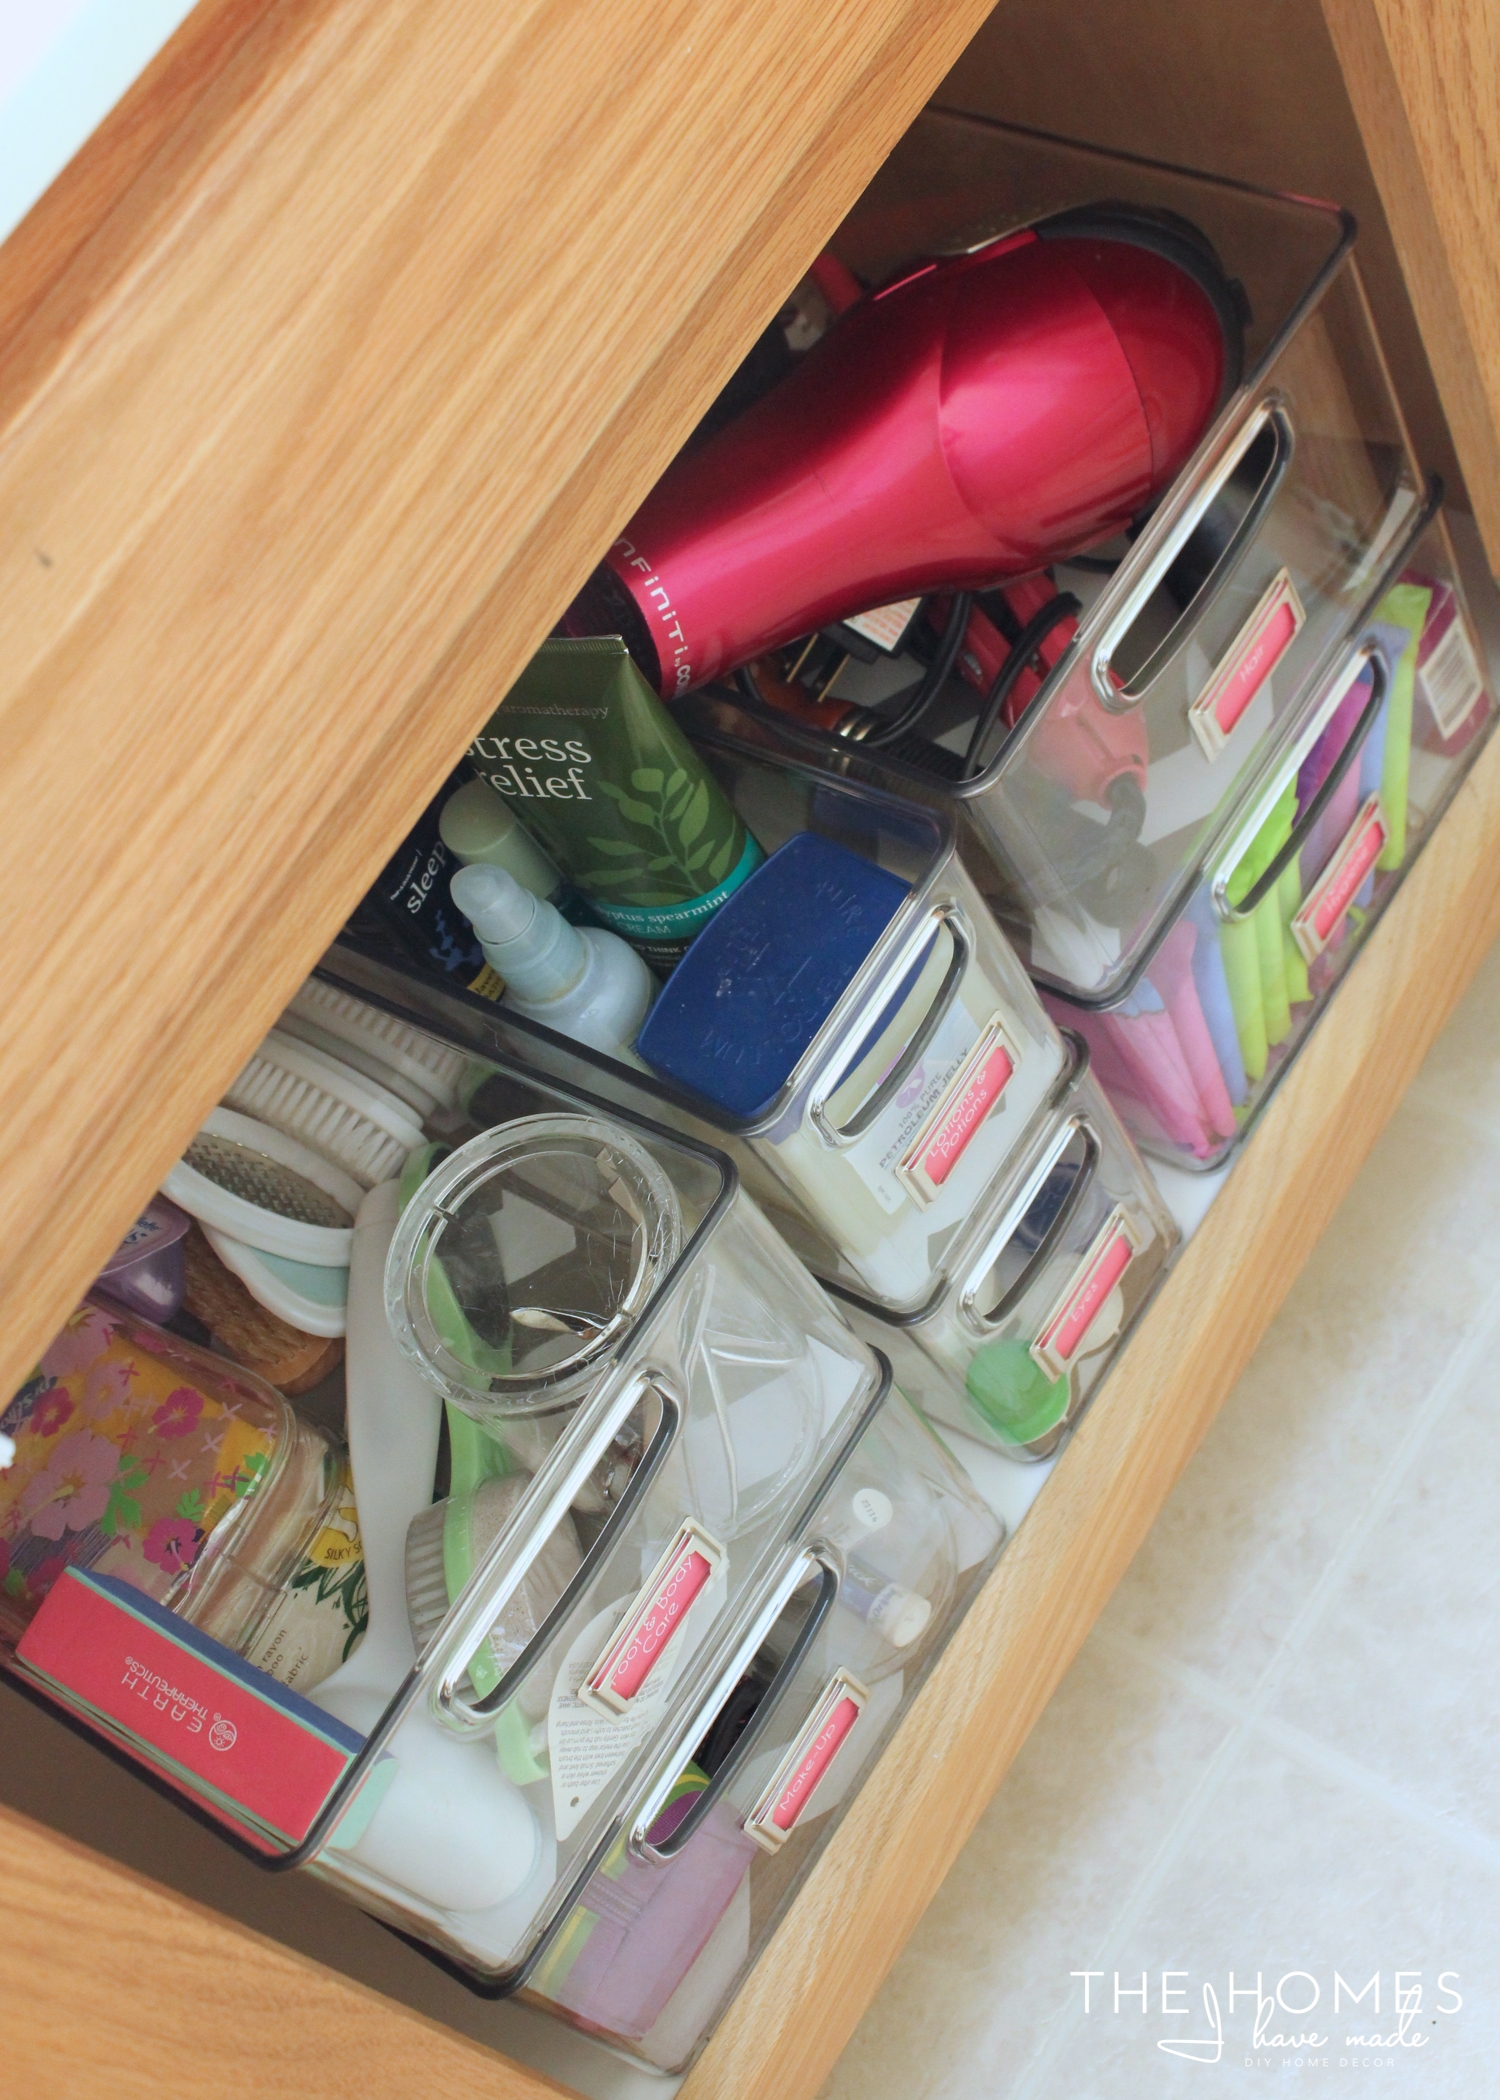
Under our sinks is the typical builder-basic vanity with large open cabinets, no drawers, and lots of pipes. For a good long time, each cabinet was a black hole of hygiene products and cleaning supplies all jumbled together. It took me a little while (almost 2 years!) to figure out that simple and stackable acrylic bins were great for sorting and storing lotion and potions and more! You can read about how I gave these bins a pretty makeover here!
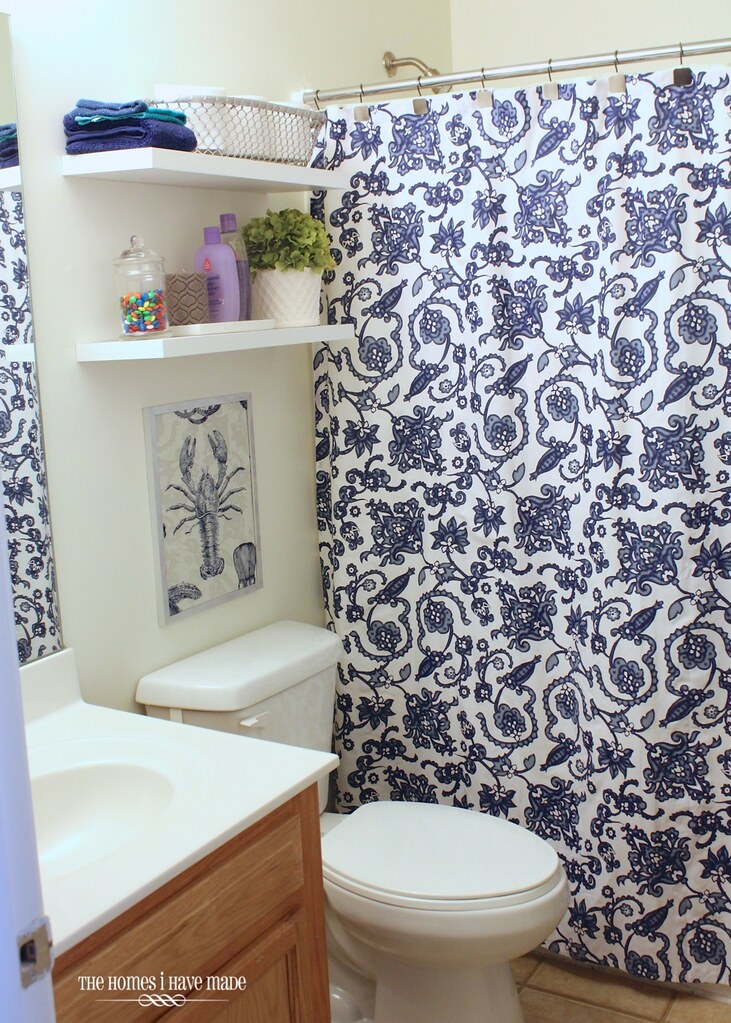
The back section of the bathroom is SO incredibly tight I couldn’t get any decent pictures even with my wide-angle lens. Above the toilet, I have a floating shelf (just like here) that holds extra towels. From the door however, I was able to get a shot of our “shower curtains” which are actually one of my favorite things in our entire house. I found this awesome Dwell Studio Vintage Blossom Slub Dove fabric for $5/yard at our local Hancocks (and did a MAJOR happy dance when I did!) and made the yardage into two 95″ long, grommet-topped curtain panels. We raised our tension rod high enough so that the curtains wouldn’t touch the floor, and I use a plastic shower curtain liner so that they stay nice and dry and clean. Hopefully we can use these panels as real curtains down the road. These extra-high luxe curtain panels are absolutely the one element that transformed this ho-hum bathroom into a place I really don’t mind getting ready in each day. Each and every day, I still walk in and LOVE those curtains (and that’s saying something since I often change my mind so quickly!)

Again, I realize these aren’t super glamourous “after” shots of the most beautiful bathroom in the world. But if you’re stuck with a not-so-ideal bathroom like we are, hopefully I’ve given you a few ideas for making the most of the space you do have. With just a few simple solutions (smart and compact storage and gorgeous textiles), your bathroom can be a beautiful and functional place to pamper yourself!
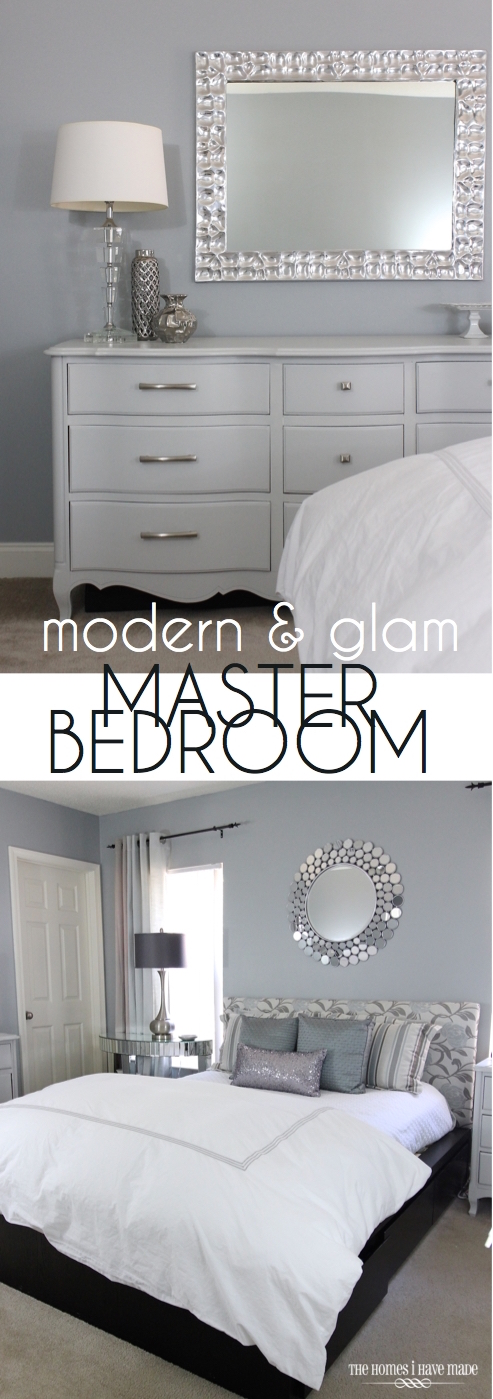
If you’re new around here, check out the rest of the Master “suite” here!
And if you need more small bathroom storage and decor ideas, check out our guest bathroom reveal here!
I hope you’re week is off to a great start. Later this week, I’m chatting about what I’m doing (again) this year for Lent, and hope to have that (driving me crazy) living room project ready for you. Fingers crossed!
Megan
5 Comments on “Smart & Stylish Solutions in a Builder Basic Bathroom – Master Bathroom Final Reveal”
I totally feel you about the "black hole abyss-like" bathroom cabinets. Ours don't even have a proper floor, it's just basically a cabinet shell that sits on the floor of the bathroom. And even though there are 3 doors, they all open up into the same cavernous space. I've tried 6 ways to Sunday to get it organized, but I'm tossing in the towel and getting new cabinets from. I think living with a nightmare of bathroom organization for almost 5 years is enough, don't you? 🙂
The cabinets in our Master are like that as well. I found clear plastic drawers (I think they are intended for shoes) at the container store that allow me to stack yet still access the bottom bins.
After almost 19 years in the military, and 12 moves I've found I hate doors as well. I remove pantry doors, laundry doors, even (and sometimes especially) closet doors! I've converted so many of my fellow spouses to this idea! I also use clear(ish) plastic "media" bins as our under cabinet storage. They are the perfect depth and move with you when you go!
Hi Megan! I recently discovered your blog via I Heart Organizing, and immediately bookmarked it! I'm a renter and I love to see creative solutions to design a space that works for you and your esthetics when you can't demo or substitute a bathroom/kitchen piece. I'll be copying some of your ideas here very soon. Thanks for sharing!
Pingback: How to Make a Simple Window Cornice With Scalloped Edges (and a Master Bathroom Update!) | The Homes I Have Made