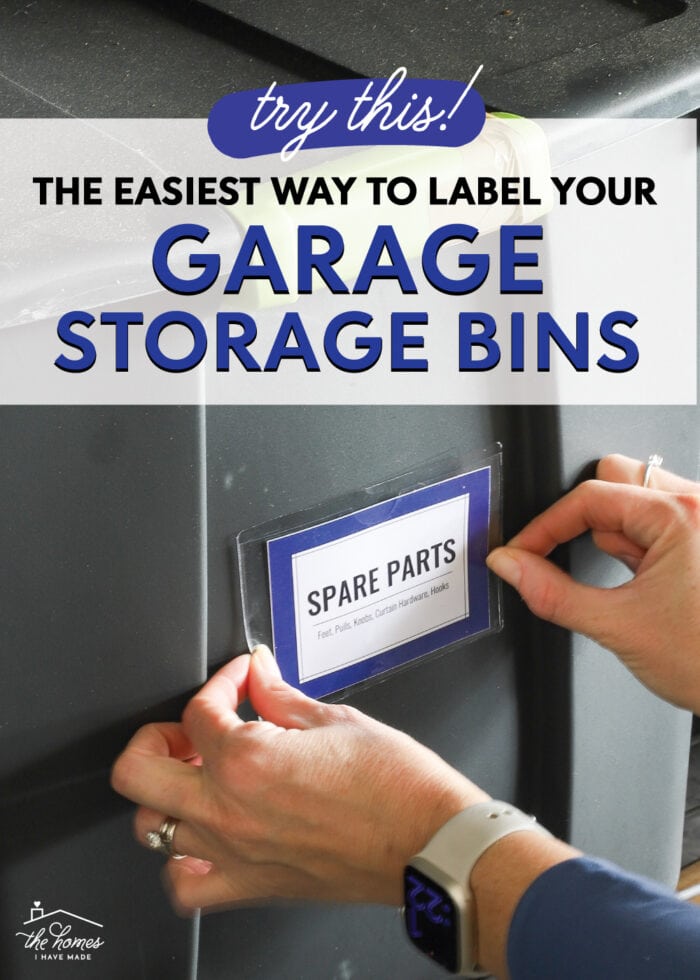
The Easiest Way to Label Your Storage Bins (With Template!)
It’s no secret that my very favorite part of the organization process is the finishing touch: a pretty (and helpful!) label. And while I don’t necessarily mind spending time making beautiful labels, I also like a quick and easy project when I can pull it off. I recently figured out the easiest way to label our garage storage bins, and you better bet I’m now trying to adapt the process to every bin in our home. Whether you’re techy or crafty (or not!), this is a labeling project anyone can (quickly!) tackle!
Pssst – the full organized garage reveal is now live! See it here: How We Organized Our Large Garage
Our (New) Garage Storage Bin Labels
A few years back, I labeled our storage totes with simple peel-and-stick labels (made from sticker paper). But over the years, they’ve fallen off (our storage bins tend to stay in the garage, which is subject to temperature shifts, wind, kids, etc), leaving us to constantly wonder what’s inside each tub.
Our garage storage bins really needed fresh, durable labels, but I was hesitant to go with stickers yet again. So after combing through tons of different printable papers and label holders, I came up with a solution that is literally Type > Print > Tear > Insert.
I mean…does it get any easier than that?

I don’t think it does!
Because in less than an hour, I had ALL of the storage bins on our garage shelves (finally!) labeled, and it required no paper cutter, no sticker paper, no cutting machine. Let me break it all down for you!
Supplies Needed
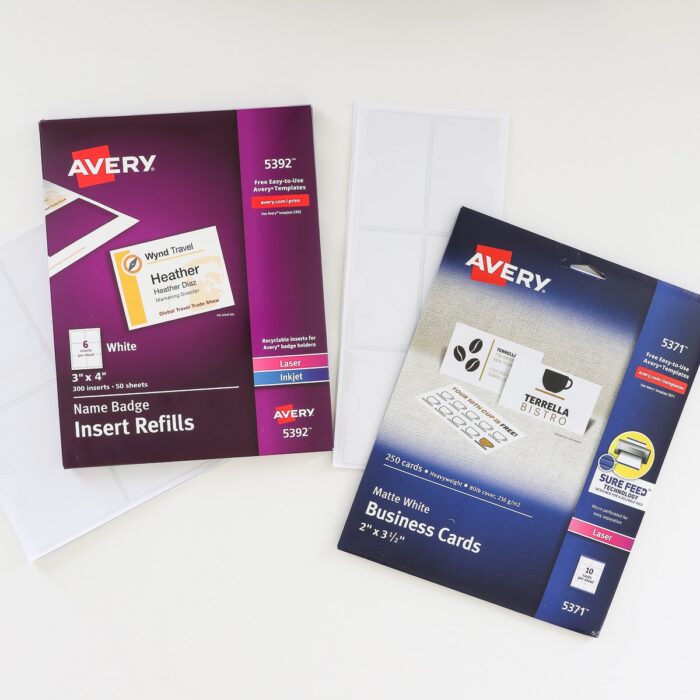
The “secret” to this super simple, super fast labeling project is in the supplies! Here’s what you need:
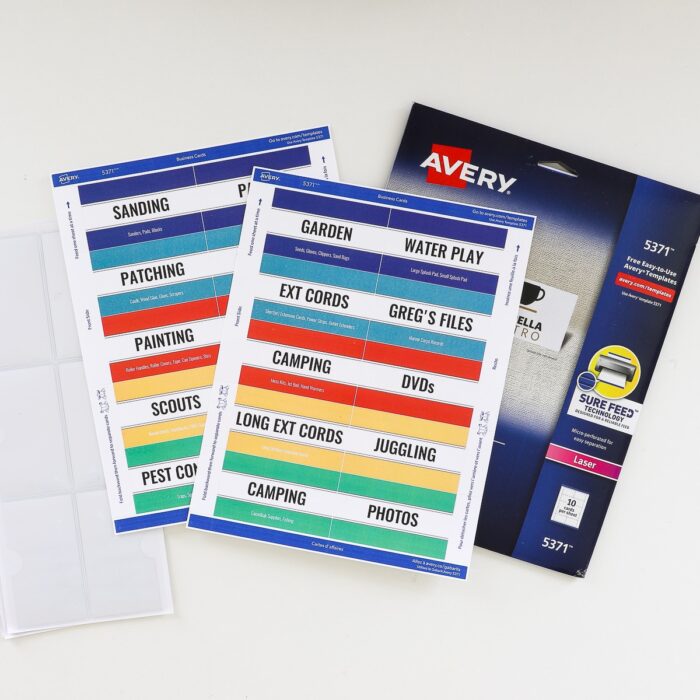
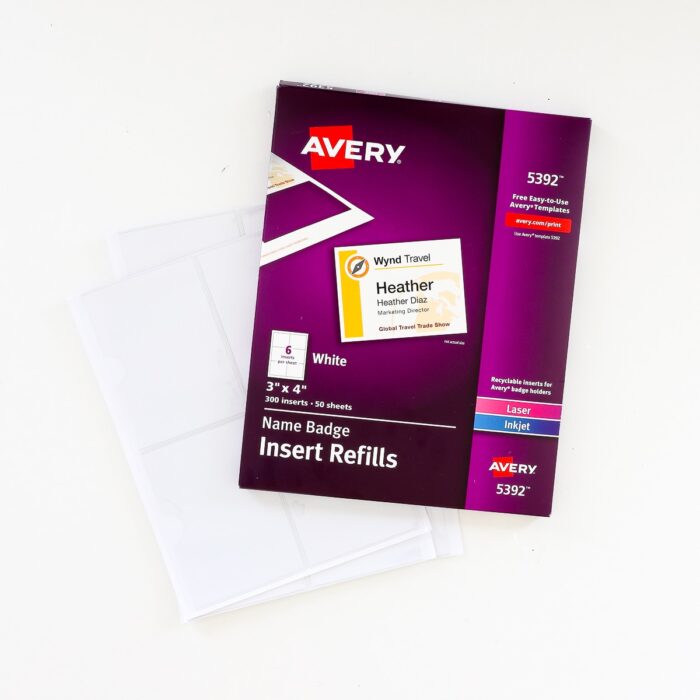
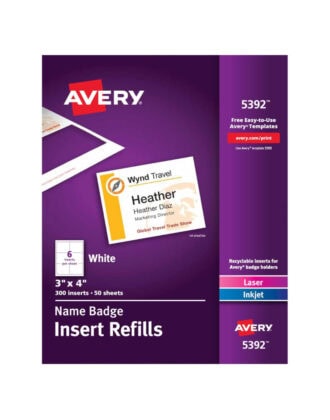
- Perforated Labels – These ready-to-tear printable papers make it SO quick and easy to assemble your printed labels.
- 3×4″ Labels – AVERY 5392 Name Badges
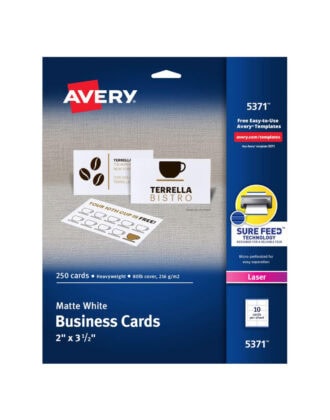
- 2×3.5″ Labels – AVERY 5371 Business Cards
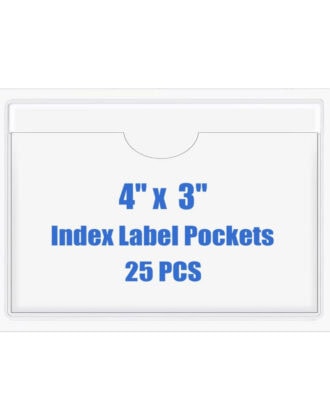
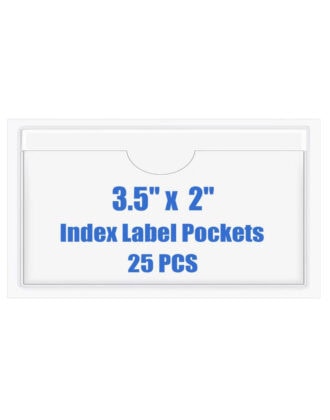
- Adhesive Label Holders – These adhesive-backed label holders allow you to quickly put your printed labels (almost) anywhere.
- Storage Bin Labels Template – While you can certainly use any compatible AVERY template to type up your labels, my ready-to-print template is a colorful and easy-to-use option. More details below.
- Home Printer – This is the printer we have and love.
If you don’t want to buy additional packs of labels, you CAN print your labels onto regular paper or cardstock. You’ll just need a scissors/paper trimmer to cut them out instead!
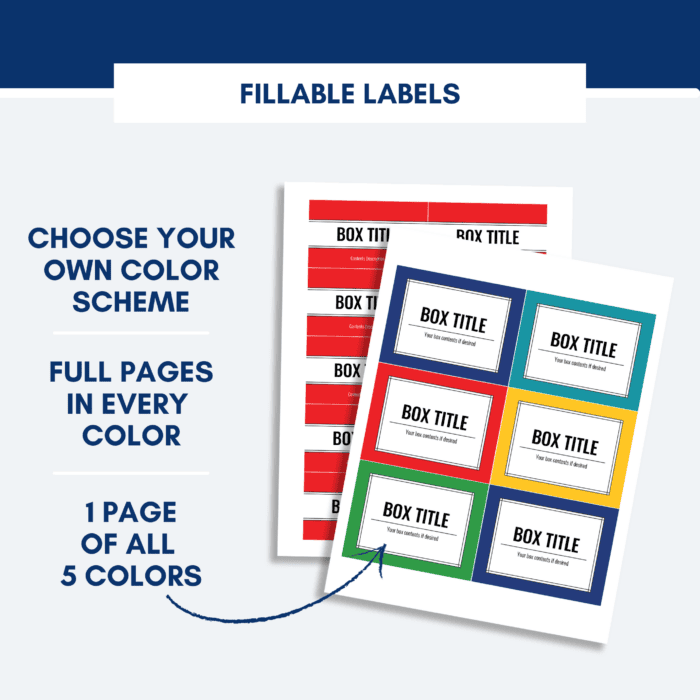
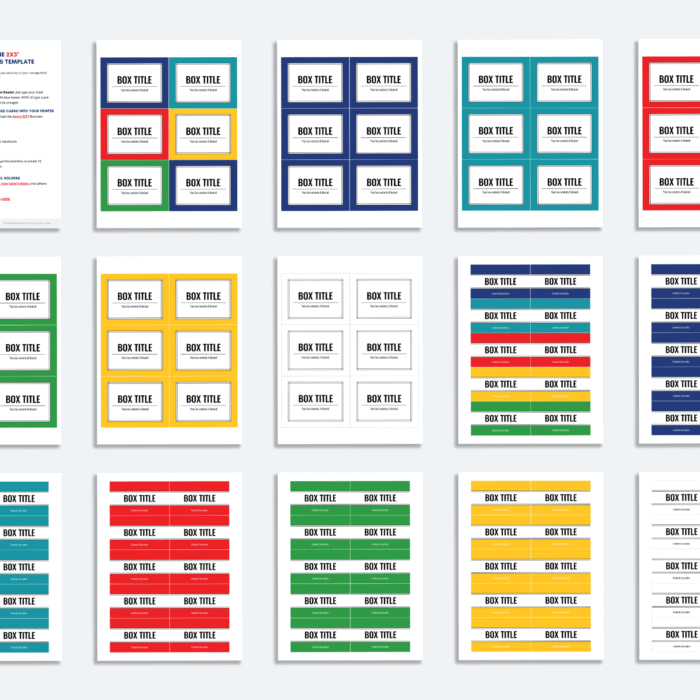
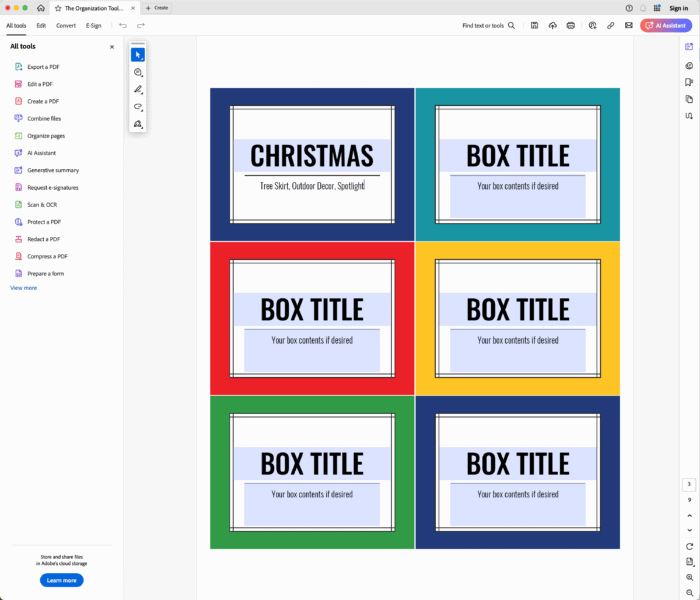
The Storage Bin Labels Template
My Storage Bin Labels Template is a 14-page PDF label template that includes the colorful labels shown in this post. All labels feature fillable text boxes in which you can type whatever you want using Adobe Acrobat Reader.
- 3×4″ Labels – compatible with AVERY 5392 (6 labels/page)
- 1 Page – all 5 colors of labels
- 5 Pages – single color labels
- 1 Page – black and white labels
- 2×3.5″ Labels – compatible with AVERY 5371, 10 labels/page
- 1 Page – all 5 colors of labels
- 5 Pages – single color labels
- 1 Page – black and white labels
Video Tutorial
I break this entire project down in photo detail in the rest of this post. If you’d rather watch these labels come together, here is a short video tutorial to watch. (Video not loading for you? You can watch it HERE).
DIY Storage Bin Labels | Step-By-Step
In general, large storage bins need large labels and small storage bins need smaller labels. I’m going to share this tutorial using the 3×4″ labels as an example, but the process is the same for the smaller 2×3.5″ size as well.
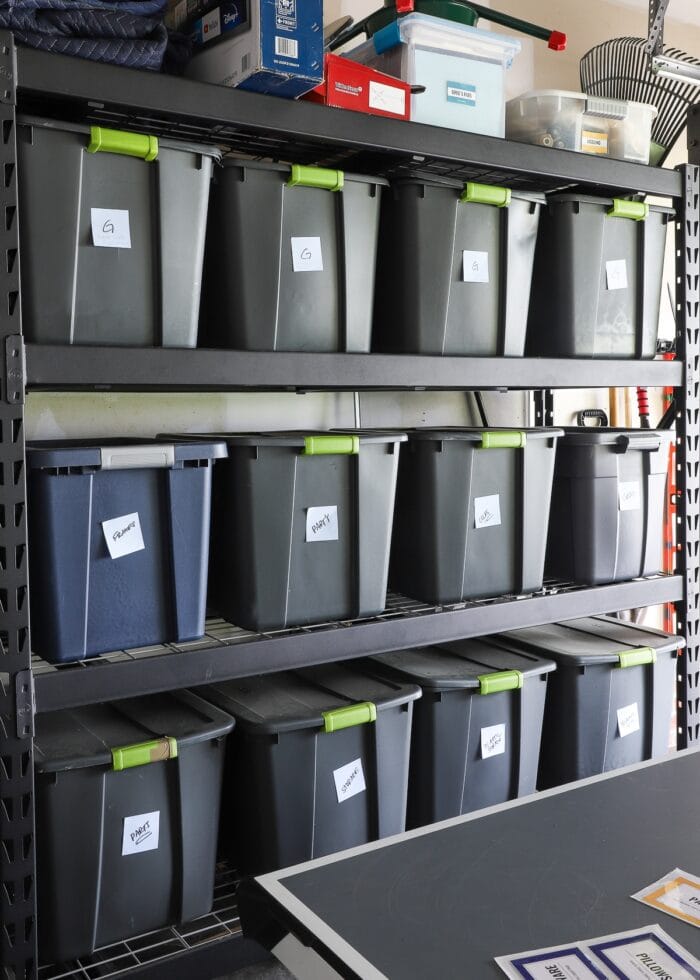
Step 1 – Identify Needed Labels
Before you can start typing and printing your labels, you first need to know what’s inside each of your storage containers. Once you have your storage bins sorted and organized, use Post-It Notes and a marker to quickly jot down the label names/categories you’ll need.
See More: Why Labels Are So Important When Organizing
Step 2 – Type Label Names Into Template
Download the Storage Bin Labels Template from The Organization Toolbox and open with Adobe Acrobat Reader. In the blue text fields, type in whatever label names and additional details you want on your labels.
If you do not want to include a description, these text fields can remain blank.
Step 3 – Print Labels Onto Perforated Pages
Once your custom labels are all filled out (be sure to proofread for any errors before printing!), load the AVERY 3×4″ Name Badge Inserts into your home printer (according to your printer specifications).
Print the label pages you need at 100% resolution.

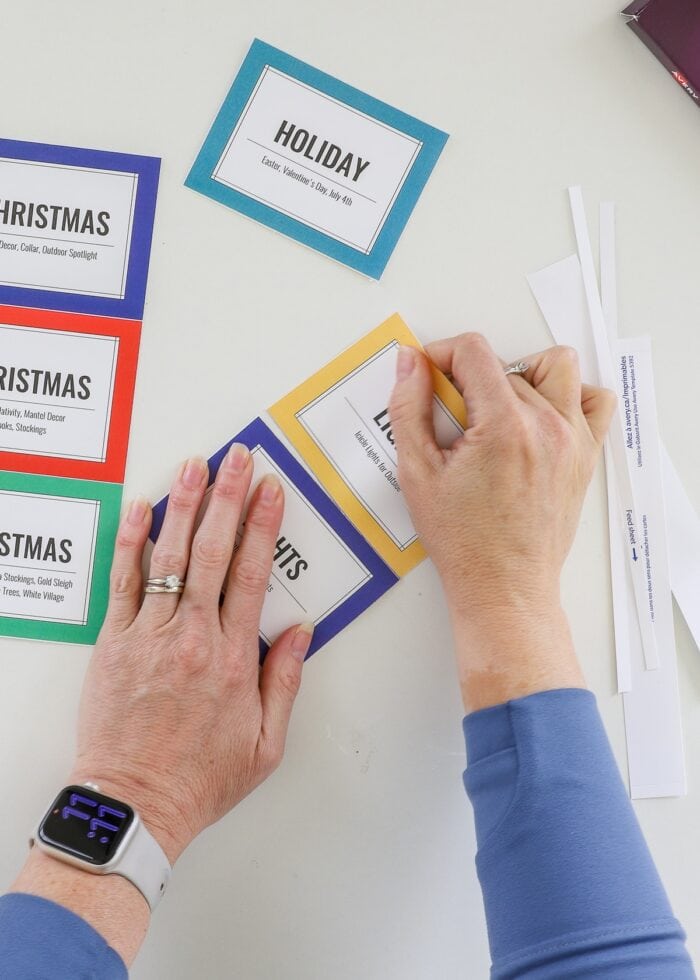
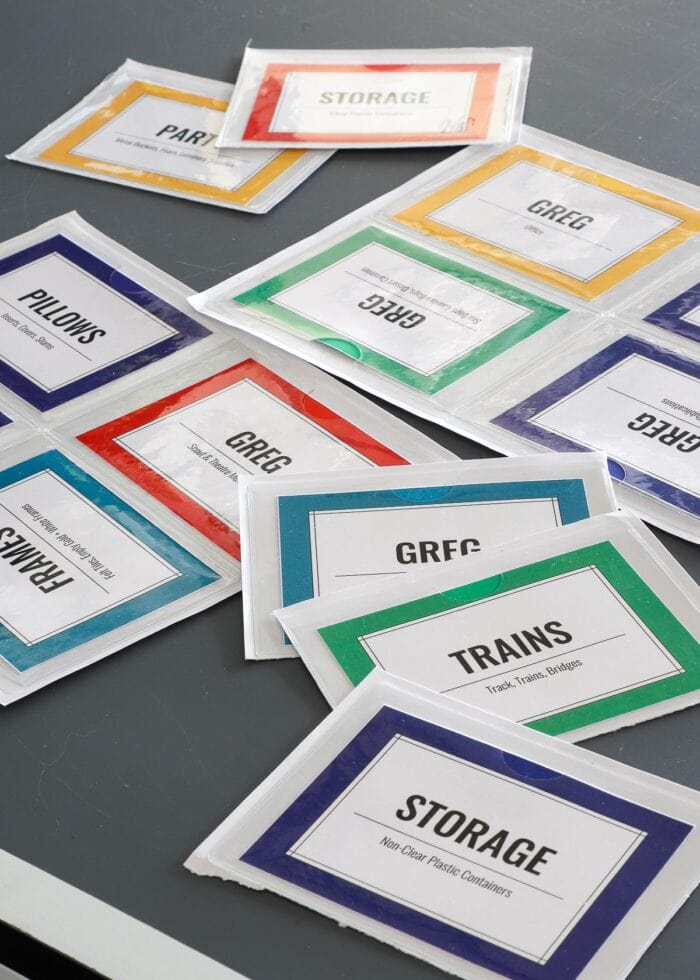
Step 4 – Tear Apart Labels
Here is the very best part! Because this paper is perforated, there is no need to break out the scissors or paper trimmer. Just tear the labels apart along the perforated lines!
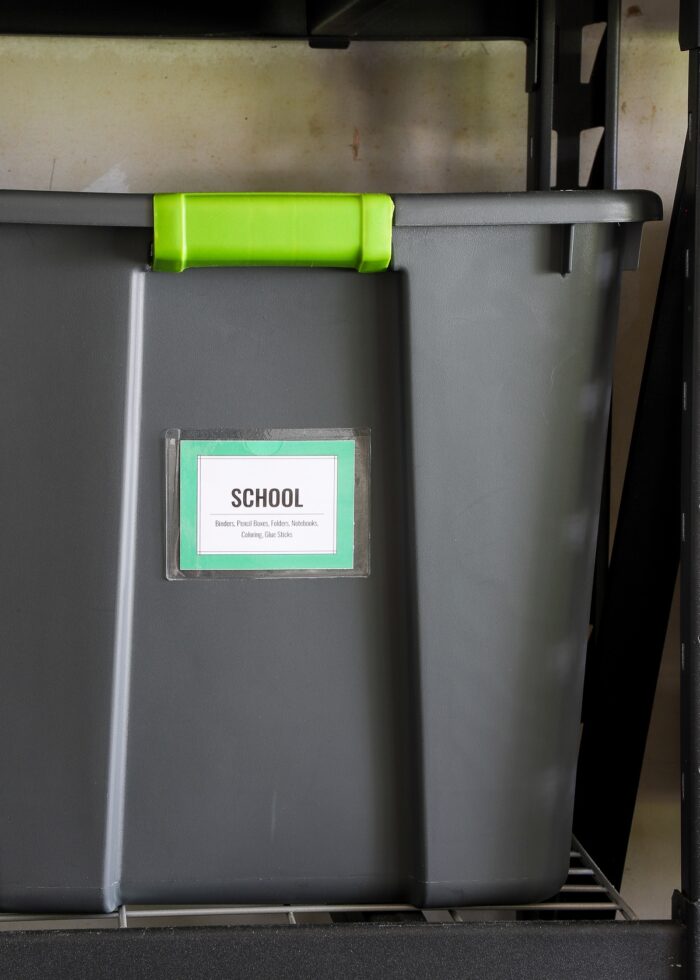
Step 5 – Label Storage Bins
Your labels are made and now it’s time to attach them to your storage bins! There is no right or wrong way to do this, but here are the two main options:
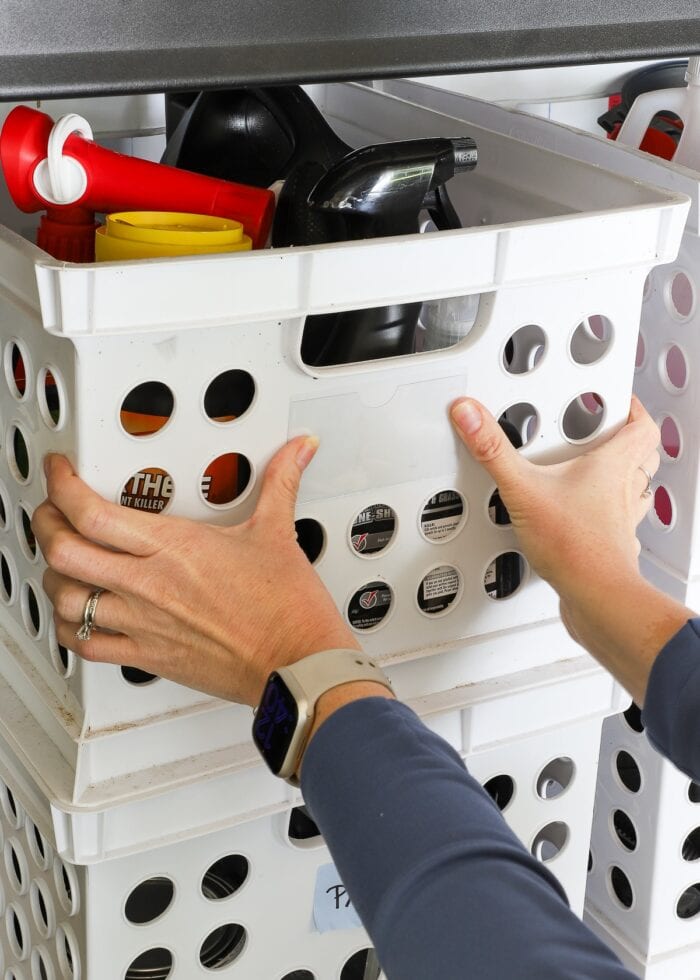
Option 1 – Assemble Then Stick
One option is to first slide the labels into all the holders at once…

…and then secure the label holders to the bins (by removing the paper backing to reveal the adhesive surface).
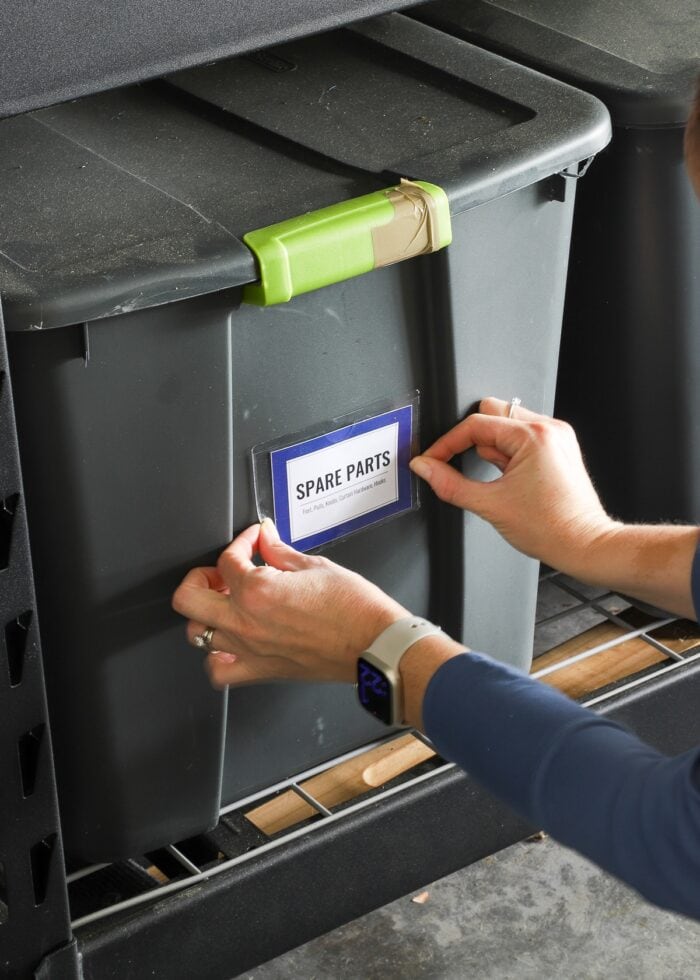
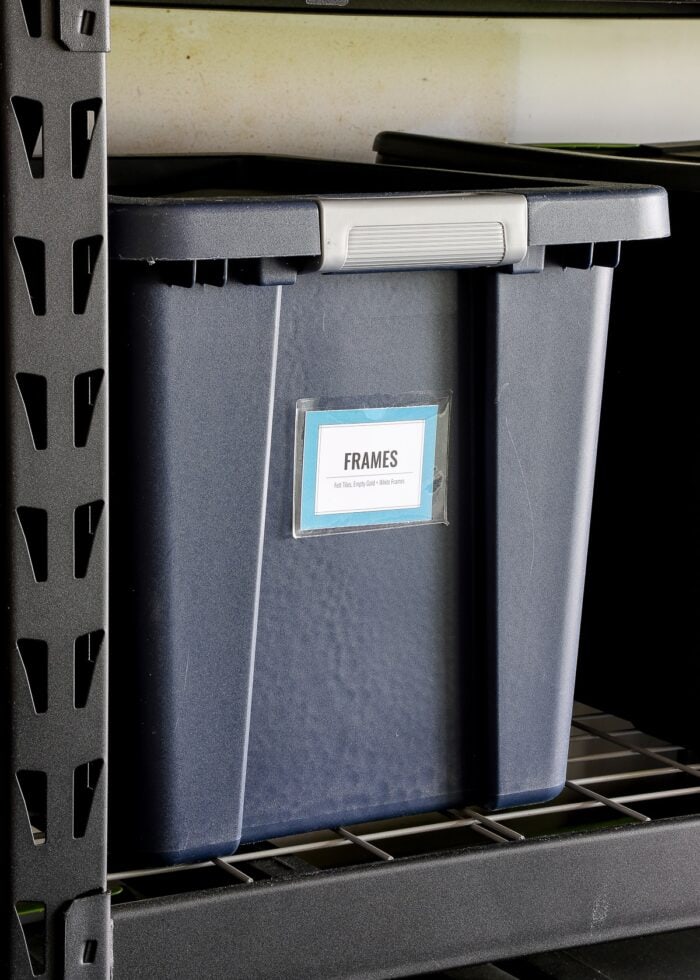
Option 2 – Stick Then Insert
Or you can place the empty label holders directly onto your bins…
…and then slide your labels inside!
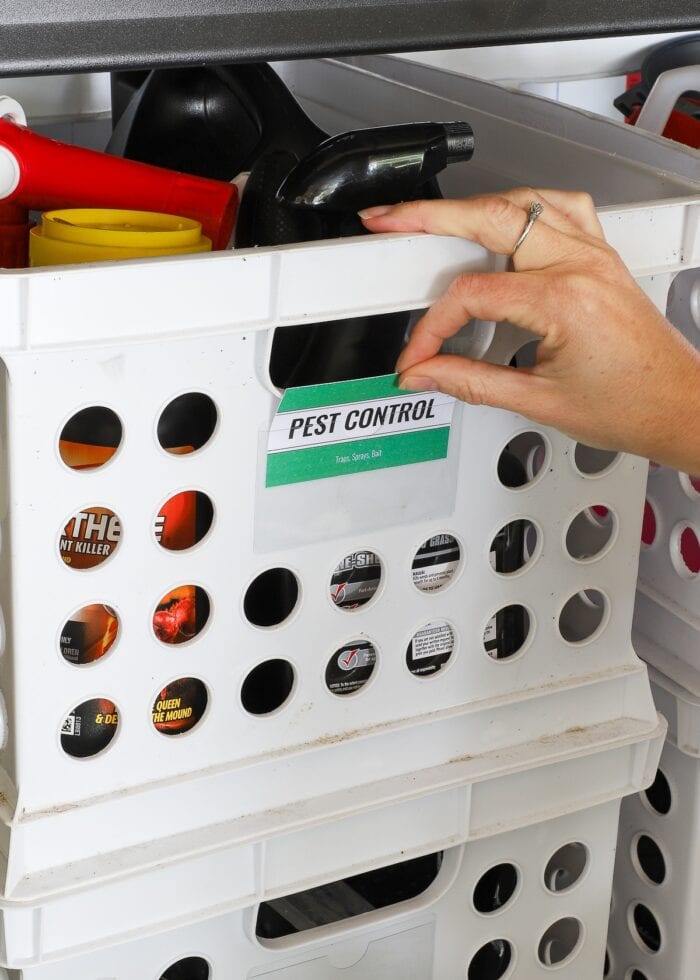
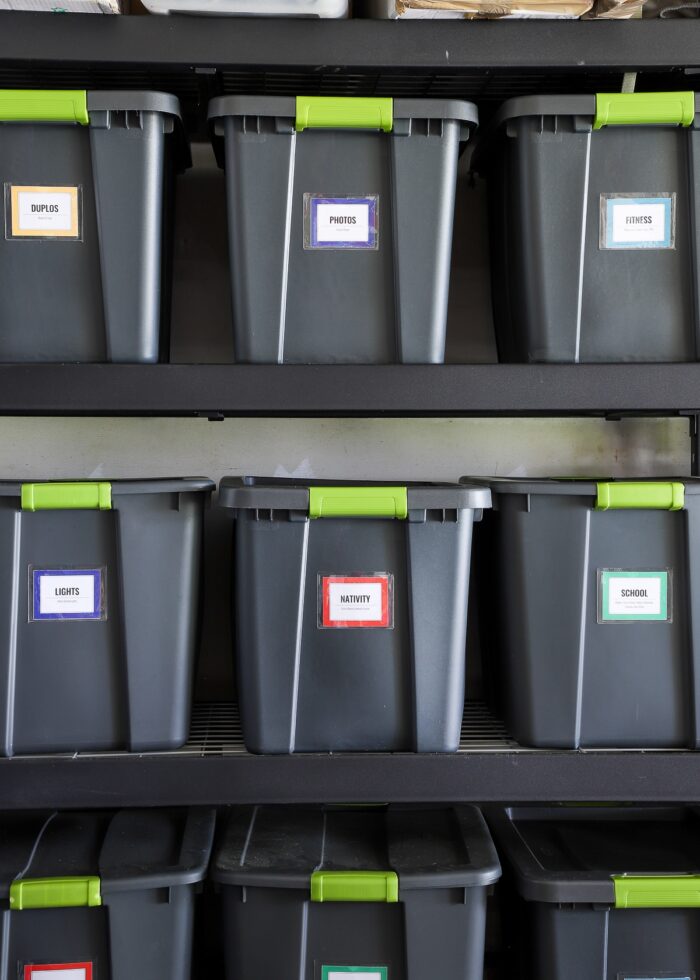
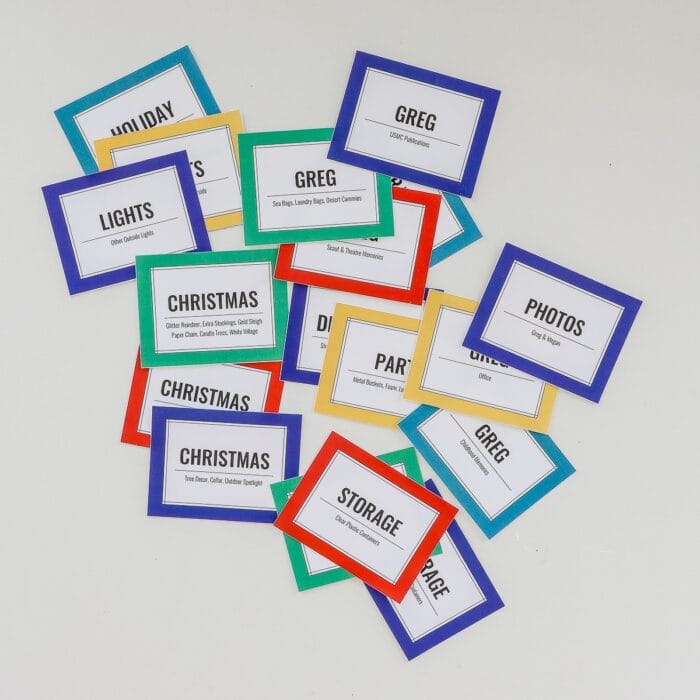
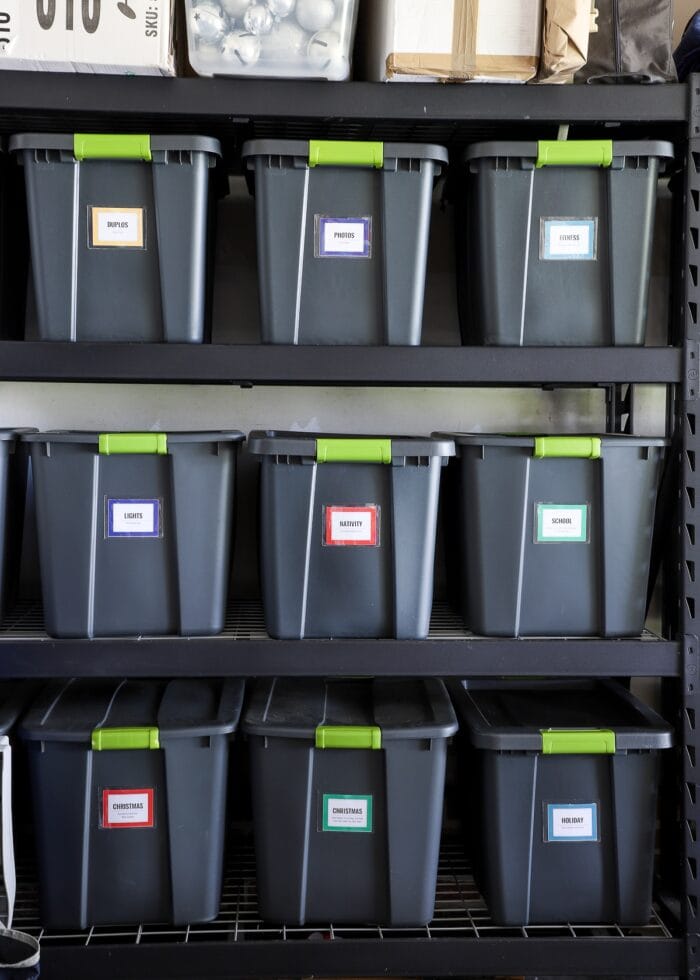
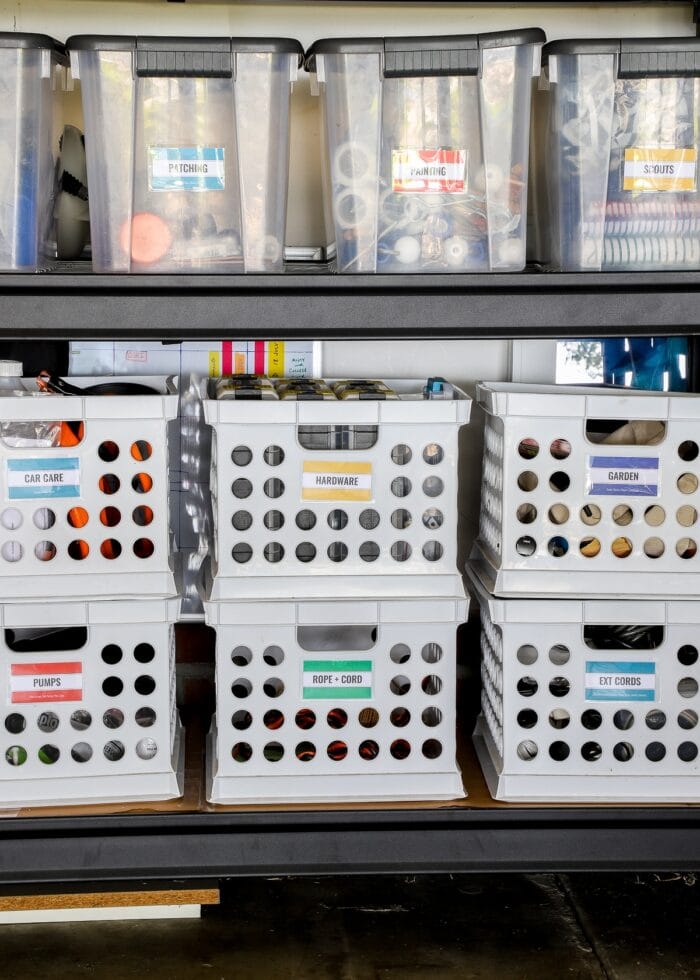
Step 6 – Find What You Need, When You Need It
Now with all your bins clearly labeled, it’s quick and easy to find exactly what you need, whenever you need it!
Pssst – the full organized garage reveal is now live! See it here: How We Organized Our Large Garage
Easy Swap!
These storage bin labels are about the quickest and easiest labels I’ve ever come up with. But there’s another feature that I’m pretty excited about too: how easy they are to swap.

Want to save this post?
Because the labels themselves aren’t sticky (only the clear label holder has adhesive), it’s really easy to swap the labels at any time. The label holder can remain in place, and you simply print-and-insert a new label whenever needed!
More Labeling Templates
I love making labels, and I want it to be quick and easy for you too! Below are some other ready-to-print templates you can use throughout your home!
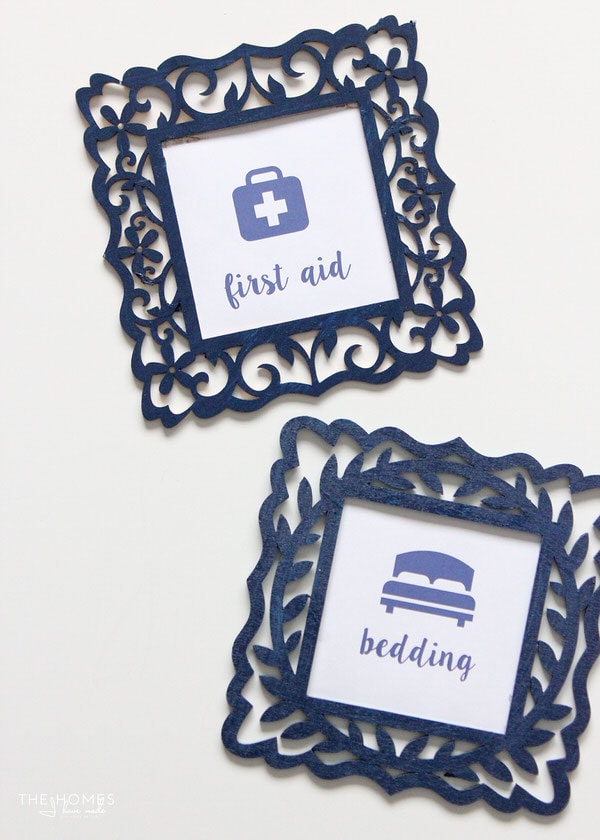
- Storage Bin Labels Template
- LEGO Set Label Template
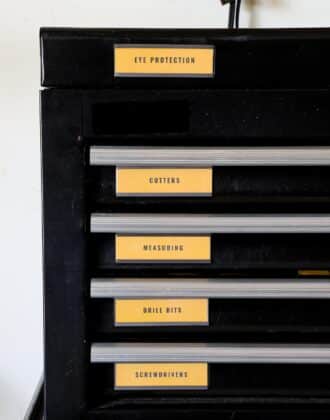
- Garage Toolbox Labels
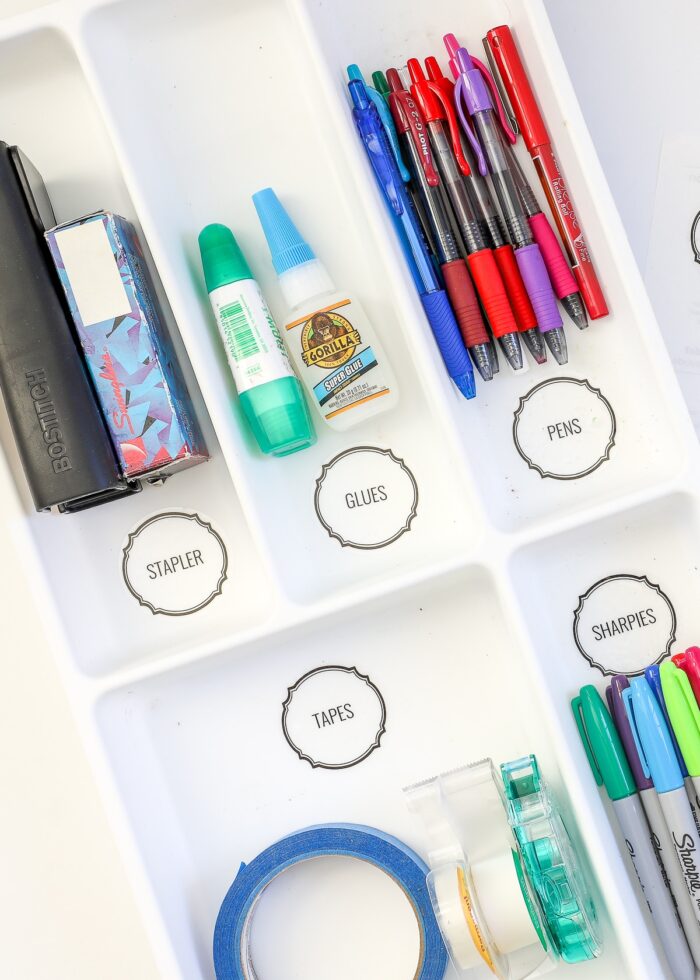
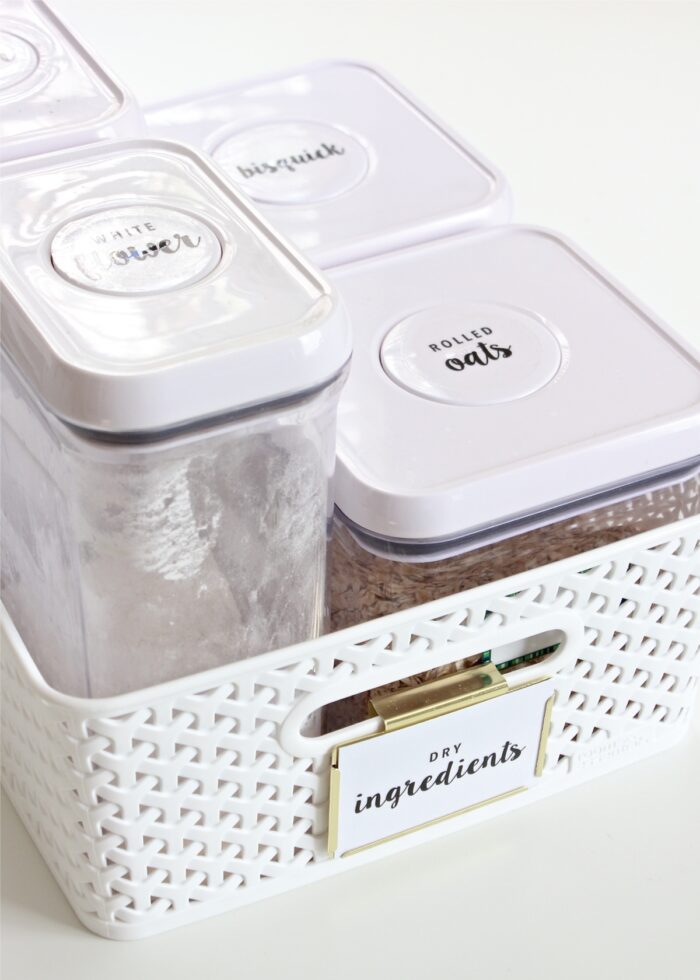
- Printable Spice & Pantry Labels
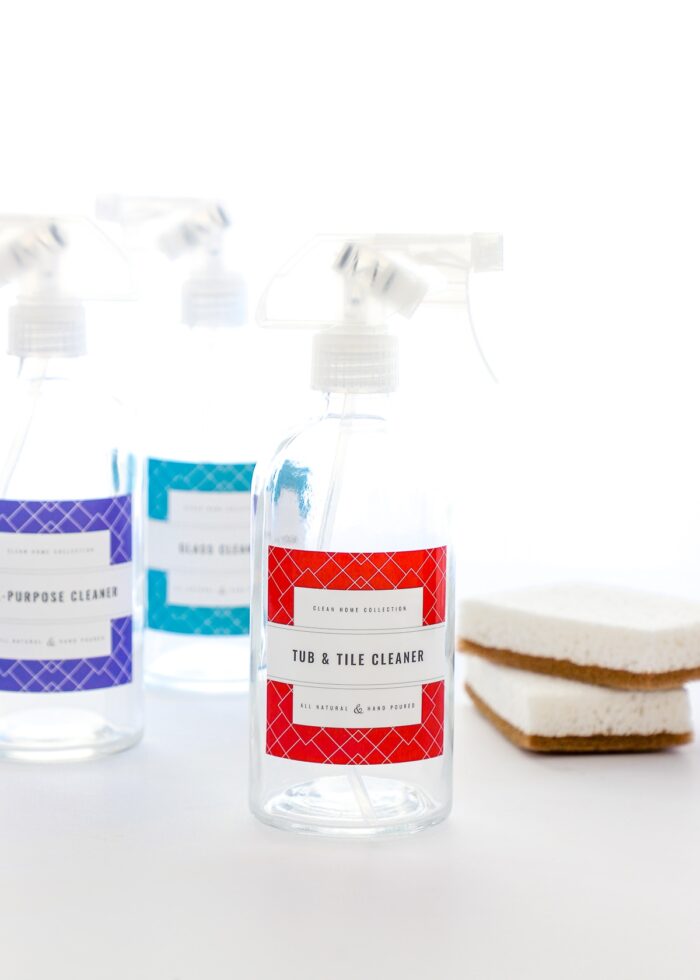
- Cleaning & Laundry Supply Labels
- Basic Shapes Printable Labels
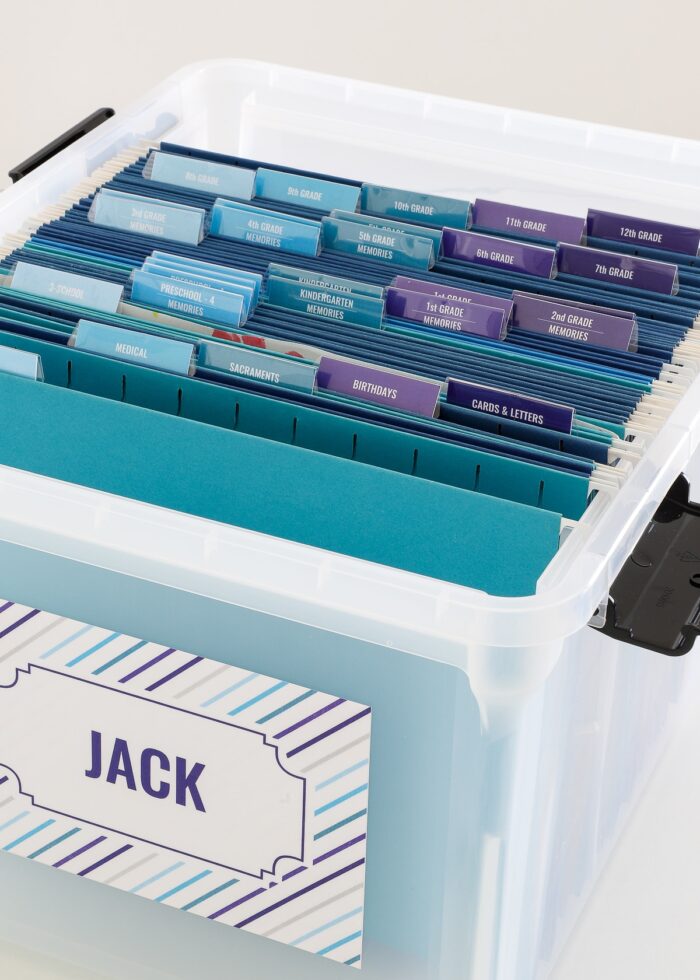
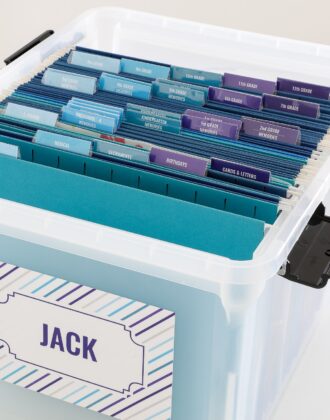
- School Memory Box Labels
- Household Staple Labels
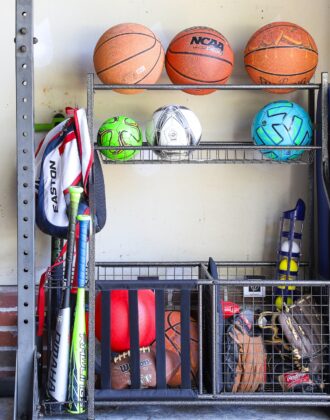
- Toy Bin Labels

As much as I love to label all the baskets and bins around our home, even I’m sometimes not up for the hassle that comes with designing, cutting, sticking, etc. I love that this labeling project produces simple, clean, colorful labels in mere minutes! If you’ve got some bins (in your attic, garage, basement, classroom, anywhere!) that really need some labels ASAP, this is a DIY version you’re sure to love!
Megan

2 Comments on “The Easiest Way to Label Your Storage Bins (With Template!)”
I loved this! The label holder stays on even in the garage in the heat? That is my problem and everything I have tried doesn’t last long in our triple digit summers!
Wow! Thank you for this explicit step-by-step explanation with helpful photos. I am so impressed with your organizational skills.
I plan to try this solution for our garage bins.