Easy DIY Skeleton Costume (That Glows In the Dark Too!)
This DIY Skeleton Costume is as easy as it is cute, making it the perfect last-minute Halloween solution for kids, adults, or the entire family. I’m breaking down this entire (quick!) costume project from start-to-finish and sharing some of my best tips and tricks along the way!
My Skeleton Family
Years ago, my oldest son needed a (very) last-minute costume for a Halloween party. On a whim, I cut a bunch of skeleton bones out of white vinyl, stuck them to his black long underwear, and sent him on his way.
Although a bit haphazard, I couldn’t get over how good he looked in about 15 minutes of crafting. So that same year, I decided to cut lots of skeleton bones (from different colors of glow-in-the-dark vinyl) to create an entire skeleton family (Greg and I rounded out the rainbow with pink and blue).
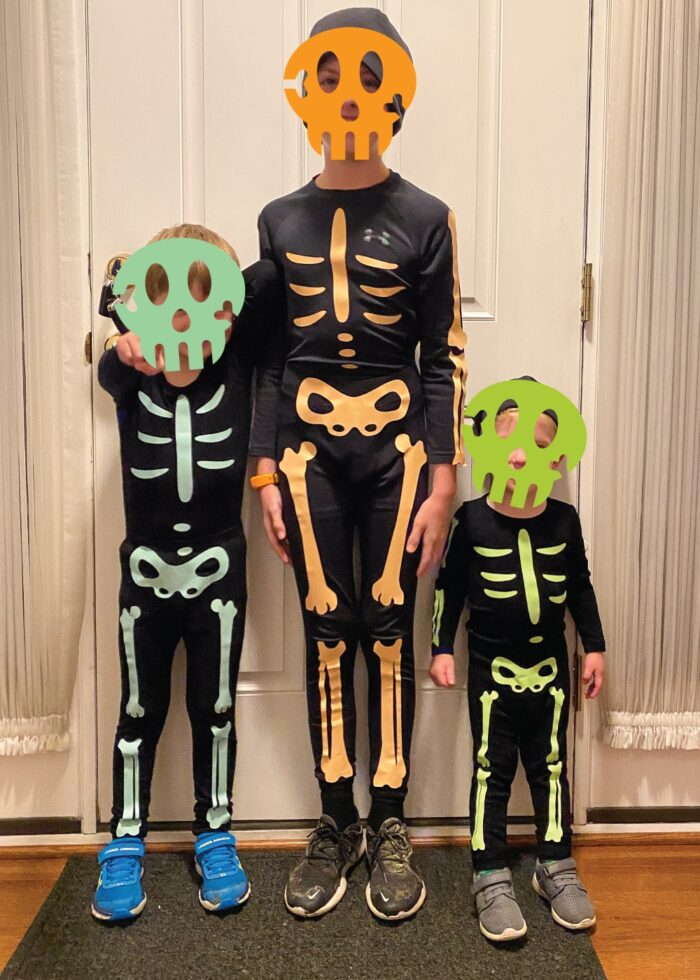
But beyond being quick, easy, and cheap…what’s especially fun about this costume idea is that, thanks to a wide variety of glow-in-the-dark vinyls now on the market, this costume transitions perfectly from day-to-night, light-to-dark!
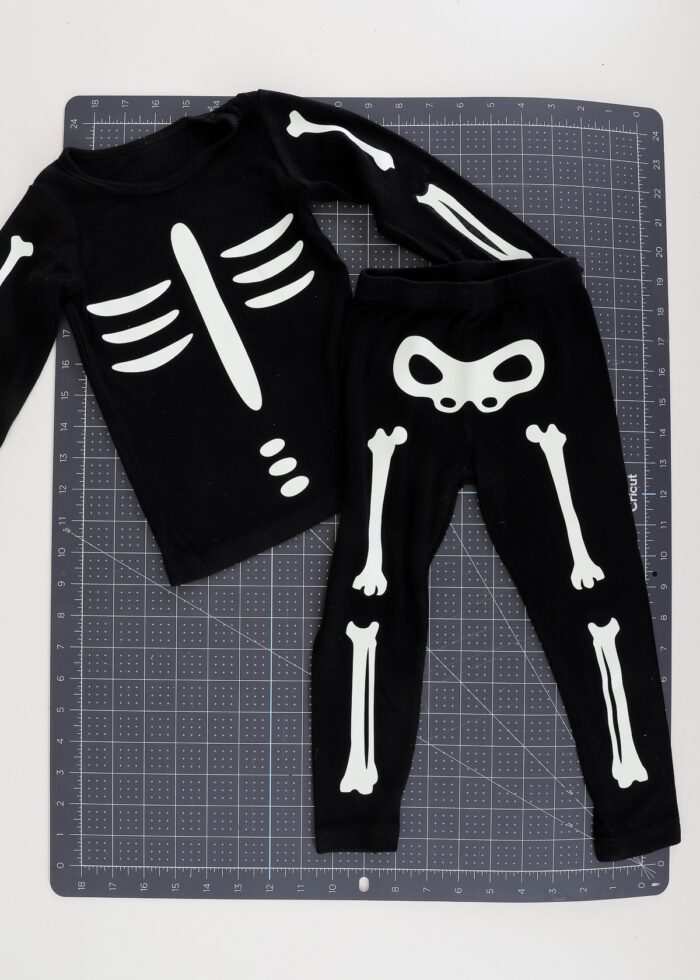
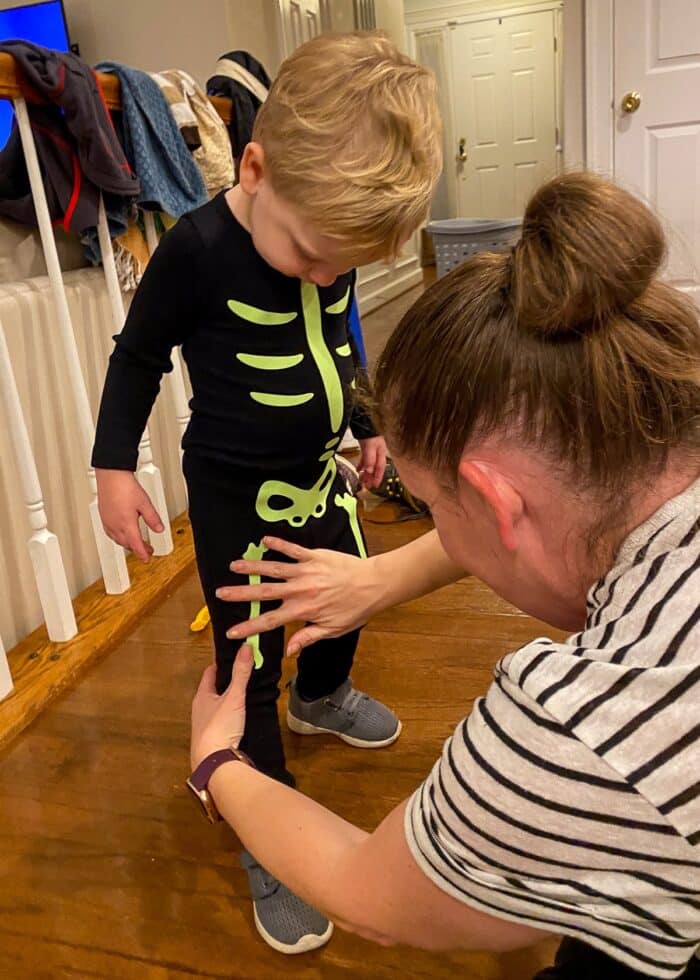
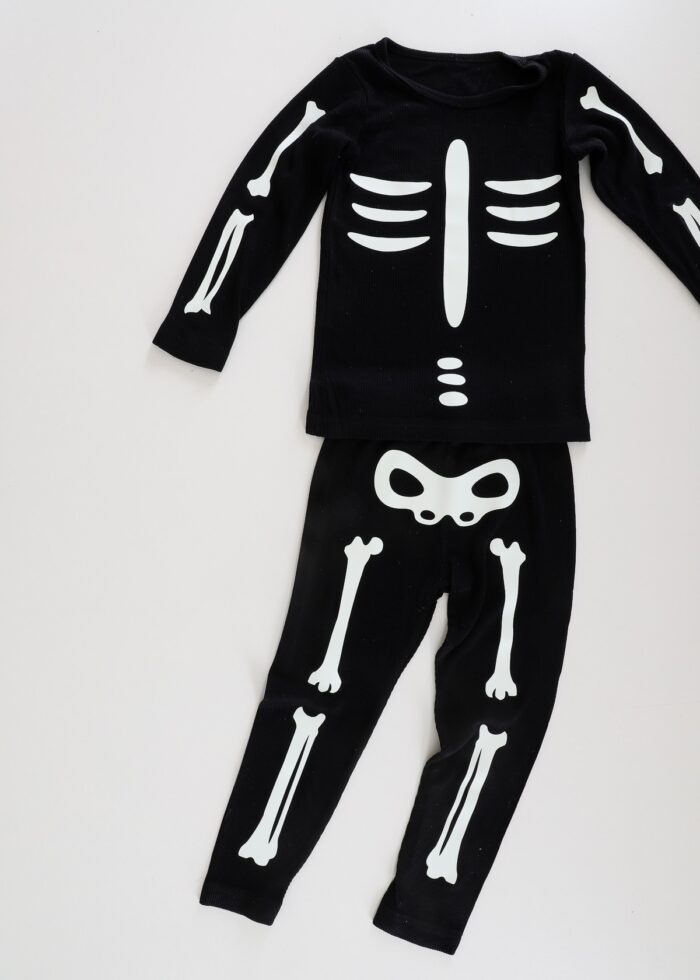
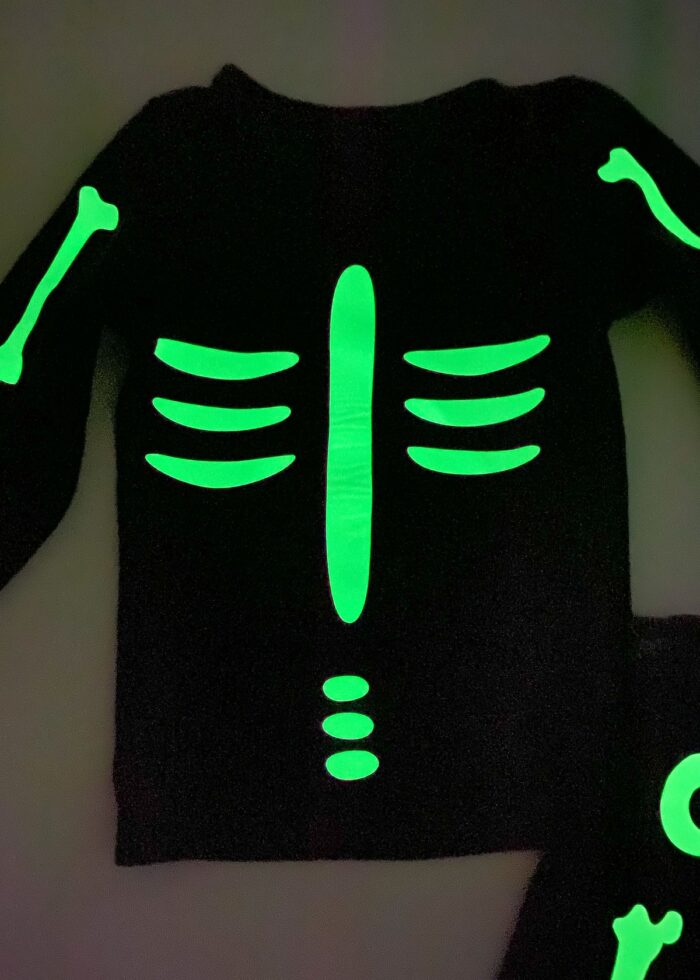
While inside or during the day, the bones are bright and visible…
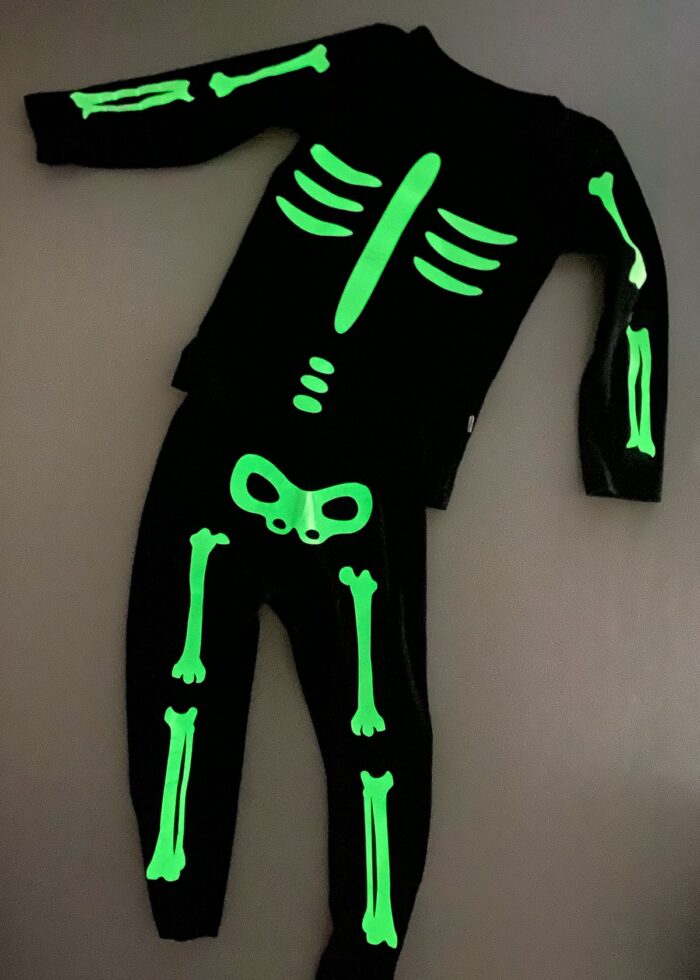
…but in the dark, people only see neon bones walking around collecting candy!
This skeleton costume is just so fun and whimsical; we received tons of compliments on how great we looked (especially all together). And as someone who doesn’t love Halloween, I couldn’t get enough of this simple, inexpensive costume concept!
If you, too, tend to leave Halloween costumes until the very last minute or you’re just looking for a fun, easy option this year, this DIY Skeleton Costume is just the ticket.
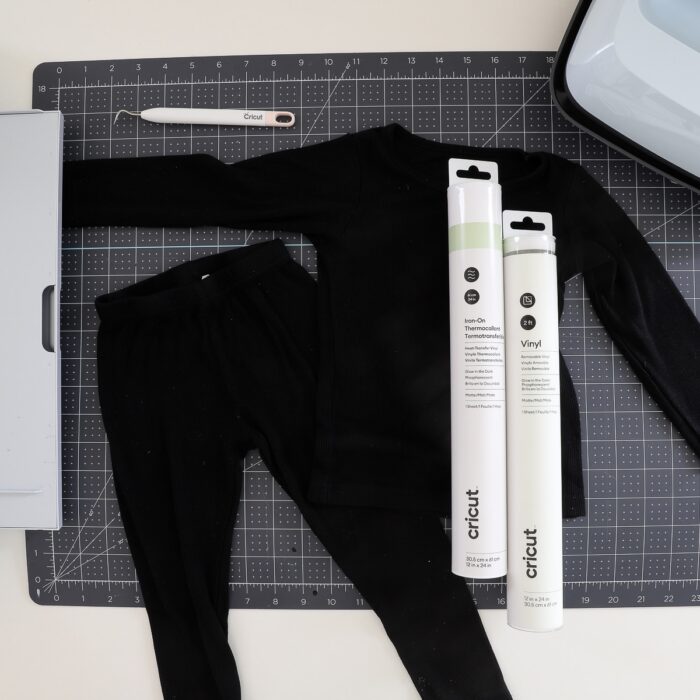
Supplies Needed
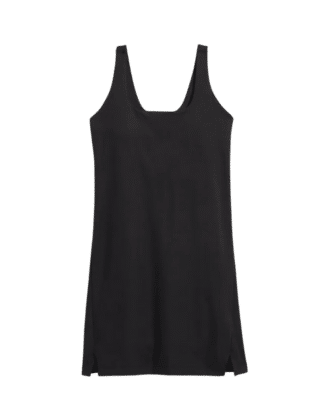
- Black Pants & Long-Sleeve Top – we picked these jammies for the kiddos; but if you live in colder temperatures, you might want to pick a heavier sweatsuit.
- Glow-in-the-Dark Iron-On or Glow-in-the-Dark Vinyl – see more below
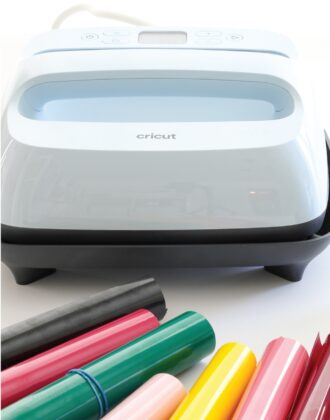
- Cricut Machine (not required but quite helpful) – the Cricut Explore and Cricut Maker models are best for this project
- Cricut EasyPress (only if using Iron-On Vinyl)
- Weeding Tool
- Scissors
- Skeleton Bone Design
- HERE is my exact Skeleton Costume Design for Cricut Design Space
- This SVG file has all the bones you’ll need for a costume in a single download
- This free skeleton bone graphic can also be used
Quick FAQs Before Getting Started
Should You Use Iron-On Vinyl or Standard-Adhesive Vinyl for This Skeleton Costume?
This skeleton costume can be made using either iron-on vinyl (HTV) or standard adhesive-backed vinyl. I’ve done it both ways, so here are a few things to keep in mind!
Adhesive-Backed “Standard” Vinyl
The nice thing about using standard, adhesive-backed vinyl is that this costume would be 100% temporary. You can stick the bones onto any black clothing for the night, then peel them right off when Halloween is over.
Case in Point: We first made these skeleton costumes back in 2021 using this set of standard glow-in-the-dark vinyl. But we peeled all the bone stickers off when Halloween was over, and my kids still wear these jammies to bed to this day!
Another benefit of using standard vinyl is that assembling the costume is quick-and-easy: just peel and stick. After everyone is dressed, you can “assemble” their costumes right before their very eyes. This also means that you can easily adjust placement or layout if you don’t get something quite right.
Iron-On Vinyl
That said, the ease and temporariness of adhesive-backed vinyl may not be exactly what you’re looking for. Not only might you loose a sticker (bone) throughout the night, but they surely won’t last through several Trunk-or-Treats or post-Halloween dress up time.
So if you need more staying power for your skeleton costume, I highly recommend using glow-in-the-dark iron-on vinyl instead.
This vinyl is adhered to the fabric with heat, meaning it is permanently affixed to the clothing. The black top and pants will forever have skeleton bones on them, but they will likely last through Halloween and beyond!
Do You Have to Use a Cricut Machine to Make This Skeleton Costume?
Nope!
While using a Cricut machine (or similar e-cutter) will make this project MUCH quicker and easier, you CAN pull this one off with just a scissors.
To do so, I recommend purchasing this skeleton graphic and using a free program like Canva to isolate and re-size the various bones. Then, print each bone onto printer paper and trace the shapes onto iron-on or vinyl before cutting them out with a scissors. Once cut, you can follow the rest of the application instructions outlined below.
Can You Make This Skeleton Costume for Adults Too?
Yep!
I cut the exact same set of bones, just in bigger sizes, in order to make adult skeleton costumes for my husband and I. Just be forewarned that adult-sized bones will require (much) more material, so you might want to order a few extra rolls!
How to Make a Skeleton Costume | Step-By-Step
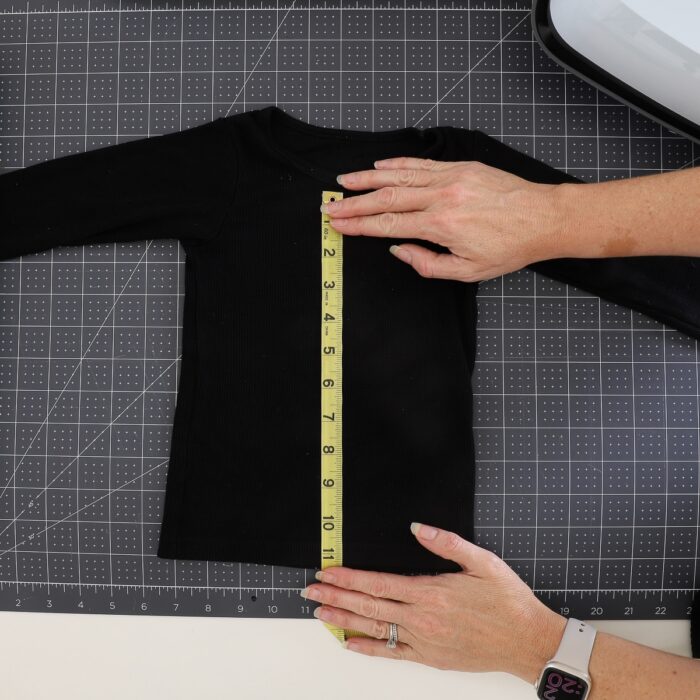
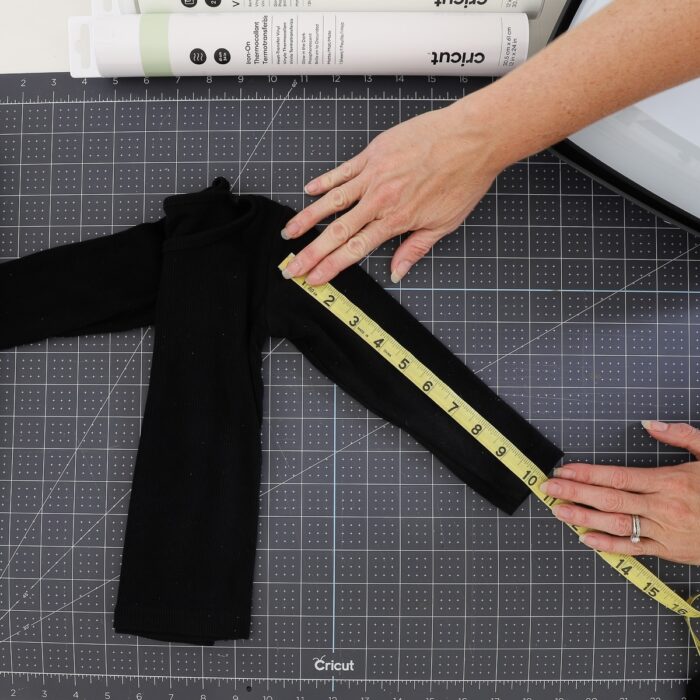
Step 1 – Take Measurements
For this costume to look right, the bones need to “match” the person’s size. So before you start cutting out bones, first take some measurements:
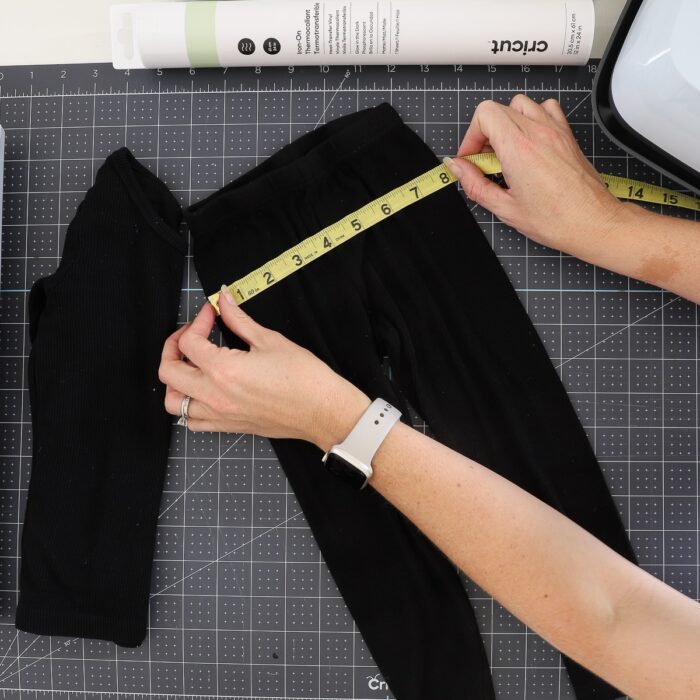
- The front of the shirt (height, width)
- The length of the sleeves
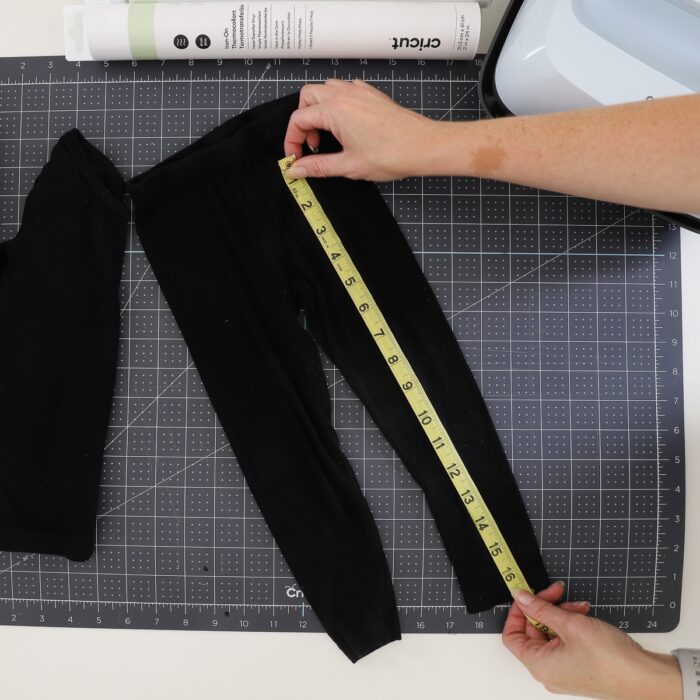
- The length of the pant legs
- The width of the pants at the hips
Step 2 – Size Bones to Match
Next, find some skeleton bone designs and size them to match those measurements.
Here are some options to start with:
- These skeleton SVG files have all the bones you’ll need for a costume.
- This free skeleton bone graphic can be uploaded into any design software; then use various editing tools to isolate the bones you want.
- Finally, HERE is my exact set of bones within Cricut Design Space.
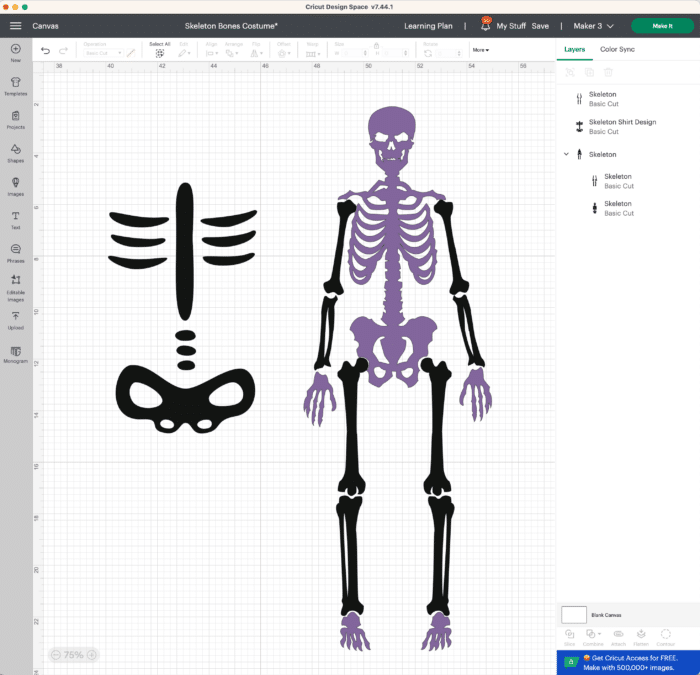
If you’re curious how I designed this set of bones, I isolated out the various ribs, arm, and leg bones from the Skeleton Shirt (#M285B9667) and Skeleton (#M72D842) graphics (everything shown in black). I liked their really simple lines that also wouldn’t require a ton of material in order to achieve the overall skeleton look.
No matter which bone graphics you use, don’t assume they will be the right size.
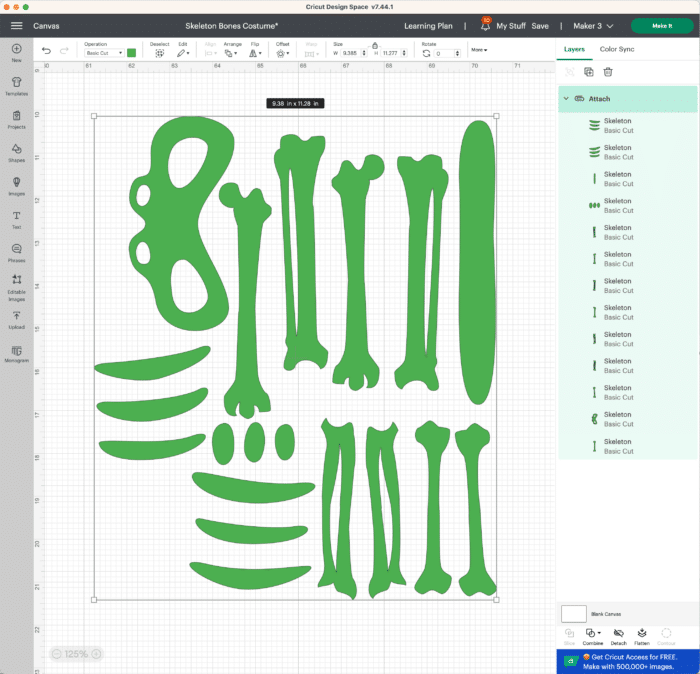
I highly encourage you to ungroup the bones and size each every one individually so they fit appropriately on whoever is wearing the costume. I would worry less about keeping the bones proportional to each other and instead make sure each bone fits on the body correctly.
Next, I recommend laying everything out as tightly as possible (in order to conserve iron-on/vinyl). Once you have your sizing and layout just right, Attach them all together before cutting (using the button in the bottom, right-hand corner of Cricut Design Space) before sending them to your machine. (Not sure what I mean? How (& Why!) to Use Attach In Cricut Design Space)
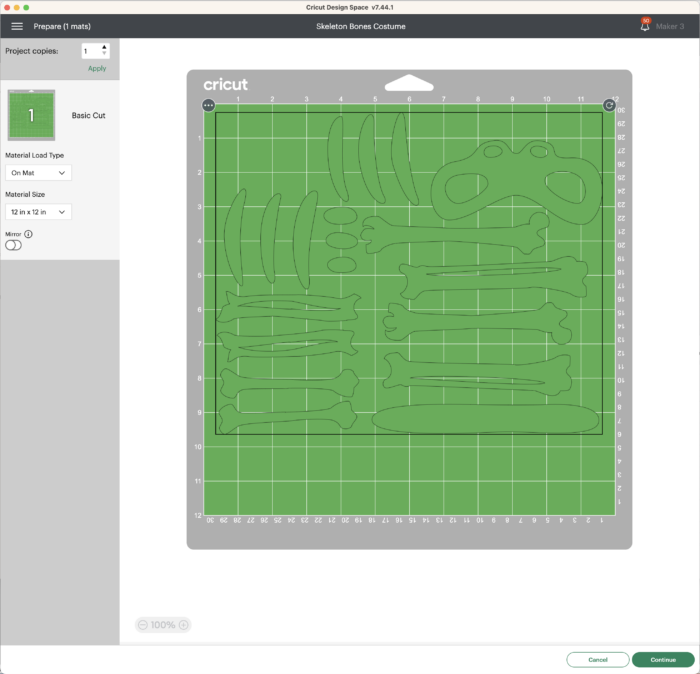
If you are cutting the skeleton bones out of iron-on vinyl (HTV) AND your bone design is NOT symmetrical, be sure you “Mirror” your design on the Prepare screen before proceeding.
Want to save this post?
Step 3 – Cut Bones Out of Vinyl
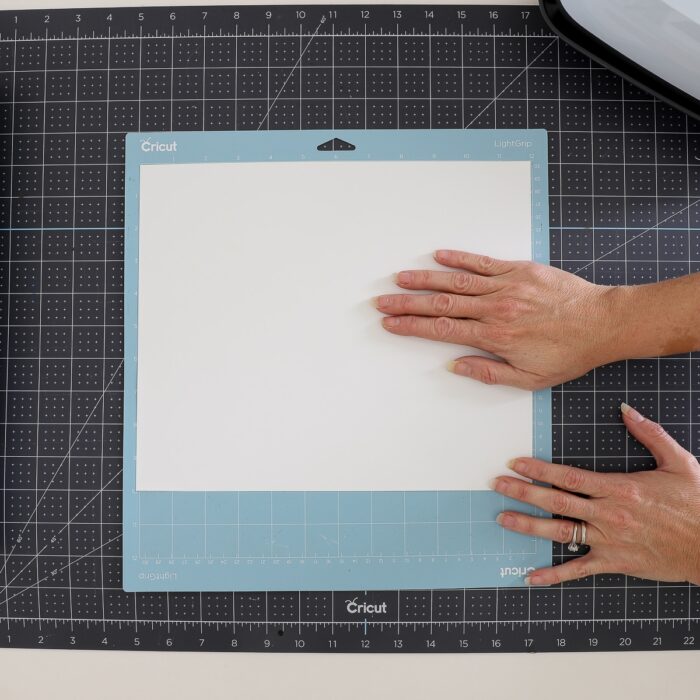
With your bone designs ready to go, load a piece of vinyl onto a cutting mat as follows:
- Iron-On Vinyl – shiny side down, mirror on (if you need more help cutting iron-on, see here: Iron-On Vinyl & Your Cricut | A Complete Guide)
- Vinyl – shiny side up, mirror off (if you need more help cutting vinyl, see here: Your Complete Guide to Cutting Vinyl with a Cricut)
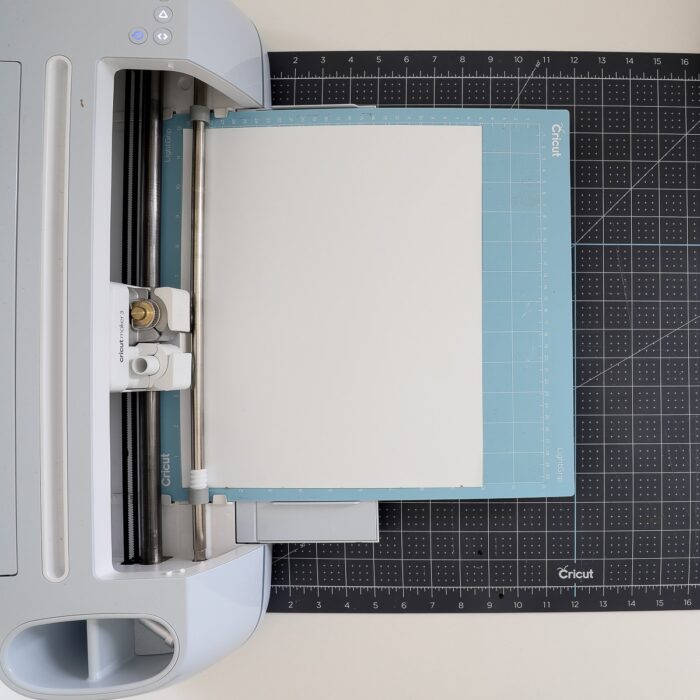
Press the flashing Cricut/Go button to load your mat and cut out all the bone decals.
Step 4 – Prepare Bone Decals for Application
Once your machine is done cutting, unload the mat and then use a weeding tool to remove the excess vinyl from around and within the bone decals.

If using iron-on vinyl, cut apart each bone (or set of bones) so that they can be individually applied in the correct places.

Step 5 – Adhere Bones to Black Outfits
If using standard adhesive vinyl, you can literally just peel-and-stick each bone into place by hand (you don’t even need to use transfer tape!)

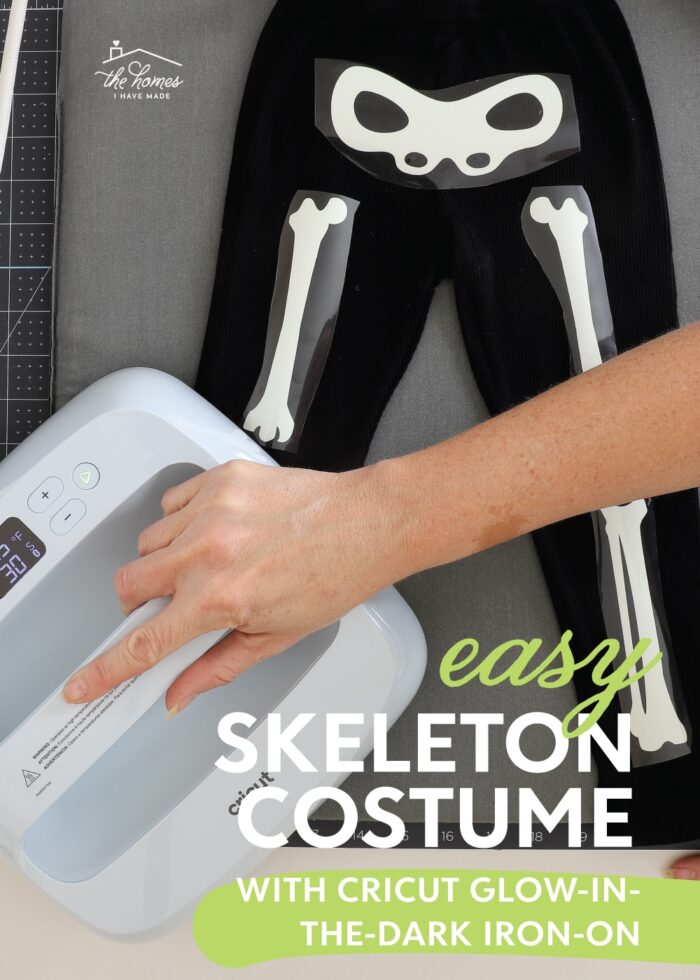
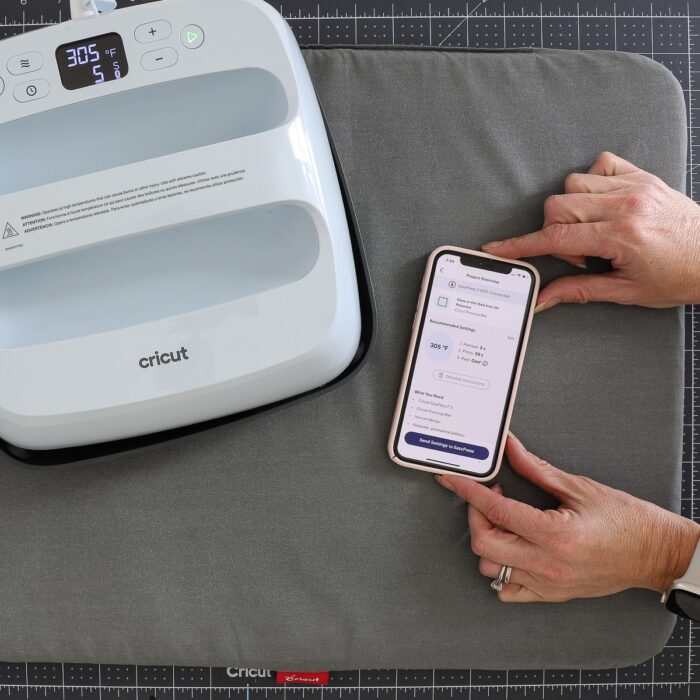
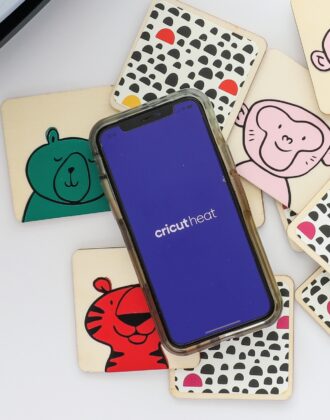
If you opted for iron-on vinyl instead, preheat your Cricut EasyPress (or iron) to the correct settings for your specific vinyl as specified in the Cricut Heat App or this Heat Guide. Notice on the app below, I’ve selected “Glow In the Dark Iron-On” for this project.
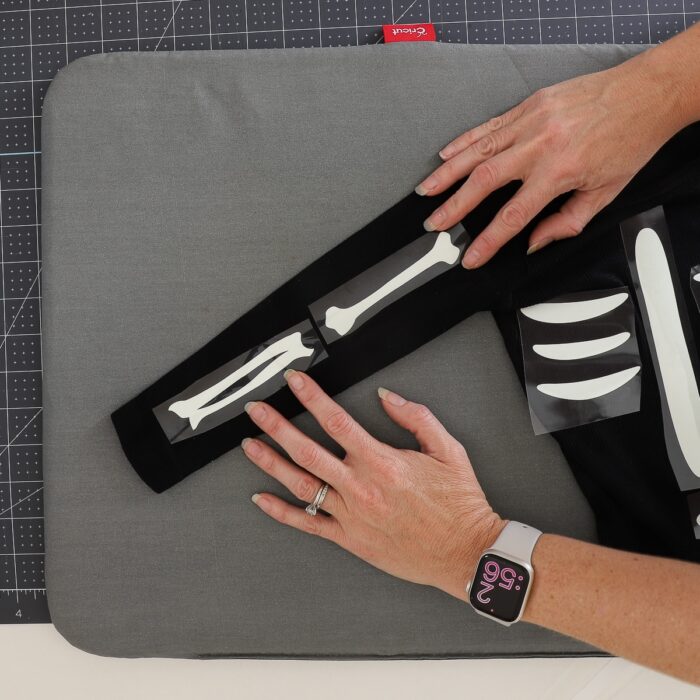
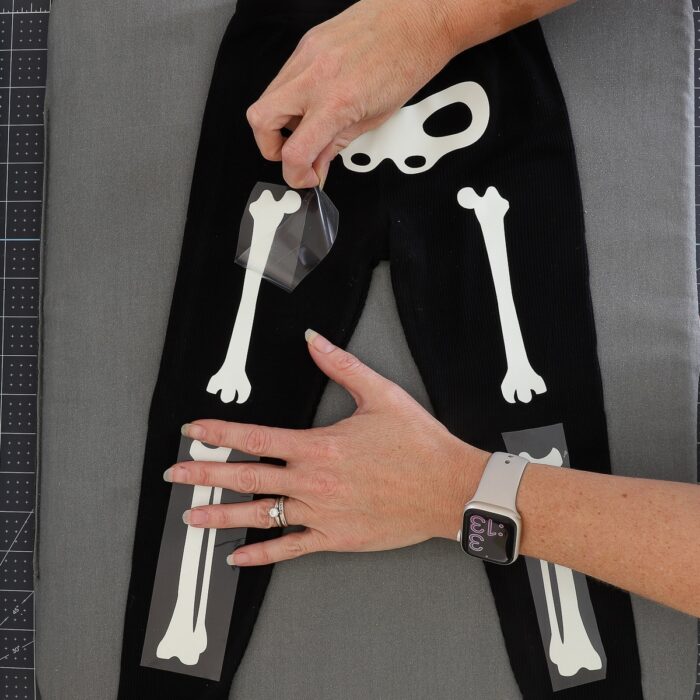
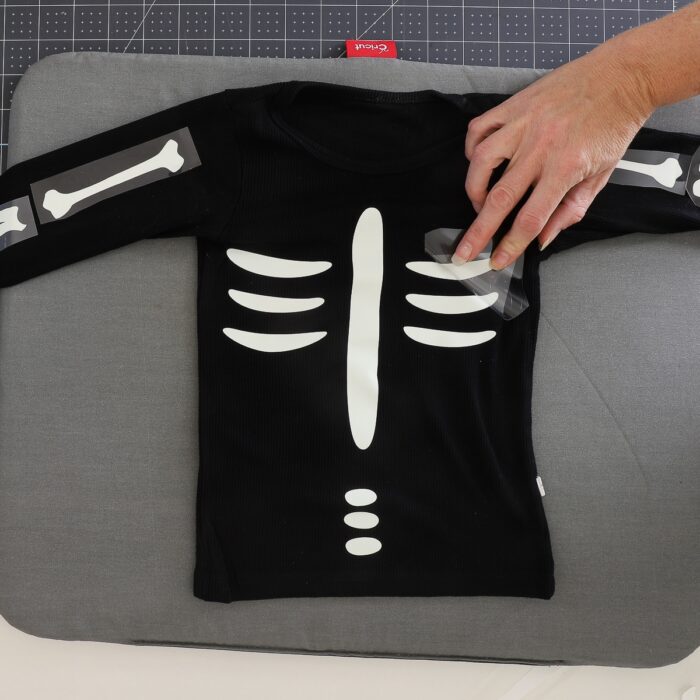
After pre-heating the material, place each bone decal down onto the fabric, clear shiny side UP.
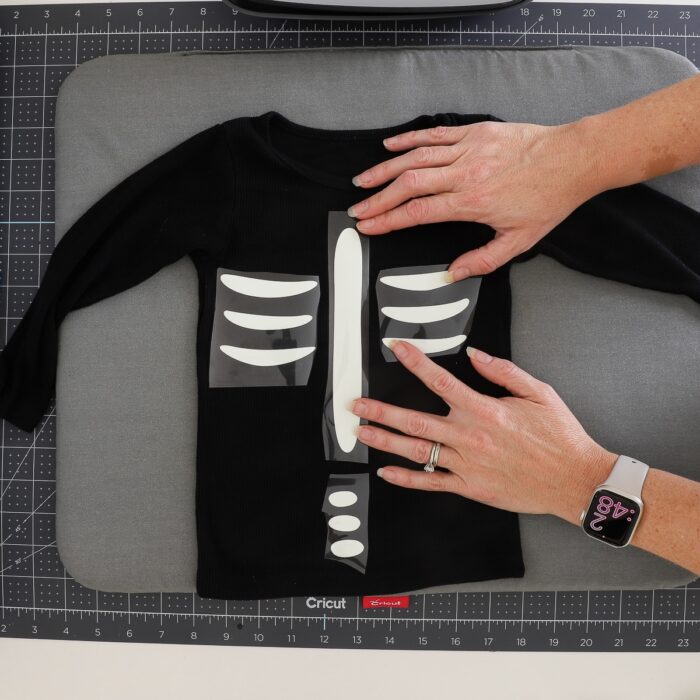
Take your time to get the positioning just right based on where the bones will sit once the clothing is put on.
Also keep in mind where the shirt will overlap the pants (or get tucked in) and place the decals appropriately.

Once ready, heat the decals into place using the time settings identified on the app (or the Cricut Heat Guide).
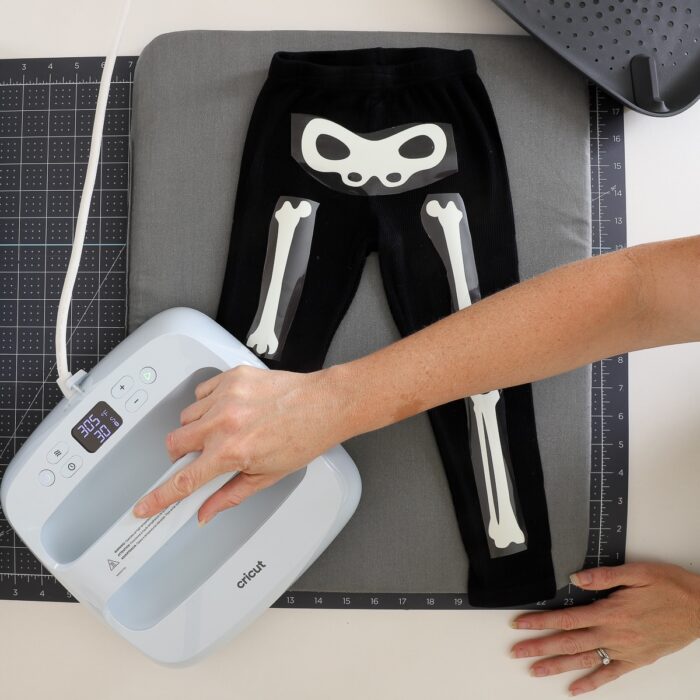
Once the clear liner sheet is cool to the touch, peel it back slowly to reveal the bone decal fully bonded in place!
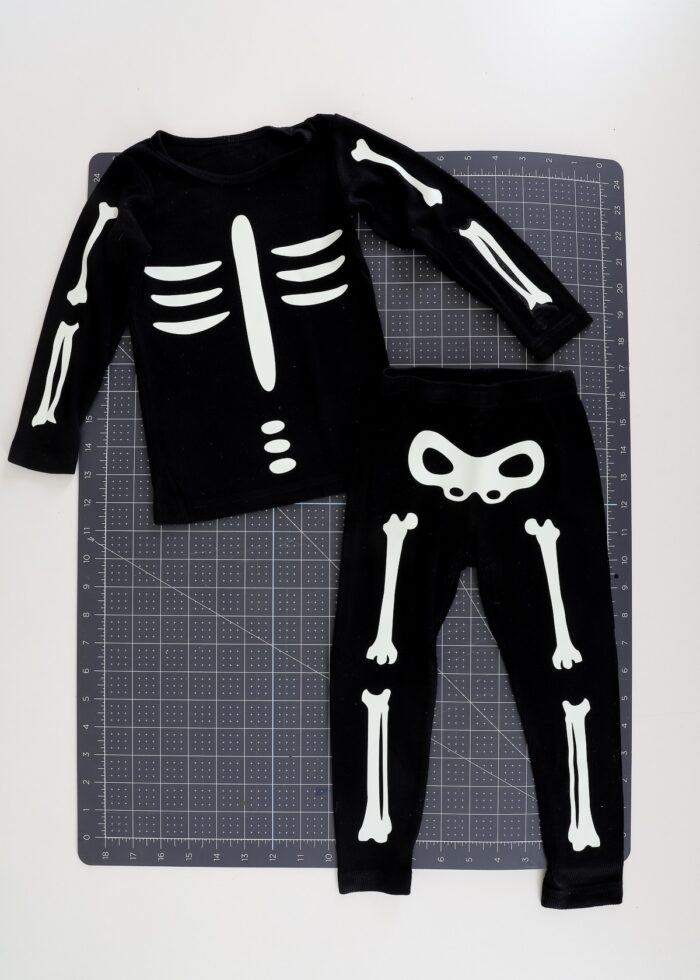
Repeat for all the remaining bones across the entire outfit!
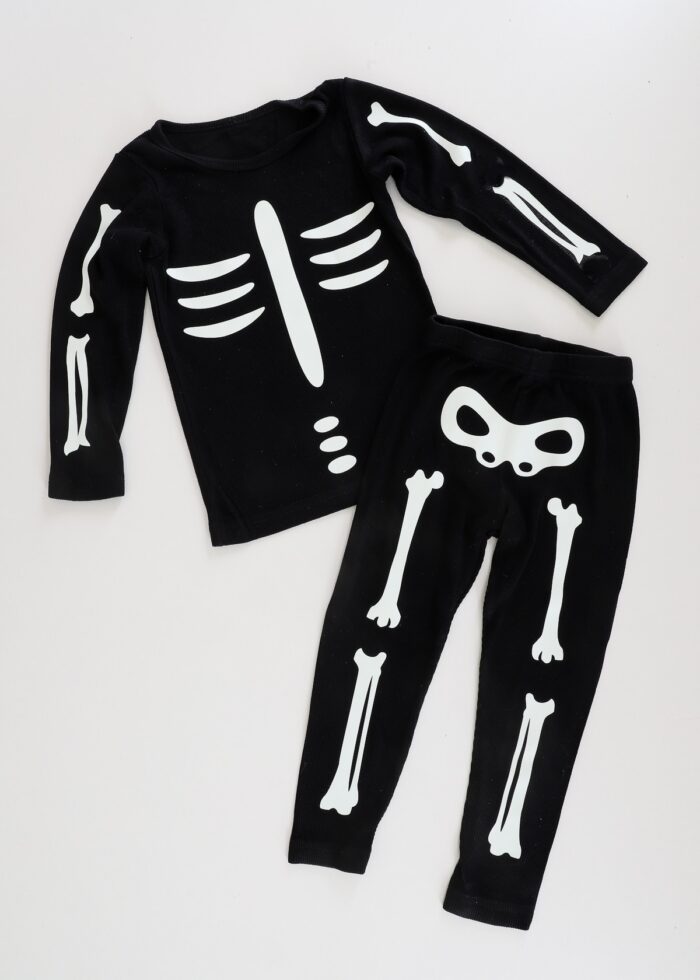
And in just a few minutes (seriously…that quick!), you have an adorable skeleton costume ready to go!
If you did choose glow-in-the-dark vinyl or iron-on, be sure you “charge” it in the daylight for a good few hours…
….before heading out into the dark to have some spooky fun!
Other EASY Costume DIYs
When it comes to Halloween costumes, I am ALL about quick, easy, and cheap! Here are a few more favorites:
I first made these skeleton costumes years ago using (temporary) standard vinyl, but just recently re-created it for this post using the iron-on version. My little guy won’t stop wearing his “new” skeleton pajamas; and now, my middle boy is asking for some too. Good thing I didn’t use up all my glow-in-the-dark iron-on!
Megan
One Comment on “Easy DIY Skeleton Costume (That Glows In the Dark Too!)”
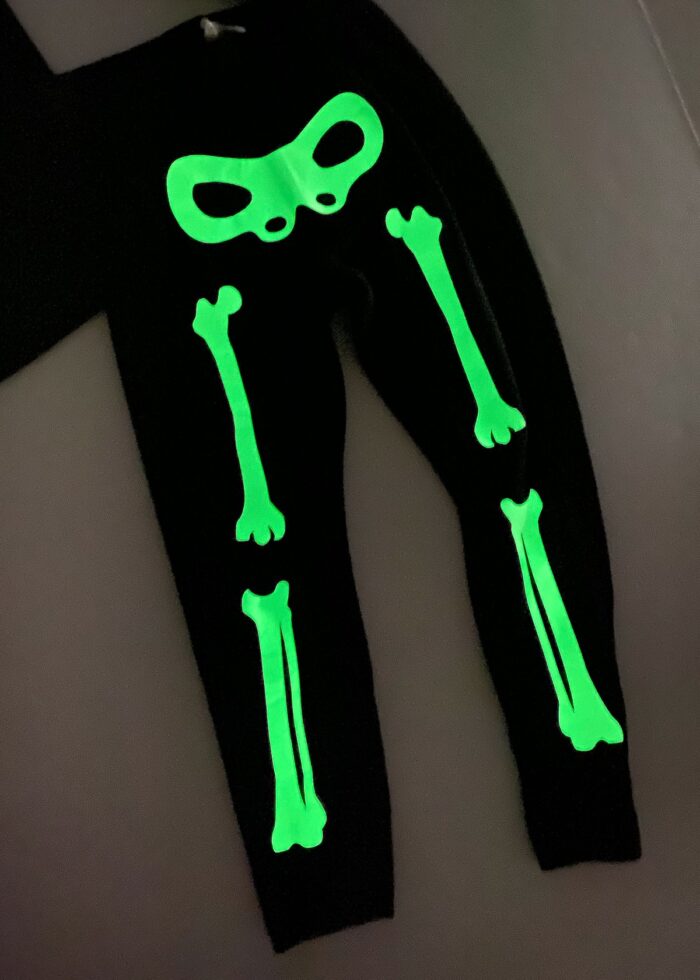
Hi! Excited to try this. How did you make the mask?