Coffee Break #47
Well, hey there friends! Happy (officially!) Fall, and welcome back to another behind-the-blog break. This month, I’m chatting about a new “project” going on behind-the-scenes, my favorite advice to new DIYers, and the DIYs I’ll never tackle again! Let’s catch up!
Life Lately
Before we dive in, I just wanted to acknowledge that I know my posting schedule has been a bit…um…erratic. Nothing big or dramatic is going on…besides LIFE!
In recent weeks, I thought for sure we’d get into our New School Year groove and I’d be back up to my usual productivity. But it’s been a revolving door of sick kids (soooo much missed school), hurricane/tropical storm days, and never-ending appointments (soooo many appointments).
The good news is that I spent all last week hunkered down getting ready for the final quarter of the year; so fingers crossed I’m back on my usual Tuesday/Friday schedule starting…now!
A Different Kind of DIY Project
One thing that’s been taking up a lot of our family’s time lately is dental care. Between cleanings for everyone, a few fillings for a particularly anxious child, and pending orthodontics for another one, I feel like I spent the last month at the dentist office.
But it hasn’t been just for the kids! On a (somewhat) whim, I decided to start Invisalign to re-straighten my bottom teeth (for the third time).
For a while now, my bottom front teeth have been shifting. But when I smile in pictures, my top teeth cover the bottom ones; so it never seemed that noticeable. But then I recently had to record a video of me talking, and I was shocked to see how crooked my bottom teeth had become and how truly noticeable they are when my mouth is open.
I instantly became incredibly self-conscious and even a bit embarrassed. As a gal who spent MANY years in orthodontics throughout childhood and even college, I can’t believe I was delinquent enough with my retainers to let them become so crooked…again.
So while I was at the orthodontist with my oldest son, I made an appointment for myself. And after a consult, I knew instantly this was something I wanted to take care of.
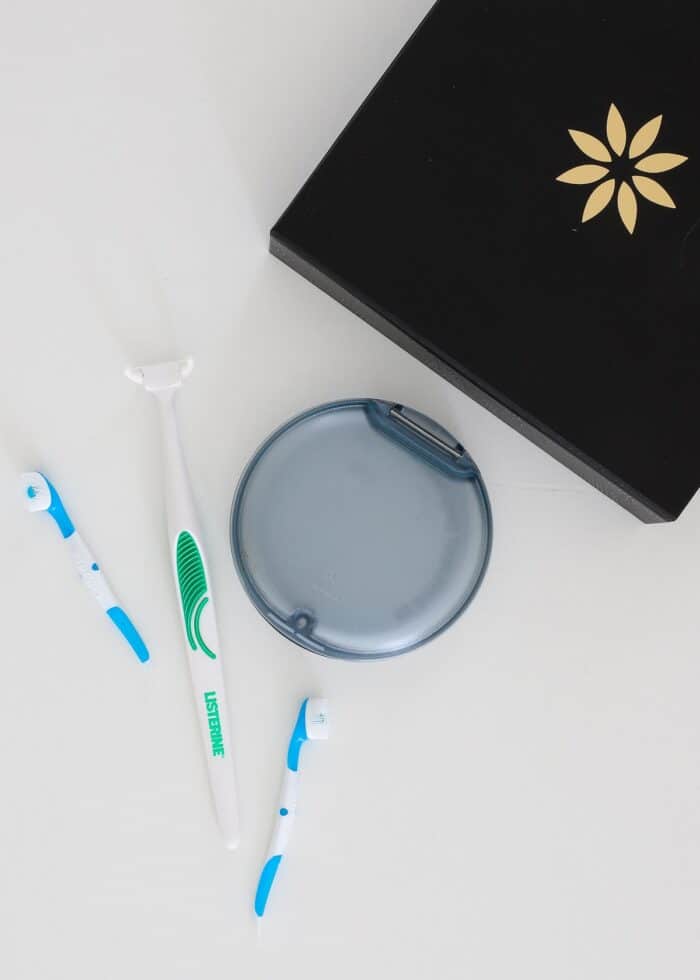
I’m now on my third week of trays and settling into a pretty good groove. But I will admit, it’s been more of a lifestyle adjustment than I expected. I thought taking the trays in/out would be no big deal, but they are much harder to remove than a standard retainer. And I certainly didn’t realize I’d be brushing my teeth sooooooo much throughout the day!
So while I had to scramble to stock up on cases, floss, and mini toothbrushes for my purse and become MUCH more deliberate in my snacking and coffee breaks, I’m pretty excited to be on this journey. I feel much more committed to the process as an adult (maybe because it’s my own money on the line or that I now fully understand how easily these darn teeth shift!), and I’m really looking forward to feeling more confident in my smile again!
My Best Advice to New or Scared DIYers
Pictures can, no doubt, be deceiving. And as a blogger who’s literal job is to inspire her readers, I certainly pride myself on showing you the very best views of my home.
But…as we should all know by now…pictures don’t always tell the full story, right? What lies just off camera, what’s been edited out, or what your eyes don’t quite catch can all give you a false impression that what you see is….well…perfect!
And perfection can be scary. Especially to those new or intimated by DIY or particular projects.
So I’m going to let you in on a little secret…
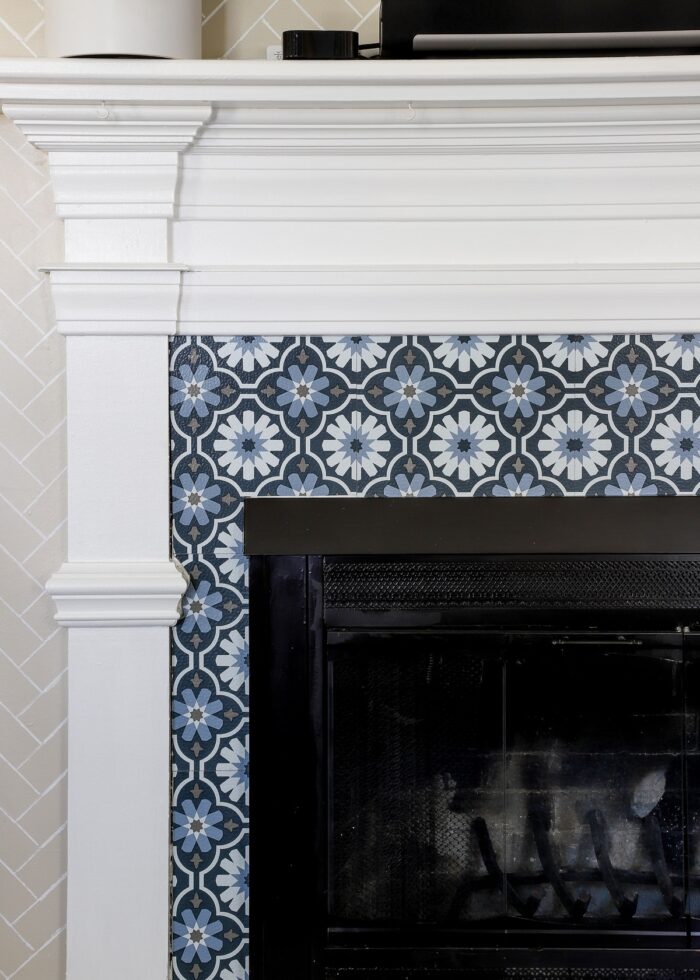
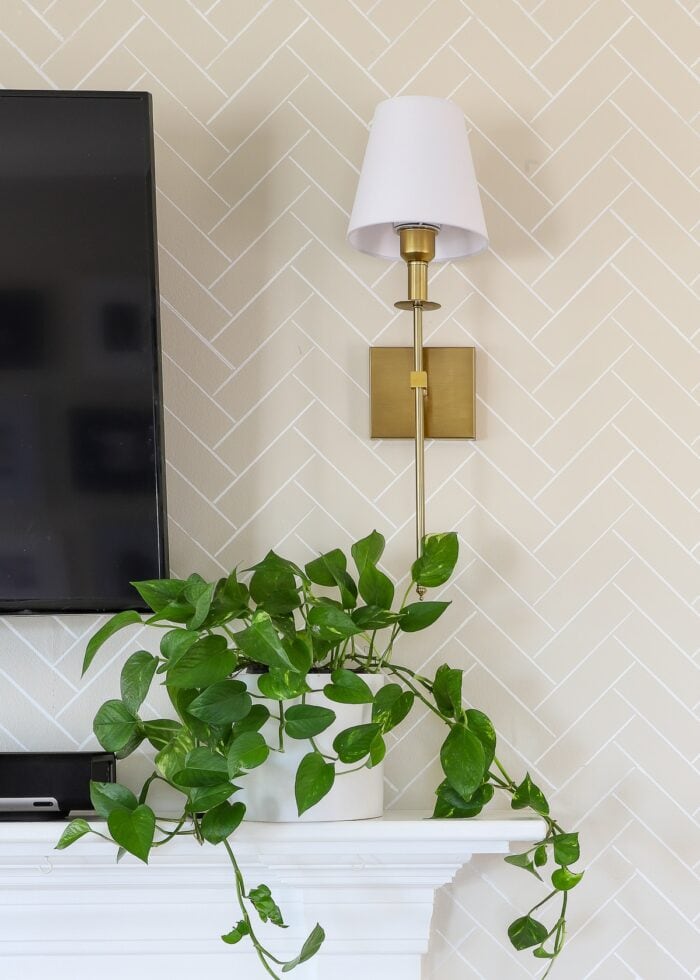
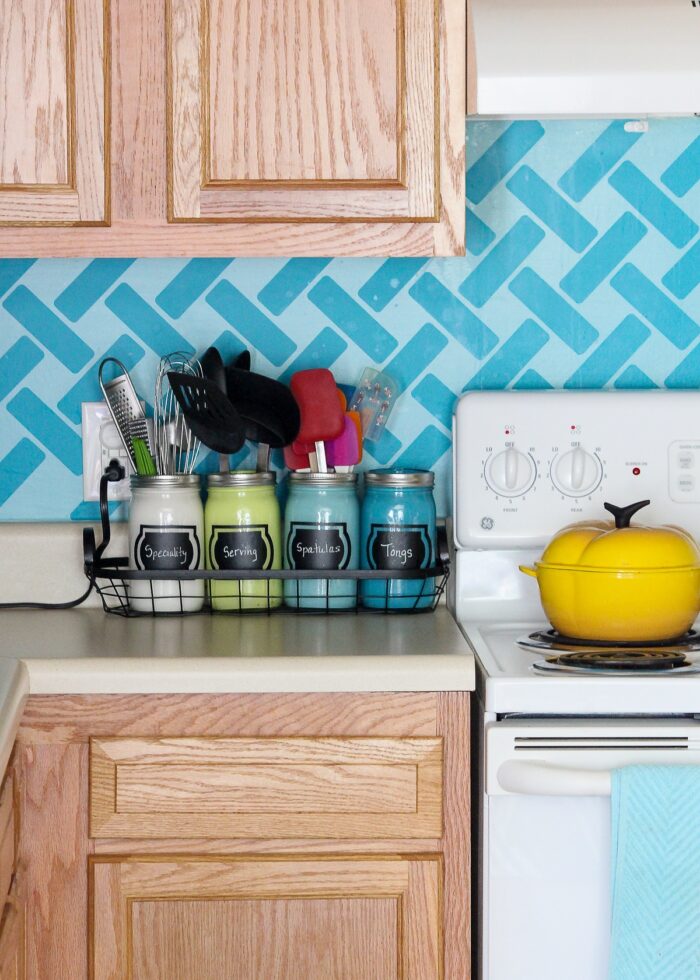
Look closely at some of my pictures. Can you spot the imperfections in the photos below?
Want to save this post?
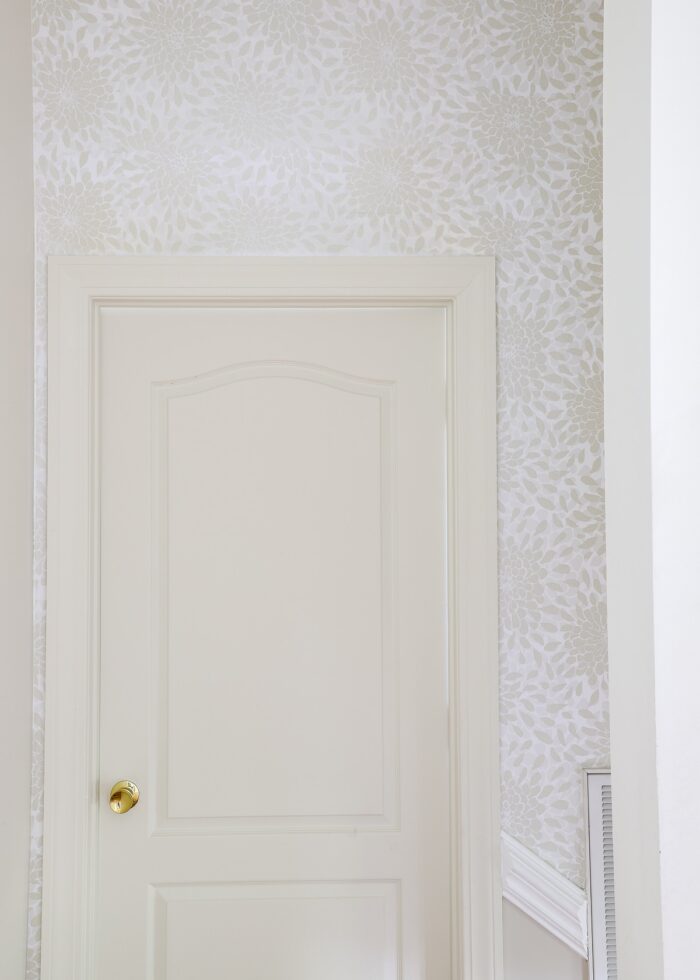
Did you notice any of those imperfections? Probably not. I don’t really either (and I know where they all are!), nor do the people who come into our homes.
You see…I’m a DIYer at heart, so I very rarely do research or watch YouTube videos. I learn by doing and very much enjoy the process of figuring things out on my own. But that means my results are not always perfect; in fact, they never are.
But that doesn’t keep me from trying aaaaall the things, even if I’ve never done it before, because I learned a valuable lesson a long time ago:
Everything looks bad up close, everything!
When you’re in the middle of a project and intimately familiar with every angle, every crooked hem, every mis-matched seam, or every splatter of paint, you can easily get frustrated, defeated, and feel like a failure.
But before you give up on that project (or on DIY as a whole), take a step back first. Zoom out. Take in the FULL picture.
I promise: Your eye won’t even catch those imperfections because when it comes to DIY, the whole thing really is greater than the sum of the individual parts.
Don’t let the fear of imperfections hold you back from attempting a project you’ve never done. Instead, wear those hard-earned imperfections like a badge of honor for a DIY job well done. But do so quietly, because no one else sees them!
The Projects I’ll Never Do Again
I got this question from a reader and just loved it:
Q: What projects are the least ‘bang for the buck’ that you don’t want to do at another house?
I had to chuckle a bit because I use the “bang for the buck” phrase quite often around here. But it did get me thinking about the projects where the “juice” really wasn’t “worth the squeeze.” Here are a few that come to mind that I’ll probably never tackle again!
Stenciled Wall
Grooooan, this wall was SO much work. And the paint on the stencil itself got to be such a mess.
I took on this project to save money; and that, I did. The cost of the stencil was about $30 versus peel-and-stick wallpaper, which would have run about $150.
But the time and the mess were not worth the savings. Next time: I’m buying the wallpaper.
Vinyl “Tiled” Backsplash
I did this project back at a time when Cricut machines couldn’t cut very big, so I had to cut mat after mat of stickers and place each individual “tile” by hand.
But it wasn’t the installation that was the problem, it was removing each and every sticker before moving out. Not only did the vinyl make a mess of the wall, but peeling up each sticker was incredibly tedious.
If I want to update a backsplash now, I’d totally use wallpaper that looks like tile or put contact paper underneath the stickers (like I did here) so I could pull everything down in one sweep.
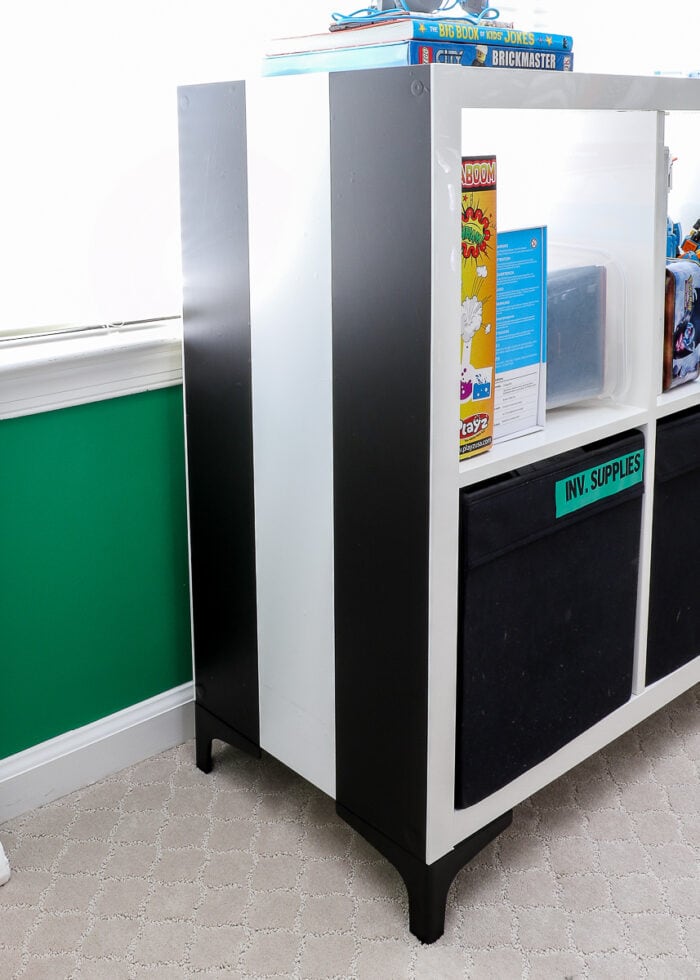
Wallpaper on Kallax Shelf
I had been wanting to add wallpaper to a Kallax shelf for a really long time when I tackled this project. I really thought it would be a clever way to add a subtle pop of pattern or color to a room. And it was indeed a rather quick, easy, and inexpensive DIY.
But looking back, the visual payoff just wasn’t there.
Maybe it’s the way the shelf was situated in this particular room, but you really couldn’t see the top or sides very much. Plus, the striped wallpaper didn’t stand out on the all-white shelf.
But what really moved this project into the “never again” column was the removal. We just recently peeled off the peel-and-stick wallpaper and it took off the white veneer to reveal the brown MDF underneath. I was shocked, as I rarely have wallpaper peel off paint much less plastic veneer. Although it might have been caused by the heat from the window, now I’ll never risk damaging a similar unit again!
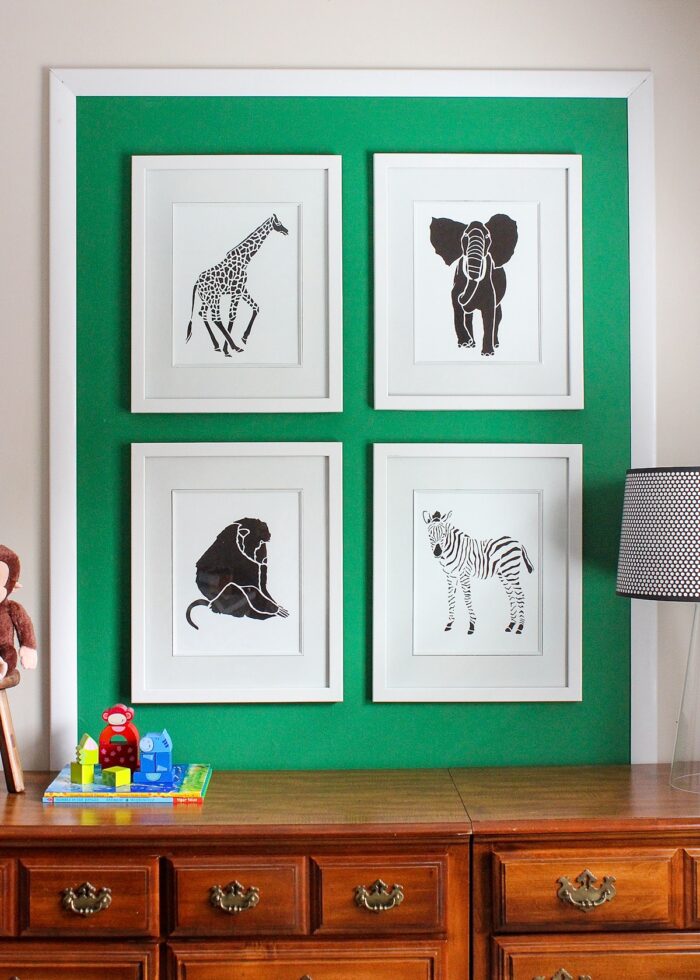
Fabric On the Wall
This is another project I tackled when peel-and-stick wallpaper wasn’t nearly as affordable or available as it is now. So in order to add this splash of color above the dresser, I adhered fabric to the wall with liquid starch.
It’s a cool idea that is very cheap and totally works; that fabric was suctioned tight to the wall without a wrinkle in sight!
But while peeling it off the wall was effortless, the fabric itself left TONS of pills ALL over the wall. Tiny little green threads and dots that I had to painstakingly scrub off, which ended up taking quite a bit of time and muscle.
While using fabric can definitely be more cost-effective than wallpaper and is a lot less messy than paint, in the future, I’d use a staple gun to hold it in place instead!
Latest Favorite Finds
Here are a few finds we’re truly loving lately!
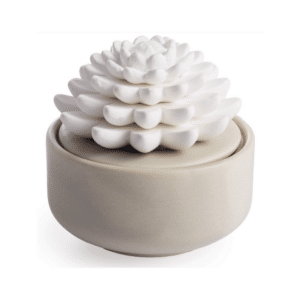
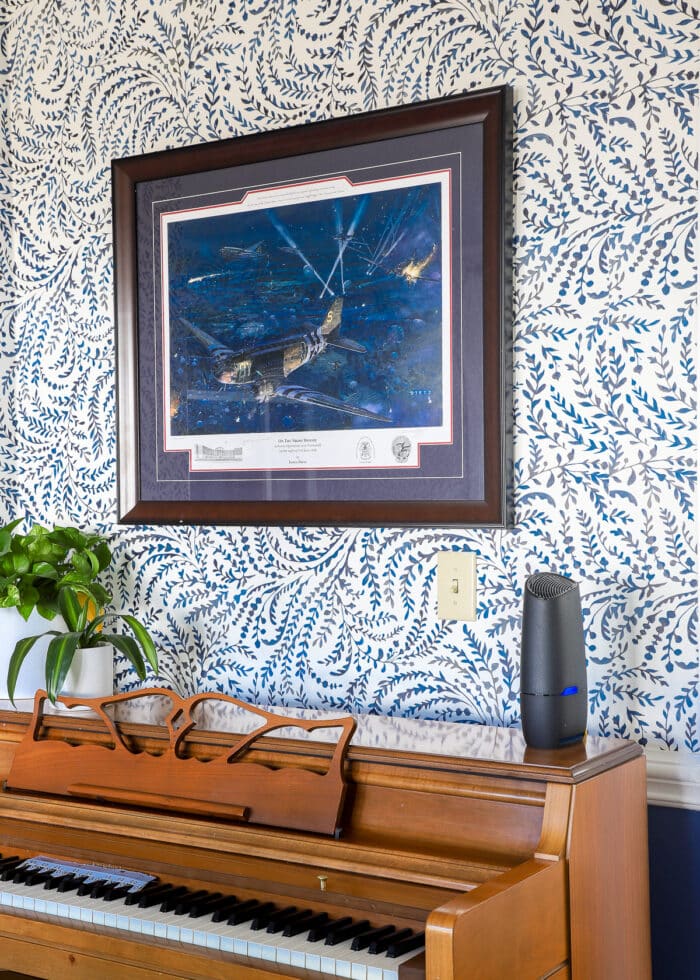
Succulent Diffuser
I was looking for an electricity-free way to improve the smell in our downstairs powder room (hello, home full of boys!) This little diffuser is SUPER charming sitting on a shelf, but it also works amazingly well. When filled with water and your favorite essential oil, it emits just enough scent for small, enclosed spaces!
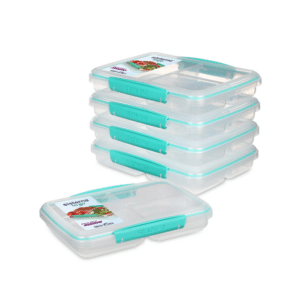
Sistema Lunch Containers
These bigger versions of our old favorites are my new preferred way to pack up lunches for the entire family. I love that they are big enough to hold plenty of food while completely eliminating the need for lots of baggies. They also fit nicely into coolers and backpacks, and the sturdiness keeps foods safe from smooshes and spills!
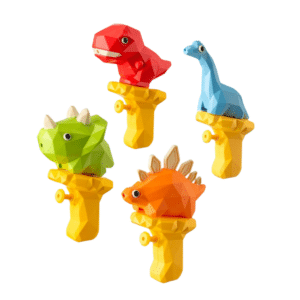
Dinosaur Water Guns
We just threw our youngest son a Dino-FOUR birthday party (ha, get it!), and these little water guns were the HIT of the party! Not only are they adorable and sturdy, but they shoot really well. The wings on the pterodactyls fall off, but the rest have become everyday favorites around here!

Old Navy Sport Dress
My friend was wearing this dress, and I immediately asked where it was from. I turned around and bought one in black and one in purple. The dress is lightweight with tons of good coverage (a built-in bra with shorts underneath!), but not at-all-clingy (very unlike a dress bathing suit). It’s perfect for hot days at the sports field, amusement park trips, hiking, bike riding, or anything outdoor!
Ask Megan
Thanks for catching up with me this month!
Megan


3 Comments on “Coffee Break #47”
Thanks for the honesty about the mismatches and the “not worth it” DIYs.
We are often so hard on ourselves – I find this in the group of quilters I sew with. Everyone can point out the lost points and mismatched seams but the overall effect is wonderful. Same with everything you pointed out. I used to entertain myself Saturday mornings following the upside down strip of wallpaper in my bedroom -my parents fought over that one and took a coffee break when doing that room. But in the overall scheme of my mornings it didn’t stick out at all.
When I need a serenity boost, I like to check out your blog for the pictures of the homes you made over the years.
Thanks for sharing the “mistakes” that totally do not seem like a mistake. As I just sat looking through the pictures, all I could think was man she is motivated! I wish I didn’t get distracted and lose my motivation. Your house always looks gorgeous. And it’s something that flows together and home to 3 little boys so it gets used and abused. But the love that fills that house is priceless, right?
I love your projects I will skip next time. It made me appreciate that I’m not the only one who looks at completed projects and says well that was a fun one and now it’s done and never again.
Thanks for sharing the good, the messy, and all the things in-between.
I just finished my tray phase of Invisalign (17 weeks in total). The technology is a bit mind-blowing. I had to laugh at your comments about brushing your teeth so much! It’s true.