Our Virginia Playroom Reveal
With each passing day, we get closer and closer to breaking this home down, packing everything up, and moving onto the next one. I swear it was just yesterday that I wrote my first post for this room; but it’s actually been almost three years since the ugly curtains came down and we started transforming this space for our needs and our style. This playroom in our Virginia rental has actually evolved more than any other space, and I’m really excited to give you one final glimpse. Let me show you around!
Before
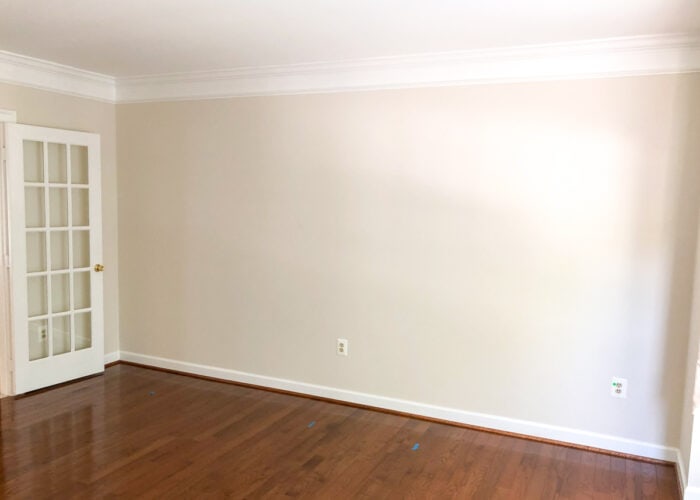
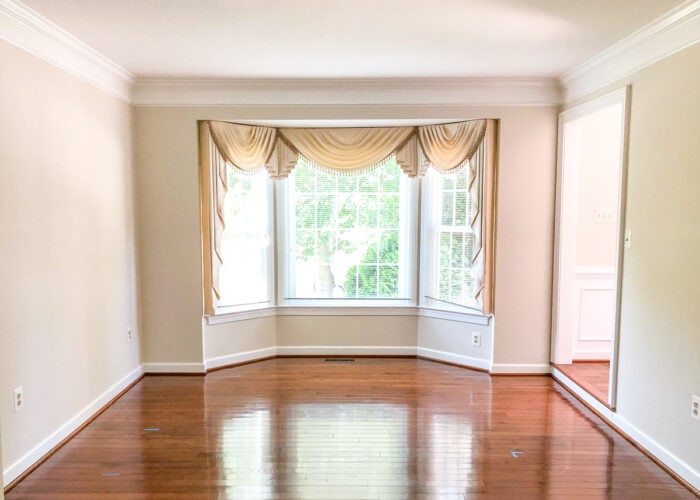
The room we use for a playroom is actually the formal living room of our traditional, Colonial two-story home. It sits immediately off to the right as you enter in the front door of the house, and it is a good size, measuring 15′ long by 12′ wide.
The room has a big bay window that looks out over the front yard, bringing in lots of natural light…
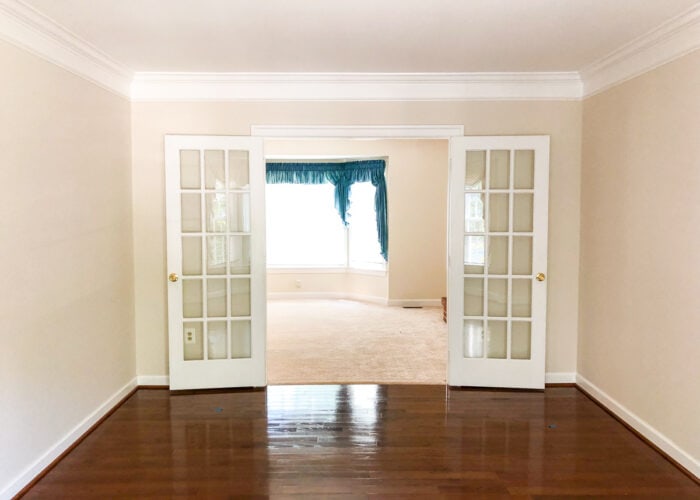
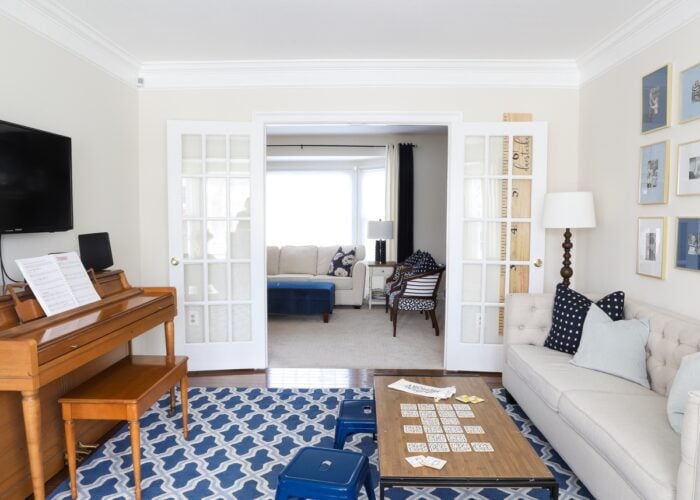
…and a set of French doors that lead into the family room along the back of the house. The room has deep crown moulding painted bright white, with light beige walls and hardwood floors.
After
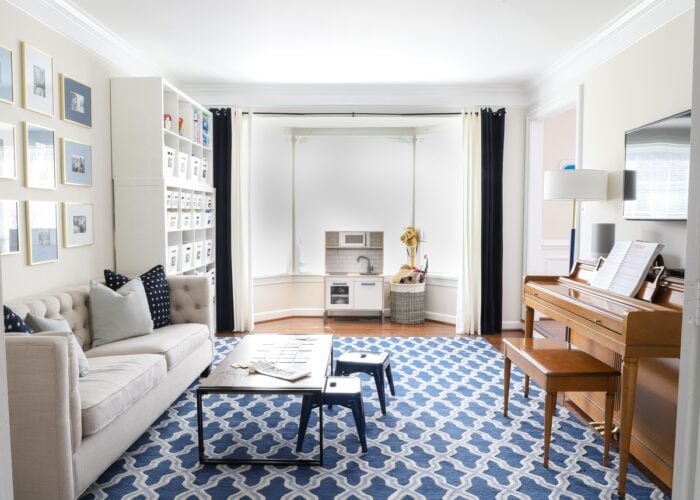
Besides taking the “beautiful” window treatments down, this room was transformed via a statement area rug, wall art, and furniture. We didn’t paint, hang wallpaper, or do anything else dramatic; yet we were still able to achieve quite the transformation that suited both our family’s style and needs. Come on in and have a look around!
Video Tour
Before I give you the full tour in pictures, below is a video tour of this completed room. The short video gives you a good sense of how and where everything fits together (and be sure to keep an eye out for a 5-year-old patiently waiting for me to finish filming!) Video not loading for you? You can watch it HERE.
I actually haven’t shown this room in quite a while, so some eagle-eyed readers will notice quite a few changes (namely, a piano!) Let me go angle by angle and show you what we did in here and why we made the decisions we did!
The Rug
Without a doubt, almost all the “design” in this room is provided by the large wool area rug. As you can tell from most of my room designs, I like a big dose of pattern somewhere. And with no obvious place to paint or wallpaper, the floor was the only other option.
I actually have a horrible time picking out area rugs, almost always getting the size, scale, or pattern wrong. (I have returned far more rugs than I care to admit). But this rug is my one exception! Not only is it large, thick, and super comfortable, but the colors and pattern proved spot-on, not just for this space but the entire main level.
With such a powerful statement piece on the floor, it allowed us to use mostly neutral items throughout the the remainder of the room. This helped the entire room come together quite effortlessly and without needing to buy/make lots of “decorations.”
Toy Storage
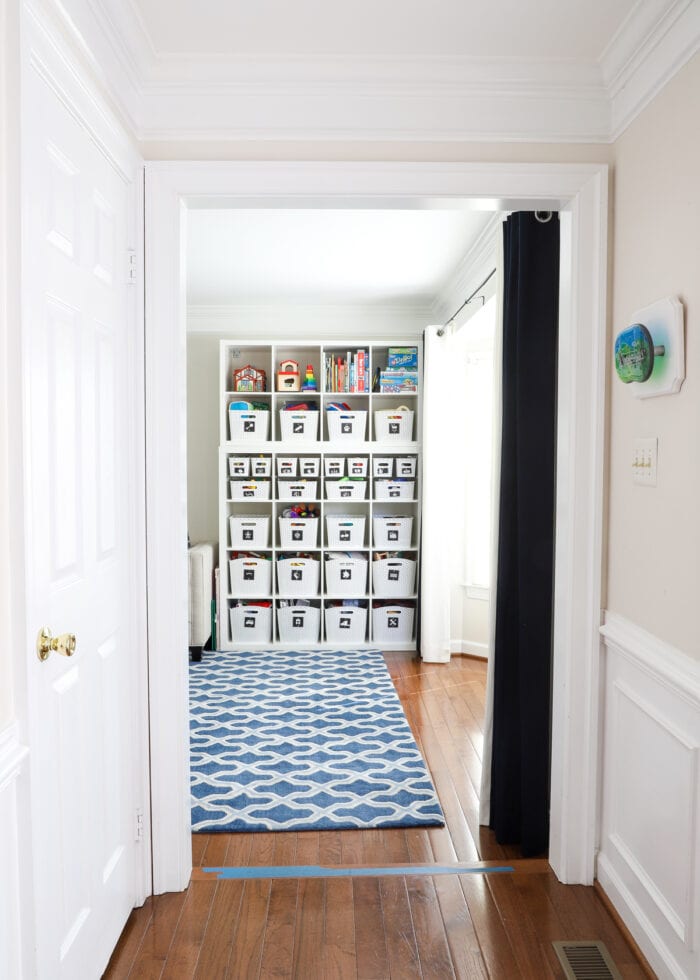
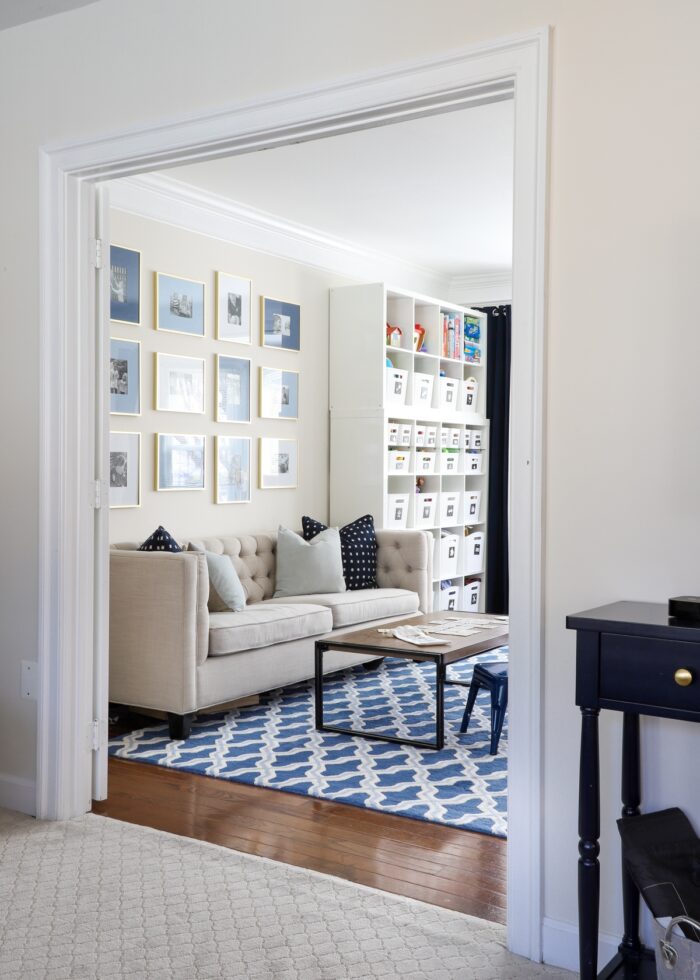
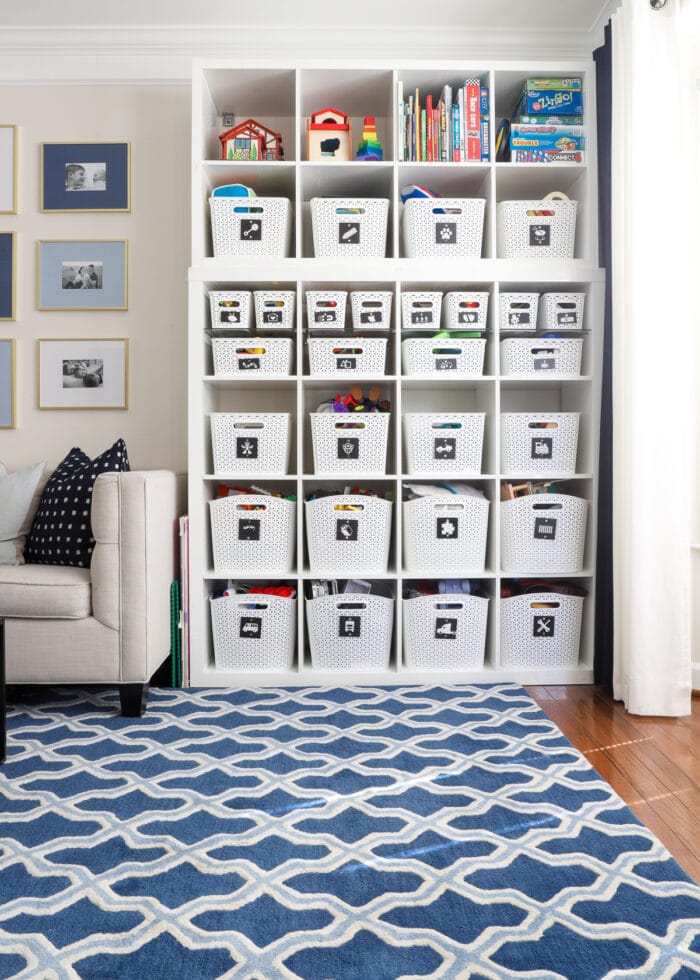
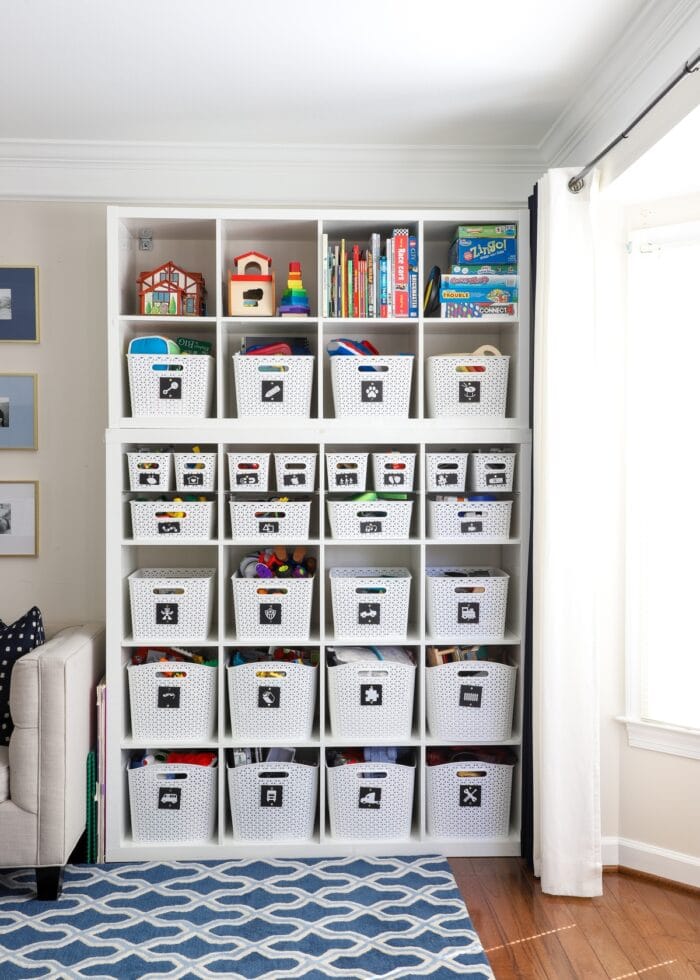
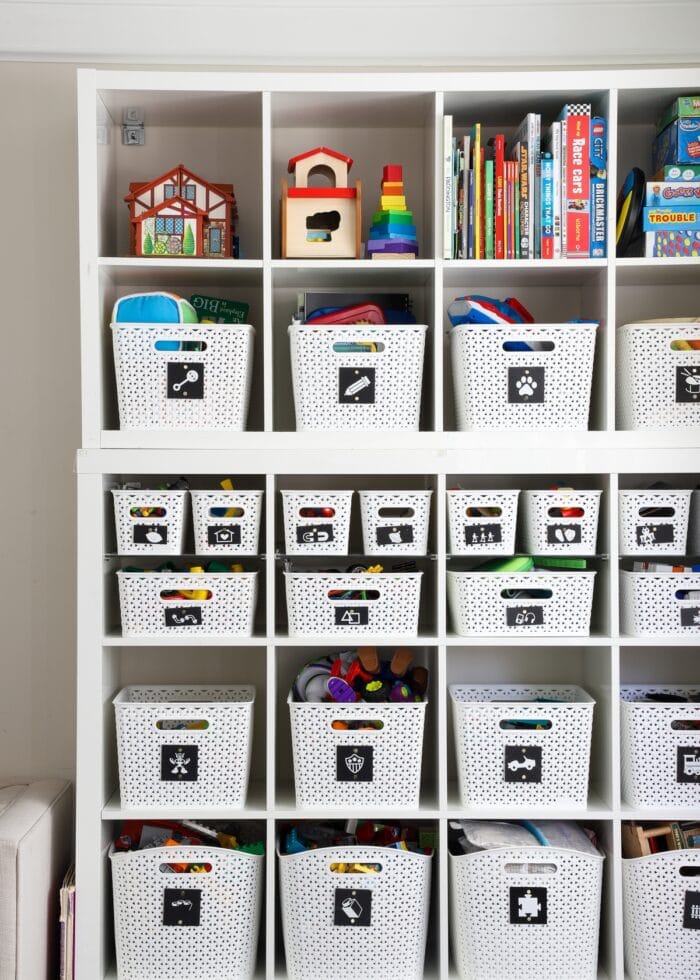
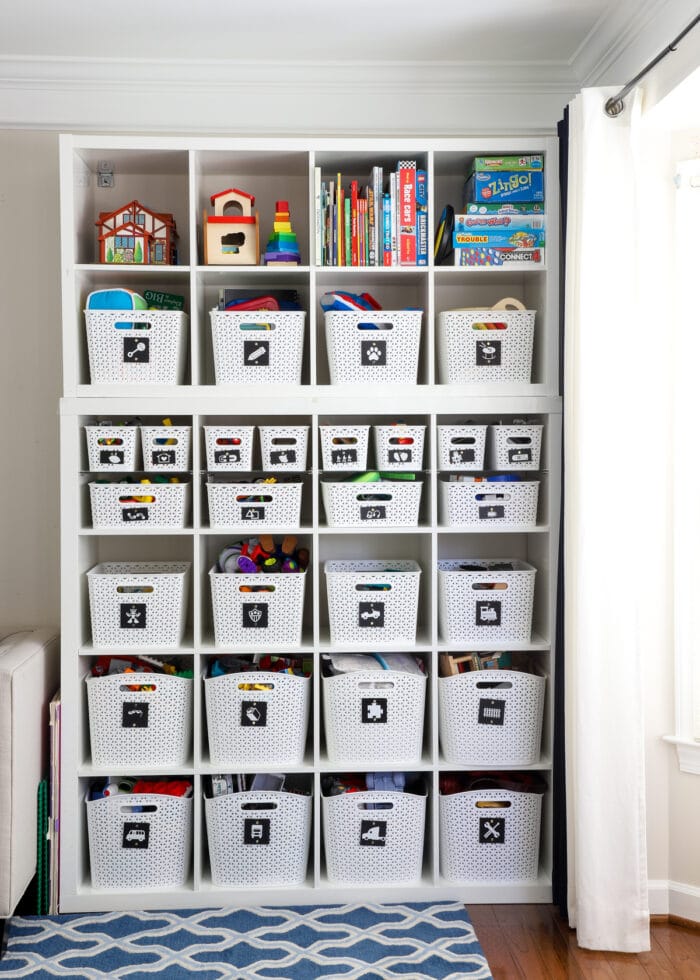
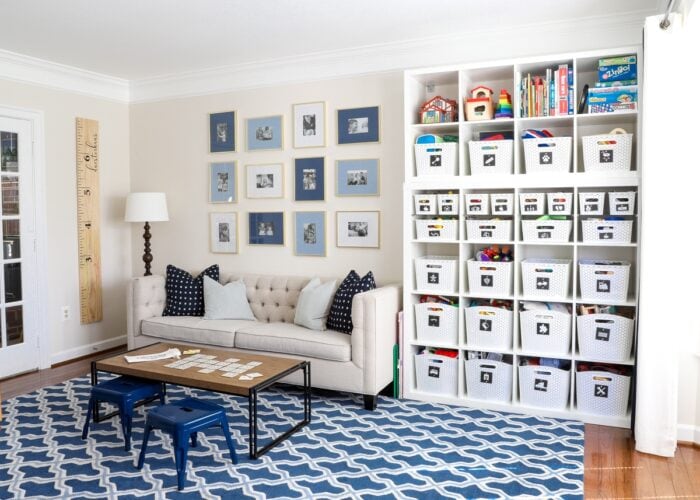
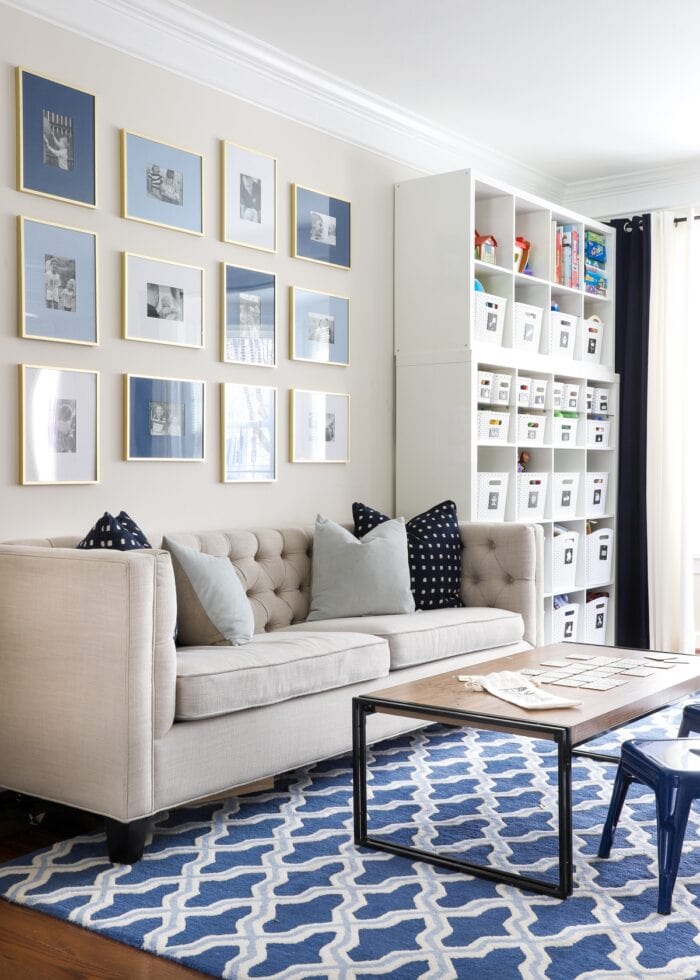
As you walk into the room from the main foyer of the house, the feature that immediately grabs your attention is our toy storage shelves. This arrangement is actually two IKEA Kallax units stacked on top of each other (with both units fully secured to the wall for safety).
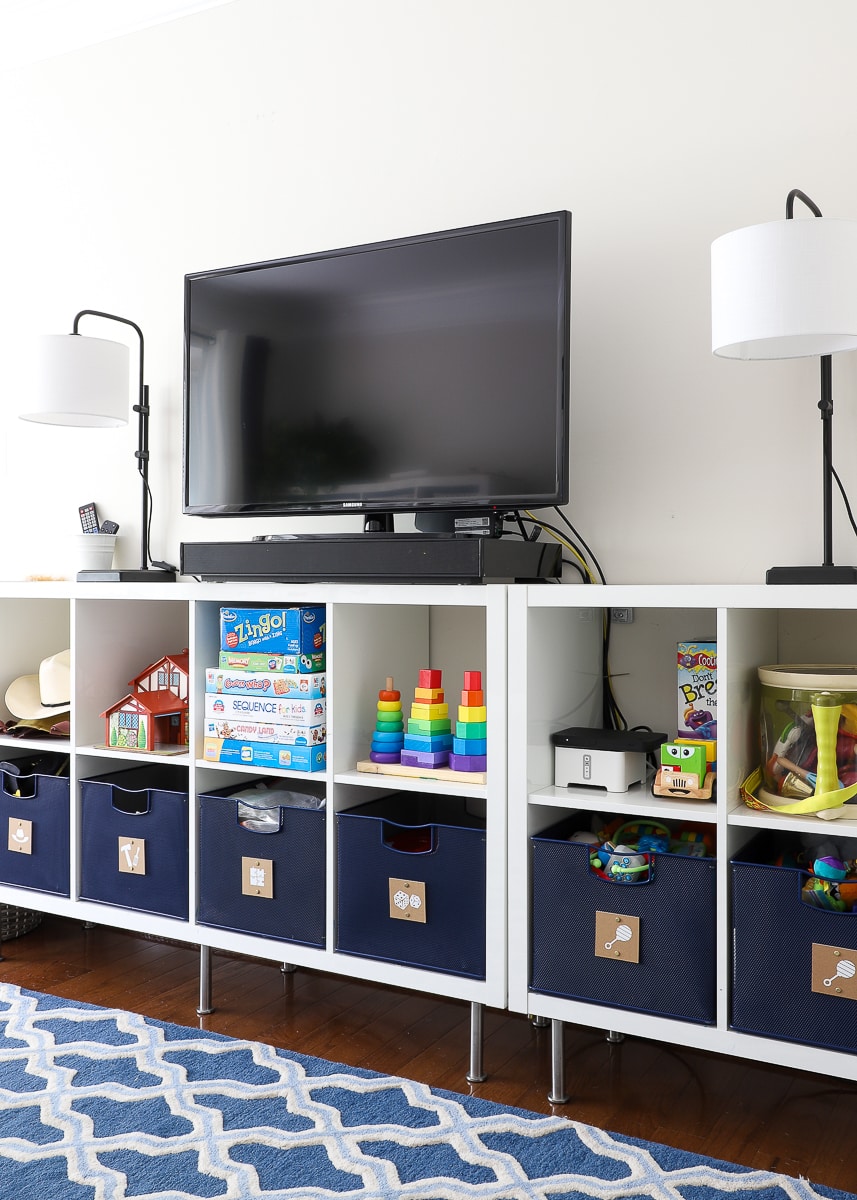
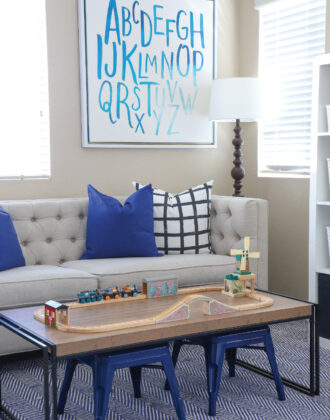
Up until very recently, we actually only had the 4×4 IKEA Kallax unit in this spot, with additional Kallax units across the room on the smaller wall, creating a “media center” of sorts (below).
But when my sister offered us her piano, we struggled to find a good wall for it. The (above) playroom wall was the most ideal spot in the entire home, but doing so required us to the loose 12 cubbies of toy storage space.
I tried my hardest to whittle our toys down to fit on the the single 4×4 unit, but I just couldn’t make it work without spreading toys elsewhere in the house (e.g., kids’ rooms, basement, etc).
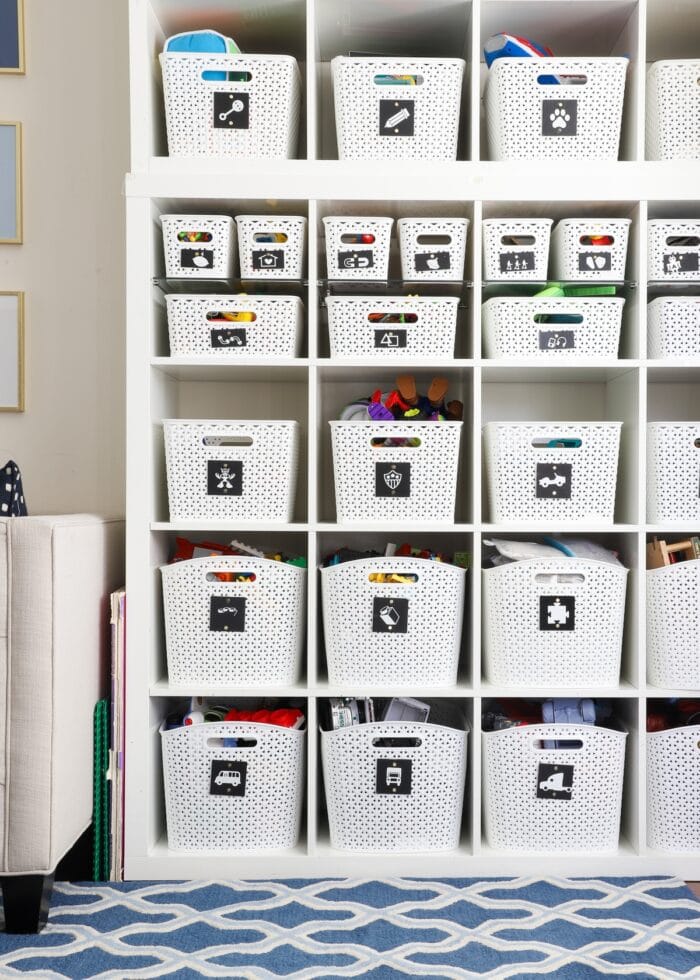
So we decided to stack a 4×2 Kallax on top of the 4×4 unit in order to keep 8 of the 12 cubbies (and therefor keep 100% of our toys in this room).
Admittedly, it’s a bit “much” to look at when you first walk into the house/room. (If I squint it looks like a fancy wall of built-ins, ha!) But we also knew that this was a short-term solution, being so close to moving and doing a larger toy purge in a few months.
Yes, some toys are pretty high up (by design), and it’s a lot of toys in general…but we’re really loving the piano wall evolution so much, that we’re satisfied with this ad-hoc arrangement!
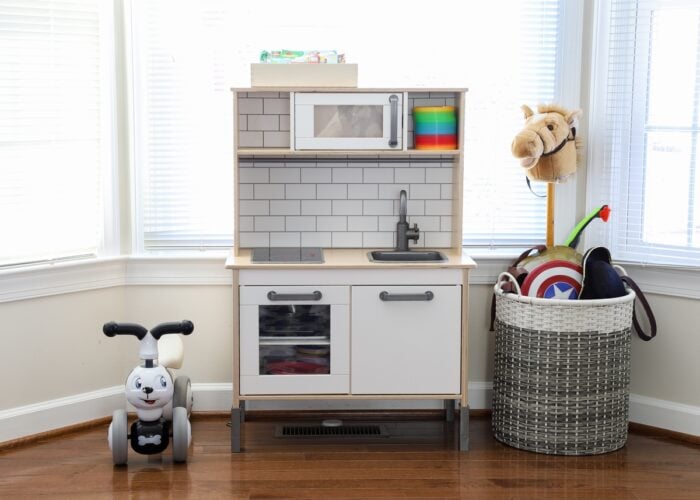
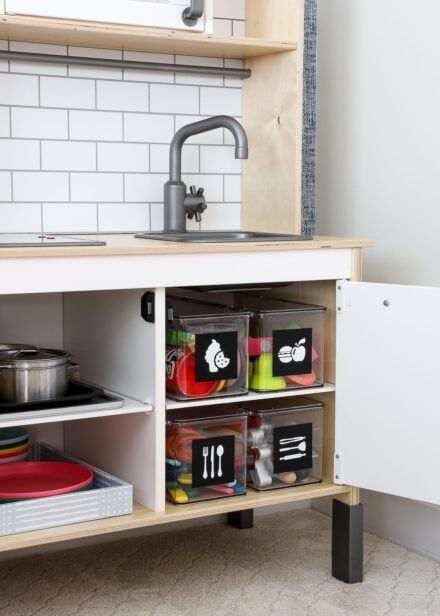
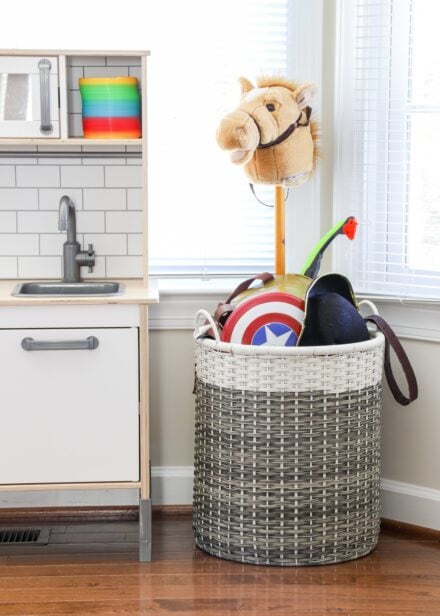
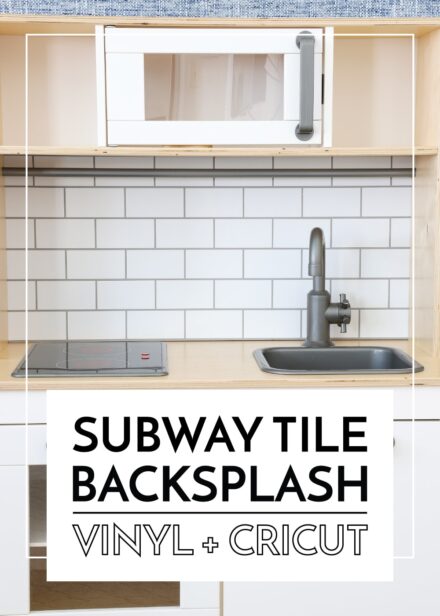
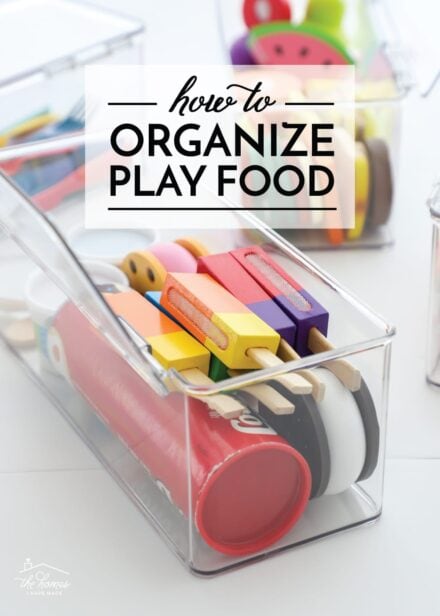
Just to the right of these shelves, sitting in the alcove created by the bay window, is the play kitchen (which I outfitted with smart play food storage and a backsplash), as well as our dress-up basket. The extra floor space here by the window is great for storing bulky items that wouldn’t otherwise fit on the shelves.
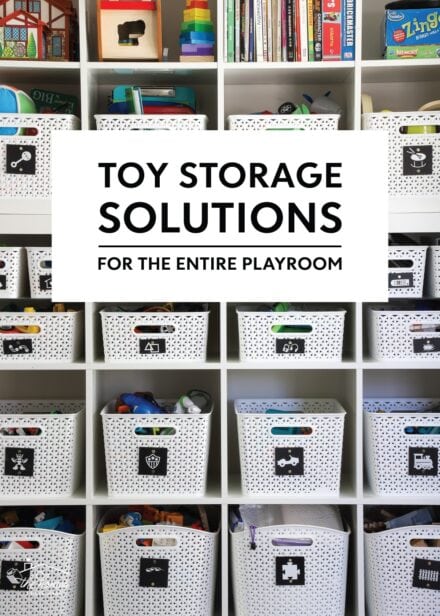
Curious about how we store particular toys? You can see all my favorite toy storage solutions here.
Cozy Corner
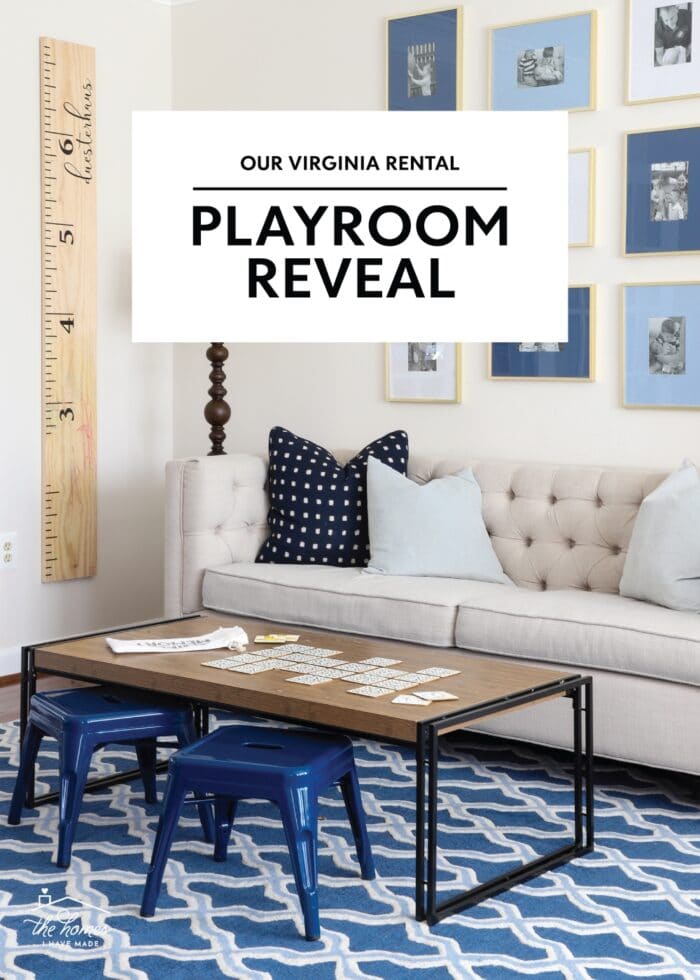
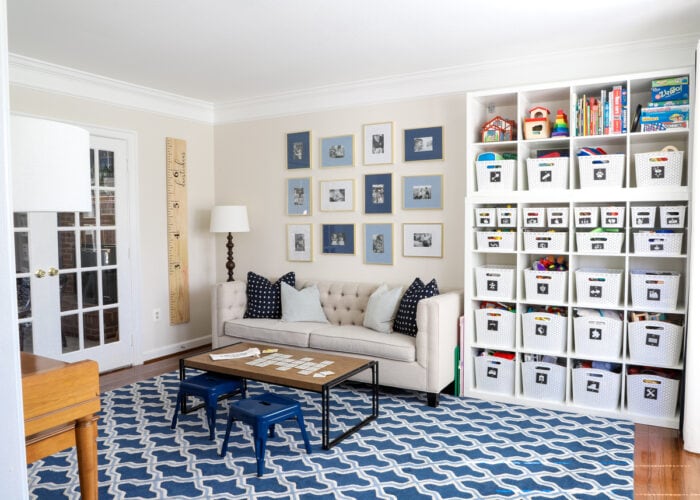
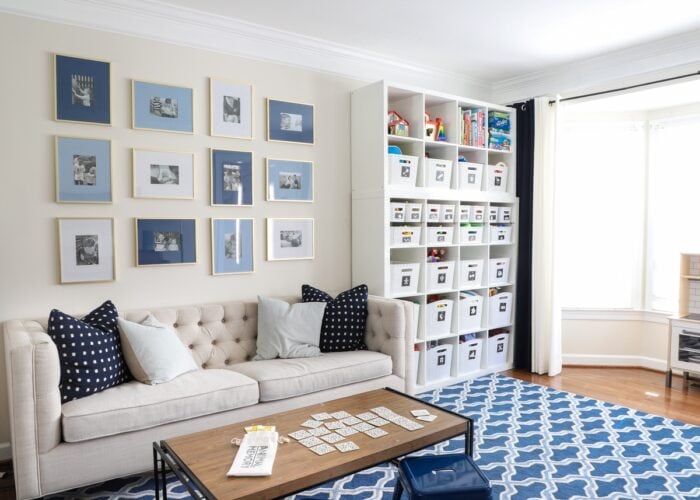
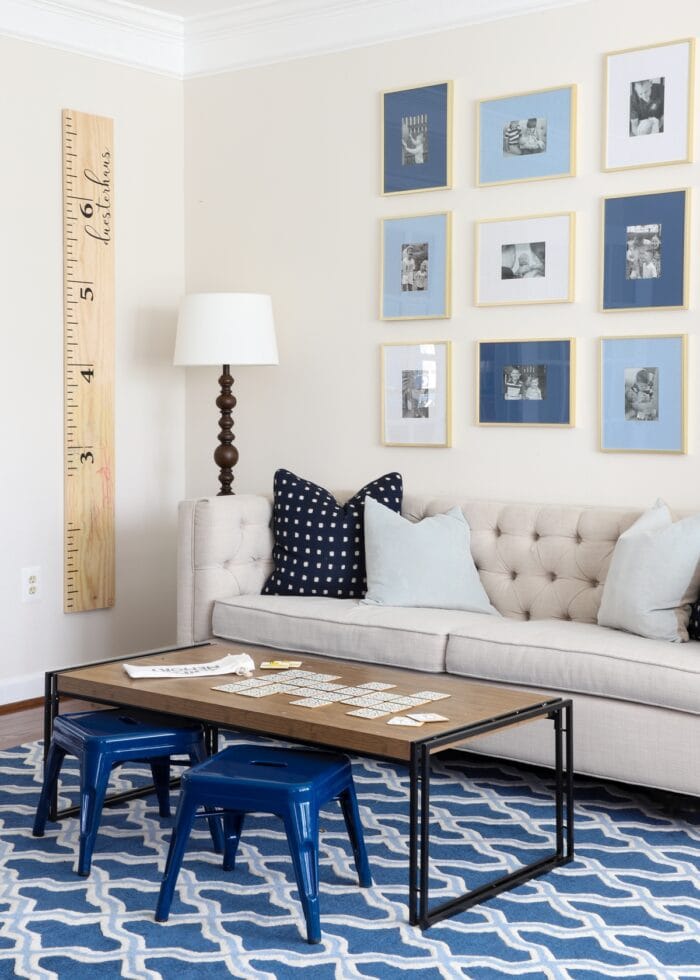
Right next to the toy storage shelves is a cozy corner that we use for game playing, story reading, tv-watching, video game playing, and more.
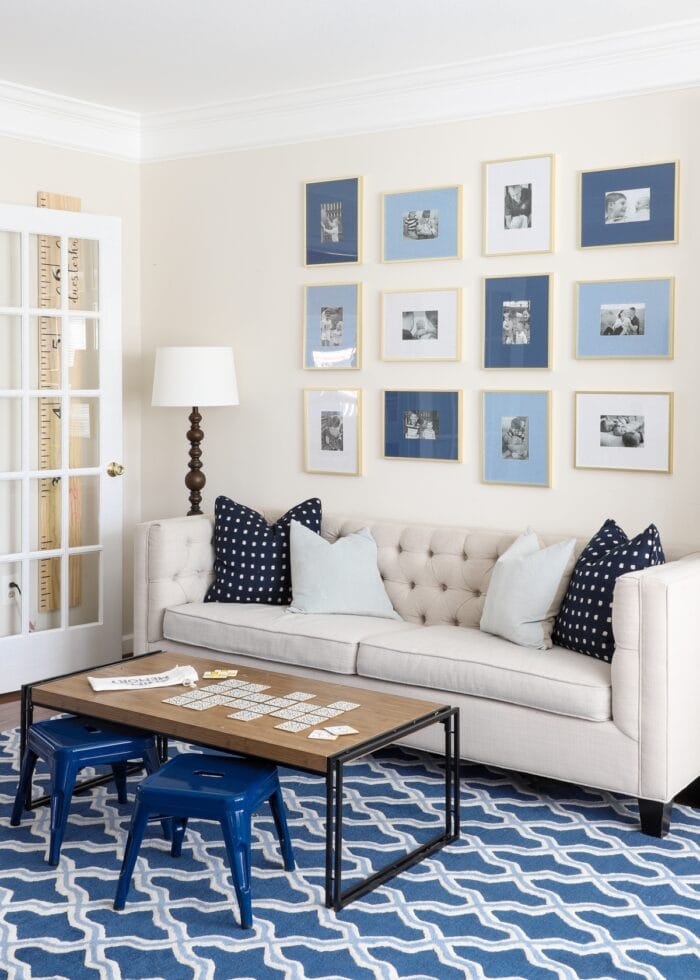
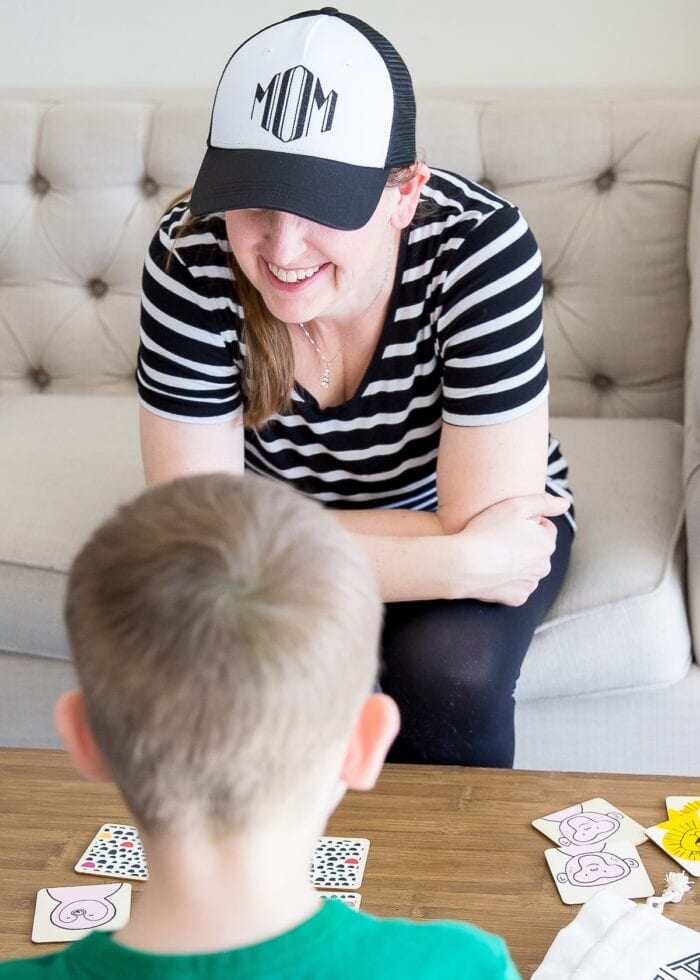
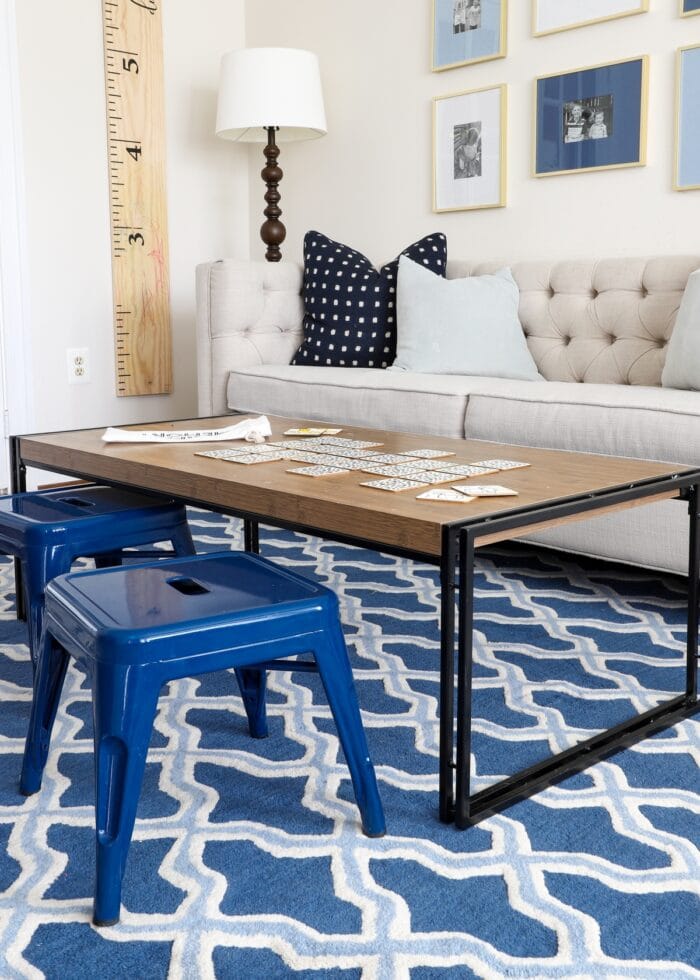
Ever since we started having a dedicated playroom, we have included a couch in the space; and I can’t recommend this arrangement more. Not only does a couch give the entire room a more stylish look overall, but having seating (that isn’t the floor) makes us all much more content to play in here.
I know this couch looks really fancy for a playroom, but it’s not. It has stains on the arms and crumbs in the cushions, and has been very well loved over the years. It became the playroom couch by default (when we had no where else to put it), but it definitely helps this room look more like a living room than a playroom.
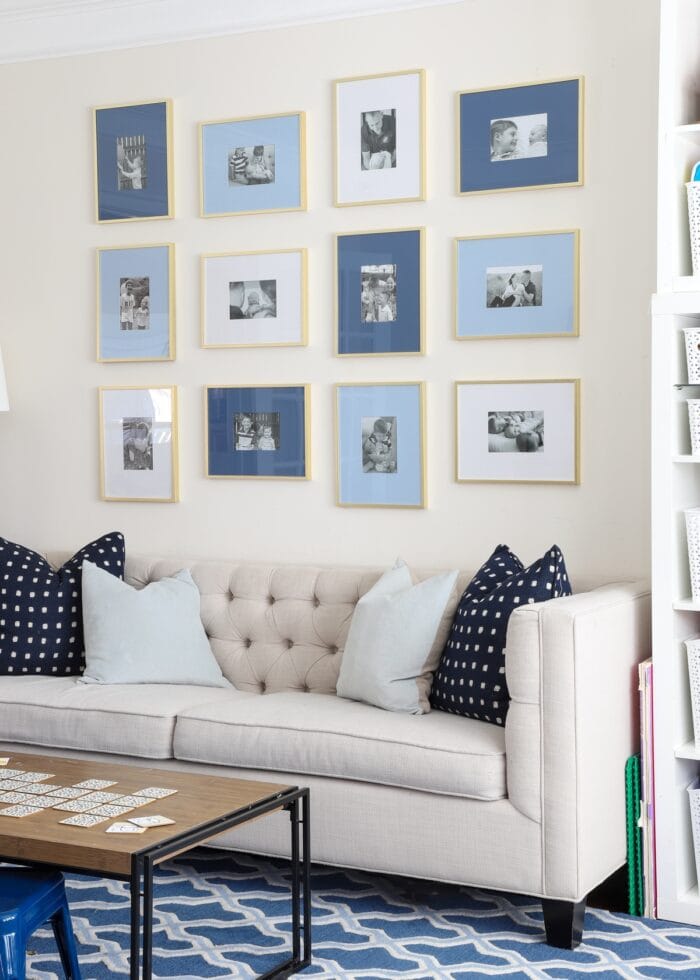
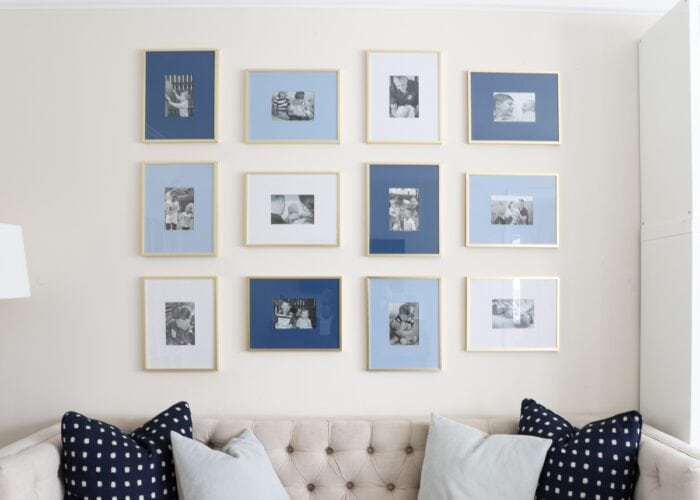
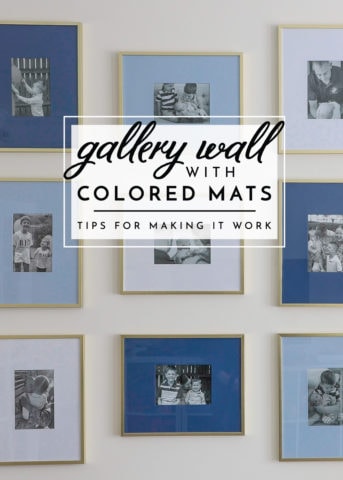
Above the couch is one of the very first projects I tackled in this home: a gallery wall with colored mats. I didn’t realize it at the time, but using colored mats is such a great way to add color to a wall without paint or wallpaper. In fact, it’s this wall (in conjunction with the rug) that provides all the color in this entire room!
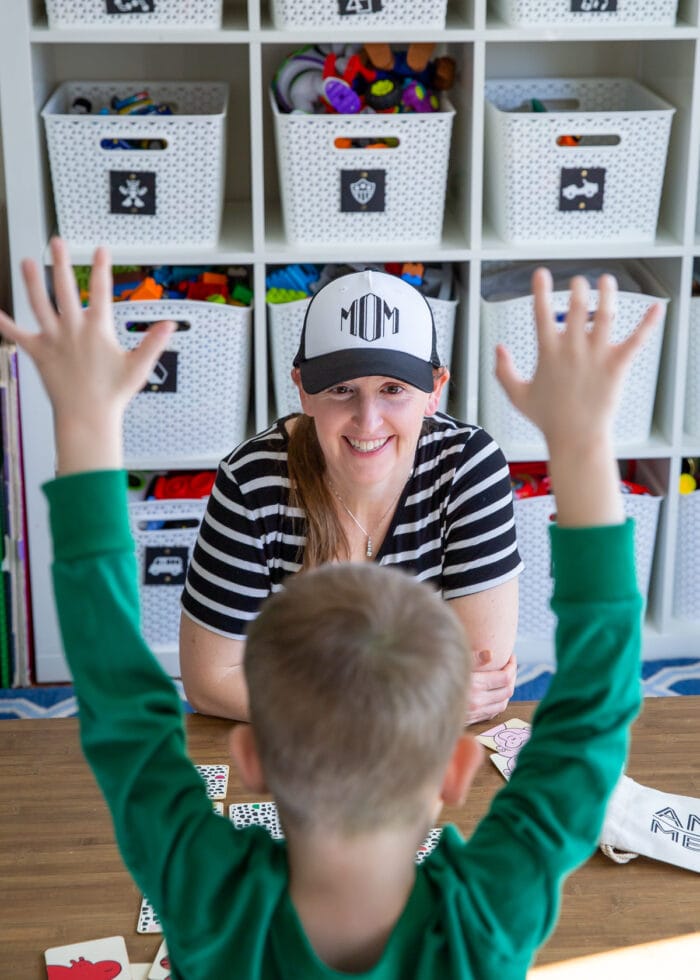
In front of the couch sits an inexpensive coffee table that is turned into a boat, pirate ship, fort, car track, puzzle board, and train track on a daily basis.
The couch + coffee table + kid stools is a combination I stumbled upon in our California playroom, and it continues to be an ideal layout for all sorts of activities…plus it looks cozy and complete!
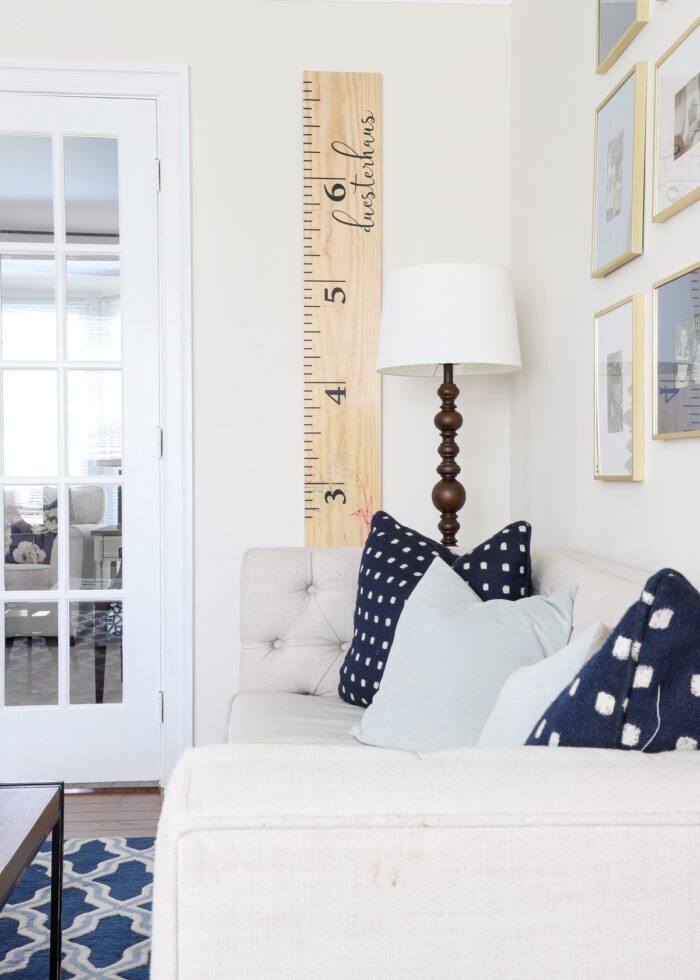
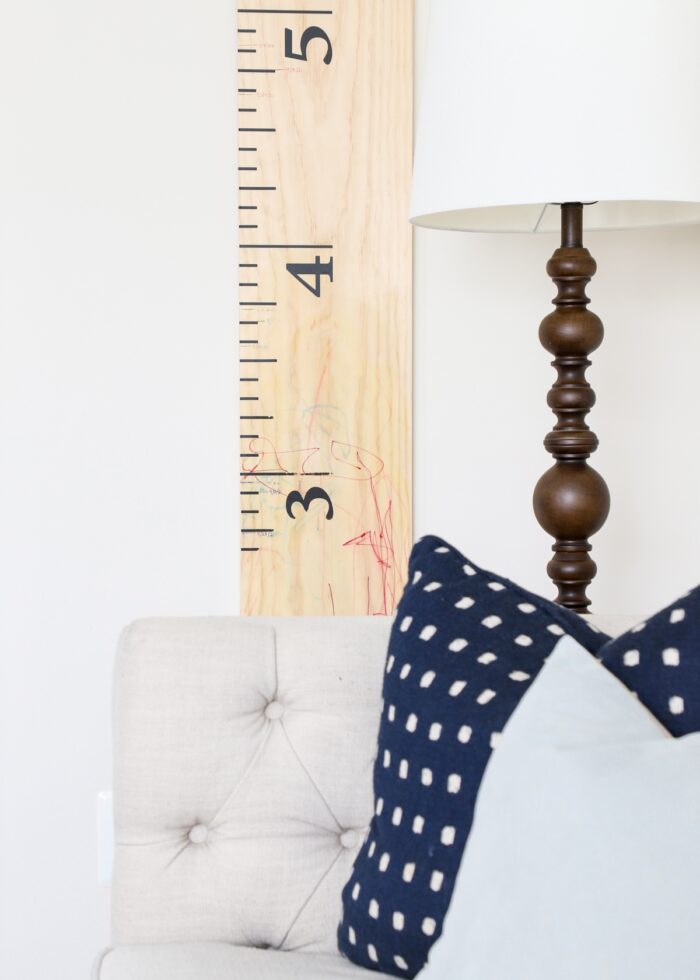
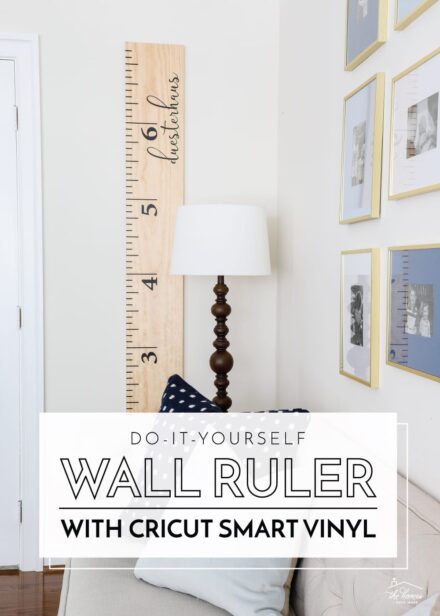
Next to the couch is the wall ruler I made with my Cricut, vinyl, and some raw wood. No…it’s not your imagination…my beloved wall ruler has been “decorated” since it was originally hung on the wall.
You can read the full story of what happened to it here (and even weigh in if I should leave it or fix it – I’ve been loving your comments!)
The Piano Wall
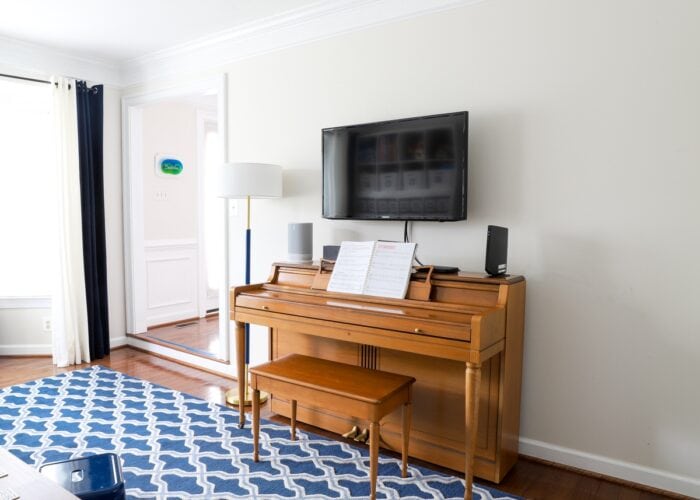
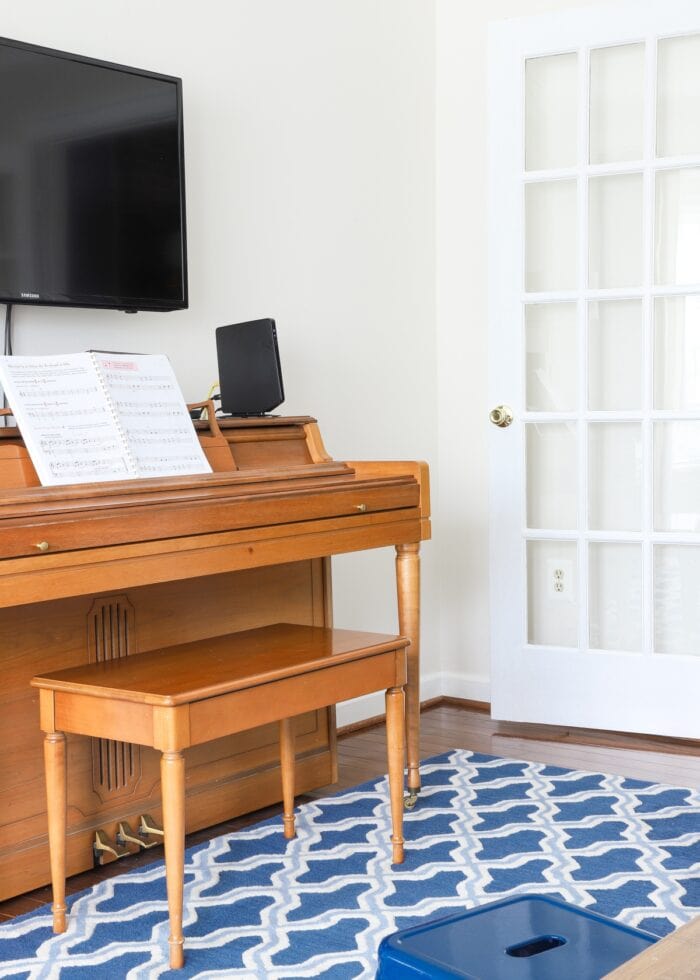
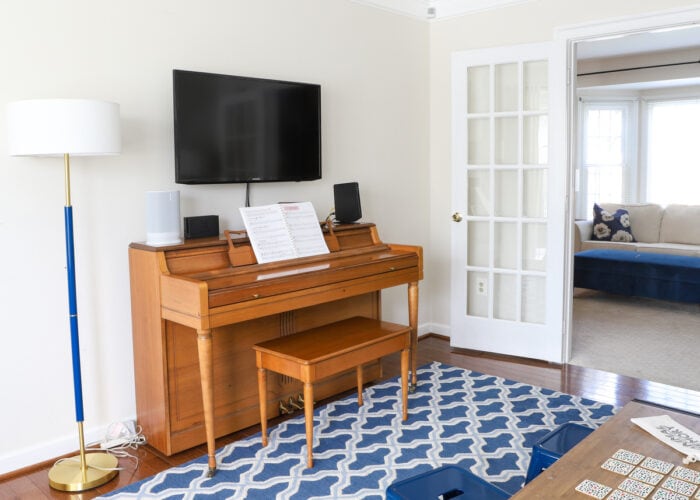
Directly across from the couch on the shorter wall, is our “new” piano. For as much as we hemmed and hawed (and boy, did we hem and haw!) about if the piano should go here, where would the tv go, would everything match, what about the toy storage…it suuuuuure has worked out beautifully!
I tell you what…we’ve never had a piano in our home, so I was completely not in tune with (ha!) how much coziness it would add to a space. I’m not sure if it’s the warmth of the wood, the style of the piano, or just its pure authenticity as a classic instrument, but we wheeled it in and the room was instantly transformed. Despite the IKEA shelves, cheap coffee table, and stained couch, this piano really made everything “click” together just right!
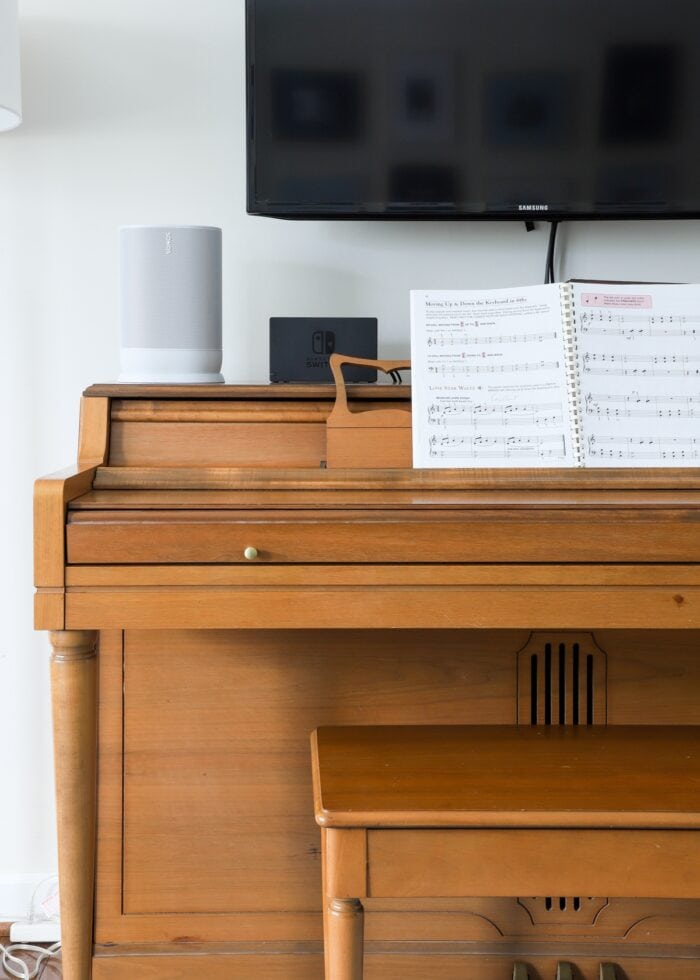
We realize that having a television above a piano is not ideal, but this is another “make it work” situation that we’ve been pleasantly surprised by….
Our kiddos have gotten so used to having a tv in the playroom; and frankly, we love being able to turn something on for them and close the doors so we can’t hear it. Although we wanted the piano in here, we really didn’t want to give up the tv.
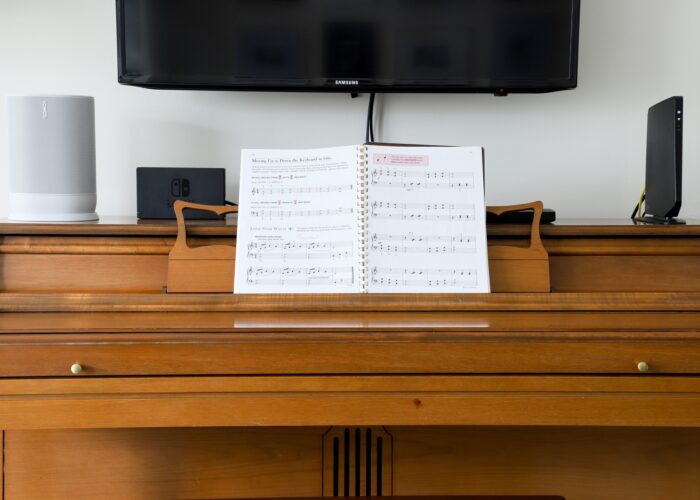
So we mounted the TV to the wall above the piano and have actually really liked using the piano’s surface to hold the cable box, speaker, router, etc. If we were here longer than a few more months, we would absolutely hide the wires like we did in the family room; but we didn’t see the sense in adding more holes to the wall in our final few months!
There are a few things that aren’t “quite right” in this room. I don’t love the blue floor lamp we bought on a whim when we lost the table lamps with the toy shelves; and we could really use a large plant on the other side of the piano. But this is a time when I have to simply say…”We’re moving soon…it’s good enough.”
Interestingly, we are 99% certain we will not have a playroom in our next home, so this is likely the last time all these pieces will be together just like this. The rug is “scheduled” for the boys bedroom, the piano for the dining room, and the couch/coffee table to my nieces new apartment (see how we “furniture planned” for our next move). So for just a little while longer, I’m going to enjoy the style “magic” we were able to create in here and overlook the few things that aren’t complete.
Products & Tutorials In This Room
Here are all the products and projects seen in this space!
- Walls – Behr Sail Cloth
- Blue Trellis Rug
- Furniture
- IKEA Kallax 4×4
- IKEA Kallax 4×2
- Beige Tufted Couch – No longer available but these are similar
- Wood + Iron Coffee Table
- Blue Kids Stools
- IKEA DUKTIG Play Kitchen
- Throw pillows – HomeGoods
- Walls & Windows
- Storage
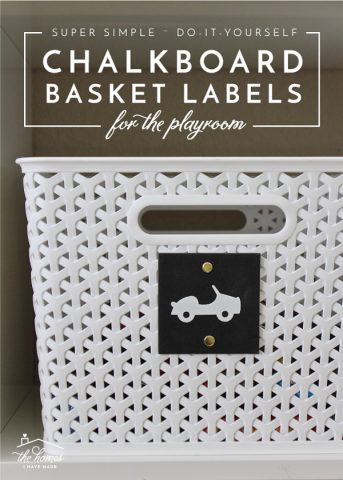
- White Y-weave baskets in a variety of sizes
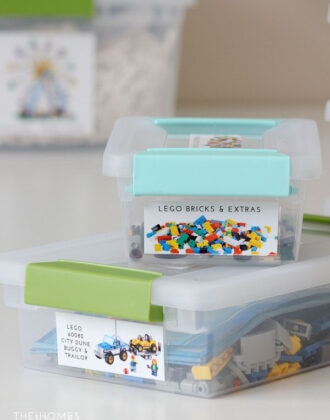
- Clear Storage Boxes for play food
- Tall striped basket – HomeGoods
- Lighting
- Brown Turned Wood Floor Lamp – originally Target but no longer available; this one is similar
- Blue & Brass Floor Lamp
I know with each room reveal, I say “this one is my favorite.” And while I can’t quite rank this room above Sam’s bedroom or my Office, I do soooooo love the way this room turned out.
The patterned rug combined with a variety of neutral finishes really give this room both a playful and stylish feel. I’m thrilled we were able to create a comfortable space for our kids (and all their stuff), but also a room we can all happily hang in (and proudly to show off since it’s right inside the front door!) I’m going to miss this one, for sure!
Megan



One Comment on “Our Virginia Playroom Reveal”
Hi what did you use to have a hanging shelf or like a divider on the kallax