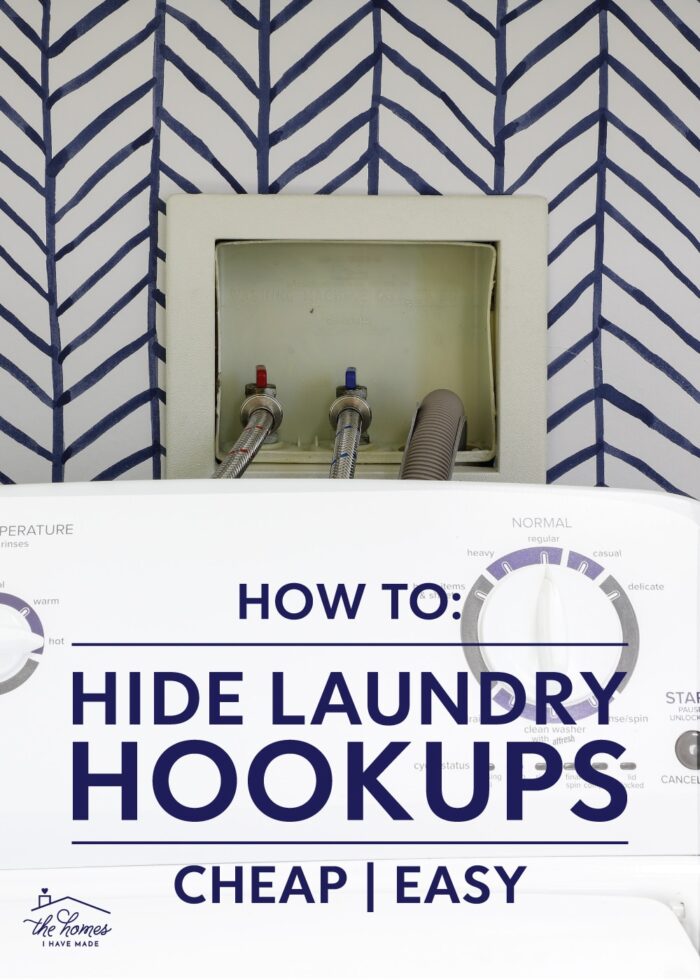
Hide That Ugly Washer Hookup | Quick, Cheap, Easy!
One of the most frustrating things as a renter is when you have downright ugly or nuisance home features that you simply cannot move or take down. And one of the most common? The ugly washer hookup! These are notoriously tricky to cover or decorate around, and tend to be too costly and complicated to move. But with just a piece of foam board and 10-minutes, you can significantly improve the view!
Our Washer Hookup
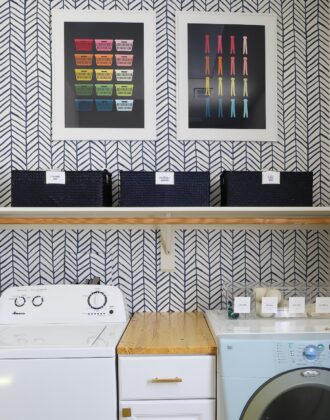
Little by little, I’m working my way to the upstairs of this house, (finally) getting to our spacious dedicated laundry room!
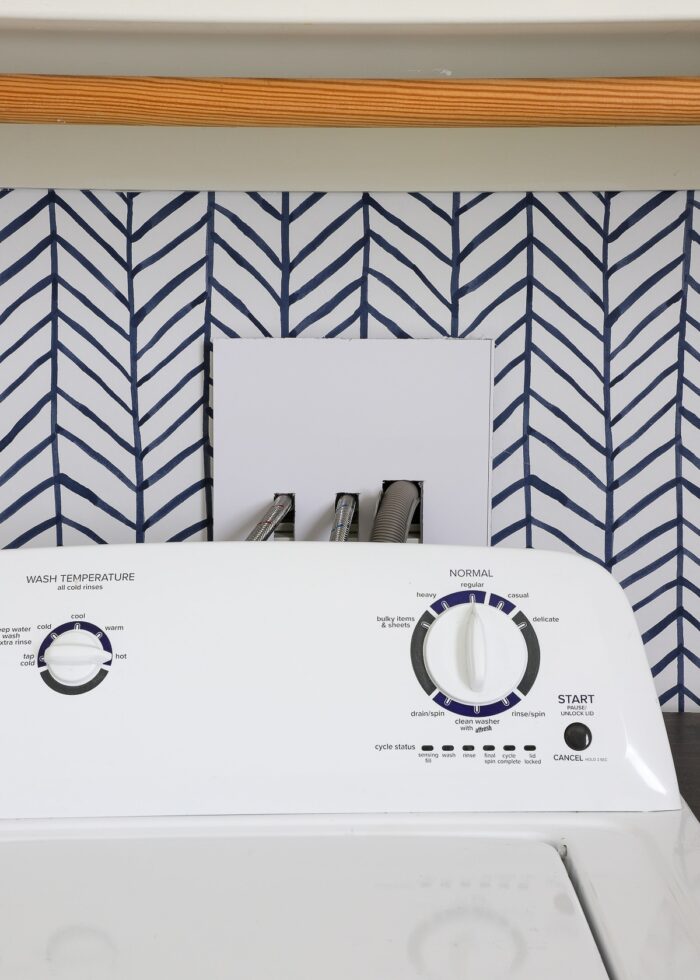
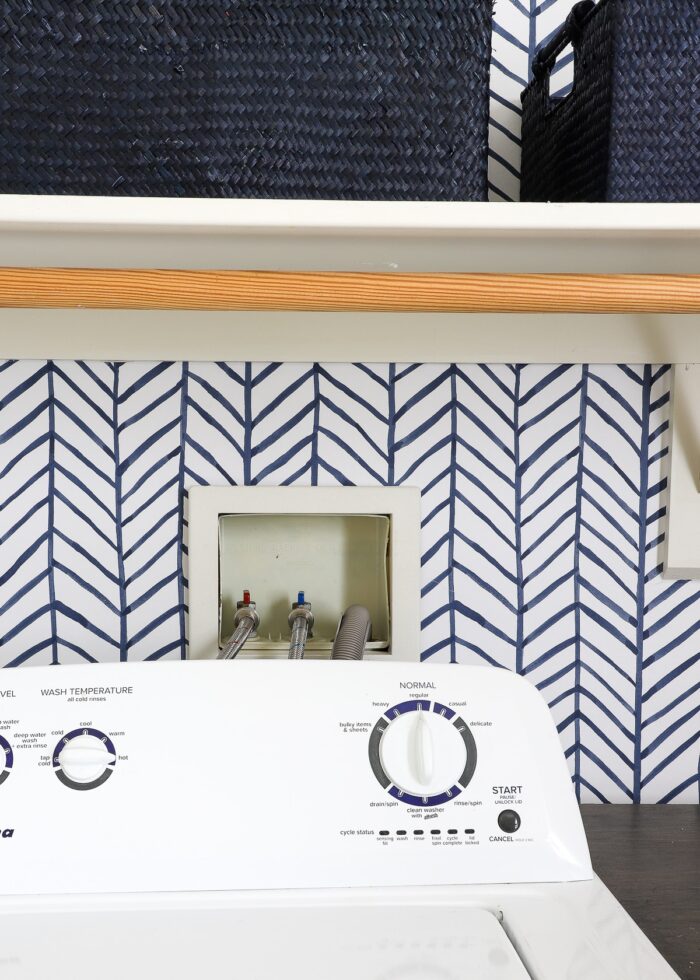
I started by adding a fun wallpaper feature wall behind the washer and dryer (of course!) But my excitement quickly turned to frustration by how much the new wallpaper amplified the ugly box housing the washing machine’s hoses.
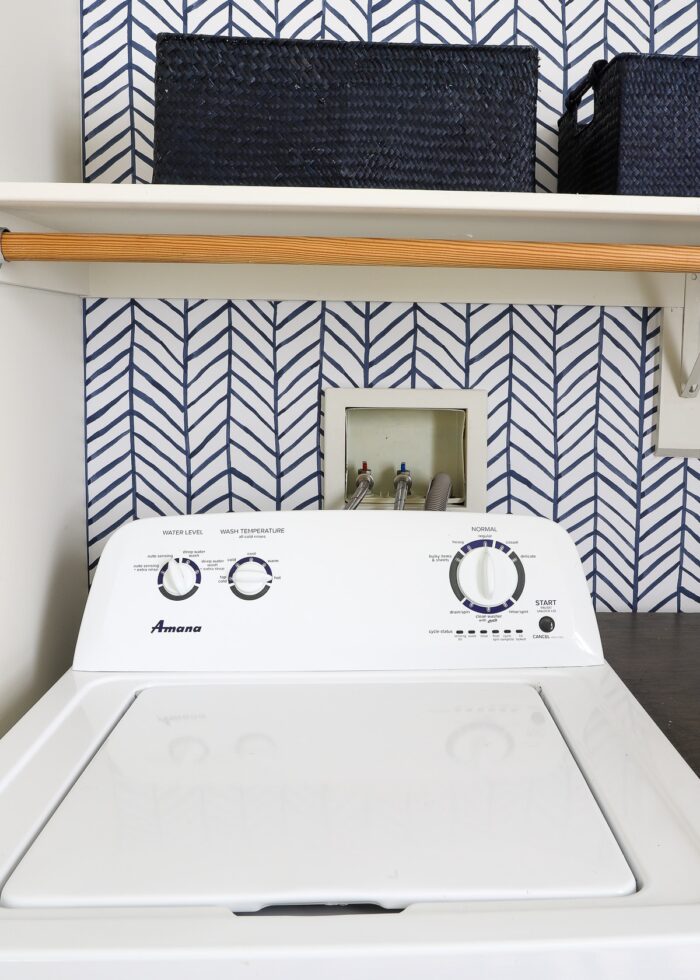
Like so many homes and apartments, our washing machine hook-ups sit just above the height of our machine (whhhhyyyyyyyy?!?) But as renters, we can’t re-locate it lower so that it’s completely out of view.
When the wall was the exact same color as the hookup window, the pipes were still viewable but much less noticeable. But when I added the bright white-and-blue paper, the dingy hookup box became even more of an eye soar, constantly catching my eye amidst an otherwise lovely space!

I’ve seen lots of clever ways to cover up laundry plumbing along the top of the machines, including shelving, countertops, fabric panels, short or full-length curtains, artwork, decorative bins, cute laundry accessories, a drying rack, drawers (to raise the machines), upper cabinets, and backsplashes. But for a variety of reasons, none of these were quite right for our appliances and our particular setup.
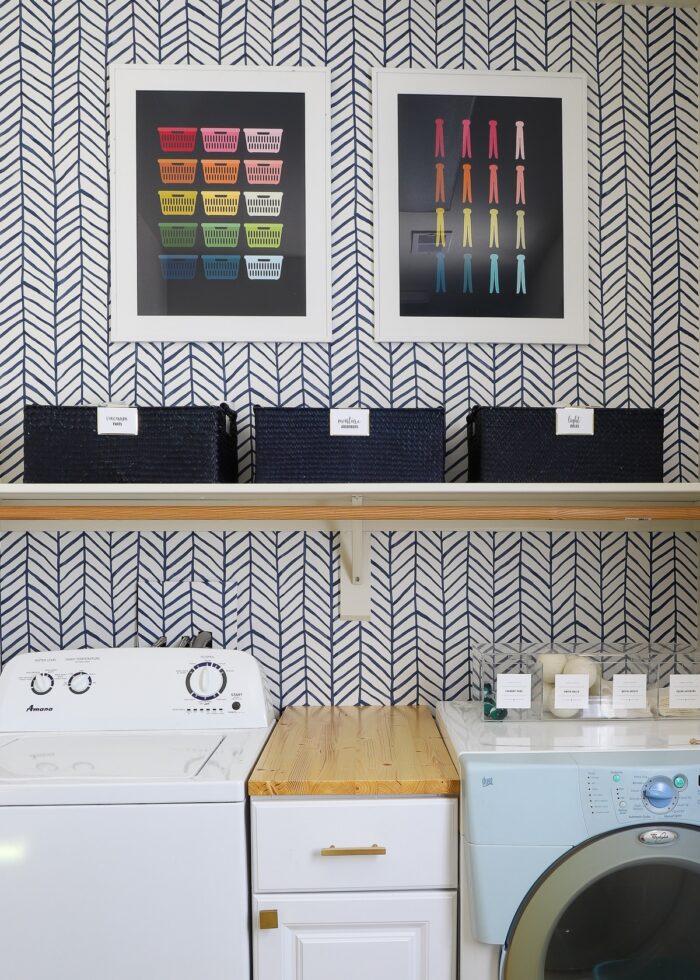
So using some supplies I already had on hand, I whipped up a simple DIY cover that quickly improved the entire laundry room wall. Take a look!

Tour the completed laundry room here: Renter-Friendly Laundry Room Makeover with Easy DIYs
It’s not perfect, and it’s certainly far from a professional or long-term solution. But this quick project really streamlined how our laundry station looks; and if you move in/out of the room quickly (or squint, lol!), you actually don’t even see it!
Let me show you what I did!
Supplies Needed
- 12×12″ Sheet of Cardstock
- Foam Core
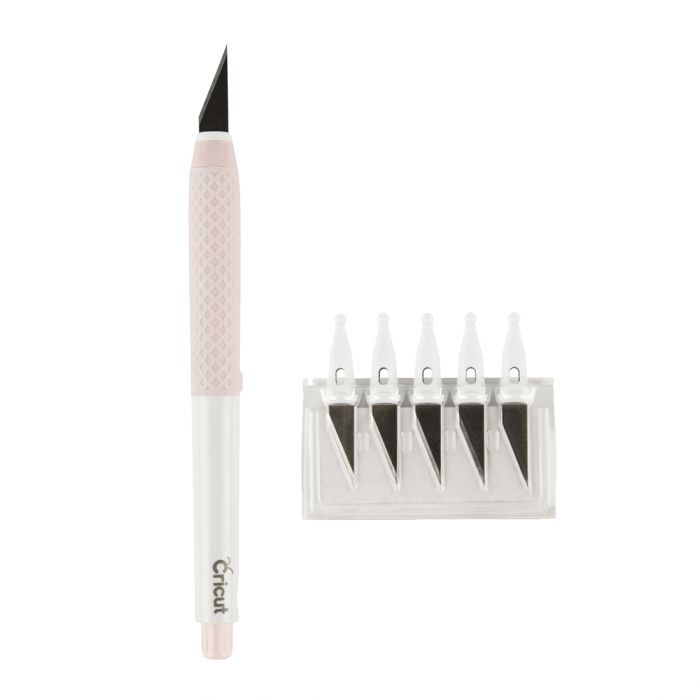
- Sharp Craft Knife
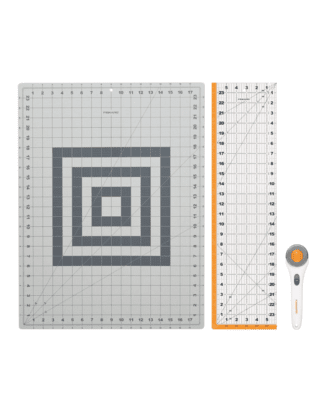
- Ruler with Self-Healing Mat
- 2 Command Strips
- Matching Wall Paint or Wallpaper – this is the wallpaper I used
Video Tutorial
If you’d like to watch how this laundry hookup cover comes together, watch the short video below! (Video not loading for you? You can watch it HERE!)
How to Hide Laundry Hookups with a Faux Cover
Every washing machine hose opening might be a little different, but this general process can likely be adapted to however yours’ looks.
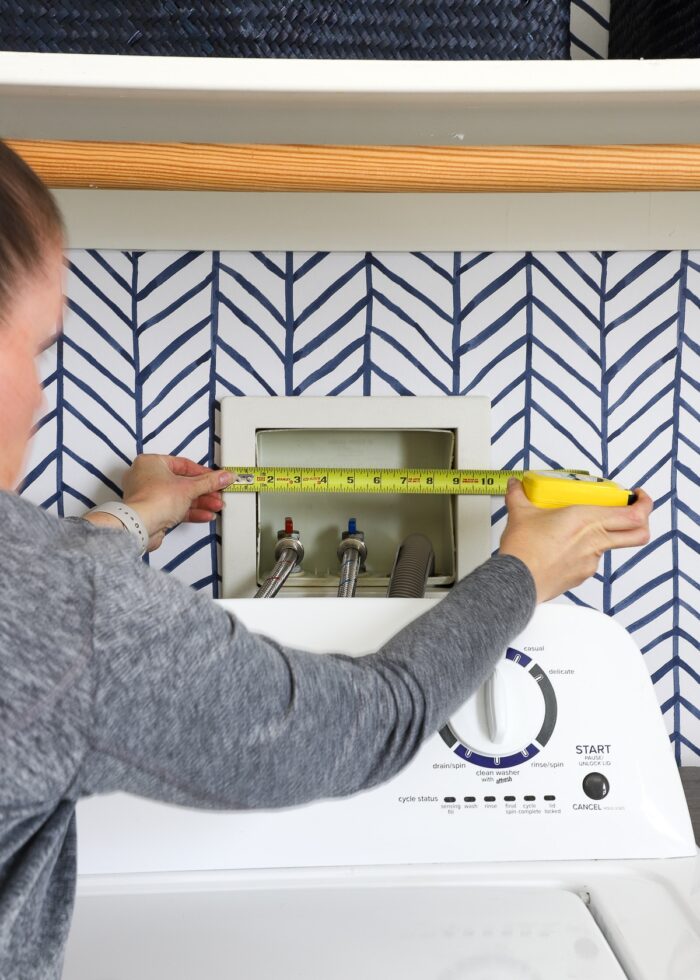
Step 1: Measure the Hookup Area
Start by measuring every single detail of your existing washing machine hookup. More than just the height and the width of the overall frame/box/window, measure the exact placement of all water hoses, valves, and electrical wiring (height, width, etc).
NOTE: Our hookup box has a frame that protrudes from the wall about a half inch. As such, I made a cover to go on top of that frame. If you don’t have a frame, you can either make a cover that extends past the opening (and secures to the surrounding wall instead) or fits within it.
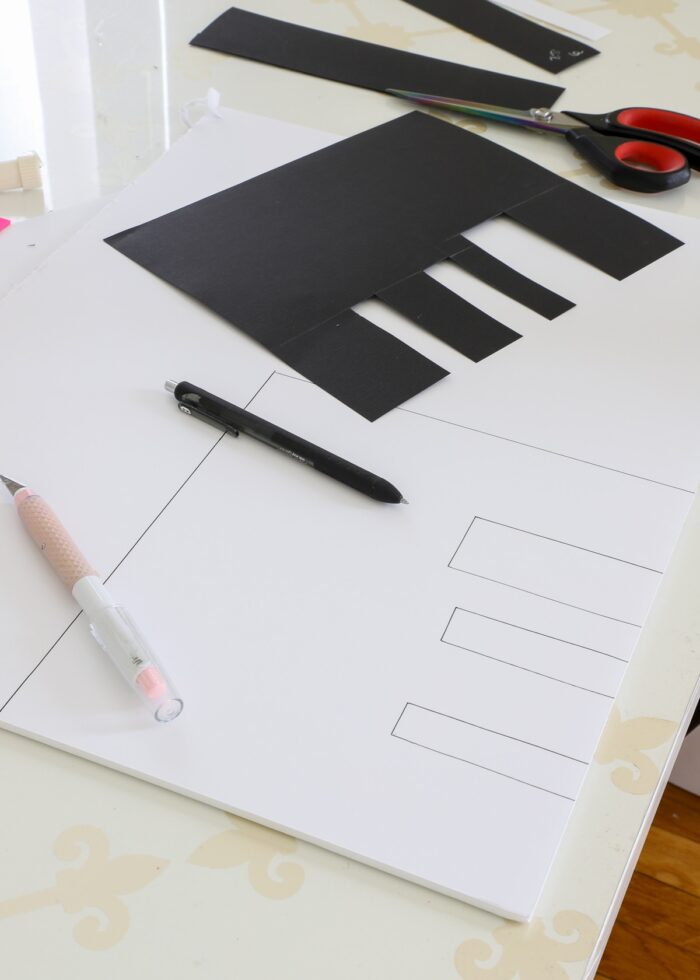
Step 2: Create a Template
Next, make a paper template for your cover by translating those measurements onto a piece of cardstock. How well your cover hides the hookup window and hoses will very much depend on the precision of your measurements. So use a ruler and be as detailed as possible.

Step 3: Dry Fit the Cover Template
Once you have your template drawn out and cut apart, place it onto your washing machine hookup to see how it fits. Note what areas are too tight or too big or if any overall measurement needs to be adjusted.
If needed, re-cut your template to make sure you get the fit and coverage exactly as you want it.
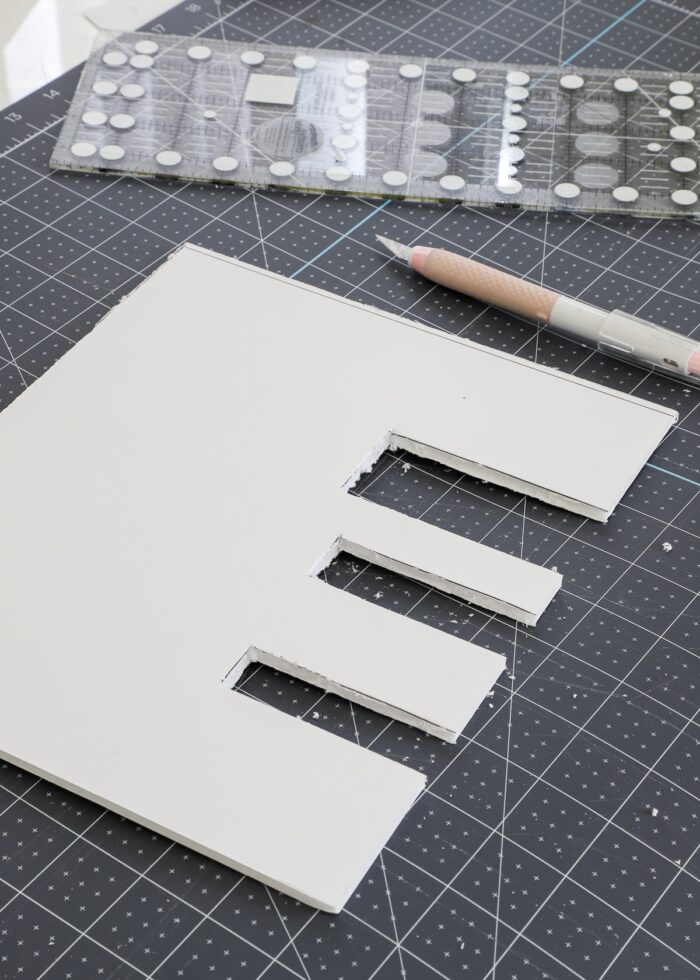
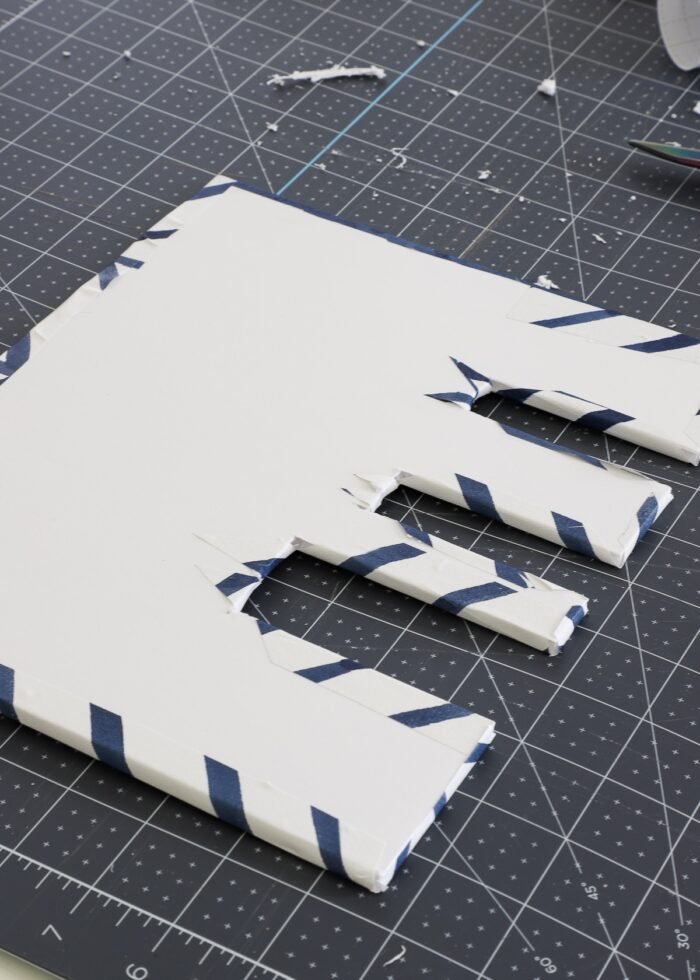
Step 4: Cut Cover From Foam Core
Once you are satisfied with the overall design and fit of the paper template, trace it onto a piece of foam core board.
Want to save this post?
Then use a sharp craft knife, ruler, and self-healing mat to cut out the foam core version of the cover. This can take a little patience. I found it easiest to score each line over and over and over until the knife pops through the other side.
Step 5: Dry Fit (Again)
Before moving on, I recommend dry-fitting your cover one more time to ensure you like the way it fits.
Step 6: Match Cover to Wall
Once the fit is just right, you will want to match the cover to the existing wall with either paint or wallpaper.
If you choose paint, be sure to use the exact same color and sheen as the surrounding wall; and coat the top, bottom, and side edges as well. This will ensure the cover fully “fades” onto the wall behind the hookup window.
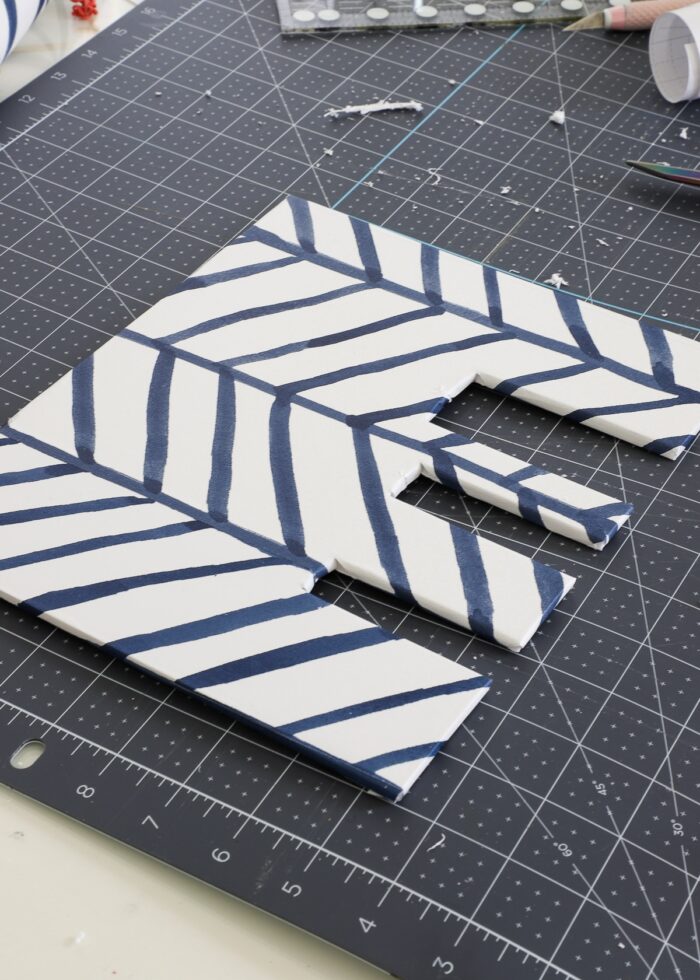
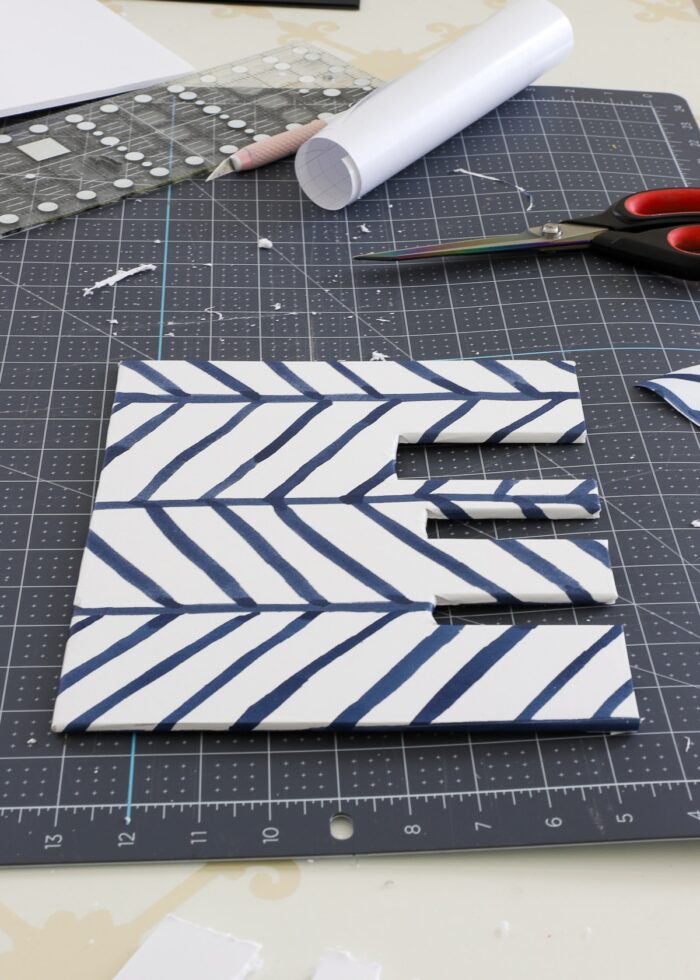
If you’re using wallpaper to wrap your cover, spend some time matching up the pattern as best you can. Depending on your pattern, this can be a bit tedious and difficult.

Once you have the pattern lined up correctly, cut the paper down so that there is at least 1″ hangover on all sides of the foam cover.
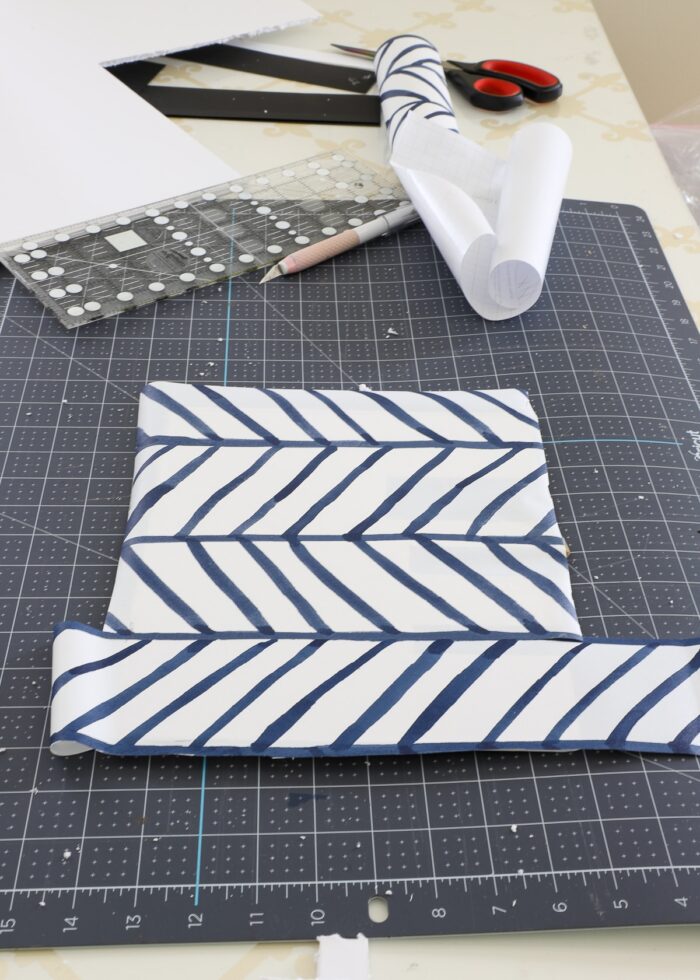
Flip the board+wallpaper over and snip at all the corners in order to wrap the paper to the back as tightly as possible.
From the front, all surfaces and edges should be wrapped tightly!
Step 7: “Install” Washer Hookup Cover
The final step is to “install” your washer hookup cover using Command Strips. This cover will be very lightweight, so I actually used a single pair cut in half (vertically), placing thin strips on each side of the cover (not shown).
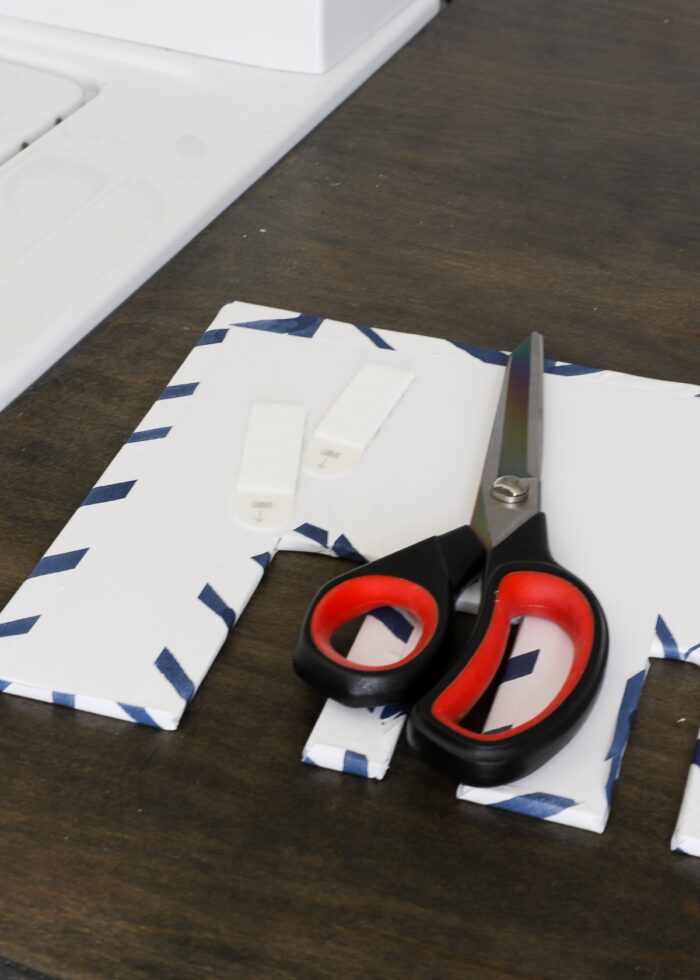
With the Command Strips in place, just stick your cover on top of the existing hookup area or surrounding wall, lining up the wallpaper pattern as necessary.

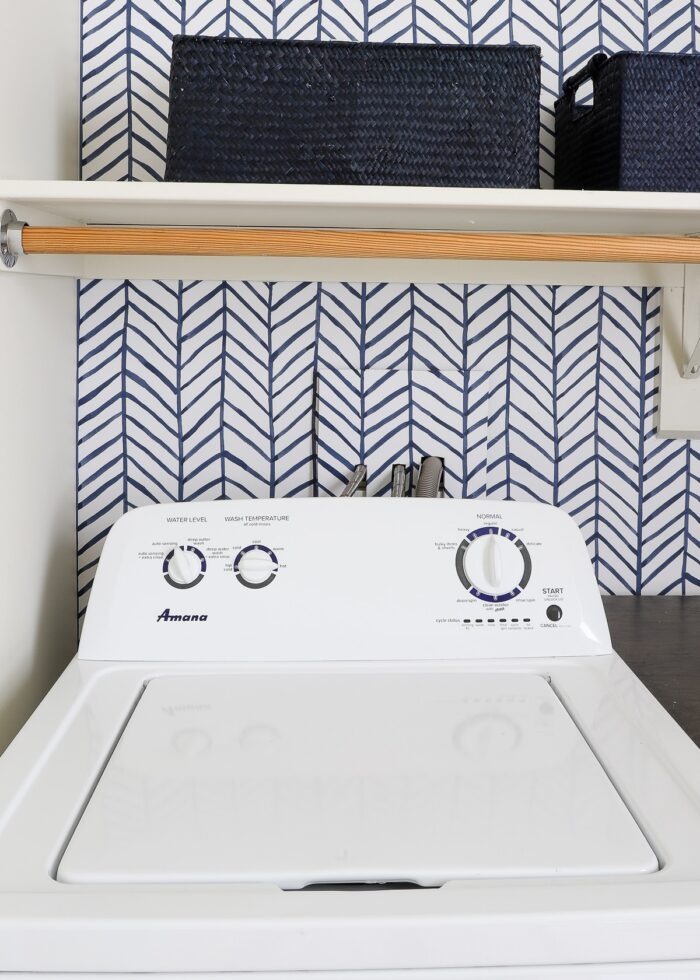
Although I didn’t quite get the right-hand side of the wallpaper pattern to line up perfectly and the hoses are still just slightly visible above the machine, I’m thrilled with this improved view.
Here’s one more look at the “before”…
…and how it looks now with the wallpapered cover!
Other Easy “Hiding” Projects to Try!
As a renter, I’ve become a pro at hiding unsightly things in clever ways! Check out these other smart solutions:
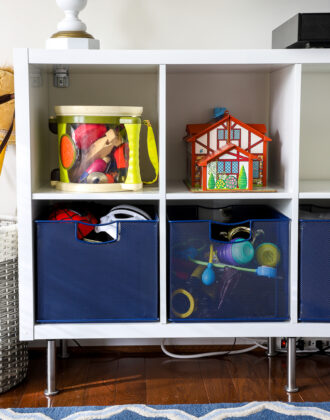
- An Easy Way to Conceal Basket Clutter
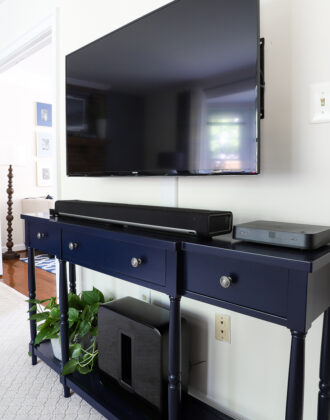
- How to Hide Cords Without Drilling Through the Wall
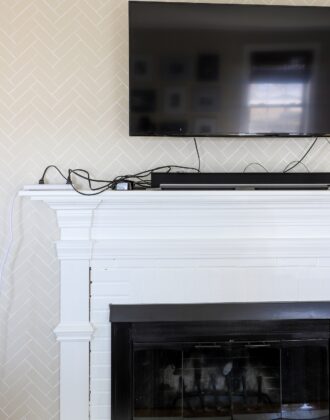
- How to Hide TV Wires Above a Fireplace | Video
- How to Cover an Ugly Kitchen Island with Shiplap
- How to Hide Ugly Tile Floors with Wallpaper
- How to Camouflage Command Curtain Rod Hooks
If you have ugly washing machine hoses peeking out at you in your laundry area and you just can’t move the hookup, give this easy fix a try. Is it “proper” or “professional”? Nope. But does our laundry wall look just a smidge cleaner and cohesive because of it? Absolutely!
I know I toss the words “easy” and “cheap” around a lot…but this fix really is! Be sure to let me know if you give this washer hookup hack a try!
Megan

3 Comments on “Hide That Ugly Washer Hookup | Quick, Cheap, Easy!”
Smart use of things you have on hand. And easy better looking than the yucky box.
Looks great, Megan!
It’s actually good that the box is above the washer as you should turn off the water to the hoses after laundry is done. This keeps the hoses in better shape for a longer period and cuts down the chances of leaking and a flood. Its one of those times function over form should be used.