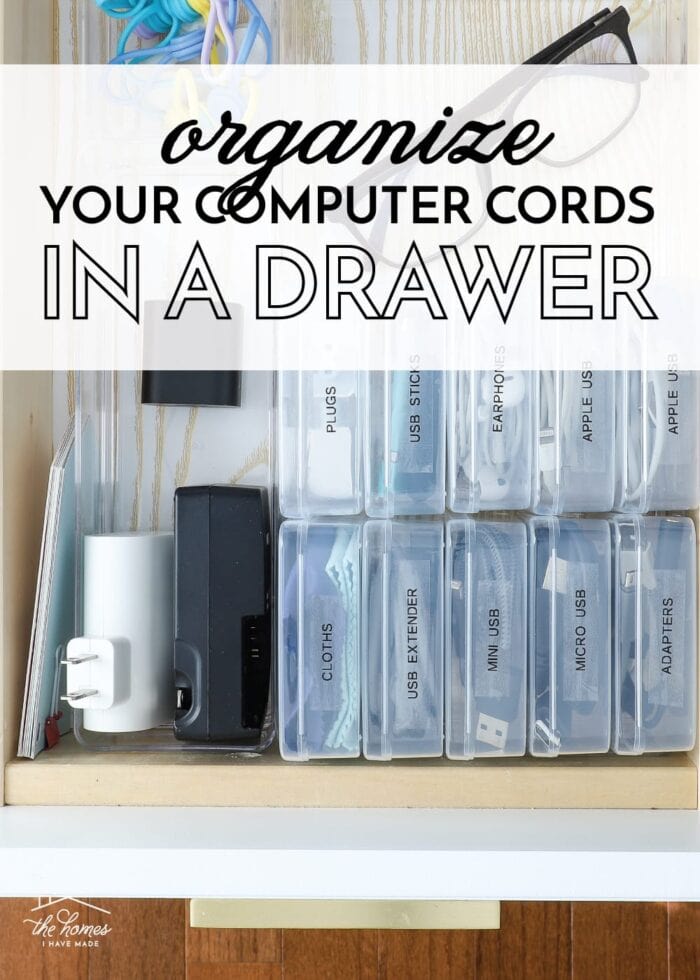
3 Ways to Organize Cords in a Drawer
Raise your hand if you have a tangled hot mess of cords in your desk drawer or somewhere in your home?!? Yep – most of us do! But for the first time in ages…I don’t! Tired of rummaging through the mess day after day, I (finally!) took the 30 minutes required to organize my most-used computer cords. And it really only took me that long because I experimented with several cord-corralling options. Today, I want to share 3 super easy ways to organize cords in a drawer and give you a tour of my snazzy new setup!
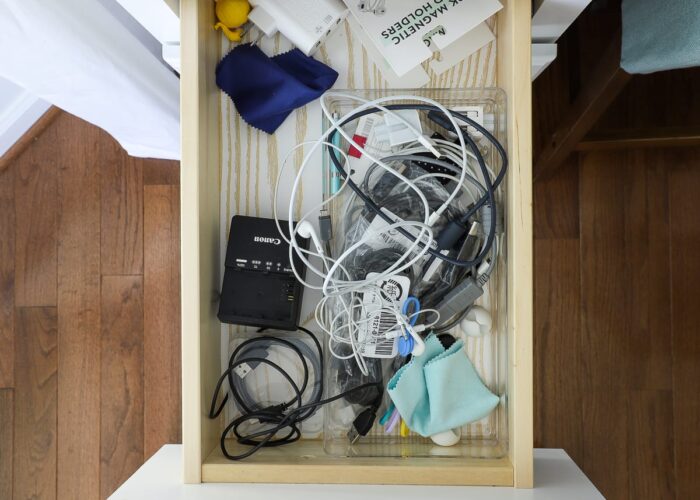
Our Ugly Cord Situation
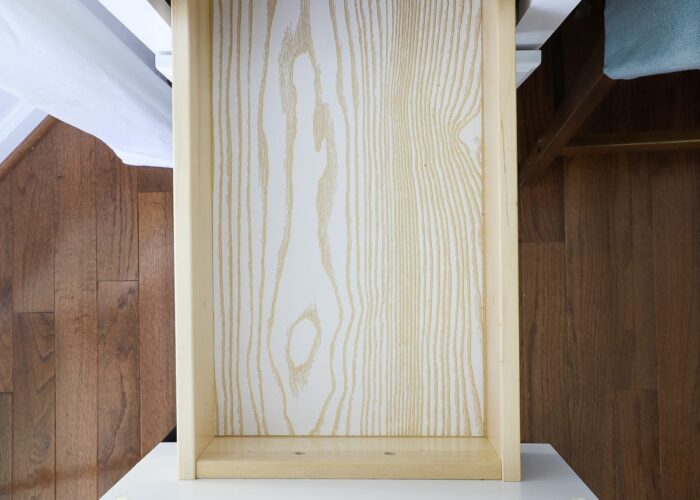
Below is the skinny drawer that sits directly to the left of my computer. It’s literally at the heart of my workspace; but for much of the last 2 years, it has looked like this: a bee hive of earphones, USB cords, chargers, and more.
Organizing this drawer has been at the top of my To Do List for months. Seriously, I bought the supplies…oh…6+ months ago!
What’s been holding me back?
I had three different ideas for calming the cord chaos and just couldn’t decide what to do. So I finally dragged all the supplies out…tried each method…and then determined which one was best for this drawer and my lifestyle. Sure, it wasn’t the most efficient method, but you guys get the benefit of my indecision because I’m going to show you all three (really easy) ideas!
Video: How to Organize Cords in a Drawer
Before I dive into detail on all 3 ideas, watch this entire cord organization project from start-to-finish!
Video not loading? You can watch it HERE.
Idea #1: Binder Clips
The first idea to organize cords in a drawer is with pretty binder clips. I’ve actually done this “on the fly” a few times and loved how well it worked. So I was eager to see if this could be a more “permanent solution.”
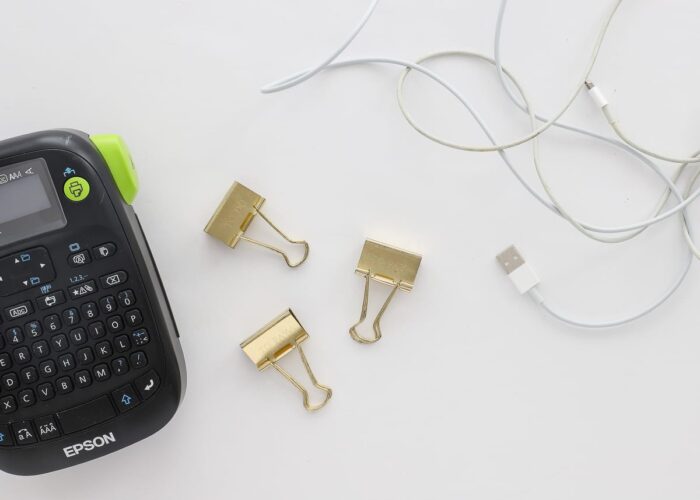
To use a binder clip, simply wrap a cord into a tight-ish circle. Then place the binder clip over ALL the loops on one side. Then, close the binder clip “prongs” to keep the other side of loops all together.
The key to using binder clips is picking ones that are big enough to hold several loops without damaging the cord. You don’t want to clamp down on the cord at all, so 1.5″ clips to 2″ clips are ideal for most thinner computer cords.
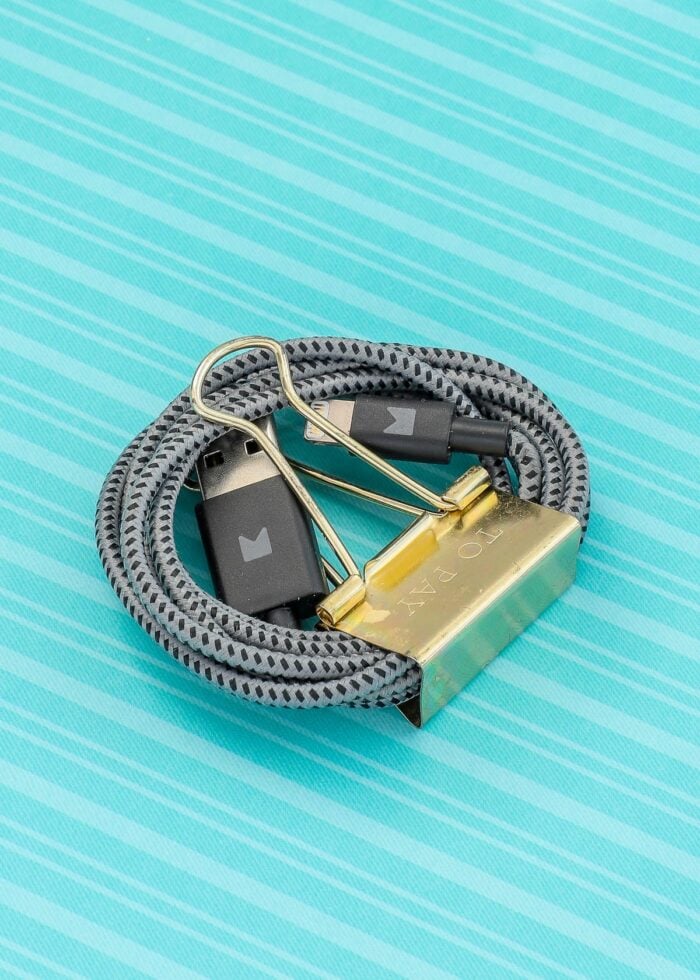
Binder clips come in all sorts of fun colors and have a nice flat surface along the sides and bottom, perfect for quick little labels! Also, the bundles can either stand up or lay down, giving you lots of options for keeping them in a drawer.

The binder clip method is so fast…and you likely already have some on-hand which means you might be able to pull open your drawer and try this now. The main down side to this technique is that binder clips aren’t as easy to use on thick or really long cords.
Idea #2: Magnetic Cord Ties
A while back, I snagged some adorable little magnetic cord ties (similar) in the Target Dollar Spot. I love their vibrant colors and simple design; and they are super easy to tie around bunches of cords while keeping them safe and damage free. I had the best luck looping the ties around twice before securing the magnetic ends to each other.
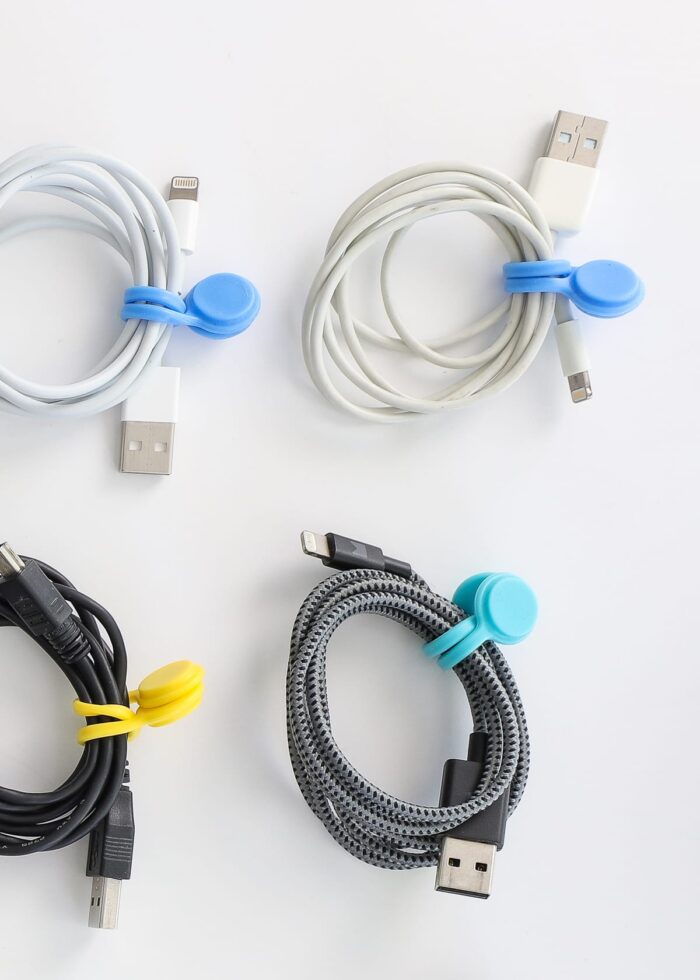
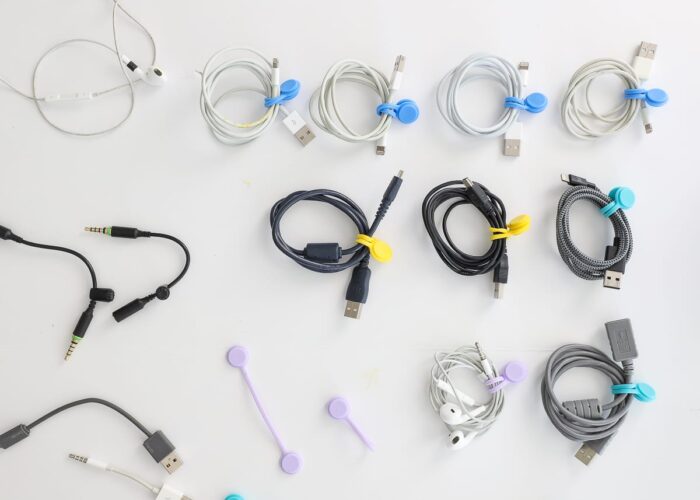
These ties are really easy to loop around your cords, no matter the thickness or length. You can then load all the tidy bundles into a tray or drawer for easy access. The different colors allow you to color code cords quite easily (e.g., below I used blue for Apple cords, purple for earphones, turquoise for adapters, etc). Beyond that though, there is no great way to label these specific ties. Additionally, while they keep the cords bundled on one side, I found the wrappings became a bit unruly on the side opposite the tie.
TIP! I’ve also had great luck using the magnetic ties behind the computer, the TV, and on lamps to wind up and hold extra-long/unsightly cords.
Idea #3: Small Plastic Boxes
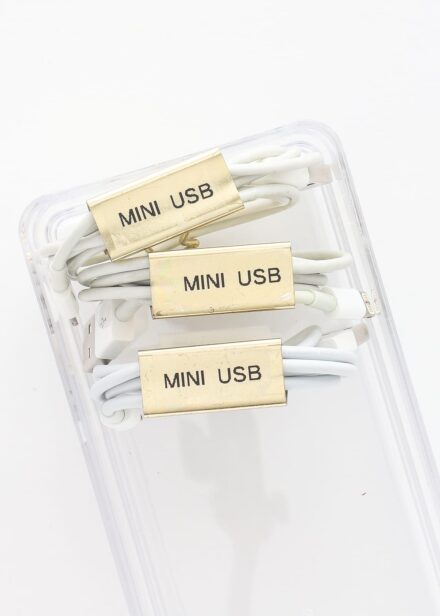
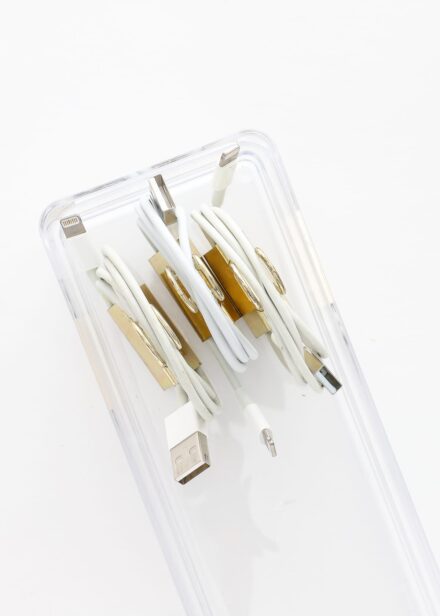
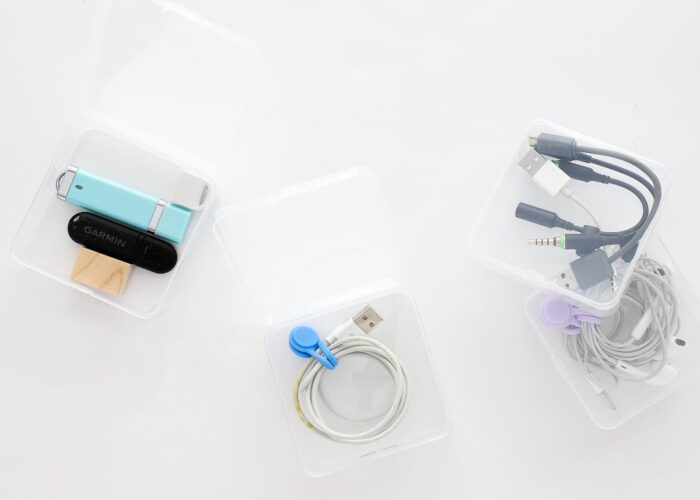
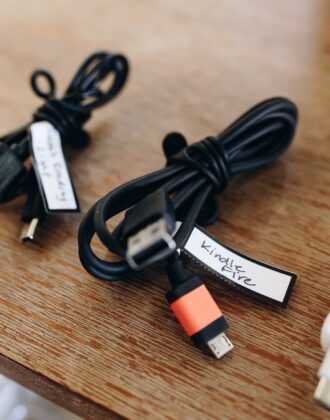
The final idea is one I learned from my friend Michelle at Practical Perfection: small plastic bead boxes. Not only are these boxes cheap, but they really are the perfect size for holding (at least) one cord. Since they snap shut, can stand or stack, and be easily labeled, they are such a great solution (especially for thicker cords).
Want to save this post?

In addition to holding a single longer/thicker cord or several smaller/thinner cords, these boxes are also great for holding mini cables and accessories you can’t wind up. USB sticks, small adapters, cleaning cloths, extra cord clips, and more fit perfectly!
Although clear, you can’t easily tell what cords are inside what box. Adding simple labels allows you to see what you have at-a-glance.

In my mind, the boxes are the best all-around solution since they:
- Hold both thinner and thicker cords safely
- Hold non-wind-able items such as cloths, clips, plugs, etc
- Can be easily labeled
- Can stand up-right in a drawer or on a shelf
However, you likely don’t have the plastic boxes on-hand AND they do require some habit-building and discipline to put cords back in the right box each time.
Organizing Our Cords in a Drawer
After experimenting with all three methods, I knew exactly what solution was right for us. Here’s how I went about tackling this drawer from start-to-finish.
First, I emptied out the drawer and gave it a good vacuum.
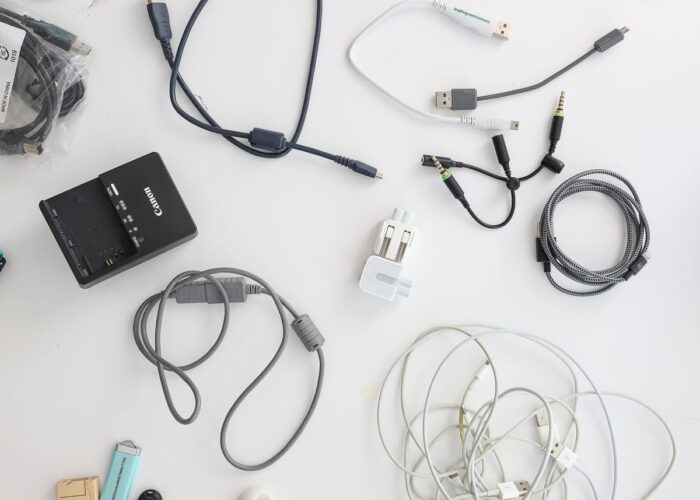
I then untangled and sorted out the cords. I purged ones no longer needed, grouped like cords and accessories together, and moved items that didn’t need to be in this drawer.
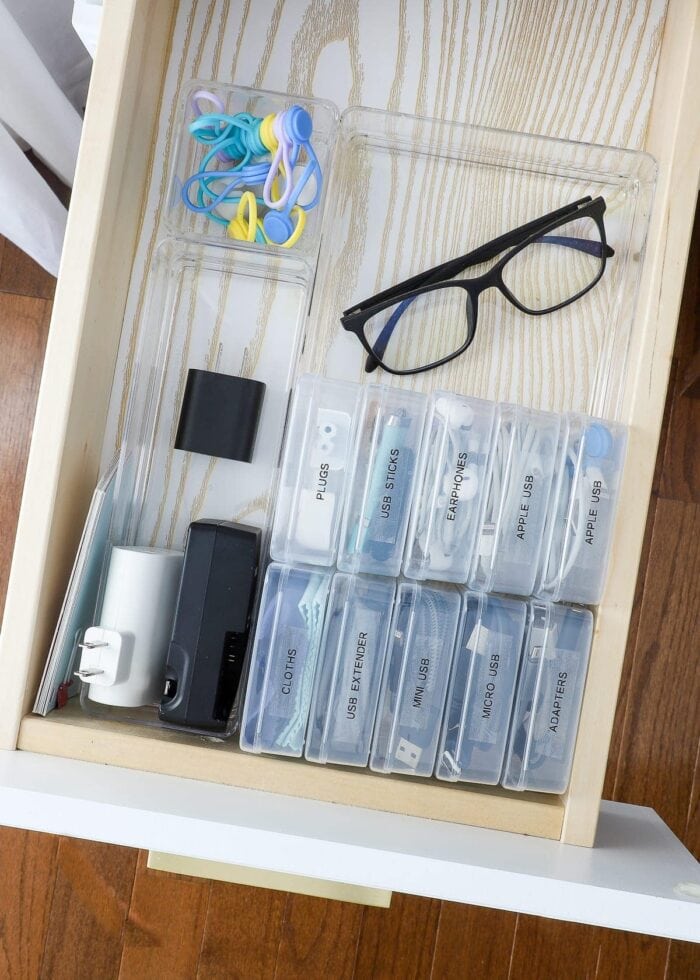
I then loaded cords, sets of cords, or collections of like items (e.g., USB sticks, adapters) into the clear plastic boxes. For small cords, I determined 2 fit better in a single box if they were wound/secured with the magnetic ties first. I then added helpful labels to each box using my label maker with clear tape/black letters.
TIP! If you don’t know what cords you have or what they are for, I found this Cable and Connector Guide really helpful. That said, I do recommend using names that make sense for you so you can easily recognize the exact cord you need.
Finally, I secured some clear organizers to the base of my drawer with some strong double-stick tape and loaded in my cord boxes and other accessories.
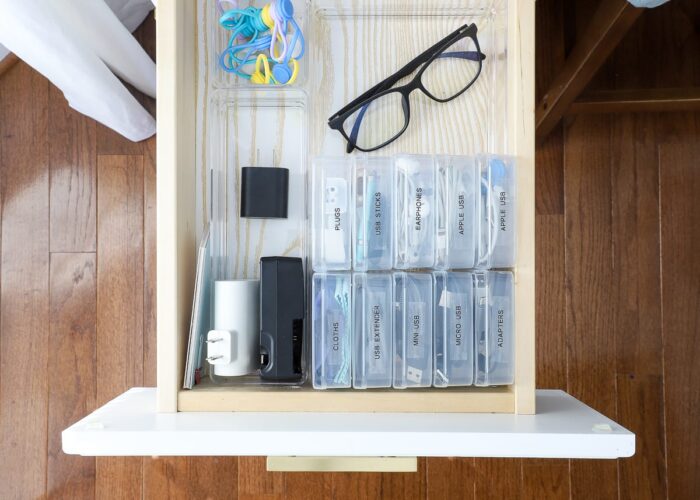
TIP! Play around with your drawer arrangement to find a layout that not only uses up the most available space, but also keeps items from wiggling around too much. My boxes are in there fairly snug, which means they won’t tumble or slide every time I open the drawer!
My Favorite Cord Organization Products
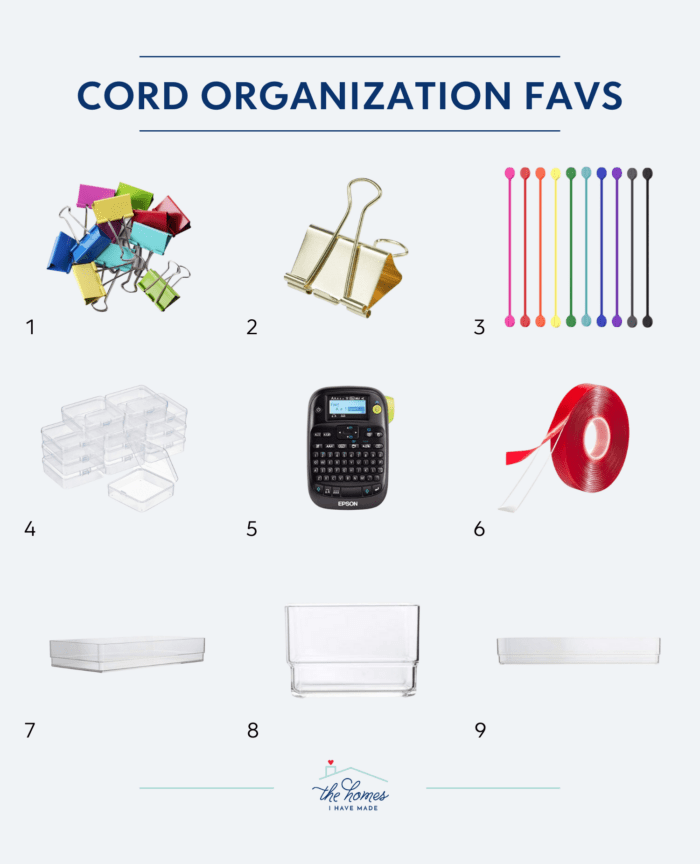
1 – Colorful Binder Clips | 2 – Gold Binder Clips | 3 – Magnetic Cord Ties | 4 – 3″ Plastic Boxes | 5 – Epson Label Maker | 6 – Strong Double-Stick Tape | 7 – Stori Clear Plastic Trays | 8 – Stori 3×3″ Tray | 9 – Stori 9×3″ Tray
More Great Drawer Organization Ideas
- The Easiest Way to Organize Any Drawer In Your Home
- Easy DIY Drawer Dividers (For Any Size Drawer)
- The Best Way to Line Drawers & Shelves with Pretty Papers
- How to Line Drawers with Wallpaper
- How to Put a DIY Charging Station In a Drawer
- How to Make Drawer Organizers with Cardboard Boxes
- Top 10 Tips for Organizing Kitchen Drawers
- 3 Ways to Organize Cords in a Drawer
- How to Organize Pantry Drawers

I hope these 3 ideas help you quickly and easily tackle your own mess of cords and cables. I should note that these solutions are most ideal for smaller/thinner computer cords. Thicker cords (even cords for your sewing machine or Cricut machine) will likely need a slightly different solution (those are up next on my list!) Okay – so who’s ready to break out the binder clips and untangle some cords?!?
Megan


6 Comments on “3 Ways to Organize Cords in a Drawer”
Now to find me those small plastic boxes…. I’ve tried the other ways and not completely happy with them.
For larger cords I’ve covered toilet paper tubes and paper towel tubes with MacTac and stuck in a basket or with the sewing machine, in with my travelling quilting supplies or hung on a hook in the utility closet (extension cords – I’ve even labeled them with length!)
Hi Megan,
When I click on the Cable Connectors Cheat Sheet, only the first row comes up so that you can look at them clearly.
Wonderful. What size boxes did you get?
What size boxes did you try, and finally settle on?
Hi Brandon,
I went with the 3.3″ boxes (here).
Hope that helps!
Megan
I use Smarpau Mesh Zipper Pouches (Amazon) to store cords, because they offer more compact storage than trays. Those pouches are good for a ton of other items—miscellaneous Avery labels, cellphone chargers, earbuds, stamps, return address labels, Xmas stickers, etc. With 8 different sizes, it’s easy to find a bag to fit the contents.