Easy DIY Cord Keepers (With FREE SVG File!)
How often do dig through your purse, gym bag, backpack, briefcase, or glove compartment for a pair of ear phones or a charging cord? For me, it seems likely a daily nuisance. So to help keep my most used cords tidy, safe, and easy-to-find, I whipped up some super simple DIY Cord Keepers. These little cuties come together in two quick steps, and are made out of durable and affordable faux leather (my favorite new craft product!). I just know you’re going to love this simple little DIY that can seriously save your sanity. Let me show you how they come together!

The beauty of these DIY Cord Keepers is in their simplicity: they are both simple to make and simple to use. Thanks to two little slits that hold a cord snugly in place and a “button-style” closure, keeping your cords tidy and handy has never been so…well…simple!
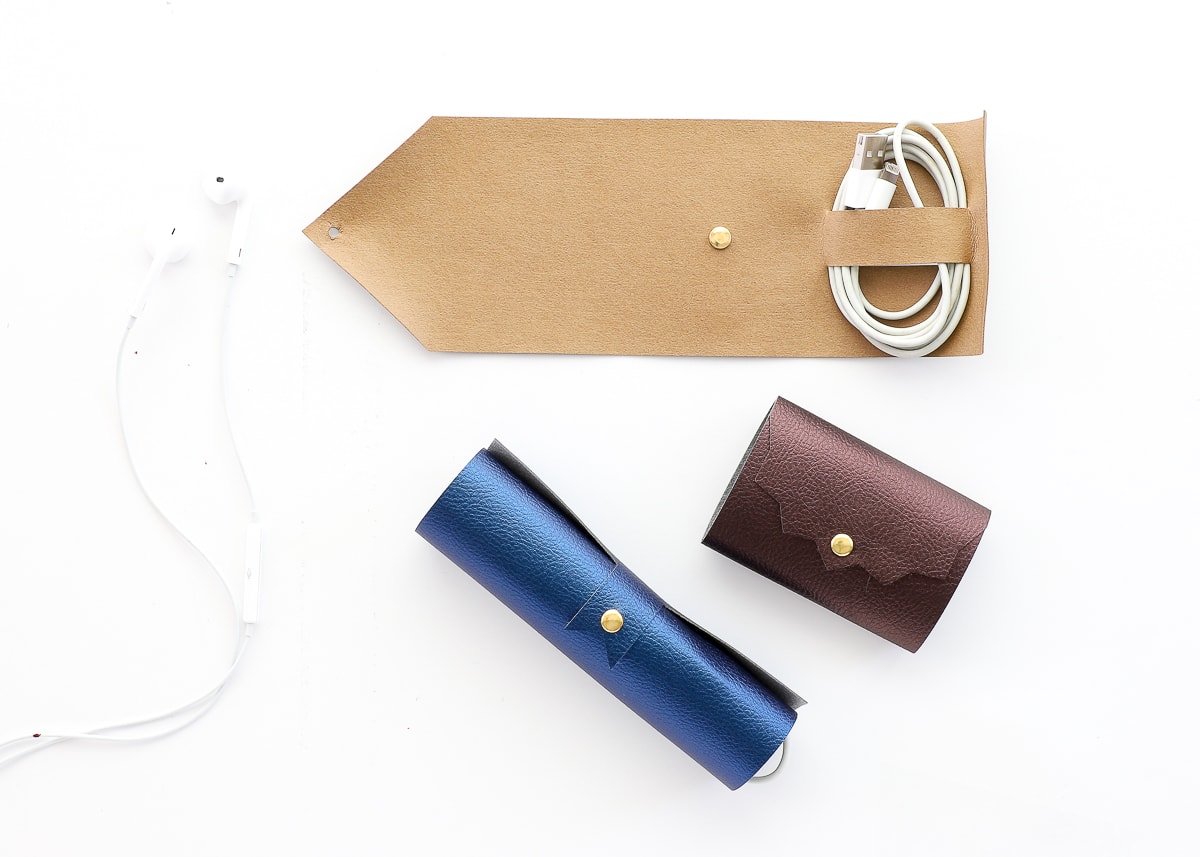
I designed these DIY Cord Keepers myself, which means you can make them no matter which e-cutter machine you have (and you can also make these with just a scissors!). I’ve included two single-cord designs (with a pointed flap and a zigzag flap), as well as two different two-cord keepers (with a square flap and a pennant flap). No matter which design you prefer, they all come together in the same two steps!

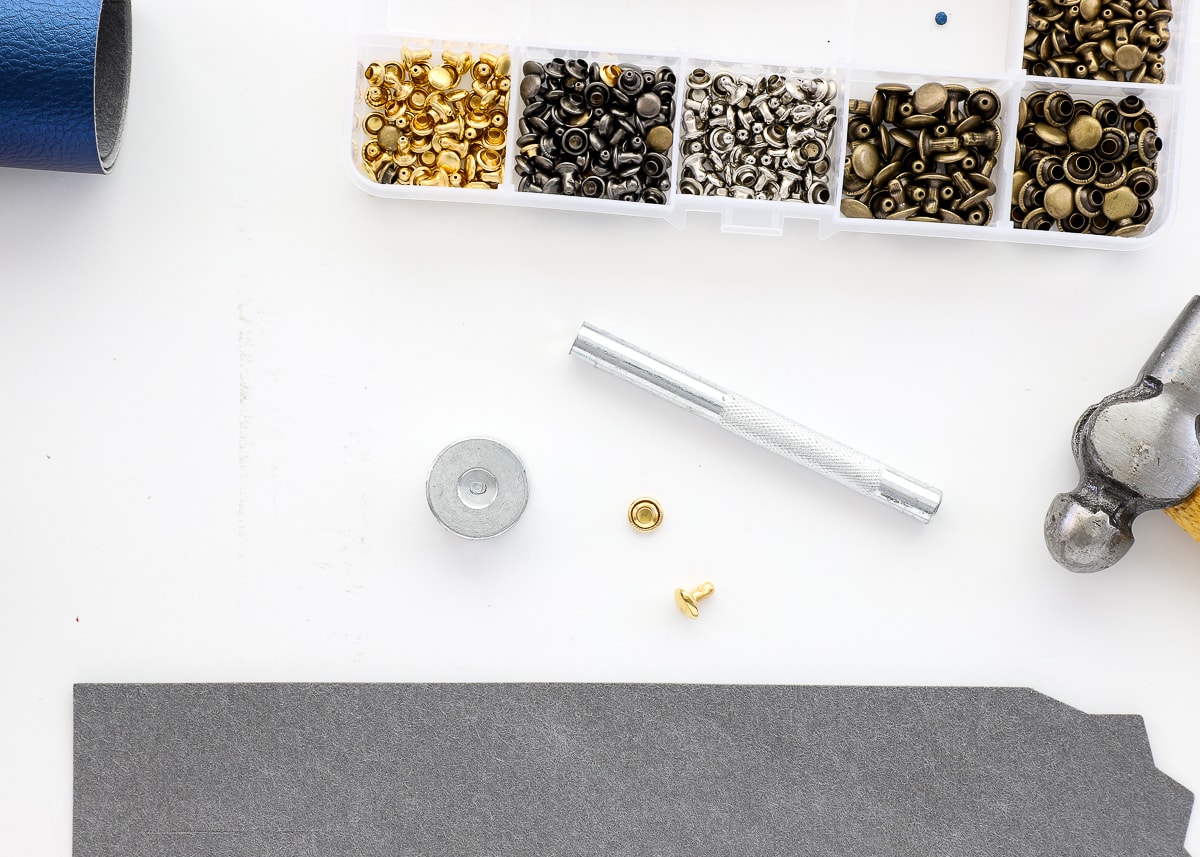
Supplies Needed
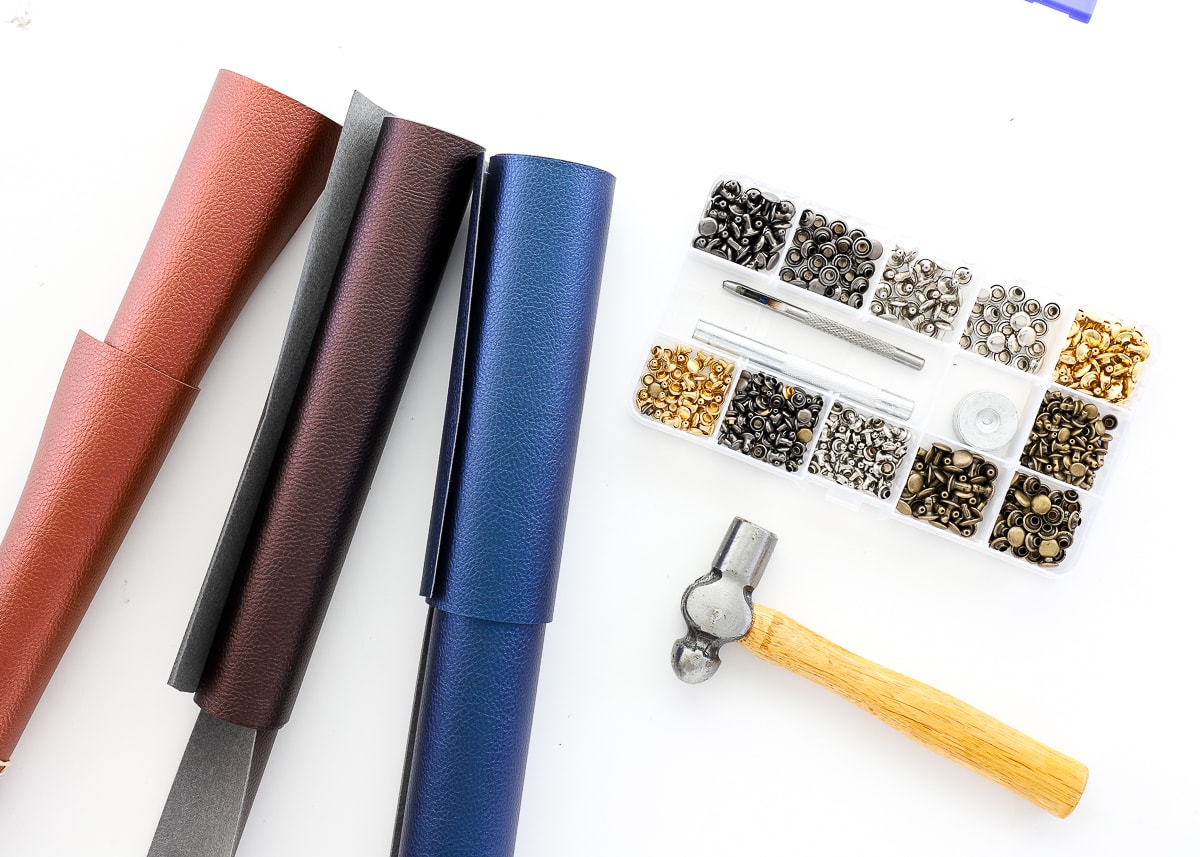
Here is what you need to make these DIY Cord Keepers:
- Faux Leather – I prefer the Cricut brand because it’s thin and easy to work with.
- Rivets or Snaps. As I’ll discuss below, I originally made this project with rivets because that’s what I had on hand (leftover from my keychain project). However, snaps are a bit better suited for the closure. So if you need to purchase one, I recommend the snaps.
- Small Craft Hammer – You’ll need one for adding either the rivets or snaps to your keepers.
- E-Cutter such as a Cricut (Explore or Maker will both work for this project) or a Silhouette. You can also use a scissors if you don’t have an e-cutter.
- SVG Files: I am providing the SVG files for all 4 keepers for FREE! You can download them by clicking HERE (check your computer’s Downloads Folder after clicking).
- To use these files with your e-cutter, upload them directly to Cricut Design Space or your e-cutter software.
- To use these files with your home printer, right click on each one and open them using your favorite Internet browser (I prefer Chrome). Then you can print them as a paper pattern.
DIY Cord Keepers On Video
If you’d like to see how quick and easy these cord keepers come together in real time, here’s a short video of this project! (NOTE: If you don’t see the video below, you can watch it HERE.)
Step 1: Cut Out the DIY Cord Keepers
If using a Cricut or other e-cutter to cut out the cord keepers, upload the FREE SVG files to your design software (e.g., Cricut Design Space). The files are pre-sized (although you can adjust as needed), but you will need to “Attach” the cut lines to each keeper shape for them to cut correctly.
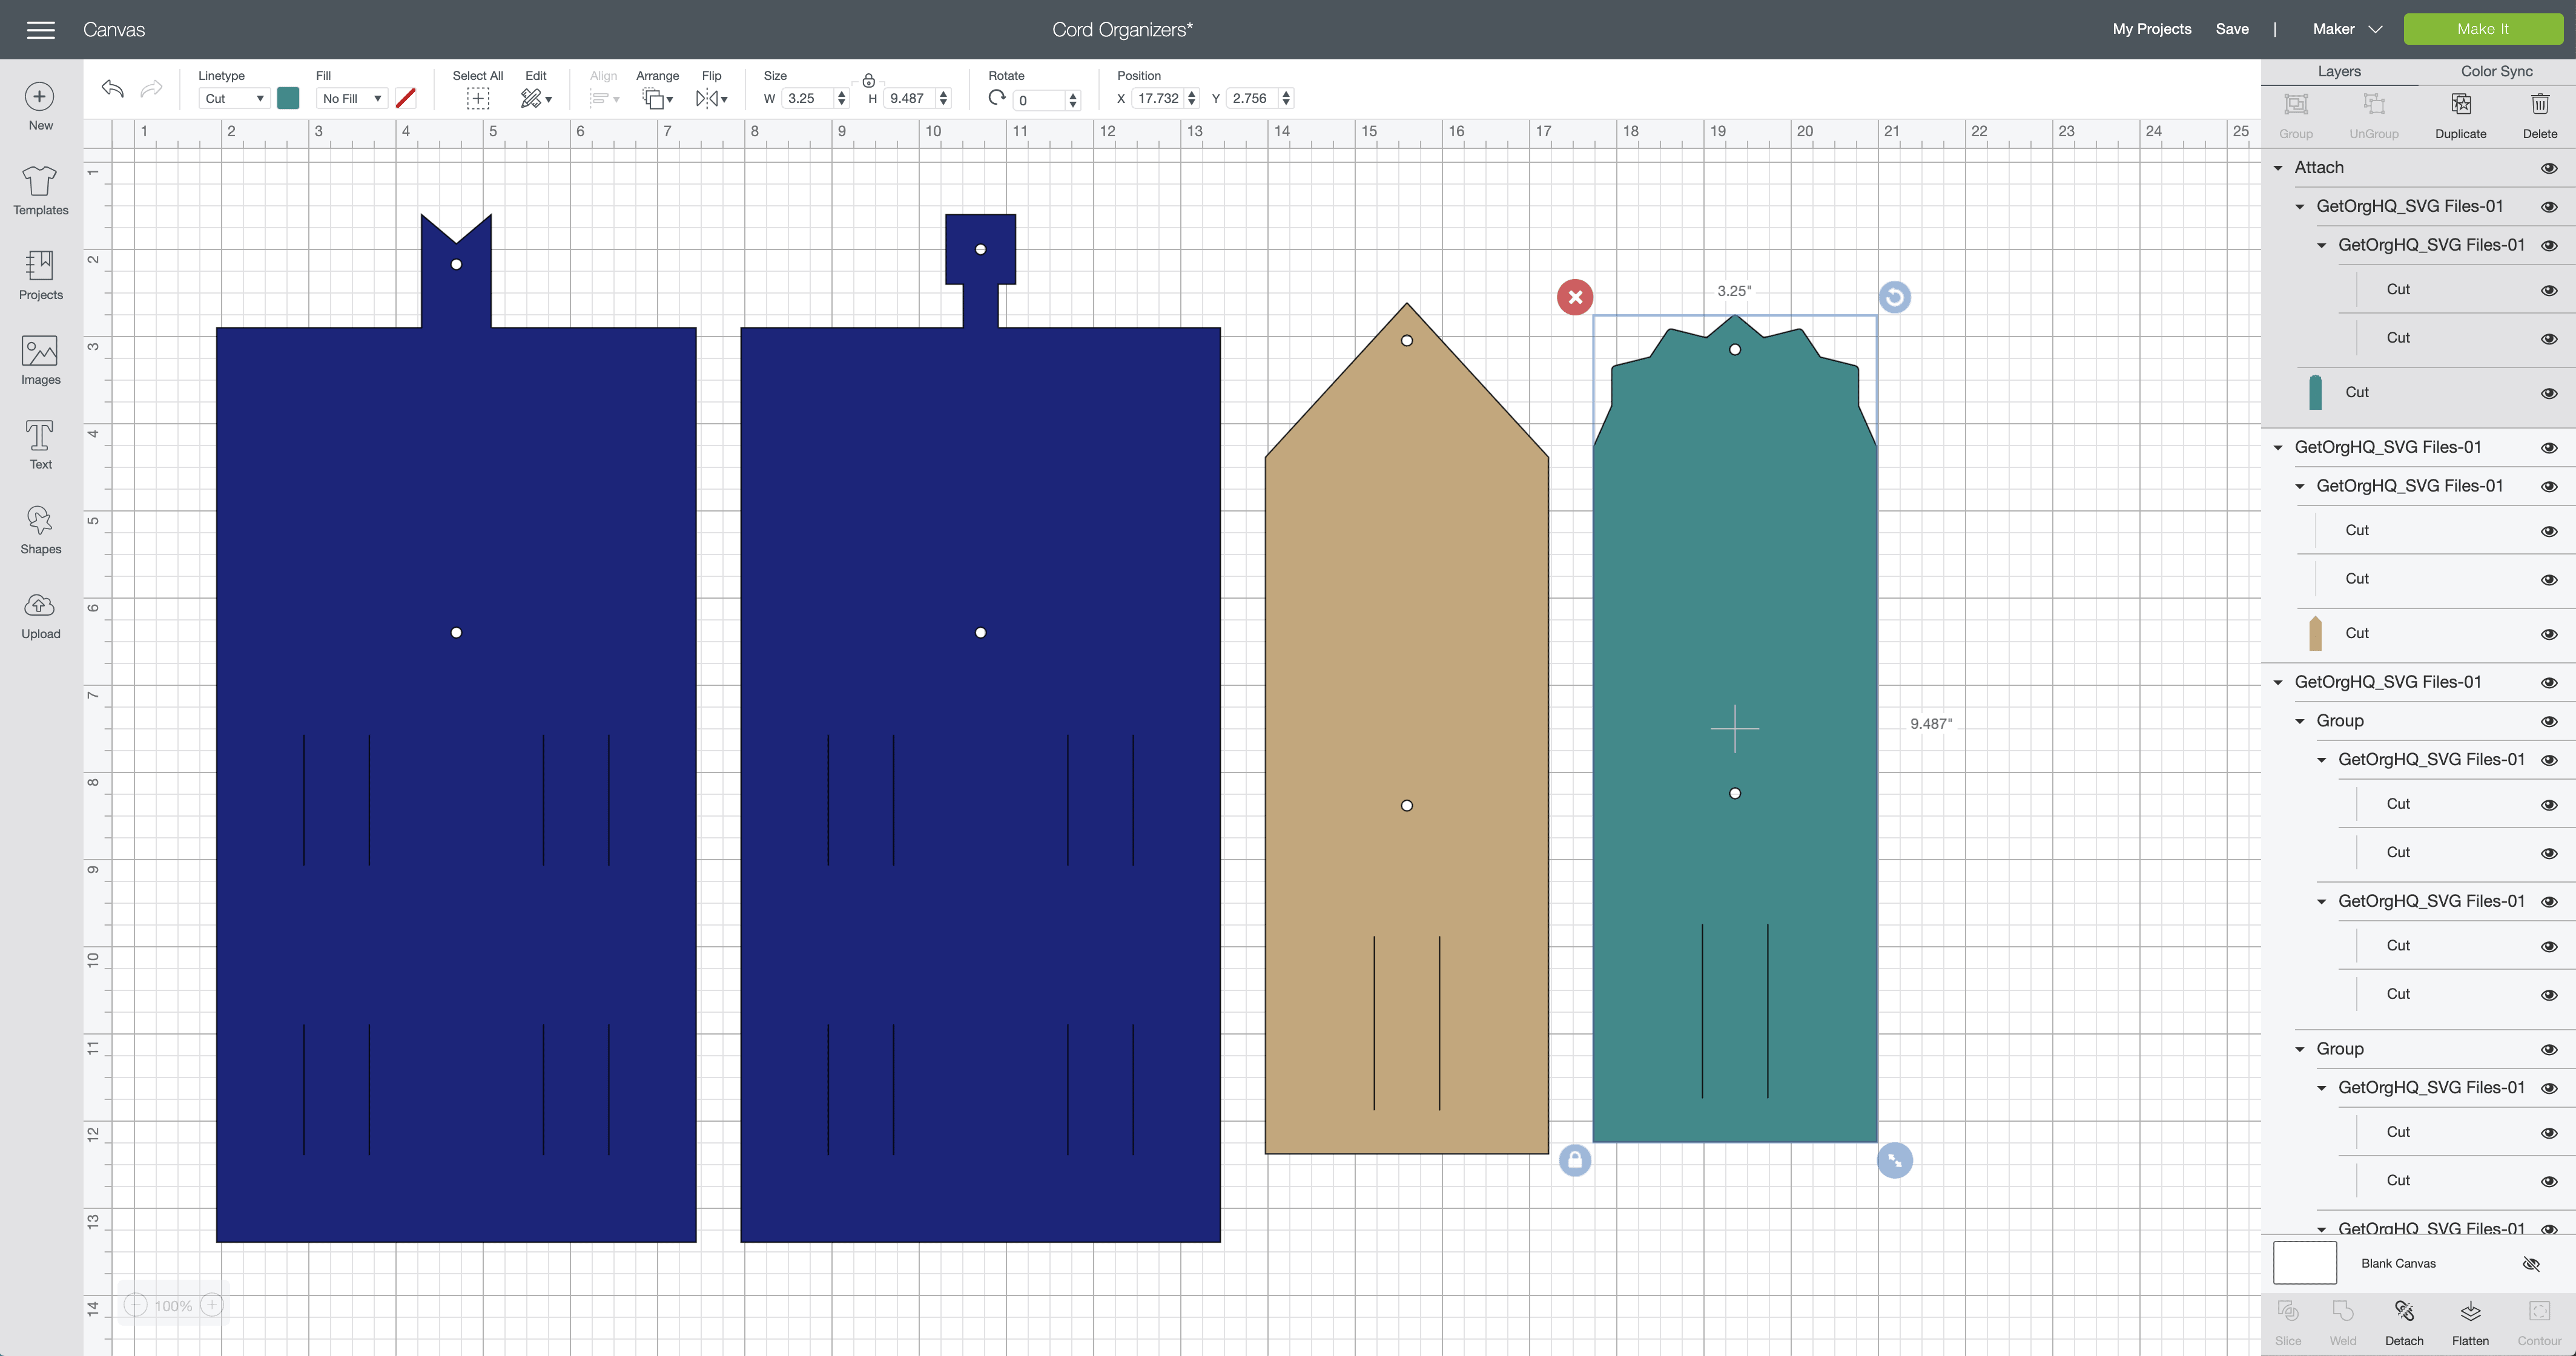
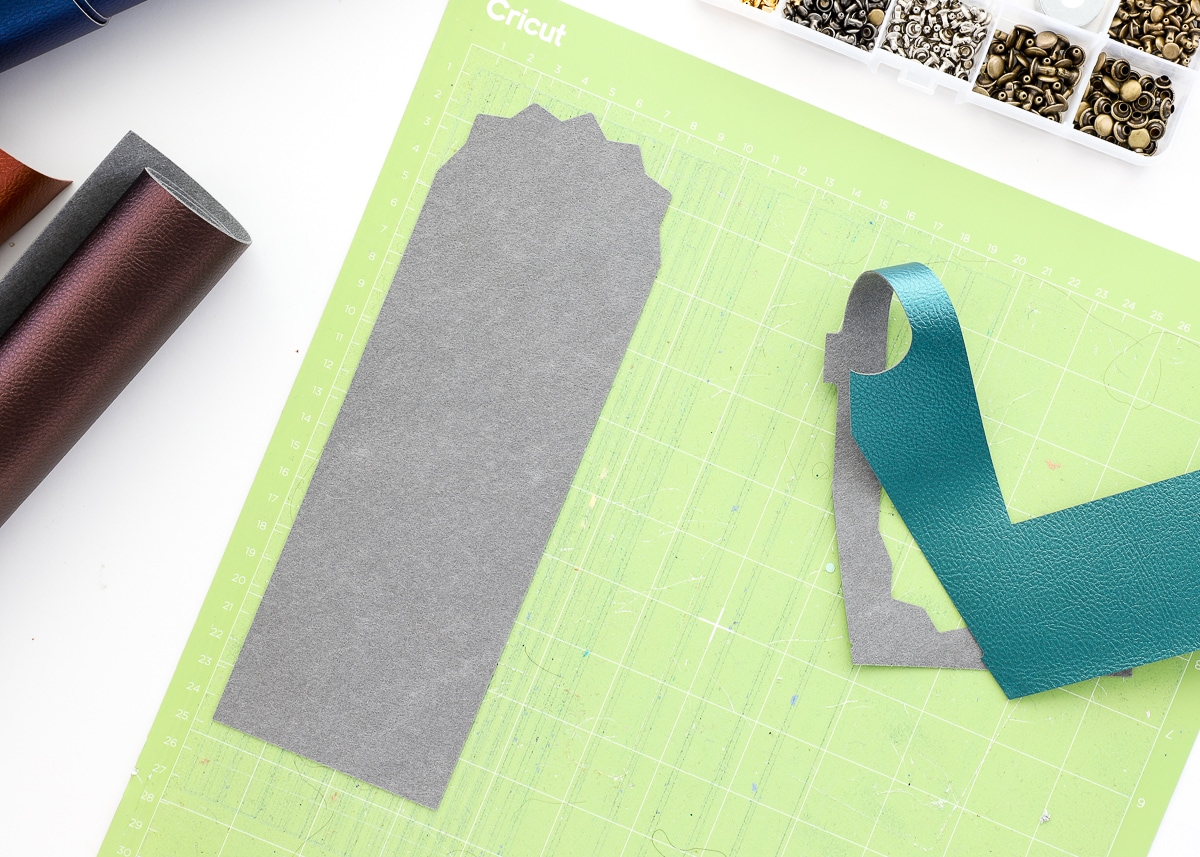
Once you pick which cord keeper to make and have the lines “Attached,” send the design to be cut with your machine. Select “Faux Leather” from the Custom Materials menu and then follow the screen prompts. When cutting faux leather, a standard Fine Point Blade is sufficient, and I recommend placing the “shiny” side down onto your sticky mat. It cuts like butter!
If you’d like to make these cord keepers with scissors:
- Download the SVG files to your computer, and un-zip them.
- Right click on one file and open it using your favorite Internet browser (I prefer Chrome).
- Print the image as a paper pattern (you may need to adjust the print resolution to get the size just right.)
- Once printed, cut out the shape using a scissors and trace it onto the back of the Faux Leather.
- Finally, cut the cord keeper design out of the Faux Leather using a scissors!
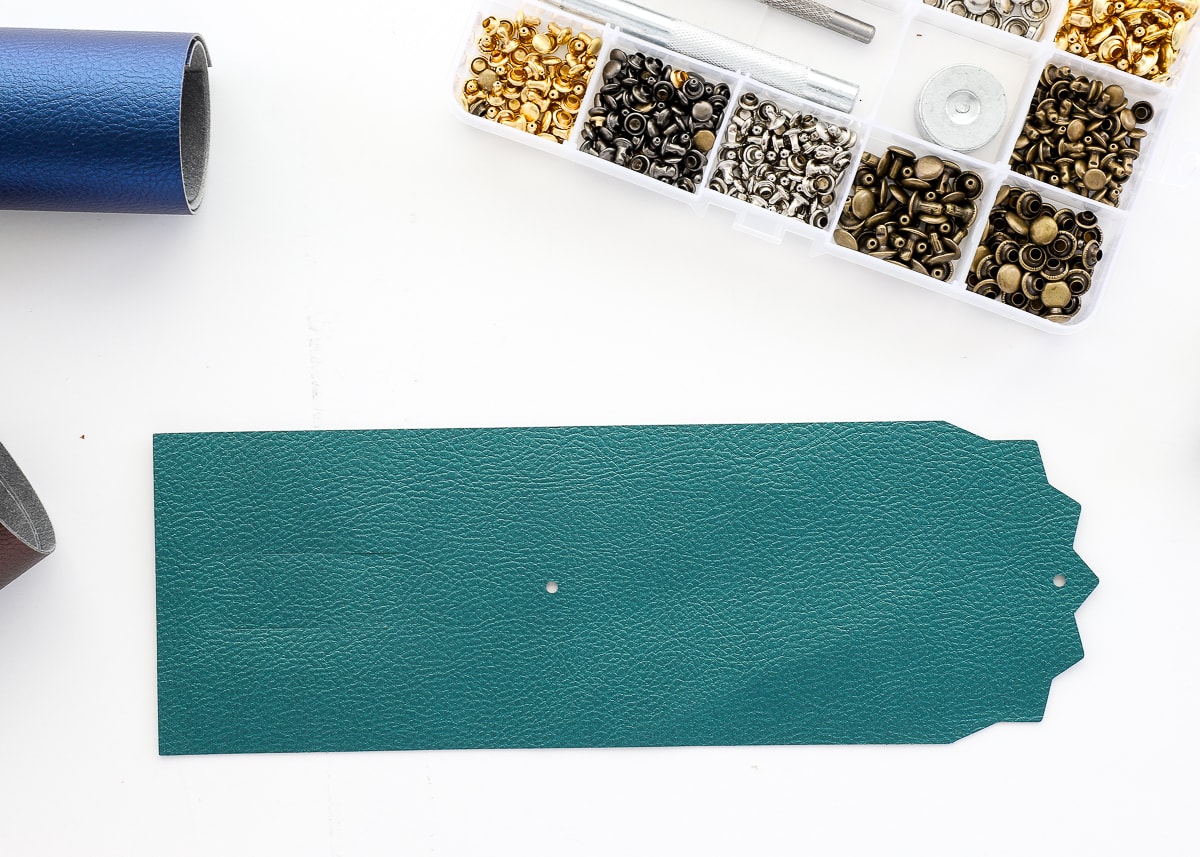
Step 2: Add the Rivet or Snap Closure
The second (and final!) step is to add the rivet or snap to help your DIY Cord Keeper stay closed. Again, I used rivets because that’s what I had on hand at the time, but snaps go on just as easily and perhaps work a little easier!
Want to save this post?
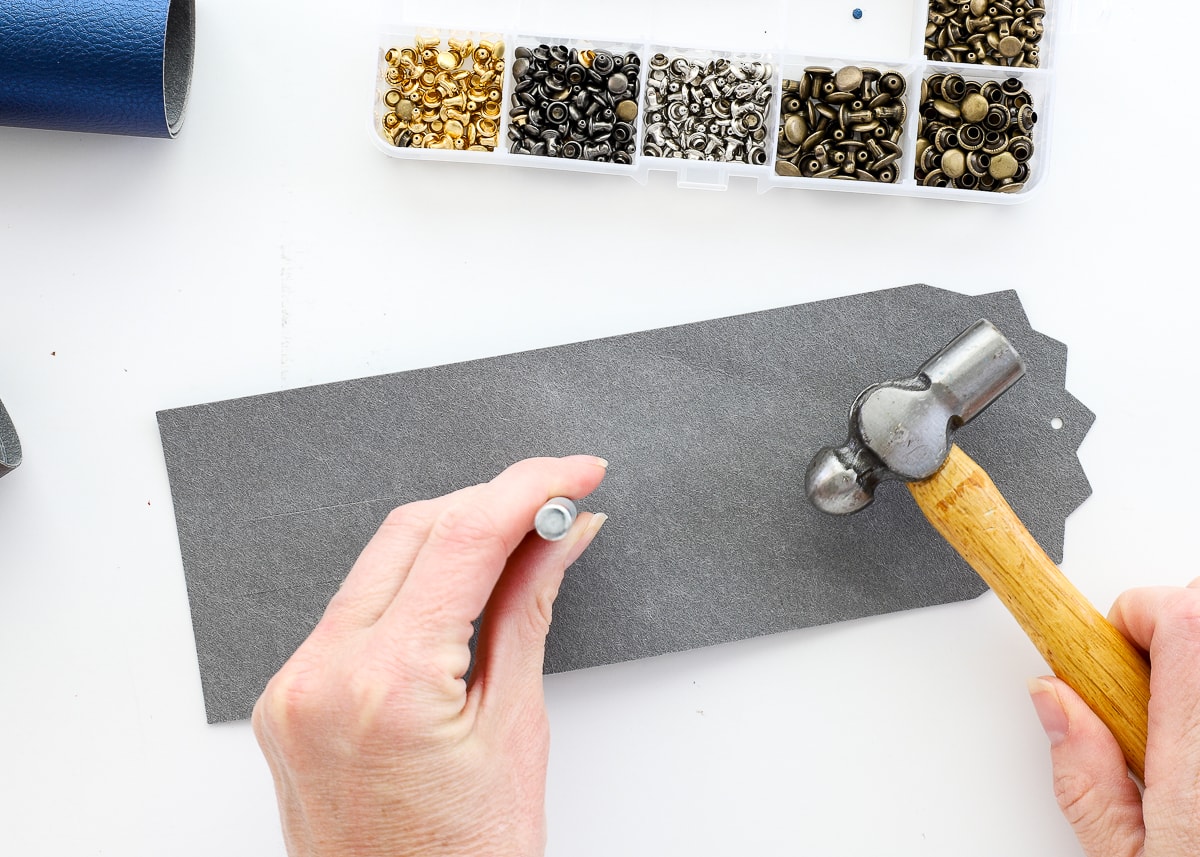
To add a rivet (or snap), follow the instructions that come with your kit. In general, you will need both the post and base of the rivet, as well as the stand and the anvil (which should both come in your kit).
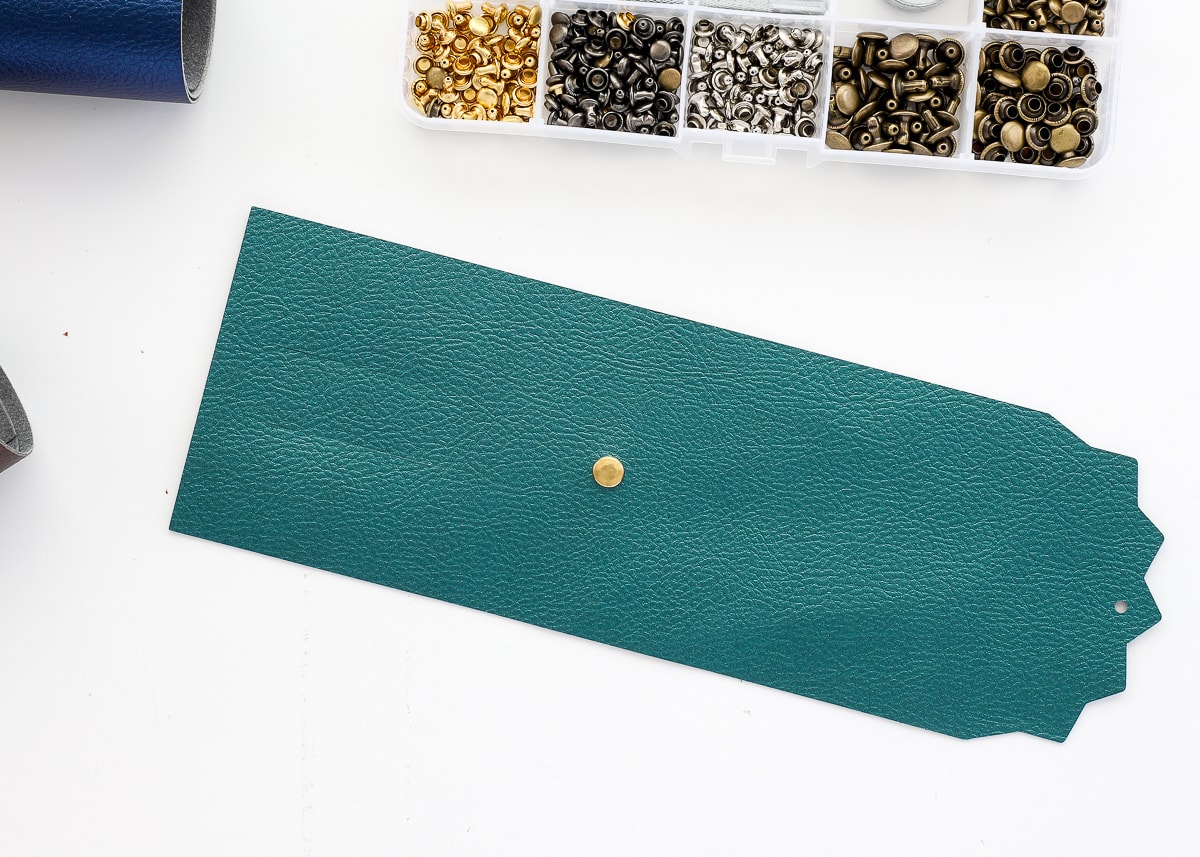
Simply thread the post through the center hole on the cord keeper and snap on the base from the other side. With the “wrong” side of the keeper facing up, place the rivet into the base and use the anvil and hammer to cinch the two ends together (a few good whacks of the hammer should do it).
If you are using a rivet, don’t cinch it down too tight since you will essentially be using it as a button-hole mechanism. If you do secure it too tight, just use a flat-head screwdriver to open it back up a bit.
NOTE: If you are using snaps, insert one half of the snap in the middle hole (on the outside of the keeper) and the other half of the snap in the flap hole (on the inside of the keeper).
That’s it! Your DIY Cord Keeper is done, and all you need to do is roll up your favorite earphones or charging cord and insert it through the two slits as shown below…

Then roll up the cord keeper and fasten it shut. If using a rivet, place the open flap hole over the center rivet (just like you would a button hole over a button). If using a snap, simply snap the keeper shut!
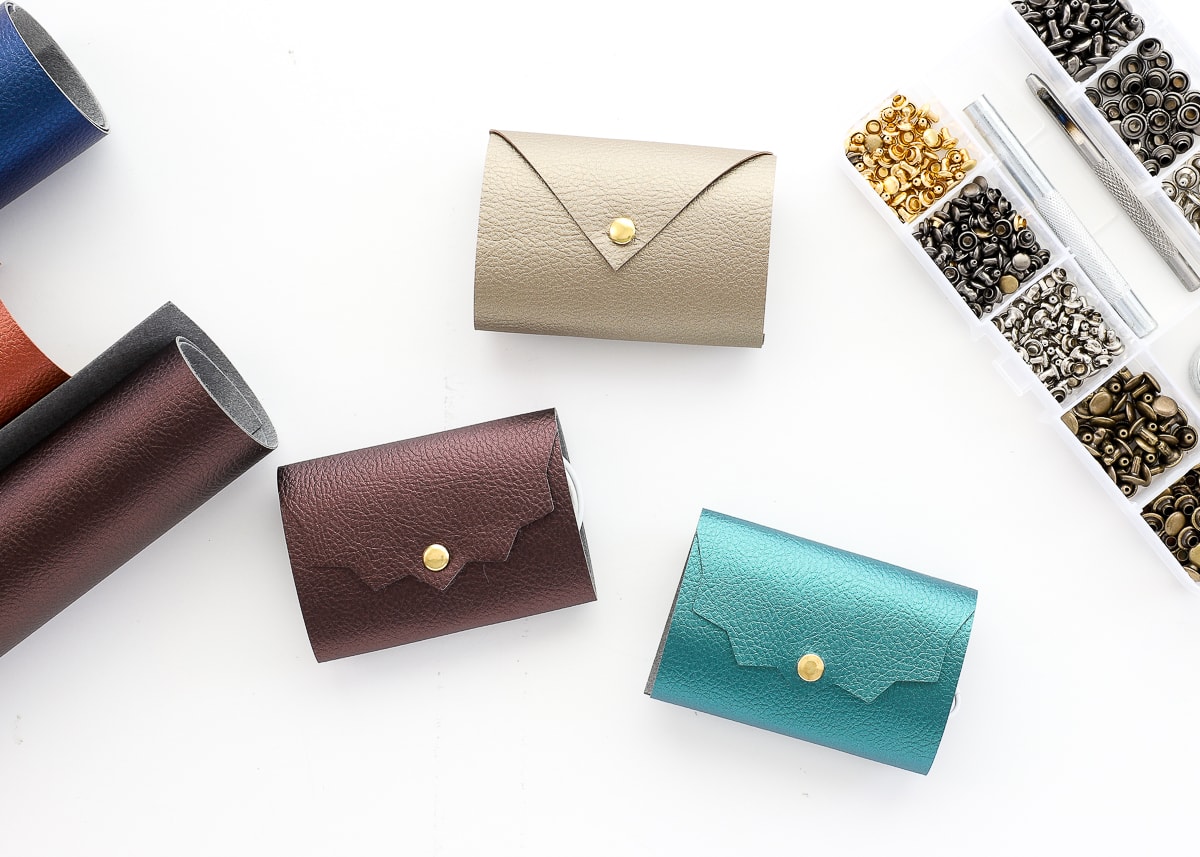
I left mine plain to keep this project super simple. But if you wanted to personalize the cord keepers even further (they’d make great gifts!), you can use the same designs concepts as my DIY Faux Leather Keychains. Monograms, patterns, and other details are easy to add using iron-on vinyl!
More Crafting with Faux Leather!
Here are some other really fun projects you can make with faux leather and your Cricut machine:

I hope you give this simple little project a try! It’s definitely a fun one that is oh-so-handy too. And since these DIY Cord Keepers come together super fast, you can whip up a bunch for the whole family, every bag, all the cars, and even your friends! Have fun!
Megan