School Spirit Keychains with Glitter Vinyl
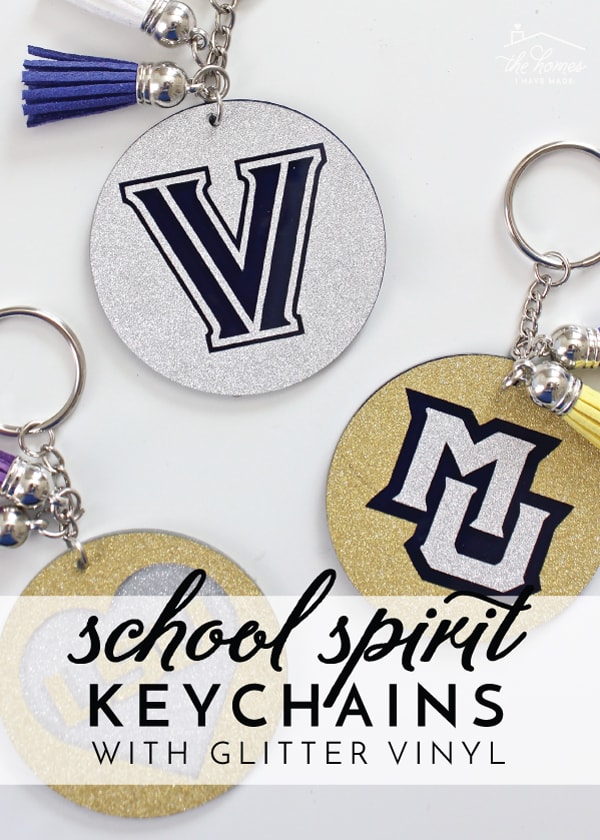
Do you hear that sound? That’s my phone blowing up…again. Why? Because there is probably a college basketball game on and my entire family…except for me…is apparently watching and sharing play-by-plays. You see…I come from an enthusiastic basketball family. Everyone…but me…went to big basketball schools and this time of year is their Olympics…so my siblings and Dad celebrate, commiserate, contemplate and speculate about wins, losses, chances, players, injuries and odds…all via text. I don’t mind really…the 30 texts at a time, the passion, the rivalries…and at least I get to know who wins without having to watch the games! Since school loyalty runs hard and deep in my family, I made my sisters some pretty fun school spirit keychains with glitter vinyl for Christmas this last year. (I’ve been holding onto the tutorial so I could share it this week at the start of March Madness…look at me for actually being timely with a post! #thatneverhappens). These adorable keychains could be made with any logo, not just school logos, and would make great gifts for grads, teachers, sorority sisters and more! Let me show you how they come together!
Show Your School Spirit!
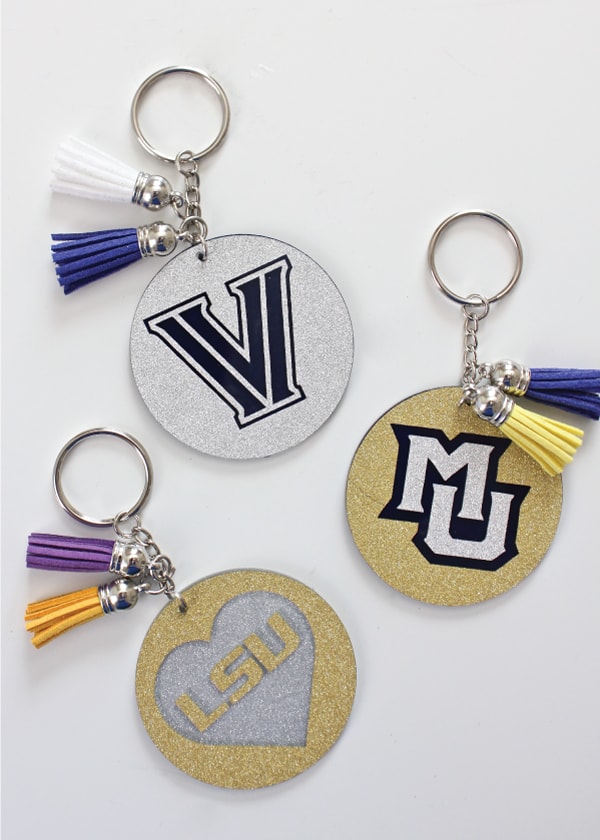
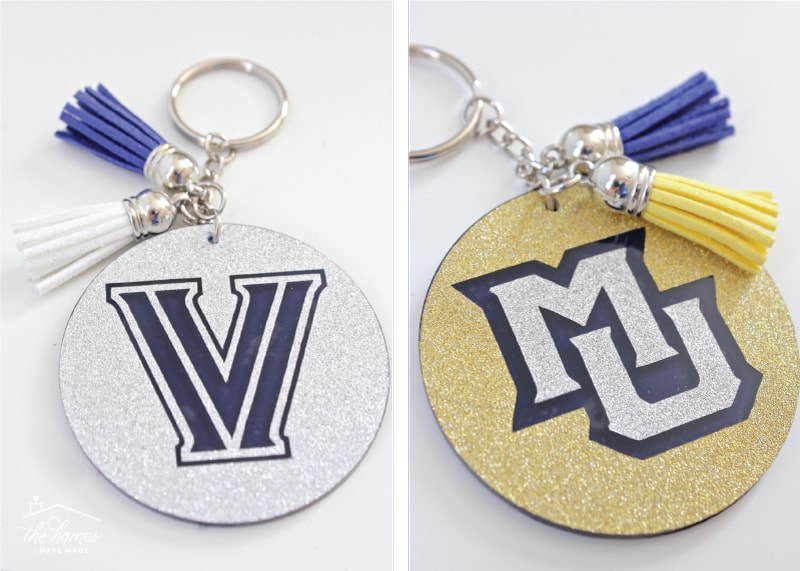
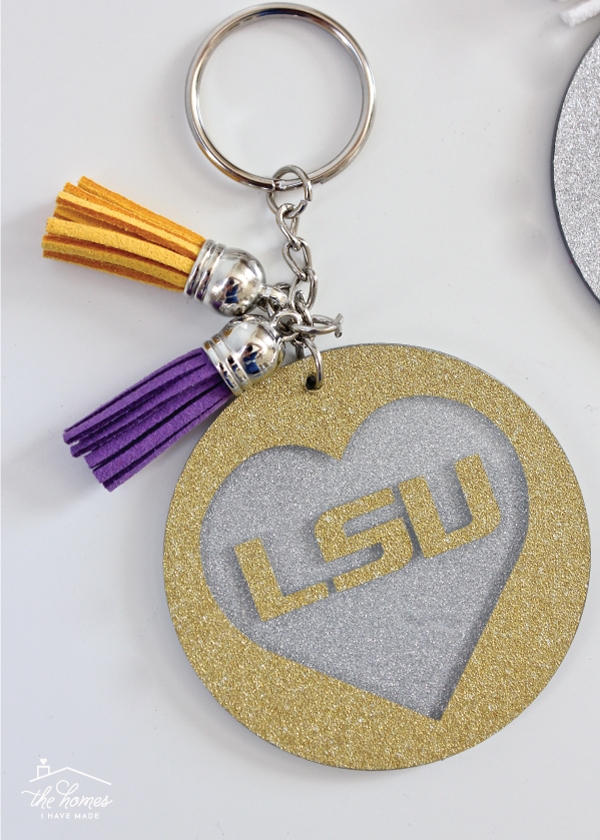
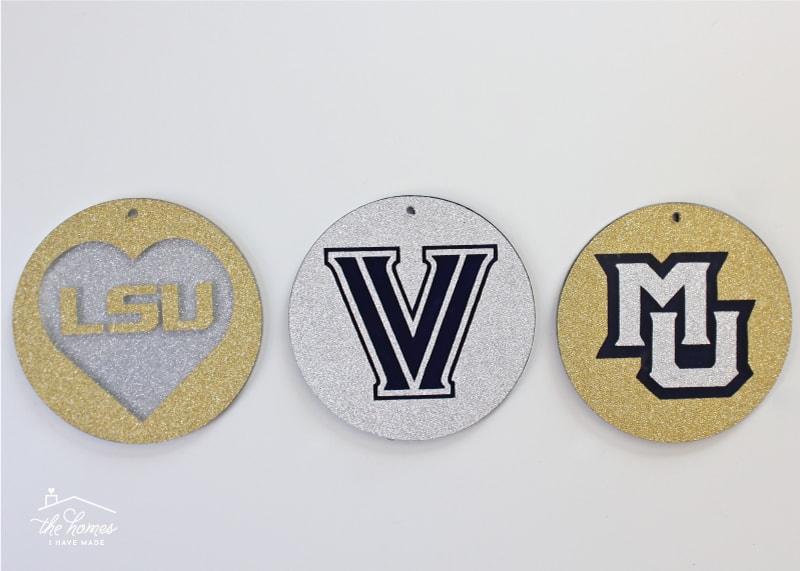
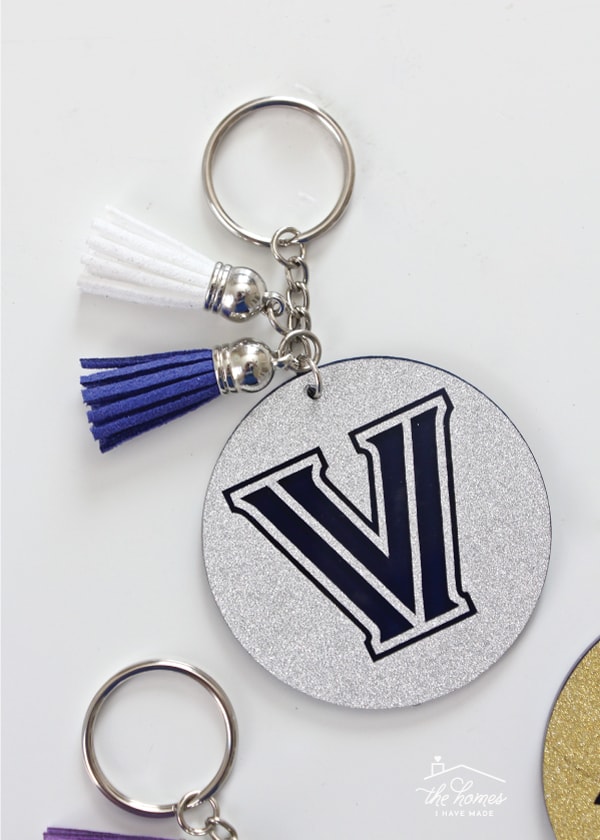
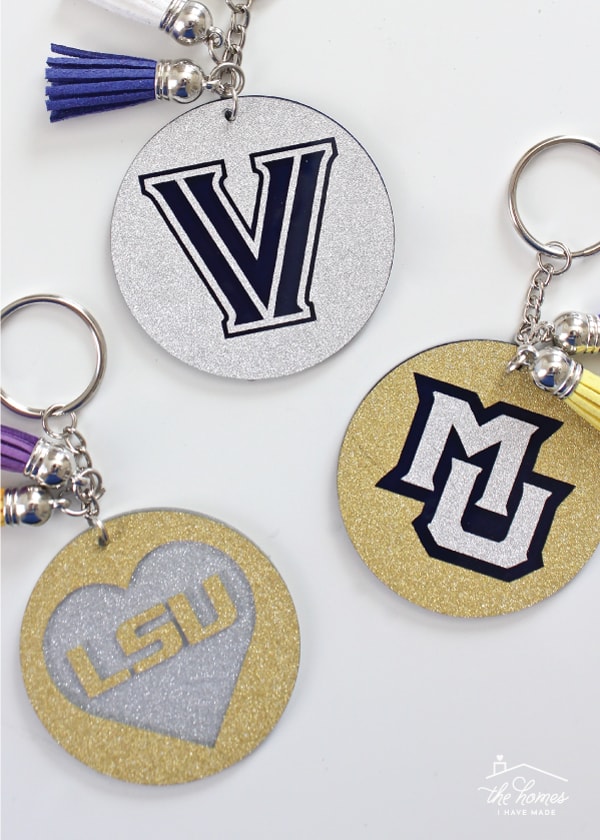
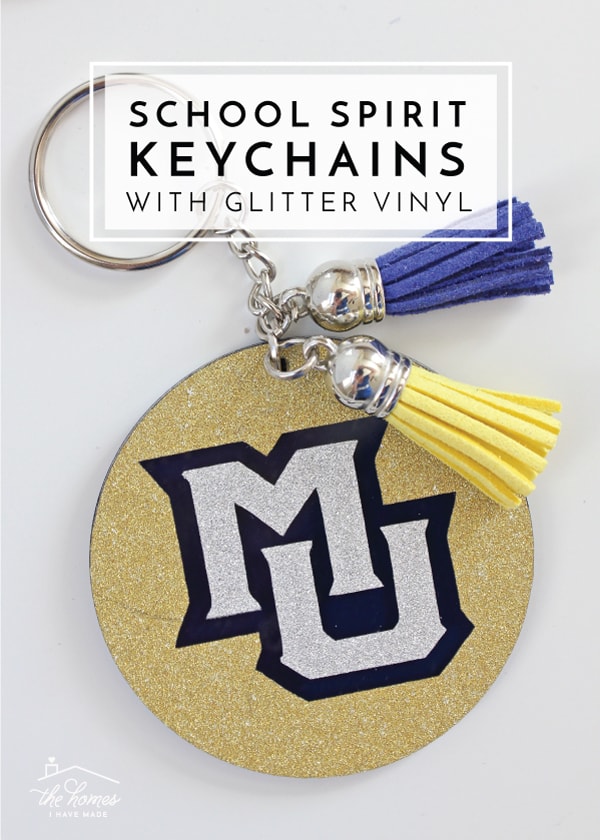
These keychains are super stunning in person and can be endlessly customized. I made one for Villanova (brother and sister), Marquette (Mom, Dad, sister and nephew) and LSU (friend)…but, again, this concept could be adapted to any logo or organization!
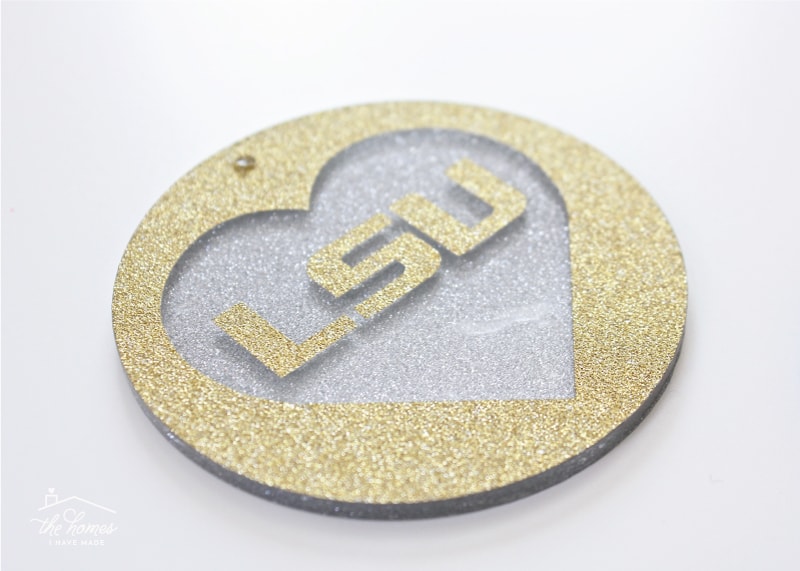
It may be hard to see in pictures, but what makes these keychains so cool is that the glitter vinyl is placed onto two sides of clear acrylic disks…giving a really neat, 3D-ish type appearance. In the photo below, the gold heart and LSU were placed on the top of the disk, while glitter vinyl was placed on the bottom side of the disk and the underside of it shows through the open heart.
Psssst – Here’s a fun trick! Cricut’s glitter vinyl has a silver glitter underside, so you can place any color glitter vinyl on the bottom of the disk, and the silver-glitter underside will show through to the front!
Colored tassels were added to customize the logo designs even more with each school’s colors!
I made my disks into keychains, but I also think they would be adorable as Christmas ornaments, don’t you think?
Supplies Needed
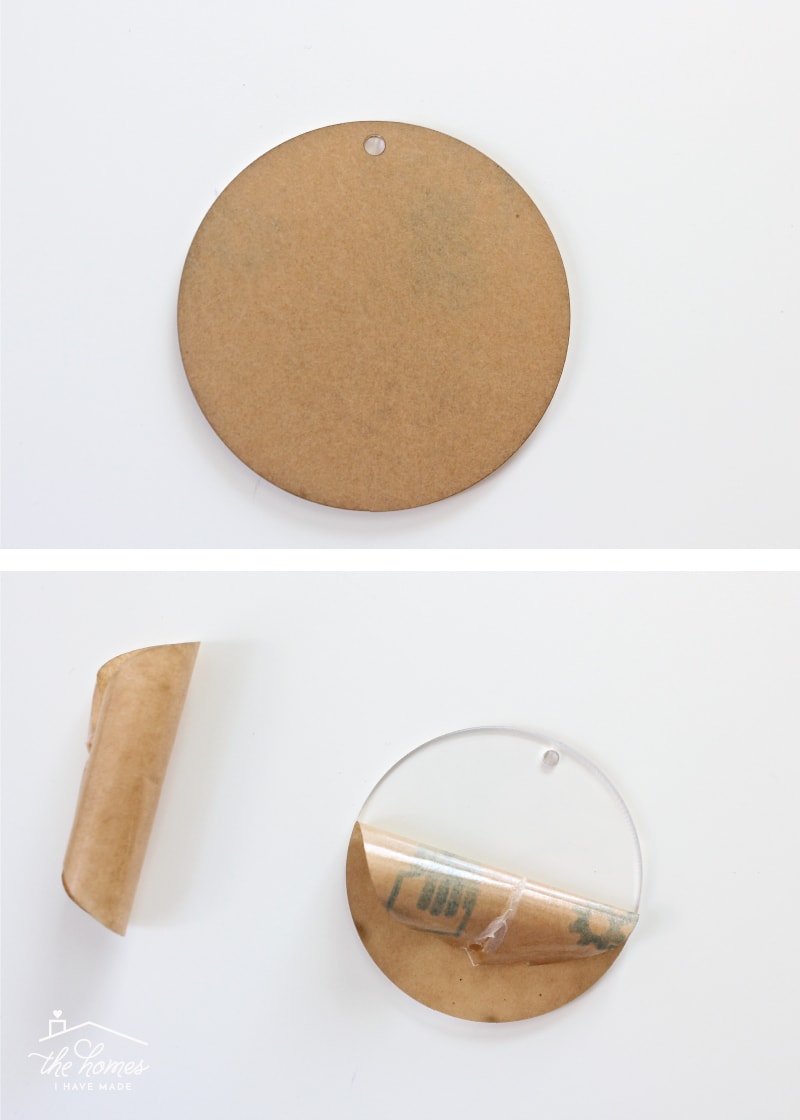
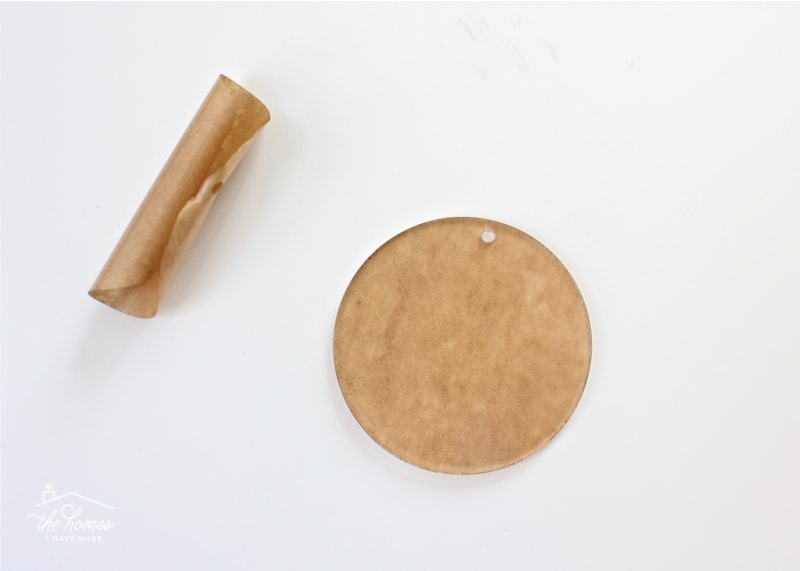
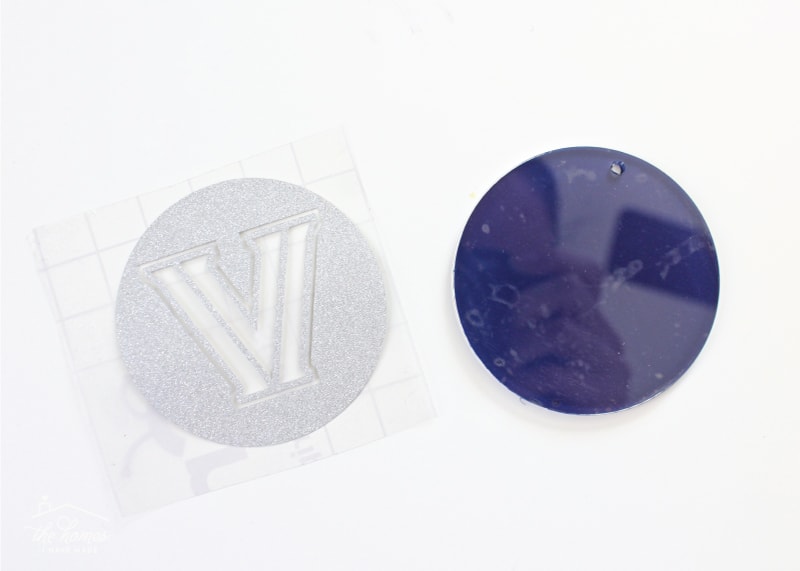
As I said, the basis for these keychains are clear acrylic disks. You can choose whatever size you like, mine measure 2.5″. When they come, they will likely arrive covered in protective paper (below, top), but if you peel away the paper, you will reveal a pristine acrylic round perfect for decorating (below, bottom). Oh the possibilities!
Here is everything else you need for this project!
- Acrylic disks
- Logo – you will need the PNG, JPEG or SVG file of whatever logo/design you want to put on your keychains – just search Google Images to find a clean and simple image!
- Glitter vinyl and/or regular vinyl – choose sheens and colors based on your logo and preferences
- Transfer paper
- Keychain hardware – this set includes the rings plus the connectors
- Mini colored tassels
- Tools: E-cutter, Cricut Bright Pad, Needle nose pliers
Create Your Design
The first step is to design the images to go on the disks. While you can certainly do this project with scissors, it is so much easier with an electronic cutting machine such as a Cricut or Silhouette. I designed my logo images in Cricut Design Space using PNG logos I found using Google.
Pssst – If you need help uploading your own images to Cricut Design Space, refer to this tutorial!
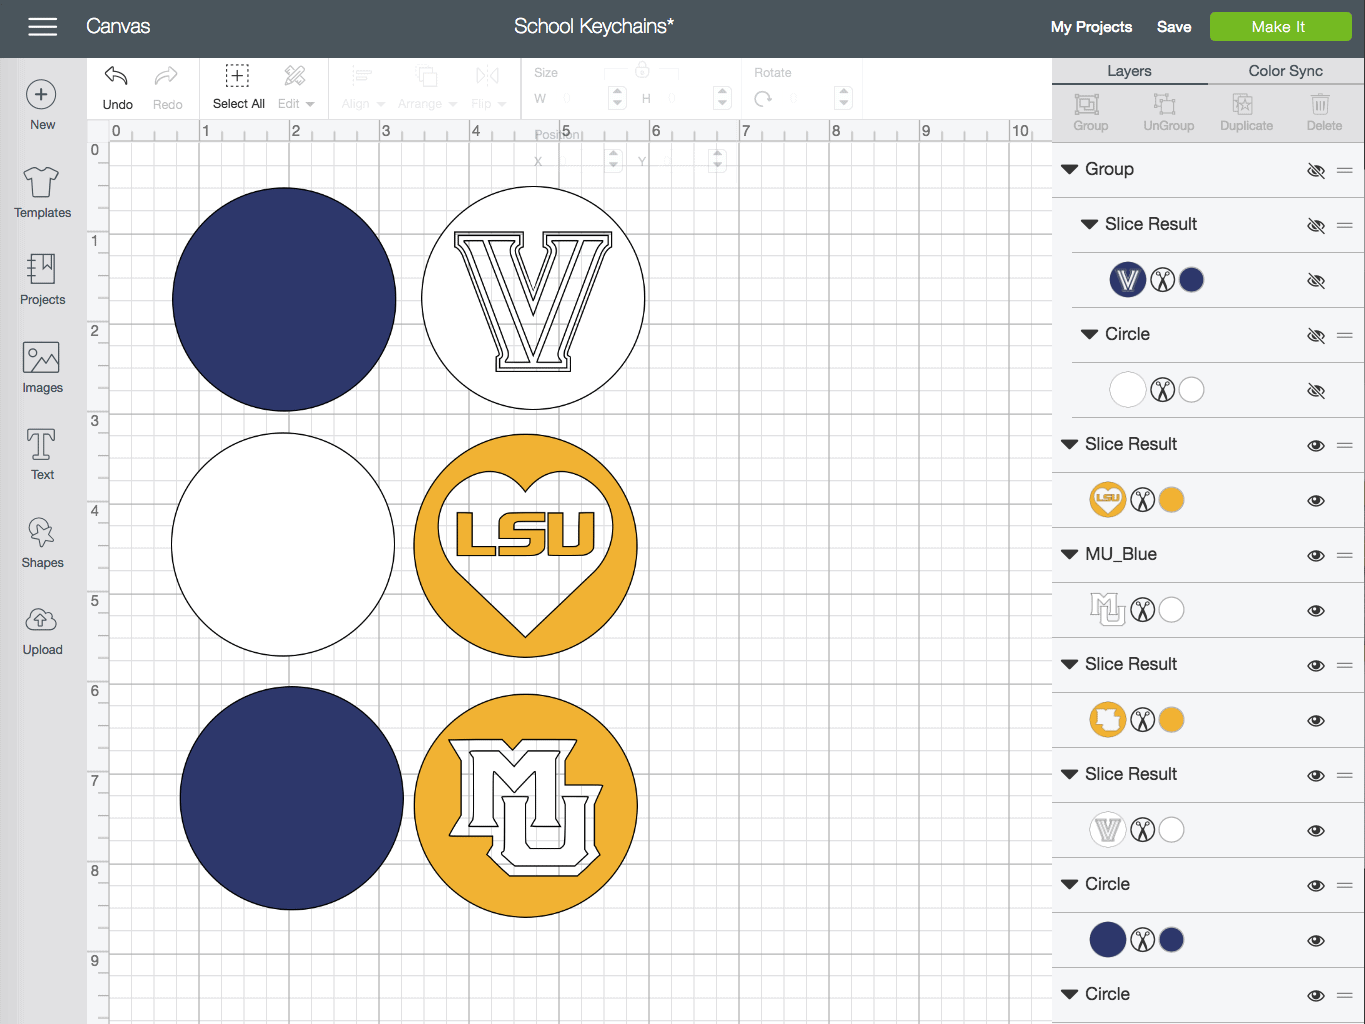
I started by placing a variety of 2.45″ circles onto my canvas (the smallest size I could cut and still easily center on my disk). I then used the slice tool on the logos + circles to come up with a variety of different looks for the keychains. You will likely need to play around with your logo and colors to get a combination that will look good once applied to the disk. In general, I found a solid circle on the back paired with the logo cut out of a circle on the top looked best. Also, think about which colors should show through from the bottom, and which need to be placed on top.
Note – The underside of standard vinyl will match whatever color is on the right side of the vinyl; all Cricut-brand glitter vinyl will have a silver underside.
Here is what my final designs looked like. The solid circles on the left are what were cut for the undersides of each keychain; the logo designs on the right were placed on the top of each disk.
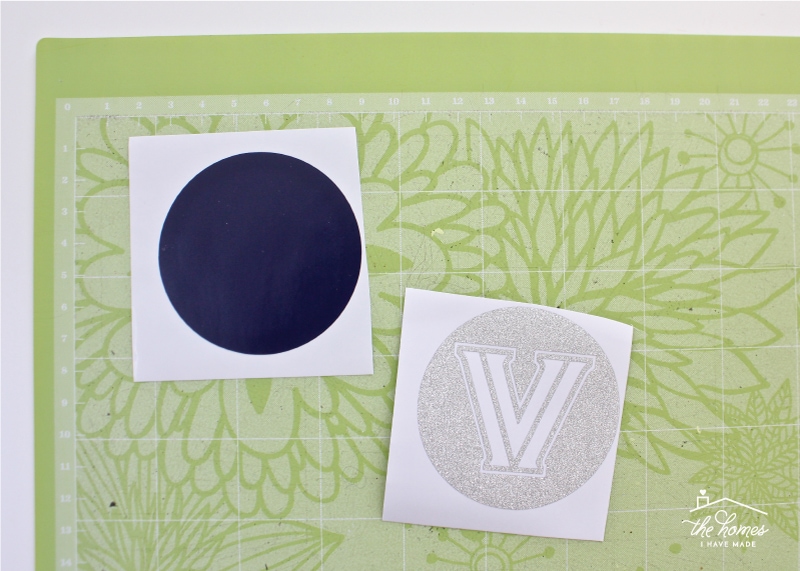
With your designs, finished, cut them out of your vinyl and weed out the extraneous details.
Pssst – If you need help working with vinyl, see my comprehensive tutorials here: standard vinyl | glitter vinyl.
Applying the Vinyl Logo to the Disk
I will be honest, lining up the cut out circles onto the acrylic disk is not the easiest tasks. Take your time, don’t hesitate to peel if off if you don’t like the placement, and consider cutting some extra circles in case you need to start over. Here is the method I found that worked best in applying the tight-fitting vinyl circles onto the acrylic disks:
Start by peeling the paper layer off just one side of the acrylic disk. Having the paper on the other side will actually help you see the edges of the disk more clearly while you place your first round of vinyl.
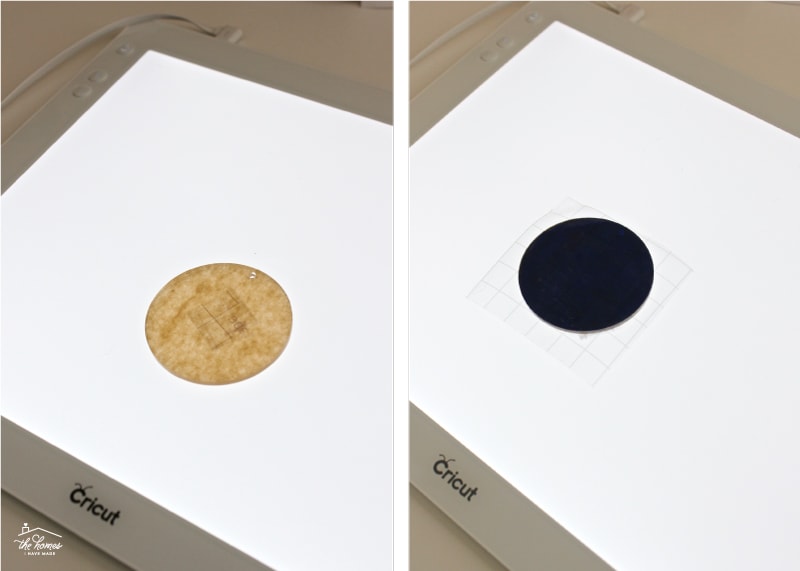
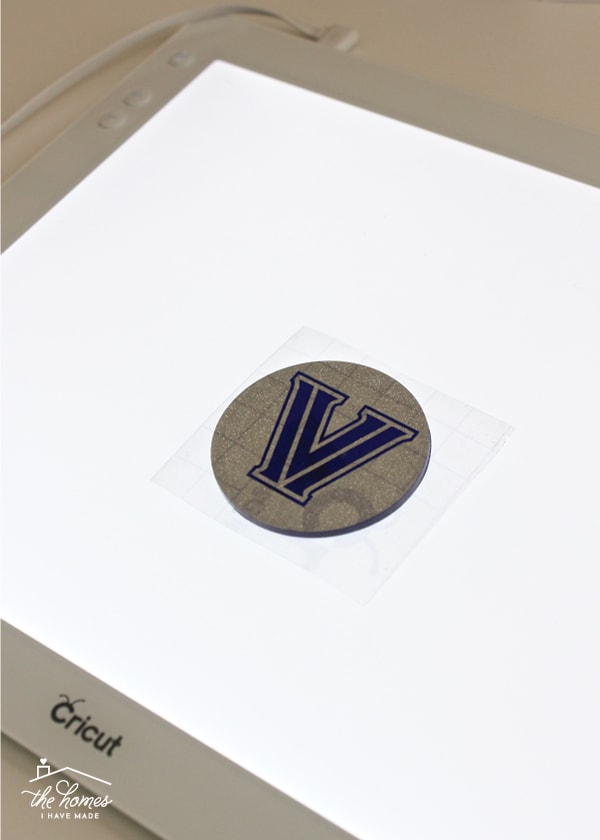
Tape the acrylic disk onto a lighted surface (I used my Cricut Bright Pad, but a window would also work great!); the tape will keep the disk from sliding around as you try and place the vinyl. In the photo below left, the acrylic disk has no paper on top but still has paper on the bottom side; it is then taped to the bright pad.
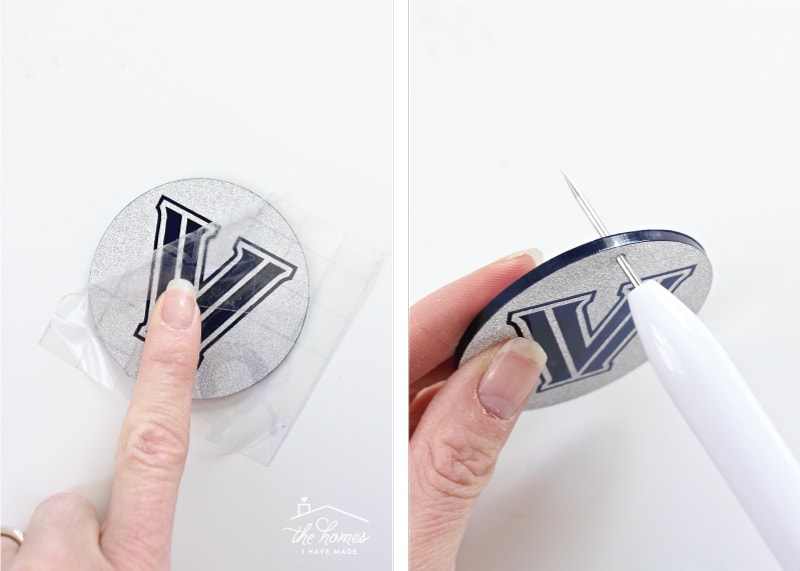
With your disk illuminated and stable, use transfer paper to apply the vinyl circle to the first side of your disk (below, right). It really doesn’t matter which side you start with, but I do recommend starting with the backing circle to get the hang of placing it.
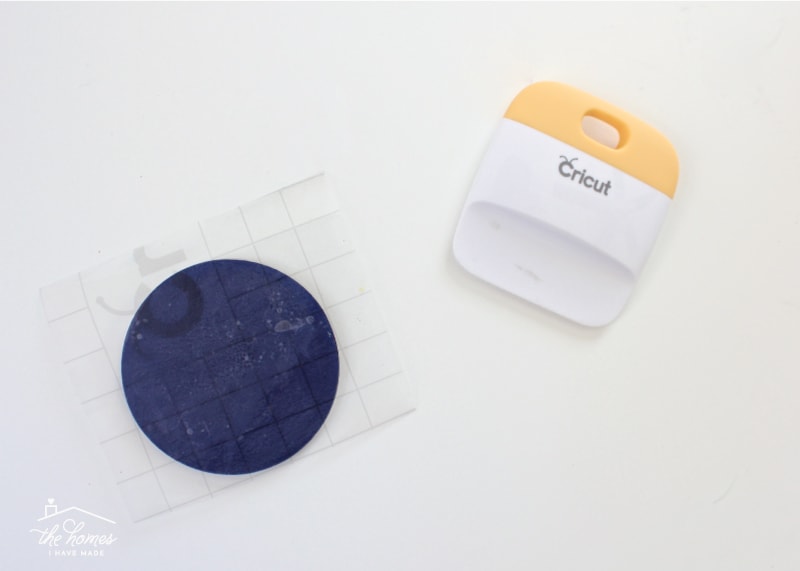
Then if needed…and it will likely be needed…smooth out any bubbles on your circle.
Note – Placing this vinyl circle…centered on the acrylic disk without bubbles…is hard. Really hard. Take your time. Peel off and re-stick if necessary. You’ll get the hang of it!
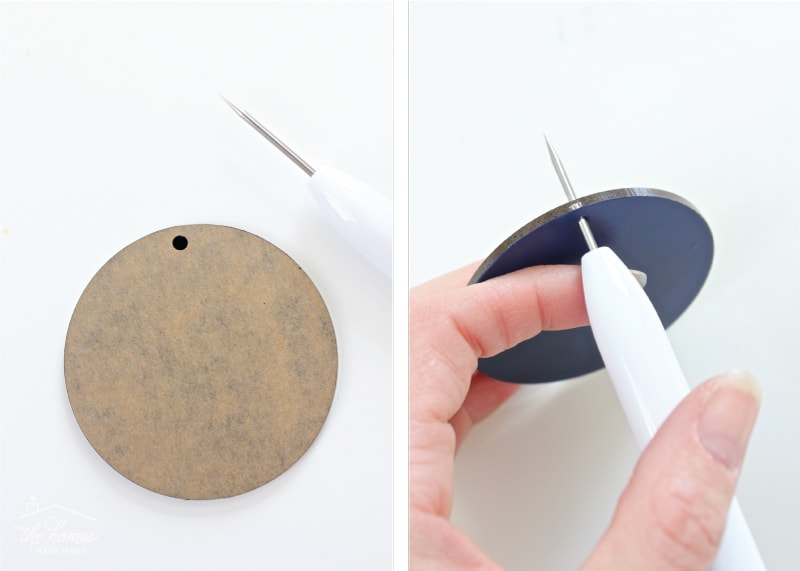
Next, use a sharp tool (Cricut’s weeding tool works awesome here!) to pierce a hole through your first layer of vinyl. Do it now while you can still see the hole, because once you place vinyl on the other side, you won’t be able to see it anymore!
Next, repeat the process, using the other component of your design on the other side of the acrylic disk.
Note – Although glitter vinyl is a bit more difficult to cut and weed, is MUCH easier to place and isn’t nearly as prone to bubbles! You should have no trouble getting a nice smooth finish with glitter vinyl.
Once your image is where you want it and bubble free, remove your transfer paper and puncture another hold in the vinyl, using your first hole as a guide.
Repeat using any designs and colors you wish!
Assembling the Keychains
At this point, you could string some pretty ribbon though the holes and attach them to bags, your Christmas tree, or a car rearview mirror (is that still a thing?). If you’d like to transform them into keychains, here is what you need to do.
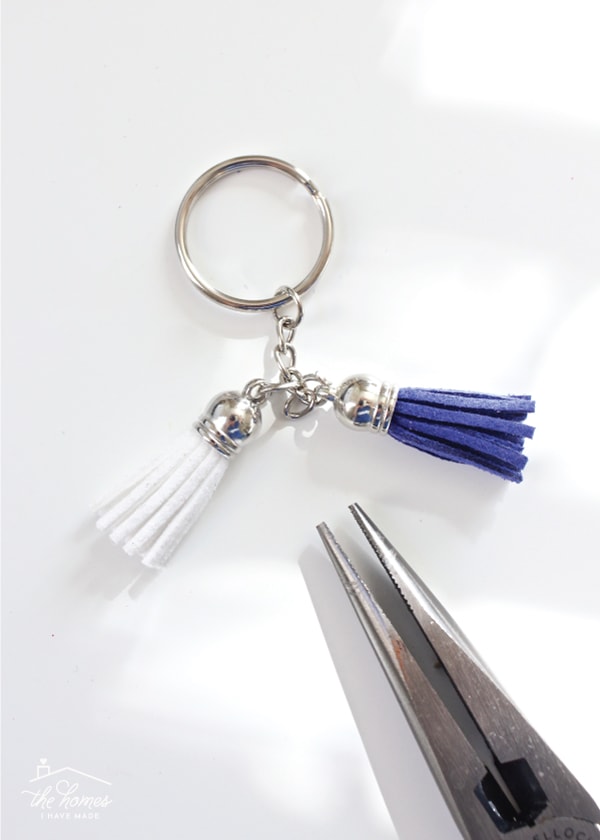
Start by picking out some mini tassels that coordinate with your school logo and assembling the required hardware. For each keychain, I used two tassels, 3 connectors, and a single jump ring with chain.
Next, use a needle nose pliers and gentle pressure to assemble all the components of they keychain.
Essentially you will use the three small connectors to attach the two tassels and acrylic disk to the keychain hardware.
I couldn’t decide exactly where I wanted the little tassels to attach and did something different on each one I made. Play with it until you find an arrangement you like!
Although placing the circles onto the acrylic disks can require a little patience, these keychains are really fun and easy to make! And boy…do they have really good WOW factor – my sisters were amazed at how chic they were…and I made them!!! Again, they make for really fun and budget-friendly Christmas, graduation or end-of-school year teacher gifts so be sure to bookmark this post for future reference!
Other Fun Keychain DIY Projects!
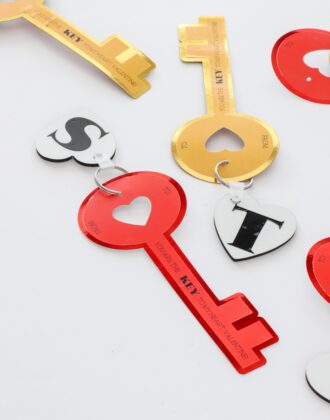
I love making keychains for gifts, at a craft night, or just because! Here are some others we’ve tried and loved…
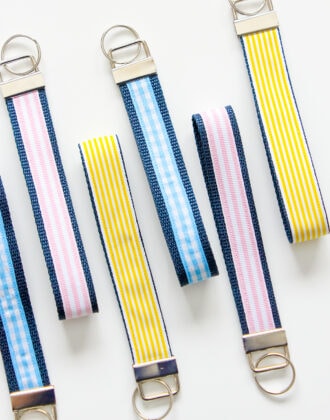
- Easy DIY Ribbon Key Fobs | A Simple 10-Minute Project!
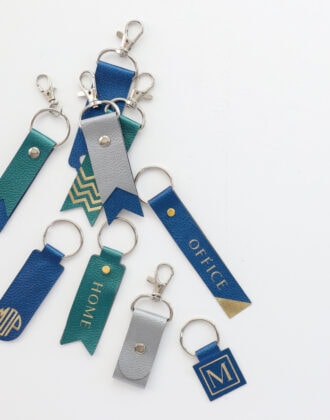
- DIY Faux Leather Keychains with a Cricut
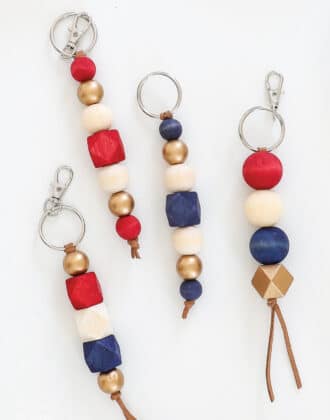
- Easy DIY Wood Bead Keychains
So are you a big college basketball fan? My alma mater (George Mason University) was a Cinderella team in the Final Four a few years back, so we got really into it that year. Most years though, I just partake via my family text, lol! Who are you rooting for to win the Big Dance?
Megan






5 Comments on “School Spirit Keychains with Glitter Vinyl”
Woohoo go Nova!!!
To be fair, your school IS a big basketball school. It just so happens that you don’t FOLLOW the action 😉 {Disclaimer: neither does your husband}
Bear Down Arizona! I’m an alumna and my daughter is a freshman. I was there when AZ won the NCAA championship and would love a repeat while my daughter is attending.
I switched teams a few years ago….from the team I grew up cheering for with my family to the rival team that the hubby likes. I could make the family some of these and maybe not be such a “team” outcast anymore. 🙂 This would be fun to do for super bowl prizes and stuff!
MU won in the NIT tonight! At least that is something – I do love my key chain – thanks Meg – so clever