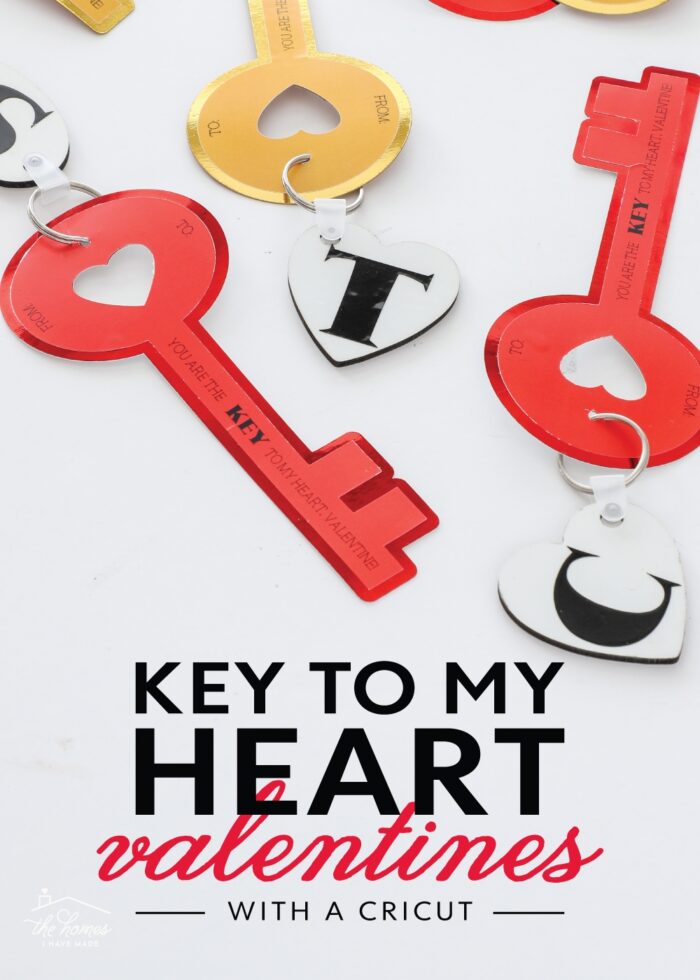
“Key to My Heart” Valentines (with a Cricut!)
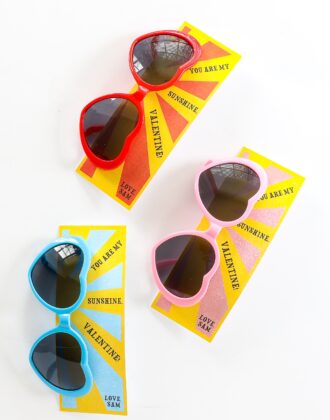
Although I primarily use my Cricut machines for home decor and labeling, I have to admit I get pretty giddy around Valentine’s Day too. I just love using my Cricut to cut pretty papers into clever, homemade Valentines for my kids’ classes. This year, my preschool son will be handing out these adorable “Key to My Heart” Valentines to his classmates. By pairing heart-shaped keychains with simple paper keys, you have Valentines that are quick, easy, and just soooo cute. Let me show you how easily these come together!
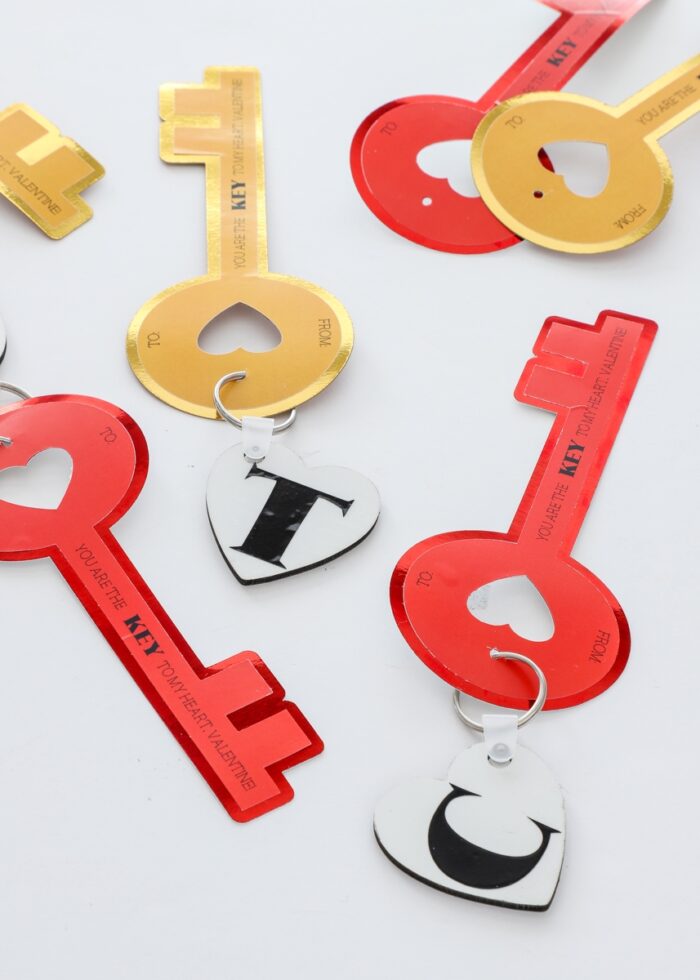
These “Key to My Heart” Valentines were actually inspired by some sublimation keychains I picked up on Amazon Prime Day (yep, last Summer). I thought they’d be so fun to personalize for Sam’s classmates with Infusible Ink monograms.
But the keychains alone weren’t quite enough as Valentines on their own (where would we put the To/From?!?), which is when I came up with the adorable idea to make paper keys to go with them!
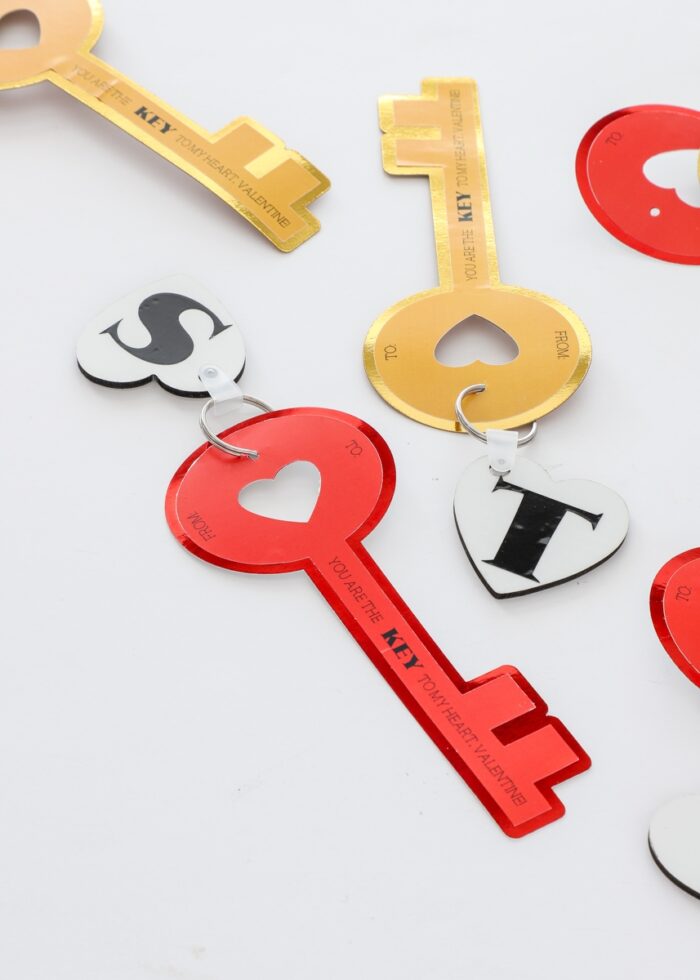
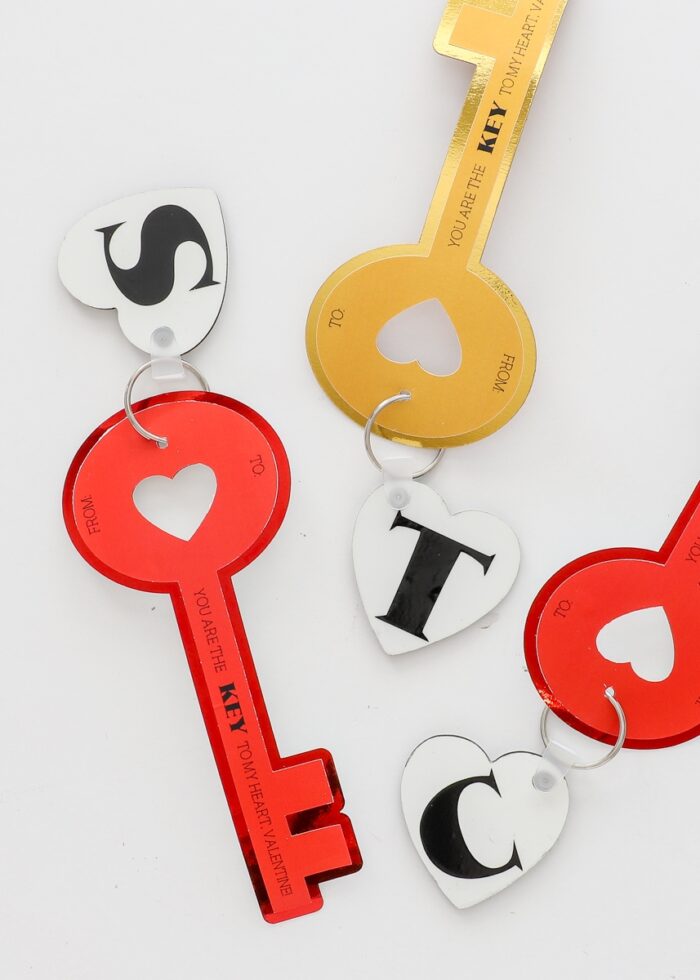
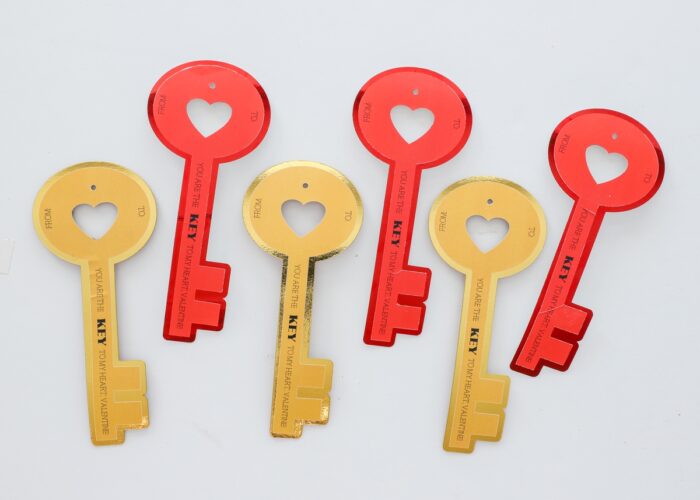
This way, the paper key serves as the actual Valentine (with the To/From and a cute “You are the KEY to my heart” message). Then the keychain is the “treat” that goes with it. All together, this is a unique and creative Valentine idea for classrooms, offices, scout troops…or anyone you just want to show a little love to!
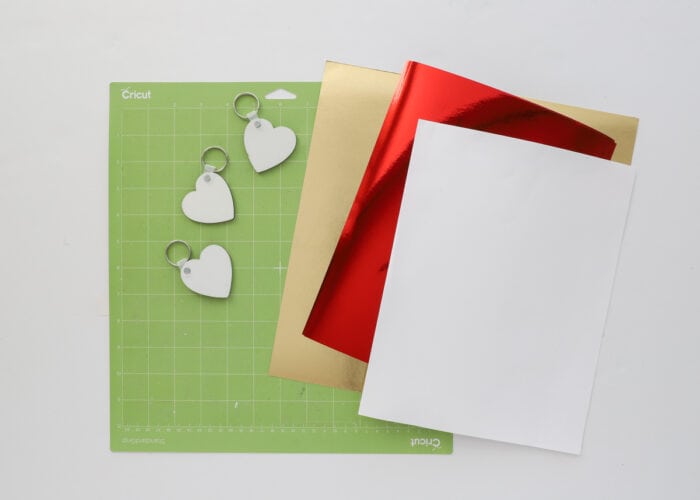
Supplies Needed
Here is what you need to make these adorable “Key To My Heart” Valentines!
- Cricut Machine – Because this project uses the Print Then Cut feature, it can only be made with Cricut Explore and Cricut Maker models. (If you’d like to make these Valentines with a Cricut Joy, you will need to change all the text to the Pen Operation.)
- Fine-Point Blade – The one that comes with your machine
- Standard Grip Mat
- Weeding Tool
- “Key to My Heart” Valentines File for Cricut Design Space
- Home Printer – this is the printer I use
- White Sticker Paper or White Cardstock – Using sticker paper makes this a glue-free project. If you don’t have any on-hand, white cardstock and a good craft adhesive will work just fine.
- Foil Cardstock in red and/or gold
- Heart-Shaped Keychains – see more below
A Note on the Heart Keychains
This tutorial only covers how to make the paper key Valentines (since the Infusible Ink keychains are a wholly different and more involved project). So while I am not going to show you precisely how to make the keychains shown in my pictures, I wanted to point out that these “Key to My Heart” Valentines can be paired with ANY heart-shaped keychains…which are widely available from a number of retailers. Below are a bunch of my favorites that would work beautifully with these paper key Valentines!
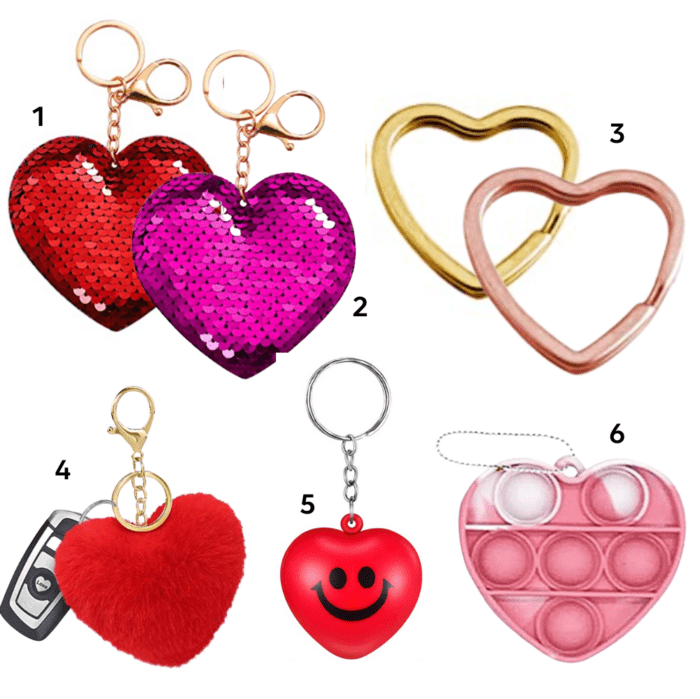
1 – Red Sequin Hearts | 2 – Pink Sequin Hearts | 3 – Metal Hearts | 4 – Pom-Pom Hearts | 5 – Stress Ball Hearts | 6 – Pop Fidget Hearts
Step 1: Access the Cricut Design Space File
Start by accessing the “Key to My Heart” Valentines design for Cricut Design Space HERE. I have pre-formatted the paper keys to fit 4/page (for Print Then Cut); and since I’ve kept the design very generic, you don’t have to make any modifications if you don’t want to.
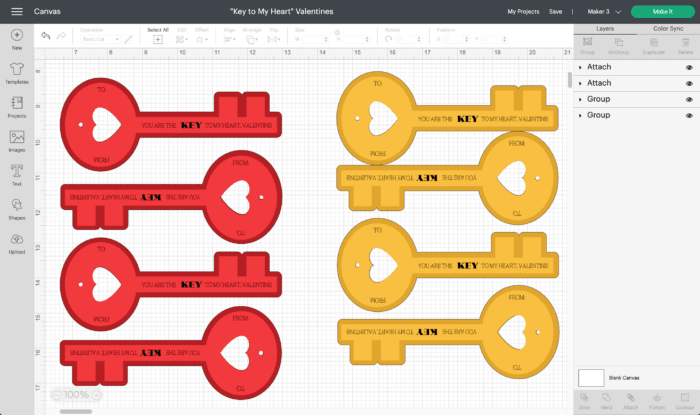
That said, you can easily re-size the design to your preference (just make sure you re-size everything all at once). And if you’d like to change any of the colors or wording, follow these steps:
- Select the keys with the words on them and click “Detach” in the bottom right-hand toolbar to separate them from one another.
- Select one key and click the “Unflatten” button in the bottom right-hand toolbar.
- Once unflattened, select any layer to change the color, font, or text as desired (e.g., change the red to pink, or adjust the words to say “Only You Can Unlock My Heart, Valentine” instead).
- If you’d like to add in your own child’s name, add a new text box (using the Text Tool in the left-hand toolbar) and type in the name and place it where you want it.
- Once you have everything adjusted to your preference, select the top-layer key and all the words and click “Flatten” in the bottom right-hand toolbar to re-flatten the design into a printable image. Make sure you don’t have the bottom key layer selected.
- Repeat with the other keys or duplicate your original key to make more copies.
Step 2: Print & Cut the Paper Keys
Once you have the Valentine keys exactly as you want them, click the green “Make It” button in the upper-righthand corner. Then follow the on-screen prompts to cut each layer as follows:
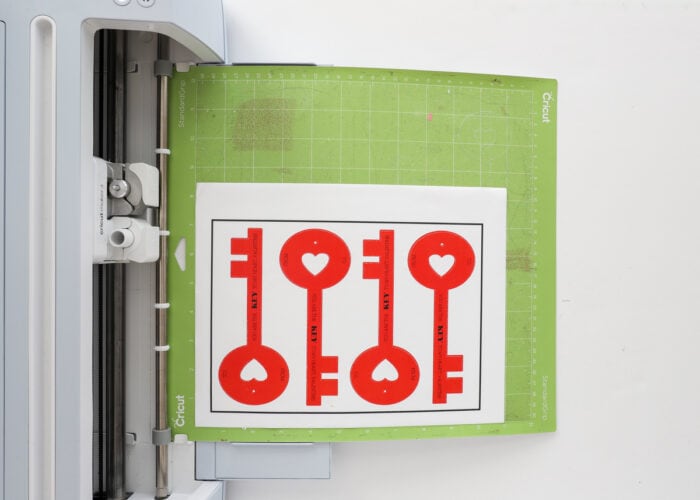
Top Layer | Print Then Cut
The top layer (the keys with the words on them) is created using the Print Then Cut function, where you first print the keys out with your home printer and then cut them out using your Cricut machine. This is my favorite way to make lots of Valentines, since the entire design comes off the printer at once (meaning you don’t have to layer lots of words together OR use up your Cricut Pen ink.) If you need more help with this, see my full tutorial Print Then Cut Tutorial.
I recommend printing the keys onto white sticker paper for mess-free assembly, but you can use white cardstock too.
Want to save this post?
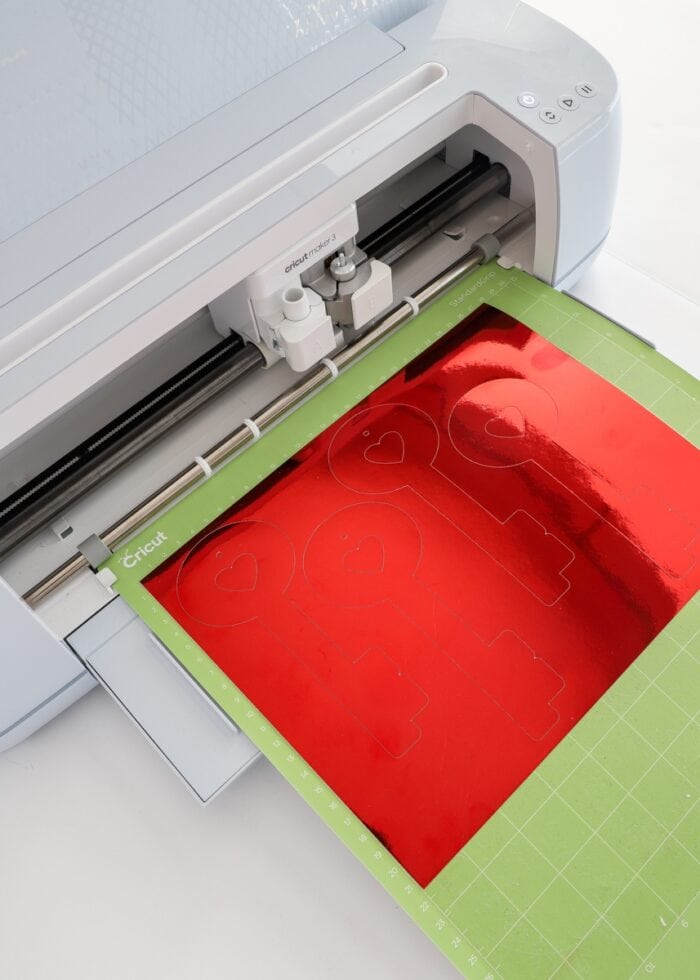
Bottom Layer | Basic Cut
With the top layer printed and cut out, continue to follow the on-screen prompts to cut out the bottom layer from cardstock. I recommend using Foil cardstock to give the keys a “metallic” look (like real keys!)
Step 3: Assemble the Paper Keys
With both layers cut out and ready to go, all you need to do is stick them together! If you used cardstock for both layers, glue the top key onto the bottom one using craft glue.
If you used white sticker paper, start by removing the excess paper around the set of keys (a weeding tool can help with this).
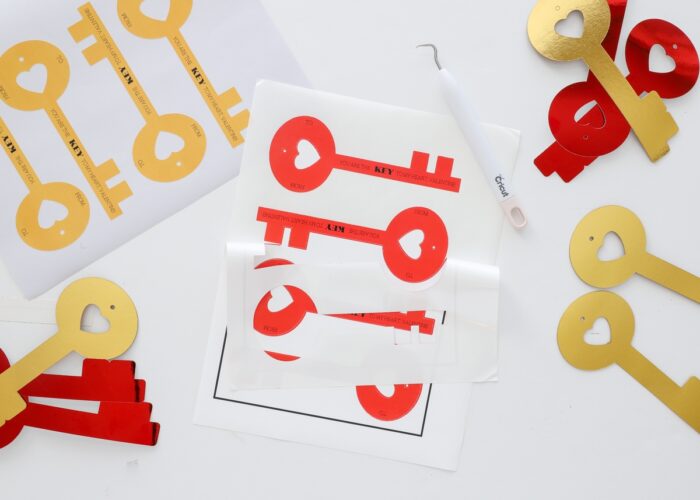
Then peel up one of the sticker keys from the paper backing and use the following directions to place it down onto the bottom layer:
-

- Start by lining up the heart and hole on the upper part of the key.
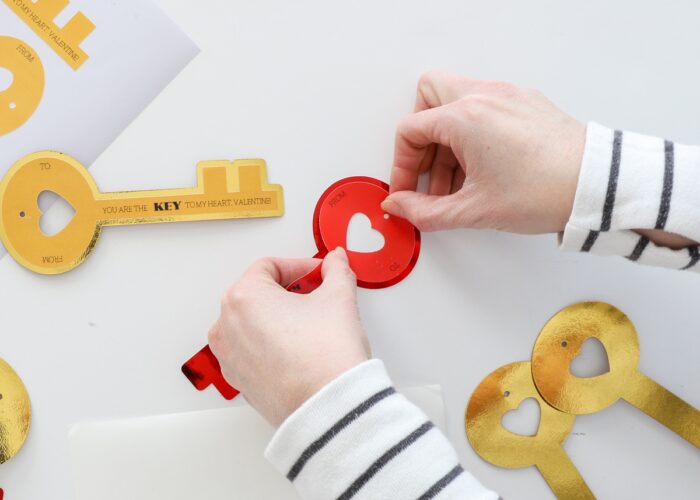
-
- Stick the top circle of the key down, while keeping the remainder of the key lifted.
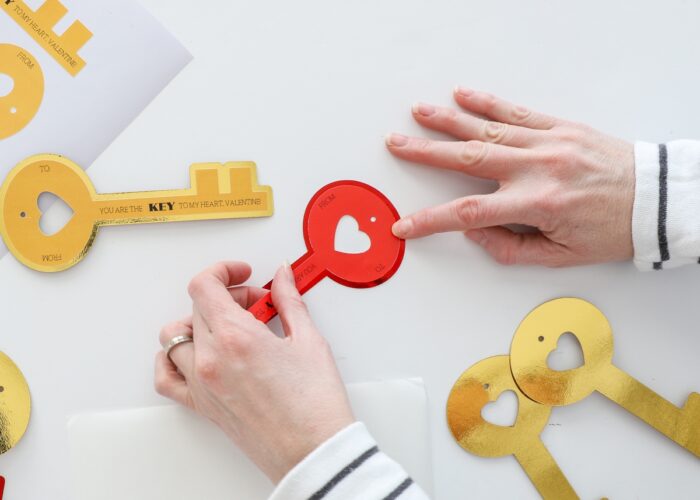
-
- With the top in place, smooth the remainder of the key down onto the bottom layer.
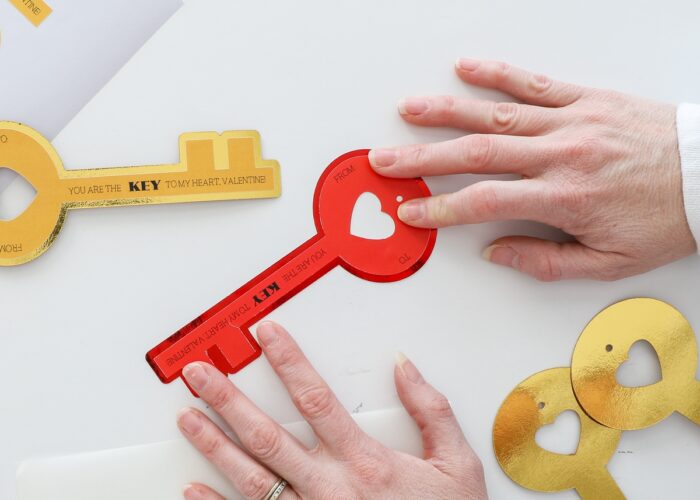
Repeat until you have all the keys assembled and ready to go!
NOTE: My little guy was at school while I made and photographed these “Key to My Heart” Valentines. Before adding the keychains in the next step, I recommend letting your child write in the “To/From” spaces while the keys can still lay flat.
Step 4: Attach a Heart-Shaped Keychain
With the paper keys ready to go, simply attach an adorable heart-shaped keychain right through the provided hole. And just like that, they are ready for your Valentine’s Day celebration!
TIP! If you did make personalized keychains, ensure they match up with who is listed in the “To” spot!

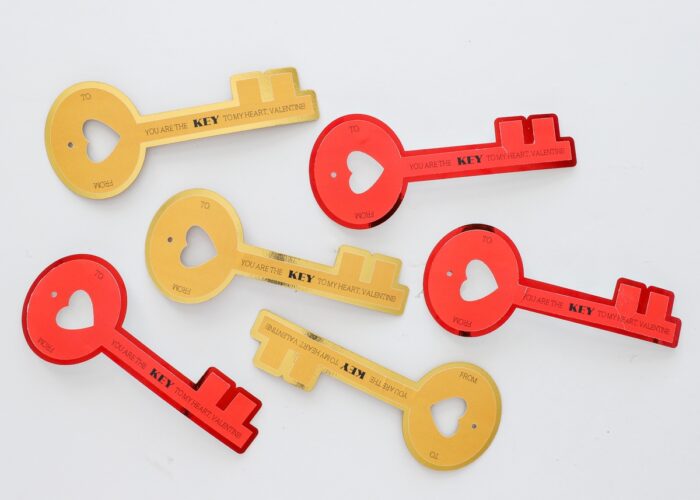
I never ever have our classroom Valentines done this early, but this idea has been simmering for a few months now! I love how these “Key to My Heart” Valentines turned out, and I’m pretty sure the kids will be excited about them too.
But, what am I most excited about?!? How easy they are. Seriously. All you have to do is print, cut, stick together, and add a keychain! With my ready-to-go file, you can easily make these the night before the class party…not that you’d ever leave it to the last minute! 😉
Megan