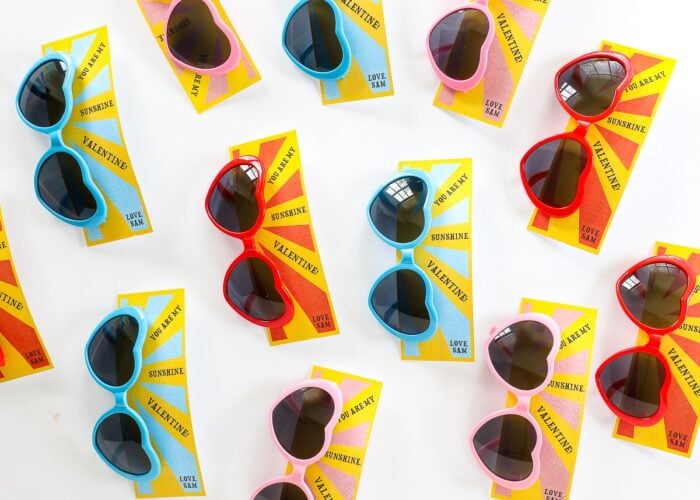
“You are My Sunshine” Valentines (with Sunglasses!)
There are a lot of things I don’t make for my kids (I swear!), but there’s one project I look forward to every single year: class Valentines! Ever since I made these Pencil Arrow Valentines when Henry was just 3, I’ve been kind of addicted to coming up with clever, unique Valentine gifts for the kids’ classmates. These oh-so-adorable sunglasses Valentines might just become another all-time favorite. Not only are they super quick and really easy (thanks to the Print Then Cut feature on your Cricut machine!), but they also satisfy the “candy-free” requirement in a lot of classrooms these days. Let me show you how these sunny Valentines come together!

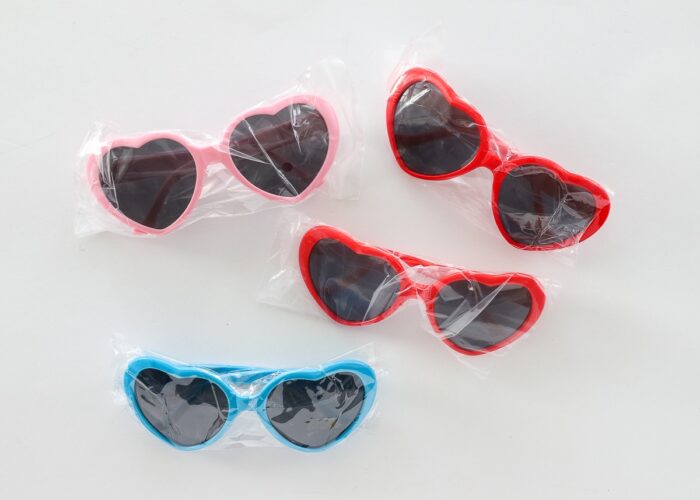
I am constantly on the hunt for cute heart-shaped items that can be turned into Valentines. When I came across these heart sunglasses on Amazon (in soooo many fun colors!), I knew they’d make adorable candy-free Valentine’s Day cards that any kiddo would love.
My greater challenge was coming up with some sort of “punny” or cute phrase to go with the heart-shaped sunglasses (puns are what Valentines seem to be all about these days!). I felt so clever when I realized “You are my Sunshine” rhymed with Valentine, so a sunshine-themed card seemed the obvious way to go.
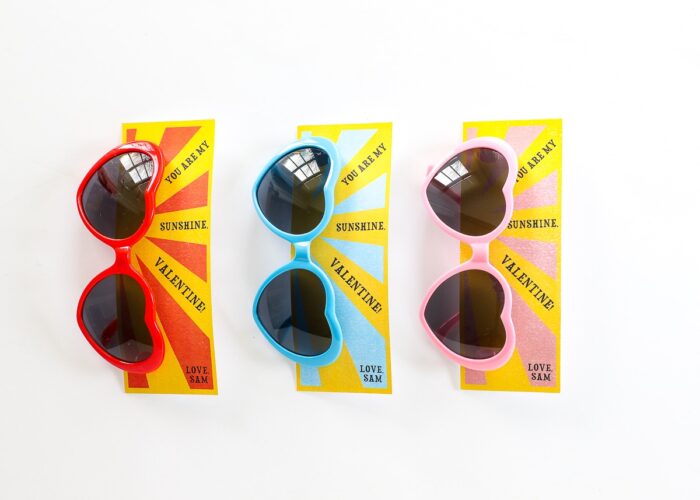
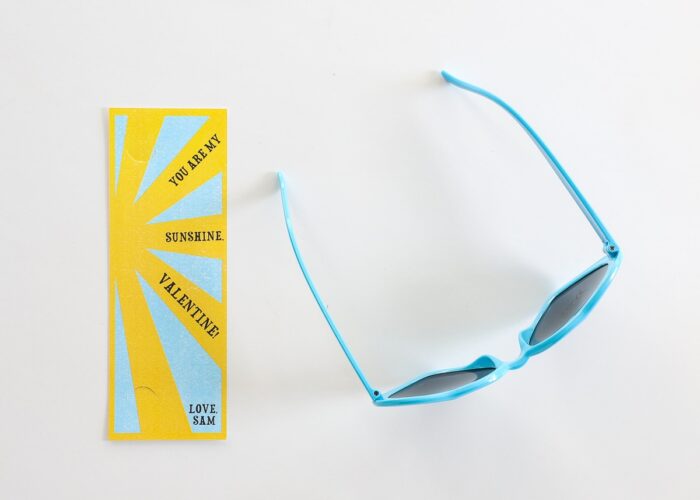
What I love SO much about these sunglasses Valentines is they couldn’t be easier. Thanks to slits cut right into the bookmark-sized printable Valentines, you have a sunglasses holder and sweet message all in one, easy-to-handout package!
Since I’ve done all the design work for you, these Valentines literally come together in three easy steps…perfect for the last-minute Valentine scramble most of us do!
Fun Fact! You think I’m kidding about the last-minute scramble. I made these the night before my son’s class party. They turned out waaaaay cuter than I expected so I hurried to take pictures in the last 15 minutes before walking out the door the next morning so I could share them here!
Supplies Needed
Here is what you need to make these sunglasses Valentines:
- Heart-Shaped Sunglasses – order early so you have your choice of colors.
- White Cardstock
- Cricut Explore or Cricut Maker – because this project uses the Print Then Cut feature, it cannot be made on a Cricut Joy.
- Standard Grip Mat
- Sunglasses Valentines File for Cricut Design Space
- Home Color Printer
Step 1 – Open/Edit the Cricut Design Space File
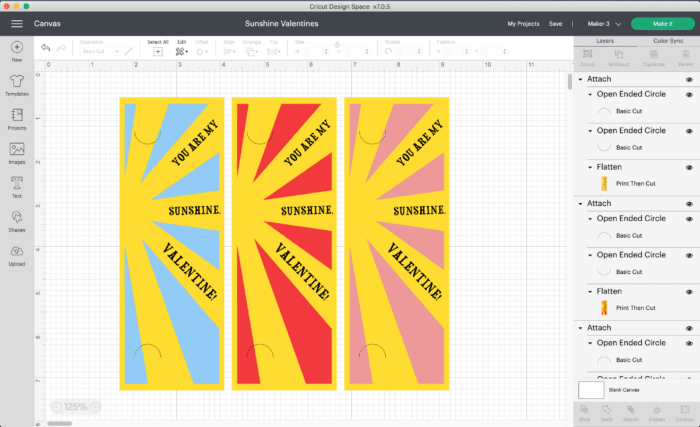
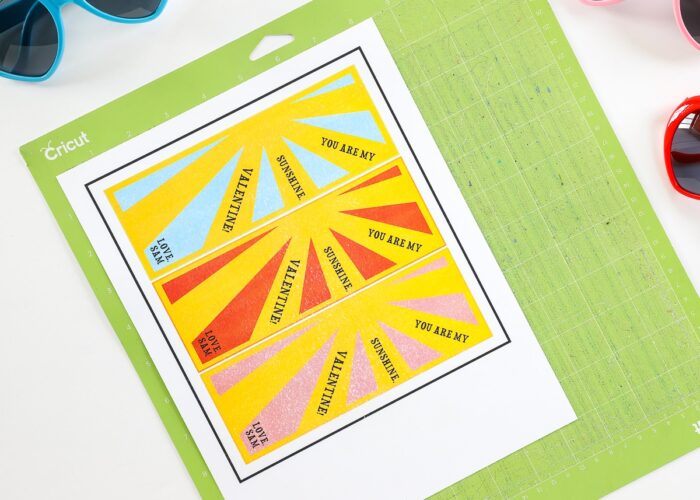
Start by opening my Cricut Design Space file HERE. When the file opens, you will see three identical Valentines in blue, pink, and red. The design is already “Flattened” (meaning it can be immediately sent to Print and then Cut without any modifications).
However, if you’d like to change any of the colors or wording, follow these steps:
Want to save this post?
- Select one of the Valentines and click “Detach” in the bottom right-hand toolbar. This will separate the printed card from the half-circle cuts.
- Select the printable card ONLY and click the “Unflatten” button in the bottom right-hand toolbar.
- Once unflattened, you can select any layer to change the color, font, or text as desired (e.g., change the blue to pink, or adjust the words to say “Happy Valentine’s Day” instead).
- If you’d like to add in your own child’s name, add a new text box (using the Text Tool in the left-hand toolbar) and type in your preferred words/name).
- Once you have everything adjusted to your preference, select everything BUT the half-circle cuts and click “Flatten” in the bottom right-hand toolbar to re-flatten the card into a printable image. NOTE: This will move the printable card in front of the half-circle cuts; so once flattened, send the printable card “To the Back.”
- Finally, select both the printable card and the half-circle cuts and click the “Attach” button in the bottom right-hand toolbar.
Step 2 – Print Then Cut the Sunglasses Valentines
Once the Valentines are formatted exactly a you want them, send them to your Cricut Explore or Cricut Maker by clicking the green “Make It” button, and then follow the on-screen prompts to first print the Valentines (with your home printer) and then cut them out (with your Cricut).
If you keep my dimensions exactly the same, you should be able to print three Valentines onto one sheet of white card stock.
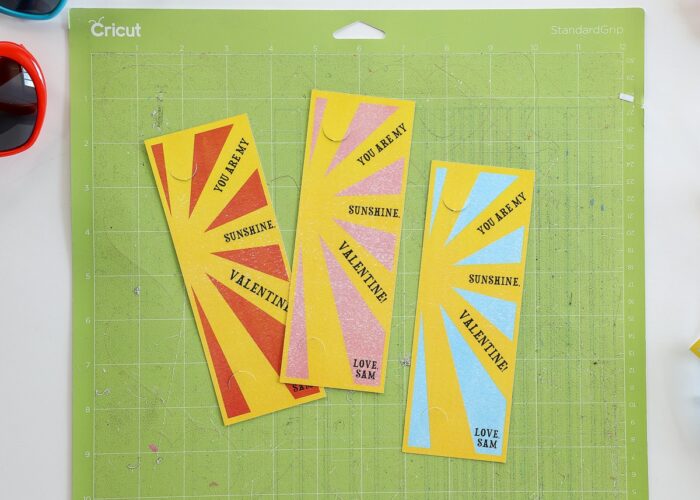
Once you load the printed page onto a green Standard Grip Mat and send it through your Cricut machine, you’ll end up with perfectly-cut out Valentines ready for the coordinating sunglasses to be inserted!
Step 3 – Assemble the Sunglasses Valentines
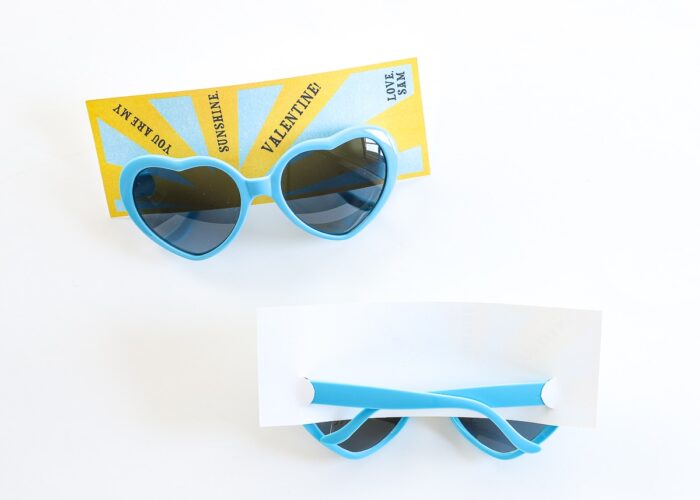
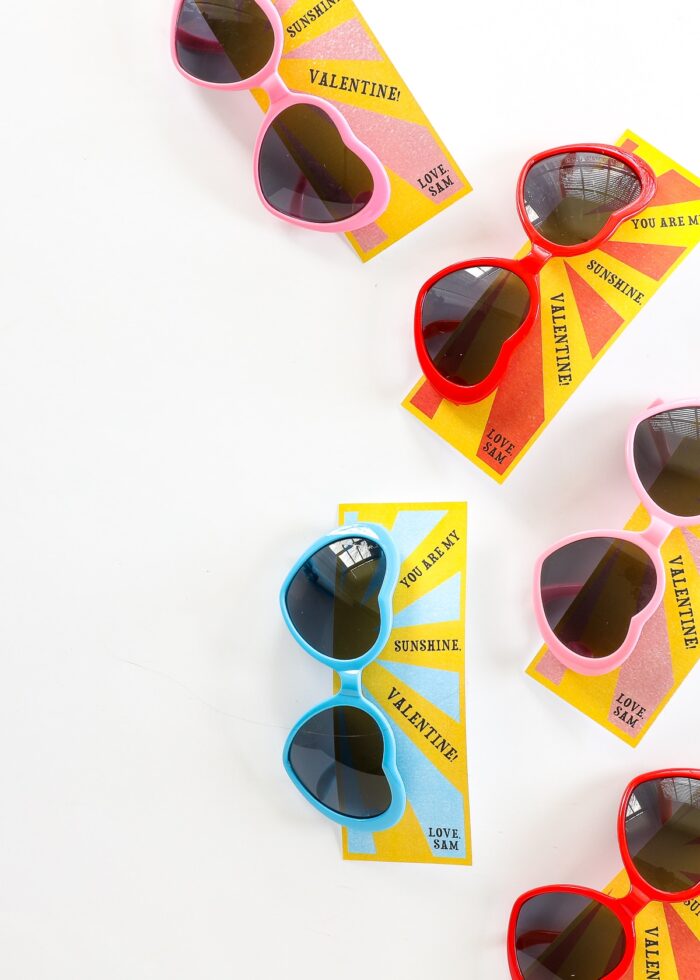
The final step is to insert a pair of sunglasses into the pre-spaced slits on the Valentine card.
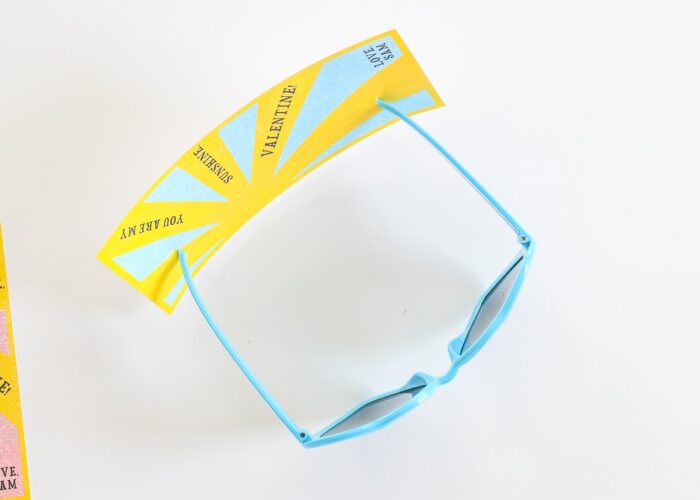
Simply direct the sunglasses’ ends through the slits (pointing toward the center) and then fold in place around the paper (as shown below).
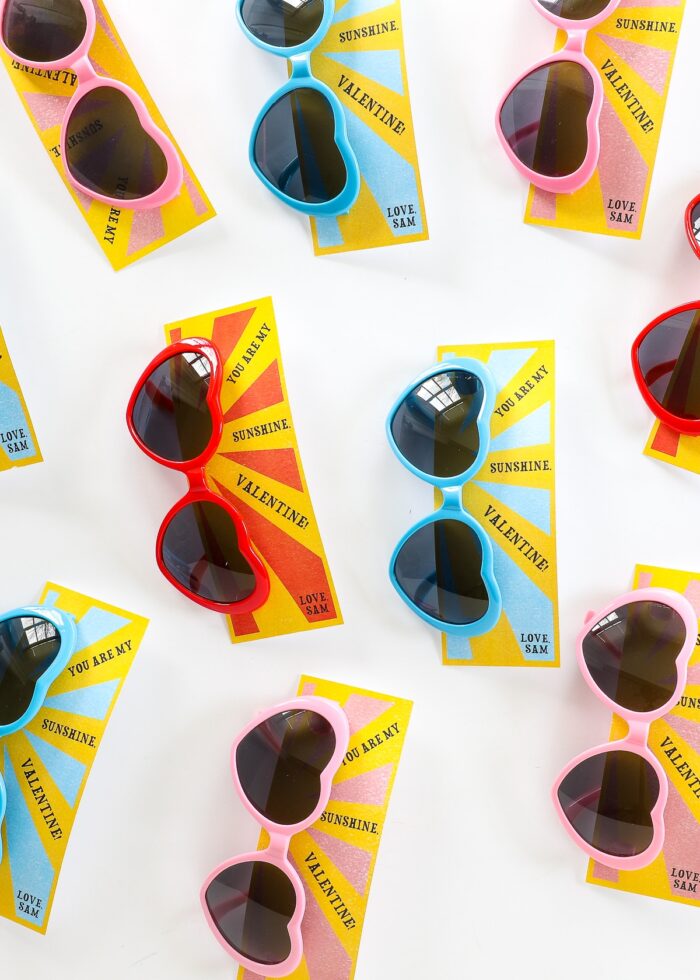
Then repeat printing, cutting, and inserting sunglasses until you have enough for your class, family, party, office, etc.
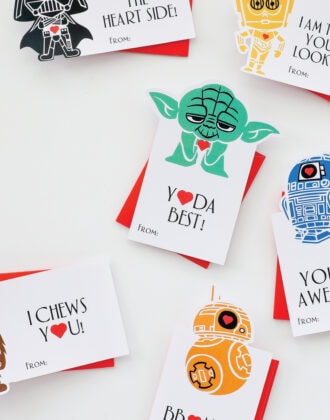
Using the Print Then Cut feature on a Cricut really is my favorite way to make DIY Valentines (like I also did with these Star Wars Valentines). Although I don’t mind gluing lots of paper layers together, it can become really tedious if you’re making Valentines for an entire classroom. Using Print Then Cut instead means the entire design comes off the printer in one step, making homemade Valentines so much quicker and easier to pull off (especially last minute!)
If you’re looking for a quick, easy, and super adorable candy-free Valentine idea, I hope you give these sunglasses Valentines a try! You’re going to love their easy assembly thanks to the printable cards, and the kids will have a blast wearing their heart-shaped sunnies. I loooove this project so very much that I’m actually tempted to use it again this year. But…as you might expect…I have another fun Valentine idea cooking up that I’ll share here soon. Stay tuned!
Megan