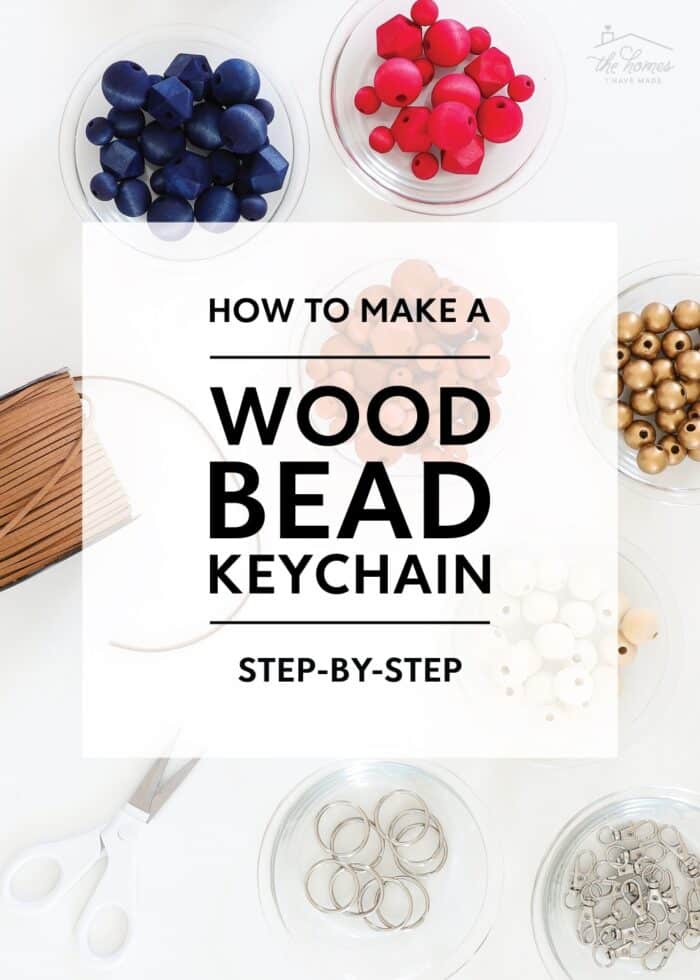
Easy DIY Wood Bead Keychains
Today, I want to show you how to make some adorable DIY wood bead keychains. These trendy accessories are easier and lots more fun to make than I expected; and they quickly became my go-to gift for hostesses, friends, teachers, neighbors, everyone this past holiday season. Best of all, the supplies are inexpensive, and assembly requires little-to-no craft expertise. If you’re looking for a great craft to make in bulk for any occasion, this is the perfect one to try. Let me show you!
An Easy Craft Project
Every holiday season, I tend to go down some craft rabbit hole; and this year, I fell deep into the abyss of wooden beads. From garlands and ornaments, to bracelets, necklaces, and keychains…I came across so many stylish items I loved, but just knew I could make some myself. But in my very own style and my very own colors, for a lot cheaper (of course!) So I scooped up a bunch of beads in various sizes, shapes, and colors, not exactly sure what I was going to do with them.
Once I stopped over-thinking the countless colors, patterns, and designs I could make, I just started stringing beads together and came up with some combinations I loved. Then when I secured them to some key rings I had on hand, I knew I had come up with a clever, inexpensive, and handmade gift option for everyone on our holiday list.
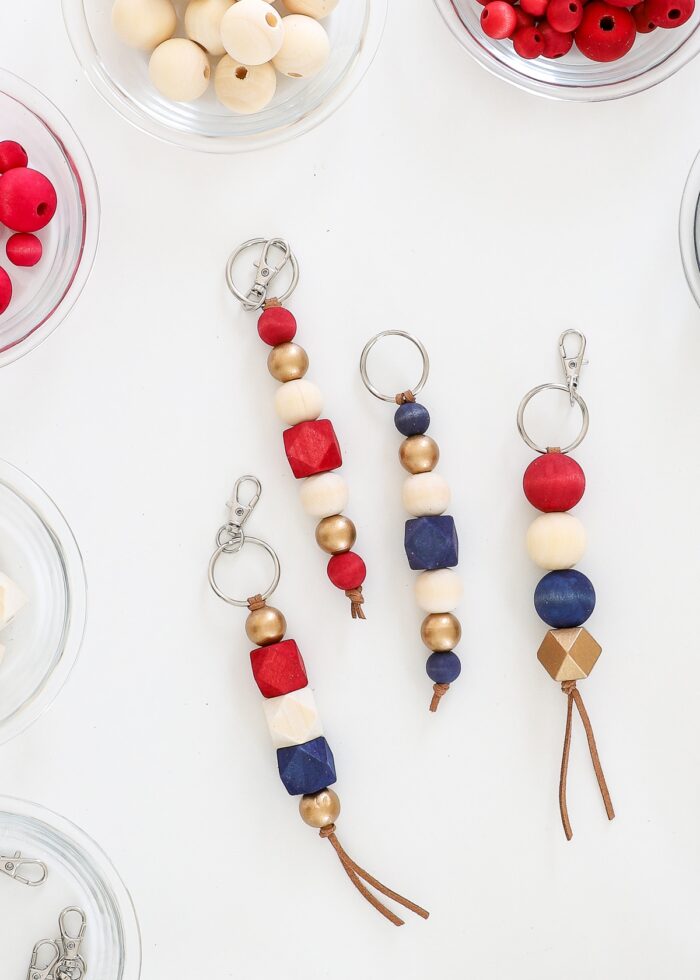
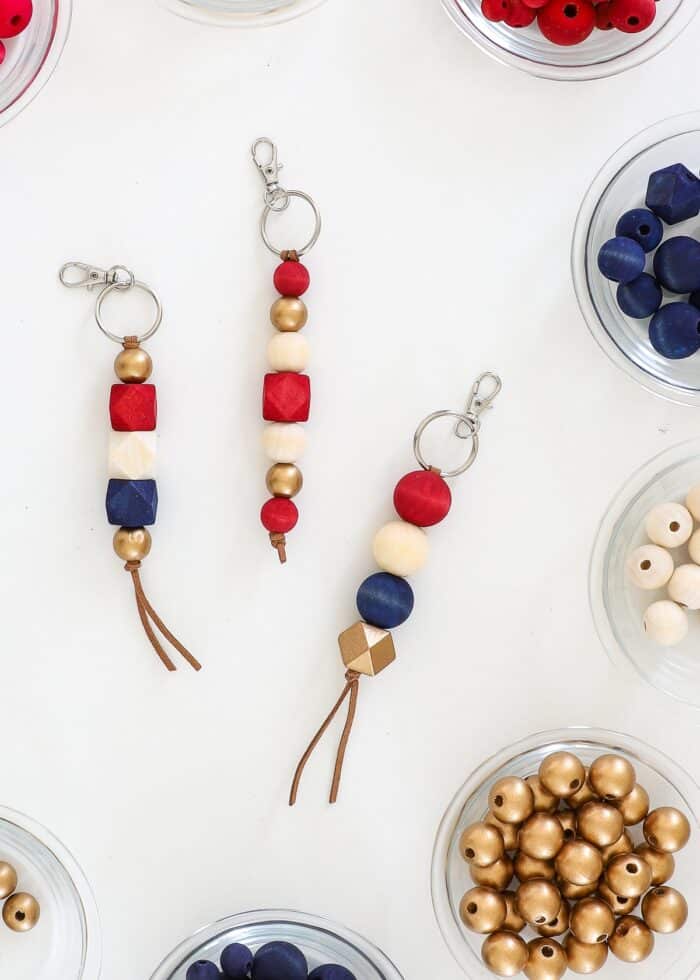
I was honestly quite surprised how quick and easy these DIY bead keychains were to make. Once you have your supplies assembled and some patterns figured out, stringing them together and knotting them off takes mere minutes. In fact, I was able to make dozens in just a few hours (below is just some of what I eventually made), making these a great option for scout troops, fundraisers, craft sales, or just to keep kids busy during the cold winter months.
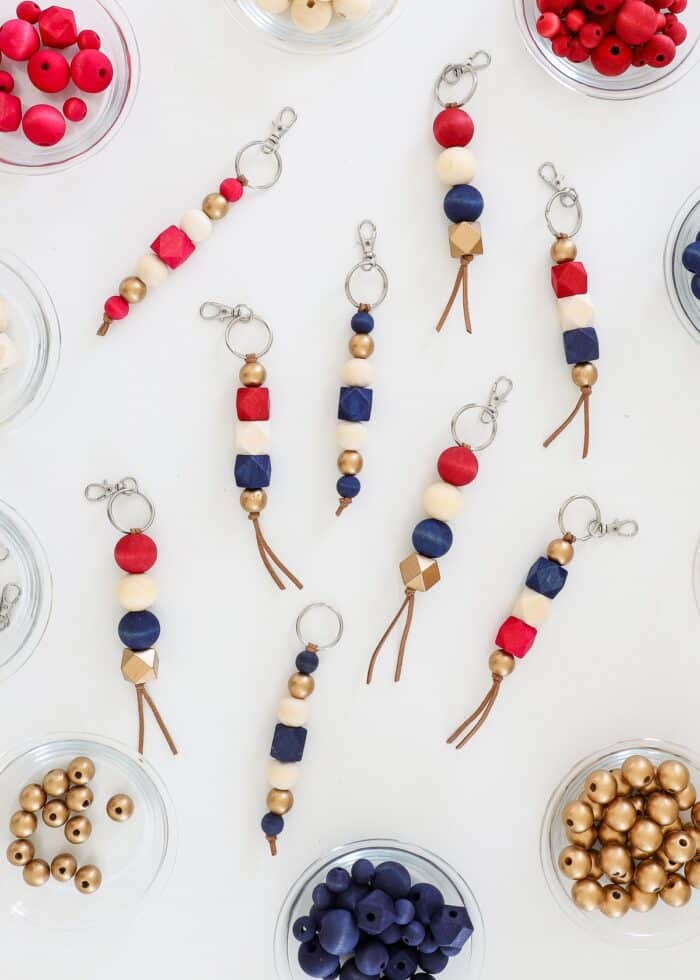
Best of all? Everyone seemed to really like them – we got so many compliments! Whether you put the keychain ring on your everyday keys, clip it to a purse as a bag charm, or use it to delineate special keys (like the one you give to neighbors when you’re on vacation), these are fun accessories that still look chic despite their handmade nature. (I may or may not still have a bunch on hand to gift whenever I need them!)
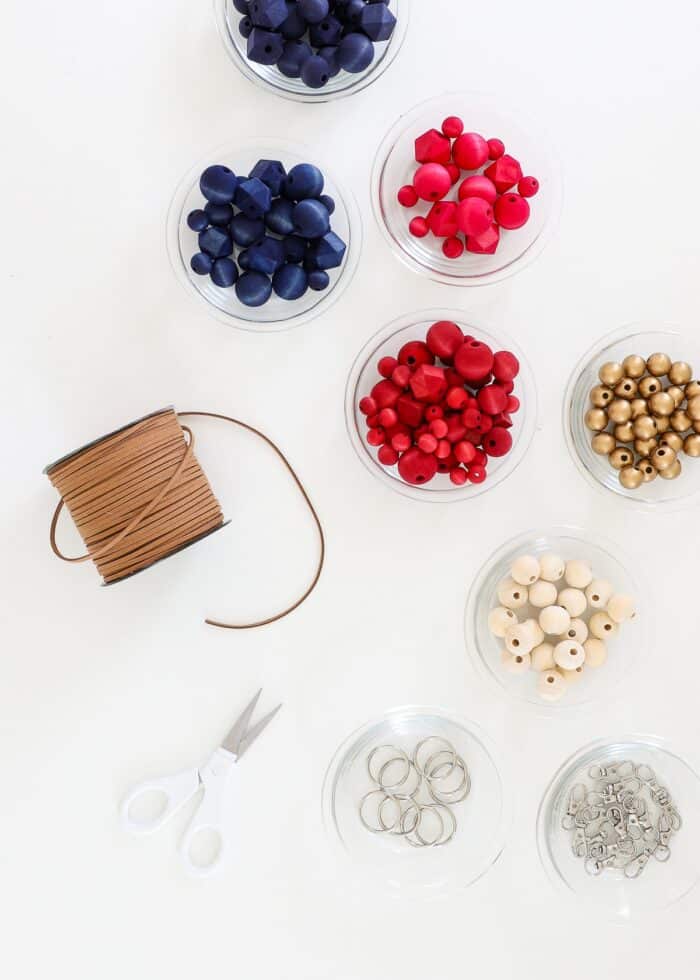
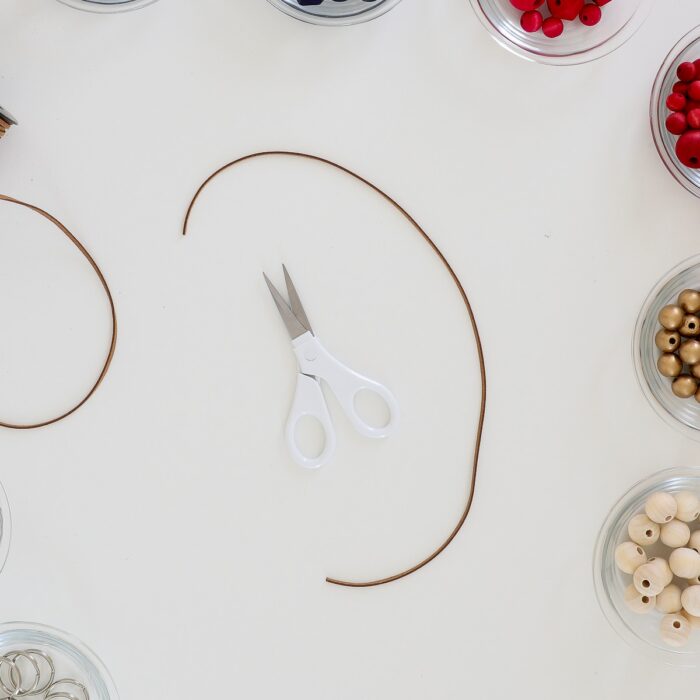
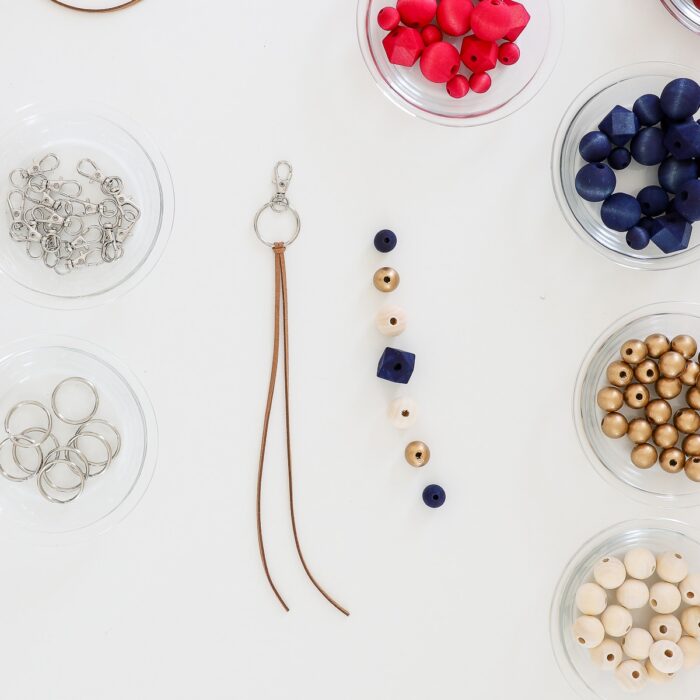
Supplies Needed
Here is what you need to make your own DIY wood bead keychains!
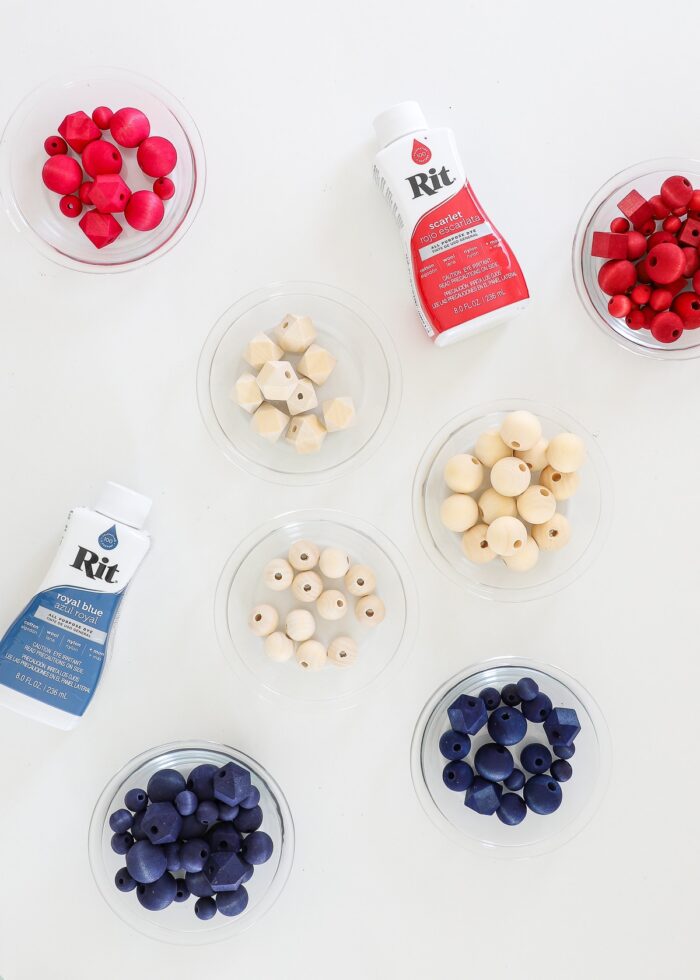
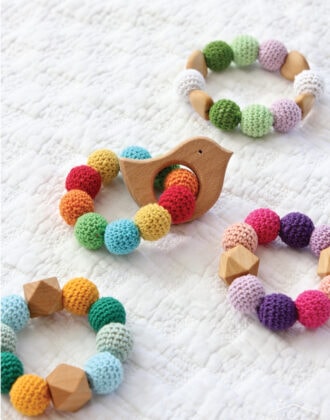
- Round Wood Beads – What specific sizes, shapes, and colors you need will depend on which keychain designs you want to make. Below are the beads featured across my various keychains.
- Geometric Wood Beads– These beads add a lot of dimension to your keychains, and I highly recommend getting at least 1 small set.
- Rit Fabric Dye – In the color(s) of your choice
- Faux Suede Cord – In the color of your choice
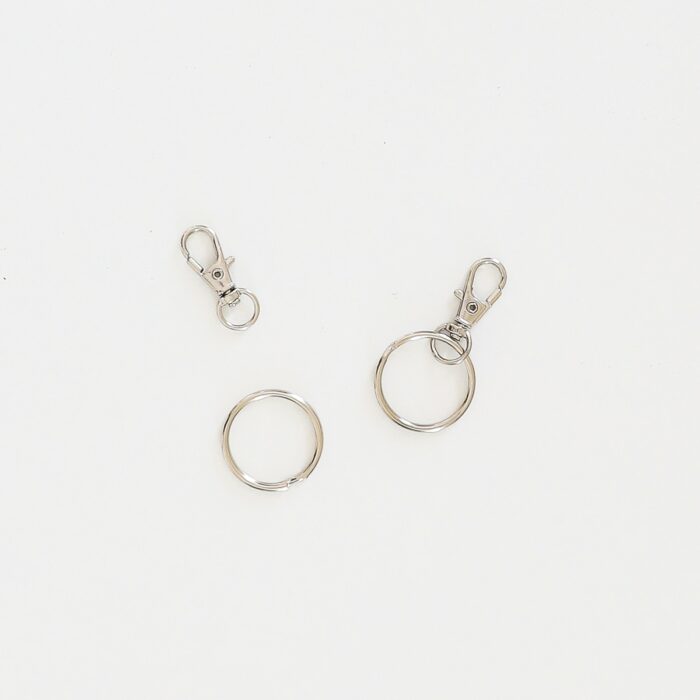
- Keychain Hardware
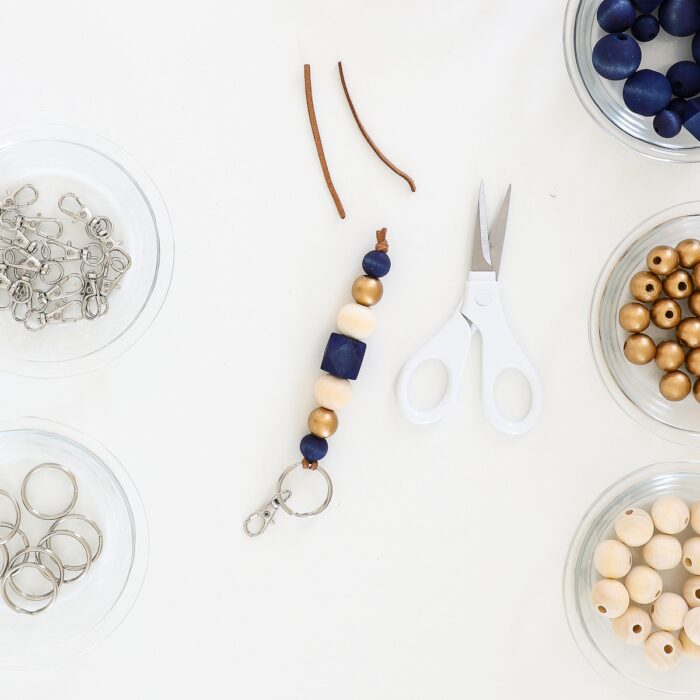
- Scissors
How to Make Colored Wood Beads
Instead of buying different bead colors, purchasing unfinished beads and then dying or painting them will give you a lot more flexibility with your design options (especially since these bags of beads will give you plenty of stash to make lots of keychains, garlands, ornaments, etc).
But how do you change the color of the wooden beads? There are two main options:
- Acrylic Craft Paint – Best if you want a painted, opaque appearance to your beads; here is a good method on how to do it.
- Fabric Dye – Best if you want a “stained” appearance to the beads, where you can still see the “grain”; here is a great tutorial.
After doing lots of research, I chose to stain my beads using fabric dye because I wanted to see the wood grain and re-color lots of beads as efficiently as possible. If you plan to make a lot of keychains, I highly recommend dying lots of beads at one time using the Mason jar method outlined here.
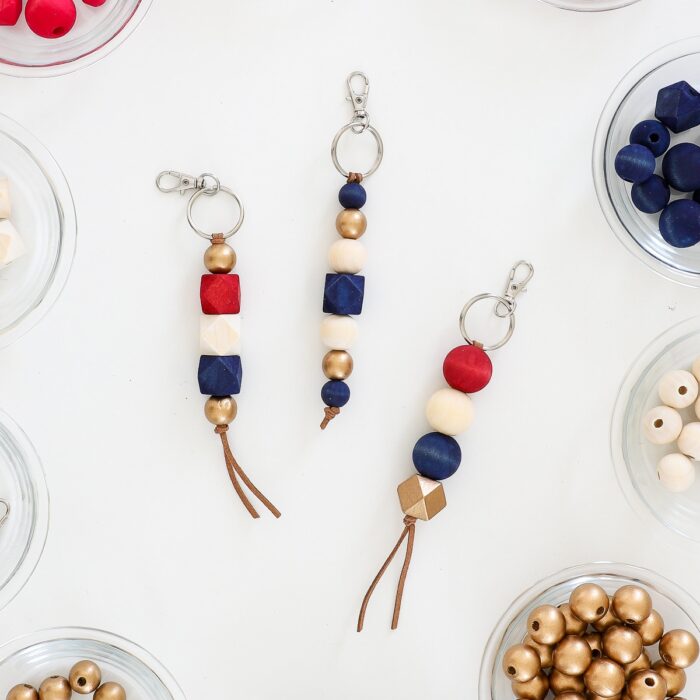
With a nice variety of unfinished (natural), stained, and painted beads, you’ll be ready to assemble a variety of designs like the ones shown below!
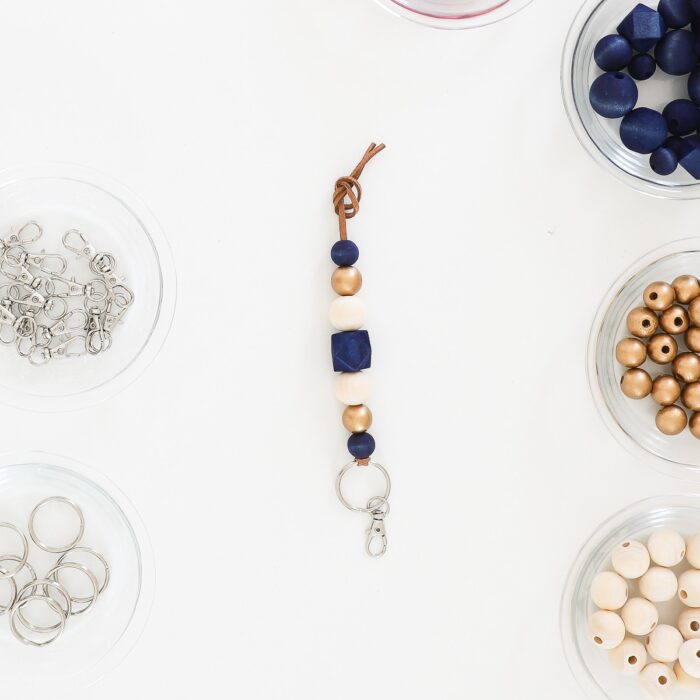
How to Make DIY Bead Keychains | Step-By-Step
I’ll be showing how to assemble the longer keychain design (below), but the same steps apply to whatever bead pattern you choose. You’re more than welcome to follow my designs, but it’s also really fun to just play with the various beads you have on hand until you come up with a sequence you like!
Want to save this post?
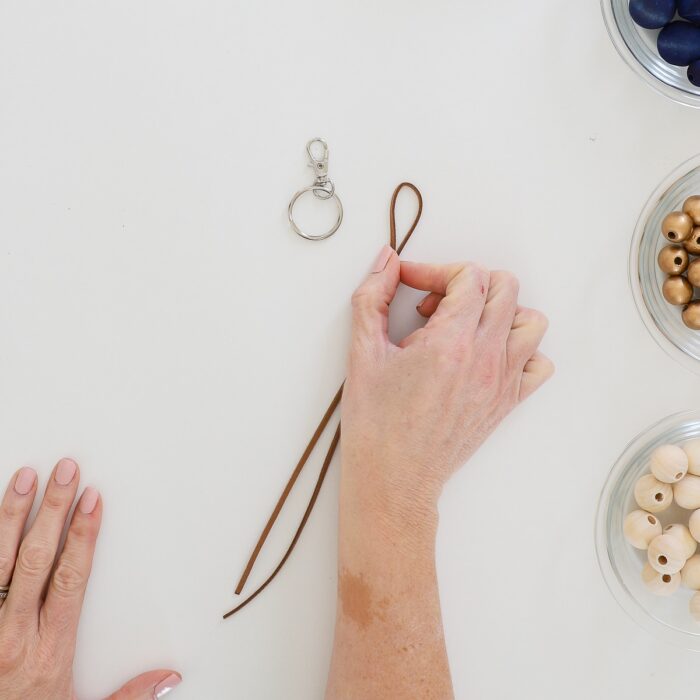
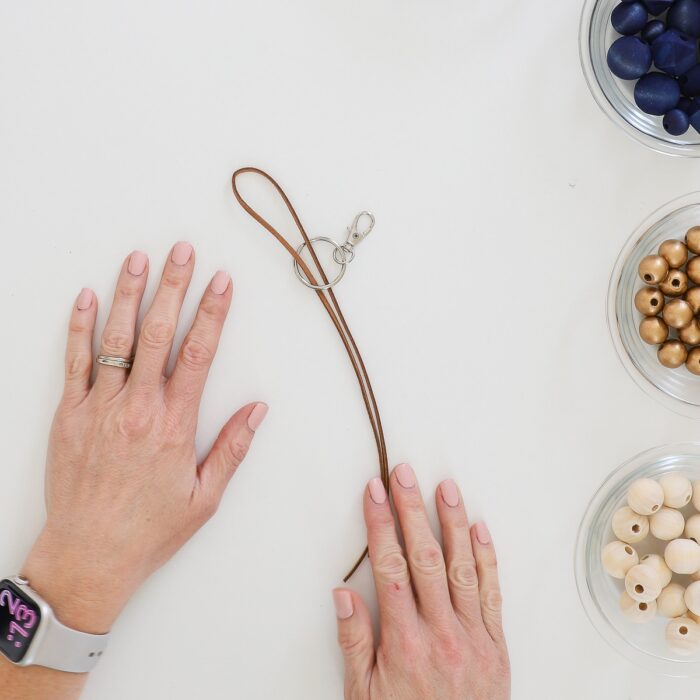
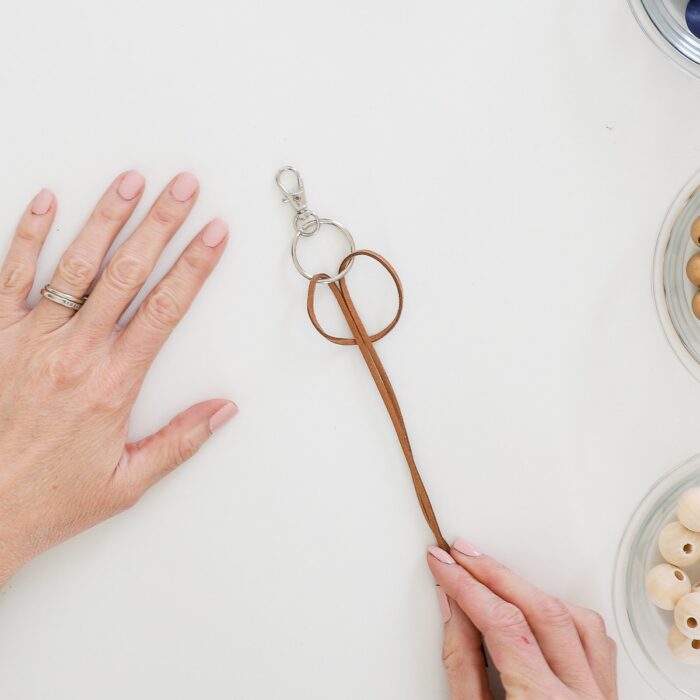
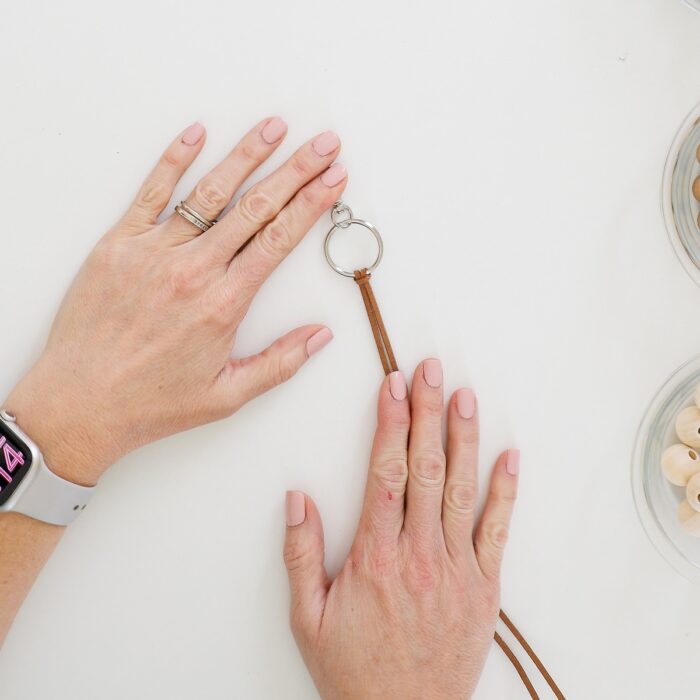
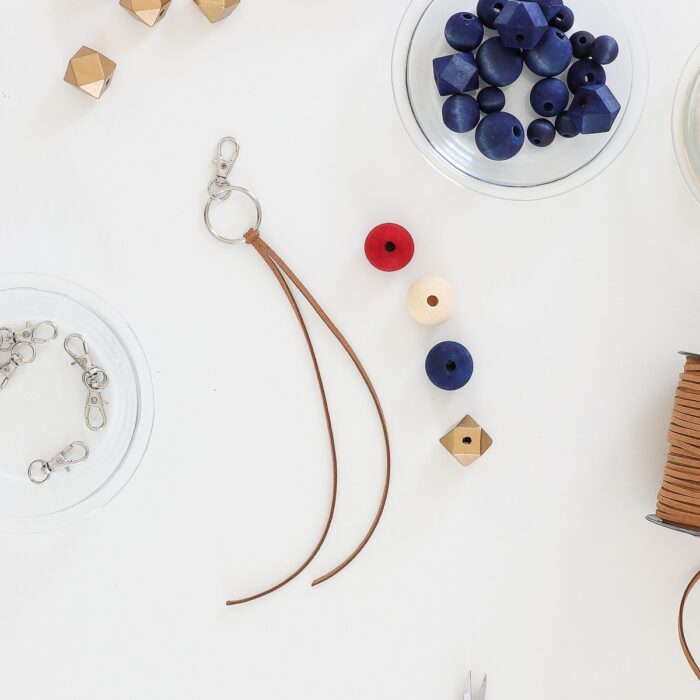
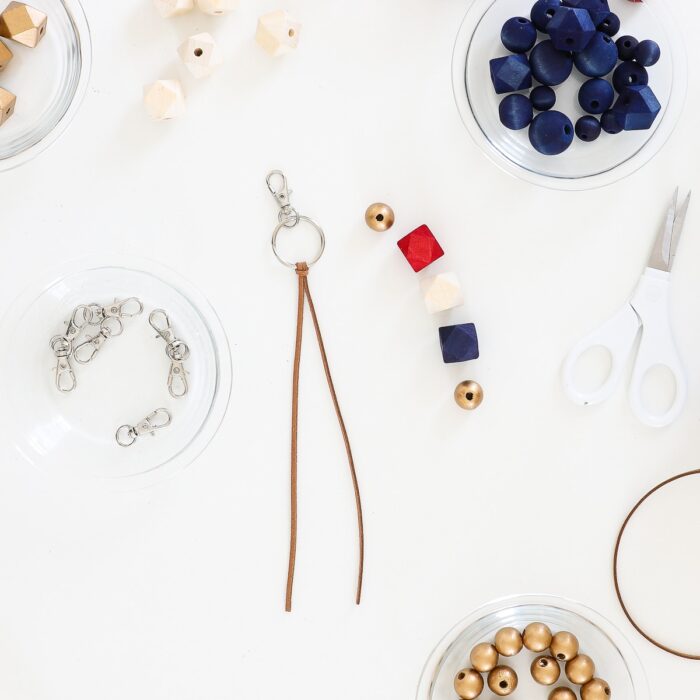
Step 1 – Prepare the Key Ring & Cord
The first step is to secure the cording to the key chain hardware.
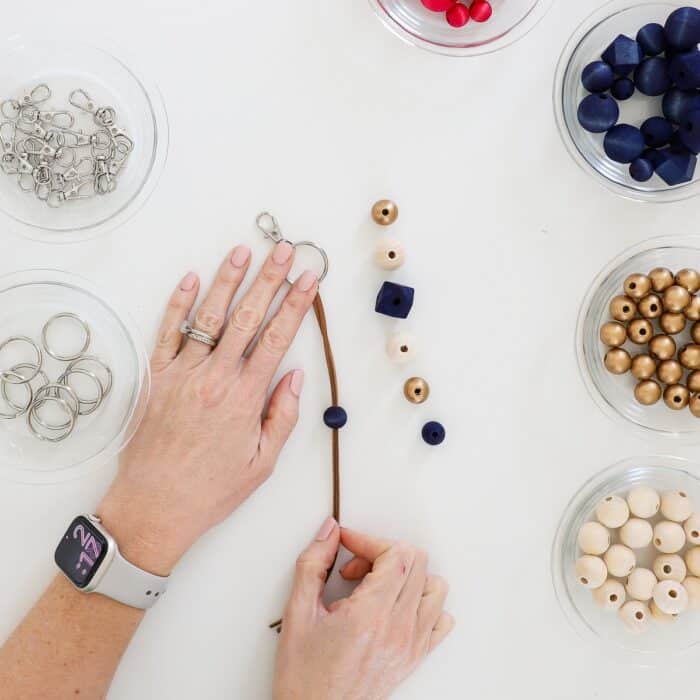
Step 2 – String the Beads
The next step is to string your desired bead pattern onto the cording.

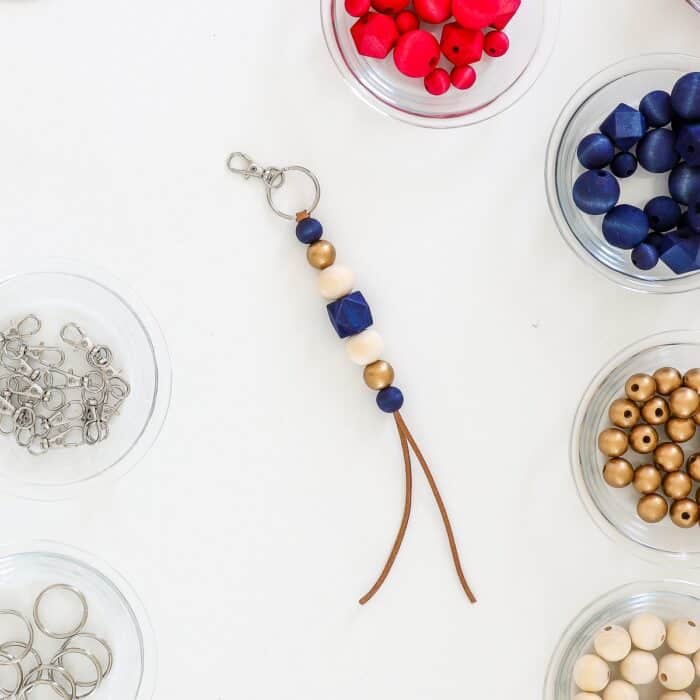
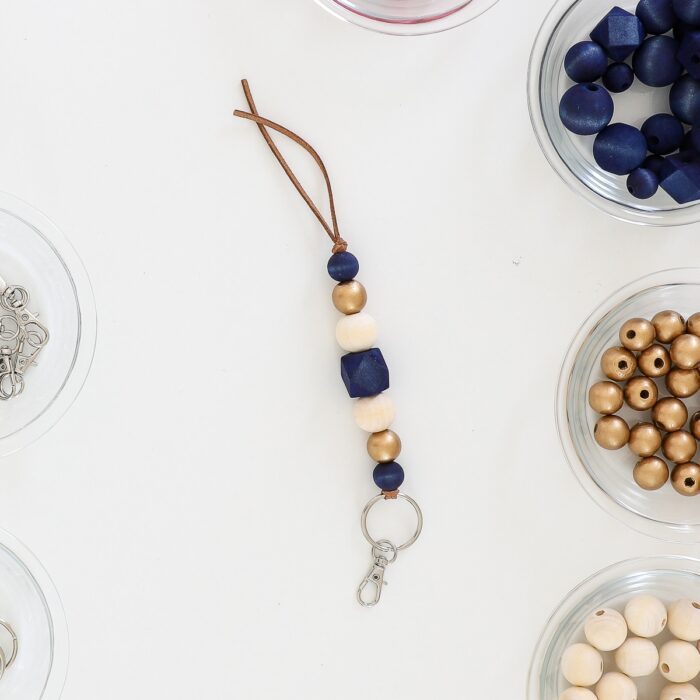
Step 3 – Knot Off the Cord
Finally, you’ll need to knot off the cord to keep the beads in place.

Step 4 – Repeat with Other Patterns
No matter what beads and pattern you want to use, the above steps still apply.
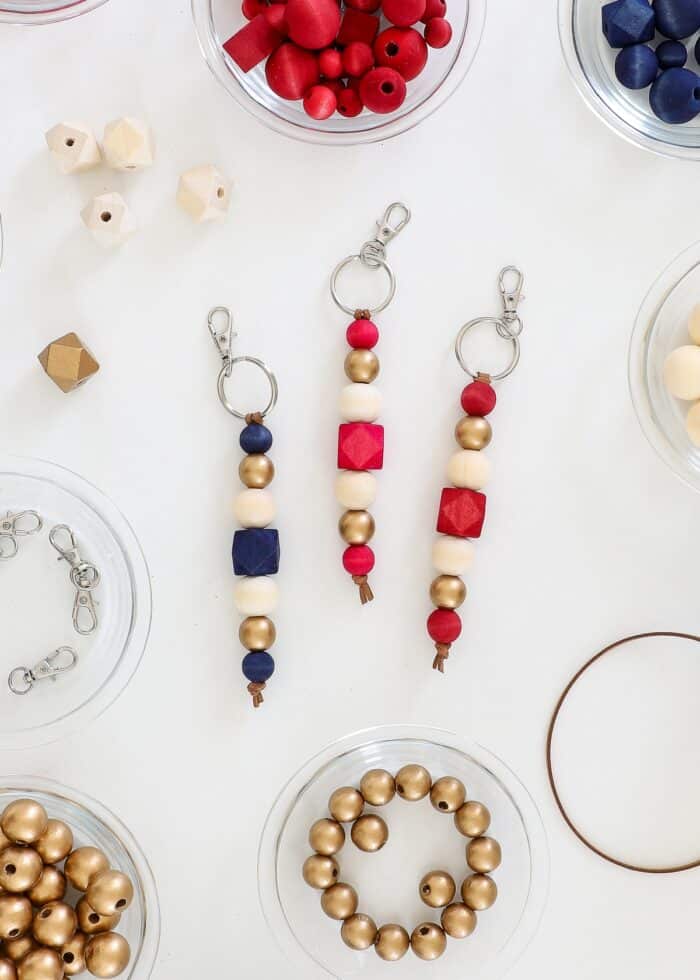
Below, I used three 1″ round beads and one geometric bead for a shorter keychain…
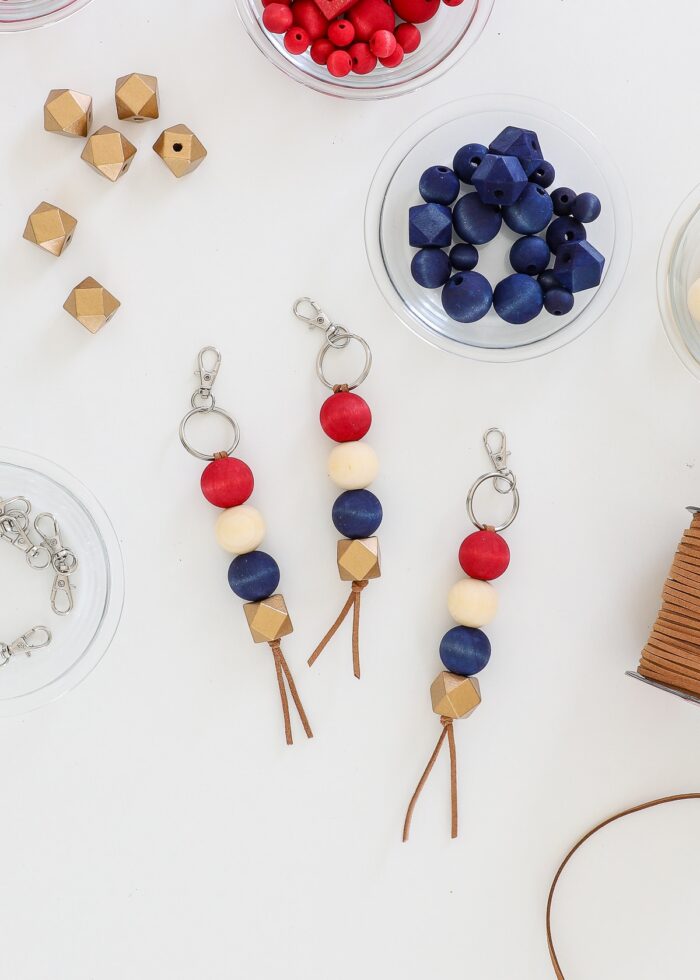
And below, I paired smaller gold beads with three geometric beads. All of these versions came together the exact same way, just with different beads and colors!

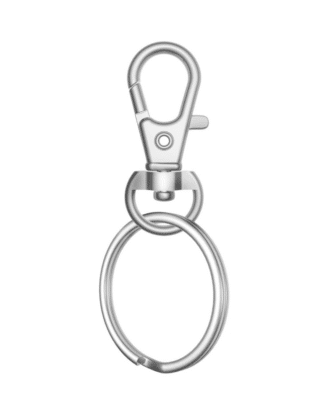
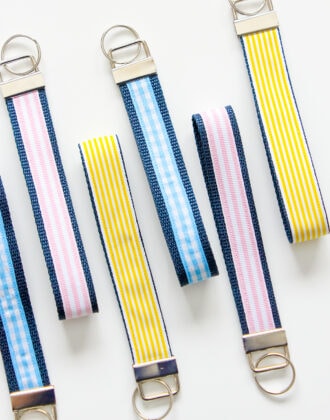
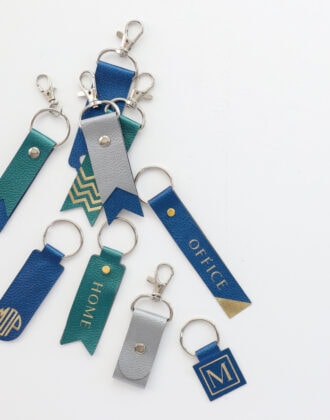
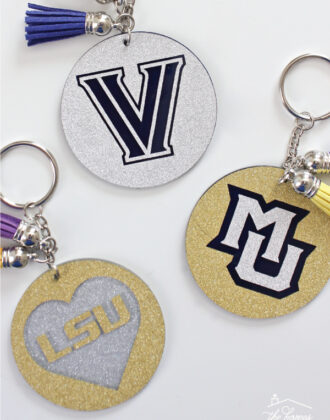
Other Fun Keychain DIYs!
I love making keychains for gifts, at a craft night, or just because! Here are some others we’ve tried and loved…
If keychains aren’t quite your thing, this same technique can be used to make long garlands (for Christmas trees, mantels, around lamps/bowls, etc) and ornaments. I’ve got lots of beads left, and am excited to come up with some other fun creations! Stay tuned!
Megan


One Comment on “Easy DIY Wood Bead Keychains”
These are darling! Thanks for sharing the how to get the colors. And reminding me of just how fun it is to just spend time crafting. I needed a quick easy craft to give me a reset, you know?