DIY Superhero Dresser Knobs (with Cricut Vinyl!)
Pre-pandemic (yikes…how was it that long ago), my middle son and I were walking through Hobby Lobby when he laid eyes on a set of superhero dresser knobs and instantly fell in love. Being the DIY mom that I am, I scoffed at the price tag (and the design of them, to be honest!) and said, “Oh bud, I can make those for you!” Well…it took me about a year to order the supplies and another year to finally finish them…but here we are! Today, I want to show you how you can make superhero-themed knobs with a Cricut machine and adhesive vinyl. This project is both a fun and simple way to dress up a boring dresser, and I promise they won’t take you 2 years to finish!
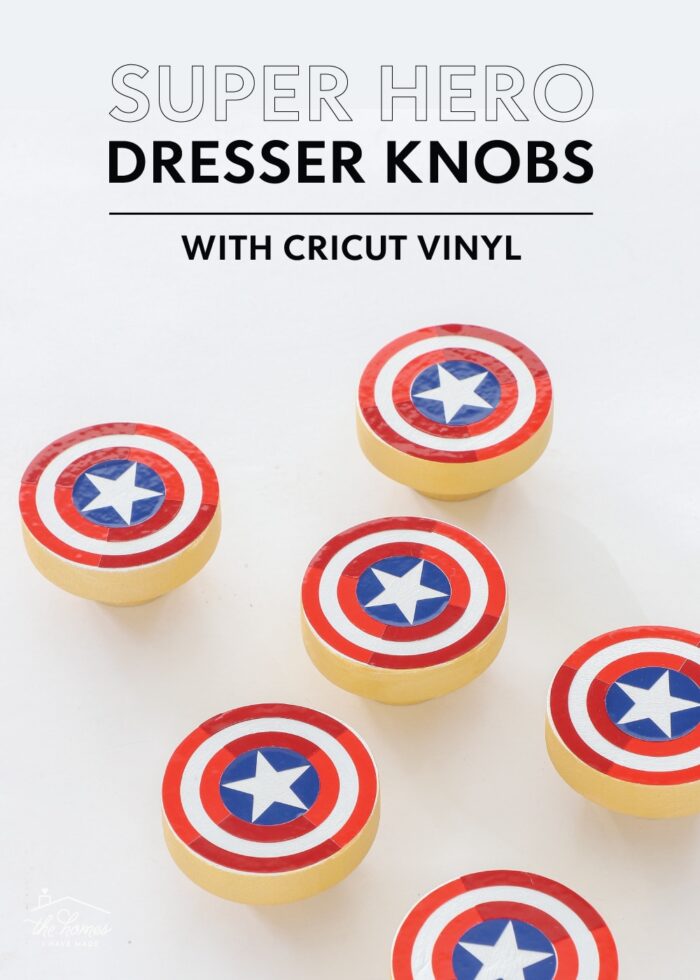
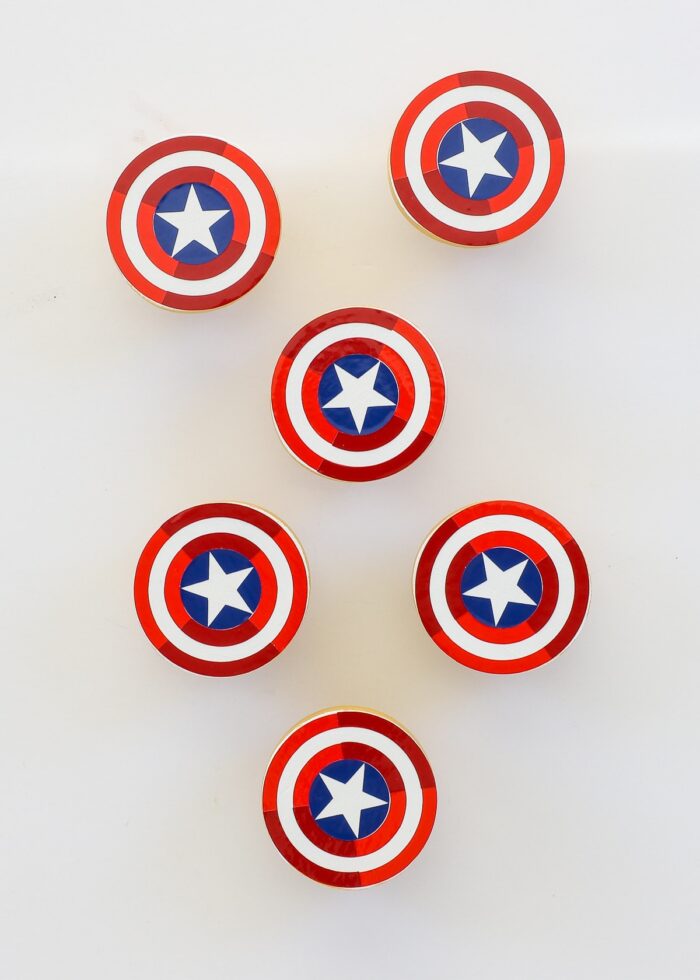
Although my little boy really loved the full collection of superhero dresser knobs, I decided to stick with just Captain America’s shield for this project. For one, his superhero themed bedroom is primarily red, white, and blue. Second, I was a bit concerned that doing all the Avenger symbols would look a bit busy. Annnnd finally…I was feeling a smidge lazy and didn’t want to cut and layer aaaalll the different colors of vinyl.
Thankfully, once my little guy saw these knobs on his chest of drawers, he LOVED them; and representing the rest of the superheroes became a non-issue (phew!).
All that to say, even though I chose just Captain America’s shield for our dresser knobs, you can easily use ANY superhero’s symbol (e.g., Spidey’s mask, Thor’s hammer, the Batman symbol, etc). No matter what superhero symbol(s) you choose, they will generally follow the same assembly process I’m outlining here today!
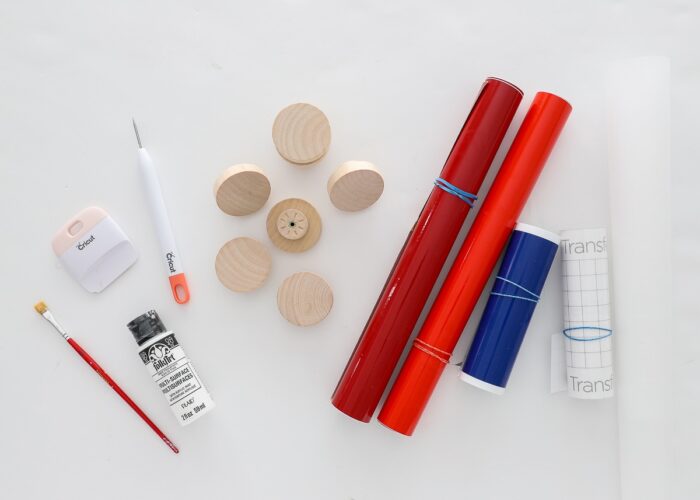
Supplies Needed
Here is what you need to make your own set of superhero dresser knobs:
- 2″ Flat Wooden Furniture Knobs – Wooden knobs allow you to paint the base any color you need, and the flat design is imperative for your vinyl cuts to lay smooth. These knobs were an awesome find…so sturdy and chic on their own!
- Acrylic Paint and Paint Brush – I used metallic gold for the edges and white for the tops. The colors you need will vary based on what superhero symbol(s) you are making.
- Vinyl in Assorted Colors – I used bright red, dark red, and royal blue. The colors you need will vary based on what superhero symbol(s) you are making.
- Transfer Tape
- Cricut Machine – This project can be done with any Cricut machine that connects to Cricut Design Space (e.g., Cricut Joy | Cricut Explore Series | Cricut Maker Series).
- Basic Cricut Tools – Weeding Tool | Scraper | Standard Grip Mat
- Superhero SVG Images – More on this below.
Step 1 – Design the Superhero Dresser Knobs
Finding Superhero Designs
The very first step is to identify which superhero symbol(s) you want to add to the dresser knobs and then find SVG designs for each one. Etsy is usually where I hunt for specific SVG designs. Here are some tips to keep in mind:
- Because these knob are small, I highly recommend looking for very simple designs using only a few colors.
- It’s quite helpful if the superhero symbols are already formatted into a circle. Although if they aren’t, you can easily add circles around/behind the images within Cricut Design Space.
- You will be able to find both individual symbols, as well as collections. Hunt around until you find exactly what you want or snag this affordable collection to have every superhero available to you (e.g., both Marvel and Justice League!)
Designing the Knobs In Cricut Design Space
Once you find some superhero SVGs and upload them to Cricut Design Space, you will need to format them to fit the 2″ knobs (or however big your knob surface is). Here are some pointers:
- Place a 2″ circle on your canvas to represent the knobs themselves. This allows you to visualize how the knobs will look once assembled and what sizes everything should be.
- Don’t hesitate to play with the design until it’s to your liking. This can include deleting out certain details to make the design(s) a little cleaner (since they will be cut so small), or adding in layers to make basic designs a bit more interesting. I chose to slice Captain America’s shield apart into quarters to add a bit more dimension.
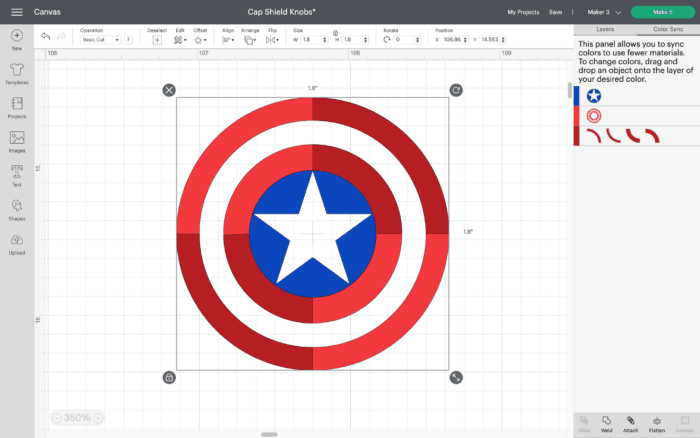
- Since these knobs are wooden, they can be painted any background color you need, thereby allowing you to skip a layer of vinyl. By painting my knobs white, I didn’t have to layer everything onto a white vinyl circle before applying to my knob.
- Finally, it’s near impossible to perfectly layer a 2″ diameter vinyl circle onto a 2″ wooden knob. To give yourself a little flexibility, I recommend cutting your knob designs with a little less width (mine are just shy of 1.8″).
Step 2 – Paint the Dresser Knobs
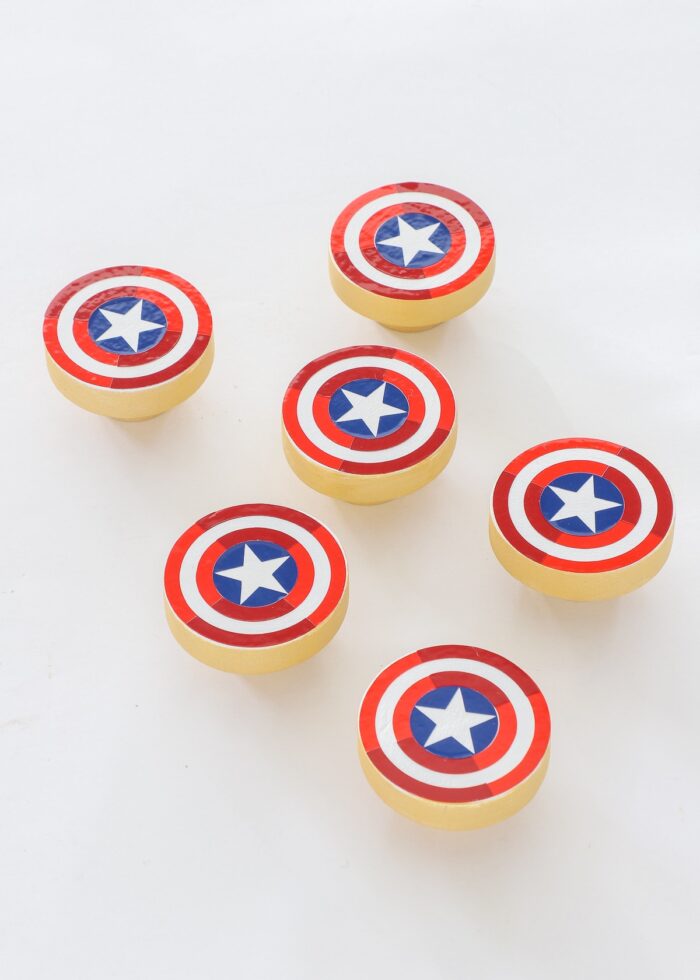
Once you have your design finalized, you should know what color to paint your knobs. So that I only had to layer reds and blues together, I painted the tops of my knobs with white acrylic paint (to be the white circle and white star of the design); I then added a gold detail to the thick edge and base.
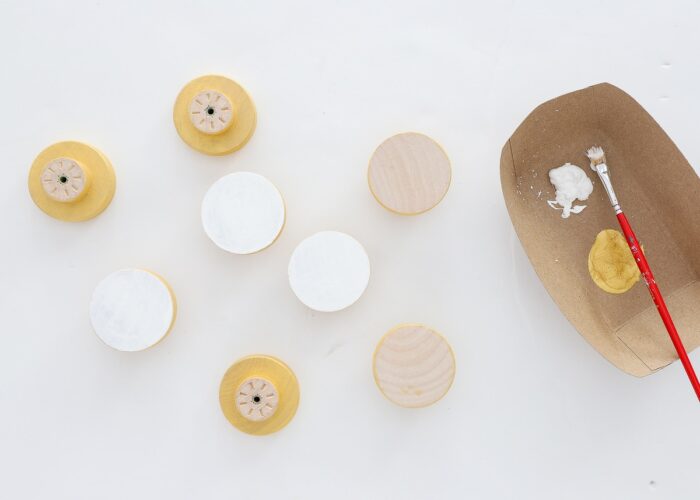
A few coats of acrylic paint will be more than sufficient for good color saturation, each coat requiring just a few minutes of dry time in between. However, I do recommend letting the painted knobs fully dry for 24 hours before adding the vinyl designs to ensure good adhesion.
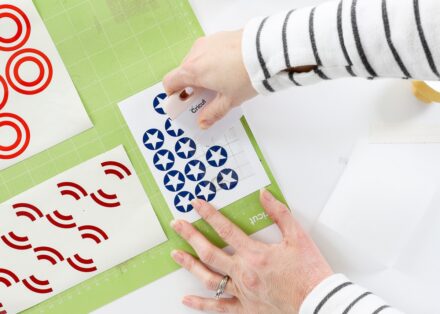
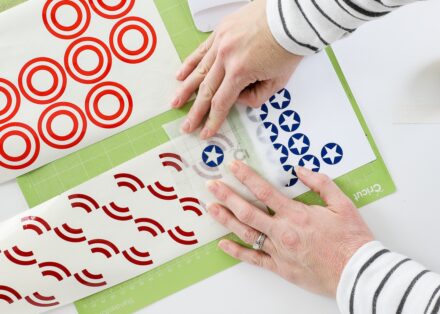
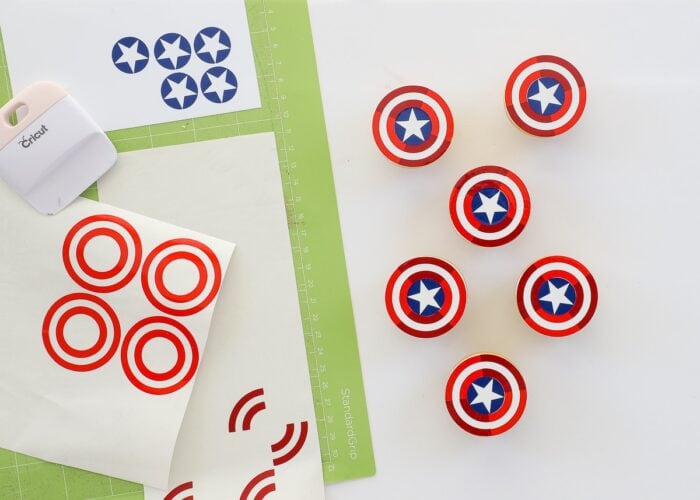
Step 3 – Cut Out the Dresser Knob Designs from Vinyl
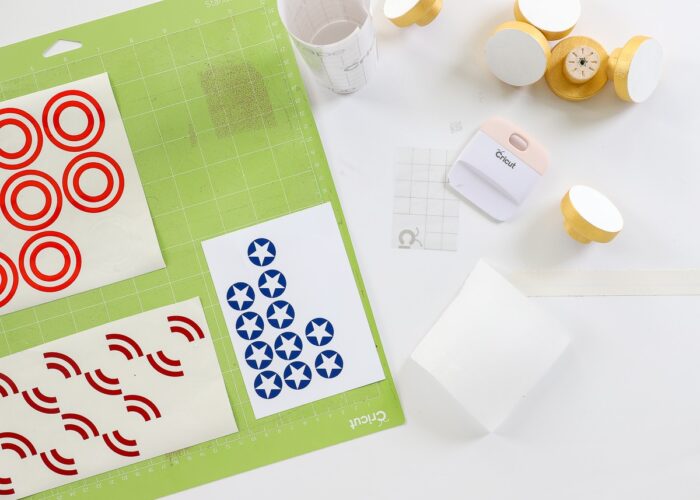
While your knobs are drying, cut out the superhero pull designs from all the vinyl colors; then weed them with a weeding tool. If you need help cutting and weeding vinyl, see my tutorial HERE.
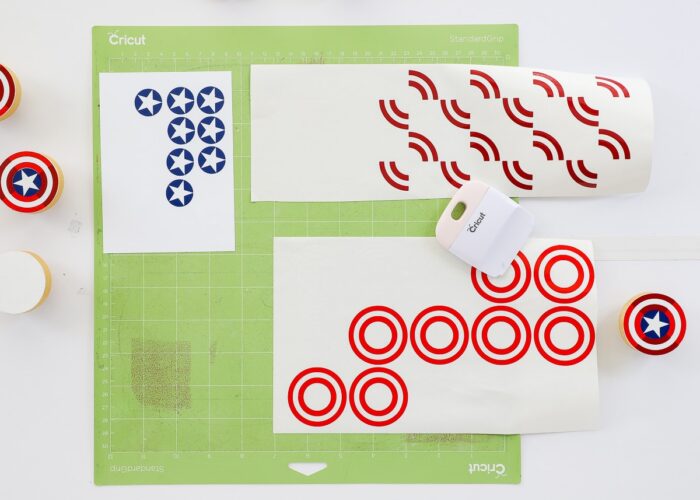
TIP! I had 8 knobs to make, but I cut about 12 sets of the design so that if something didn’t weed or layer quite right, I had extras ready to use (without having to re-load my machine and re-cut the images).
Want to save this post?
Step 4 – Layer Vinyl Designs Onto the Drawer Knobs
With your knobs painted and dried and all your vinyl elements cut out, it’s time to layer everything together! You will need a scraper, transfer tape, and (possibly) parchment paper to layer your designs properly.
Since superhero symbols can be a bit complex, they take some care and patience to layer correctly. If you are new to layering different colors of vinyl together, I recommend you first read my comprehensive layering tutorial HERE.
NOTE: Although parchment paper can help you line up your designs perfectly, I found the circles were simple enough to line up without it.
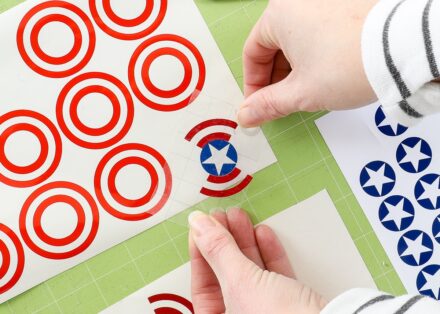
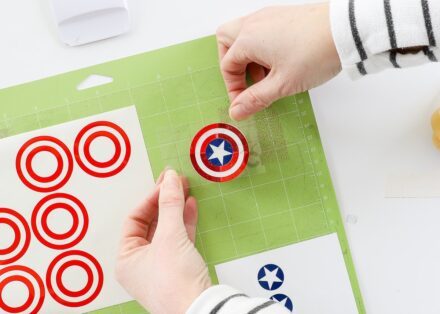
I break down the full tutorial below, but keep in mind that no matter what design you are layering, you always pick up the very top layer first and then each layer working toward the back. So in my case, I picked up the blue first, then the dark red, then the bright red, and finally layered everything together onto the white knob.
-

- Place transfer tape down onto the blue star, rub, and pick up (star and transfer tape together).
-
- Place the blue star perfectly centered on the dark red quarter circles.
-
- Rub vigorously with a scraper.

-
- Lift up the blue and dark red layers together, still attached to the transfer tape.
-
- Place the blue and dark red circles onto the red circles, lining up all edges, and rub vigorously.
-
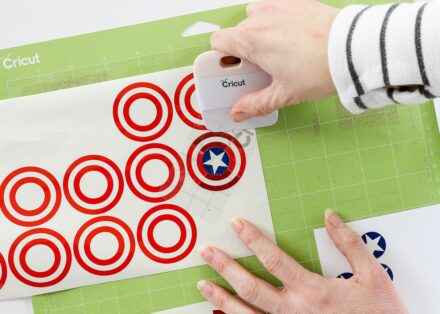
- With all layers stacked together on the transfer tape, place it onto the center of a wooden knob.
-
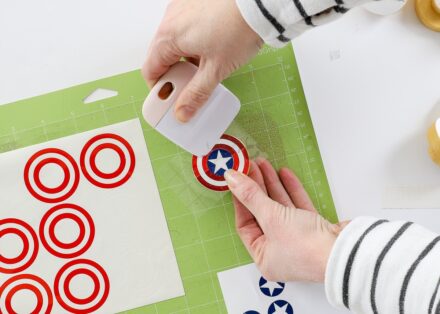
- Smooth vinyl onto the knob with the scraper.
-
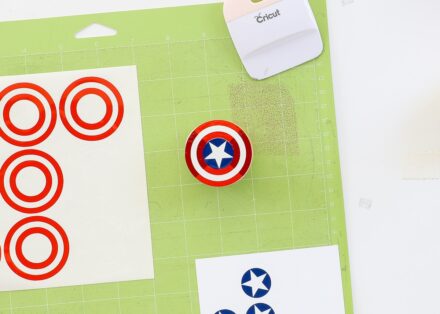
- Ensure you are satisfied with the sticker placement.

-
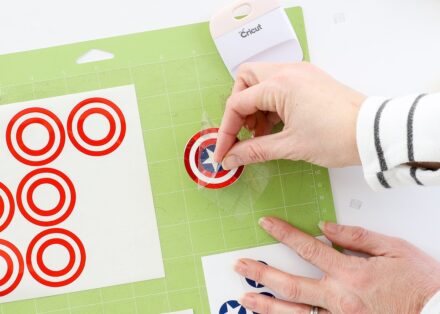
- Carefully peel back the transfer tape to remove it and leave the vinyl design in place.
-
- Smooth out any remaining vinyl bubbles on the knob.
As I mentioned above, I cut lots of extra copies of this design. If, once everything was layered together, I didn’t like how it turned out, I could peel it off and start over again. In the end (after a year of sitting on this project!), layering all the vinyl onto the knobs took me about 30 minutes.
I chose not to seal or cover my vinyl designs with anything, but if you’re worried about the designs falling off or (more likely) bored little hands peeling them off, you can use Mod Podge to give them a clear protective coat.
Step 5 – Attach Knobs to the Dresser
Once your superhero dresser knobs are done, all you need to do is attach them to the dresser with the provided screws. Thankfully, my holes and screws were all the correct length, so we didn’t need to make any adjustments and could literally twist them right on, no tools needed.
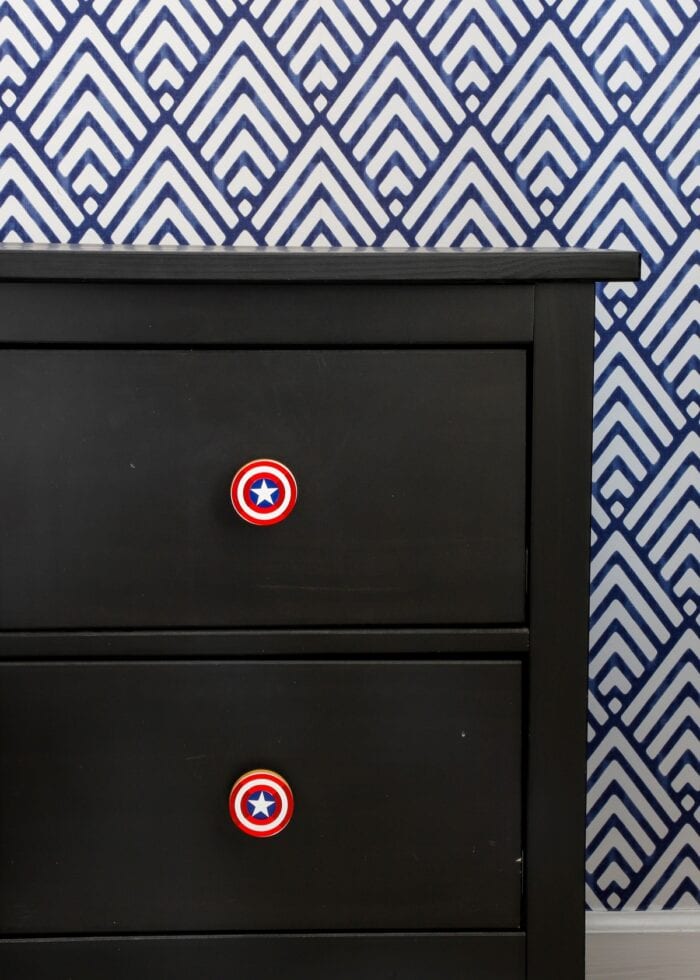
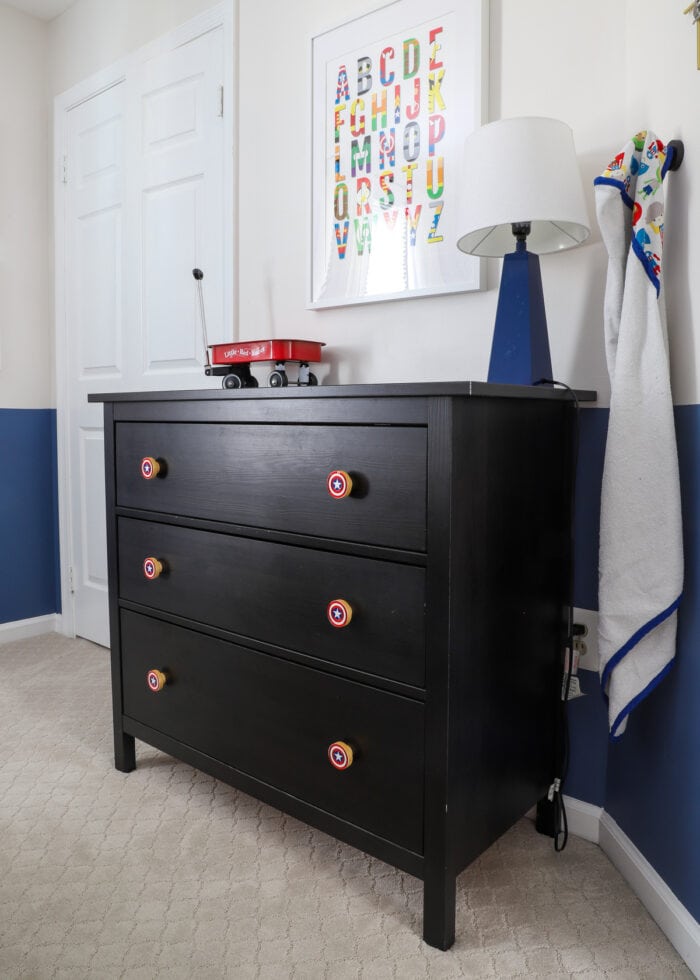
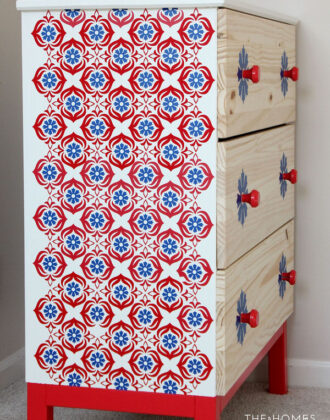
Sam was more than eager to help with this part and LOVED twisting each knob into place. While I was a bit worried these “stickers on knobs” would look a little cheesy, I was actually really pleasantly surprised when I stepped back to check out the final result.
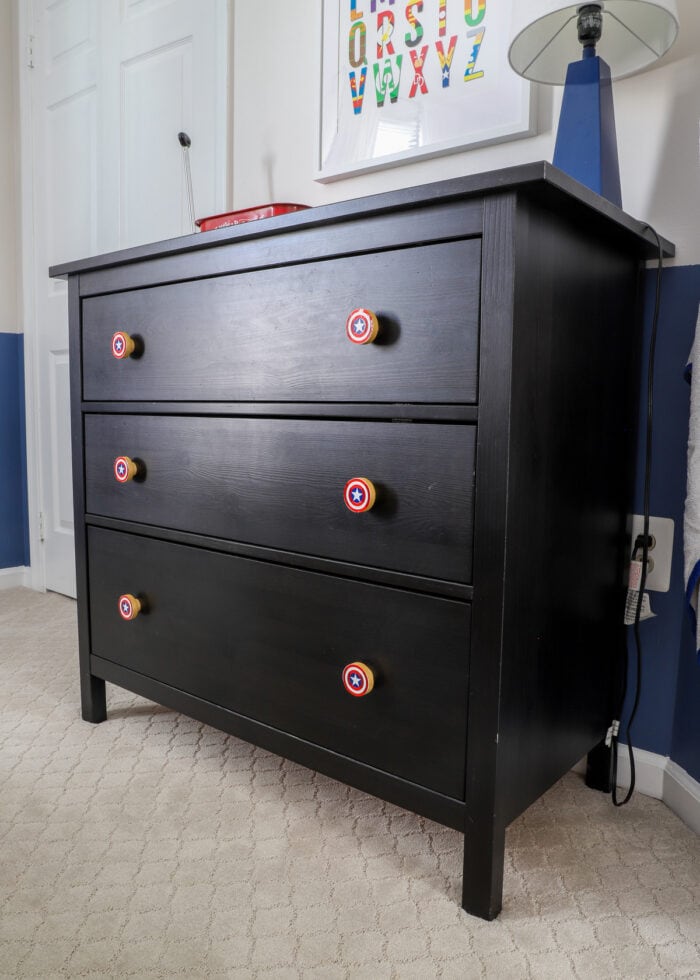
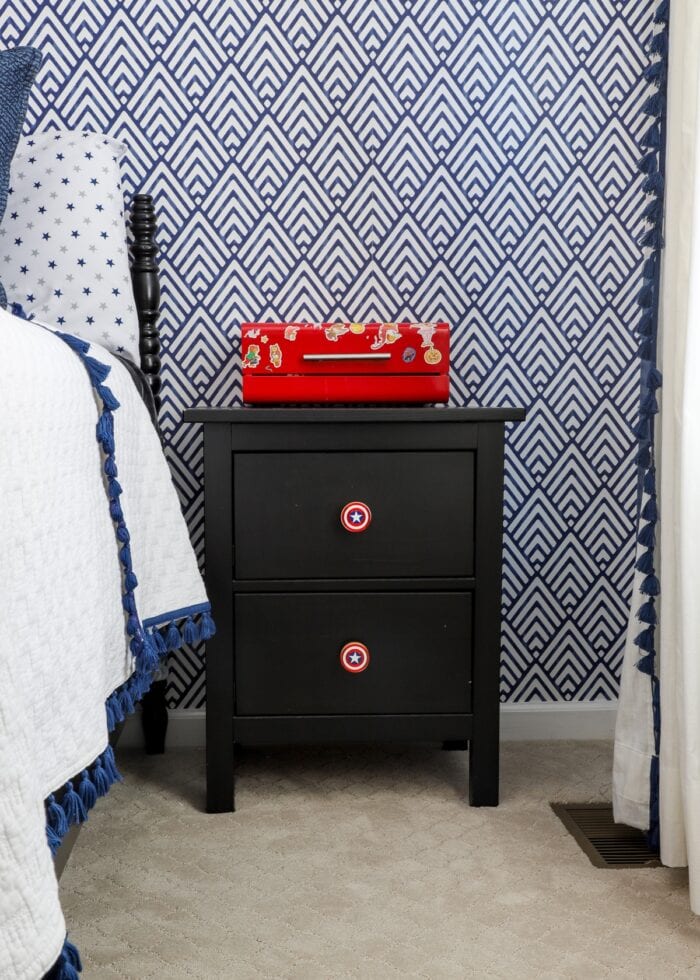
The red, white, and blue Captain America design is perfect in his room; and these big, colorful knobs do wonders for perking up this heavy, dark dresser and nightstand.
I love that the design is both obvious enough to nod to the superhero theme throughout the room without being really overt. In the end, these vinyl designs were the perfect final addition to Sam’s superhero “big boy room.”
Although these superhero dresser knobs took me two years to finish (from concept to actual completion), they really are a quick, easy, and totally affordable way to perk up a piece of furniture. Even if superheroes aren’t what your kiddo is into, this project can easily be adapted to any bedroom theme. With the help of a Cricut and an array of colored adhesive vinyl, you can really give your knobs any design you can imagine!
Megan
One Comment on “DIY Superhero Dresser Knobs (with Cricut Vinyl!)”
That is an awesome project!!