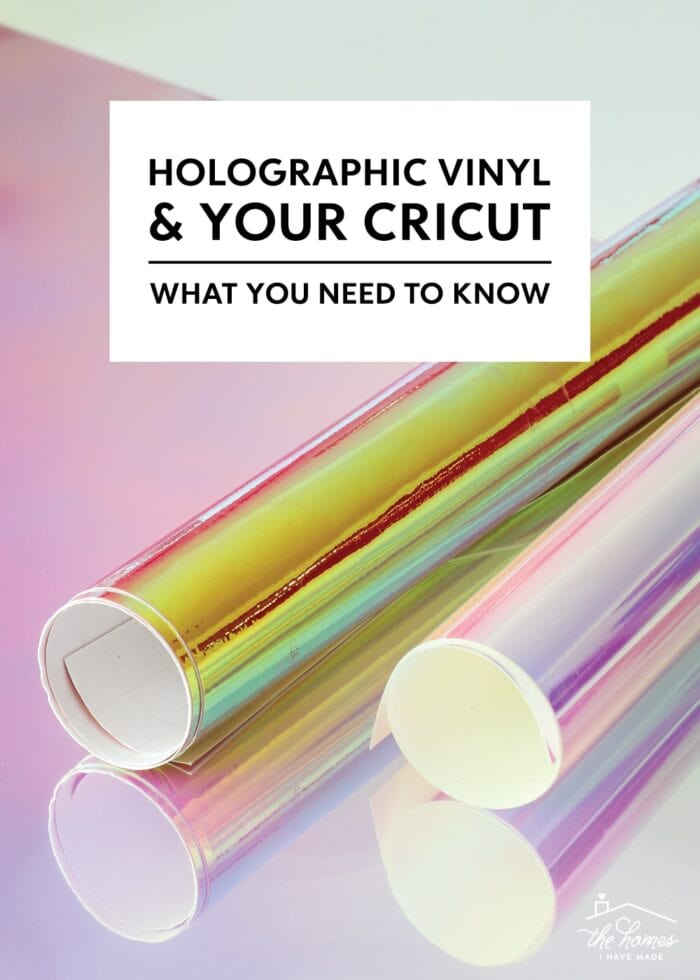
Guide to Cutting Holographic Vinyl with a Cricut
From glitter to dry-erase, outdoor to stencil, and sooo many others, there are now countless vinyl varieties to use on your DIY projects! One of my favorite vinyls is Cricut Holographic Vinyl. These bright, shiny vinyls are easy to use, and really take your projects up a notch thanks to their high-gloss, reflective nature. Today, I want to show you some tried-and-true tips and tricks for working with Holographic Vinyl so your projects turn out just right, every time!
What Is Holographic Vinyl?
Holographic vinyl is a type of adhesive vinyl that you can use on a wide range of craft projects, including home decor, gifts, labels, and more. This super high-gloss vinyl cuts and applies a lot like glitter vinyl, but its defining characteristic is its reflective, iridescent nature.
Holographic Vinyls’ colors will change depending on how you look at them; and they can even appear to have a rainbow of color as the light moves across its surface.

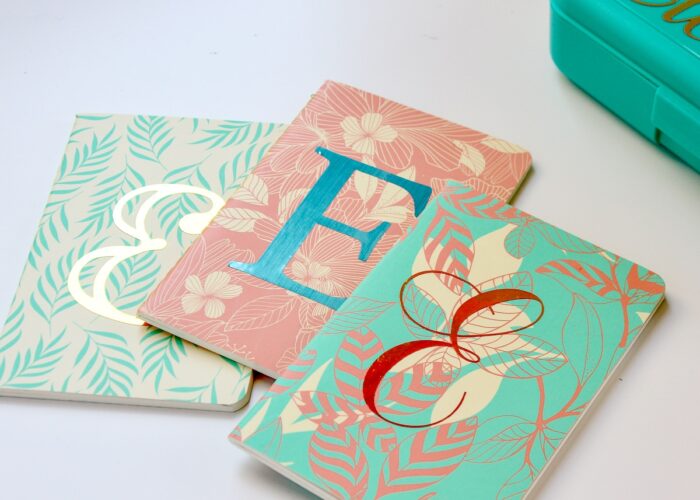
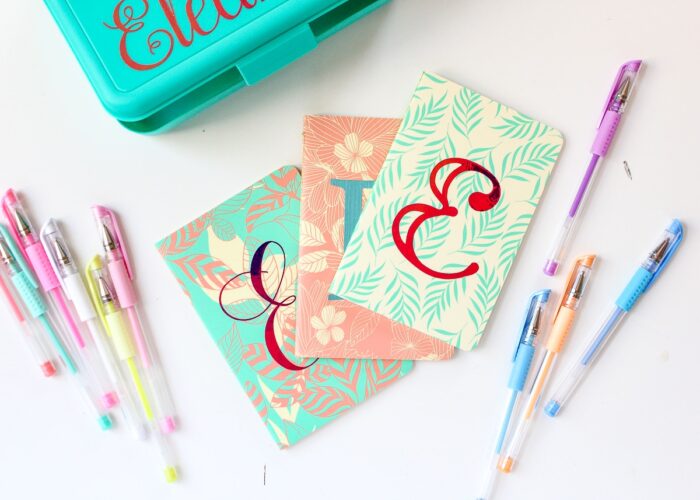
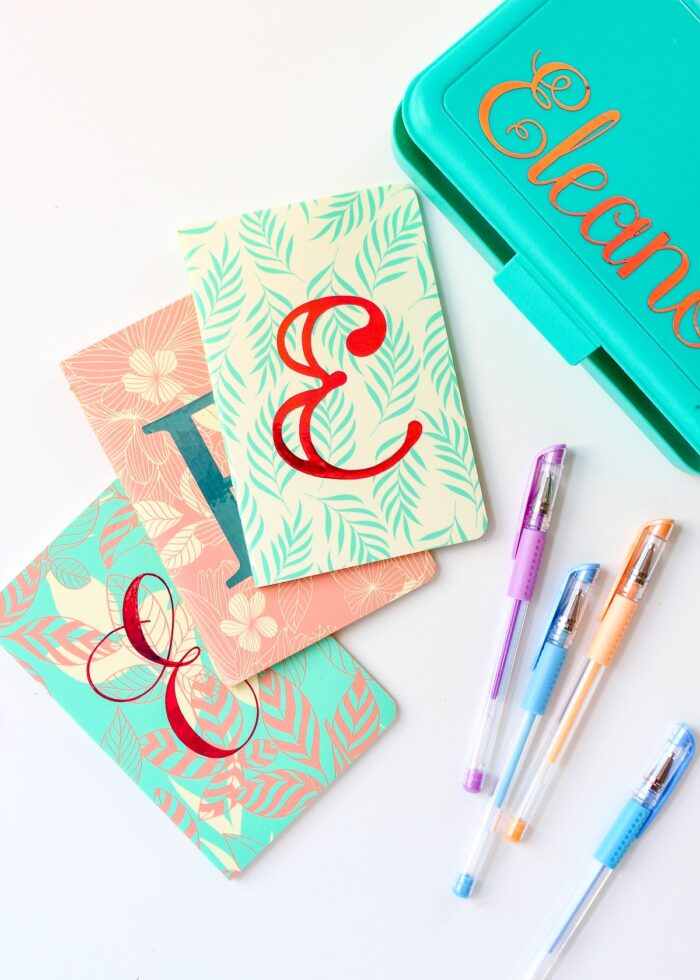
The image below highlights the main difference between holographic vinyls and other shimmer/foil/glitter products. The middle E was made with turquoise Adhesive Foil, while the two script Es were made with “Pink” Holographic Vinyl. The blue E appears turquoise no matter which direction you look at it. However, because of the different angles of the camera and the light in the room, the holographic Es appear to be gold on one notebook and orange on the other.
What Cricut Machines Can Cut Holographic Vinyls?
Holographic Vinyl is cut with Cricut’s Premium Fine-Point Blade, which means all Cricut models can cut it, including the Cricut Explore series, the Cricut Maker series, and Cricut Joy.
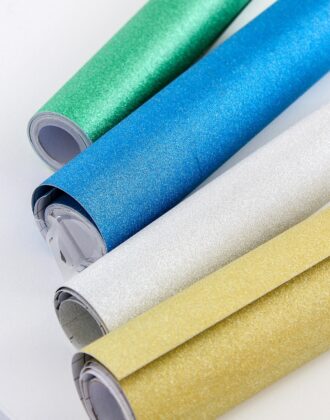
Types of Holographic Vinyls
When I first started playing with Holographic Vinyl years ago, it only came in three different color schemes. Now, it comes in countless colors, as well as a variety of sparkly textures!
- Standard Holographic Vinyl
- Holographic Sparkle
- Holographic Threads
- Holographic Crystals
- Holographic Bubbles
- Holographic Art Deco
- Holographic Mosaic Squares
- Holographic Mosaic Circles
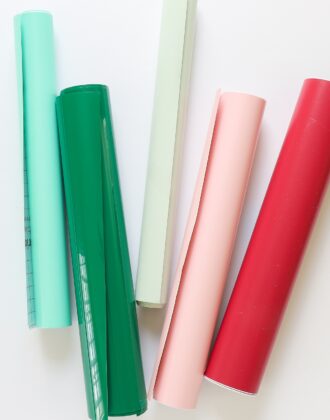
Sizes of Holographic Vinyls
Most Cricut-brand Holographic Vinyl comes in 12″ wide rolls for mat cutting on all machines.
However, there is now a limited selection of colors and patterns available for “Smart”/mat-free cutting on the smaller Cricut Joy machine: Holographic Materials for Cricut Joy
Is Holographic Vinyl Different From Foil Vinyl?
Not really, actually! Both Holographic and Adhesive Foil vinyls give off a metallic, highly-reflective sheen. And they cut and apply exactly the same. The main difference between the two products is in their color variation. Adhesive Foils have a single color. No matter how you look at them, they will always look silver, gold, purple, turquoise, etc. Holographic Vinyls, on the other hand, are iridescent vinyl…depending on how you look at them, they appear to have a variety of colors that change with the light.
Can You Heat Press Holographic Vinyl?
No, Holographic Vinyl is not designed to be heated. However, you can use Holographic Iron-On (heat transfer vinyl) instead, which will give that same rainbow look on your fabric, t-shirts, and other heat-related projects!
What Can You Put Holographic Vinyl On?
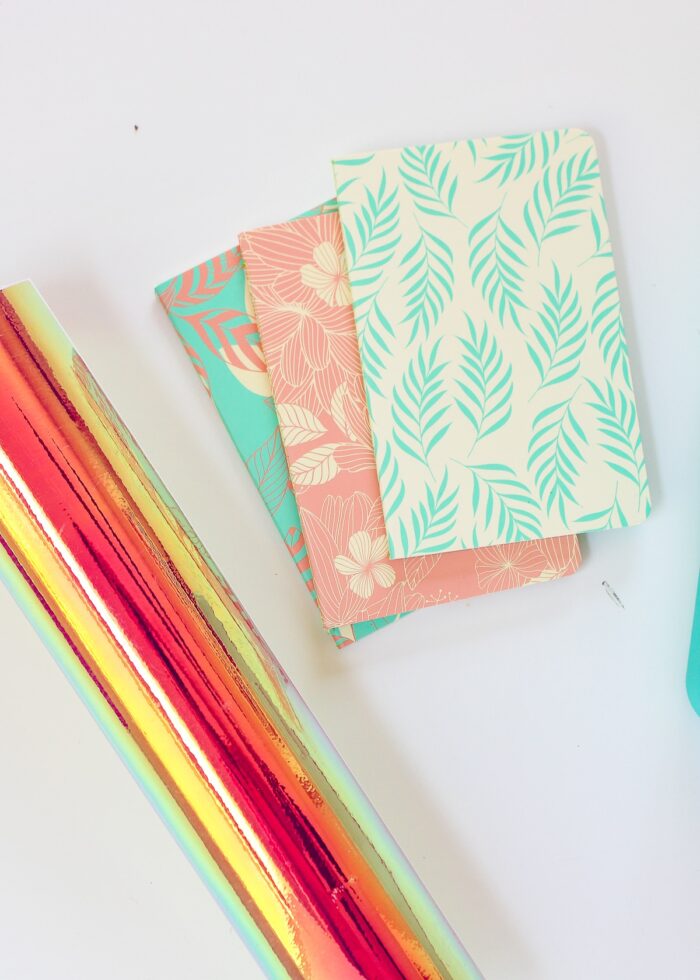
You can make permanent or removable decals from Holographic Vinyl for a wide variety of things including notebooks, pencil boxes, water bottles, car windows, kitchen containers, seasonal crafts, jewelry, signs, and so much more!
Is Holographic Vinyl Waterproof?
Cricut’s Holographic Vinyl is considered “water resistant.” So while you may not want to continuously submerge it, you don’t need to worry about your Holographic Vinyl decals getting wet!
Supplies Needed for Holographic Vinyl Projects
To make projects with Holographic Vinyl, here is what you need:
- Holographic Vinyl in the color and texture of your choice
- Cricut Machine – Cricut Joy | Cricut Explore | Cricut Maker
- Premium Fine-Point Blade – the one that comes with your machine
- StandardGrip Mat
- Weeding Tools
- Transfer Tape
- Scraper
- “Blank” – Whatever you’re going to put the Holographic Vinyl design onto (e.g., water bottle, notebook, etc)
How to Make a Project with Holographic Vinyl and a Cricut
Working with Holographic Vinyl most closely mimics glitter vinyl. It cuts and weeds almost exactly as standard vinyl does, but its thicker, firmer composition means you don’t have to rely on transfer tape to put it on your projects.
Use these step-by-step instructions and best practices to get great results on your Holographic Vinyl projects.
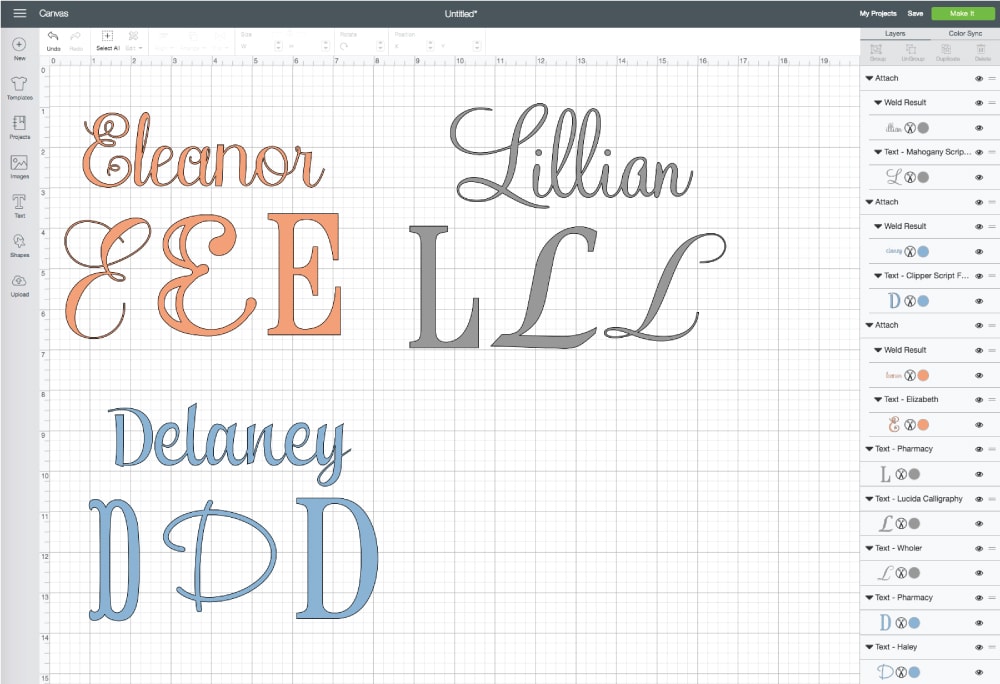
Step 1: Create Your Design
Start in Cricut Design Space to design whatever image you want cut from Holographic Vinyl. When you’re satisfied with your design, hit the green “Make It” button to send it your Cricut machine.
Want to save this post?
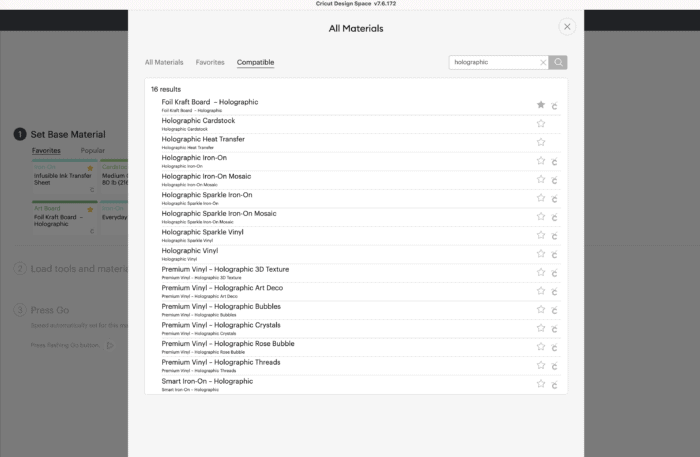
Step 2: Material Selection
When prompted, use the Custom Materials Menu to select the exact Holographic Vinyl you’re using for your project. This setting will ensure your machine is perfectly calibrated to cut the vinyl at the right depth, pressure, and speed.
NOTE: If you are a Cricut Explore or Cricut Explore Air 2 user, you will first need to set your Quick Set Dial to “Custom” in order to use the Custom Materials Menu within Cricut Design Space.
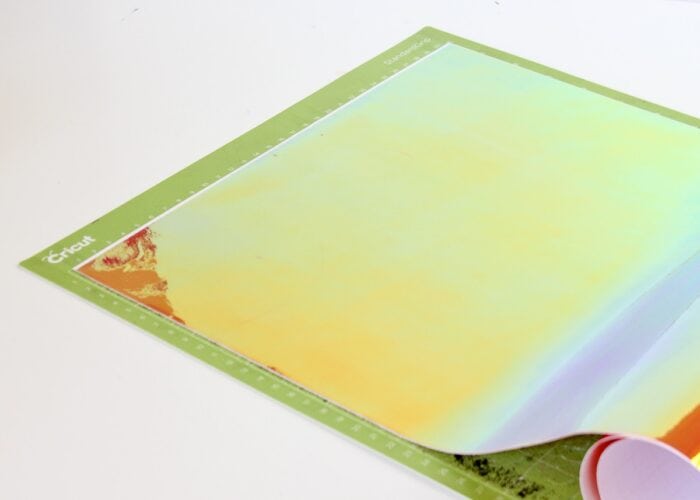
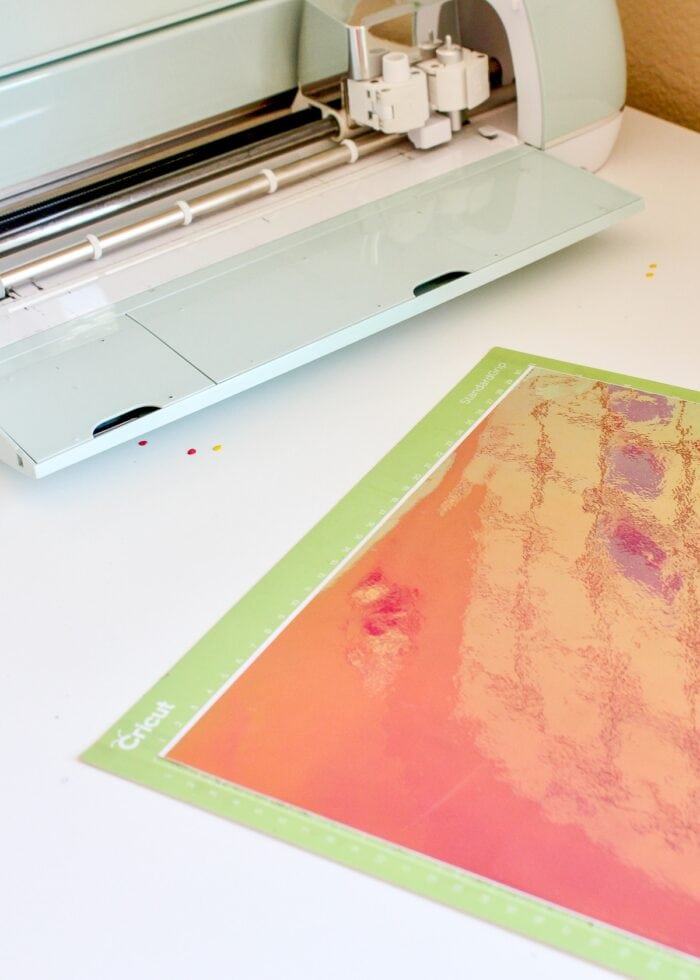
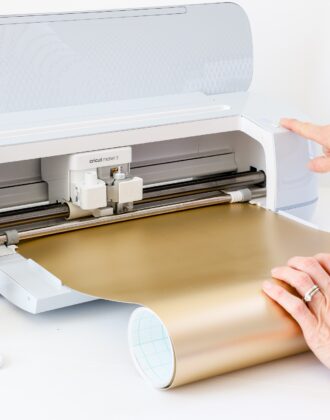
Step 3: Load Vinyl Onto Mat & Cut Design
If needed, trim you larger sheet of Holographic Vinyl down using a scissors or paper trimmer. Then load the vinyl onto a green StandardGrip cut mat with the shiny side facing up.
Load the vinyl into your machine by pressing the flashing Cricut/Go button; then start the machine cutting.
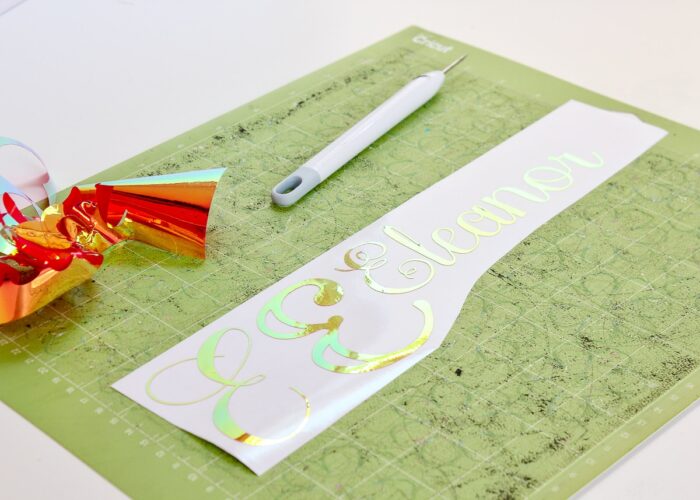
Step 4: Weed the Holographic Vinyl Design
When your design finishes cutting, unload the mat from the machine by pressing the flashing button once again.
With the design cut out, you will weed the Holographic Vinyl just as you would any other vinyl design (see here for thorough weeding instructions). However, take care not to poke any part of your design with your weeding tool (only the vinyl surrounding it). Due to the reflective nature of the Holographic Vinyl, tiny poke holes will remain highly visible on your final project.
Step 5: Transfer the Holographic Vinyl Design to Your Final Project
As mentioned before, Holographic Vinyl is a bit stiffer than standard vinyl. As such, it will hold its shape relatively well as you lift it away from the paper backing and place it on your final project. Because of this, you don’t ALWAYS have to use transfer tape when working with Holographic Vinyl.
When to Skip the Transfer Paper with Holographic Vinyl
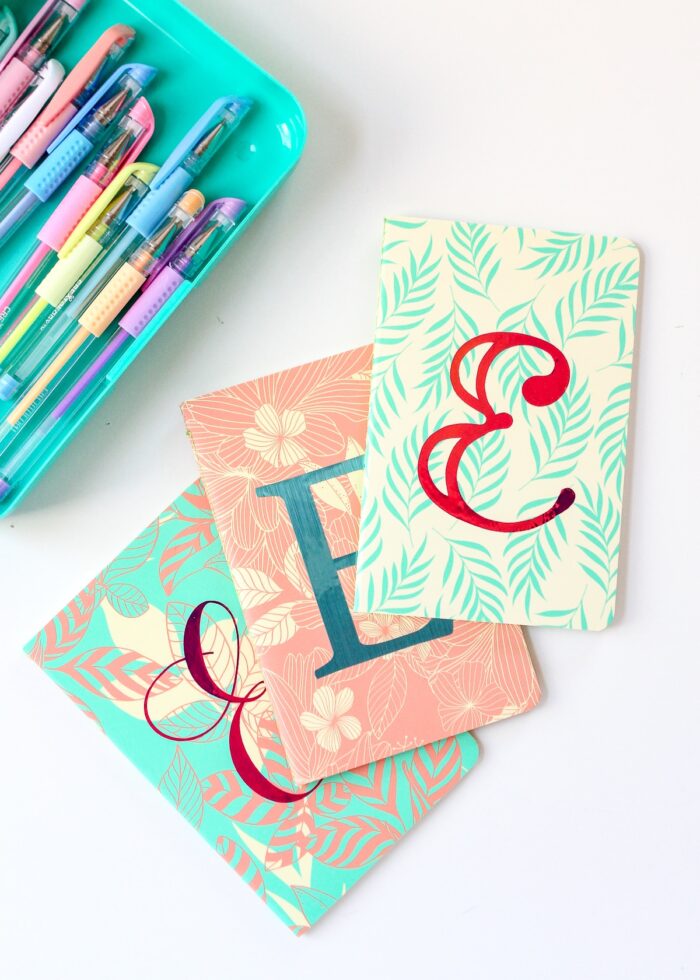
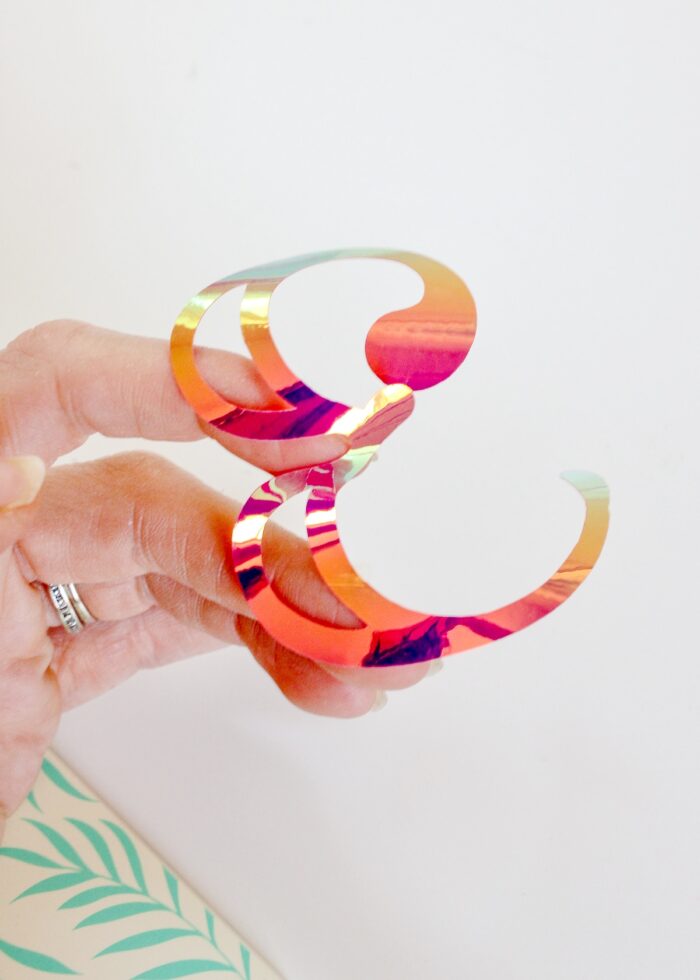
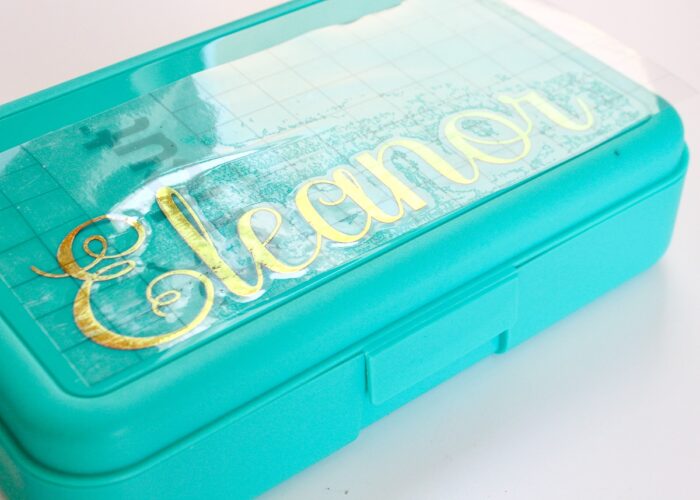
If you are applying a single image (a design cut all in one piece) without a lot of loose or flimsy details, you will likely be able to pull it up off the white paper backing and apply it to your project by hand. Notice in the photo above, the decal maintains its shape, allowing for easy hand application without wrinkles or air bubbles!
When To Use Transfer Paper with Holographic Vinyl
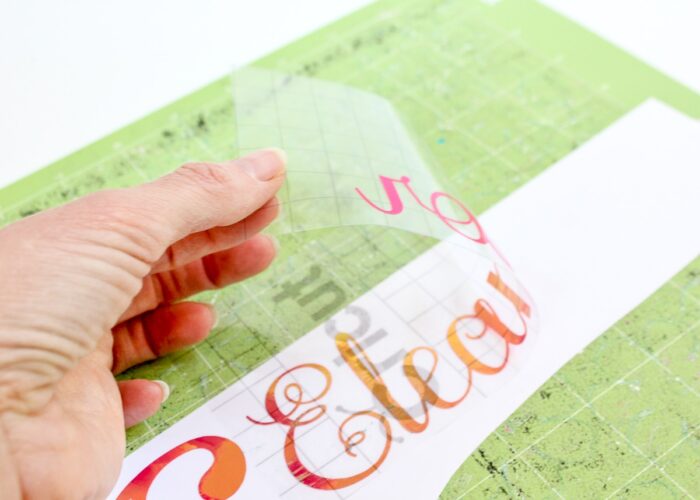
However, when transferring images with specific spacing, lots of details, or loose elements (like the script name on my pencil box), using Transfer Tape will make the application more precise.
To Use Transfer Tape with Holographic Vinyl
- Place a piece of Transfer Tape (regular, not StrongGrip) down onto your weeded design, sticky side down.
- Use a scraper to vigorously rub the entire design.
- Once sufficiently rubbed, slowly lift up the Transfer Tape with the vinyl design stuck to it.
- Place the Transfer Tape+Holographic Vinyl combo down onto your project exactly where you want it.
- Use the scraper to once again vigorously rub the design, with the intention of getting the vinyl to stick to your blank.
- Once fully rubbed, slowly peel back the Transfer Tape to leave the vinyl decal on your project!
Click here for Help Using Transfer Tape.
Dealing with Residue On Your Holographic Vinyl
Every now and then, Cricut’s Transfer Tape will leave residue behind on your transferred vinyl design. In some instances, you can hardly tell; but the bright and shiny nature of the Holographic Vinyl can make it very obvious. To remove the sticky residue from your Holographic Vinyl decal, use a little bit of rubbing alcohol on a Q-tip to gently pull it up!
Ready to Master Other Cricut Materials?
Once you giveHolographic Vinyl a try, go on and master these other Cricut vinyls with my comprehensive guides:
- How to Cut Vinyl with a Cricut
- How to Cut Glitter Vinyl with a Cricut
- How to Cut Iron-on Vinyl with a Cricut
- How to Cut Smart Label Writable Vinyl with a Cricut
- How to Cut Stencil Vinyl with a Cricut
- How to Cut Color Changing Vinyl with a Cricut
The holographic trend is in full swing right now especially with the popularity of mermaids, unicorns, etc. Now with an array of Holographic products widely available, you can quickly and easily make your own iridescent items! I’m telling you friends…crafting with vinyl just keeps getting better and better!
Megan

7 Comments on “Guide to Cutting Holographic Vinyl with a Cricut”
Thanks for this! However, I tried to print on Rose Gold foil sticker paper tonight and I kept getting and error saying to make sure my paper was white. Any thoughts?
Thanks again!
Hello! I was wondering, what font did you use on the lower case “e”? The one on the little notebook that’s yellow with blue leaves. I love that font!
Hi Kristi!
So sorry for the delayed answer here. It looks like the E was in the Elizabeth font!
Hope that helps!Megan
Hi! I’d like to make a sun for a retail store window sign. The vinyl would have to be applied to the inside of the window so the adhesive side would show outside. What do the holographic and foil vinyls look like on the adhesive side? Are they the same color as the front? Thanks!
Hi Sandy,
I am so sorry for the delay in getting back to you on this. I’m not sure if you’ve moved forward with your project yet…but in general, both the foil and holographic vinyls have silver on the inside, so won’t work quite right for this project.
Hope that helps,
Megan
I struggle to know how to apply the vinyl on mats, ie shinny side up or down. I appreciated that you mentioned how to do that. I also liked that you added a tip on removing any excess transfer tape left behind after it’s application.
Thank you for sharing.