A Complete Guide to Cricut’s Color Changing Vinyl
I wasn’t exactly planning on doing a post on Cricut’s new Color Changing Vinyl. But then I gave it a try, and I am far more obsessed with it than I expected to be. Because…friends…it’s REALLY easy to work with and it’s SO DARN FUN! So here I am, breaking down everything you need to know about this fun new product and how (and why!) you should use it on your next project!
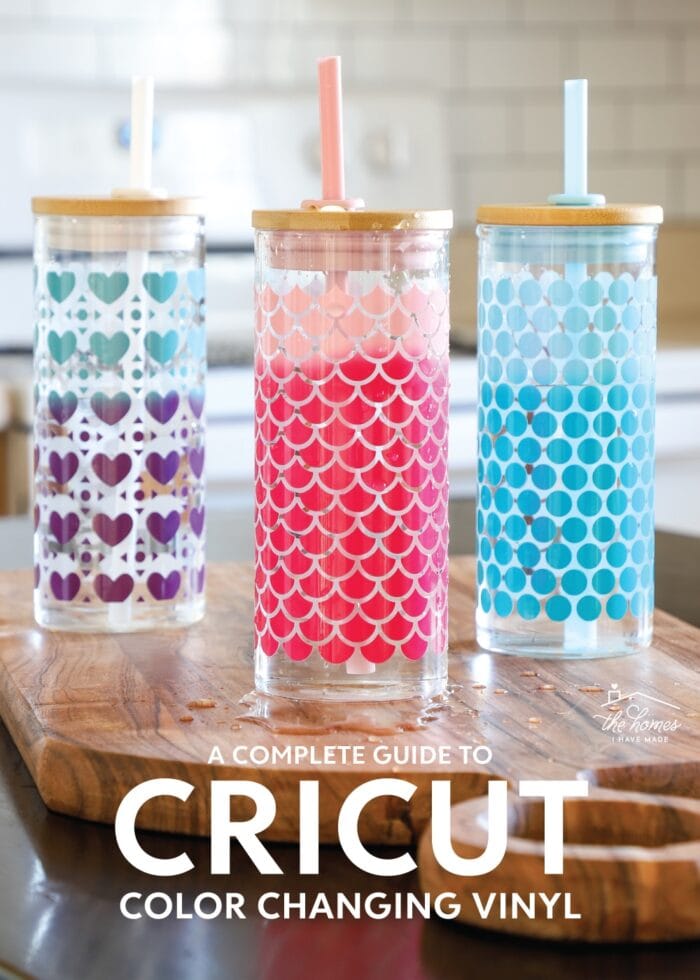
What Is Color Changing Vinyl?
Color Changing Vinyl is an adhesive vinyl product that can be cut into any design and applied to (most) firm, clean, smooth surfaces…just like any other vinyl.
But! When the vinyl is either heated or cooled to a certain temperature, the vinyl’s color will change, creating a gorgeous ombre effect that is actually mesmerizing to witness!
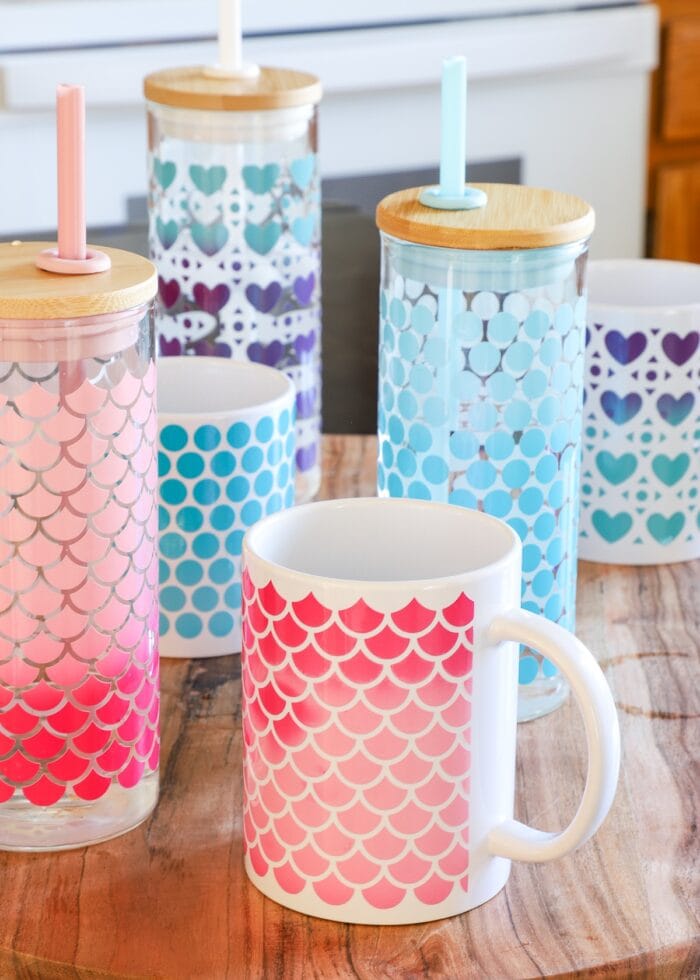
Here’s what I mean!
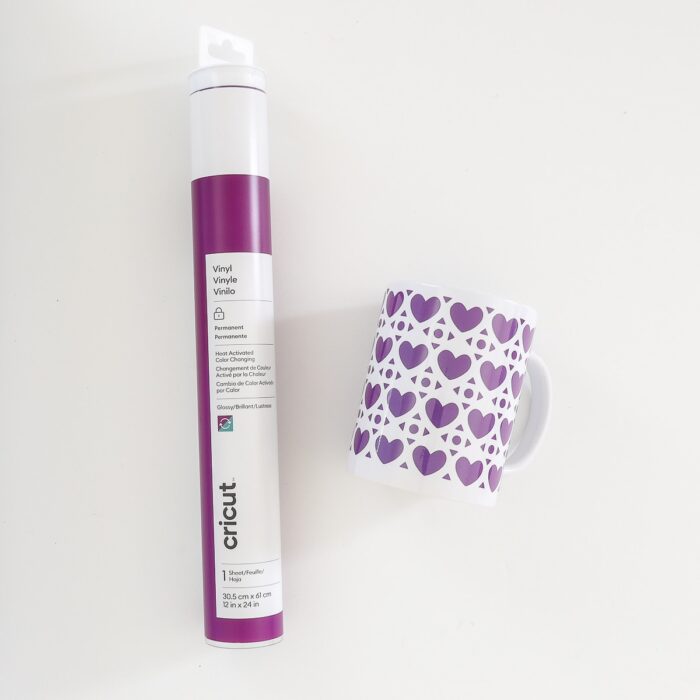
The purple heart pattern shown on this white coffee mug was created with Heat Activated Color Changing Vinyl.
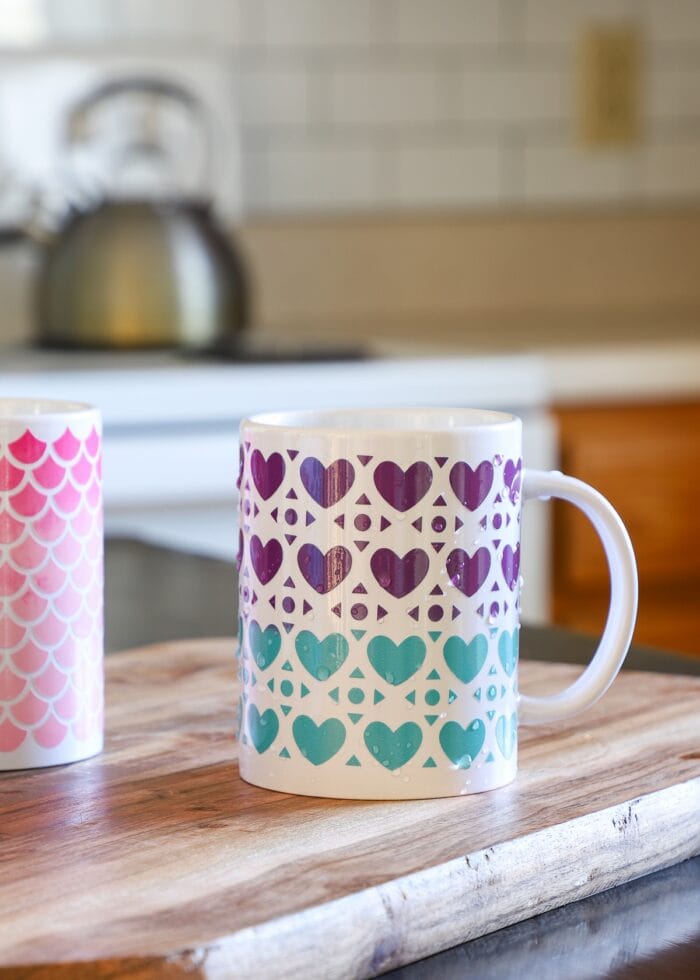
When this particular vinyl is heated to 88° F (31° C), the purple vinyl will change color. Below, I poured boiling water into the mug, and the hearts (practically instantly!) changed to turquoise!
Understanding Heat-Activated vs. Cold-Activated Color Changing Vinyl
Cricut’s new line of Color Changing Vinyls is broken down into two categories:
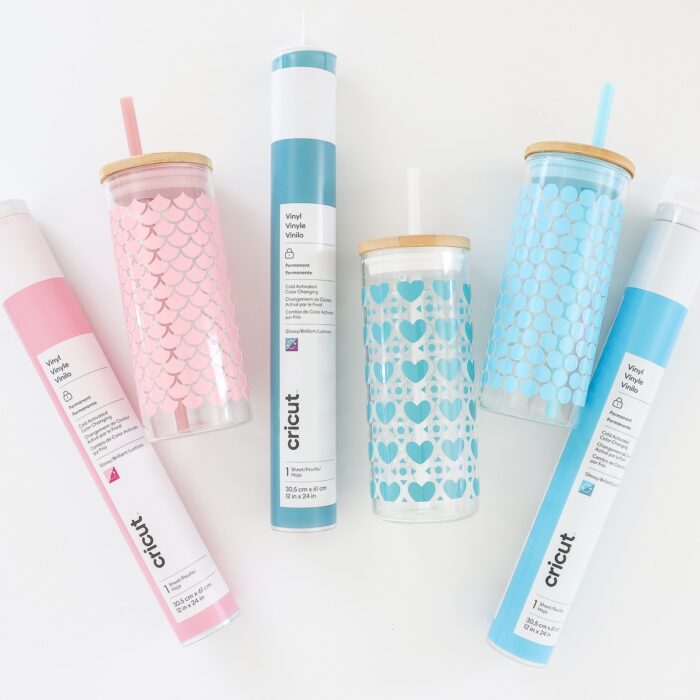
- Cold Activated – vinyls change from light to dark when temperature goes below 50° F (10° C); the light pink, turquoise, and light blue rolls shown below on the left.
- Heat Activated – vinyls change from dark to light when temperature goes above 88° F (31° C); the dark blue, purple, and hot pink rolls shown below on the right.
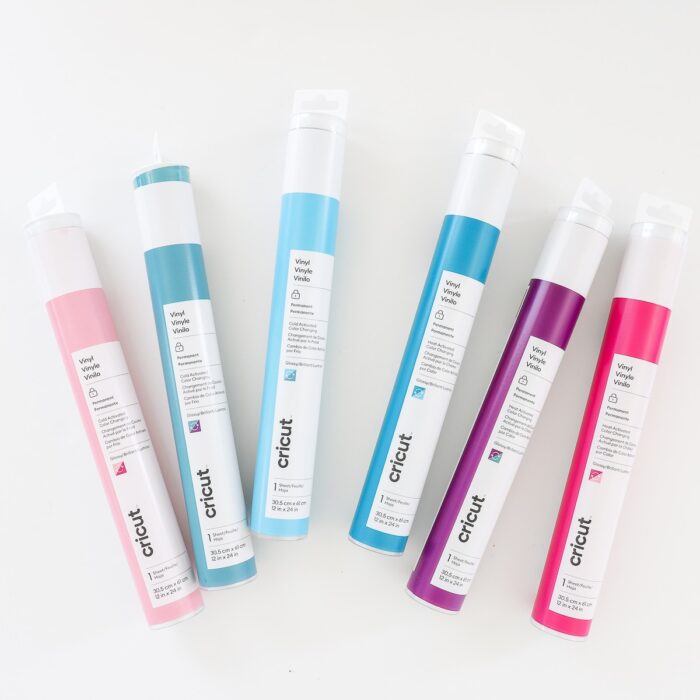
To this point, a single roll of vinyl doesn’t “go both ways.”
- Cold activated vinyls will only change color when chilled.
- Heat activated vinyls will only change color when warmed.
When shopping for color-changing vinyl for your project, you’ll need to pay close attention to the details on the packaging. The label will clearly indicate if it’s cold- or heat-activated and also show the color it changes to upon temperature change.
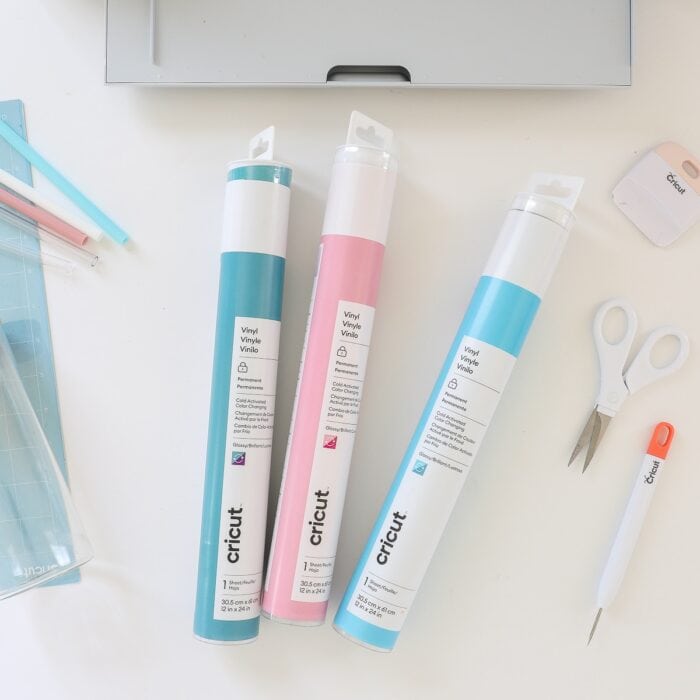
Cold Activated Color Changing Vinyl
When the three colors of Cold Activated Color Changing Vinyl are first applied to a surface at “ambient” temperature, they will appear as shown below:
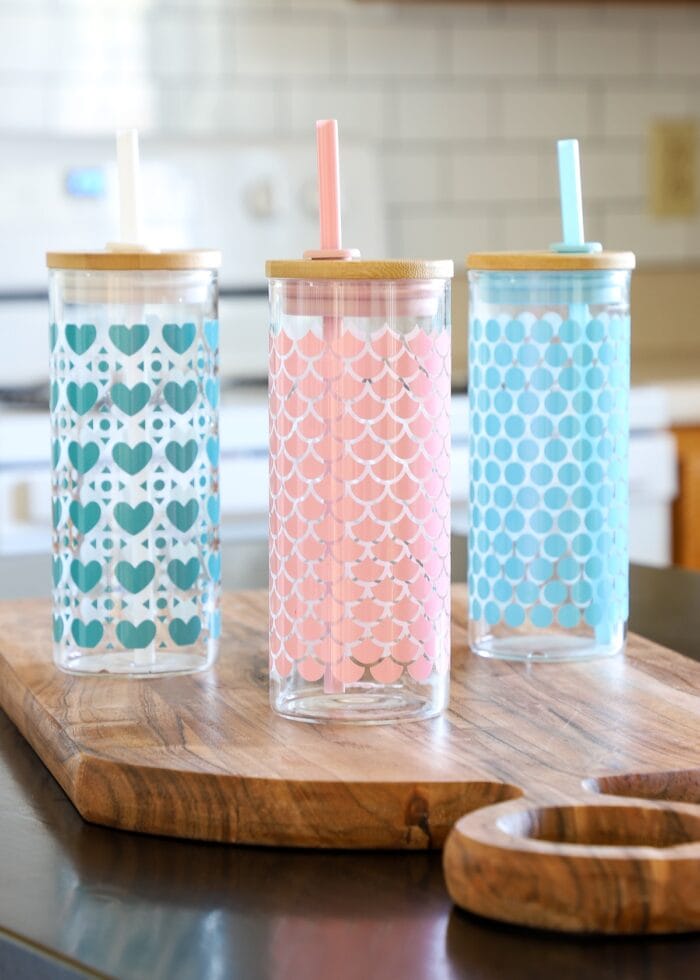
When cooled to below 50° F (10° C)…in this case, via ice water…the colors will switch as shown:
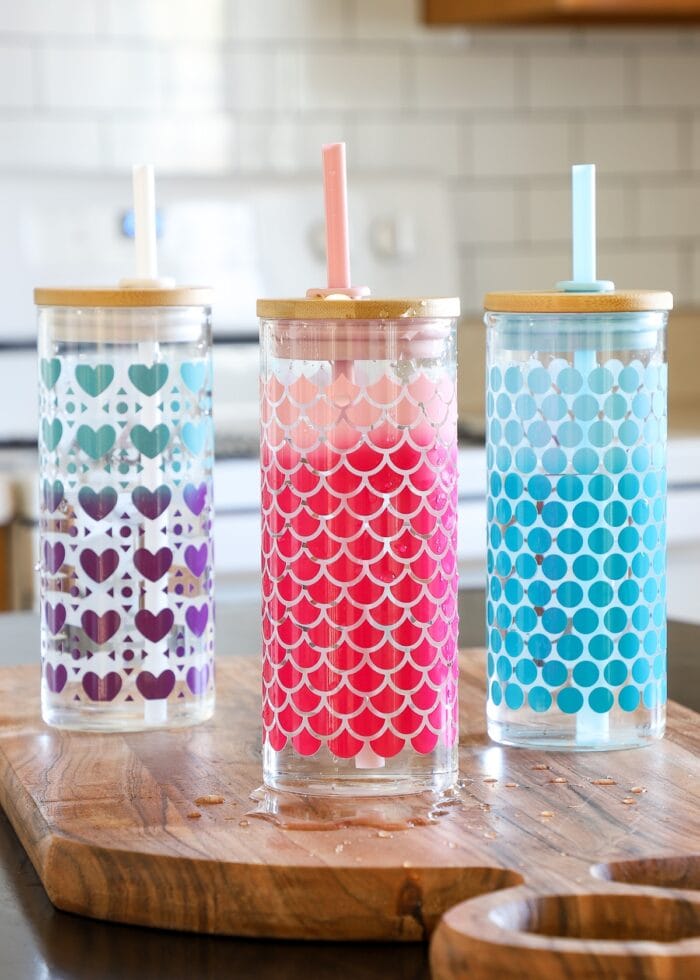
The vinyl will only change where the surface/vinyl is sufficiently cooled. As the surface/vinyl returns to ambient temperature, the vinyl will return to its original color!
Heat Activated Color Changing Vinyl
When the three colors of Heat Activated Color Changing Vinyl are first applied to a surface at “ambient” temperature, they will appear as shown below:
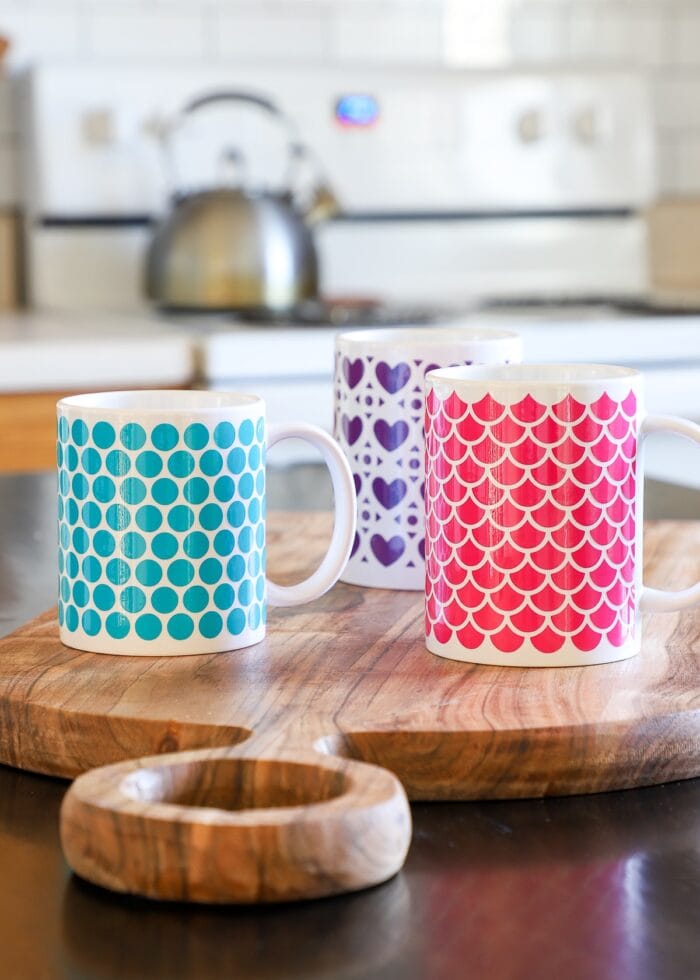
When heated to above 88° F (31° C), the colors will switch as shown below:
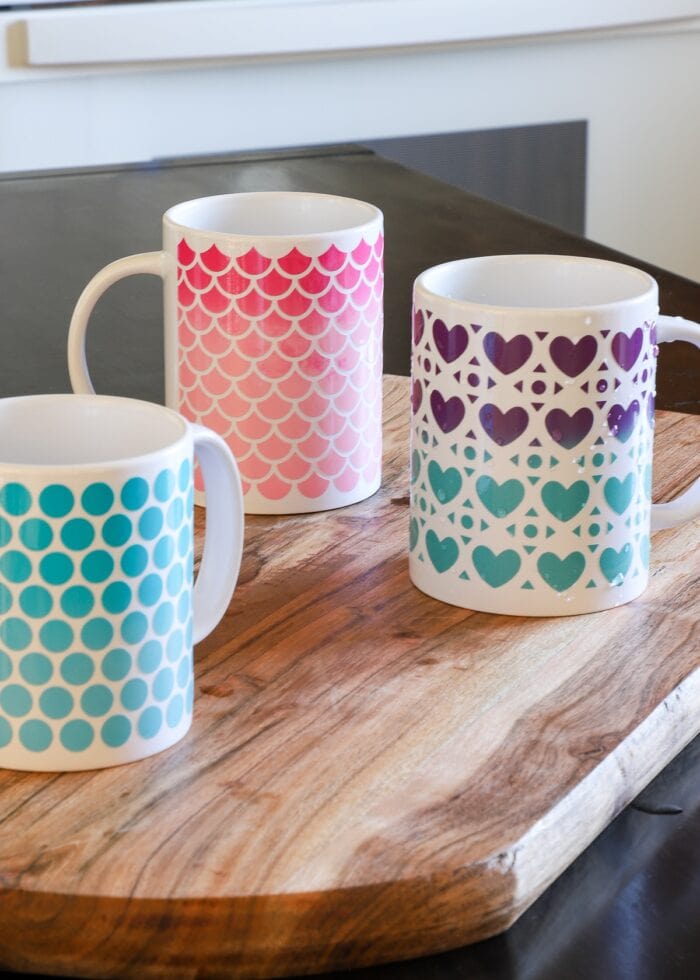
The vinyl will only change where the surface/vinyl is sufficiently warmed. As the warmer temperatures cool, the vinyl will return to its original color!
What Colors of Color Changing Vinyl Are Available?
The two varieties (cold-activated and heat-activated) are available in opposite pairs.
Purple & Turquoise
Below, the white mug is covered in purple heat activated vinyl and the glass bottle is done in turquoise cold activated vinyl.
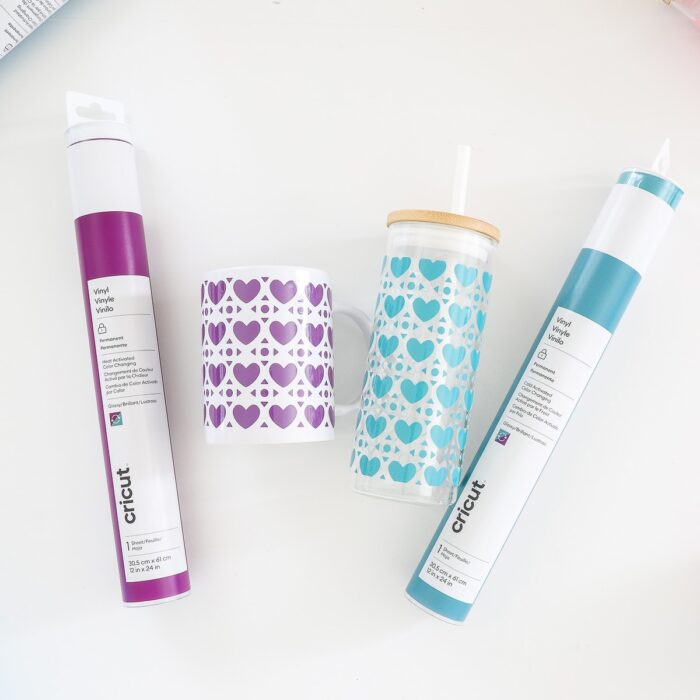
When warmed or cooled, the colors switch. The purple mug turns turquoise, and the turquoise water bottle turns purple!
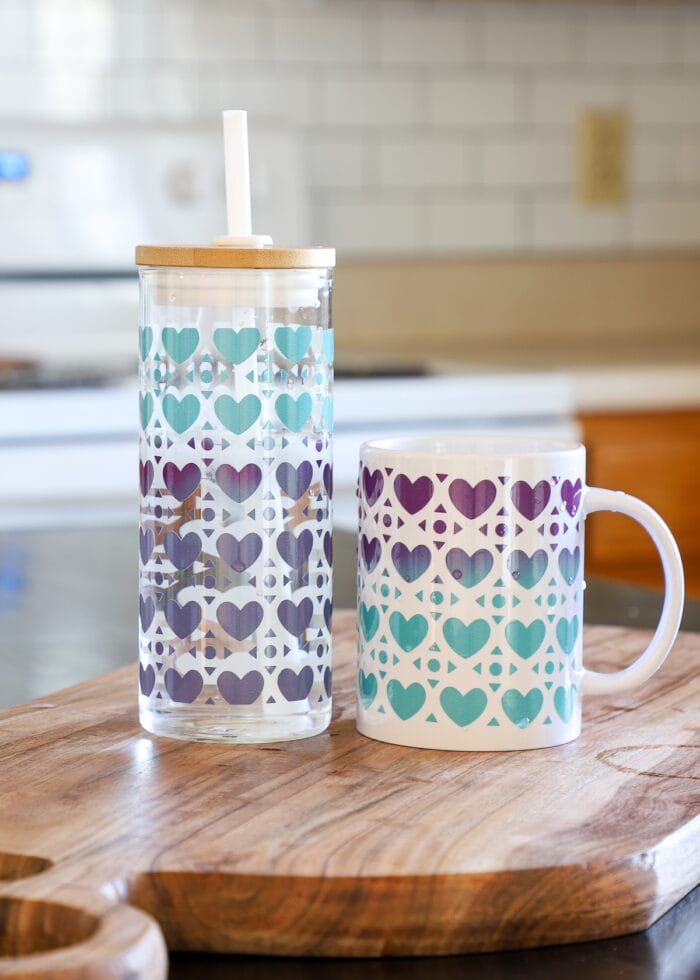
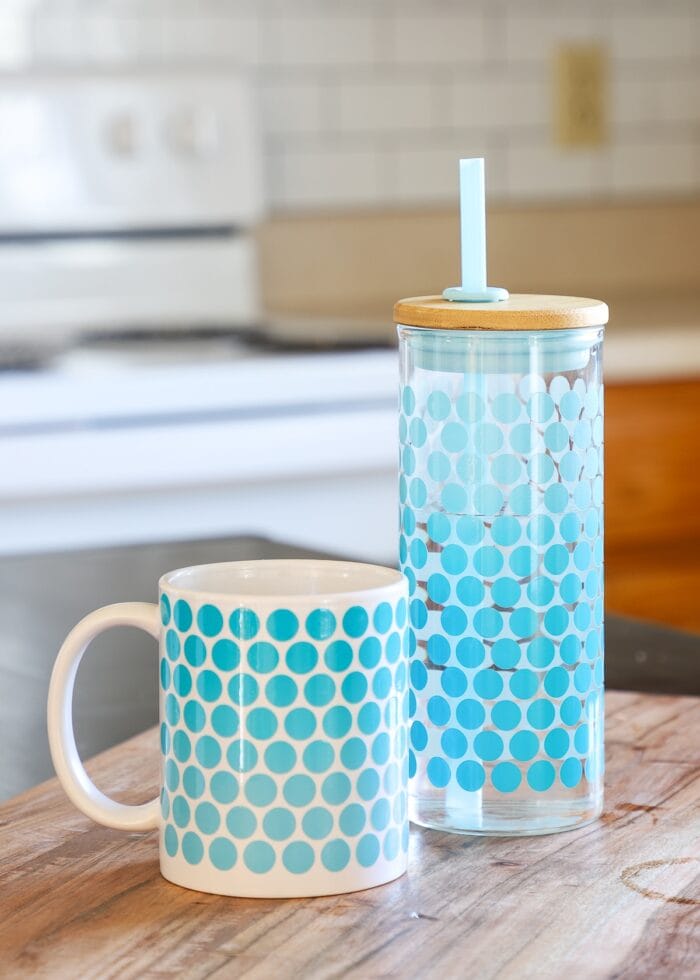
Light Turquoise & Dark Turquoise
Below, the white mug is covered in dark turquoise heat activated vinyl and the glass bottle is done in light turquoise cold activated vinyl.
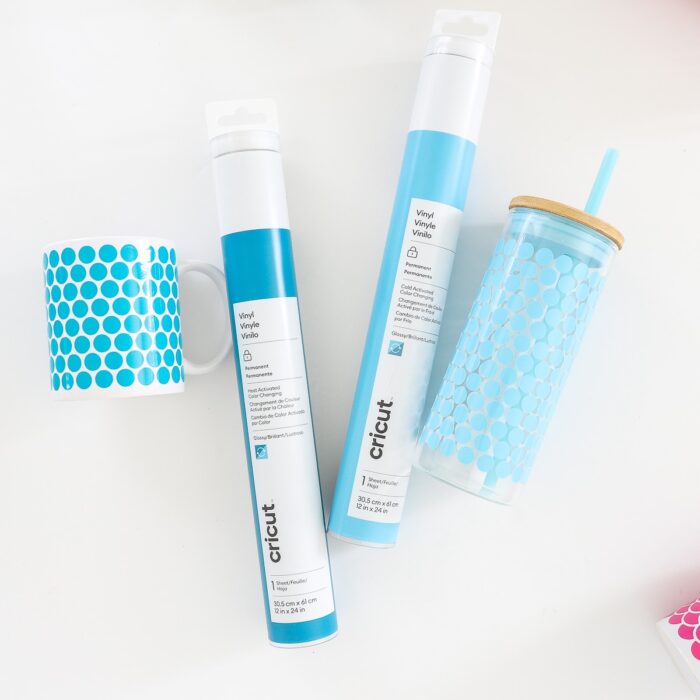
When warmed or cooled, the colors switch. The dark turquoise mug turns light, and the light turquoise water bottle goes dark!
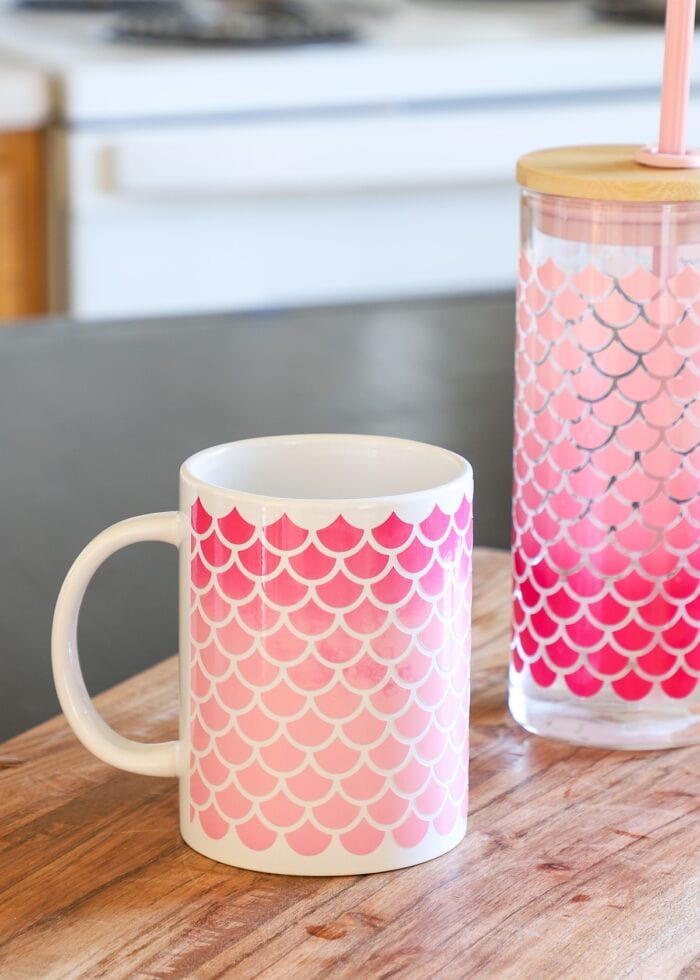
Light Pink & Dark Pink
Below, the white mug is covered in dark pink heat activated vinyl and the glass bottle is done in light pink cold activated vinyl.
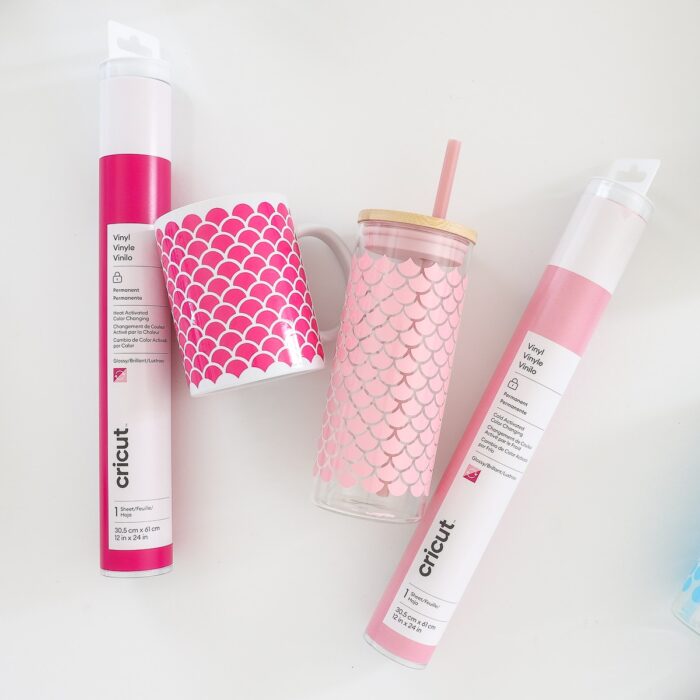
When warmed or cooled, the colors switch. The dark pink mug turns light, and the light pink water bottle goes dark!
Color Changing Vinyl In Action!
A little confused about which vinyls change to which colors at which temperatures? Here’s a short (and fun!) video of the color changing in real time.
Below is this full tutorial on video. (Video not loading for you? You can watch it here!)
Supplies Needed
Here is what you’ll need for most projects made with color changing vinyl:
- Cricut Machine – Cricut Joy | Cricut Explore | Cricut Maker (all models)
- StardardGrip or LightGrip Cutting Mat – compatible with your machine
- Fine-Point Blade – the one that comes with your machine
- Cricut Design Space – you can access these exact patterns HERE.
- Color Changing Vinyl
- Weeding Tool
- Transfer Tape
- Scraper
- Craft Blank (to put your design on) – I used these Cricut mugs and Glass Tumblers (I just removed the silicon sleaves)
Which Cricut Machines Can Cut Color Changing Vinyl?
All of them!
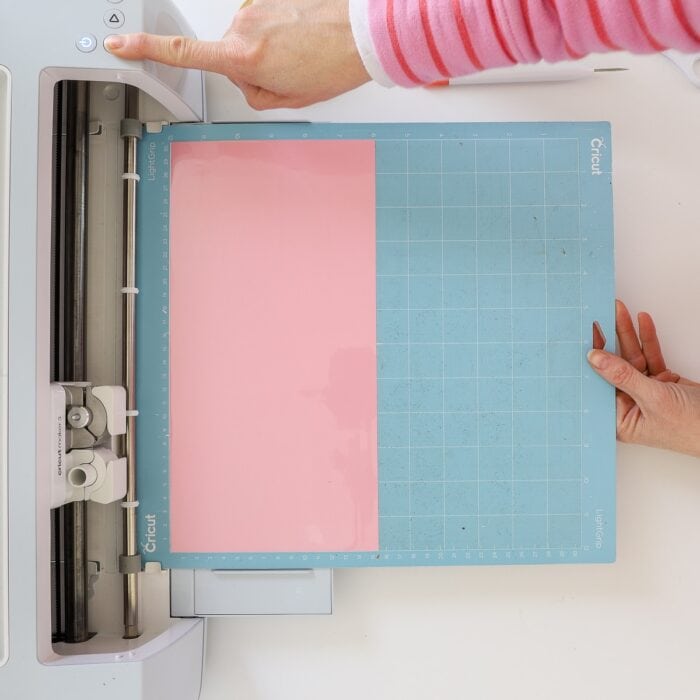
Color Changing Vinyl currently only comes in 12×24″ rolls. As such, it must be placed on a mat for cutting with ANY Cricut machine (or other craft cutters such as a Silhouette).
NOTE: Color Changing Vinyl is not “Smart” at this time, so a mat IS required for cutting, even on Cricut Explore 3, Cricut Maker 3, or Cricut Joy.
How to Use Color Changing Vinyl
Creating a project with color changing vinyl is practically identical to any other vinyl project. (Learn more: Your Complete Guide to Cutting Vinyl with a Cricut)
Still, I’ll outline the process below and highlight a few things to know when working with this new material!
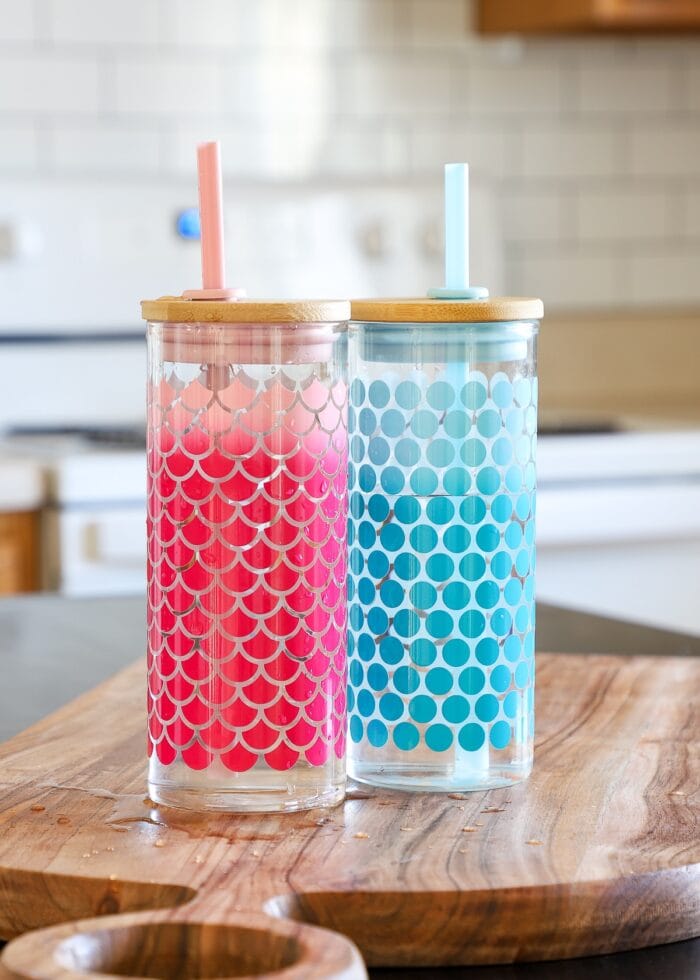
Start by creating a design in Cricut Design Space. If you’d like to use my exact patterns, find them HERE.
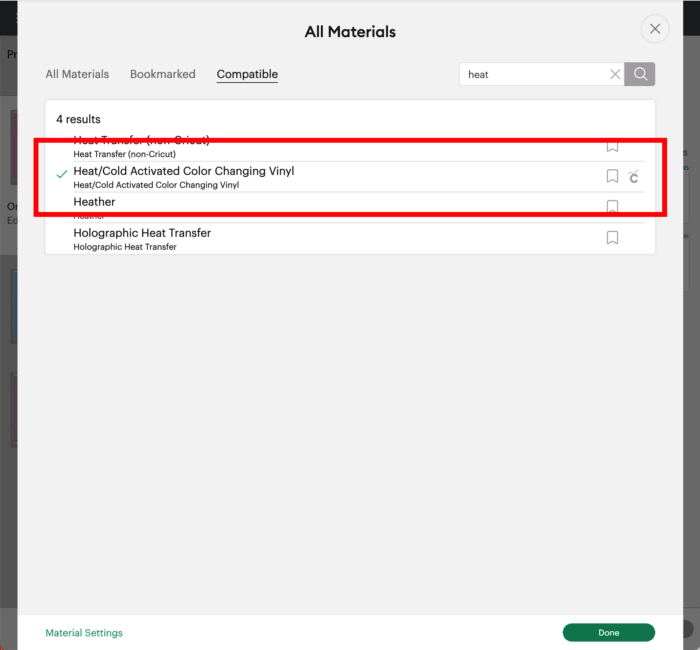
When ready, click the green “Make It” button and select “Heat/Cold Color Changing Vinyl” from the Materials Menu for your cut settings.
When you un-package the vinyl, you’ll notice right away that it’s especially glossy and a bit thicker/firmer than standard adhesive vinyl.
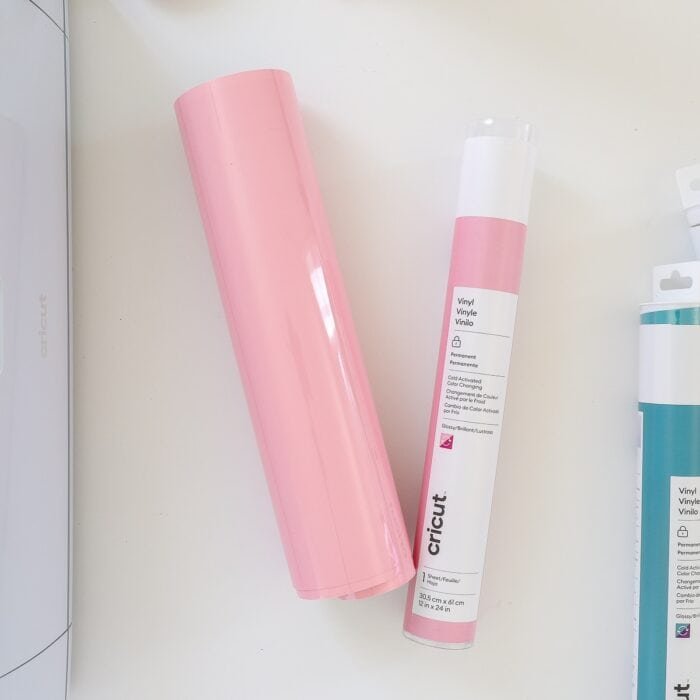
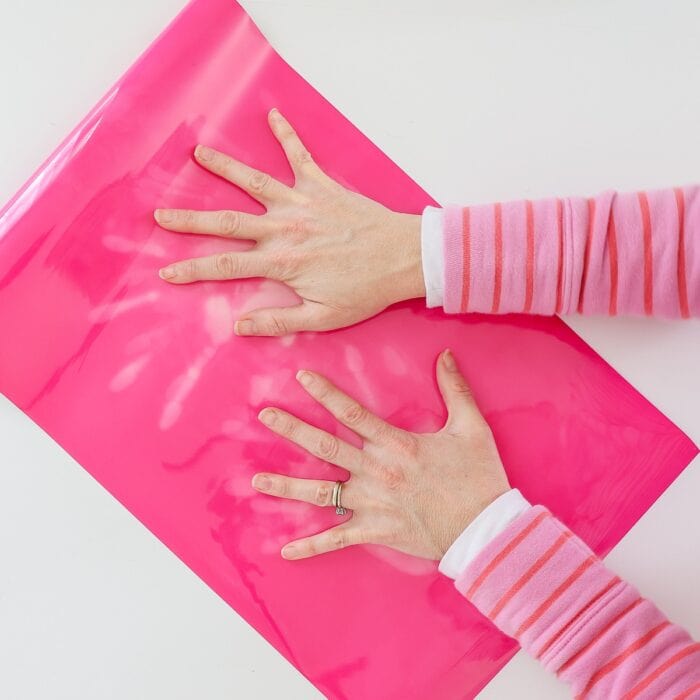
Additionally, when you first pull out the Heat Activated Vinyl (only), you may notice that it’s immediately responsive to the heat of your hands! Don’t worry! As soon as you stop touching it, the variation returns to uniform coloring.
NOTE: My hand temperature didn’t affect the vinyl once it was applied to my mug, only when it was unrolled on my mat/work surface.
To cut out your project:
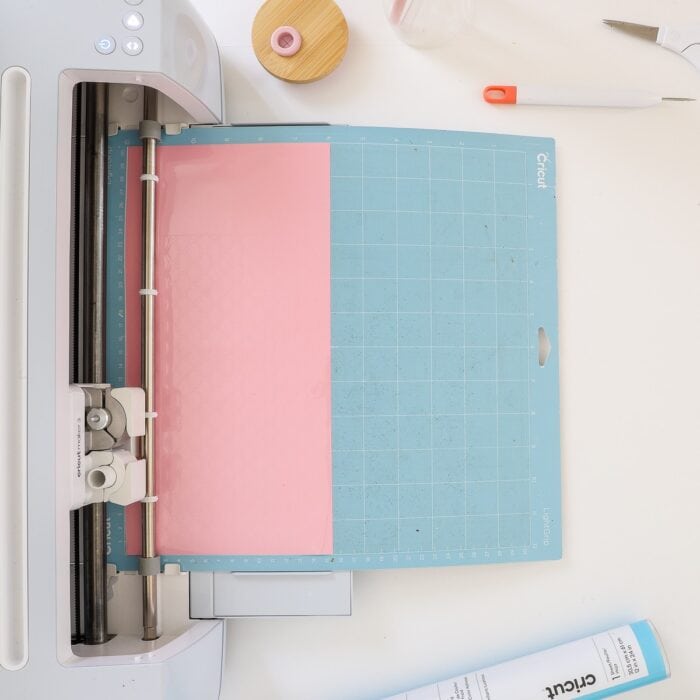
- Load the Color Changing Vinyl onto a mat and feed it into your Cricut machine.
- Press the flashing Go/Cricut button to start your machine cutting.
- Once the cutting is complete, unload the mat from your machine.
Keep your vinyl on the mat for this next step in order to keep it nice and flat. Then use a weeding tool to weed away all the excess vinyl around your design. I personally found that this new vinyl cuts beautifully and weeded away effortlessly!
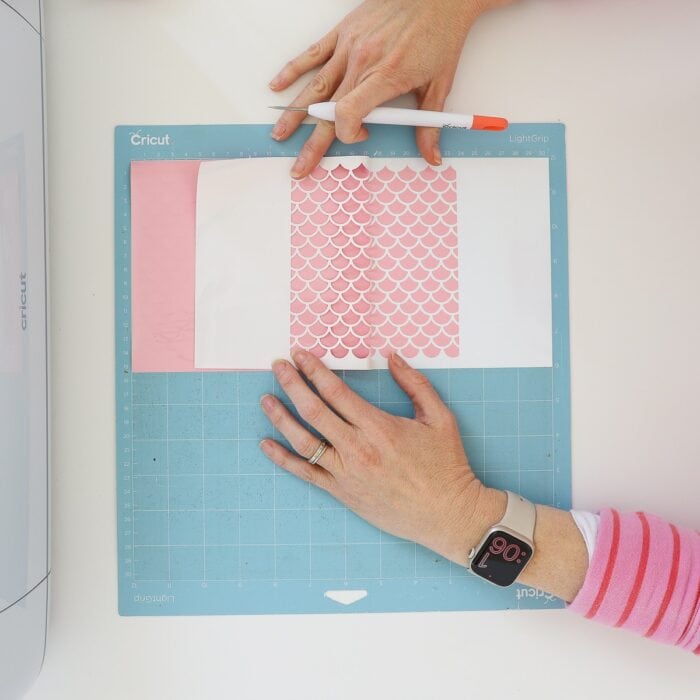
This vinyl has really good cutting characteristics…cutting cleanly and holding its shape nicely instead of tearing, clinging, or sticking to itself.
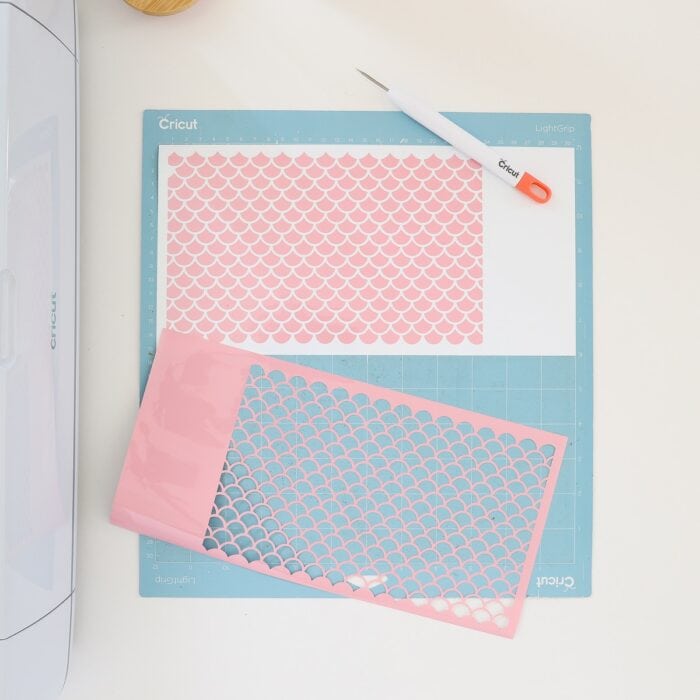
In fact, if you’re making a single, simple, continuous design, you can likely peel it up off the white paper backing and move it to your final project with just your fingers.
However, if you have a disconnected, intricate design or one with very precise spacing that would be difficult to achieve manually, you’ll want to use transfer tape.
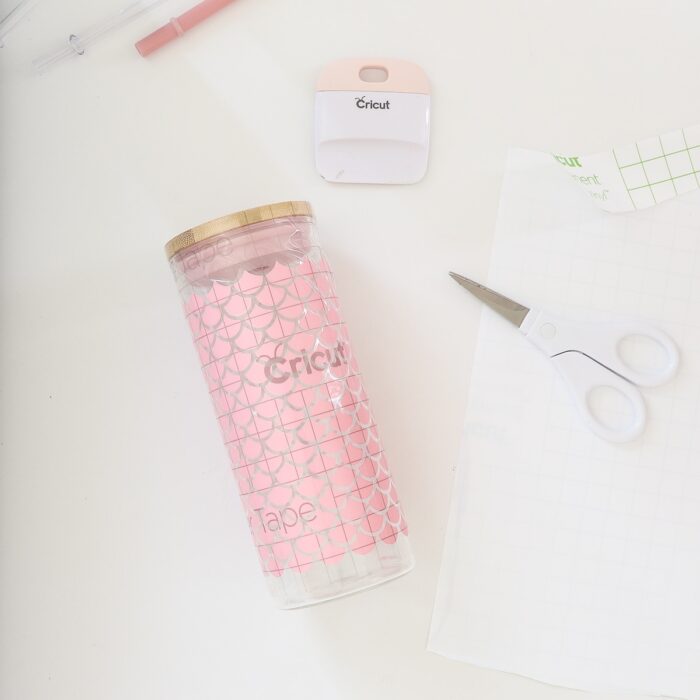
- Cut a piece of transfer tape to cover the entirety of your vinyl design.
- Peel the paper backing off the transfer tape.
- Place the transfer tape, sticky side down, onto your vinyl design.
- Burnish vigorously with a scraper.
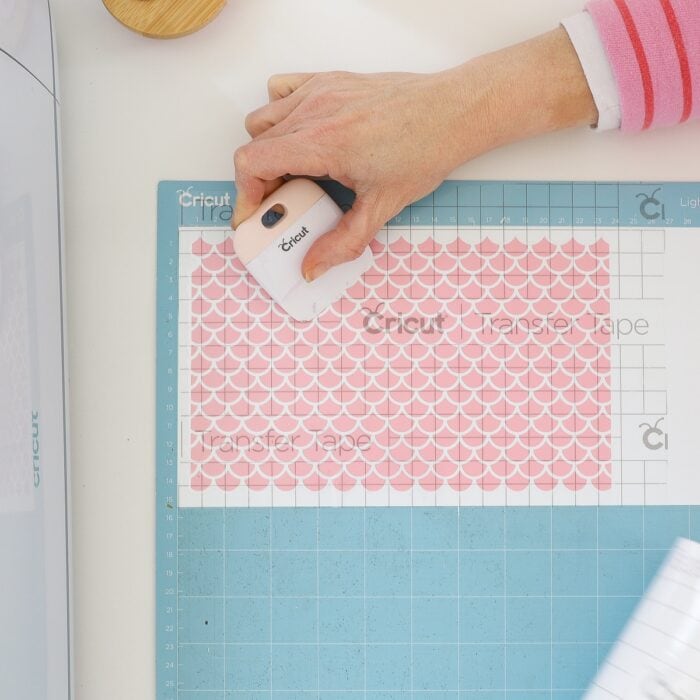
Next, peel away just an inch or two of white paper backing from the vinyl+transfer tape combination and trim it off.
NOTE: The thicker, glossier nature of this particular vinyl makes it much easier to get off the white paper backing!
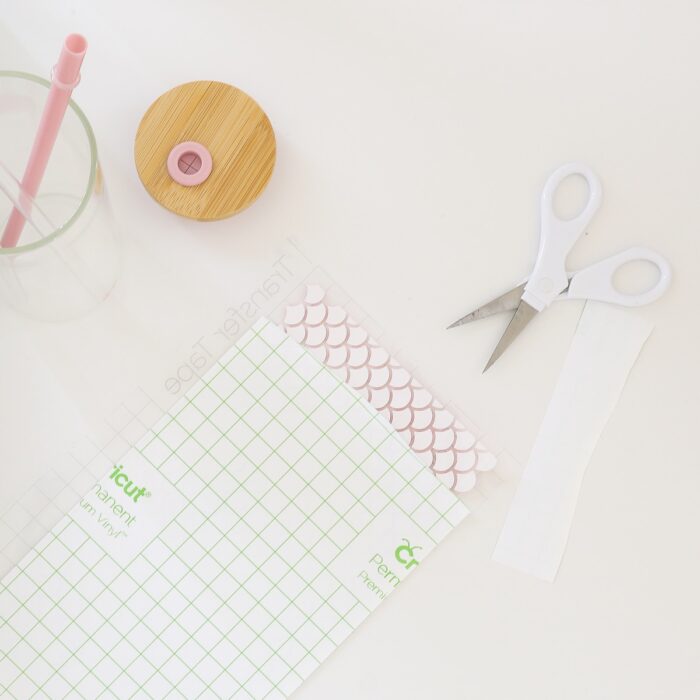
Carefully place the exposed edge of the vinyl+transfer tape combination onto your project surface, ensuring you have everything lined up exactly as you desire.
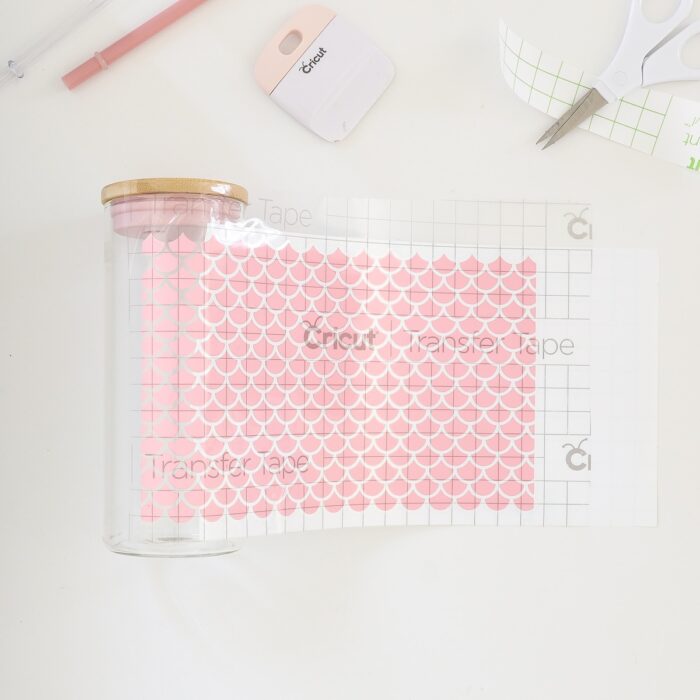
Once the leading edge is in place, carefully remove the remaining white paper backing from the rest of the vinyl+transfer tape combination.
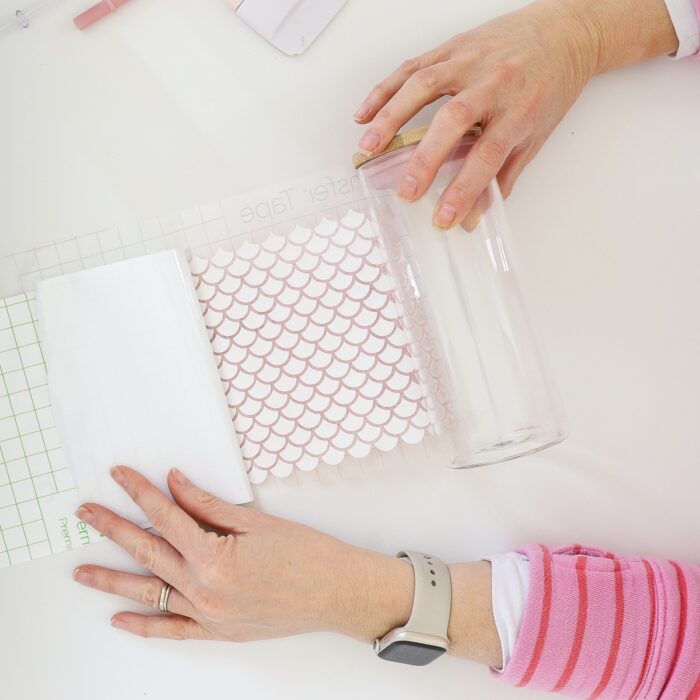
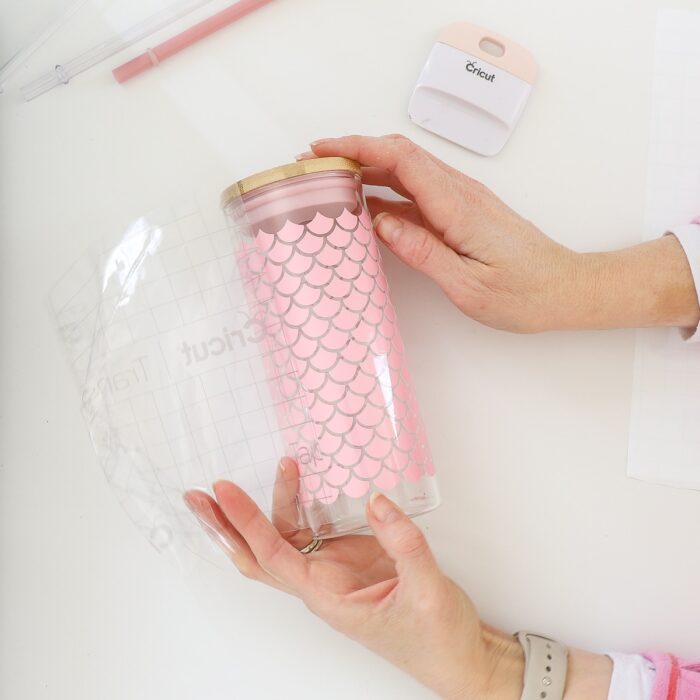
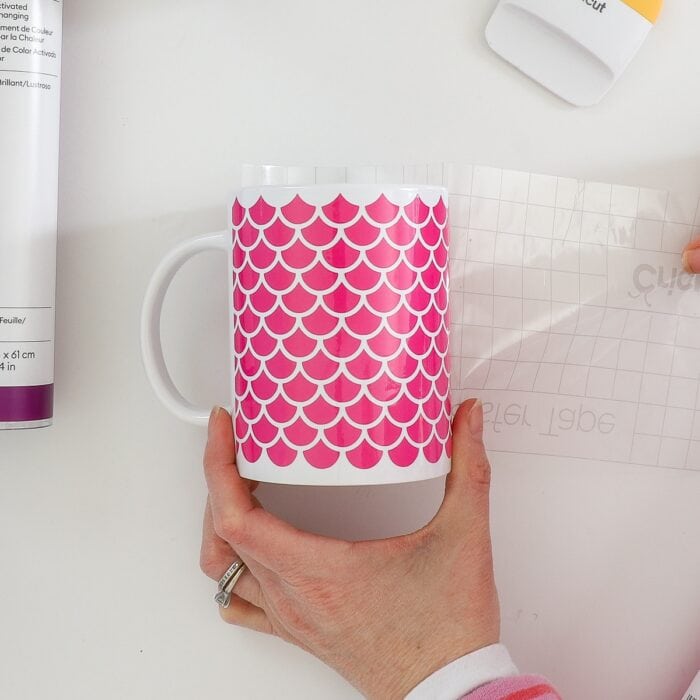
Slowly smooth the rest of the vinyl+transfer tape combination onto your project surface, ensuring there are no bubbles or wrinkles in the transfer tape. Again, use a scraper to rub the vinyl+transfer tape combination onto the surface in order to get the vinyl to adhere.
Working slowly, peel away the transfer tape (on diagonal and at an 180° angle) to reveal your beautiful color-changing design!
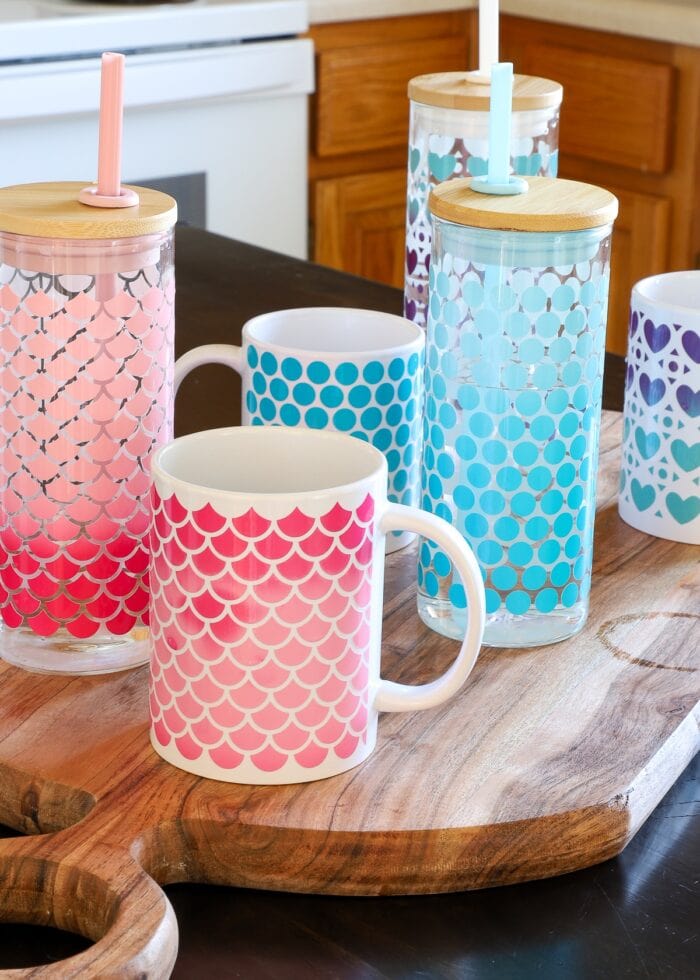
Repeat with additional colors, patterns, and surfaces, as desired!
FAQs About Cricut’s Color Changing Vinyl
How Do You Know If The Vinyl is Hot or Cold Activated?
The packing on the vinyl itself indicates whether it’s hot or cold color-changing. Unlike other Cricut vinyls, it’s not printed on the back of the vinyl. Although I like to un-box my vinyls for storage, this is a product you will want to keep in its packaging.
What Surfaces Can Color Changing Vinyl Be Applied To?
While this vinyl can technically be applied to most clean, solid, flat surfaces (just like other vinyls), to see the effect you’ll want to save it for items that are regularly exposed to either hot or cold temperatures.
As such, it’s the perfect vinyl to use on glasses, mugs, water bottles, bowls, serving dishes, party ware, water dispensers, coffee cups, etc.
Does the Vinyl Change Color ONLY Via Liquids?
No! The vinyl itself is sensitive to temperature change. So as long as the vinyl is heated or cooled (via liquids, sunlight, a warm day, refrigerator, freezer, your hands), it will change color.
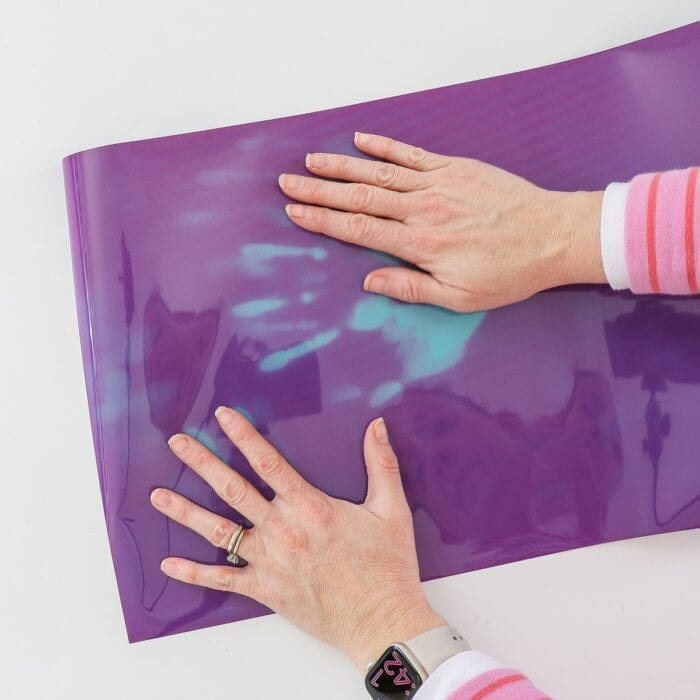
If you run the Heat Activated Vinyl under running hot water, it will change…temporarily. Once you remove the heat source, it will change back.
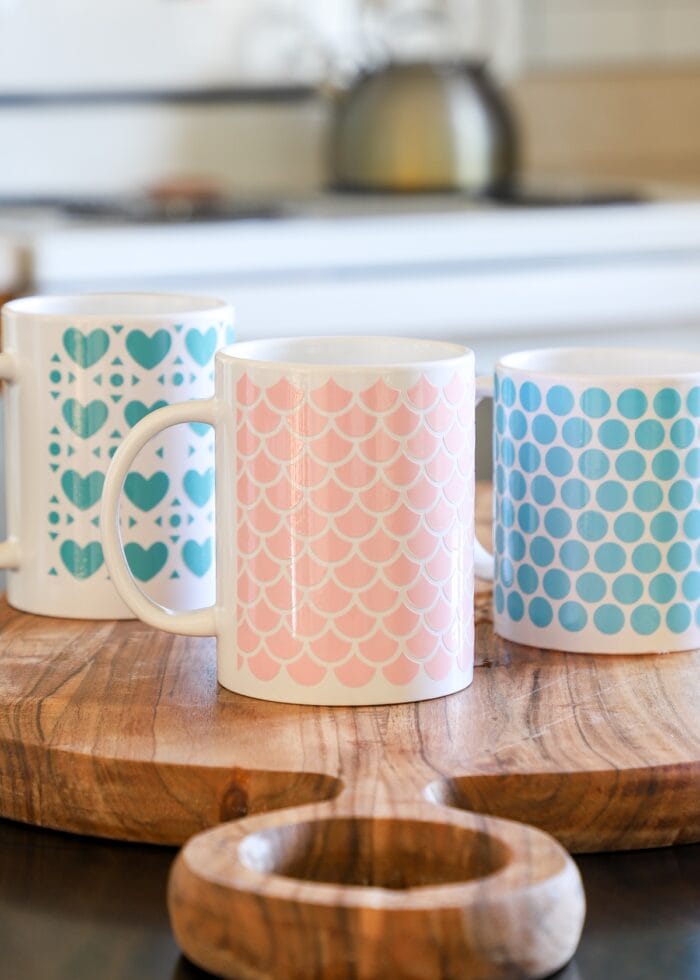
The color will “stay” changed for a longer period of time if the surface it’s applied to is changed as well. On the mugs below, I didn’t pour hot water all the way to the top. But the entire mug warmed (as a result of boiling water) so all the vinyl decals changed colors too!
Does It Work On “Double Walled” Containers?
Not really. Again, the vinyl itself OR the surface has to change temperature in order for the color to change.
Since insulated or “double walled” vessels are designed to maintain a neutral temperature on the outside, a vinyl decal will not change based solely on the liquids inside.
That said, if you were to take your insulated coffee mug to the bus stop on a snowy morning, a cold-activated decal would (uniformly) change color because of the air temperature.
How Fast Does the Color Change?
Practically instantly.
How Fast Does the Color Return to Normal?
Again, this depends on the temperature of the surface it’s applied to.
Vinyl…not applied to any surface…will change back instantly.
But when on a hot coffee mug, the color will slooooowly return to normal just as the mug’s surface temperature returns to normal.
Is the Vinyl Removable?
Although Cricut’s color shift vinyl is denoted as having “permanent adhesive,” I was able to successfully peel the decals off my mugs and bottles.
Can Color Changing Vinyl Be Used on Fabric?
This particular Color Changing Vinyl is not intended to be used on fabrics, as it is not iron-on/heat transfer vinyl (HTV). If you’re wanting to make cotton shirts, towels, totes, etc, I recommend checking out Cricut’s new line of UV-activated iron-on.
Is the Vinyl Dishwasher Safe?
Honestly, I was a bit skeptical on this one. But I put the purple heart coffee mug into the dishwasher and it came out perfectly fine! The thick, glossy vinyl did not peel off, and the color changing still works great!
At this time, I cannot speak to repeated runs through a dishwasher. In general though, it’s always safer to hand wash vessels with vinyl designs on them.
Master Other Cricut Materials!
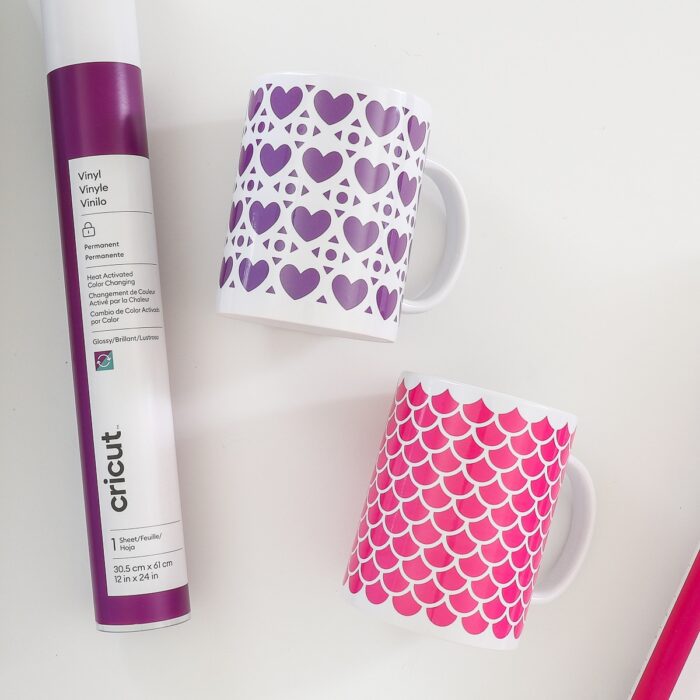
Once you give Color Changing Vinyl a try, go on and master these other Cricut materials with my comprehensive guides:
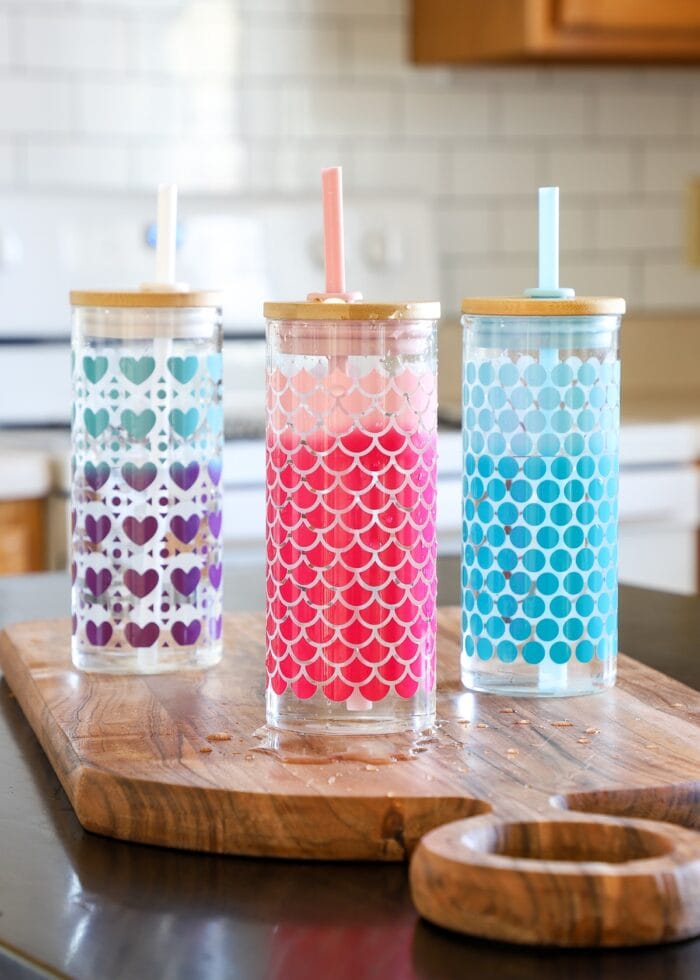
I’m pretty obsessed with this latest vinyl from Cricut, but you know who loves it even more? My kids! They cannot stop filling, dumping, and refilling these mugs and glasses simply to watch the colors change back and forth. Soooo…I currently have lidded plastic cups in my Amazon cart so I can make them their own set (and I can stop worrying about all the glass!)
Whether you have special occasions coming up (e.g., birthdays, team events, holidays) or just want to add some fun and whimsy to water bottles, ice cream bowls, or more…this is a REALLY fun product to use! I hope you give it a try!
Megan



2 Comments on “A Complete Guide to Cricut’s Color Changing Vinyl”
When you applied the vinyl to the ceramic mugs, did you do anything to seal over them? Thanks!
Very good read. Great also for the product review and application. I think it is also good for beginners when learning to apply vinyl to surfaces especially round surfaces.