How (& Why) To Color Code Your Moving Boxes
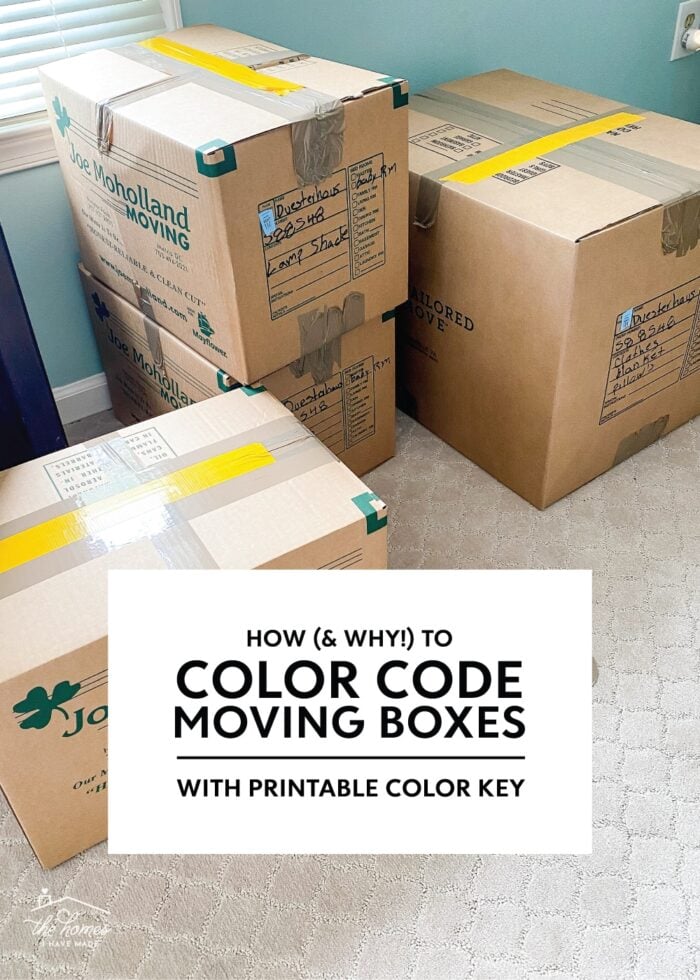
One of the benefits of moving so frequently (you do have to focus on the benefits, after all!) is that you learn new things every time. And with each lesson learned, you get to refine the process and (hopefully) uncover efficiencies that will serve you the next go around. A few years ago, I asked a bunch of my fellow military spouses for their best moving advice; and one chimed in with something I hadn’t ever considered: color code moving boxes. I haphazardly tried it during our move from California to Virginia three years ago and immediately saw the benefits. So in our most recent relocation from Virginia to North Carolina, I jumped all in and color coded all of our moving boxes with big stretches of colored duct tape. Today, I want to explain why this is such a game-changing strategy and how best to pull it off!
Why Color Code Moving Boxes
As a self-proclaimed lover of all things organization and labeling, it is likely surprising that color coding our moving boxes didn’t occur to me much sooner in our military journey. Since professional movers usually pack and label our boxes, it honestly never occurred to me to inject myself into the process in order to make the move-in on the other side more efficient.
But color coding moving boxes doesn’t involve a ton of extra work or getting in the way of professional packers. (In fact, I didn’t color code my boxes until all the packing was done!) And while you might love the look or idea of color coding moving boxes, there are indeed some very practical reasons to take this extra step.
Expedite the Move In Process
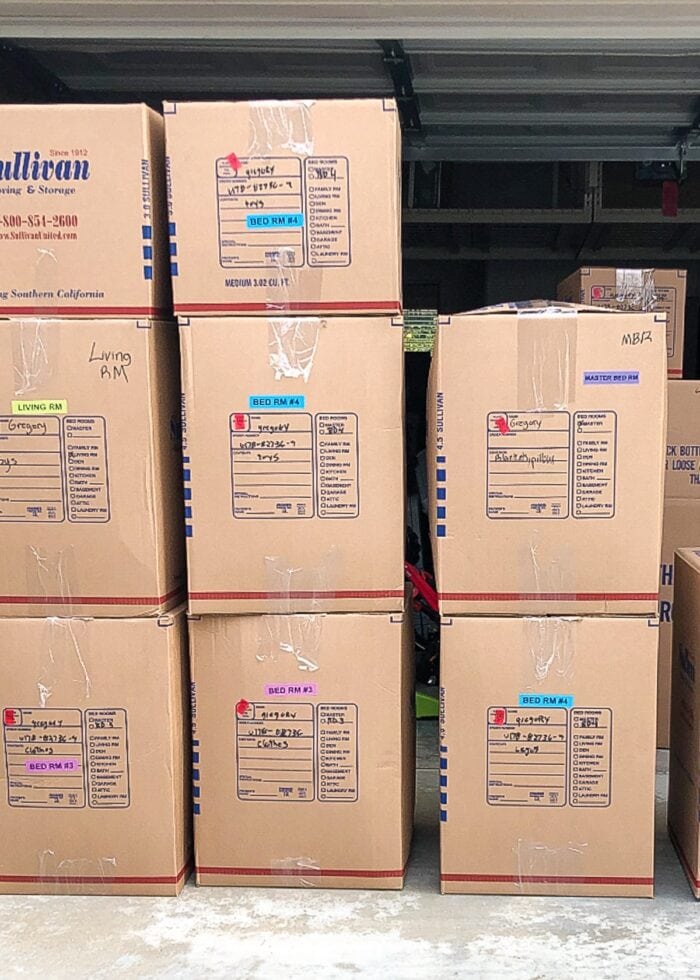
The #1 reason to color code moving boxes is to speed up the move-in process. I have sat and watched teams of movers unload our moving trucks 8+ times now. And I can say…without a doubt…that both finding and reading the small printed text on the side of (sometimes large and heavy) boxes takes time. Sure…it’s maybe a few extra seconds per box. But when you have dozens and dozens (or even 100+) cumbersome boxes, that time adds up.
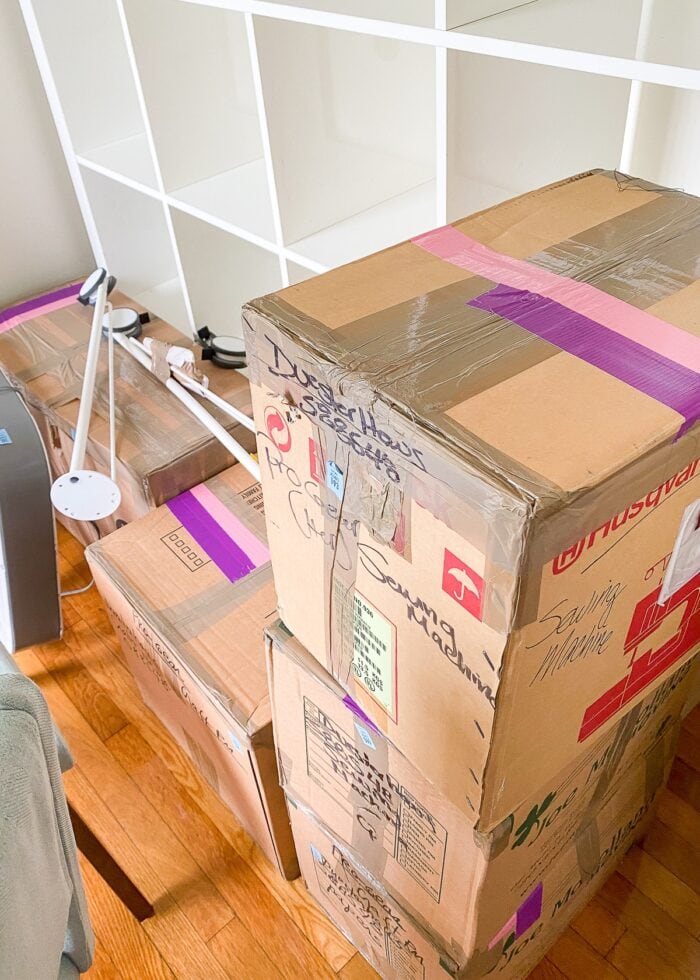
As oppose to a small word “Kitchen” written in permanent markers somewhere on a big cardboard box, a big stretch of colored tape or a large visible sticker is instead much easier to see, which means that everything comes off the truck and to the right spot quickly and efficiently.
Eliminate the Single Point of Failure
With color coding, not only will movers (or anyone helping you) know at-a-glance what the box’s label “says,” they will also know exactly where it’s supposed to go without having to ask you. This means you can help unload (or even go to the bathroom or run to pick up lunch) without everything coming to a standstill because only you know where everything goes. Eliminating the need for a single “traffic controller” undoubtedly speeds up the entire unload process.
Colors Are Easier to “Read”
Professional packers are notorious for having hard-to-read handwriting, and your’s might not be that great either (especially at the end of a long packing day). Using color-coded labels will be much easier for movers to quickly decipher while unloading. Instead of wondering if “MB” is the Master Bedroom or the Master Bathroom, using different colored labels will more clearly distinguish boxes, ensuring they land in the correct location the first time.
Eliminate Communication Barriers
Finally, color coding helps tremendously with communication barriers. Whether it’s handwriting that can’t be quickly deciphered or a moving crew that doesn’t speak the same language as you, color coding puts everyone on the same page and eliminates the need for constant translation.
How to Color Code Moving Boxes
You might be on-board with the idea of color coding your boxes, but you may not be entirely sure about how to execute it in real life. Here is my tested-and-recommended process!
Step 1: Purchase Tape (or Labels)
The very first step to color-coding your boxes is to actually purchase and/or make labels in a good selection of colors. (I personally like using colored tapes instead of labels; I explain more throughout this post). How many different colors you need will depend on how many unique spaces are in your destination home. Below are the sets I’ve used and/or recommend.
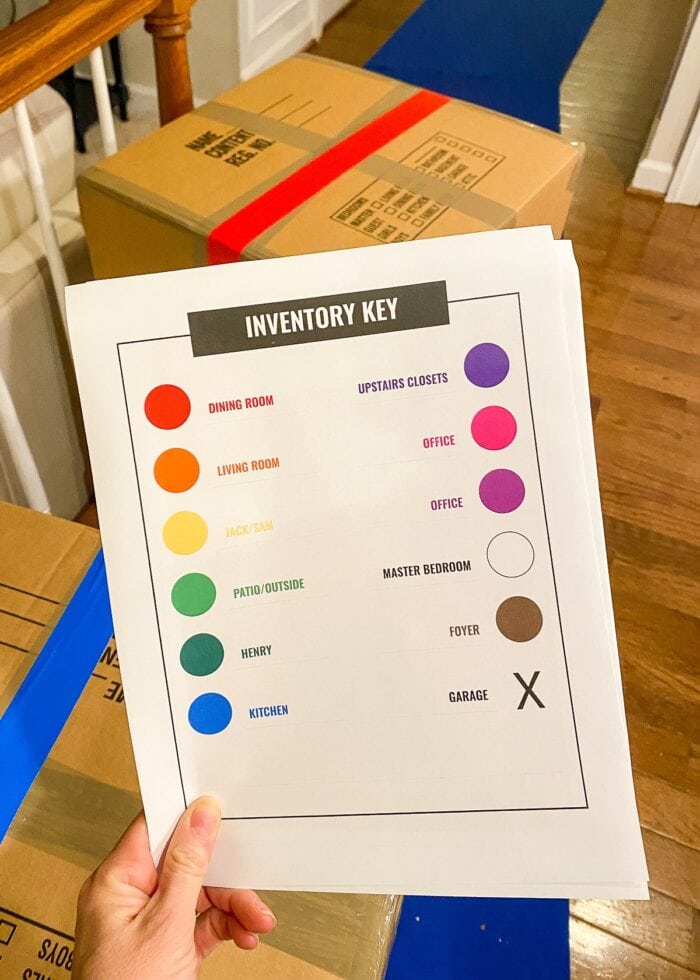
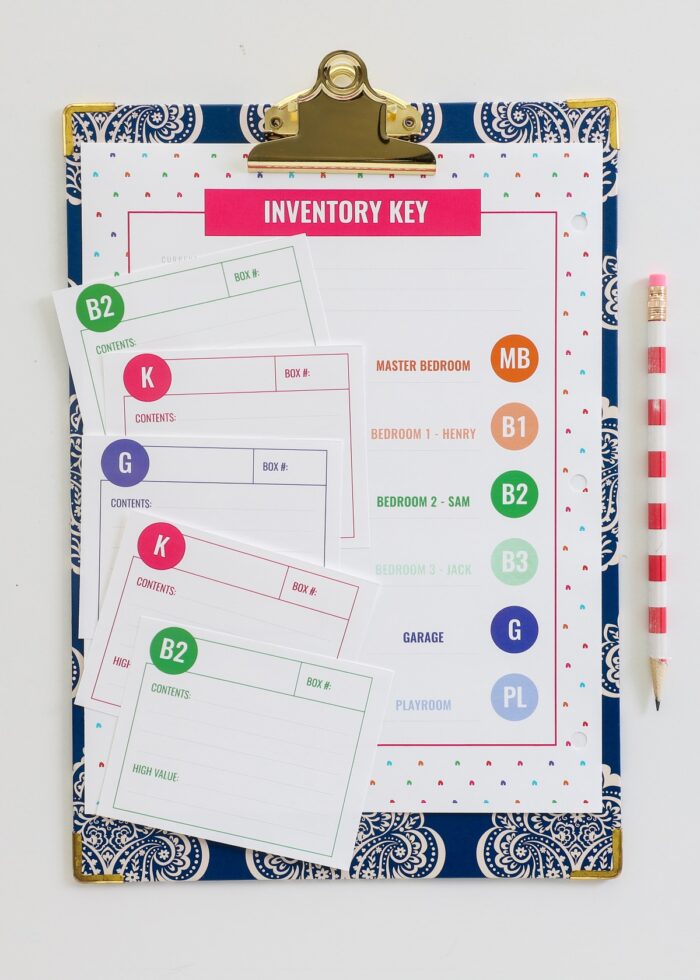
Step 2: Create a Color Key
Making a “key” for your color coding system can be as easy as sticking some scraps of each color tape onto a piece of printer paper and writing the room name right next to it with a colored marker.
But if you’d like to be a little more organized or formal, you can use my FREE Color Key Template to quickly make your own. This template allows you to pick your own colors and type in your own room names so you can make it quite specific to your house and your supplies.
NOTE: Full instructions for editing my template are included with the free download.


When picking colors for each room, you don’t need to overthink it but you DO need to ensure each room has a very distinct color (otherwise your color coding becomes confusing instead of helpful). If you have more rooms than you have colors of tape/labels, use these three tricks:
- Use two colors of tape together to create a unique code. Here’s an example:
- Pink only boxes go to Room A.
- Purple only boxes go to Room B
- Pink+purple boxes go to Room C.
- No tape/label can be its own indicator. In our most recent move, all the colored labels went into the house, while boxes with NO colored tape went to the garage.
- You can add text symbols to the color coding in order to distinguish between similar colors. See more: Editable & Printable Moving Box Labels
As you make a color key, it’s also helpful to make matching room signs. You can either print out matching color pages or use corresponding sheets of cardstock or construction paper.
Step 3: Print Your Color Key & Room Signs
Be sure you print out your color key (and corresponding room signs) before you start packing and/or the movers arrive. Otherwise, you run the risk of your printer being boxed up. While this may not make a huge difference while packing up (because you can reference your color key on your phone), you’ll want plenty of printed copies at your new home so all unloaders can see it.
Step 4: Color Code Your Boxes At Origin
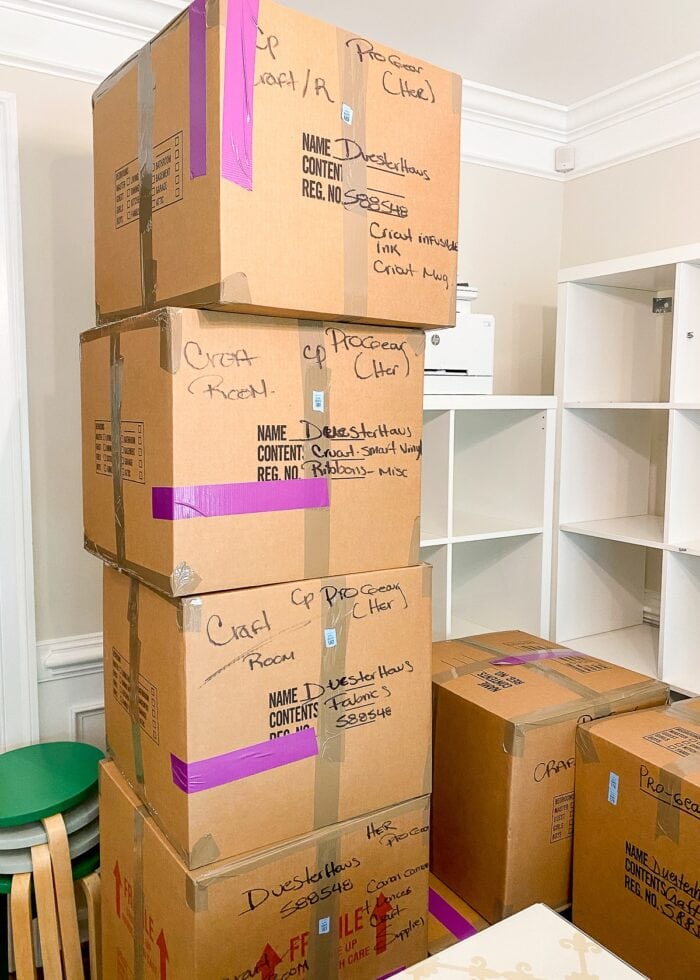
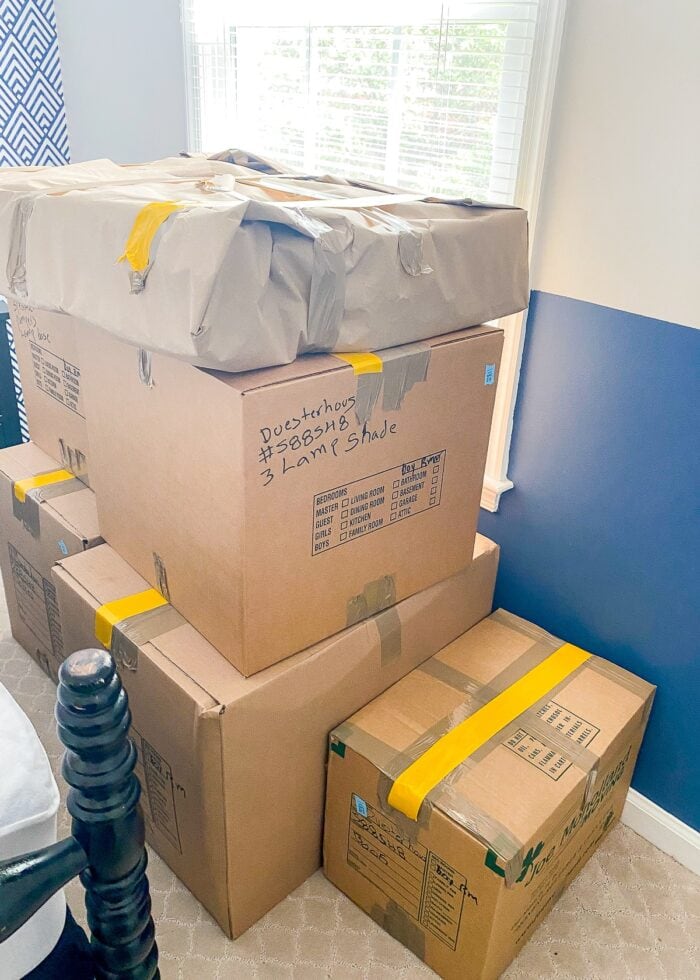
Pack up your boxes; and, at a minimum, label them with the box contents and other important details. For context, it is usually helpful to write the “origin location” as well (i.e., where the items were packed up in your current house).
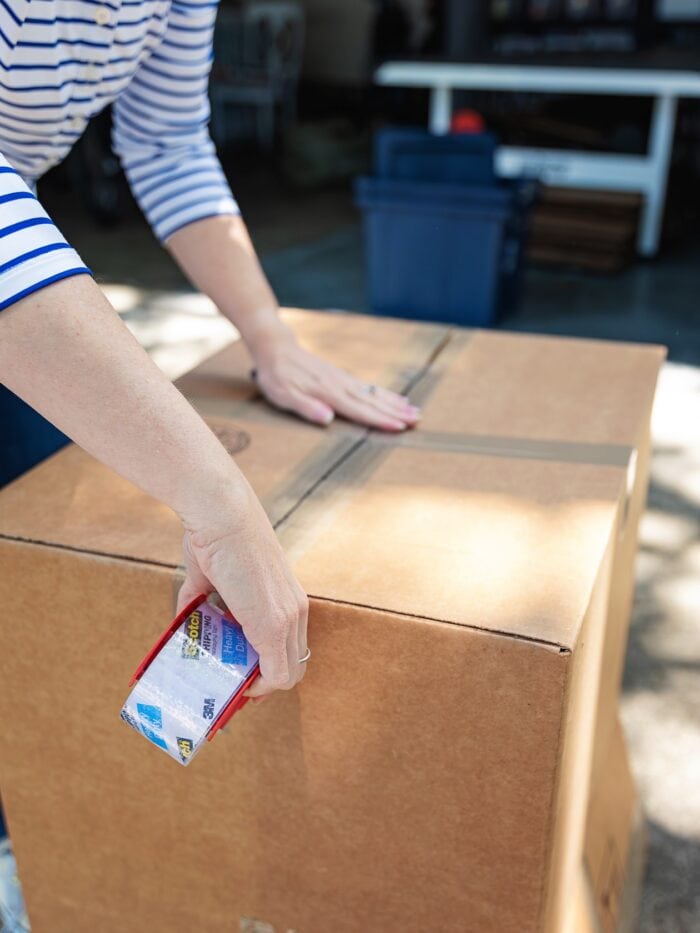
After all the packing is done, gather up your rolls of colored packing tape/labels (and the key) and work from room to room. Consider the contents of each box and decide where they should go in your NEW home. Then stretch a corresponding length of tape right across the top of the box (or the most visible part of the box). Keep working through all your boxes until each and every one has their destination location clearly identified.
NOTE: You can certainly color code as you pack. But if you have friends/family or professional packers helping you, it’s usually easiest to do all the color coding once everyone is done and out of the way.
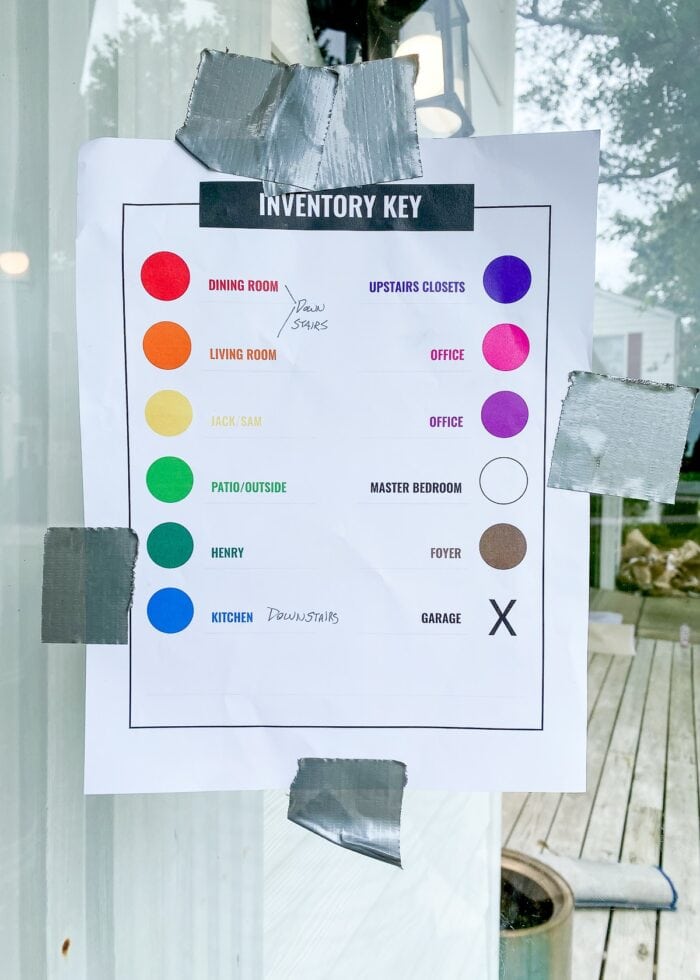
Step 5: Hang Color Key & Room Signs at Destination
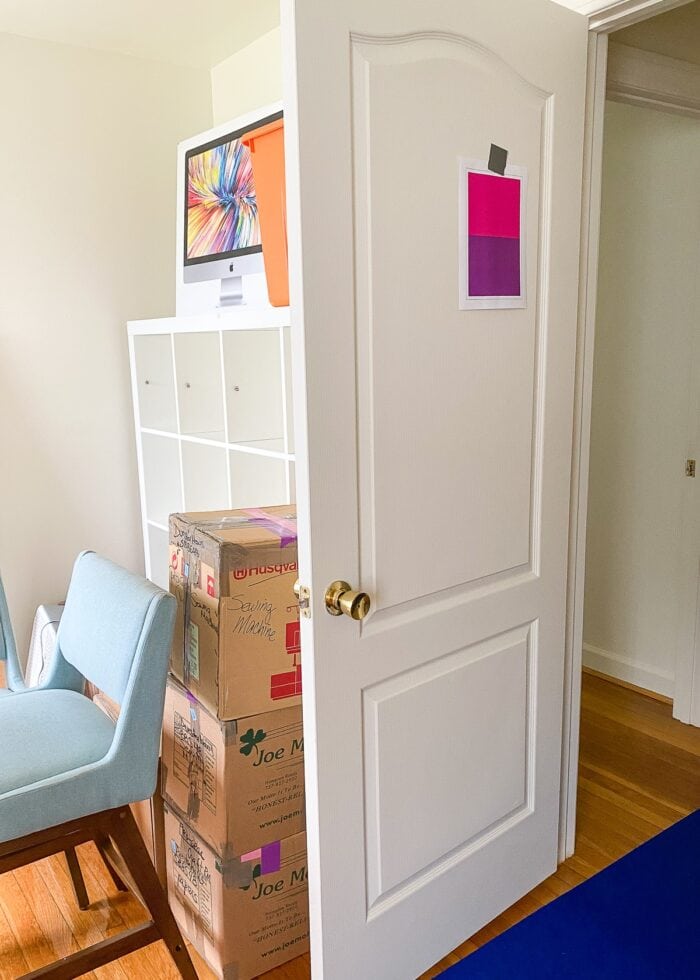
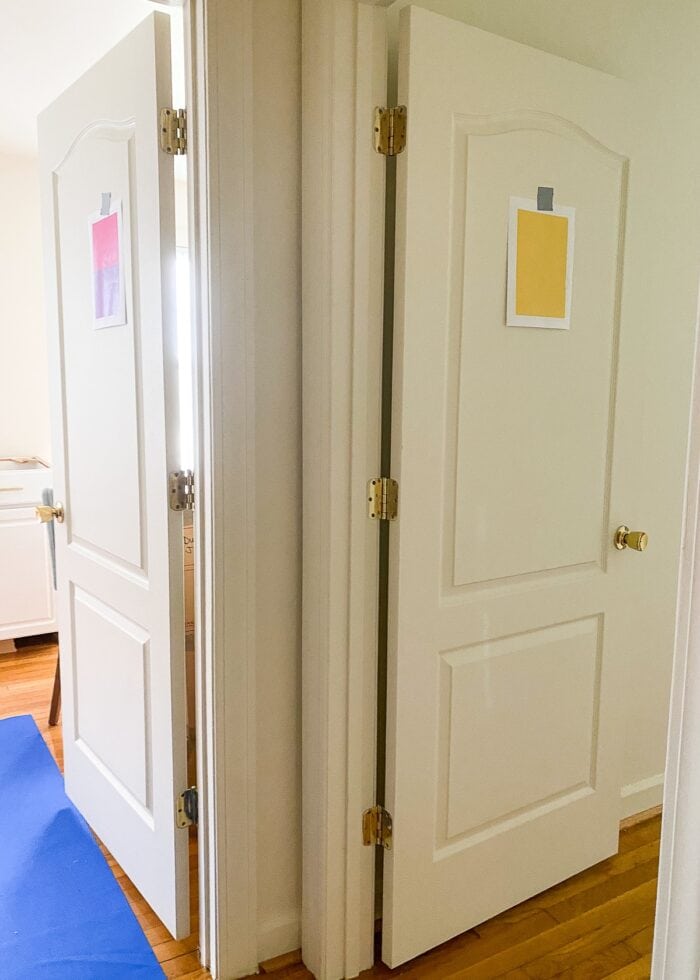
Before the movers arrive (or you start unloading the truck) in your new home, tape copies of your color key to all entry doors and in hallways. Also tape up the full-page room signs on each door/area in the corresponding color.
TIP! Use good, strong tape to hold up your signs. There will be lots of activity in/out of doors and through tight corridors, which can cause signs to fall down.
Want to save this post?
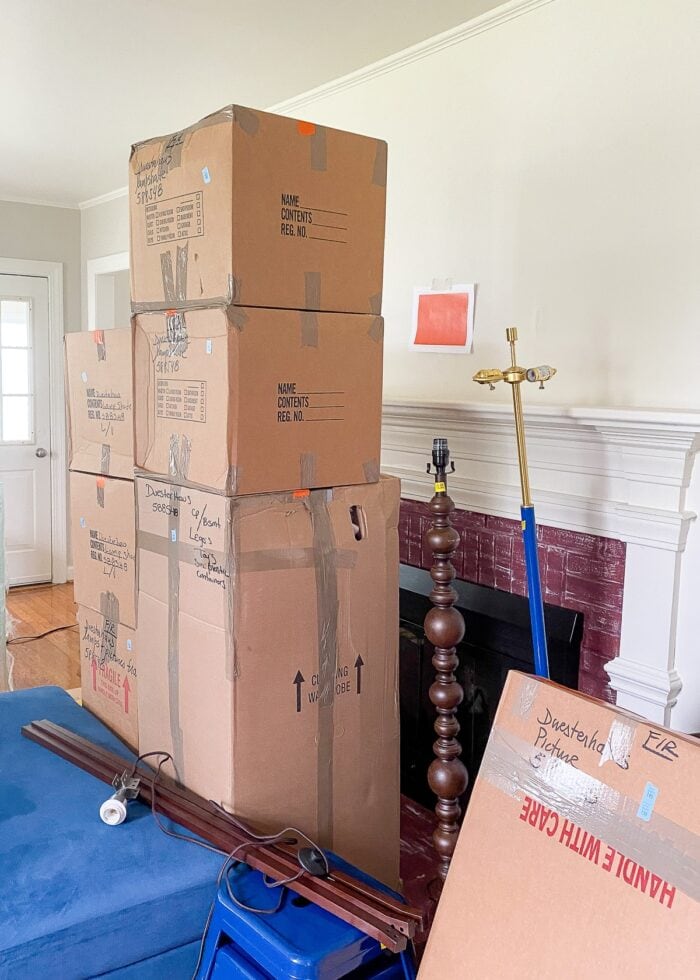
Step 6: Unload the Moving Truck
Before taking anything off the moving truck, take a few minutes to walk your movers/helpers through the house with the color key, verbally explaining what color is where and pointing out room signs.
Once everyone is on the same page, unload the truck by placing the matching boxes in the right rooms according to the color key. Then you can unpack your boxes, knowing that everything landed in just the right spot!
Helpful Tips & Tricks for Color Coding Moving Boxes
Label for the New Home, Not the Current One
I want to quickly re-emphasize this point. Whether you or professional packers are loading items into boxes, it is natural to label them for the room they start in. And while a lot of items will translate directly from one home to the other (e.g., kitchen items from the old home go right into the kitchen in the new home), that might not always be the case.
For example:
- Maybe you are combining two rooms into one…like two kids who were separate before but are sharing a room in the new house.
- Or perhaps you are separating a single space into two…like splitting the craft supplies and toys into two different rooms.
No matter how the boxes are labeled at the origin, color-coding after-the-fact gives you an opportunity to quickly re-label them for the destination rooms. This way, items land where you want them now, not where they were before.
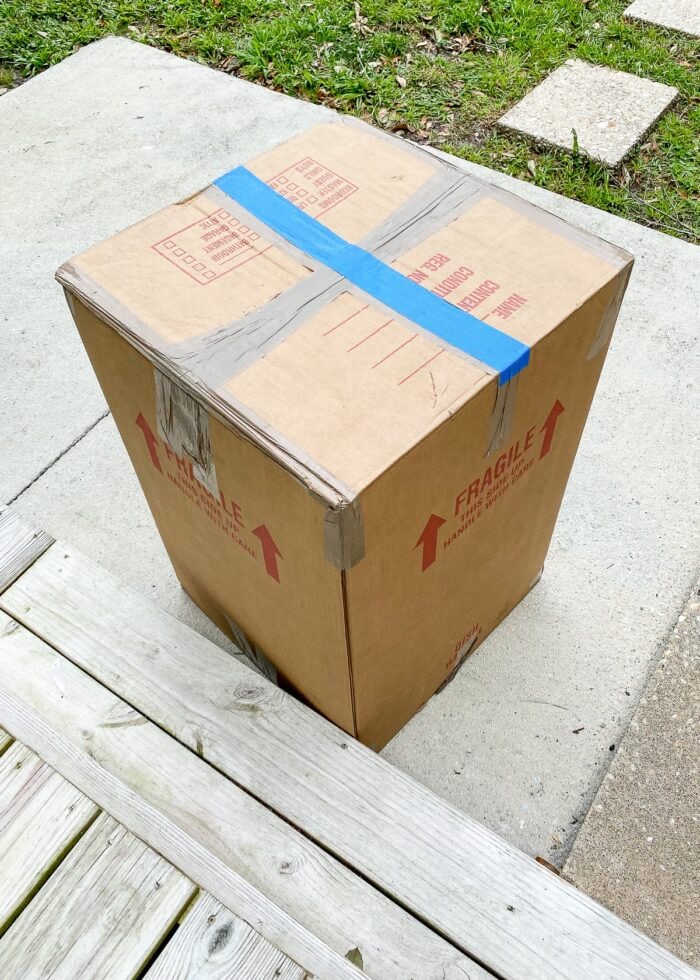
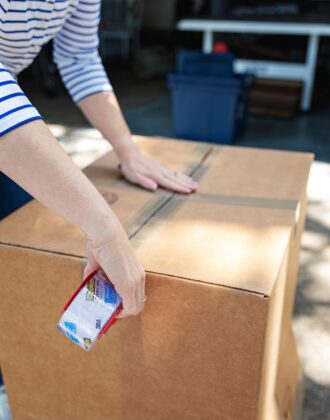
Use Tape or Big Stickers to Color Code Moving Boxes
In our move from California to Virginia, I ordered and used this label kit of cute moving box stickers that measured about 3-4″ long. Our labels were indeed color-coded and the fonts were crystal clear, but the the sticky labels were relatively small compared to the boxes. As such, seeing and identifying the box’s intended location wasn’t quite instant. Ideally, you want your labels BIG; so I don’t personally recommend color-coding with waterproof markers or small pre-printed labels.

For our more recent move, I ordered 12 rolls of different colored duct tape. This time, I could place long lengths of tape on every box…stretches that were easy to see no matter how the box was picked up, carried, loaded, or unloaded. There was no tossing and turning the box just to find the label. If you’re going to color code, make it worth it by using labels that are really big and really obvious.
TIP! If you do opt for smaller labels, consider putting two stickers on opposite sides of the box so they are easy to see no matter how the box is being carried.
Make Your Own Label System
By using generic tape colors…instead of pre-printed labels…you get to choose the labeling conventions. For example, when using this set of stickers, we were forced into using spaces we didn’t have like “Study” and “Utility Room;” which then caused more confusion to the movers. But when using solid colors of tape (with no text), you get to choose what space each color represents.
If you want to have text as part of your color coding, I recommend making your own labels instead of using pre-printed versions for this exact reason. Not only does printing your own give you choices over size and colors, but you get to choose what the precise rooms are.
Customizable Printable Moving Box Labels
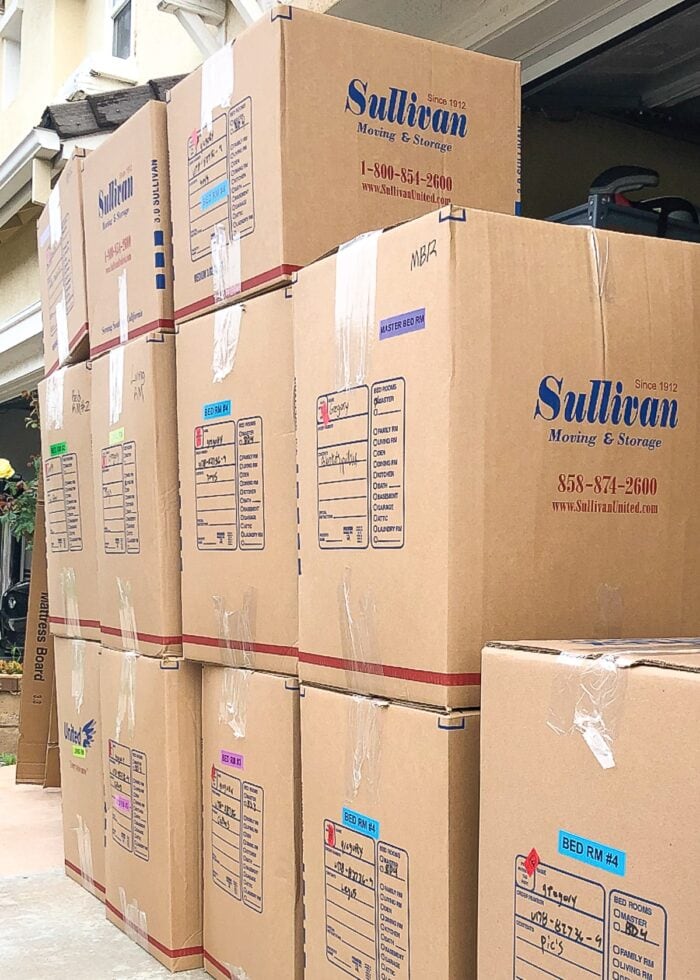
Keep the Colors Very Distinct
When moving into this most recent home, I assigned navy blue tape to the kitchen and bright blue tape to the upstairs linen closet. Although the tapes were different colors up close (and designated as such on the map), the movers were imperceptive to this distinction. So you better bet as we opened and unloaded boxes, we had aaaaaaall the linen closet items in the kitchen and not upstairs where they belonged.
To avoid this kind of confusion, try to keep your colors incredibly distinct. And if you have more locations than you have colors of tape, consider making combinations (blue+red versus blue+yellow) that are easier to distinguish (as described above).
Post the Key
Remember, one of the benefits of color coding is to remove you (or someone) as the single traffic controller of boxes as they come off the truck. So the movers (or your friends/family) don’t have to ask you every single time where the yellow boxes go, place the color key at very visible locations like entry points (doors), stairwells, and hallways.
TIP! Making a color-coded floor plan of your new home can also help, especially if the layout is convoluted or confusing.
Don’t Skip the Matching Door Signs
Even if you create a whole-home color key or map, it’s really helpful to put the matching colors on each door/wall. Whether you print out colored squares, use colored paper, or even stretch more tape across the door (just be careful of wall paint), these visual cues help ensure the boxes land in the right spot, even if the location is forgotten along the way!
Take It One Step Farther
If doing your own move, consider color coding your box inventories to match. Counting up a single color of boxes is easier and more accurate than trying to account for all of your boxes on a single list or spreadsheet. In short, organizing your entire move by color will ultimately help you track everything much more efficiently and accurately.
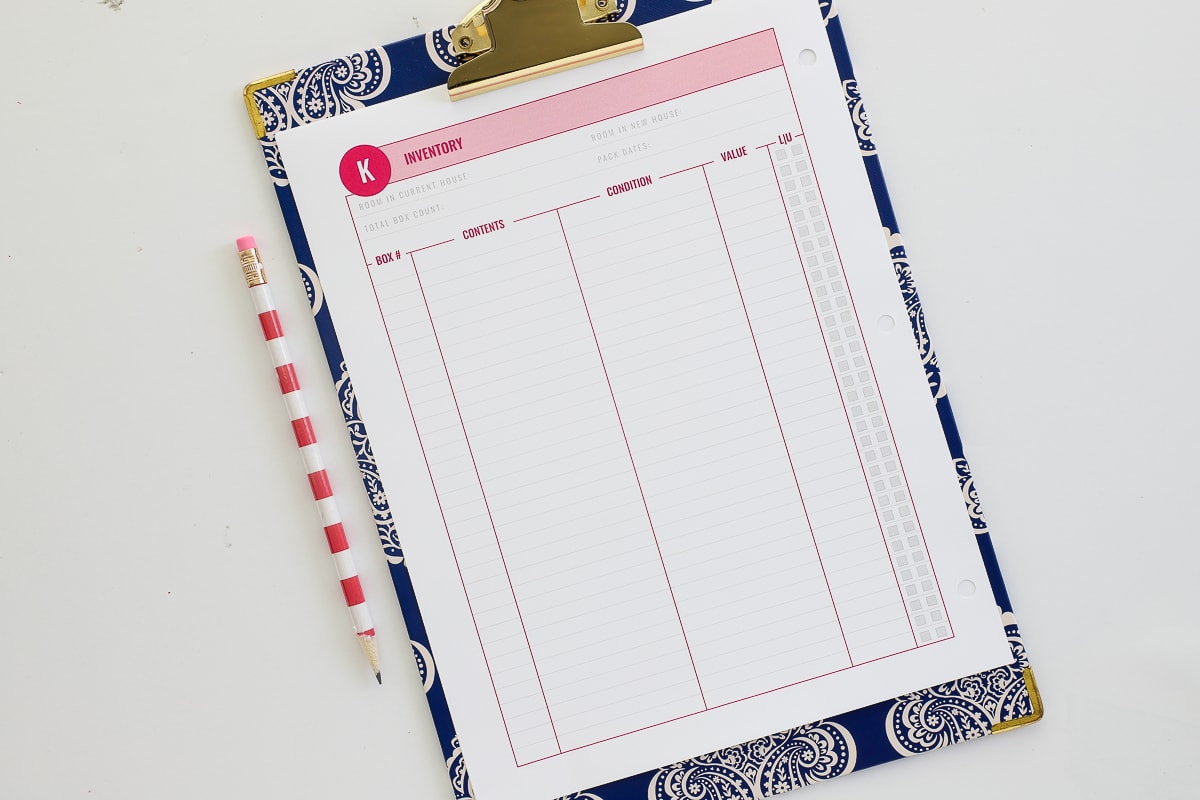
Printable Moving Box Inventories & Labels
Do You Have a Move Coming Up?
Check out my comprehensive collection of moving resources!
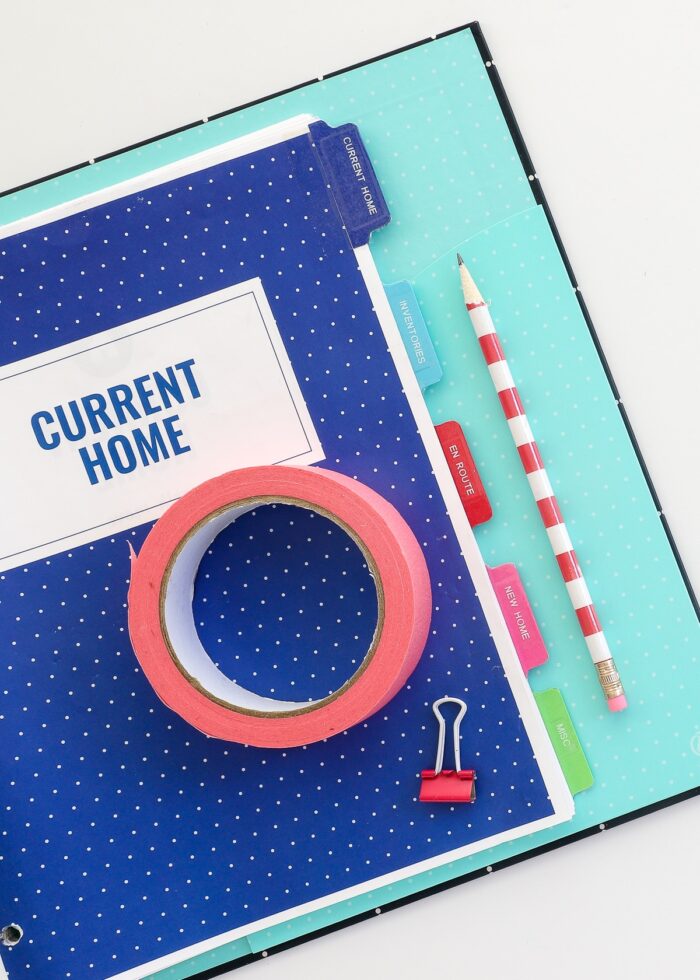
- The Complete “Smooth Move” Printable Moving Binder System
- Countdown to a Military PCS | Our Moving Timeline
- How to Declutter Your Entire Home Before a Move
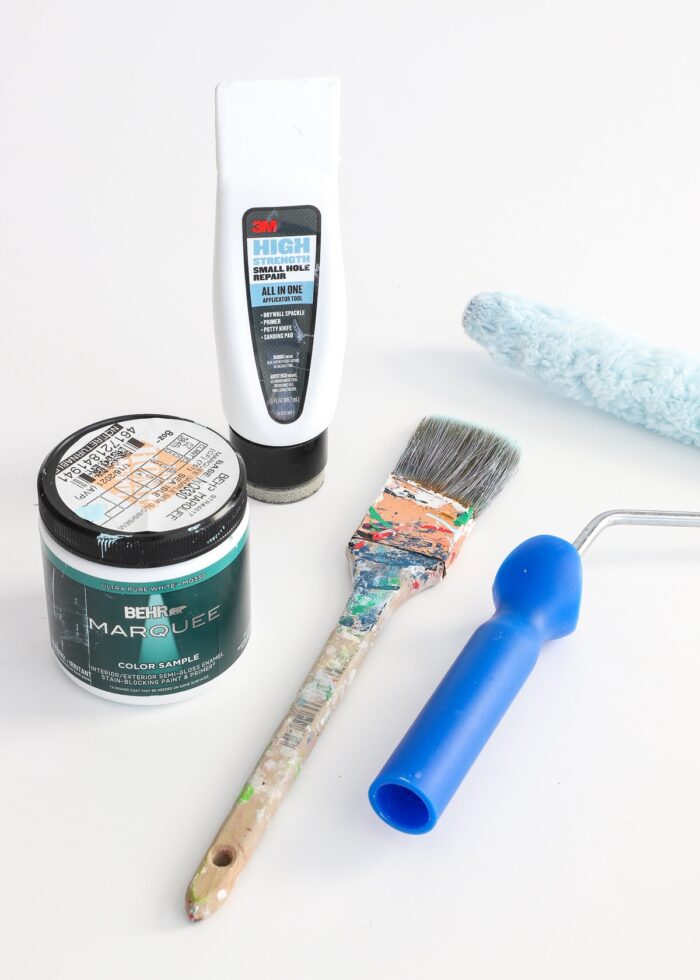
- These are the Moving Supplies You (Really) Need
- Easy Ways to Generate Extra Cash for a Move
- The BEST Moving Advice From Experienced Military Spouses
- Moving Essentials | What You REALLY Need Moving From One Home to Another
- Planning Your New Home Furniture Layout - Online Tool
- Planning Your New Home Furniture Layout - Paper Tool
- How (& Why) To Color Code Your Moving Boxes
- The Easiest Way to Pack Jewelry for a Move
- What to Do With Plants when You Move
- How to Fill Nail Holes In Your (Rental) Walls

This most recent move is the first time we fully, wholly embraced the color-coding concept, and I can say for certain it was a game changer! We’re officially adding “color code moving boxes” to our “Master Moving List.” The movers were able to unload the truck without any guidance from us; and I saw them actively and constantly referring to the color keys posted throughout the house. Not only did we have a really efficient move-in, but I’m confident the movers appreciated being able to do their thing without us getting in the way (they even told me so!)
If you have lots of boxes going to lots of different rooms…or even if you just have lots of helping hands…color coding is an easy process that will save you invaluable time and confusion throughout the course of your move!
Megan

7 Comments on “How (& Why) To Color Code Your Moving Boxes”
Having been married to someone profoundly colour blind, I would recommend numbers and/or letters as well as the colour coding!
For my recent move, my son suggested color coding the furniture also. He worked as a mover and appreciated not having to ask where each piece of furniture was to go. I did this and the movers I hired to unload appreciated the extra information that was available to them.
Wish I had had this reference when I moved at the start of the pandemic. Using different coloured tap would also let you re-use moving boxes.
Instead, my masking tape labels where too dark for the marker to show up well and my movers used the labels from the previous move. And I had no help to unpack!
Picture me, walking with my cane (so couldn’t move boxes), 3 chairs, a small table and an uninstalled dishwasher….and mountains of boxes all over my apartment. Fortunately I had purchased a bed and had it delivered prior to my move…..
For about 15 minutes I thought that this move was the biggest mistake I’d ever made.
What an excellent idea! I plan to use this when I move next Spring!
Hi Megan! I love your blog and have been reading for years. On my last move I used many of your tips and I did color code my boxes! I thought it was such a good idea and patted myself on the back when I was packing everything up. Once we were in our new home and the movers showed up with our boxes, the main mover handling boxes for various rooms was color blind!! I still had to tell him which room each box went to! Oh well.
When we moved 3 years ago. My fellow military spouses gave us some tape to color code our boxes. But with a limited number of colors and lots of smaller rooms, we ended up color coding floors and garage, then giving writing a letter or number for each room. So kitchen and dining room got the same color and a K or D to differentiate, and all the bedrooms got a color to get boxes to bedroom floor and then a number to the specific room. Our garage items got a gaffe tape color since gaffer tape doesn’t leave as much sticky residue for all the items that didn’t get boxed up.
Thank you for all your advice that has helped my military life.
What an absolutely brilliant concept. Your posts often astonish me. Always helpful. I know two men who are colorblind. I like the Idea of adding numbers that someone else had in the comments.