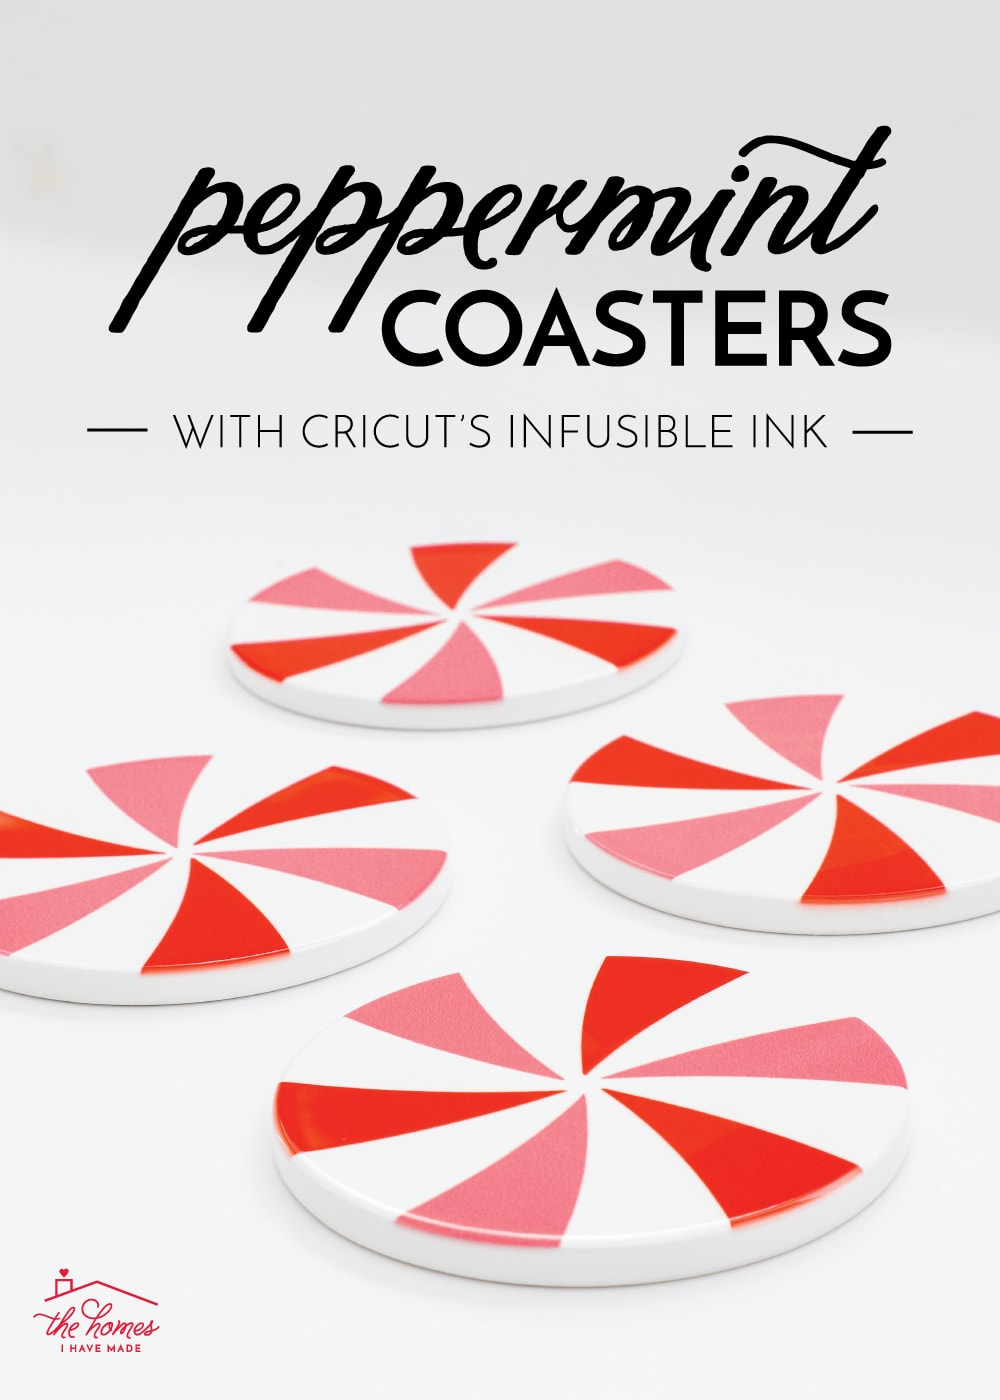
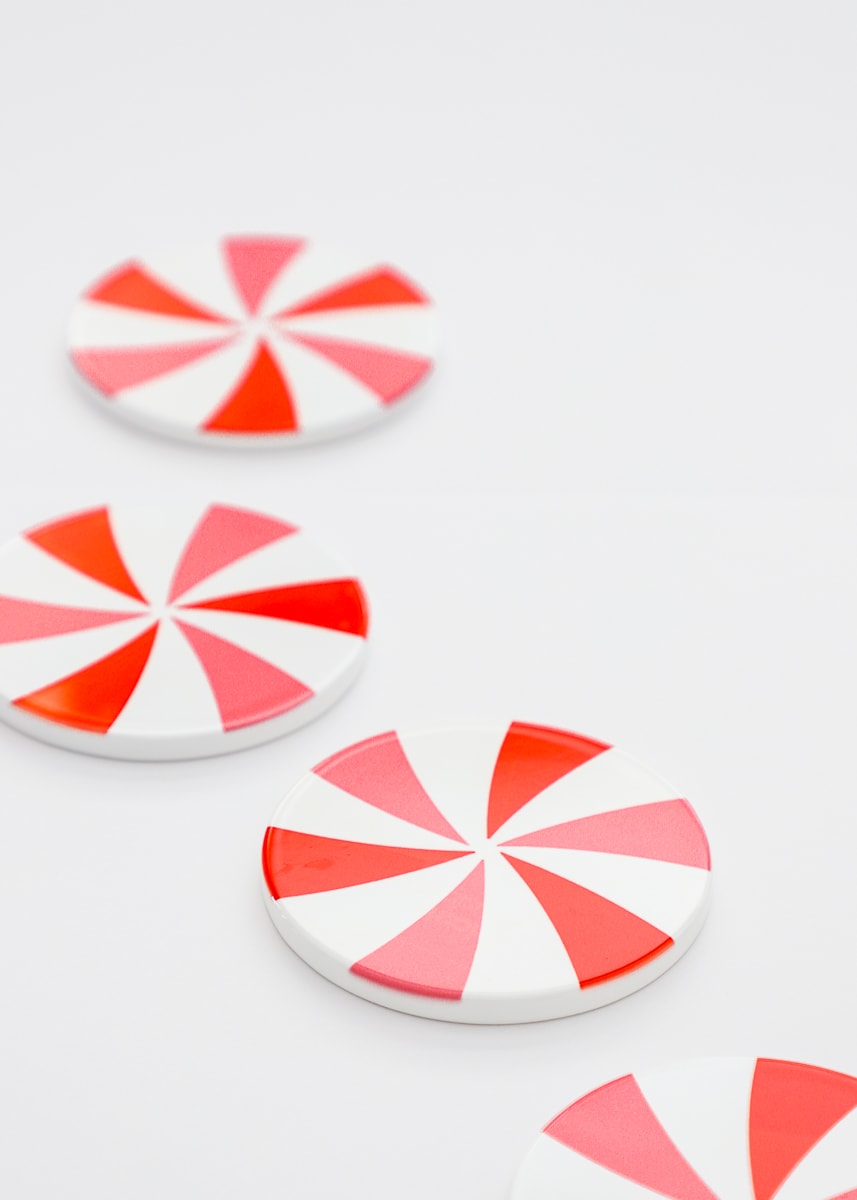
Peppermint Coasters with Cricut Infusible Ink
Are you guys ready to start your holiday projects? I’ve been crafting up a storm with my Cricut Joy lately, and I have a bunch of fun holiday DIYs coming your way! All of these projects are quick and easy (seriously!), and make great budget-friendly gifts. Today, I want to show you how to make adorable and festive peppermint coasters with Cricut Infusible Ink. You will be amazed at the professional quality of these coasters once they’re done, so you might want to make several sets at once: some to give, some to keep! Let me show you how they come together!
If you’re new to Cricut’s Infusible Ink, I suggest you check out this post for a full summary. In short though, Infusible Ink is a product you cut with your Cricut machine and then infuse into compatible blanks (in this case, coasters) with a heat source. The design doesn’t sit on top like vinyl or paper, but rather it’s infused into the surface, meaning it will never chip, fade, peel or wear away.
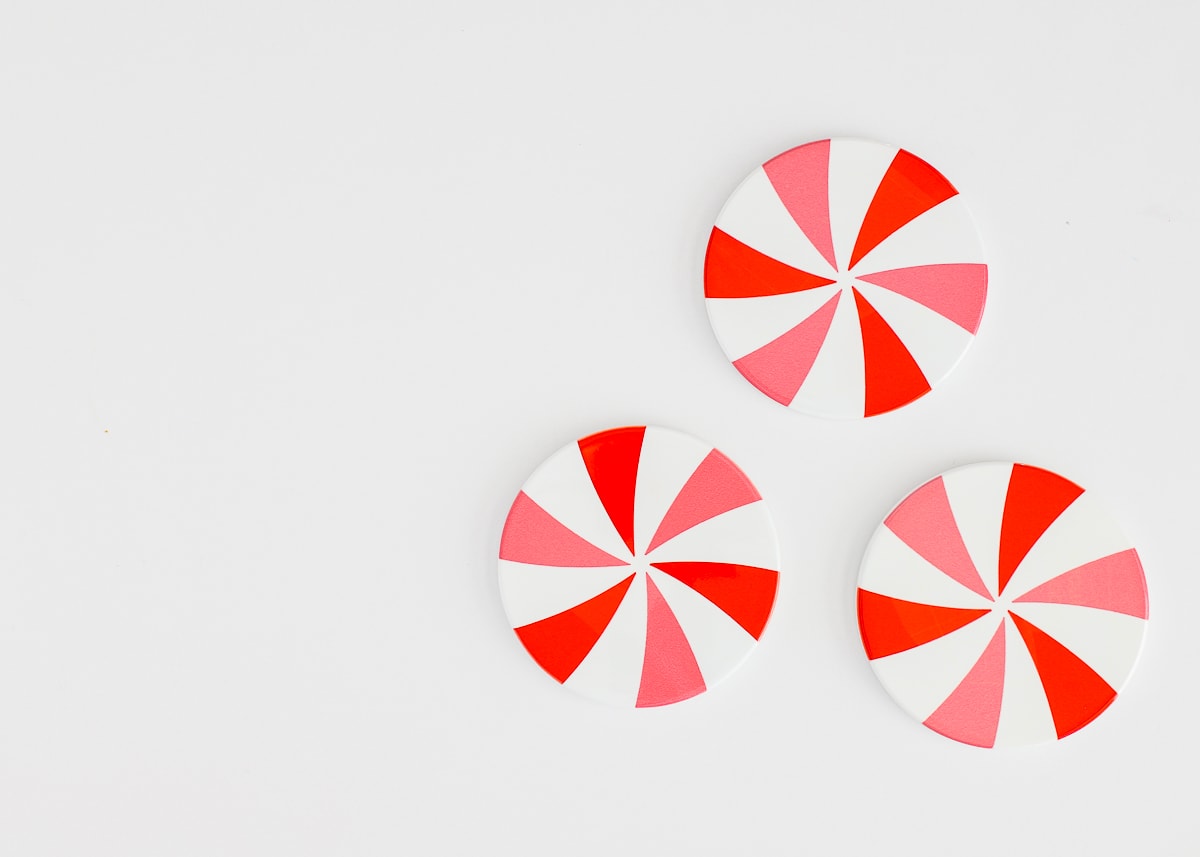
Cricut’s Round Coaster Blanks are heavy-duty, shiny and absorb the Infusible Ink products just beautifully. The results are so professional-looking that I guarantee people will say: “You really made this yourself?!?”
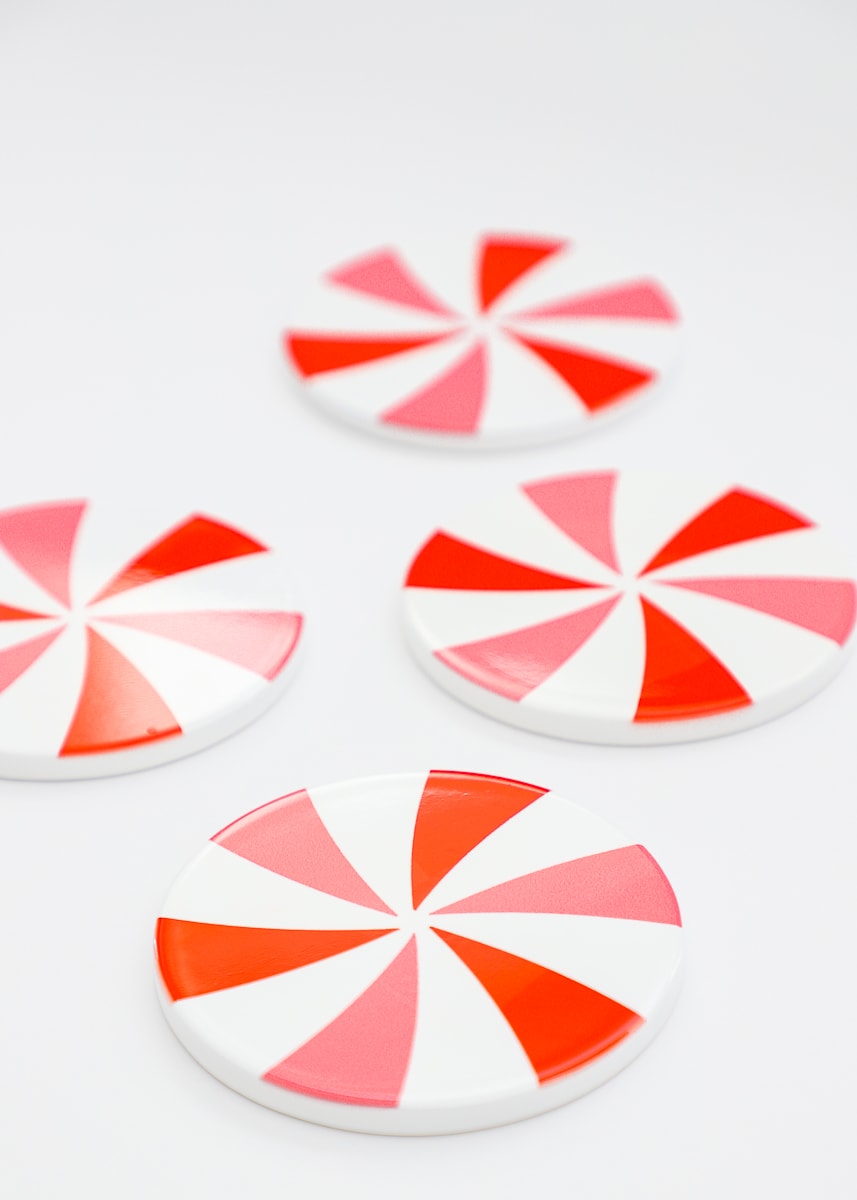
You can put any design you wish onto the Coasters Blanks; but to me, nothing says “holidays” more than peppermints! So with the help of some Infusible Ink Transfer Sheets (I used Red and Rose Pink), I transformed the plain coasters into giant-sized treats that are perfect for gifting or hosting!
Supplies Needed
To make these Peppermint Coasters with Cricut Infusible Ink, you will need:
- A Cricut Machine – this is a perfect project for the quick and handy little Cricut Joy, but you can cut the designs with the Explore and Maker too.
- Cricut Round Coaster Blanks
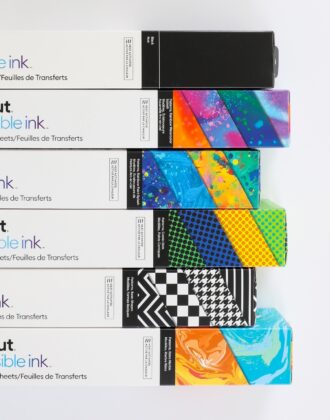
- Infusible Ink Transfer Sheets in Rose Pink and Red
- EasyPress 2 (NOTE: I show the EasyPress Mini below, which will absolutely work for this project; but I actually prefer the 7×6″ size for almost everything I do!)
- Peppermint Coaster Design in Cricut Design Space – Access it HERE!
These materials are optional but recommended:
- Heat Resistant Tape to hold your designs firmly in place as you transfer.
- EasyPress Mat (small or large) to protect your work surface and ensure flawless results!
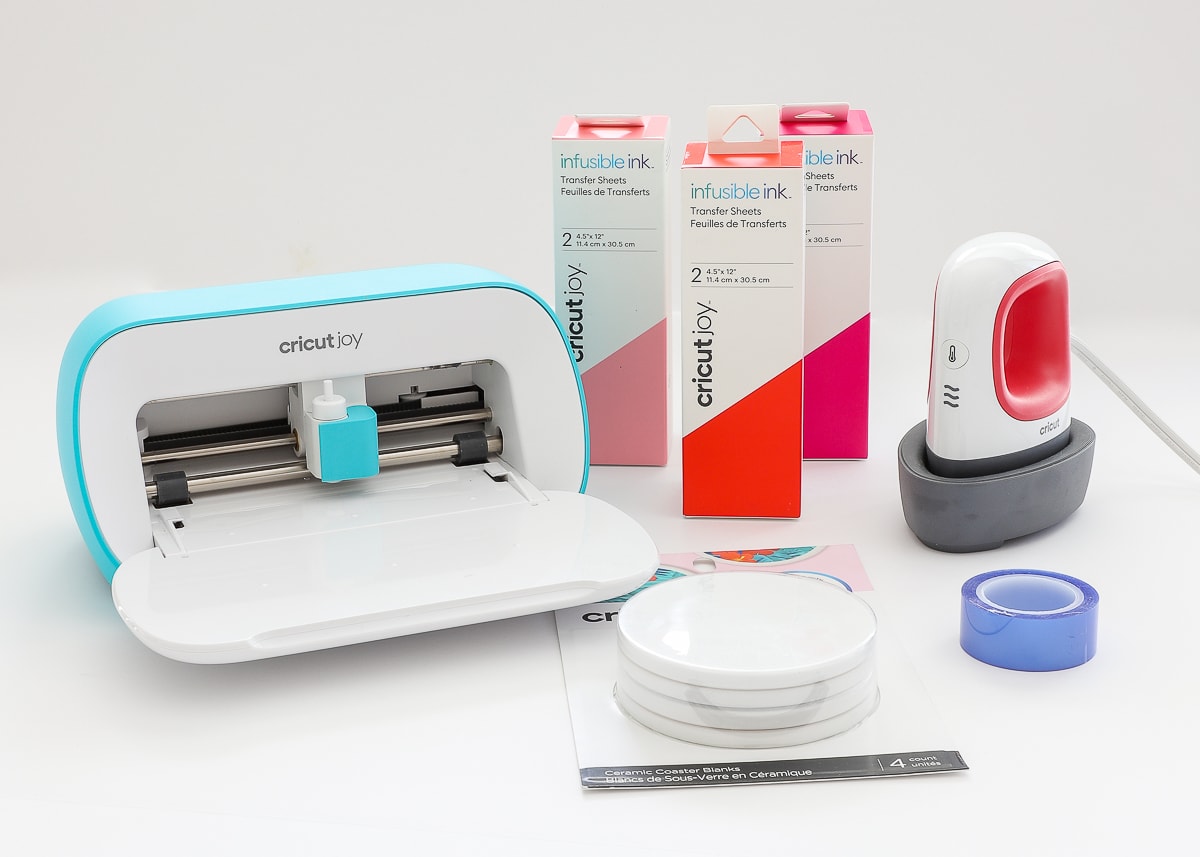
Cricut Joy | Infusible Ink Transfer Sheets | Cricut EasyPress | Round Coaster Blanks | Heat Resistant Tape
Cutting the Cricut Infusible Ink Transfer Sheets
Start by opening the Peppermint Coaster design in Cricut Design Space (access it HERE!). I have everything sized and ready for you, so you shouldn’t need to make any adjustments (unless you want to cut the design entirely from a single color).
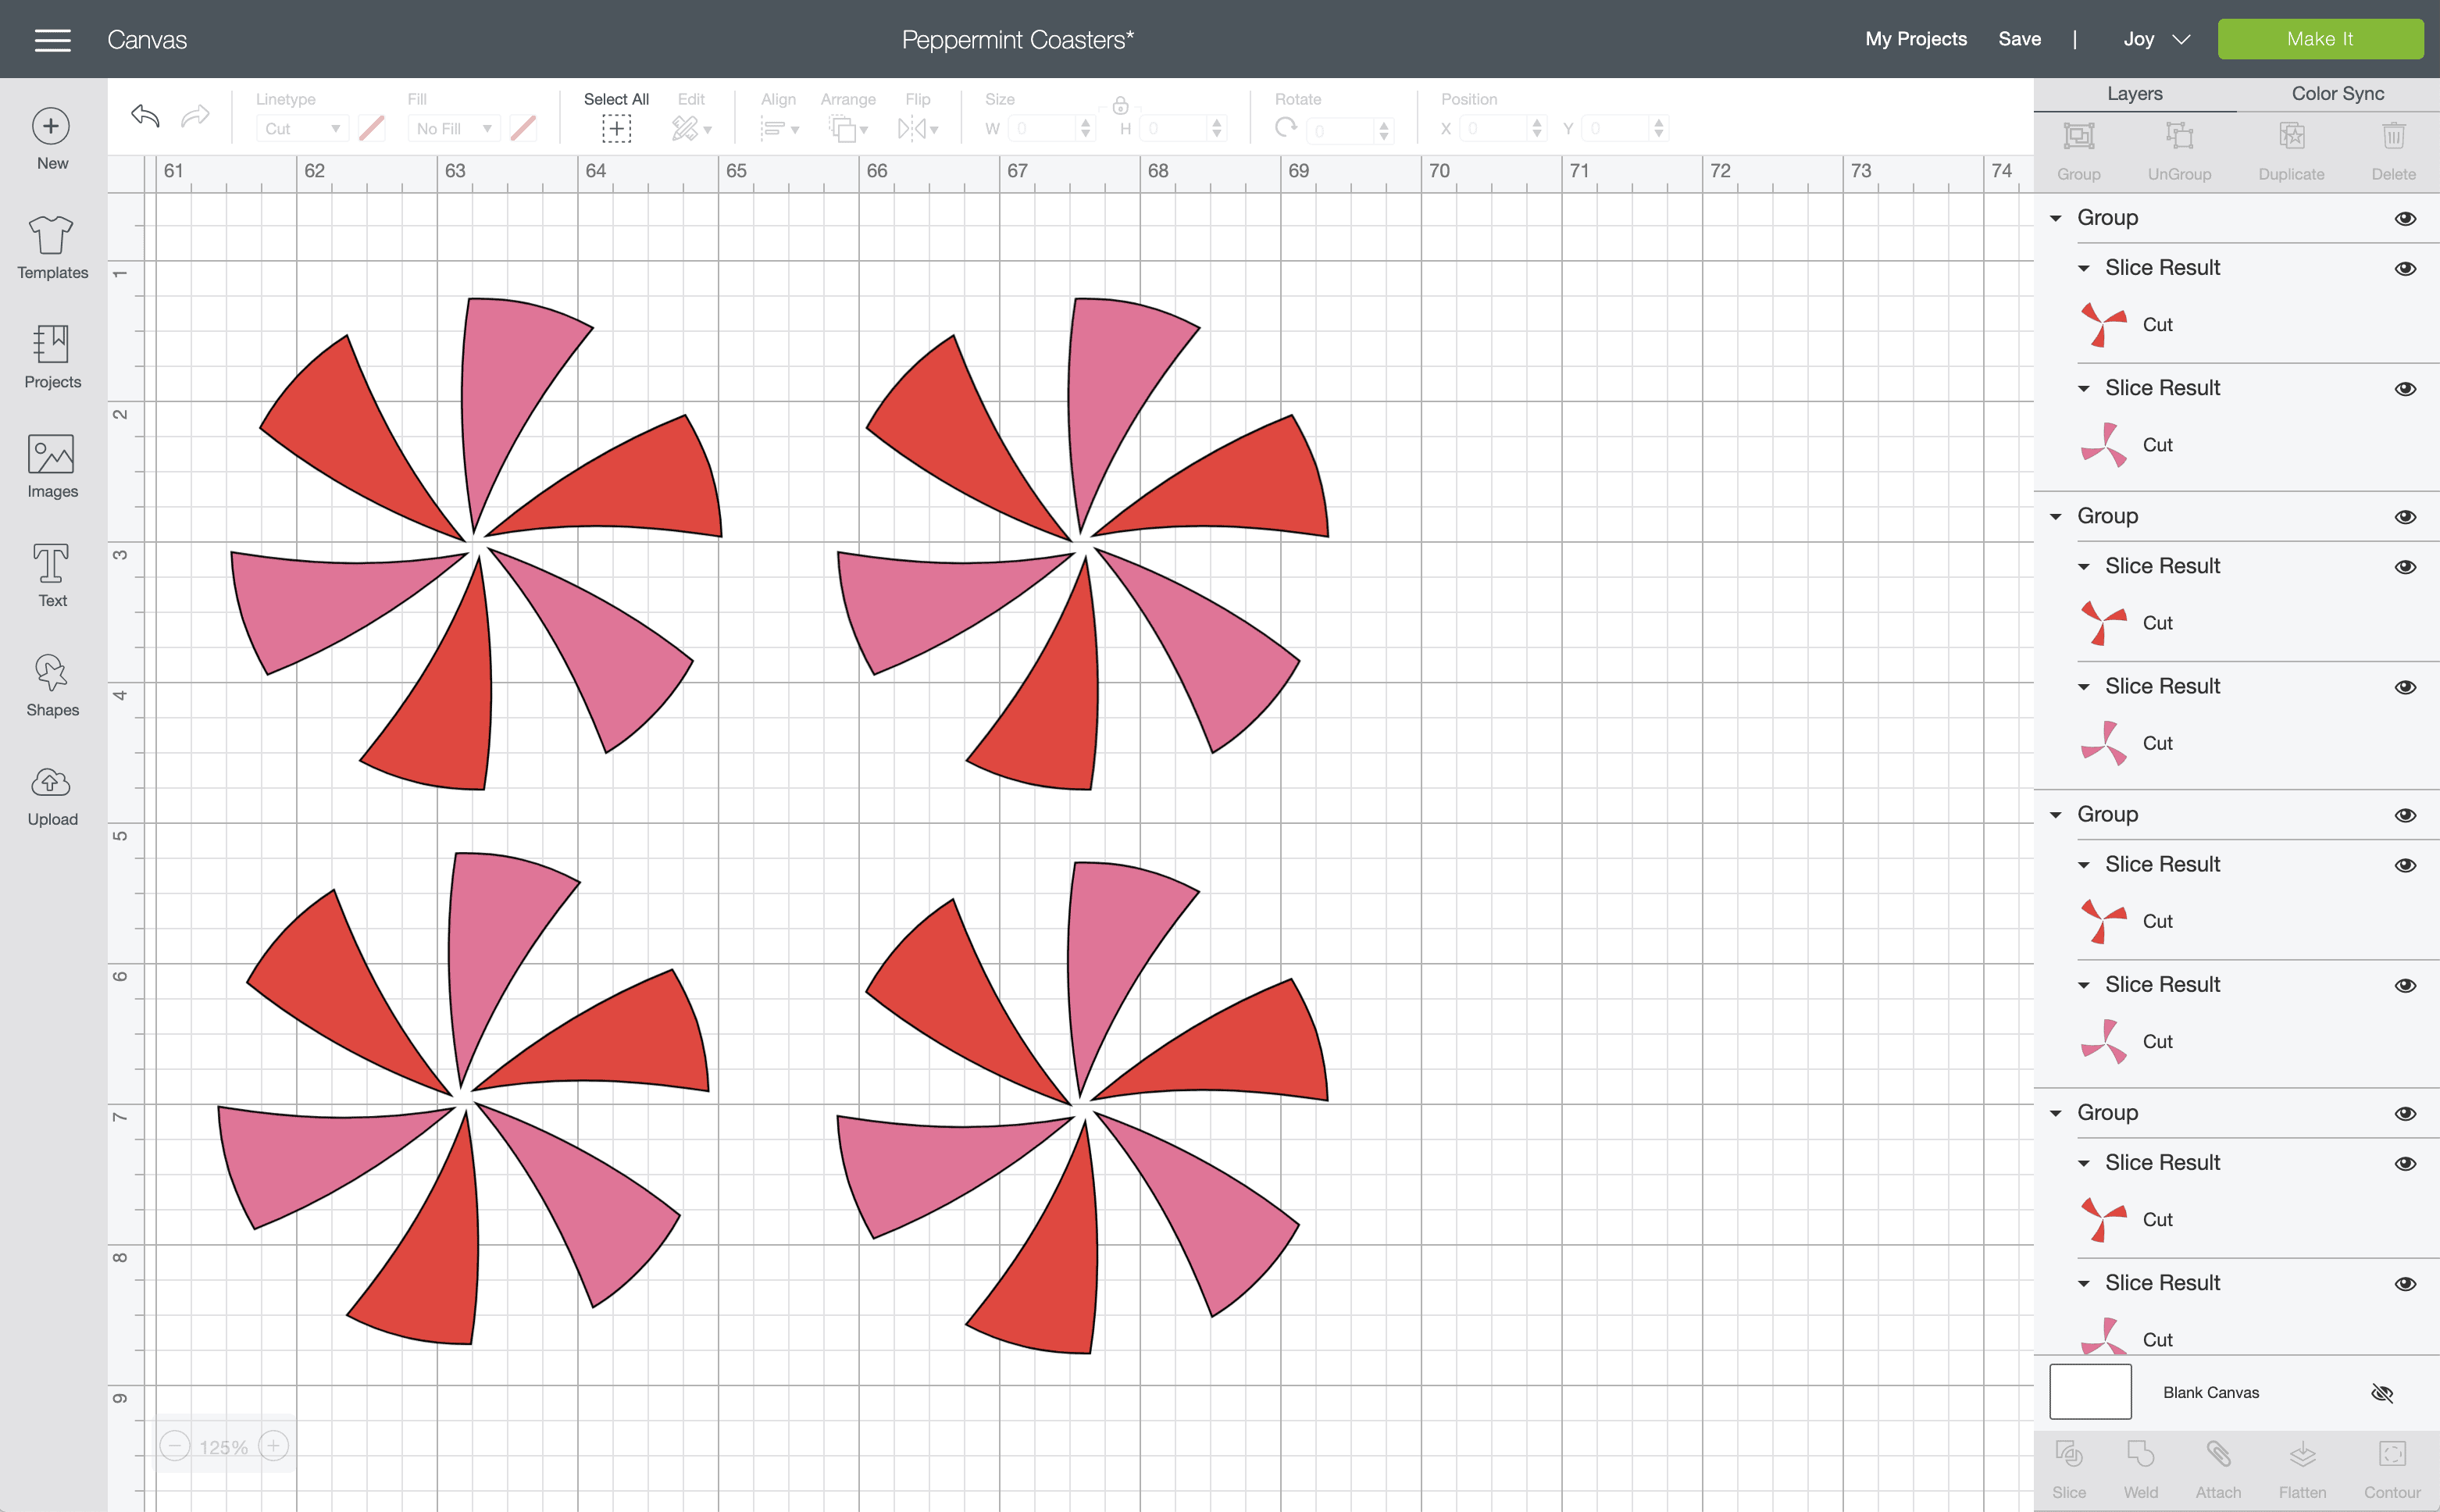
Send the peppermint designs to be cut with your Cricut Joy (or other Cricut machine), and select “Infusible Ink Transfer Sheets” from the Custom Materials menu. Be sure to follow the instructions on the final cut screen precisely, including 1) mirroring your design, and 2) loading the transfer sheet onto your mat shiny side down.
NOTE: The Joy-compatible Infusible Ink Transfer Sheets are not “Smart,” so they will first need to be loaded onto a Standard Grip mat to be cut.
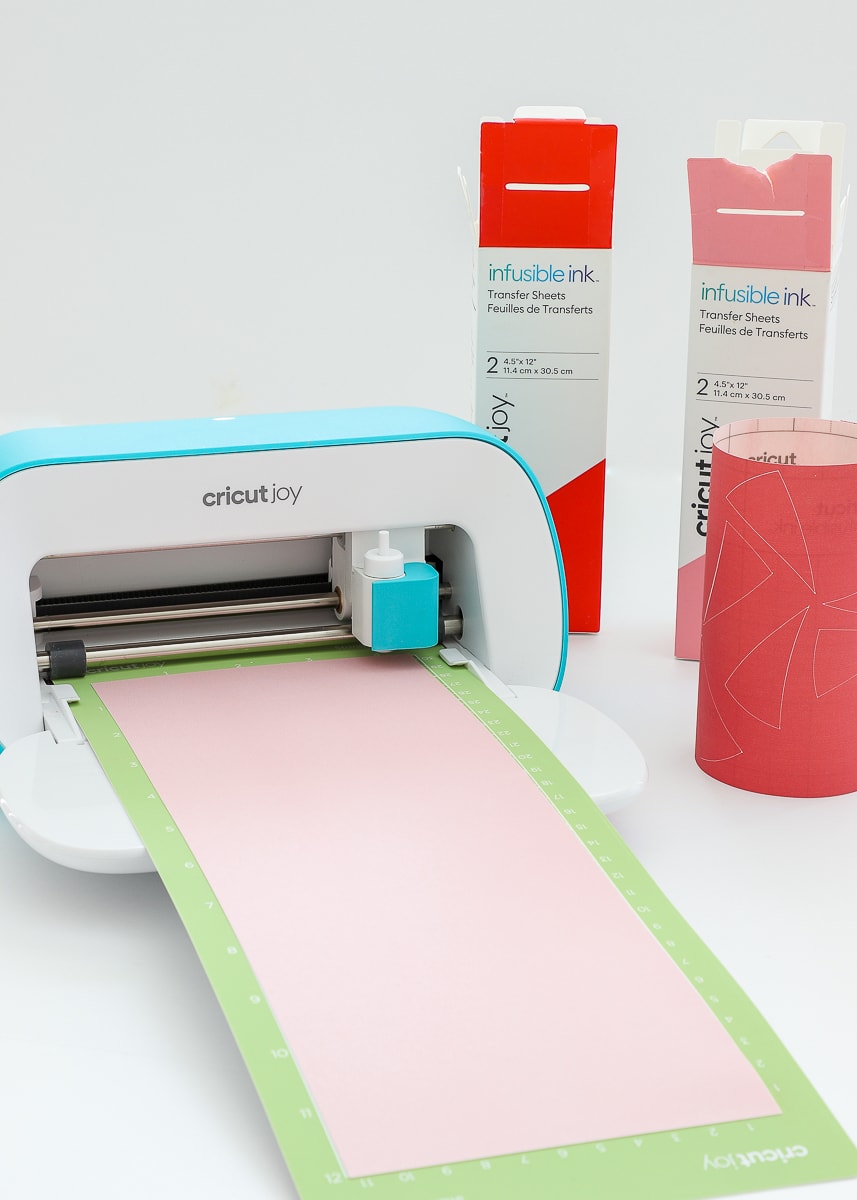
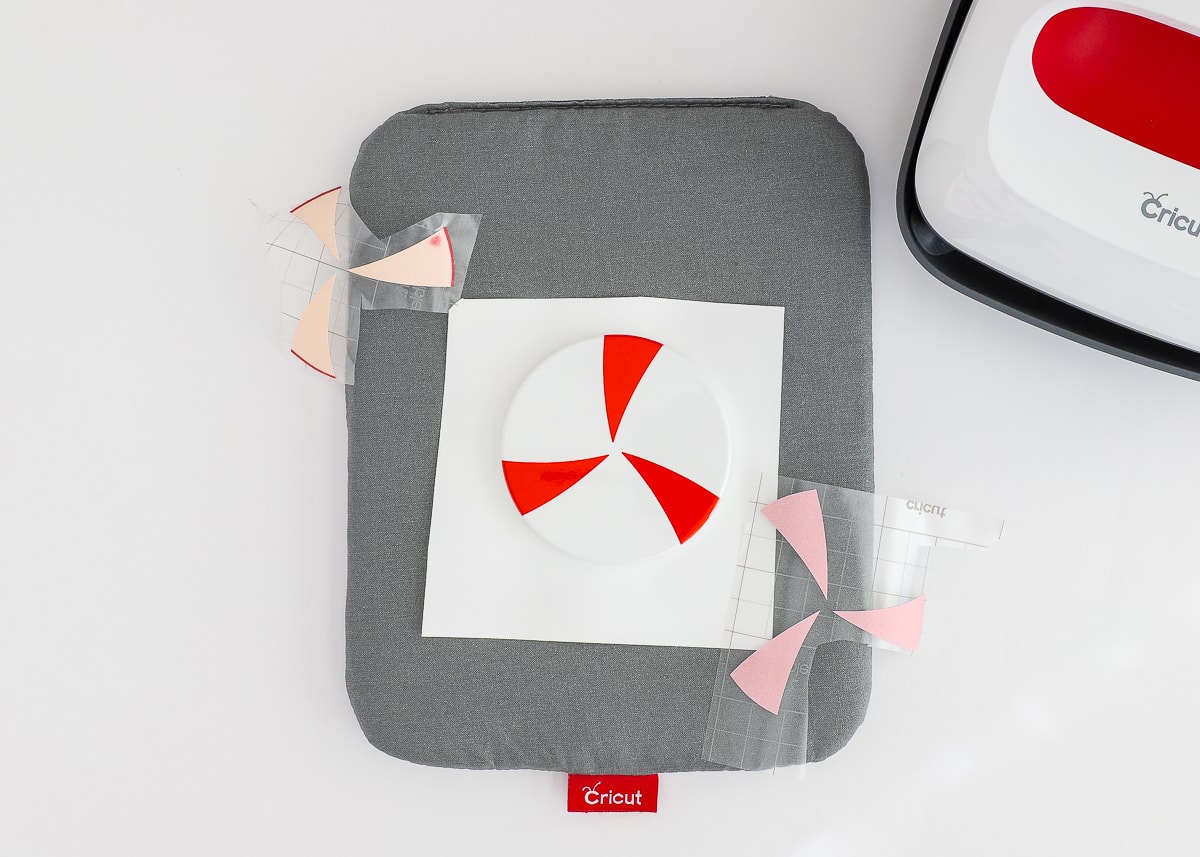
Once the peppermint designs are cut from both the red and pink Infusible Ink Transfer Sheets, peel away the excess paper.
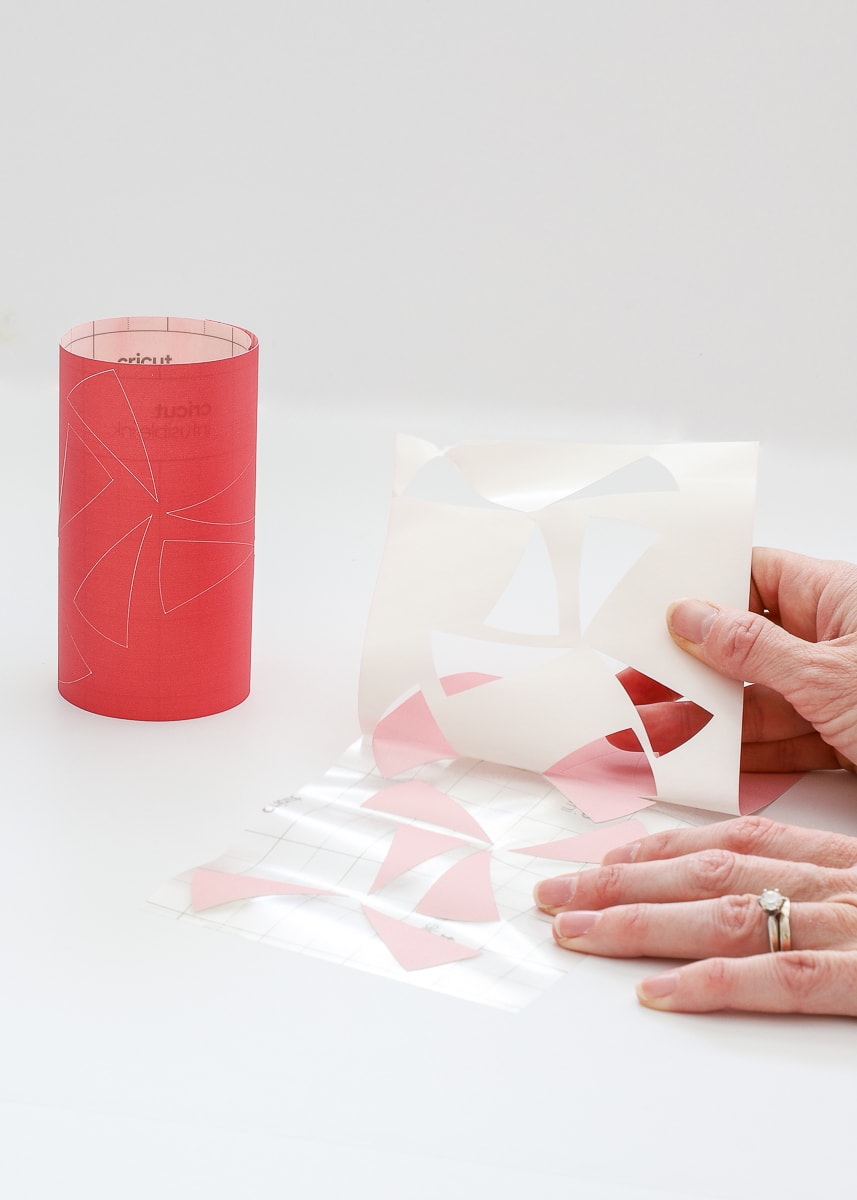
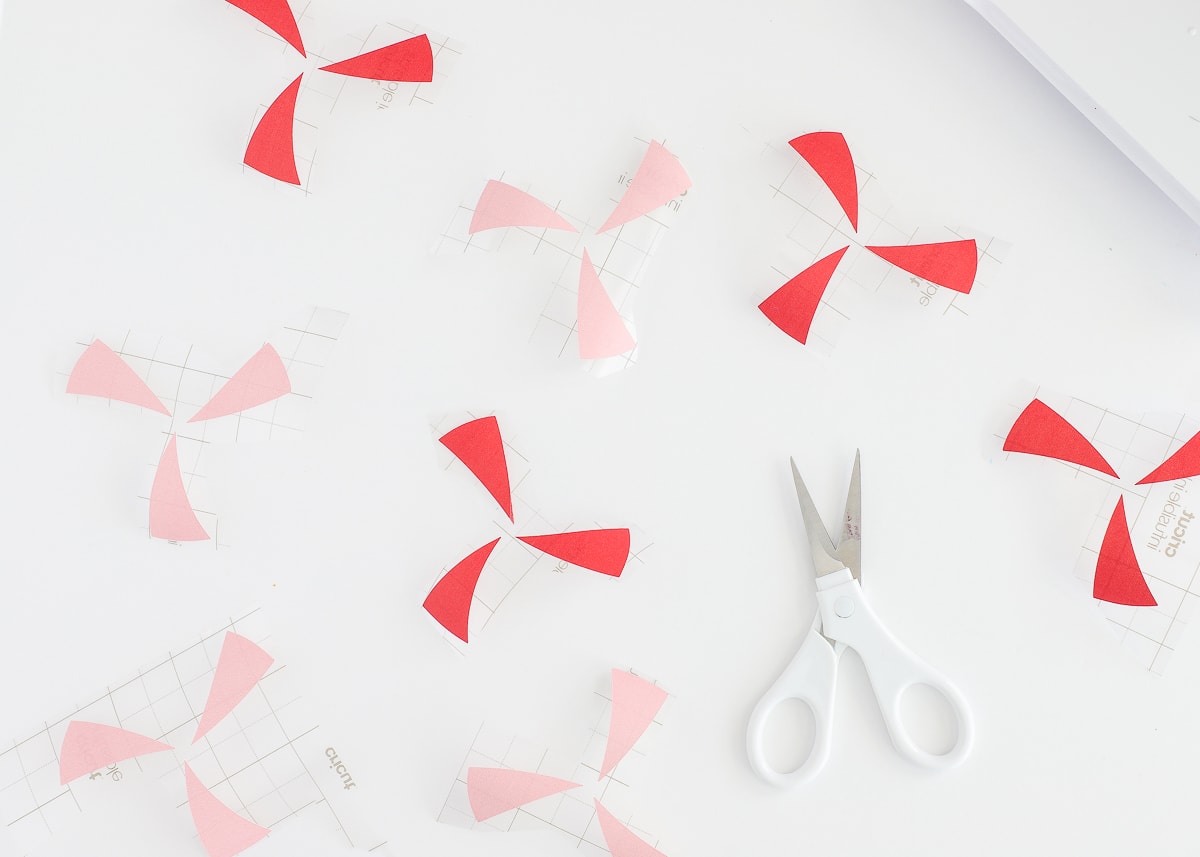
Next, use a scissors to cut out each 3-prong design. I highly recommend trimming away as much of the liner sheet as you can without cutting the 3 triangles completely apart.
Want to save this post?
Applying the Infusible Ink to the Coasters
Applying the Infusible Ink Transfer Sheets is NOT hard, but there are several steps you need to follow in order for them to turn out just right. I’m not going to outline every single step for you here, since even I pull up THIS GUIDE every time I make coasters. Below is the general process with some helpful tips!
After cleaning your coaster with the included lint-free cloth, place your red peppermint cuts face down onto the shiny side of the coaster. Press the surrounding sticky transfer sheet firmly onto the coaster to hold the design in place. If needed, use some Heat Resistant Tape to hold the design exactly where you want it.

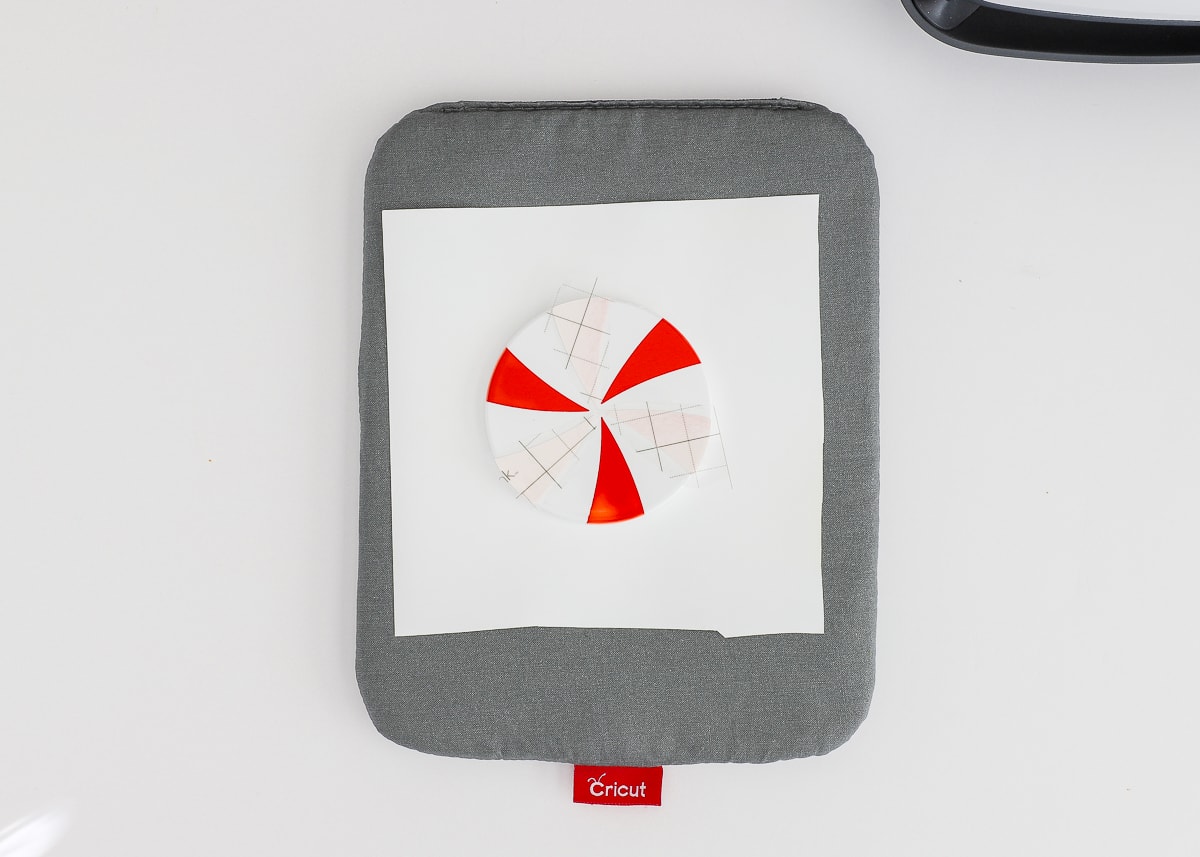
Before heating your coaster, you will need to layer plain cardstock | the coaster | and butcher paper onto an EasyPress Mat or other heat-safe surface. Please refer to these instructions for more detail.
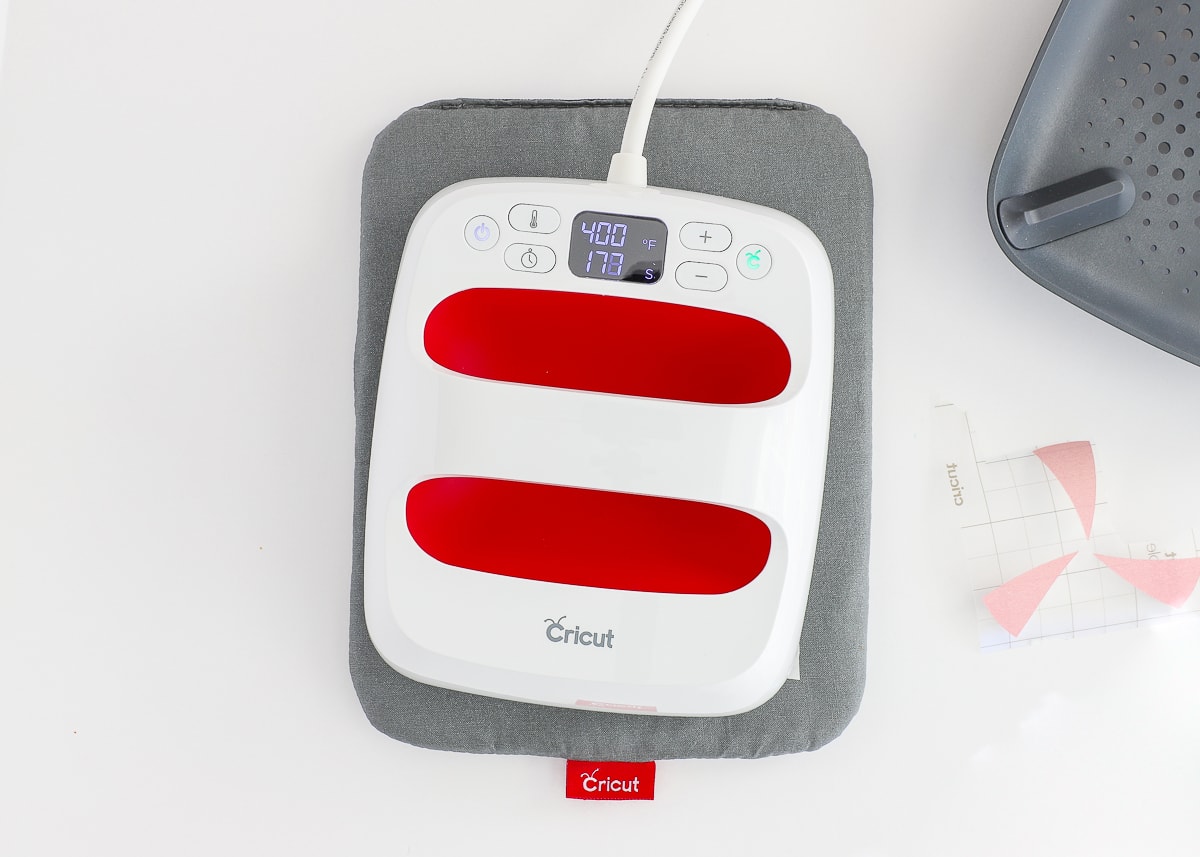
Once you have everything layered correctly, place your EasyPress onto the paper-coaster stack at 400 degrees for 240 seconds (yep, 4 full minutes!). While it’s heating, don’t touch the press or move your EasyPress Mat in any way. Just let it be!
Once the EasyPress beeps, carefully lift it away and let your stack sit for a veeeeeerry long time before touching it. The coaster will be incredibly hot and will need several minutes to cool down before you can handle it and move on.
After ~5+ minutes, you should be able to un-stack the papers and coaster to pull off the transfer sheet and reveal the red ink design infused into your coaster!
Next, repeat the process with the pink elements of the peppermint design.
IMPORTANT TIP! I learned this the hard way: DO NOT let the clear liner sheet cover the already-infused red sections (or it will distort your design just a bit). Trim away as much of the liner sheet as possible so it doesn’t touch the red. This might mean you have to place each section separately and hold them in place with Heat Resistant Tape.
Repeat the stacking and heating process (again, refer to these instructions) on the pink cuts.
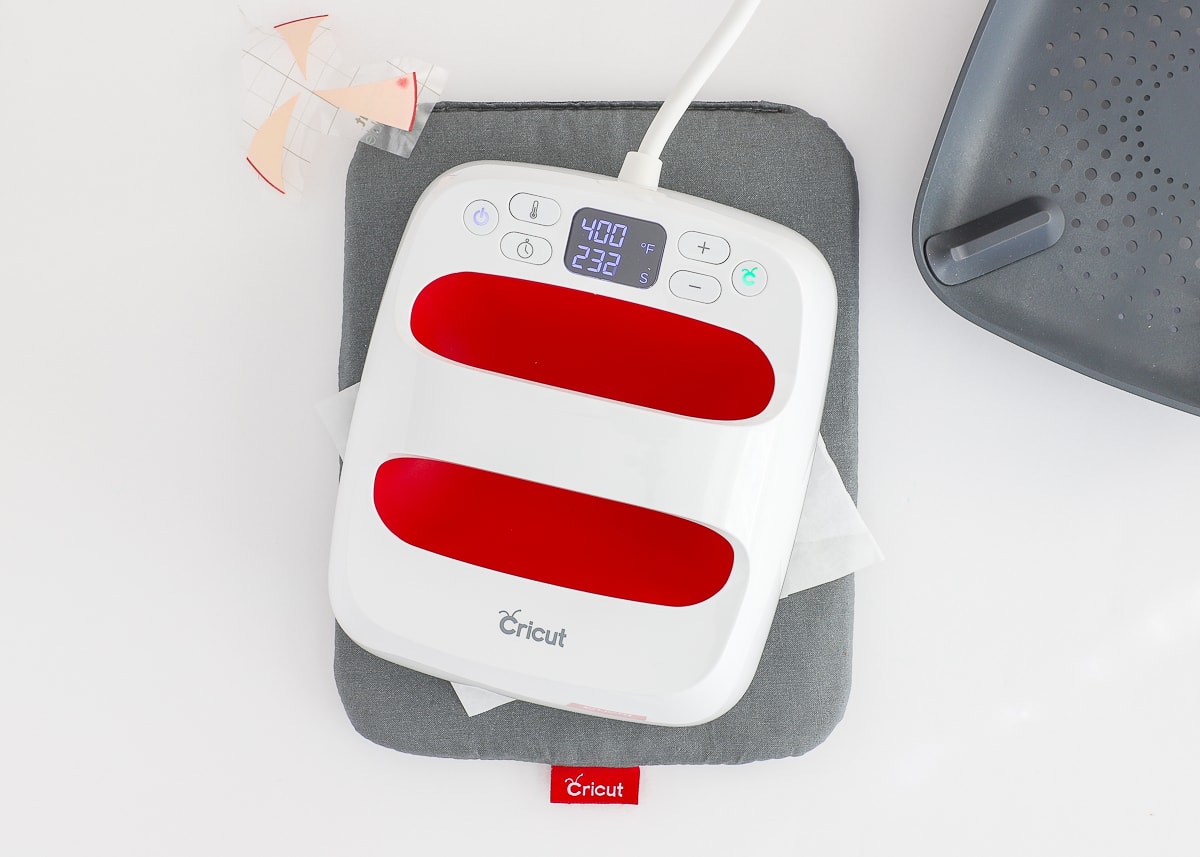
Once fully cool, peel away the pink transfer sheet to reveal the finished peppermint design!
TIP! These coasters ARE easy…really easy. But the heating process just for a single coaster takes a long time (4 minutes heating plus another 5+ to let it cool, and then all repeated again for the second color). If you have the space, I recommend setting up all four coasters in their stacks (cardstock | coaster | butcher paper) on a large EasyPress Mat with a good 5 inches between each pile. Heat the first coaster. Once done, carefully move the EasyPress to a second coaster, letting the first one cool. Work around all the coasters in the same way, taking care not to disrupt each stack or nudge the coasters in any way (movement can make your transfer smudge). This will allow coasters to fully cool down while you’re heating the next one.
I’ve got peppermints on the mind this holiday season, and these coasters are just the first of a few swirly-themed ideas you’ll see in the coming weeks. I can’t wait to show you some other gifts you can make with your Cricut machine!

Megan


4 Comments on “Peppermint Coasters with Cricut Infusible Ink”
Oh my gosh. Love this. Hope you and your family are staying safe Megan. Helping my 11yo with virtual learning as I type this. <3
Thanks so much, Bethany!
Hope virtual learning is going well!
Happy Saturday!Megan
I don’t have a Cricut but have been on the hunt for this color scheme in peppermint coasters. Can you make them for me and I order from you?!
These coasters are so cute – I can’t wait to try them! I have a question for you since I am new to using Infusible Ink: I recently printed a little camper to go on a coaster and when I cut around my image and heated it (I saw a recommendation online to turn the coaster face-down on the white cardstock and put the butcher paper on top of that before heating), I’m able to see the lines from the carrier sheet (where I had cut around the image) on the finished product. I used the time and temperatures recommended on Cricut’s Heat Guide (400° for 240 seconds). Do you know what I might be doing wrong that these lines would show on the coaster? Thank you so much for any help you might be able to provide!