


(Finally) Making Over Our Vintage Cedar Chest
Today I want to tell you the story of my poor old cedar chest. How (for years!) it had been banished to the most hidden and forgotten corners of our home, only to be fully restored and given a brand new purpose and place of honor. This is a “glow up” story far too long in the making; and I’m not even sure I should share it, as updating old/antique pieces is always somewhat controversial. But I think you’ll see how the decision to (finally!) paint this chest is ultimately what brought it back inside our home, and our hearts, where it belongs!
As Long as I Can Remember
This cedar chest belonged to my mother, but it lived in my childhood bedroom for pretty much as long as I can remember.
It was always there, at the foot of my bed. Big and sturdy and crammed full with the memories and treasures of my childhood.
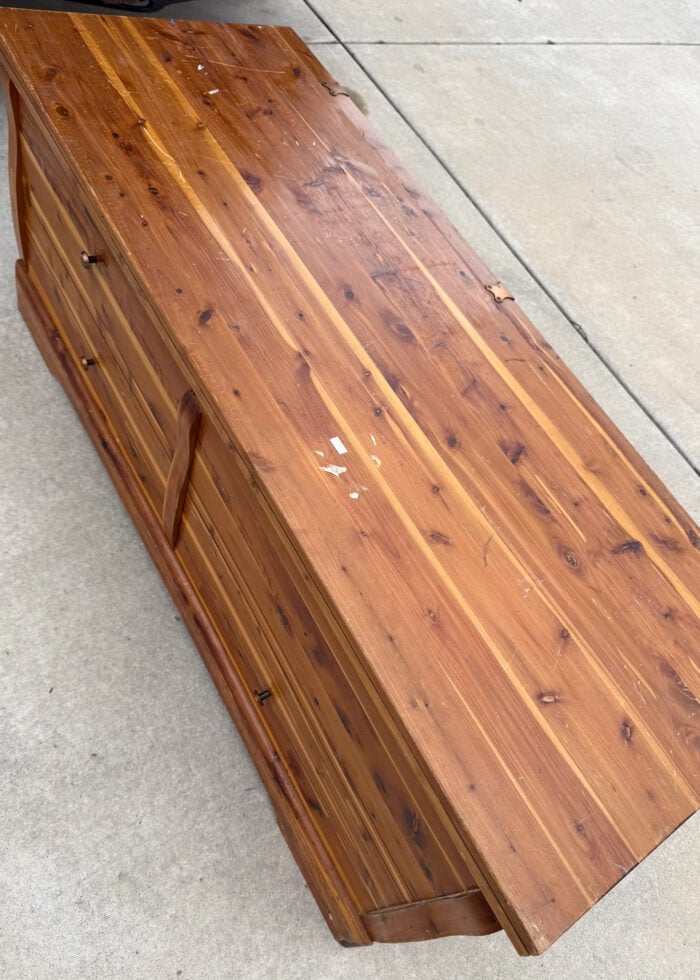
When my mother passed away and we cleaned out my childhood home, the cedar chest was passed along to me.
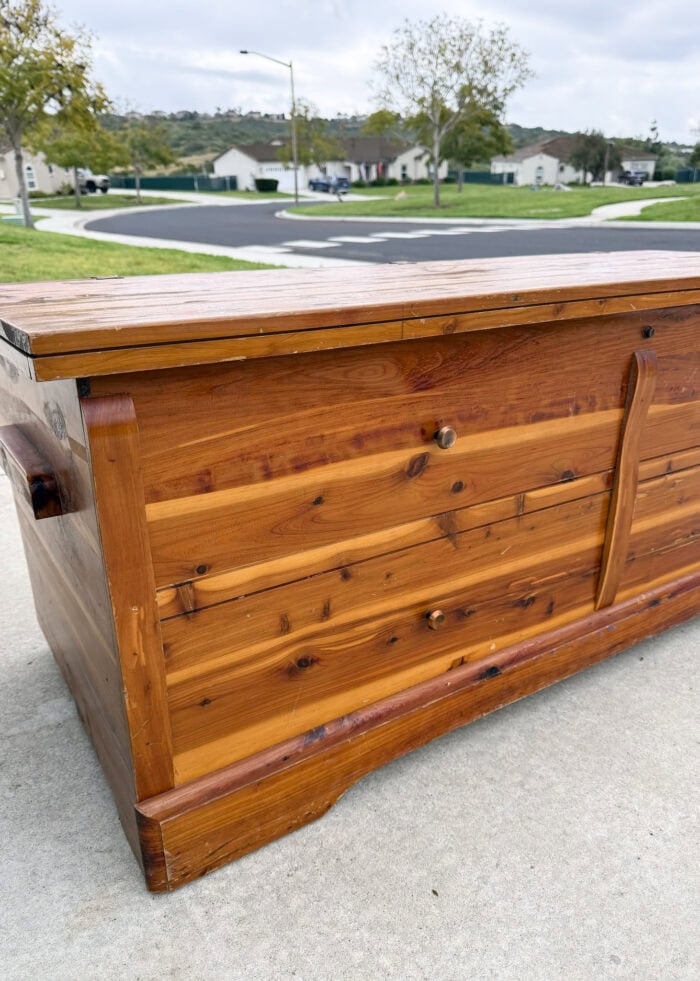
And while I loved the nostalgia of it (and all the memories it held inside), we could never seem to find a place for it. It’s large size and oh-so-red cedar color just didn’t work with anything else in our home.
Beyond the color though, the chest became pretty damaged over the course of several moves. A broken foot caused it to wobble, a broken hinge made opening the lid difficult, and a busted side threatened the integrity of the entire structure.
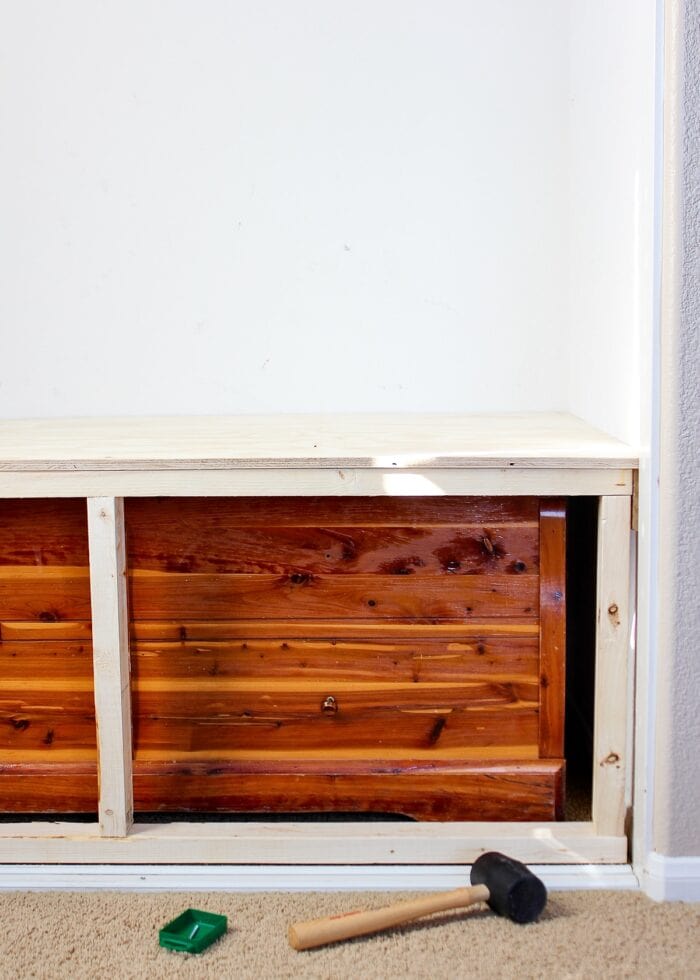
And so in house…after house…after house…the cedar chest was quite literally banished. To the garage. To the storage room. To the backs of closets. In one house, we even constructed a built-in bench around it.
Potential
When we were moving into our current house, we weren’t quite sure where the cedar chest would be “stored” this time, so the movers put it down at the foot of our bed.
We’ve never really had anything at the foot of our bed before, and Greg and I found ourselves enjoying having a place to put things down, fold laundry, and sit to put shoes on.
The cedar chest was really the perfect size and so functional in this spot. But we still had that “broken and ugly” problem.
And then it occurred to me: what if we just got it fixed.
I know it seems obvious. But when things are old and sentimental and cherished…fixing it or changing it doesn’t seem like an actual option. But it is.
Going Pro
I knew in my gut we needed a professional to restore this cedar chest.
Want to save this post?
Sure, I’ve re-done furniture in the past. But for one – I’m kinda over it. And two – this one required some work outside my skill set.
I wanted the damage professionally repaired and the refinishing done by someone who knew how to treat cedar (since that red hue can show through almost anything).
So after finding a “furniture doctor” near us, I outlined the scope of work, dropped it off, and returned two months later…to this!
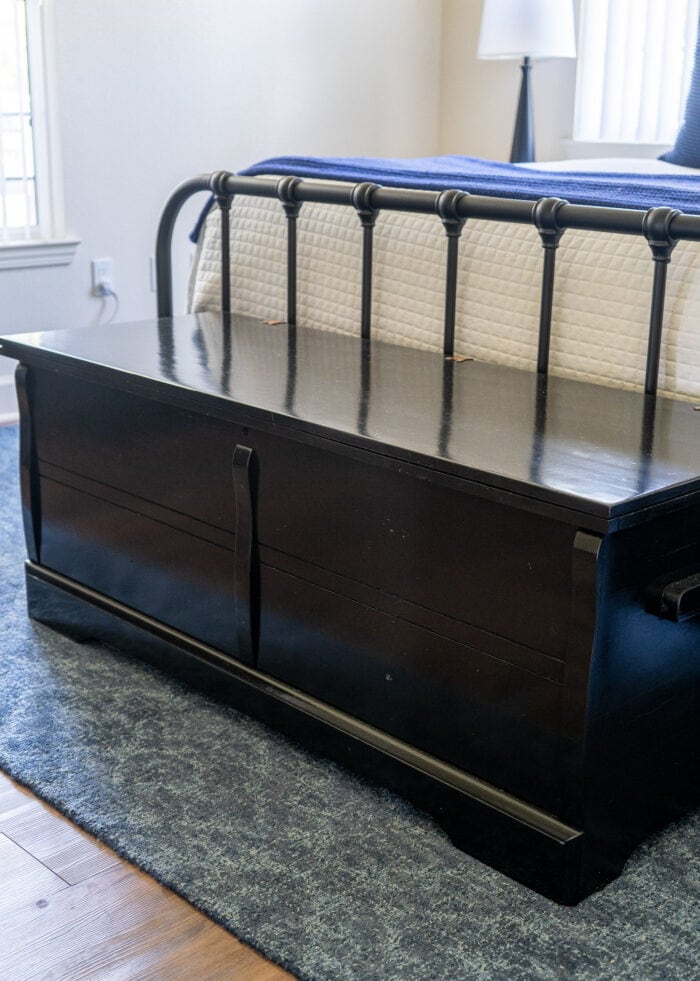
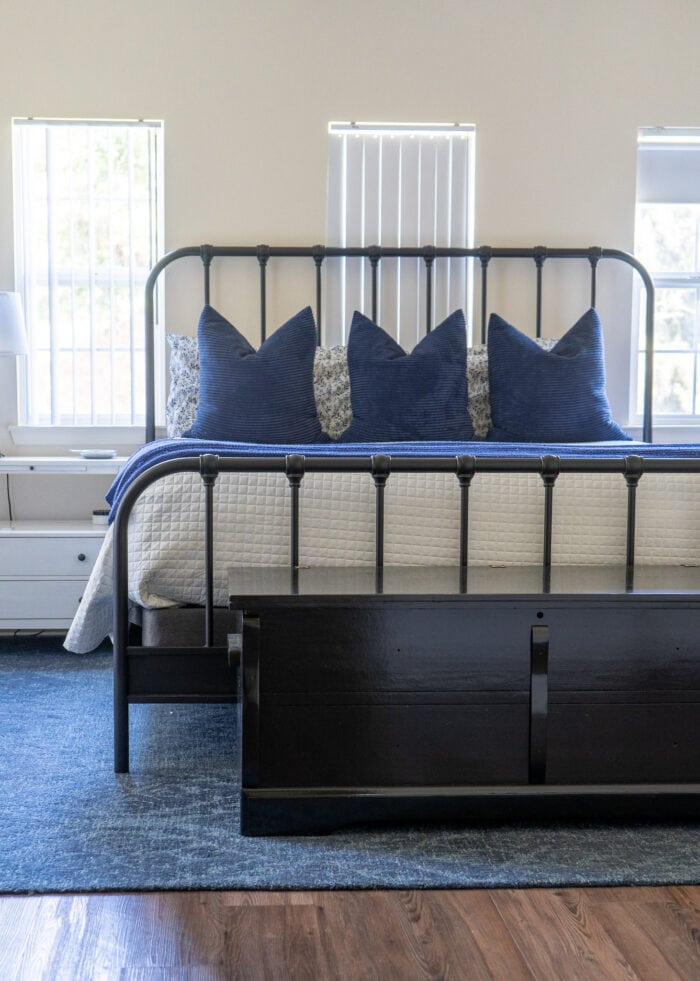
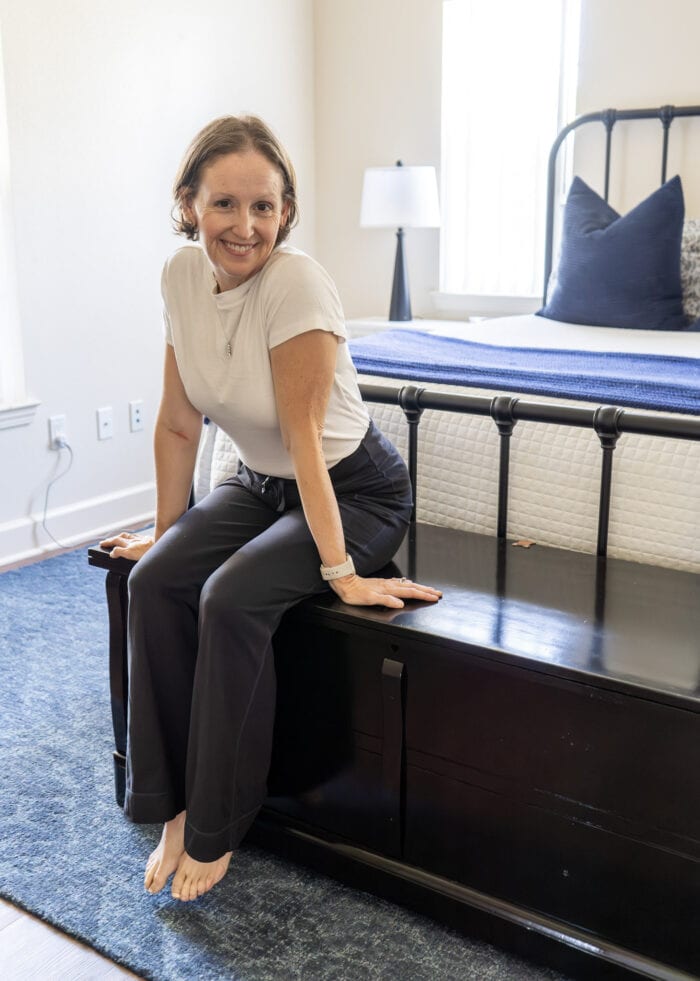
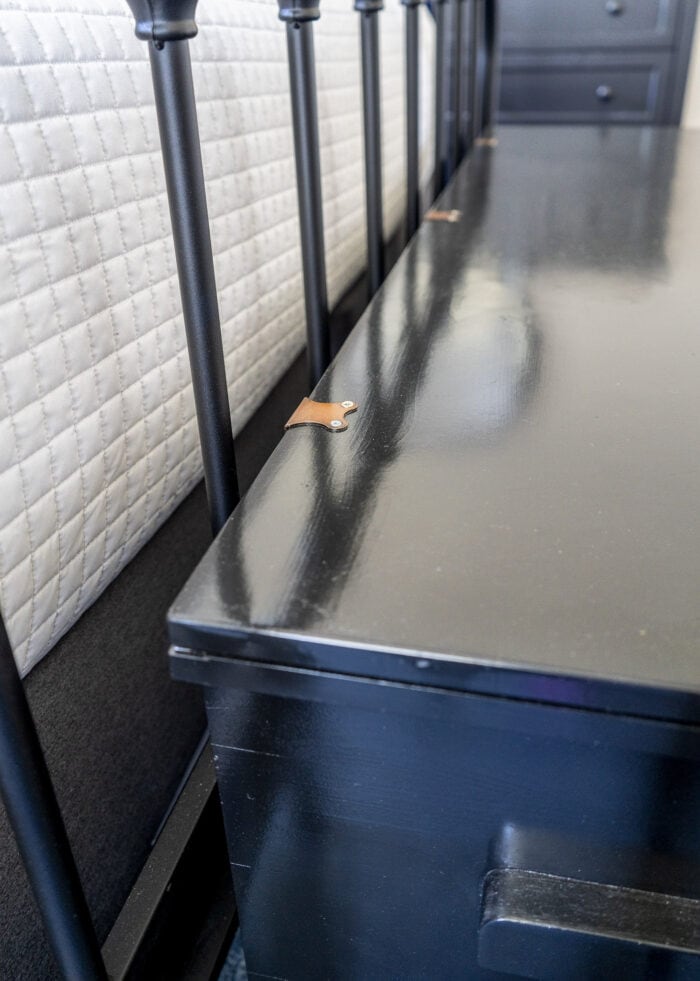
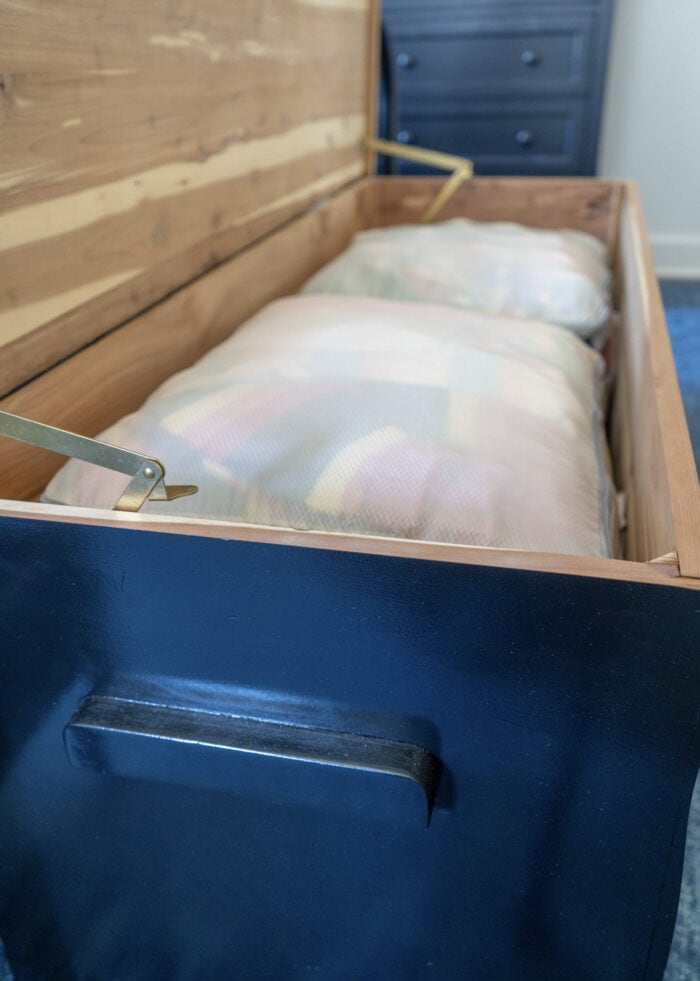
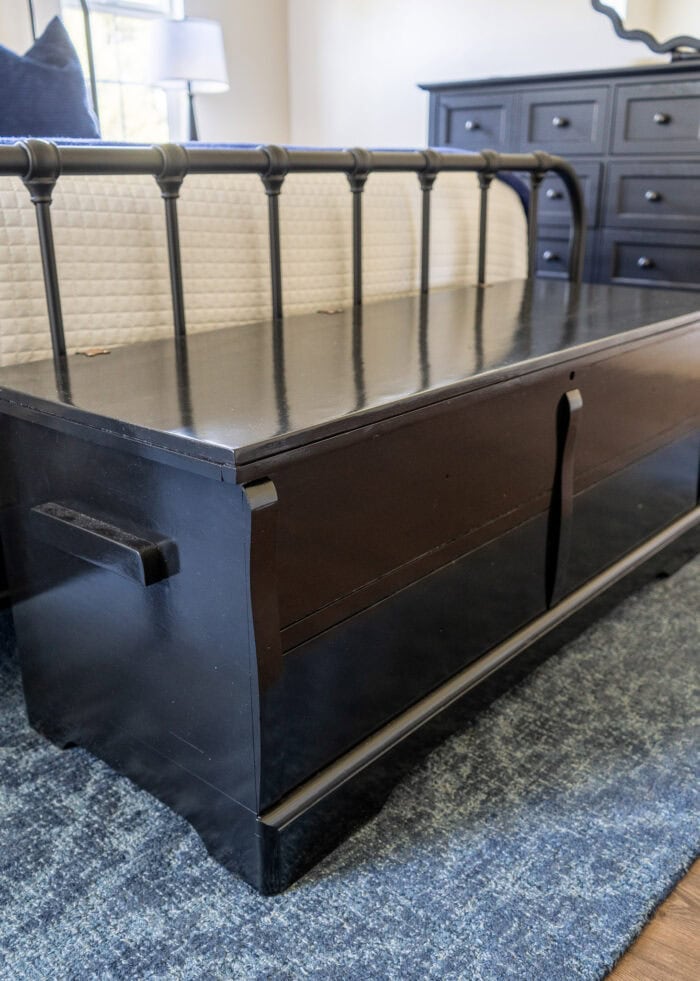
The chest’s foot, sides, and hinge are fully repaired and the outside is now painted sleek black and sealed with 5+ coats of lacquer. He removed the broken and dated hardware, but left the original brass hinges in place (which I’m kind of obsessed with). The raw cedar inside was cleaned but remained otherwise untouched.
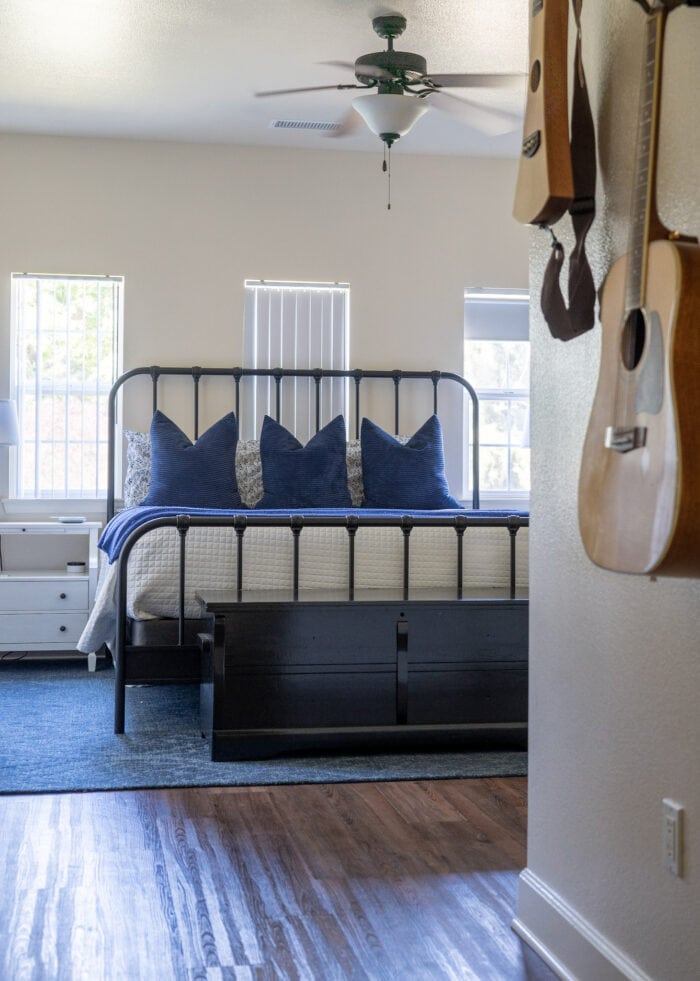
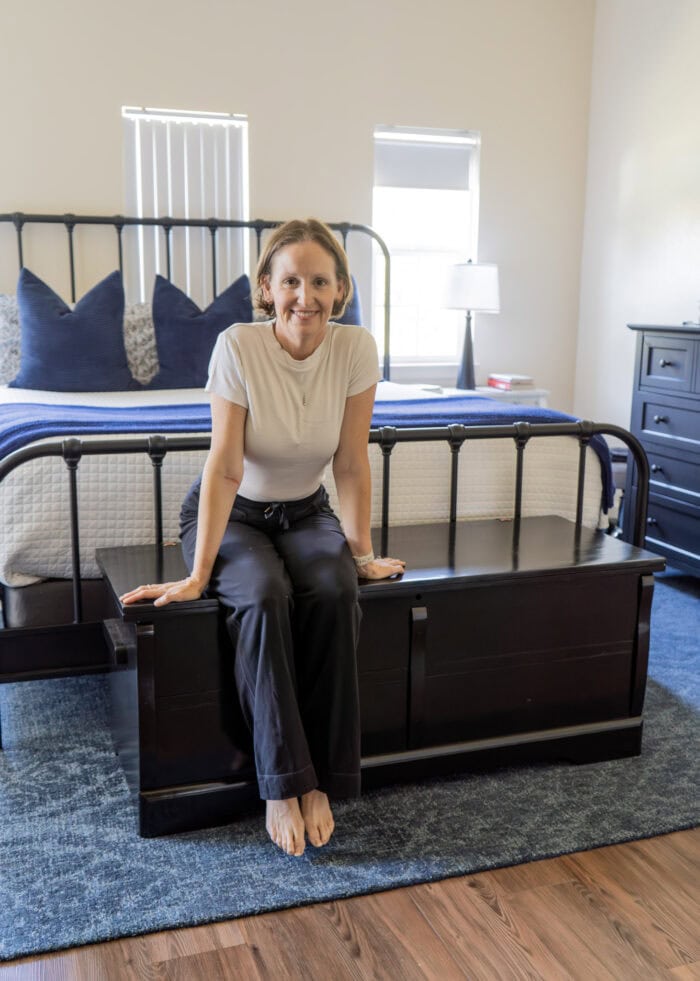
It’s sleek, simple, sturdy and striking, and it just looks so good at the foot of our bed.
Key Takeaway
Quite frankly, I can’t believe it didn’t occur to me to get this chest repaired and refinished sooner.
I think I originally dismissed the idea because I knew I, personally, couldn’t do the piece justice. Or I felt guilty changing something that was so dear to my mother (yep – that sounds more like it).
But this piece, as it was, wasn’t serving me or my home. The damage prevented us from really using it; and the color wasn’t something I could easily incorporate to our decor.
But by taking the leap and fixing both its function and appearance, we can now fully honor the piece (and my mother by extension!) as a center point of our bedroom…seeing it, appreciating it, and loving it…every single day!
Dive Deeper Into This Project
Curious about what a professional makeover service like this costs? In this week’s Voice Notes, I’m sharing what I paid and why I felt it was worth it, even when I could technically have done this project myself.
Megan
5 Comments on “(Finally) Making Over Our Vintage Cedar Chest”
Megan, your cedar chest turned out great! To me, doing what makes the piece usable for you honors your mother’s memory more than keeping it hidden away.
This post is very timely for me, since I’ve been trying to decide what to do with the cedar chest I inherited from my grandmother. It has some cosmetic damage and needs a few repairs. Now I might consider having it refinished.
So…Megan…I’m thinking you “buried the headline” in this post: did you get a new bed for the primary bedroom?!? Maybe I missed it in an earlier post, or maybe you’re planning a later post on your primary bedroom re-do. I loved your previous bed with the upholstered headboard, and I know you did as well. However, I also love the new bed, with it’s vintage iron look. At any rate, that’s what I first noticed as I scrolled through the photos. Thank you for writing about your cedar chest makeover. As a retired Navy submarine wife, we certainly did our share of looking for trustworthy furniture re-finishers in towns that were new to us after a move. Just knowing the term “furniture doctor” can be Googled is priceless! So happy you’re “back”! I always enjoy reading your blog, even if the particular topic doesn’t apply to our situation.
Same here! Can’t wait for the post on the new bedroom look.
Cedar chest looks beautiful!
You definitely made the right call on this one. I love that the inside is still untouched and pays homage to the chest’s history (along with the brass hinges!).
My husband has fixed a few cedar chests for people. While I love the wood, sometimes painting brings the chest back to life and makes it a loved and used piece. So glad you found someone to care for the chest and bring it back to life. My cedar chest is a gorgeous oak, and it sits at the end of my bed so I can put my shoes on. Thanks for sharing the restoration.