The Moving Hacks That Made All The Difference In Getting Settled Fast!
As you read this post, we’ve been in our new house in Virginia for about 7 weeks. And despite being super pregnant (no…baby’s still not here!) with two other kids underfoot, we are super settled in. Like…there isn’t a single box or sheet of packing paper in the entire house. The three boys’ bedrooms are mostly done (just a few small DIY projects I want to do after the baby arrives). My office is done, the dining area is done…and I mean DONE! Unpacked, put away, curtains on widows, art on walls, labels on baskets. Admittedly, the impending baby really motivated us to work fast. But after our last move went so horribly, we were just really committed to working smarter and not harder this time around. This relocation is proving to be our most successful yet…and since it’s in such stark contrast to the moving story I was telling 3 summers ago (which we dubbed “our worst move ever”)…I wanted to share the 8 moving hacks we used this time and why they made all the difference!
Have a House In Advanced
While having a new home in advanced may seem like a no brainer, it’s not always possible for a variety of reasons. With a baby coming so shortly after our move, we did NOT want to find ourselves in a situation where we were still waiting for base housing or scrambling to get settled because we got into a house too late in the summer. As such, we hustled hard for the entire Spring to find the right home for our family, and it was officially ours to occupy long before packers ever arrived to box up our California home. (You can learn more about how we found our home here!).
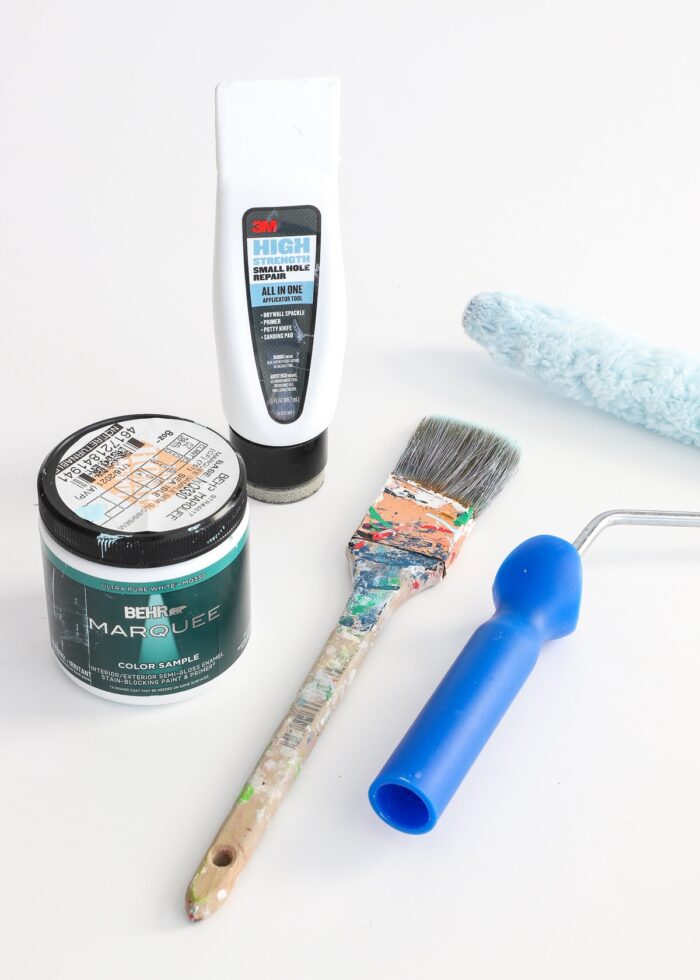
Having a home in advanced didn’t just give us an address to forward mail to (which was nice!). But more so, it meant that so many (time-consuming) tasks could fall into place long before our truck arrived and we became preoccupied with unpacking. In fact, before our stuff even left California, we were able paint rooms, measure out furniture layouts, setup utilities, and even order some large-scale items (rugs, couches) that tend to take a long time to come in. Getting into the house early meant we could take advantage of the time our house was being packed-up and transported across country, ultimately allowing us to get settled faster once our truck actually arrived!
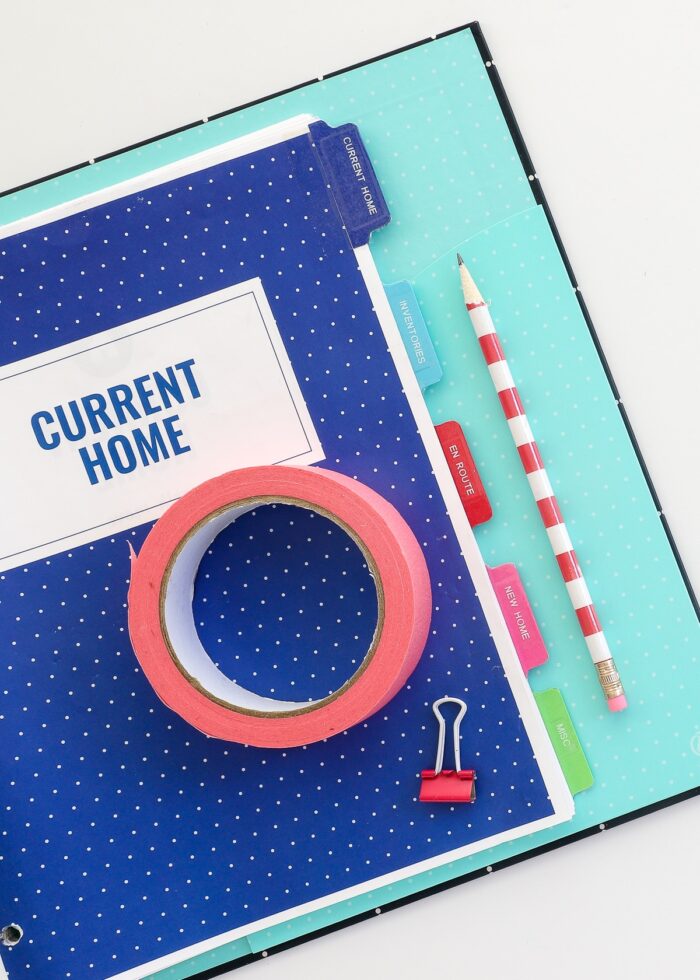
Work the Moving Binder
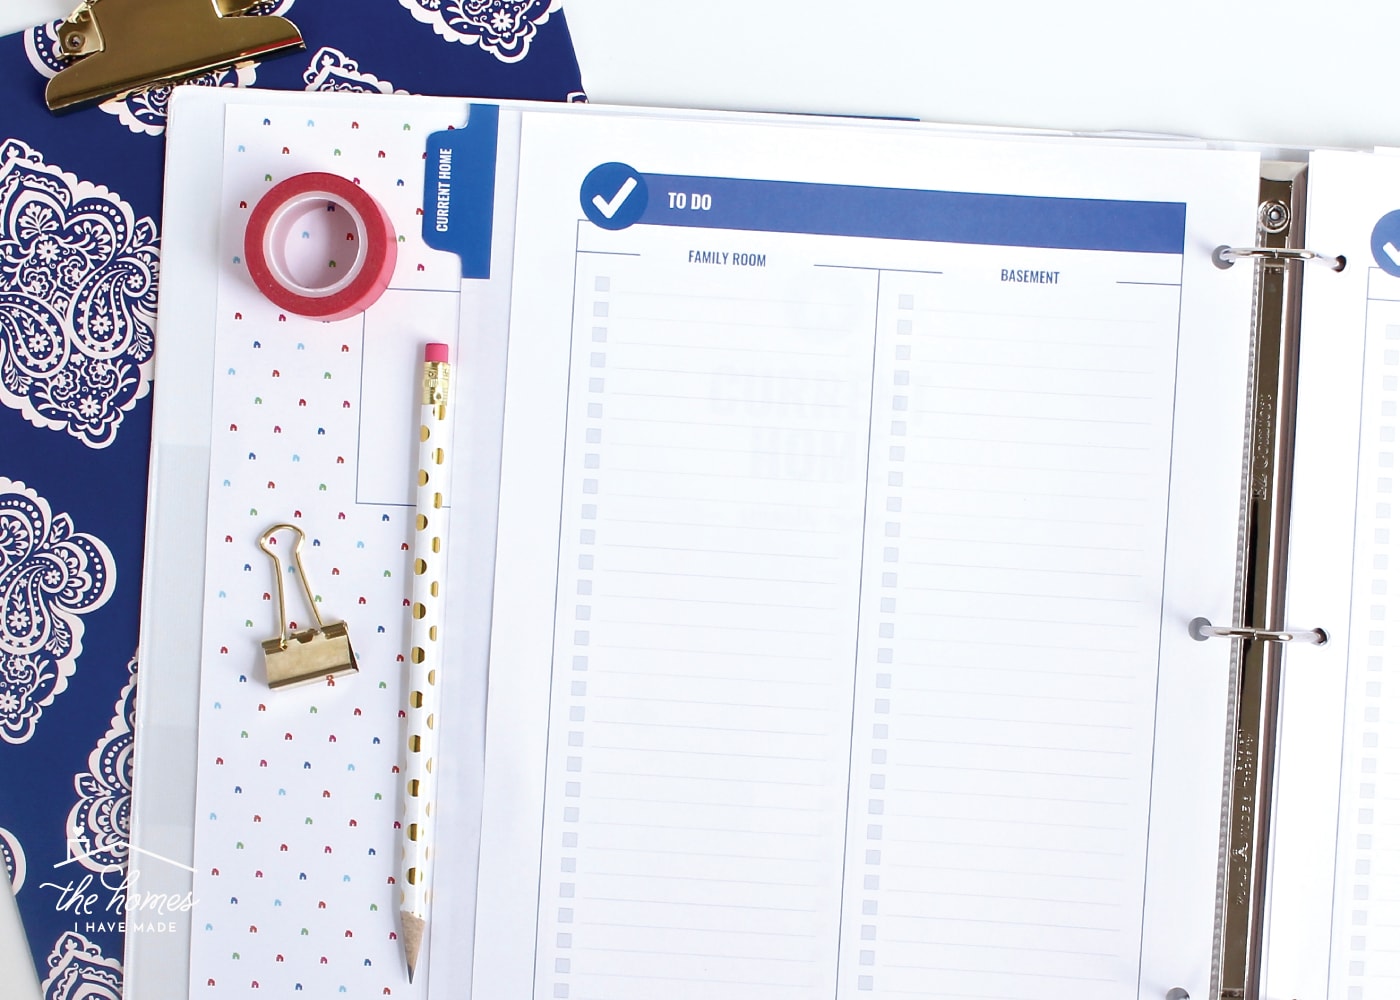
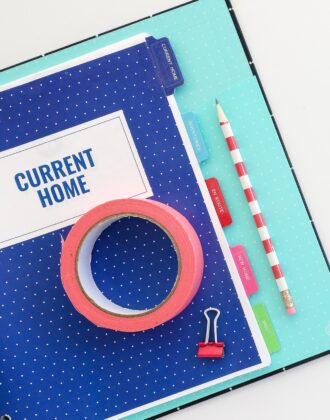
You guys know I love a good printable system, so it might surprise you to hear that we neglected to use our trusty Smooth Move Binder on our last (horrible) move. We essentially got cocky and didn’t think we needed moving checklists! Ha! I wasn’t making the same mistake again, so you better bet I printed off every single sheet we needed and relied on those pages every single step of the way! As I intended when I first designed it, it was so darn helpful to have a central location to write down To Dos, important dates and phone numbers, as well as a running task list for both homes to get them ready for move out/move in.
Of all the pages included in my Smooth Move kit, there were a few we found really invaluable. First, the To Do List by room was practically my bible for the final month of living in our California home. I wrote down (and eventually crossed off) every little To Do I could think of from decluttering and sorting tasks to taking down art, filling holes, and re-painting walls. These pages not only kept Greg and I on track when we were feeling directionless or overwhelmed, but absolutely ensured everything got done before we left.
The Utility Contact pages also proved really valuable as we scheduled both shutdown and start-up services in both homes. As we followed-up with carpet cleaners and Internet technicians or needed to reference our new trash schedule, having all the details clearly hashed out in a single spot kept us from loosing our marbles!
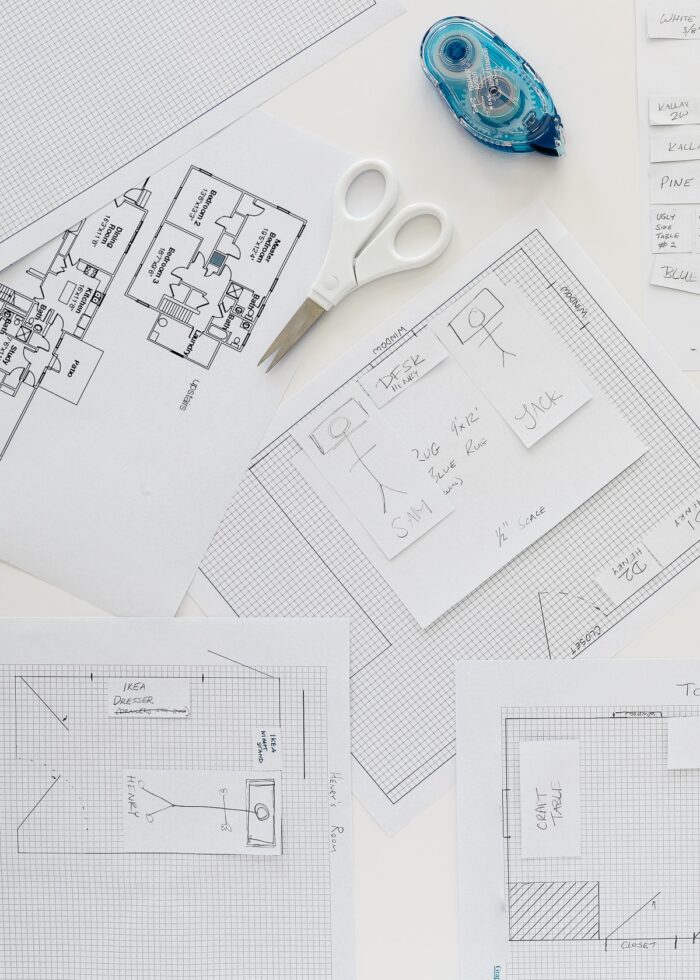
Finally, the “Will It Fit” worksheets were oh-so-helpful. We spent just an hour back in California, going around the entire house, measuring each and every piece of furniture (as well as rugs, shelves, etc). Once I got ahead to Virginia and into the house, I was able to walk through the new home, with tape and a tape measure in hand, and figure out where everything was going to go. Not only did this make it really easy to direct movers once they arrived, but it also clued us into items that weren’t going to fit. In fact, I was able to identify quite a few things (like our beloved blue sectional!) that just weren’t going to work in our new home, and Greg was able to sell them before the movers even arrived to pack us up! Since (mostly) everything that arrived on the truck already had a pre-identified home, we didn’t have to waste time finding homes for things that weren’t ever going to fit or selling off items after they arrived!
Ziplock Everything You Can…Yes, Everything
Some of you might remember a post I shared last year when I asked a bunch of my military friends to share their best moving advice. I was a little shocked to see how many (myself included!) advocated bagging up as much as possible into Ziplock bags. Admittedly, I thought this was something only I did! While I’ve certainly been known to bag up our spice jars or office supplies, I was embolden by my fellow spouses’ techniques and literally bagged up everything and anything I could!
So what does this look like? I went to Walmart and stocked up on as many sizes of Ziplock-style bags as I could, as well as some vacuum bags. I obviously bought sandwich, quart, gallon, and 2 gallon sizes, but did you know they came in these really big sizes too? They were SOOO handy for big things like toys and craft supplies!

And then anything and everything went into these bags. Train track, blocks, cars, and dress-up items in the playroom. Cardstock, thumbtacks, ribbon, gift wrap supplies and more in the office. Silverware, spices, junk drawer items, etc in the kitchen. Clippers and tweezers and bandaids and soaps in the bathrooms. You name it – if it was a collection of small-ish items that could fit into a bag, it got one.
Want to save this post?
And did all this bagging help? You better bet it did. We always elect to have the movers unpack all of our boxes. This may sound helpful, but in reality, they just dump everything on the floor and stack dishes/breakables on the counters. By bagging up everything I could, it meant that I didn’t end up with train track and Hot Wheels cars all over the playroom floor. Or piles of ribbon and fabric and gift bags to untangle and re-sort. Rather, I was left with bags all over the house, and all I had to (mostly) do was dump those bags back into the baskets/bins/containers they originally came out of. Bagging up items not only prevented the usual disaster that unpacking brings, but really allowed us to get everything put away so much faster. I can’t recommend it enough!
BONUS TIP! Bags aren’t cheap. After getting settled in here, we folded them all up into a large Tupperware container and will bring them out for the next move!
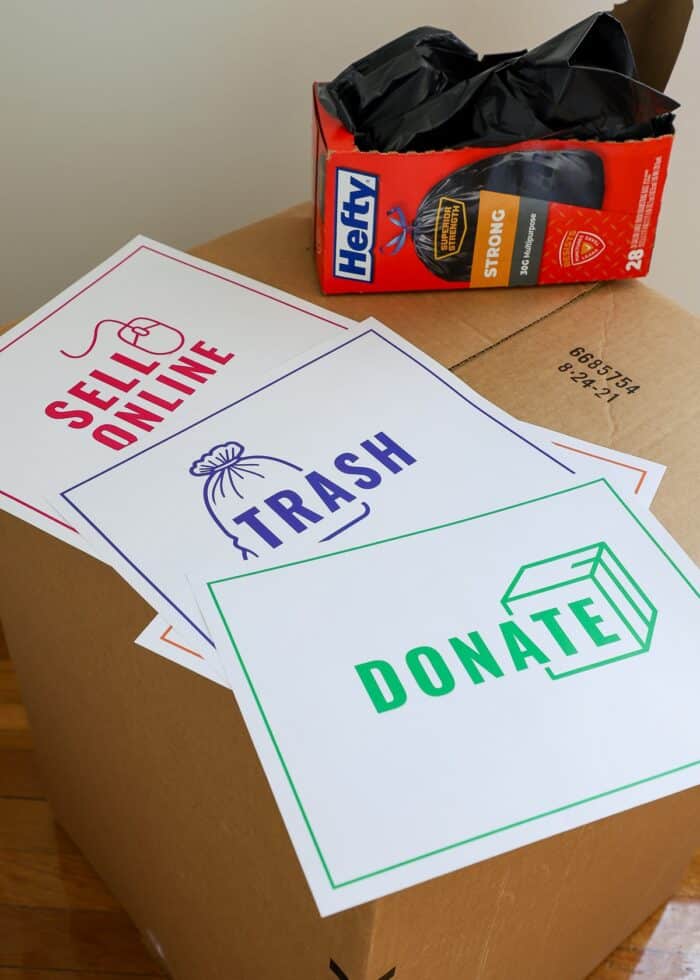
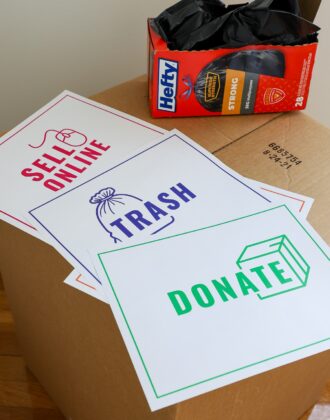
Sort for the New House
Another advantage of having a house identified before our move was that it allowed us to anticipate the layout in our new home. And as such, I was able to sort, prep, and label items in our California house to end up in the right places in our Virginia house. Although I did it for the entire house, the best example here is the nursery. Most of the baby clothes and nursery items were split between the garage and Sam’s California nursery. Yet, almost all of these items would go to neither place in our new home, and would rather go to the new baby’s nursery (our 4th bedroom). Instead of letting everything get packed up and labeled in its California location, I moved all of these items to an empty corner so they would be boxed together and labeled as “Nursery.” Therefor, when these items came off the truck in Virginia, they ended up in the nursery, not the garage or Sam’s room!
If you consider this concept spread across the entire house with all of our belongings, you can easily see how this saved us invaluable time getting settled in. Instead of wasting time shuttling things around our new home because they landed in areas based on our old home, almost everything ended up in the right place and we were able to set right to work getting everything put away.
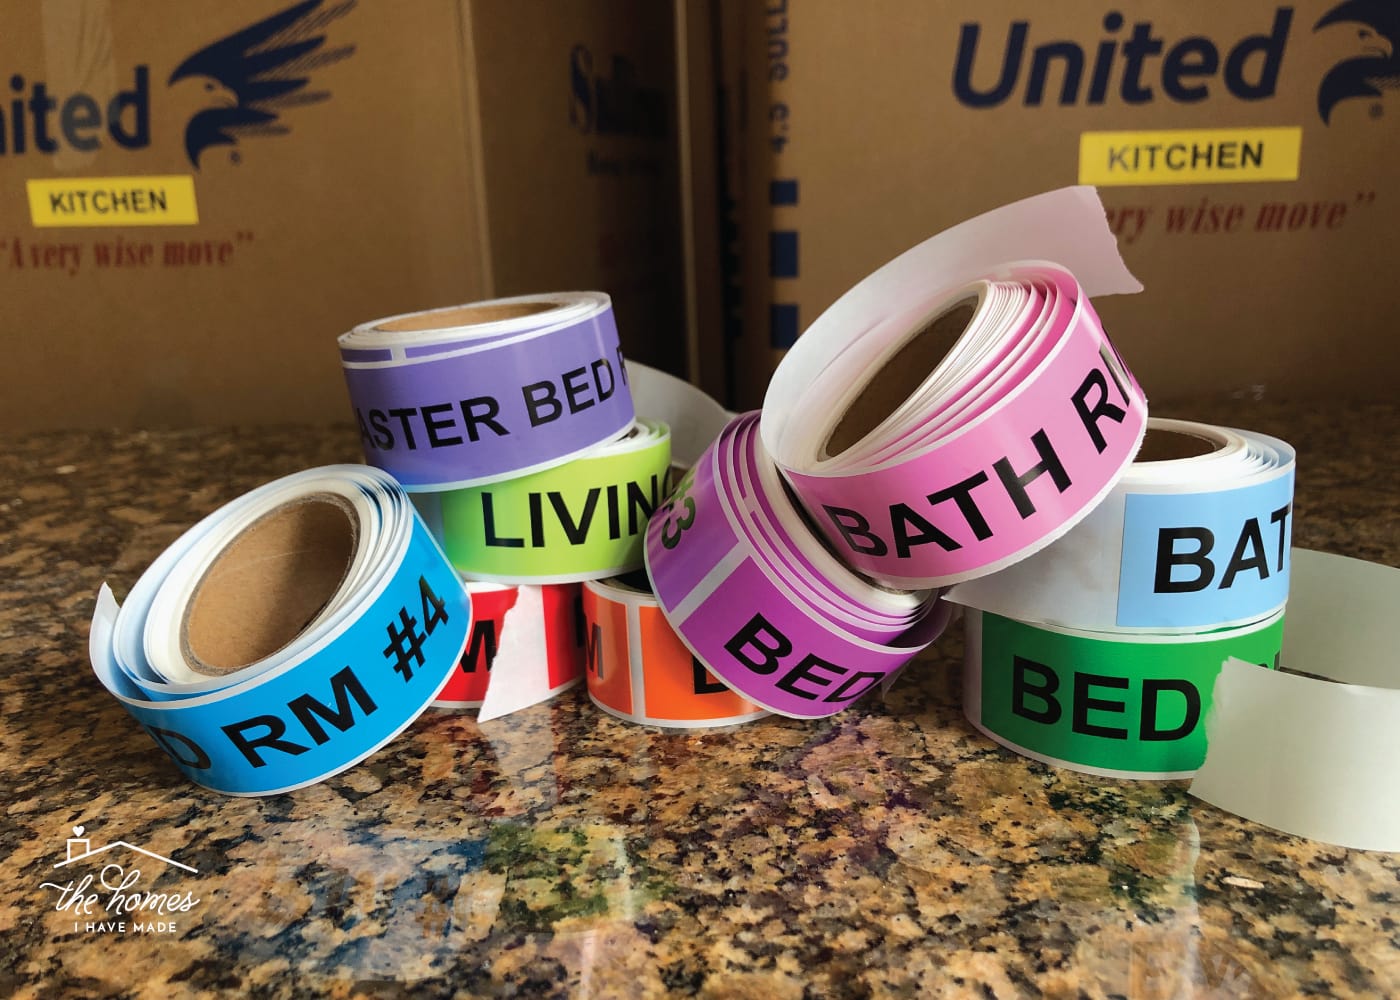
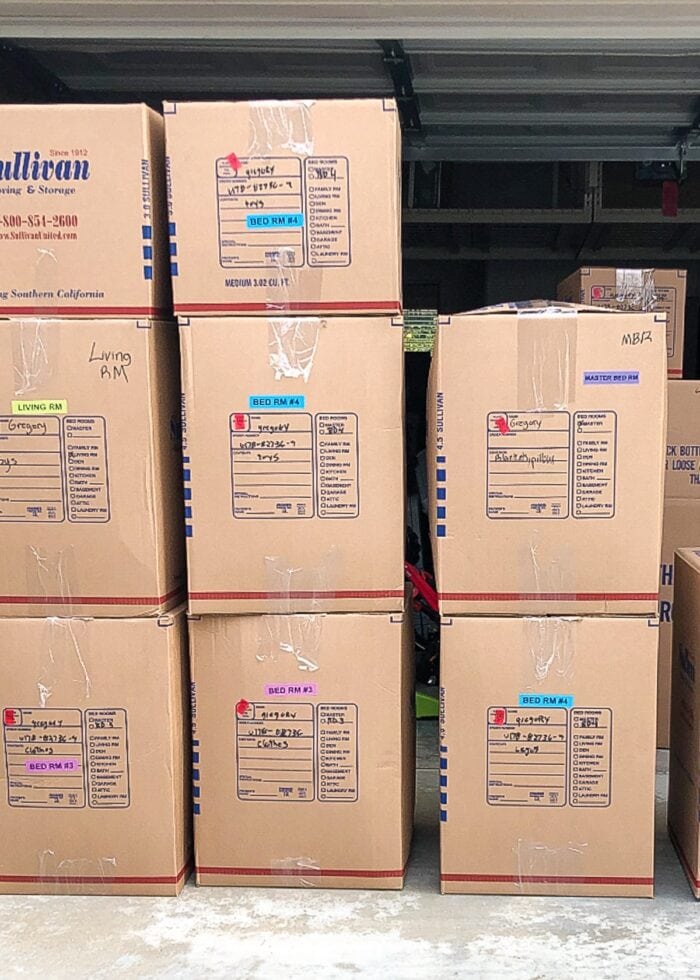
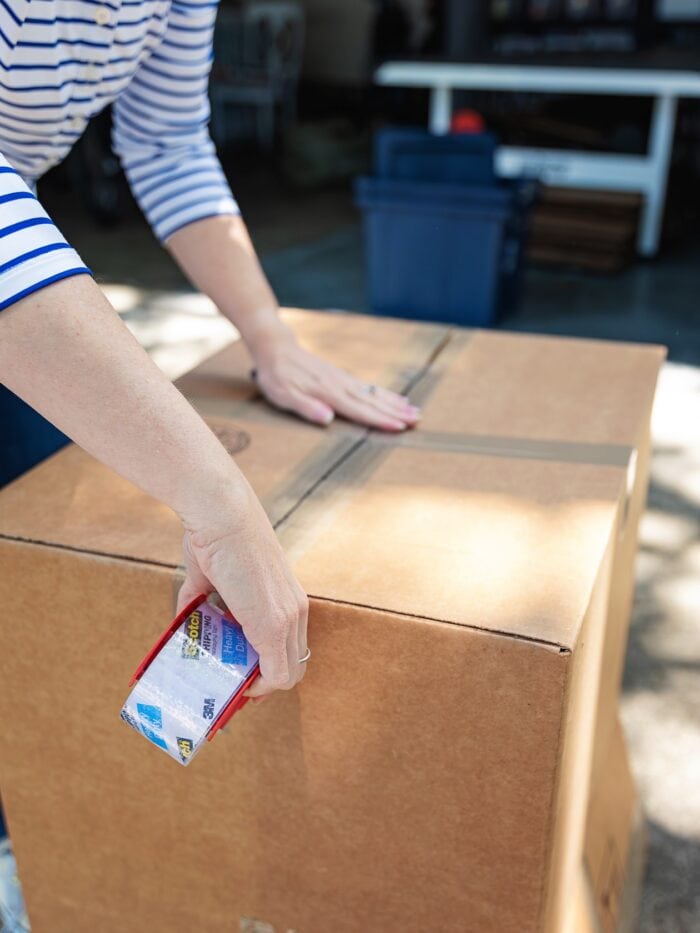
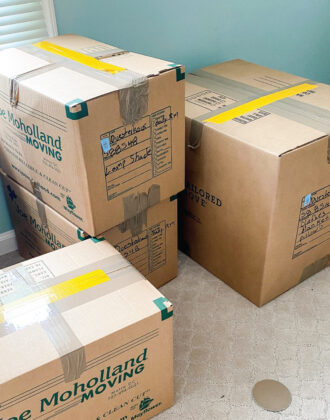
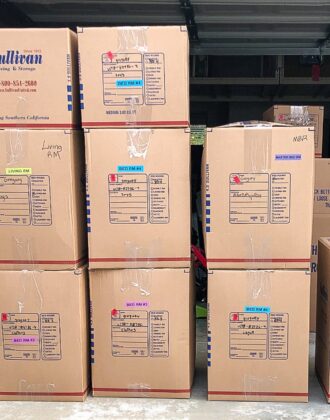
Color Code Boxes By Room
Another tip I learned from a fellow military spouse was to color-code the boxes, by room, with some sort of tape or sticker. Although packers will often write directly on the box itself, handwriting can quite often be difficult to decipher. And if your movers/packers aren’t comfortable with English, it can be all the more difficult to direct what goes where. By using color-coded stickers on the boxes and then placing coordinating stickers/signs above room doors, anyone who is helping you will be able to get the boxes off the truck and to the right place without you. And since you won’t have to be stationed at the door acting as a traffic controller, you’ll be freed up to tend to other tasks like getting the boxes unpacked and the resulting trash out the door!
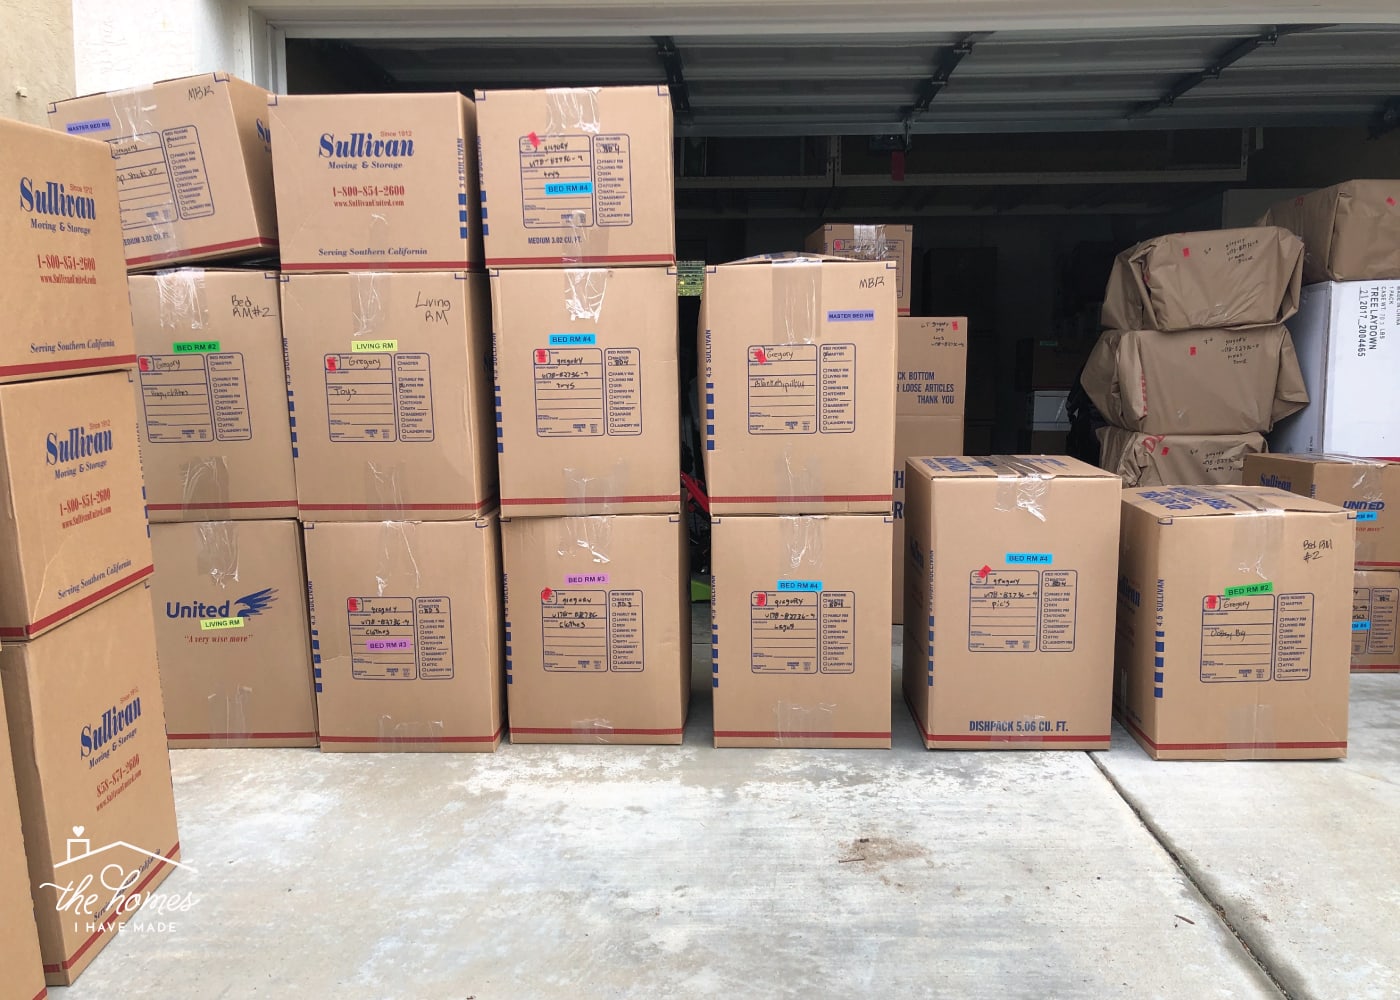
BONUS TIP! We used these really handy stickers. My girlfriend also advocates just using stretches of different colors of Duck tape across each box!
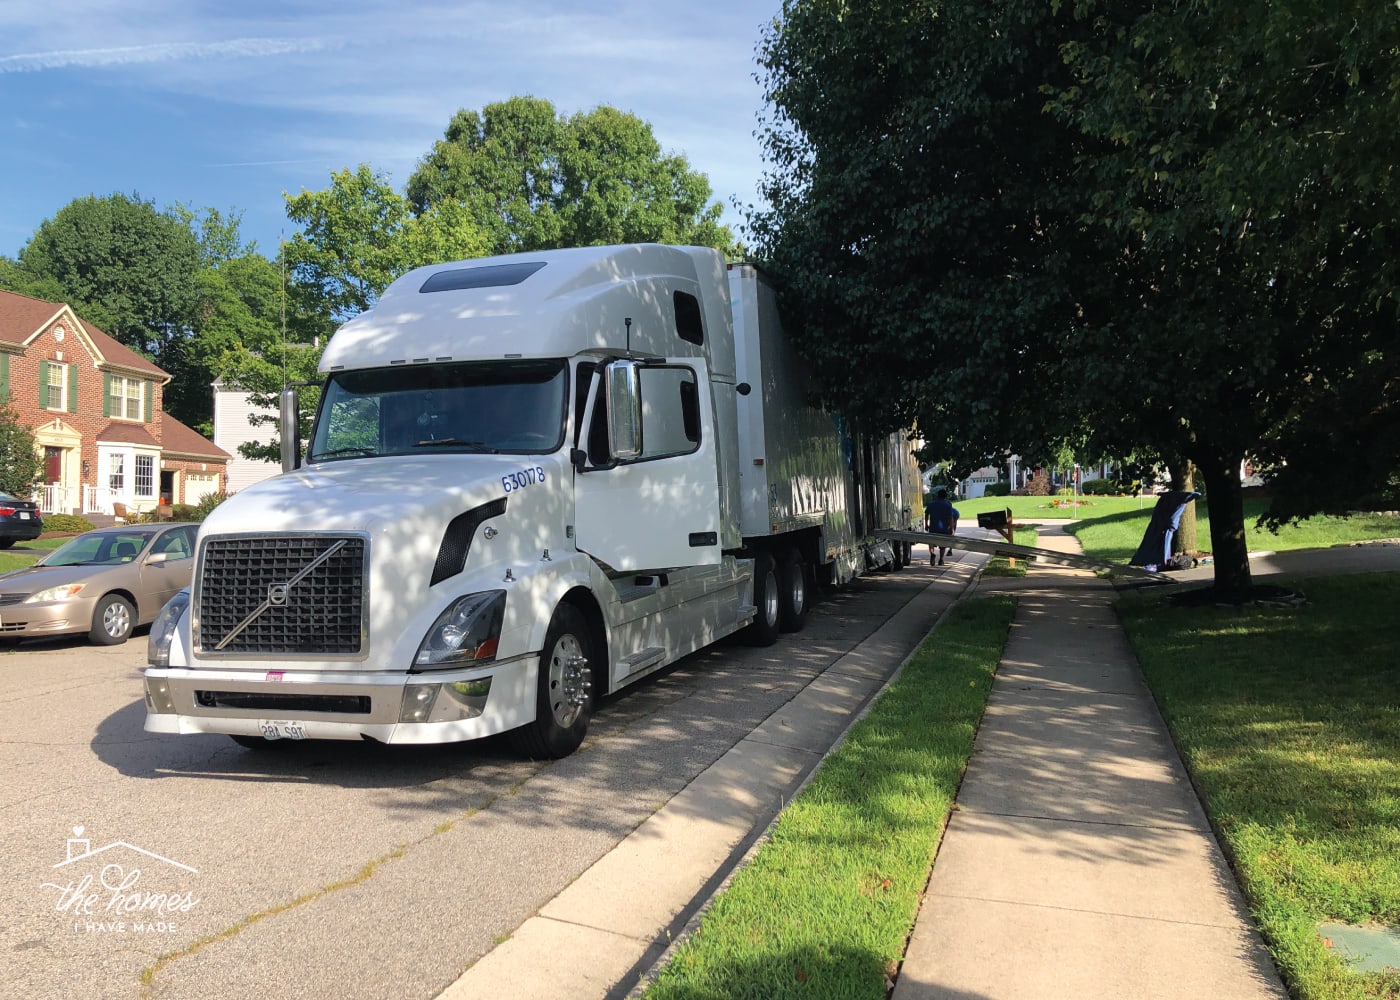
Divide & Conquer
In the 8 moves we’ve executed as a family, we’ve never split up…until this one. After lots of debate, we eventually determined it would work best this time for Greg to remain back in California to coordinate the pack out, while I went ahead to Virginia to paint walls, map out room layouts, and prepare to receive our stuff. While we generally see our relocations as a big family effort and even work in vacations along the way, I have to admit that splitting up really allowed us to streamline the entire moving process from start to finish. Greg coordinating the move out at the exact same time I coordinated our move in really decreased the usual hassle that comes with moving (being in a hotel, living without our stuff, etc); and we will likely consider it again for future moves!
Ask For Help
It probably won’t surprise many of you to hear that I like to do things myself. I try to be pretty self-sufficient and am not the best at asking for help, especially if I can grit my way through something, no matter how unenjoyable it might be. But there’s one thing about being very pregnant while moving…you need help. From carrying items up and down stairs, to lifting heavy boxes, to taking on physically-intensive household projects, there was just no way for me to “grit my way through” this time. We (thankfully!) have tons of family close by including college-aged nieces and nephews who were happy and willing to make some extra cash and help us out at the same time. Additionally, my sister and her husband (who is exceptionally handy) flew in to help us with more complicated projects like swapping light fixtures, hanging some organization systems, etc. I can say, without a doubt, I wouldn’t have walls painted, wallpaper hung, curtains up and more without all these extra hands.
I’m pretty sure I would have never asked for or accepted so much help if I wasn’t pregnant, but it was a very valuable lesson for me to learn. Not only is having extra hands a serious game-changer in actually checking stuff off the ol’ To Do List, but knowing people were around for a short period of time forced me to make fast decisions…decisions I would have lingered over for months. And when you live in this crazy move-every-three-years lifestyle, sometimes just getting things done is far better than making the absolute perfect decision a year (or two or three!) down the road. I share this specific tip because, even without family close by, there is some real value in not doing everything yourself. Whether it’s hiring professionals to do a job you could technically do (like painting) or asking brand-new yet very willing neighbors to watch your kids, extra hands and added minutes can mean you get settled and back to living life much quicker!
Have a Design Plan Ready to Go
I’ve made it no secret that “figuring out” our last house was a serious struggle for me. From layout and storage solutions to colors and design, each and every thing I did to that house (in an effort to make it feel more like home) was a long, laborious process. And I’m not going to lie: it felt pretty defeating to struggle over every project and decision only to “finish” just as we were pulling the house apart to move. I did not and could not repeat the same time- and energy-sucking experience this time around, so I’ve made a decision about decorating this next house. Specifically: it’s not our forever home…therefor, something is better than nothing, progress is better than perfect, and being “done” so we can enjoy our home is better than spending 3 years working working toward an ever-approaching finish line.
With this motto in mind, I worked hard in the months before we left California to come up with design “plans” for most of our new house. Some plans are very detailed and were pulled off almost exactly. Other plans are a bit looser but I at least had concrete directions mapped out for each and every space. Having these plans are what allowed me to literally hit the ground running when we arrived, make so much progress so fast, and take advantage of sales for items needed in our new home. If you too value a specific aesthetic in order to feel comfortable and moved in to a new space, try to get design plans/directions hashed out before you move. Not everything will fall into place perfectly a la HGTV, but I promise you’ll see rooms snap together quicker than if you wing it from the moment you walk in the door!
Do You Have a Move Coming Up?
Check out my comprehensive collection of moving resources!
- The Complete “Smooth Move” Printable Moving Binder System
- Countdown to a Military PCS | Our Moving Timeline
- How to Declutter Your Entire Home Before a Move
- These are the Moving Supplies You (Really) Need
- Easy Ways to Generate Extra Cash for a Move
- The BEST Moving Advice From Experienced Military Spouses
- Moving Essentials | What You REALLY Need Moving From One Home to Another
- Planning Your New Home Furniture Layout - Online Tool
- Planning Your New Home Furniture Layout - Paper Tool
- How (& Why) To Color Code Your Moving Boxes
- The Easiest Way to Pack Jewelry for a Move
- What to Do With Plants when You Move
- How to Fill Nail Holes In Your (Rental) Walls
Megan
9 Comments on “The Moving Hacks That Made All The Difference In Getting Settled Fast!”
The one add I’ll put in is to remain disciplined in approaching your near-term and long-term tasks. We both got excited about planning or working on things that were ultimately too far away for us to affect. This can be perilous since you can neglect the task that needs to be done by the end of the week. If you chunk a little time every day to think through what needs to be done now and what can wait, you’ll get through the process more smoothly than trying to execute every task with equal vigor. My two cents from the hubby side!
This is amazing!! Wish I’d had help like this for the 11 moves we made in our Air Force career. And you in a late term pregnancy. I am in awe.
Our worst move was to Scott AFB in Illinois in 1981. We’d been in the TLF for 3 weeks, and were finally in our home for just ONE week I was pregnant with #3, and 7 days after moving in, my membranes ruptured at 23.5 weeks pregnant. Scott is a major medical center and I spent from February 15 til June 1 IN THE HOSPITAL ON COMPLETE BEDREST. My husband was in a flying position (med evac!) and so my mom came for 2 months, and my mother-in-law for another two months.
However, it turned out to be the favorite place we ever lived – and were there for 5 years!
I love your blog!! ALWAYS filled with lots of great and practical information!! Congrats on baby #3 & moving to VA.
Not being picky but you have a grammatical error or typo in the first tip when you say have a house “in advanced”. It should be just in advance 😍.
Best wishes as you await the arrival of your baby boy!
Please share your opinion (and tips) for having the movers unpack your boxes. We are on move #9 and I have always unpacked my own boxes – which can take about 3 weeks. I realized during our last move that most people have a full unpack – but my “creature of habit” mentality has me scared to try it. I do a ton of prep work on the move-out side to make it easier on the other side – ziplockimg, plastic tubs, box labels, etc – but I’m thinking I could cut our “living out of boxes” time in half. Any advice?
Hey Jill!
So we’re the opposite! We unpacked ourselves on our first few moves. And even when we barely had anything to our name, it seemed like it took forever, not to mention how tore up my hands were after dealing with all the paper and trash! We started the “full unpack” route on our third move and have done it every time since. And like you, every time I wonder if we should change “what we always do,” but then I am always so thankful for how fast we get settled in.
This last time, I almost chickened out (because it’s such a mess!) but my husband reminded me that time really wasn’t on our side and it would be easier for me (pregnant) to pick up smaller things rather than big boxes. And I don’t regret it. It didn’t seam like the big mess this time around, I think because I bagged up everything I possibly could.
As far as my tips and tricks and for what to expect, check out this post: https://thehomesihavemade.com/2015/06/thriving-surviving-military-life-our-1/
I just re-read it and I stand by everything in there. I’d only add that you tell the movers, very first thing when they arrive, that you want a full unpack so it’s not an unexpected surprise after they get the truck unloaded. Honestly, I encourage all my military friends to try it at least once. You don’t have to do it again if you hate it, but you might be surprised by how “not bad” it really is!
Let me know if I can answer anything else for you after reading that post!
Megan
I like reading blog posts & books and listening to podcasts to psych myself up for the work and organization of moves.
We are moving this time a year earlier than expected and. . . yikes. . . I really need the mental motivation.
Thankfully this time, unlike so often, we DO have a house already rented and waiting for our arrival. My adult son took tons of pics, too, so I’m doing more planning than usual for decorating ahead of time.
Thanks Megan for all this great advice! My husband (will retire in August) & I will be moving from California to Arizona later this year. We have a home being built for us! This is the first time for us to move out of state, so there are sooo many things to consider!!
Good, thanks
My last (and final) move (CA to SC) was with 4 PODs, self packed over the course of a few weeks. My plan was to cross the country with a travel trailer, sightseeing and visiting relatives, then, once in SC, to find and buy a house (again staying in the trailer).
I knew the PODs would be unloaded by strangers (either hired or church members), so I color-coded the boxes, and posted identically colored signs on each room, since the box labels didn’t necessarily match the intended space (e.g. my craft room was labeled “family room)
The church volunteers unloaded the 4 PODs in about 2 hours, and with only a few exceptions, everything ended up in the right room!
Another tip is to start building a “change address” file early so you have the addresses/websites/phone numbers and a full list for all your subscriptions, financial accounts, and other links you need to update.
Thanks for all your great tips!