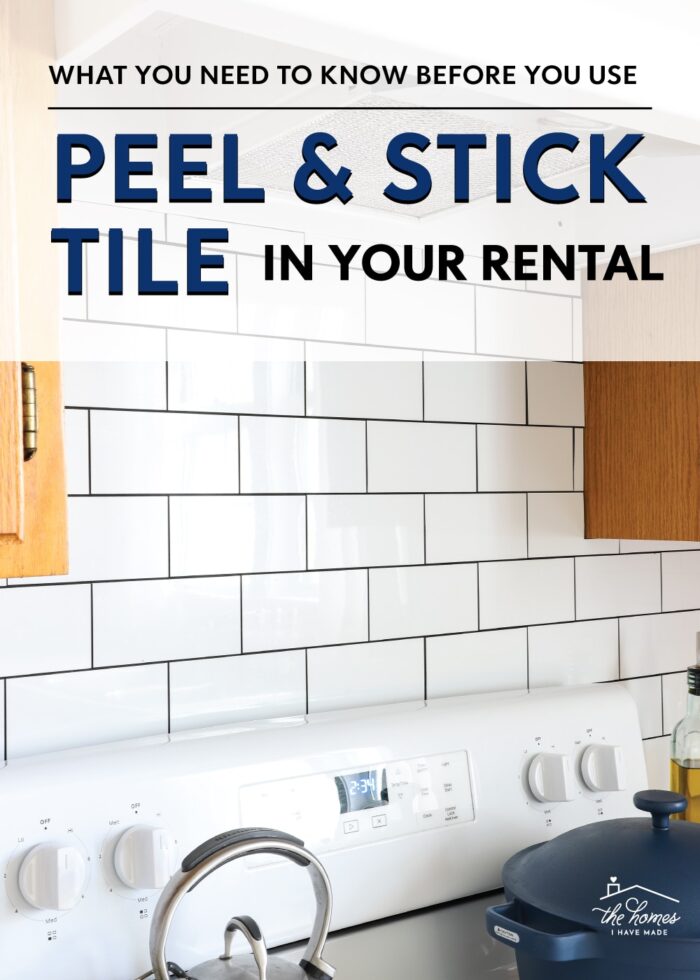
What You Need to Know About Using Peel & Stick Tile In Your Rental
Don’t use it! Ha! All kidding aside, you probably would like to know more details than that! So today, I’m breaking down how the peel and stick subway tile installation we did in our last rental home really turned out. Specifically, I’ll be answering what product we installed, what measures we took to ensure its safe removal, and if the tiles really did come down damage-free. If you’d like the Cliff Notes: yes, the peel and stick backsplash tiles (eventually) came down damage free, but not without a TON of blood, sweat, and tears. Let’s dive in!
Peel & Stick Does NOT Mean Removable
I want to be very clear on one particular point: Just because tiles are “peel and stick,” it does NOT mean they are removable. In fact, when it comes to tiles (and flooring), the “peel and stick” characteristic is actually more about ease of installation rather than removability. Instead of needing grout, nails, mortar, etc, these products use very strong adhesive to hold them in place.
Did you catch that? I’ll say it again: VERY STRONG adhesive.
As such, these products are not necessarily designed to be temporary. Rather, they are designed to be very permanently installed but without the mess or power tools.
Before I embarked on this DIY peel and stick tile installation, I knew this.
For years, I have avoided peel and stick tiles at all cost (often using wallpaper that looks like tile instead), and have warned countless friends to avoid them as well. And even when desperate friends call me, panicked that their peel and stick tiles are destroying their dry wall upon removal…the only thing I can do at that point is direct them to the spackle and paint section at the hardware store.
But despite my knowledge and experience with peel and stick tiles, I decided to “push the envelope” in our last rental. I really wanted to find a way to use peel and stick tiles in a truly renter-friendly way (as in, safely removable). Read on to see the installation in a bit more detail, as well as how it all came back down.
Video
This peel and stick “saga” is best understood through video. Click below to watch a summary of the installation and removal process! (Video not loading for you? You can watch it HERE!)
The Project: Subway Tile Backsplash
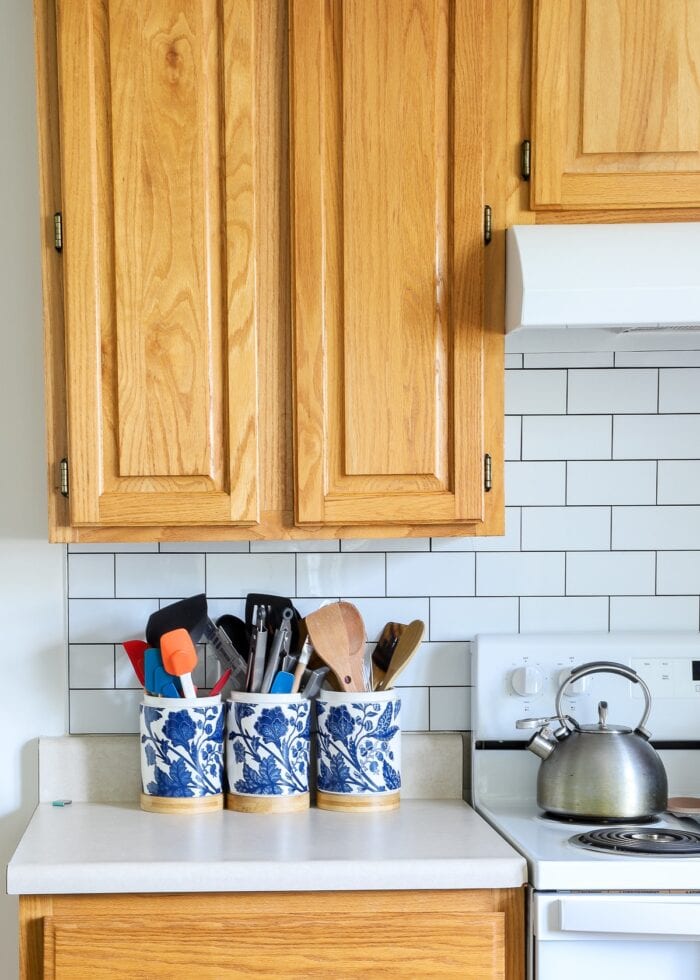
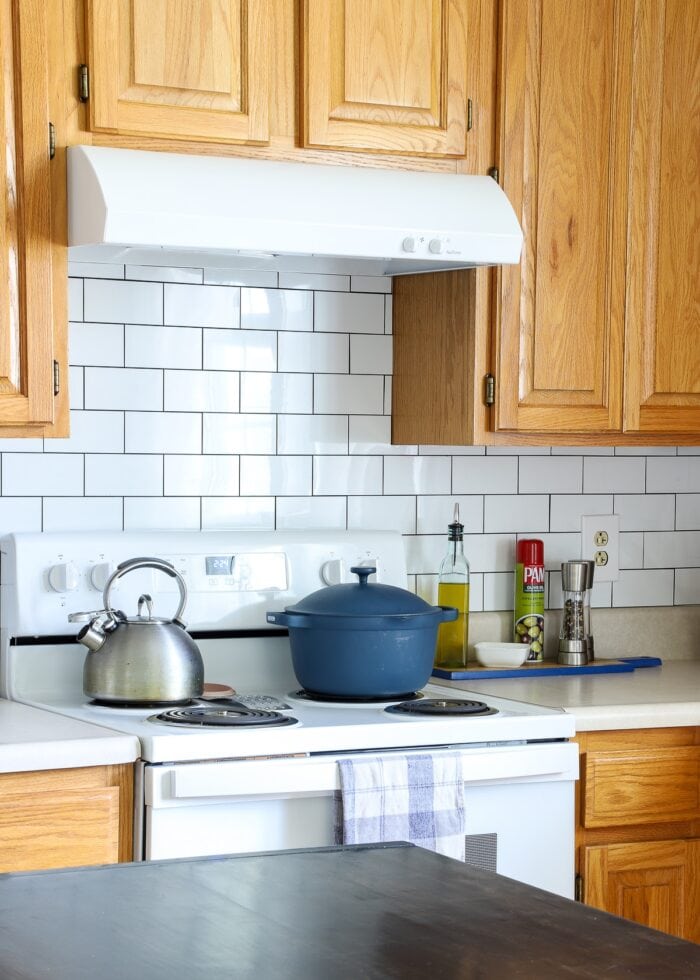
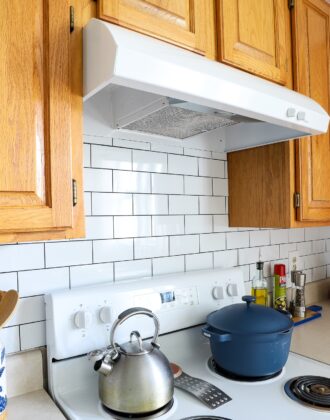
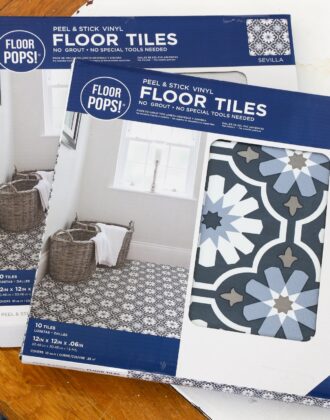
In our rental kitchen, I was determined to have a “real” looking backsplash. And after a lot of research, I honed in on these peel and stick subway tiles. Made of incredibly sturdy PVC and featuring faux grout lines, they absolutely had the look and feel of real subway tile. Our kitchen backsplash looked stunning; and we received countless questions and compliments on it over the years in this house.
You can see the full installation instructions here: How to Install a Peel & Stick Tile Backsplash In a Rental
And be sure to check out the full Rental Kitchen Makeover reveal!
The Renter-Friendly “Fail Safe”
Again, fully knowing that peel and stick tile adhesive is both strong and damaging, I was extra-diligent in protecting the walls/backsplash area before installing the tiles. As such, I applied black peel and stick wallpaper (advertised as “removable”) to the wall first…
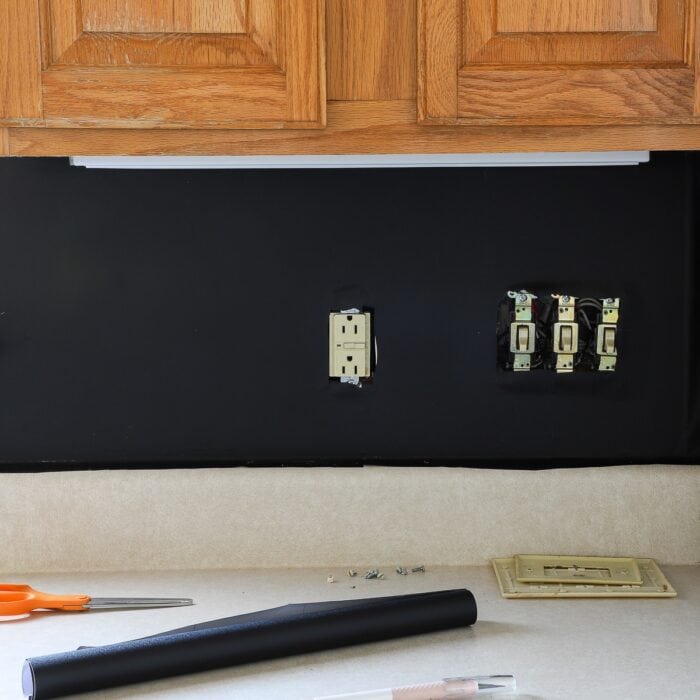
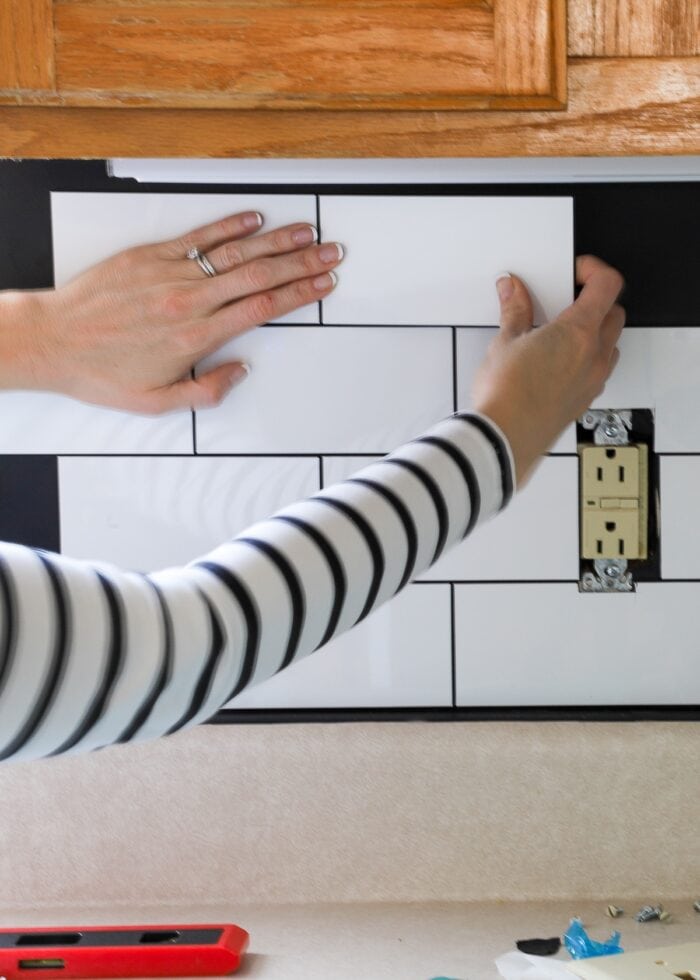
…and then I placed the tiles on top. At no spot did the peel and stick tiles come into contact with drywall OR the laminate backsplash area behind the countertops.
The wall behind our countertop was covered in the same laminate sheeting as the countertops. The only bare, painted walls where we applied wallpaper+tile was around the window frame.
The Removal
I took on this removal with so much confidence. Not only did I not allow the peel and stick tile adhesive to touch any permanent features in my kitchen, but I was so sure that I’d be able to simply peel up the black removable wallpaper (underneath the tiles) and all the tiles would just come away with it.
I thought this removal was going to be a 10 minute project. It was not. Mainly because I did not anticipate two things: the strength of the tiles and the poor quality of the wallpaper.
Want to save this post?
The Tiles Are SO Sturdy
One of the reasons these tiles look so real is that they are incredibly sturdy. (Watch the video to see how inflexible they are!) Even if I could get my fingers onto a stretch of the black wallpaper under a corner of the tile, the paper ripped immediately from the rigidity of the tiles on top. So instead of removing all the tiles in one swoop, each and every tile had to be painstakingly pulled off individually.
And I mean it when I say painstakingly. The adhesive on these tiles was so strong, that to even get it to release from the black wallpaper, we needed to use heat from a hair dryer (a heat gun would work too) combined with significant pressure from a flathead screwdriver to, quite literally, pry them off the wall. It took me over 3 hours (with a friend) to get all the vinyl tiles down. And no, they were not reusable in any way.
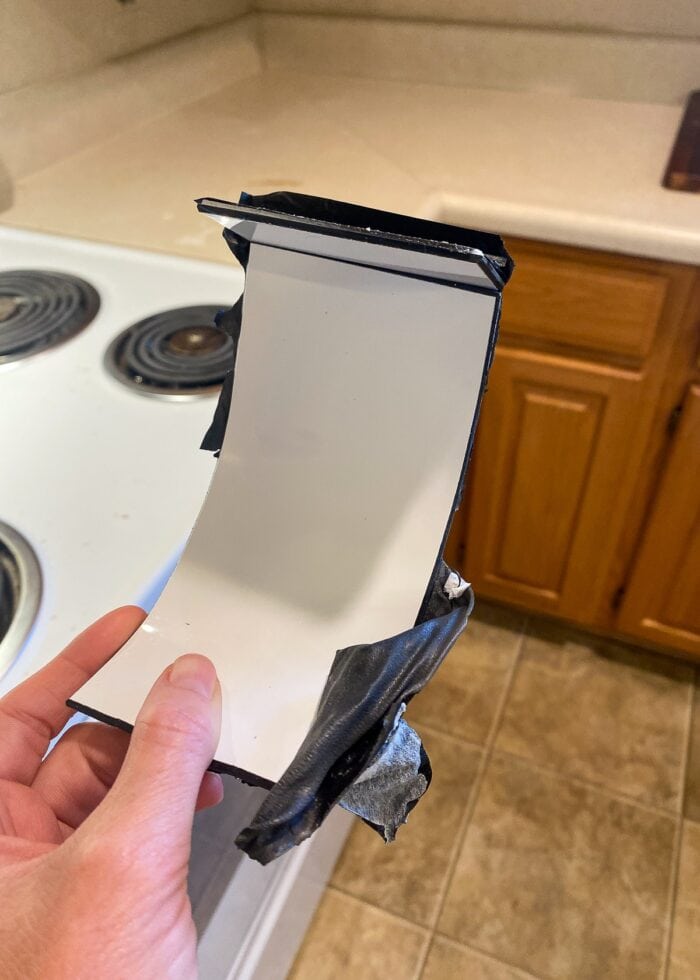
This is how much the whole piece bent upon removal, due to heating and prying it off the wall.
The Paper Is SO Cheap
This project was the very first time I used this brand of solid-color wallpaper. And while much cheaper and more brittle than most wallpapers (or contact papers) I’ve used, it didn’t occur to me that it would actually be the thing that caused so much trouble.
Because, even after all the tiles were pulled down, the wallpaper left quite a bit of residue on the backsplash area (which was covered in laminate). Further, the few areas where the wallpaper came into contact with dry wall, it peeled sections of the paint/dry wall as well.
So even after all the hours of pulling off the tiles, I spent a few more hours painstakingly scrubbing the laminate backsplash area in order to remove copious amounts of sticky residue left behind from the wallpaper.
Even though I had to scrub away residue from the wallpaper, this was still preferred compared to the stronger/thicker residue that would have been left behind from the tiles themselves. To be clear: the wallpaper barrier wasn’t entirely a bad idea, I just needed better wallpaper/contact paper!
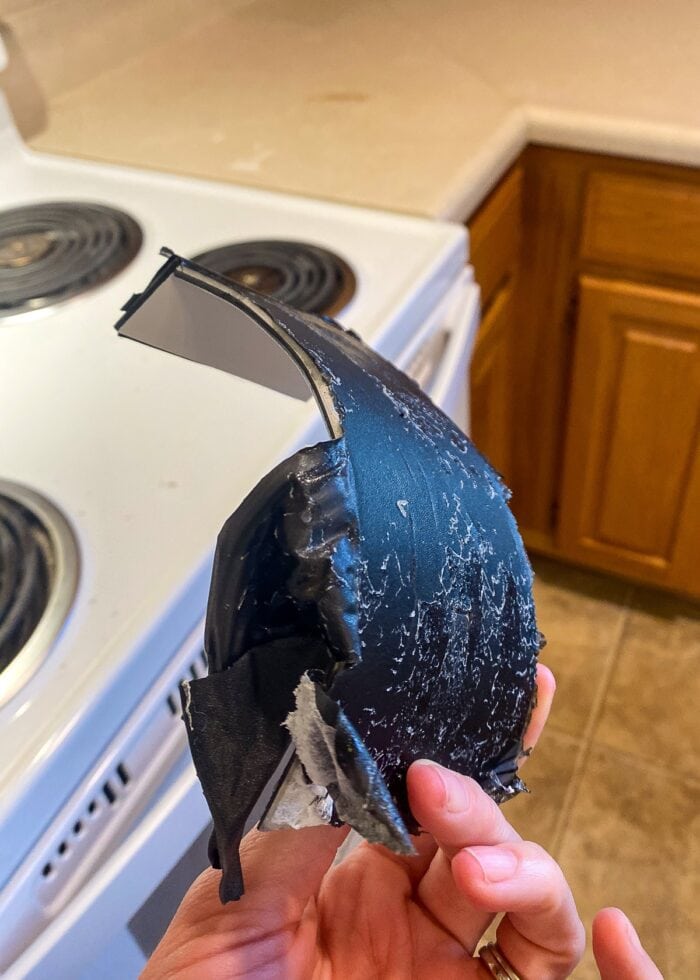
See the residue on the backside of the wallpaper? Anywhere there isn’t residue is what was left behind on the wall!
I tried pretty much everything in my adhesive remover toolbox to deal with the stickiness including my trusty hand sanitizer, as well as dish soap, acetone, a paint scraper, and adhesive remover sprays. The ONLY thing that worked to remove this glue was (several) Magic Erasers, which themselves made a mess because of all the debris they create!
The Verdict
In the end, many of my initial hunches were spot on:
- Peel and stick tiles are not easily removable. Had I put these peel-and-stick tiles directly onto the drywall or laminate backsplash area, they would have been a total mess to get off. In fact, I’m not sure I would have been able to remove them without significant damage or residue left behind.
- If you want to use self-adhesive tiles and safely remove them, you must use a barrier between the tiles and your wall surface. However, do NOT use this wallpaper product, as it left a ton of residue behind and did peel some paint where it came into contact with drywall. Instead, I would try a lightweight, removable contact paper (test it first!!!); or better yet, install a very thin, lightweight MDF, plywood, or luan backsplash (with Command Strips or tac nails) and apply the tile to the wood surface. When it’s time to remove the tiles, you’d just pull down the wooden facade and all the wall tiles with it (I suspect this will work because wood would be much sturdier against the rigid tiles than wallpaper.)
Finally, I want to emphasize that my results are not unique to the specific tile product I used. Every peel and stick tile has the high potential to damage walls or leave a significant amount of residue behind, so proceed with caution on ANY peel and stick tile installation you want to try!
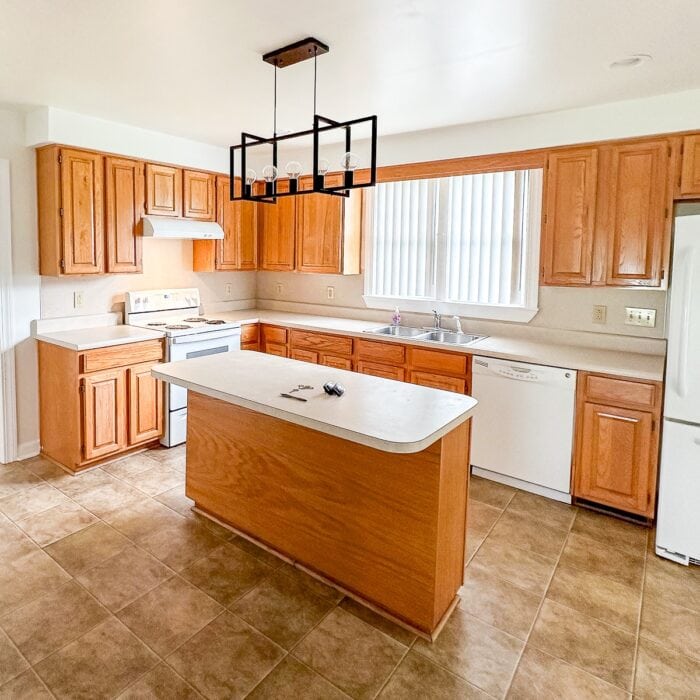
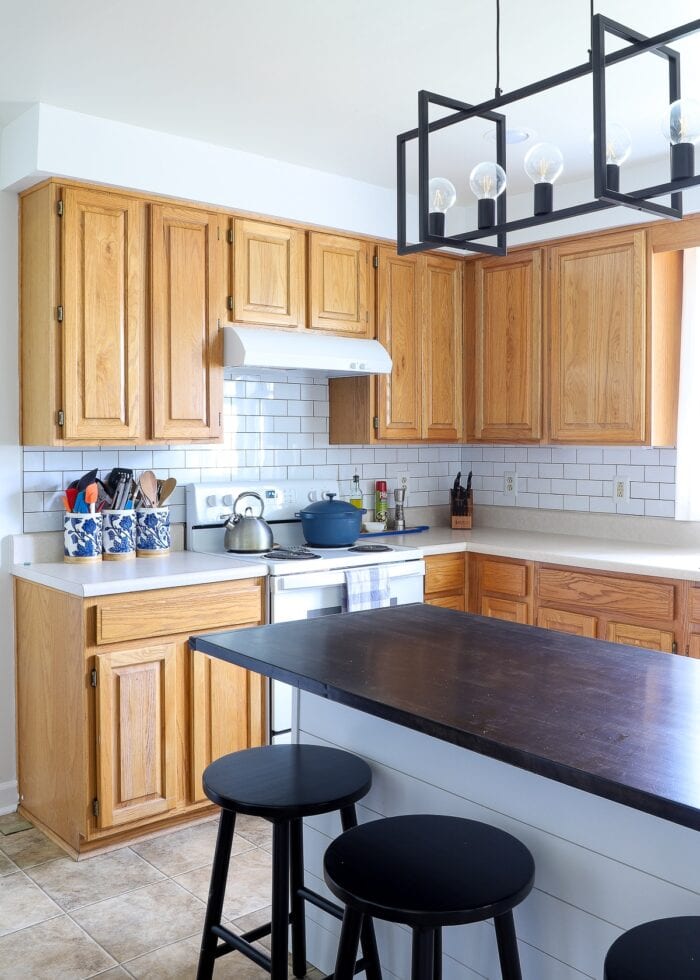
The above shot of our rental kitchen was taken the day we moved out. Nary a tile or spec of adhesive residue in sight!
Yes…I was ultimately able to fully remove our peel and stick subway tile backsplash without any damage. So I guess, this project was technically a success.
However, the amount of time and effort required to 1 – peel off all the tiles, and then 2 – scrub away all the wallpaper residue REALLY made this a cumbersome project that I likely won’t ever take on again.
If you really want a fun backsplash in your rental, I highly recommend using wallpaper or the wood facade method I outline just above! Good luck!
Megan

2 Comments on “What You Need to Know About Using Peel & Stick Tile In Your Rental”
Was it worth it? Knowing everything you do now, was it worth getting the look of the kitchen?
Will you try subway tile with thin wood in another rental?
It did look gorgeous.
The look was superb. Perfect with the rest of the room. And thanks for sharing the how and why, as well as potential consequences. I think you are absolutely correct; thin wood or something water resistant that is thin would also work. My hubby used this thin sheet of water/stain-resistant something behind my hair sink. It works so well. I can wipe it down so easily, and it doesn’t stain. And I do try to stain it; hair color is always on it.