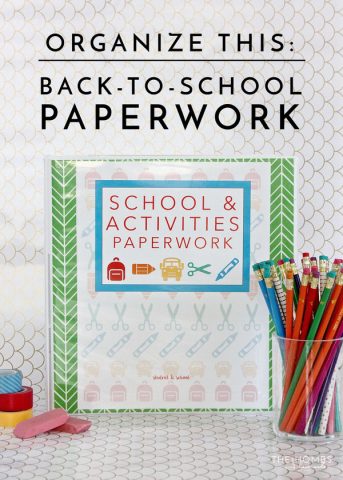
Organize This: Back-to-School Paperwork
Raise your hand if school paperwork has started trickling in and you’ve already accumulated a nice pile on your counter, command center, desk or nightstand? Me, me, me! Well…that was until I took an hour or so this past weekend to get a system in order to deal with it all! Henry has been in school just over two weeks now, and the PTA, club, and class info (and artwork!) has been coming home since the first day. Not only was it piling up pretty fast, but I found myself anxious that I would lose track of some of the notices and forms that required action in the near future. We’ve used wall pouches, mail sorters, and a bulletin board in the past, all with varying degrees of success. Lately, however, I’ve been craving a more streamlined and out-of-sight way to organize and store most things, but especially the never-ending flow of school-related papers. As such, I’m giving a binder system a try this year, and thought I’d give you a quick tour of our Back-to-School Paperwork Binder in case you too need a system ASAP!
*affiliate links used
When I say “paperwork,” I am mostly referring to administrative- and logistical-type papers that come home from school and sports practices. While I do plan to eventually store “favorite” school work and art projects in this binder too, right now, they are still landing here:
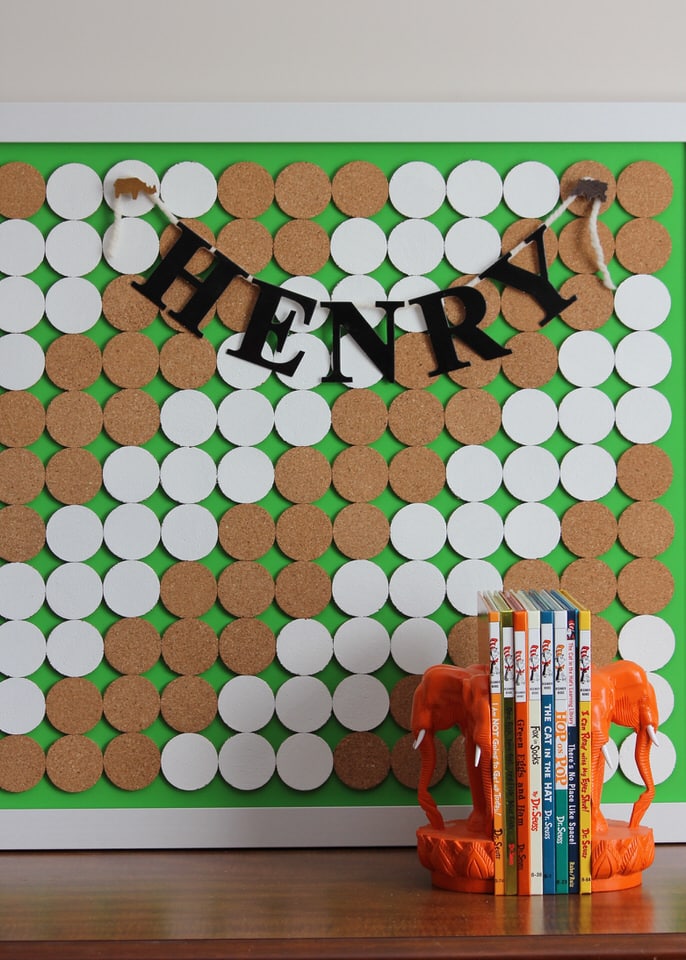
I’ll show you our new setup in Henry’s room in the coming weeks…but the star of his mini command center, the bulletin board, is still going strong. My plan is to display the “latest and greatest” here, and then as new/more stuff comes home, it will either be thrown out or transferred to the binder.
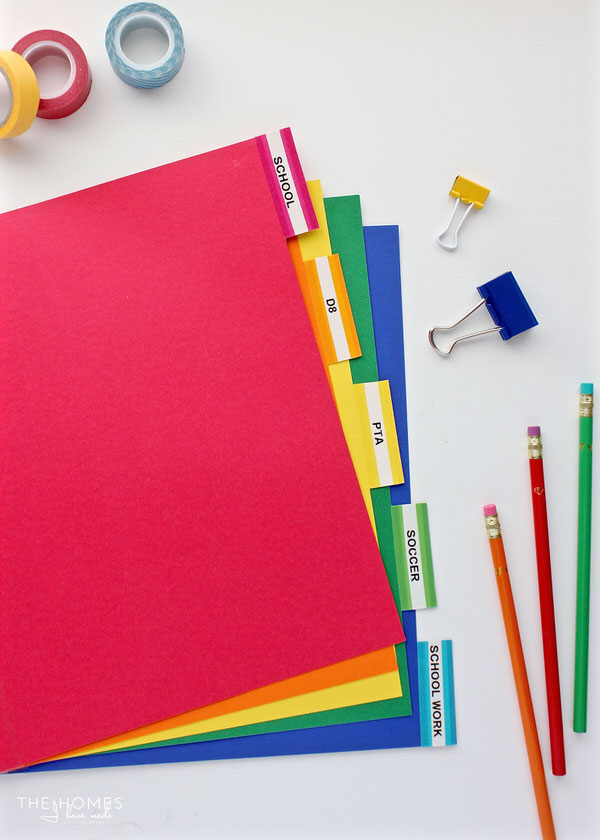
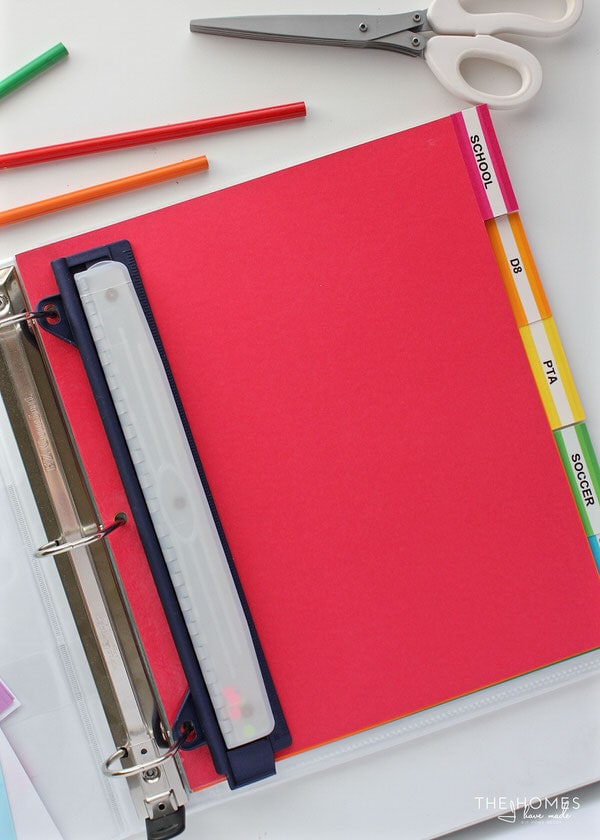
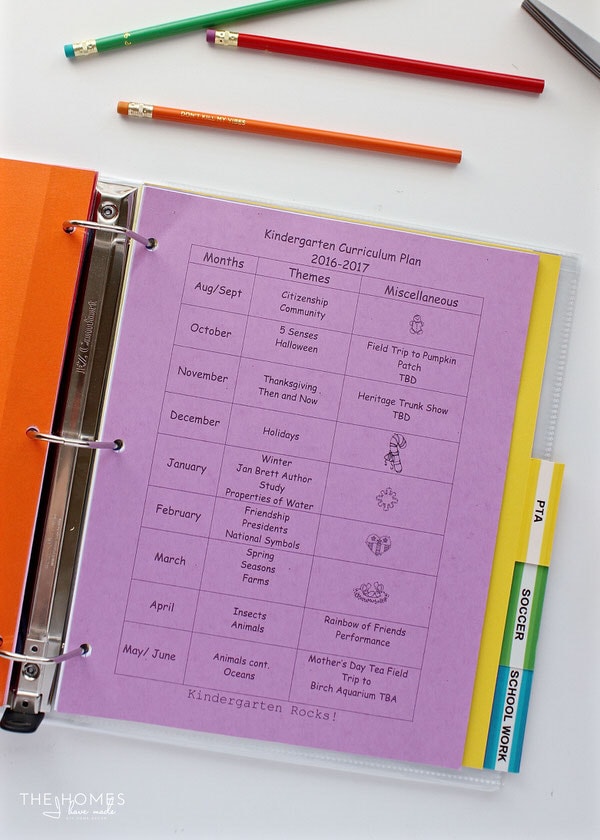
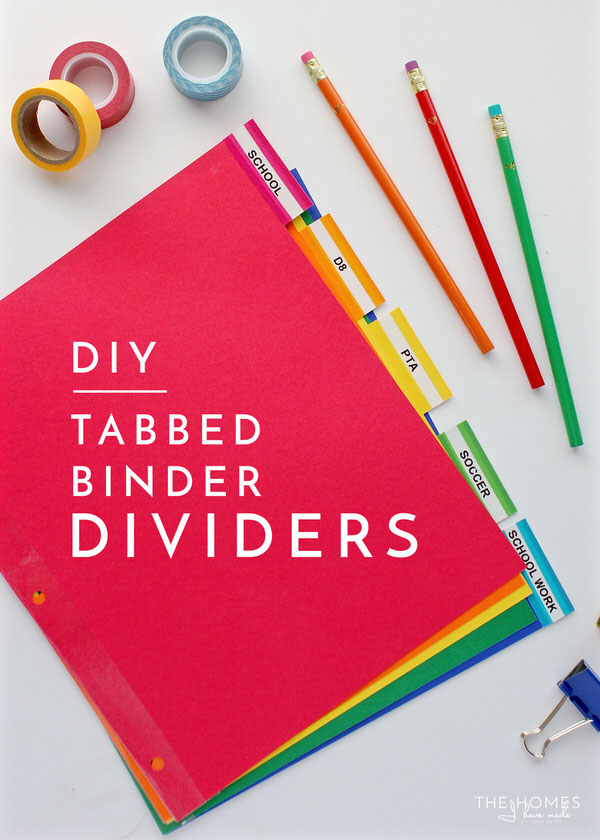
Okay…speaking of the binder, here is how I have mine organized. We have sections for SCHOOL (anything school-wide related) | D8 (this is his class #, so this is where we will store anything class specific) | PTA | SOCCER | SCHOOL WORK (favorite projects and work will eventually land here after their stint on the bulletin board).
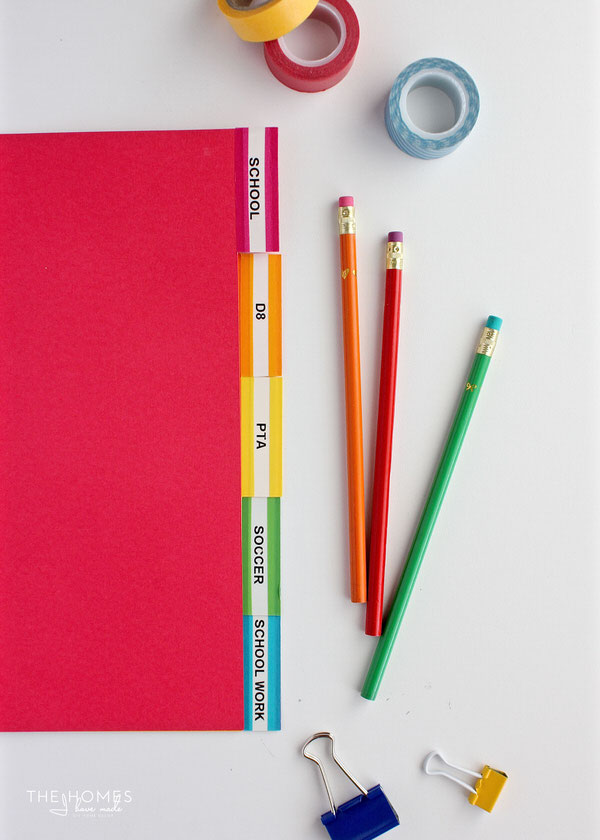
Lately, I’ve been trying VERY hard to use what I have on hand for projects, so I took a few extra minutes to make my own tabbed binder dividers rather than run out to the store. Not only are these really easy to make, but the extra splash of color and whimsy certainly makes the binder more fun to use!
How to Make Your Own Tabbed Binder Dividers
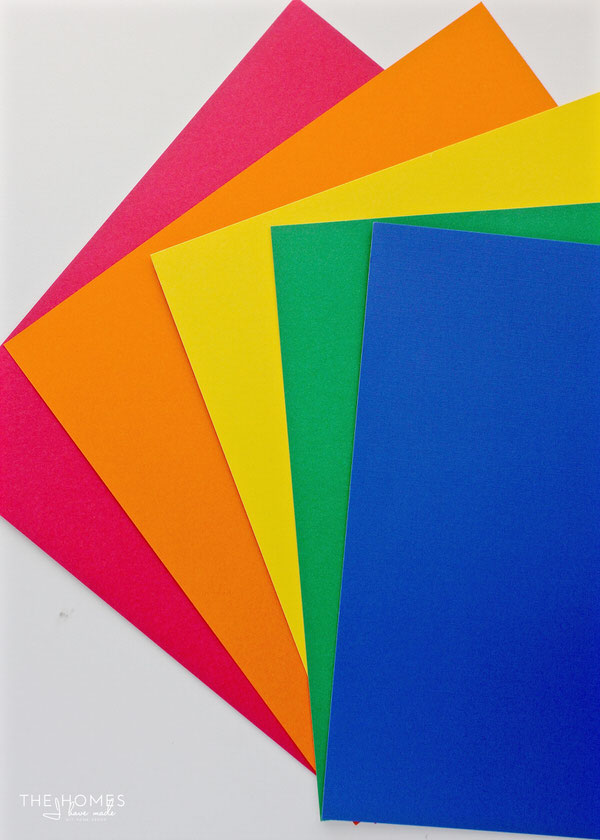
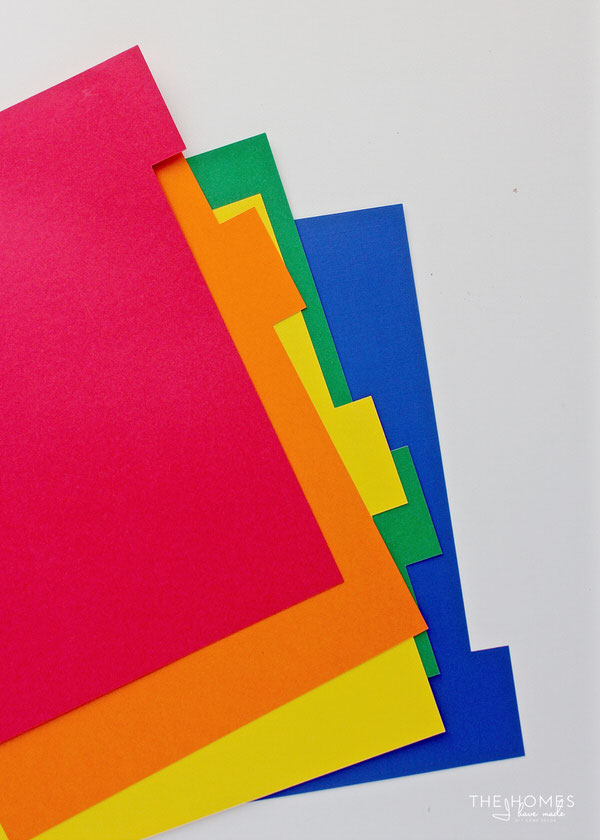
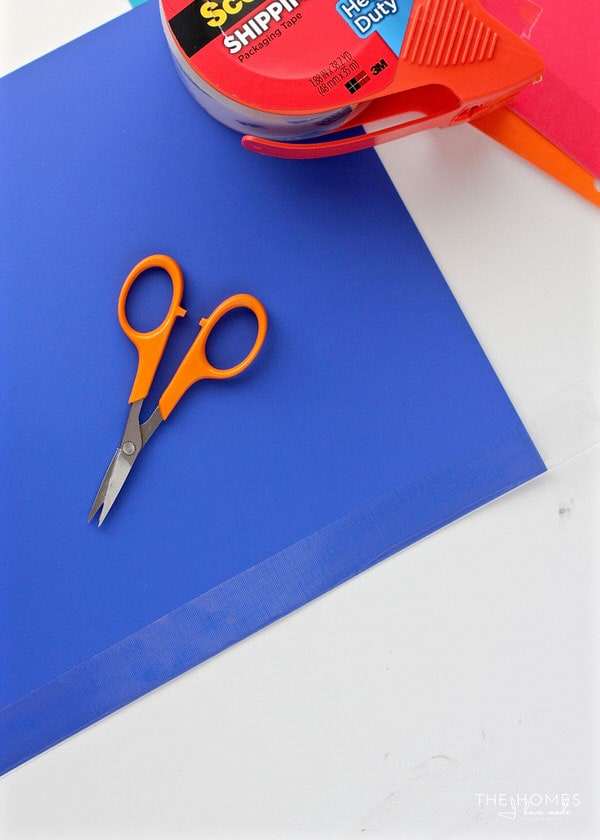
To make your own tabbed binder dividers, start with some 12×12 cardstock in the color/patterns of your choice. I stuck with primary colors for this school-themed binder!
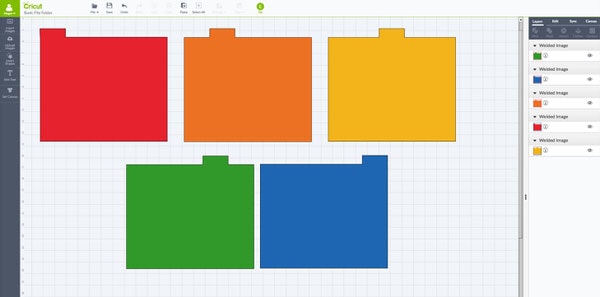
Next, use an e-cutter (if you have one), to cut out the divider pages. Mine measure 9×11″ with a 2x2x0.75″ tab on each one. These weren’t images I bought. I simply welded a large rectangle and tiny rectangle together to make the divider shapes. Even if you don’t have an e-cutter, you can easily cut these shapes with a scissors. Just be sure your tabs move down the page with each divider.
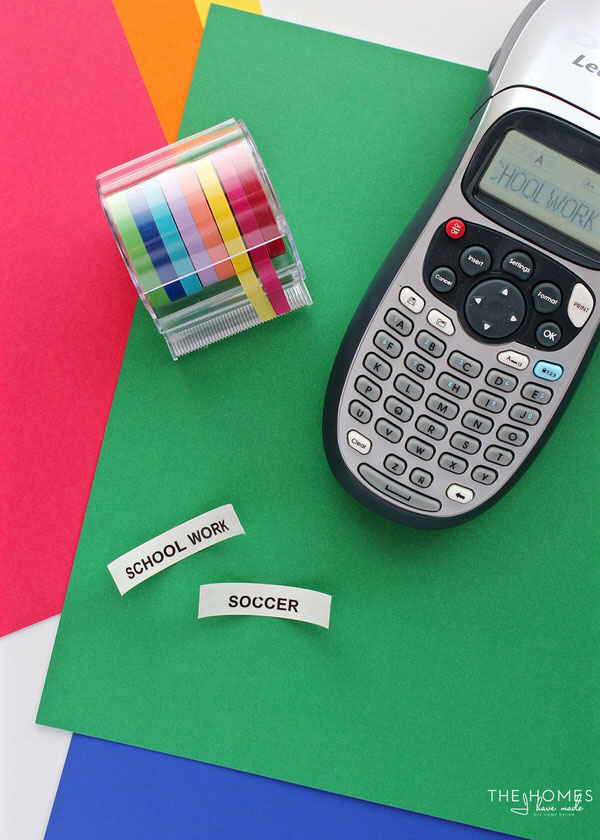
I can’t resist the urge to make cute labels when I have the opportunity, and these couldn’t be any easier. I simply printed out labels on white label tape with my label maker…
…and then used matching super-skinny washi tape (similar) to add a colorful border to each white label. The easiest and quickest way to do this is stretch the label and tape beyond the edges of the tab. Then flip it over and trim the excess with a small scissors.
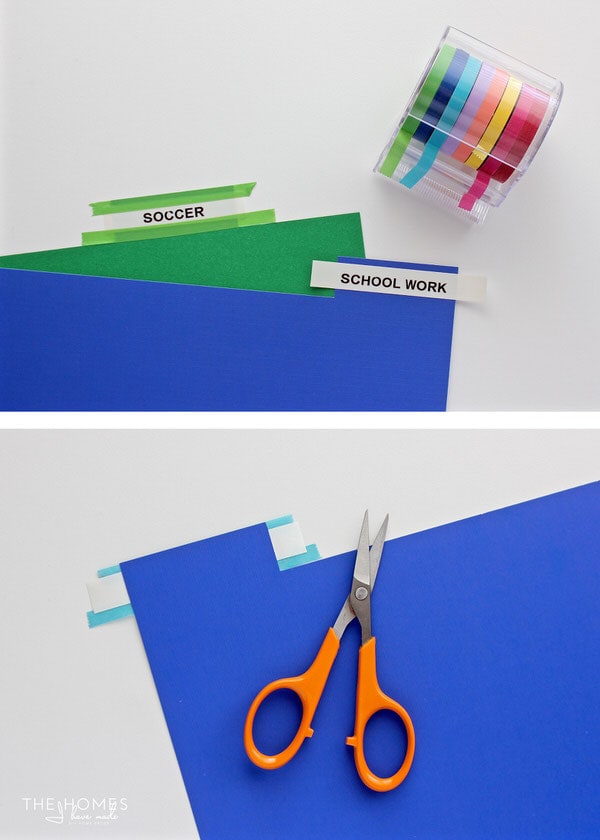
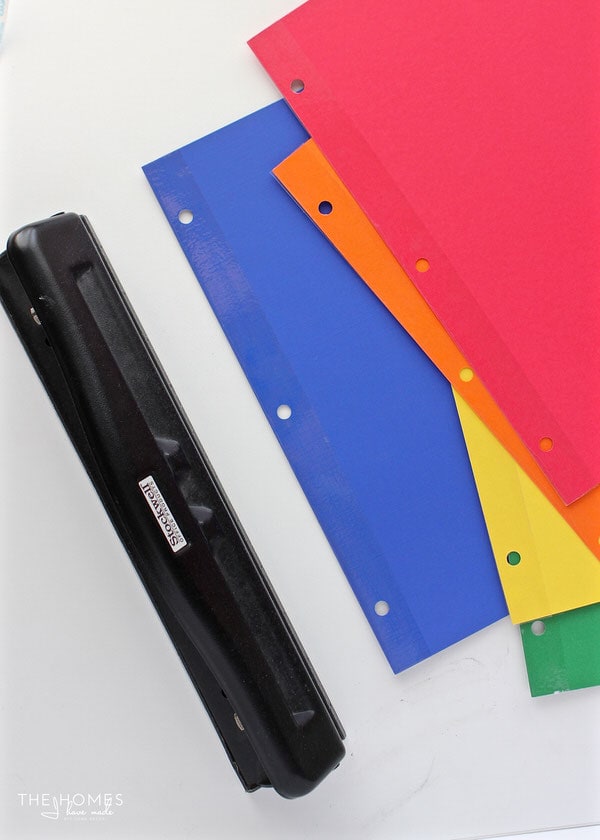
The last step is to add holes to each divider. I like to make my holes a little stronger by reinforcing the edge with some clear packing tape . Simply fold a length of packing tape around the bottom edge of the divider and trim the excess off the ends…
Want to save this post?
Then use a 3-hole punch to add the holes. The packing tape will make the edges and holes a little more durable once in the binder.
And literally in about 15 minutes, using all items I had on hand, I had a colorful and snazzy set of tabbed binder dividers ready for our Back-to-School Binder!
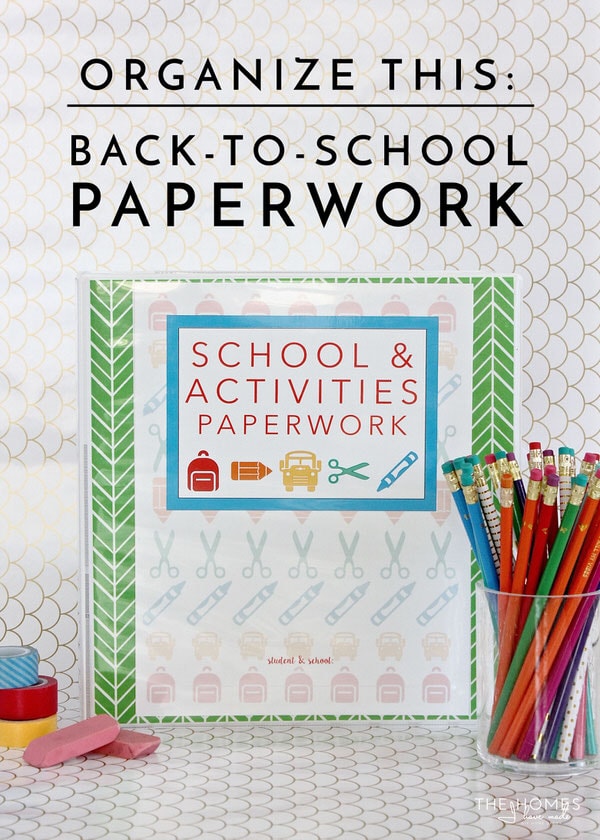
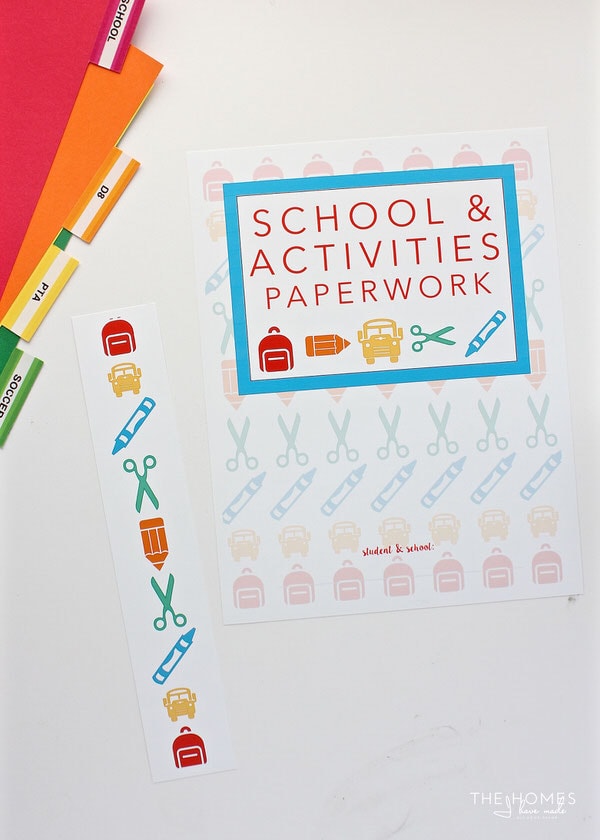
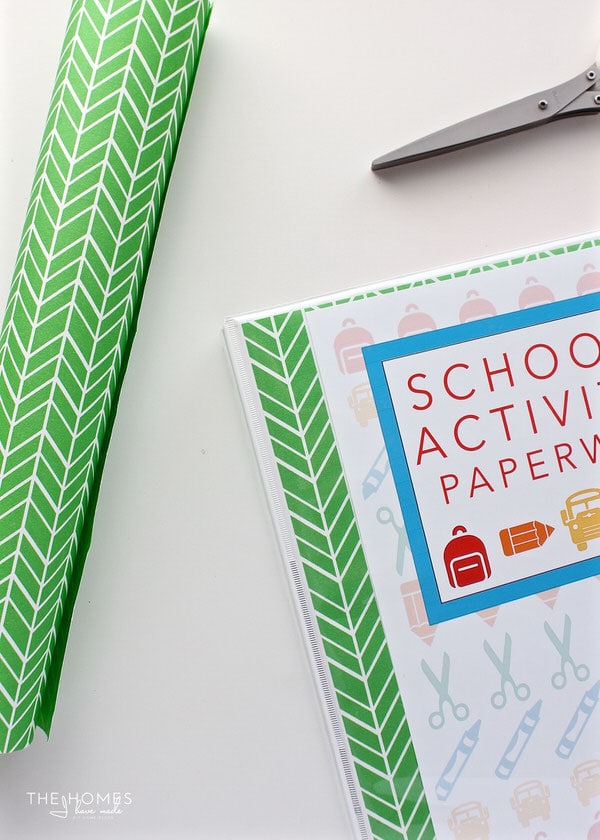
Ready-to-Print Binder Cover & Spine
Before I set to work sorting out papers and filling up the binder, I wanted to add a cute cover to the clear pocket front so that the whole family would know where papers go! I designed a cover (that matches the Kids Travel Sticker Book) and printed the cover and spine out onto photo paper .
.
I then used some scrapbook paper to fill up the rest of the large binder cover and add a bit more color. Totally not necessary, but little things like this make me smile!
With the decorative and functional elements of my binder in place, I set to work sorting out our papers and filing it up. I started with a 3-hole puncher inserted into the front so I will always have one handy. Now I have no excuse to make more piles or just stuff papers into the front of the binder. A quick punch and papers can be filed right away!
Next, I sorted all of our papers into the correct categories, trashing what was already out-of-date or unnecessary…
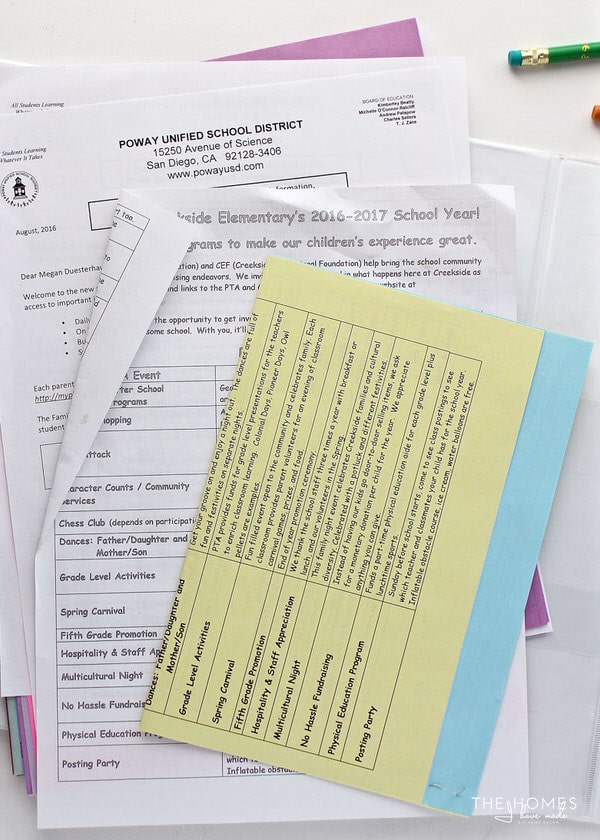
…and each paper was punched and put behind the right tab.
In just about an hour, even with making my own tabbed dividers, I had a snazzy, functional, and easy system for dealing with our Back-to-School paperwork. This binder now sits right near where we empty Henry’s backpack every day. As papers come out, artwork goes on his bulletin board, trash goes right into the trash, and anything that is important gets punched and filed right away. Fingers crossed I’ve found the right system for keeping important papers easily in reach but out of sight this year. I’ll keep you posted on how it works out for us!
Organize This
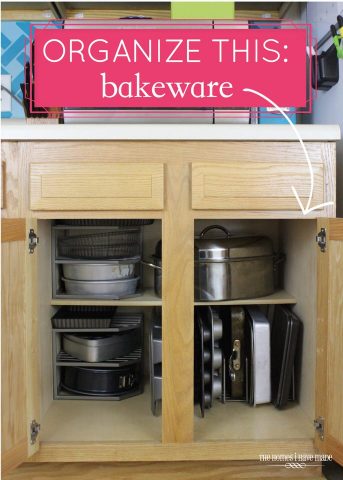
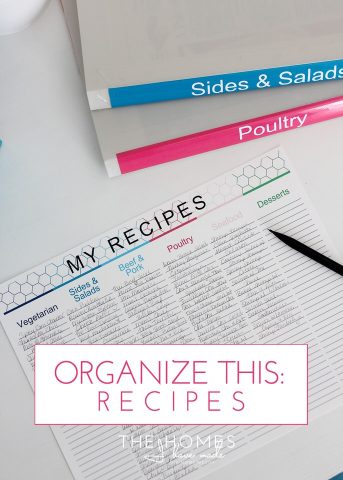
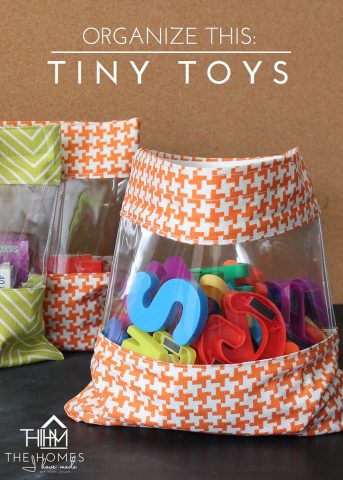
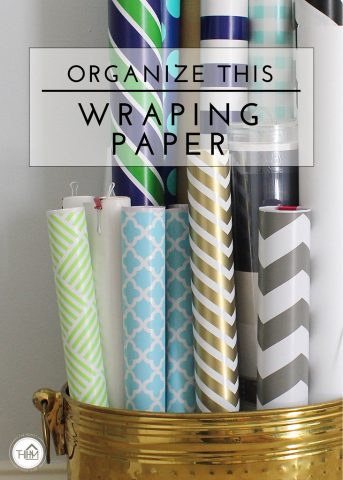
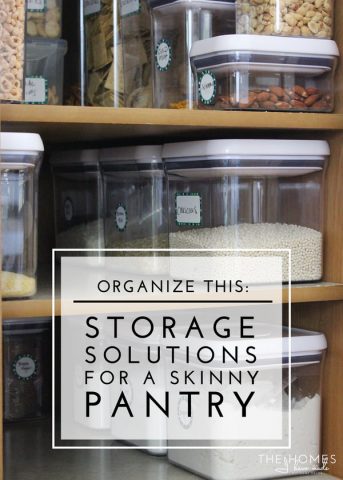
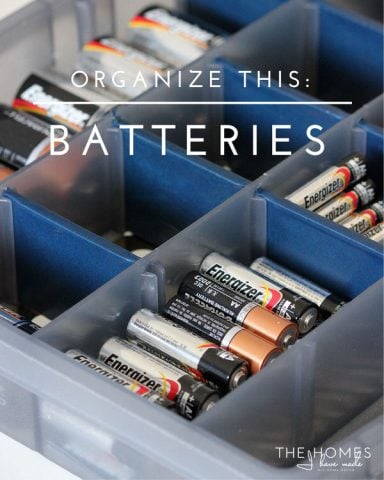
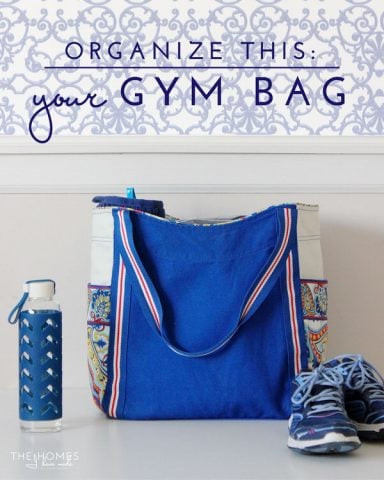
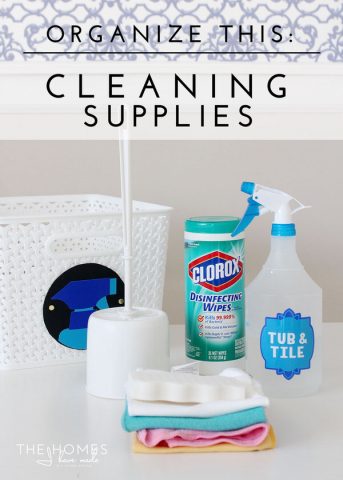
My Organize This series is all about (relatively) simple and quick organizing projects that make a big difference in your day-to-day life. These aren’t intended to be large organizational overhauls, but rather quick sessions you can accomplish in an afternoon or weekend! This Back-to-School Paperwork project took just an hour but has made a huge difference in our paper piles! Catch up on other projects in this series by clicking on the pictures below:

I’ve been feeling a little sad and overwhelmed about the state of our house recently, so quick, easy and colorful organization projects like this one go a long way in helping me feel more normal and settled. I hope you found some ideas here that you can use and implement in your own life and home!
Megan
6 Comments on “Organize This: Back-to-School Paperwork”
I always love your “Organize This” posts! We are in the last few weeks of a 3-month stint “camping” in an apartment while our first house is being built. I am getting so tired of all my it-works-for-now organization! I can barely wait to get moved and put some more permanent systems in place!
Hi Megan!
Thanks so much – I am glad you enjoy this series! I can feel your pain with temporary housing – 3 months is a LOOONG time….we just did about 2 this summer during our move and you better bet I couldn’t wait to get into a place and settled! Sending good vibes as you wait through the home stretch!
Megan
This post was a godsend! I already had a pile of school paperwork to deal with and it was starting to overwhelm me. Thank you so, so much! Gah, I just love your blog <3
Read this in 2022 and it’s still a wonderful idea! Thanks for sharing the how-to!
So glad you found this helpful! Getting ready to assemble yet another one myself, because of ALLLL the back-to-school papers, lol!
Thanks for stopping by!
Megan
Do you have a printable for the binder? I have the lifetime access and I can’t find it! Help please!