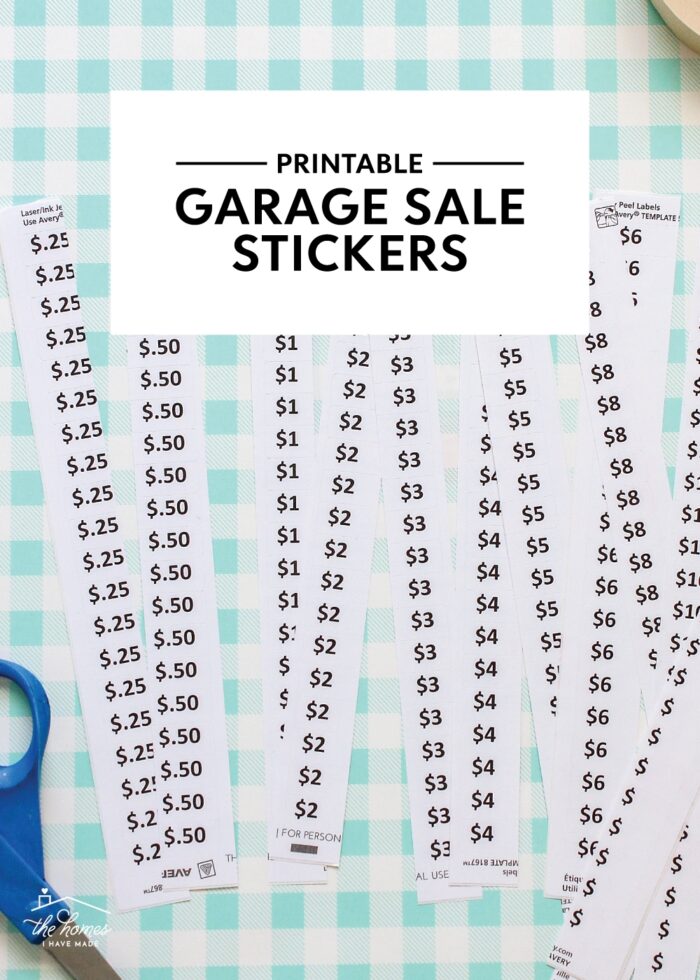
FREE Printable Garage Sale Price Stickers
I’ll admit, I consider myself somewhat of a “yard sale expert.” After helping my father downsize, running 3 major estate sales, and conducting a pre-move yard sale every few years, I have the garage sale prep, setup, and pricing down to a near-perfect science! I recently shared a bunch of my tried-and-true yard sale tips, one of which is the importance of pricing your items. Today, I want to chat a bit more about why I think pricing is so helpful at a yard sale, and how to do it quickly and easily thanks to my own set of printable Garage Sale Price Stickers!
Why Price Items at a Garage Sale?
To price or not to price, that is the question! I am pretty sure everyone has their own experiences, frustrations, and opinions about pricing yard sale items. However, after running countless successful sales over the years, I can honestly tell you that we find pricing to be 100% worth the effort. Here’s why:
- Price Tags Encourage Browsers to Buy. If people can see the price you’re asking, they can instantly decide if they want it without having to hunt you down or get your attention. Just like red Clearance stickers at Target, sometimes the “right price” is just the push needed to move from considering something to actually buying it.
- Stickers Help You Get Your Desired Price. If you’re not a quick thinker or you waiver on your feet, price tags can help you determine and get the prices you believe to be fair and reasonable.
- Garage Sale Stickers Create Quick Transactions. If you’re not good at adding quickly or can’t remember what price you quoted a person 5 minutes ago, visual stickers will help you quickly and accurately tally people up and get them on their way.
- De-Centralizes Checkout. If you have several people helping with your sale, price tags allow anyone to check out any customer, at any time…without having to come to you (the organizer) first to confirm “How much did you want for this?”
- Create a “No Haggling” Environment. If your least favorite part of holding a garage sale is the haggling, here is my best advice: price things to sell (i.e., as cheap as you are willing to go) and then commit the following phrase to memory, “We priced things to sell, so we are not negotiating today.” Some people will push back, most won’t, and many will still buy what they’re holding.
- Price Tags Give People a Starting Point on Negotiations. Even if you don’t have a “no negotiating” policy and will entertain offers, still price your items! Simply add OBO after the price. Just putting a “Make Offer” sign will scare people away because they likely don’t know where to start. Give a starting price and be willing to mark down as the day goes on.
- Price Consistency. Garage sale stickers can help you price items consistently…both from item to item and customer to customer, which can help ensure you get what you really want for each item.
Why Print Your Own Price Tags?
Hopefully, I have you convinced that using garage sale stickers is a “must do” for a successful sale. But now, you might be thinking, “Pricing takes a lot of work!” or “My sale is this weekend, and I don’t have time to go find those little stickers.” I’ve got you covered!
Ditch the Store-Bought Stickers
Have you ever purchased a cute little set of garage sale stickers and had any or all of these problems?
- The garage sale stickers don’t stick to anything.
- You don’t have the price increments you really need (or enough of each one).
- Only 20 stickers come to a sheet and you find yourself going through sheet after sheet, pack after pack.
Years ago, when we had to sell off my entire childhood home after my mother’s death, we needed A LOT of price tags that we could peel and stick fast. So my sister created a simple set of printable labels for us to use over and over.
This file includes every common monetary increment, in the quantity you actually need, laid out at 160 garage sale stickers per page!
I personally use these Printable Garage Sale Price Tags at every single sale we hold. Not only can I easily print as many pages as we need (or re-print certain increments based on what we’re selling), but the particular mailing labels they are formatted for are easy to peel and actually stick to everything (no more dots falling to the ground!)
Because of these labels, we are able to quickly and accurately price everything we have to sell. As the sale goes on and prices needed to be slashed, we simply go around and put new stickers over the old ones. It’s incredibly easy and incredibly efficient!
Ready to print your own price labels?!?
How to Print & Cut Your Own Garage Sale Stickers
Materials Needed
- Free Printable Garage Sale Stickers File
- Avery Return Mailing Address Labels (1/2″ x 1 3/4″ | 80/page)
- Home Printer
- Scissors or Paper Trimmer
Step 1: Print
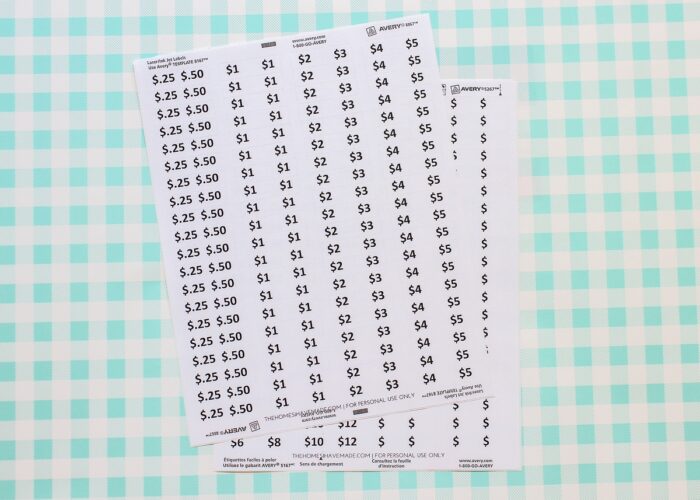
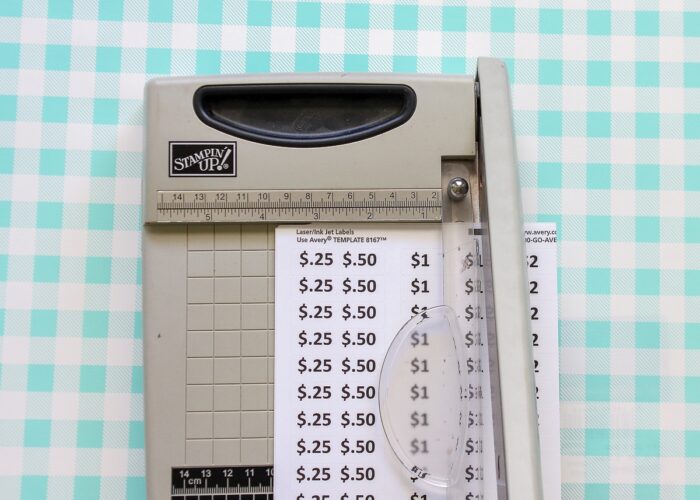
After you download my free Printable Garage Sale Stickers file, select the pages you need and print them out onto Avery Return Mailing Address Labels.
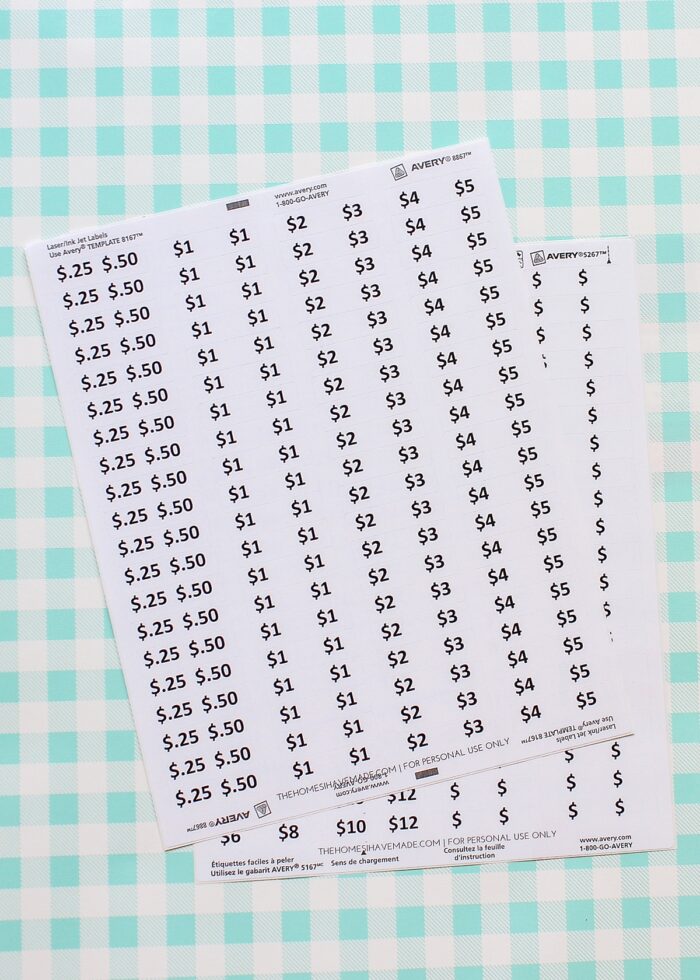
Notice there are two prices printed on every single label: one price justified left, one price justified right, with blank space in the middle.
This ready-to-print file features multiple columns of the most common garage sale prices ($0.25, $0.50, $1, and $2), with fewer columns of less-used values ($3, $4, $5, $8, $10) as well as blank stickers to type/write your own prices.
Want to save this post?
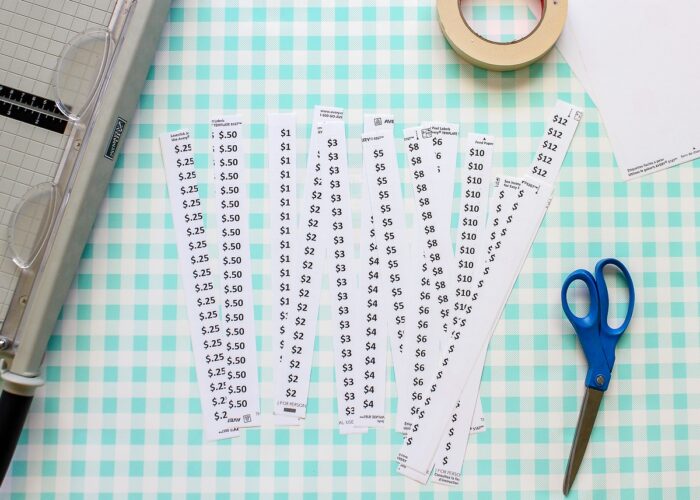
Step 2: Slice the Stickers Into Strips
Next, use a paper trimmer or scissors to slice down the blank center of each column, cutting all the mailing address labels in half.
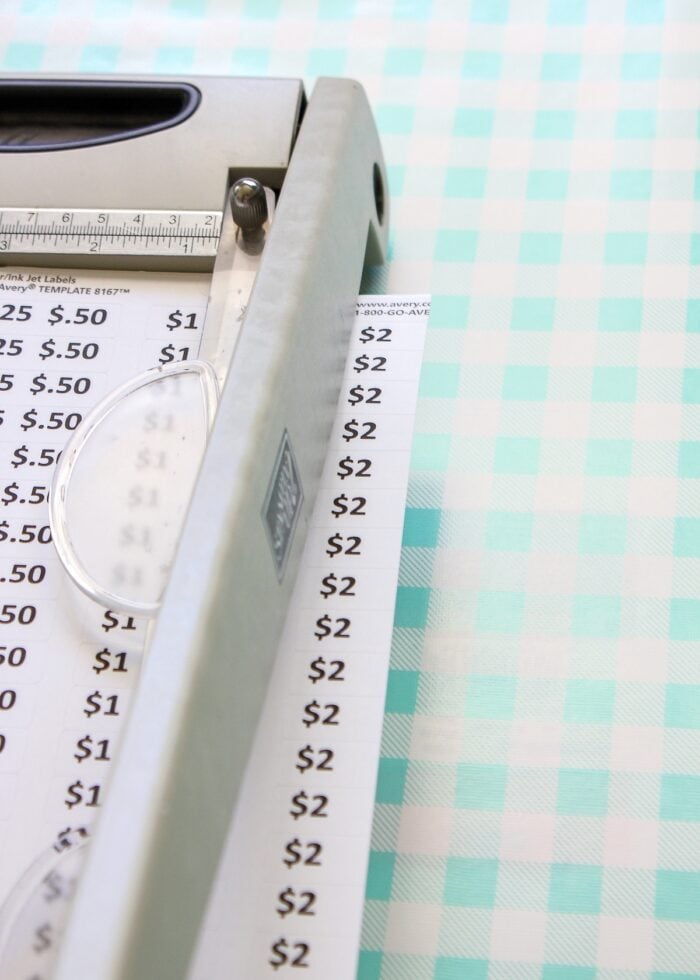
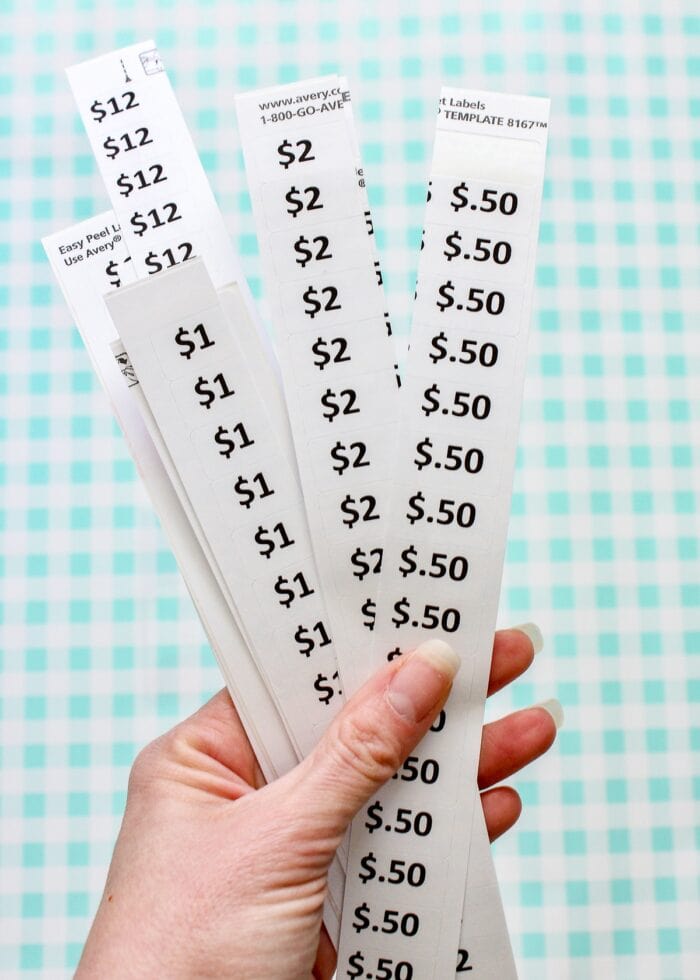
Keep printing and cutting all your labels until you have several vertical strips of each monetary increment.
These files are great because 1) they are done for you, and 2) you get SO many price stickers from one sheet (180 price tags from just one print out!) Isn’t that so much better than those boxes of sticky dots that have too many $0.25 stickers and not nearly enough $1s!
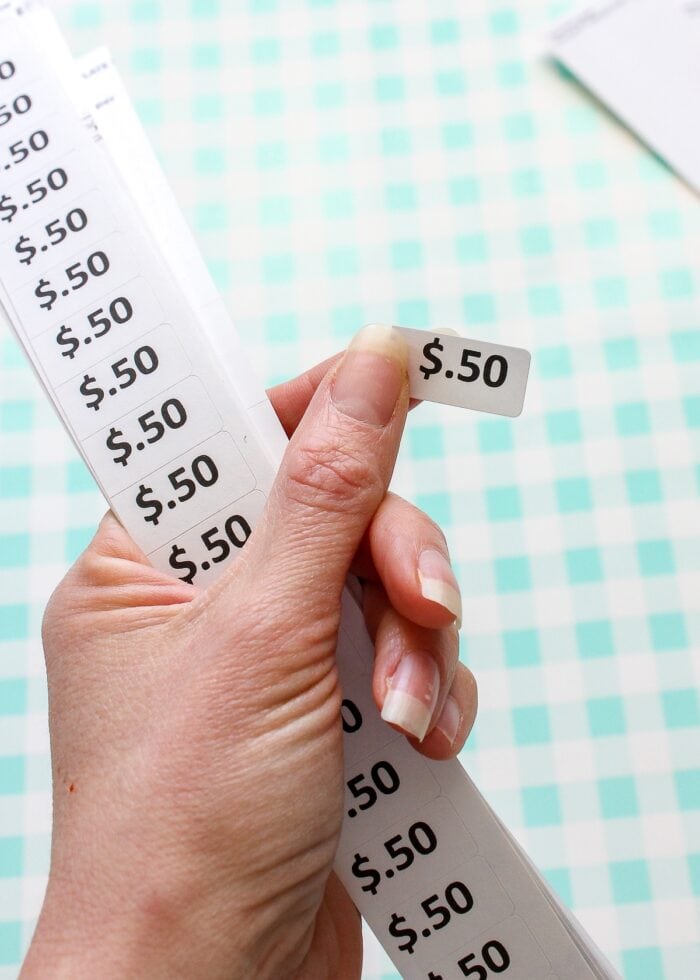
Step 3: Price Your Items
To get ready for your sale, gather up your price tag strips, and quickly go through your items one by one. Without over-thinking, pick a price, find the strip, stick it on, and keep moving. At our last garage sale, I had everything priced in about 20 minutes since I had all the easy-peel prices right at my fingertips!
Need More Help Decluttering Your Home?
Here are my very best decluttering tips, tricks, and solutions!
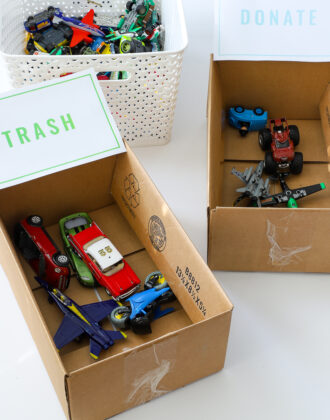
- Learn How To Organize Any SPACE In 5 Steps
- Keep or Toss: Questions to Consider When Decluttering Your Home
- Donate Versus Sell | Getting Rid of the Stuff You No Longer Love
- 10 Tips for an Awesome (& Profitable) Garage Sale
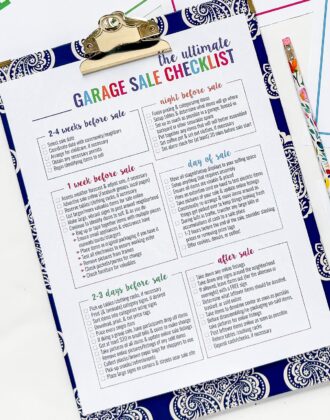
- The Ultimate Garage Sale Checklist (With Printables!)
- How to Declutter Your Entire Home Before a Move
- How to Declutter Your Kitchen from Top to Bottom
- Does It Spark Joy? My 1st KonMari Experience
- How to KonMari Craft Supplies
- What Happened When I Got Rid of Half My Kid’s Toys
- Helping Your (Senior) Parents Declutter | My Real Life Tips!


More Garage Sale Printables
Looking for even more printables to help make your garage sale a success? Check out my Ultimate Garage Sale Planning Kit!
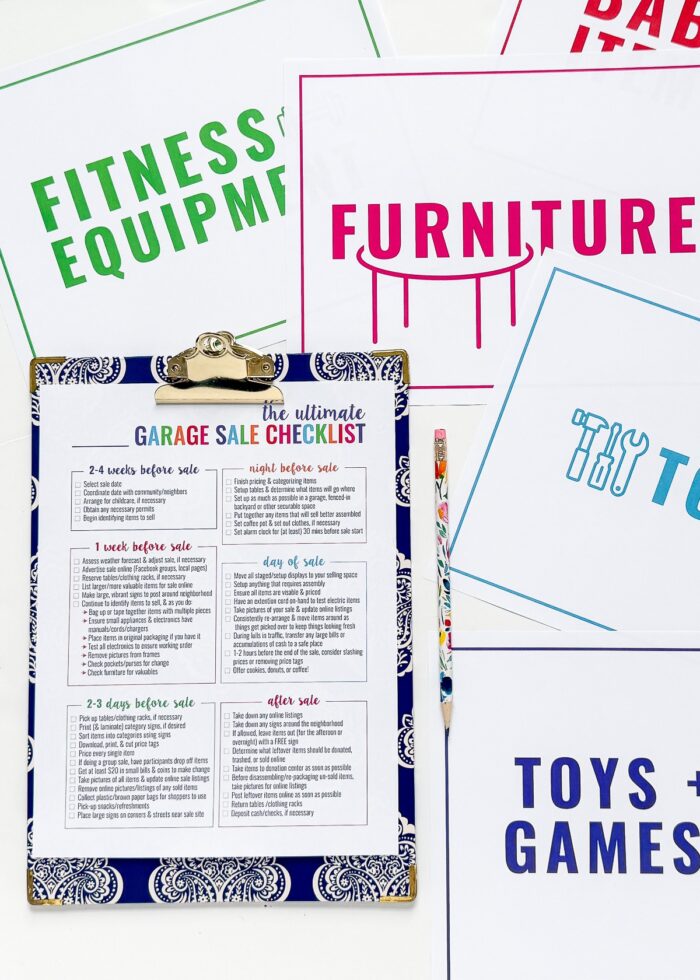
Ultimate Garage Sale Planning Kit
If you’ve never priced items at your yard sale, I can’t recommend trying it enough. I promise it’s easier than you think and your sale will not just go more smoothly, but maybe even put a little more cash in your pocket. I hope this free printable file helps make your next sale a success!
Megan
30 Comments on “FREE Printable Garage Sale Price Stickers”
Thank you. This is just the push I needed to get started.
Thank you for sharing!
Thank so much save a lot of time.. 🙂
Thank you very much for providing this printable. Saving me time..
In appreciation..
✿═══════ღஐ✿Ƹ̵̡Ӝ̵̨̄Ʒ✿ஐღ════════✿
THank you. Although some of pages were off. I got two prices on one tag one i cut them in half.
Hi Sandra!
I am sorry some got cut off, did you use the PDF file or the Word file? If you used the Word file, the PDF one might work better for you next time! Glad you found them helpful though and hope your sale went great!
Megan
These are great labels! Mine were off too, but I was printing them on a laser printer, so I think that is the reason. Was able to use about 3 rows on each page. Next time I’ll know to print on an inkjet. Thank you for doing the hard work! 🙂
Thank you! I used the editable download, took the bold off to save on ink and I printed some for my mom in a different color so we could differentiate between each other at checkout! These work out so much better than the round colored dots that DON’T STAY ON ANYTHING.
Really nice. We typically use different colors for each seller. Have you seen http://tallysheetapp.com? It makes running sales so much easier.
OH MY GOSH! THANK YOU SO MUCH!
Hi there,
I’m excited to get started with my Garage Sale Planning, but when I signed up I didn’t receive the password email. I checked but it wasn’t in my spam folder either. I’m sure it’s something simple, but could you help me out with this?
Thanks so much.
Hi Megan! These garage sale price tags are great! I LOVE that so many labels print on one sheet. Even with the extra cutting step I can see how it’s faster and no doubt cheaper than using the big round garage sale price stickers. Also, your suggestion to price things “without over-thinking” is an important reminder — especially for chronic over-thinkers like myself. Thank you! Love your blog! Love you!
Best wishes,
Kristi Kirk Trent, Oklahoma City
THANK YOU!!!!!!!! Labeling items for a charity yard sale and this will save sooooo much time!!!
Thank you for the access to the stickers! I am having a yard sale next week and these are a big help!
Man .You are good. You are helping me out tremendously . I would never have thought about a your ideas.
These files and all this information and organization that you have provided for us, is way better than what we would even try to look for in the stores. Thank you 😊
I’m subscribing God bless you.🌻🌻
Hi Kim!
Thanking you for taking the time to leave such a kind comment. I am so glad to hear you find my ideas helpful and inspiring!
Hope you have a great week ahead!Megan
I don’t see where to download the numbers
I’m having trouble printing from my ipad. Any tips?
Thank you so so much! You have blessed me!
– Amy Daniels
Hi Megan,
You just sent me the link to print the FREE garage sale price labels; however, there is no button at the end of the email for me to click on. Can you please resend with the link to download please.
Thank You
Do you have tips or strategies for Estate Sales? I am in that situation now and plan to hold an Estate Sale in a month. I don’t know the value of furniture or antiques. Ideas? How do you promote it? And how much “change” do you usually start with? Stuff like that. I love the price sticker download that prints on Avery address labels, genius!
I just tried this excellent idea on some older labels and they came out great. This is such a superb idea that I don’t have to go out and buy the non sticking round ones. Thank you for the great idea!
Is there a trick to get the free the free printable garage sale price sticker file? I have tried it four times with two different email addresses. It never shows up, not even in my spam folder.
I have been trying to download the free garage sale labels but when I enter my name and email and hit submit, it brings me to the Decluttering article and I have not received the email and I have tried this several times with the same outcome. Can you email the PDF file for this so I can print them out. Thank you so much for this
Hi Kirsten,
I’m sorry for the trouble; however, my email platform is showing that the email did indeed go out and was opened. Were you able to download what you needed?
Thanks,
Megan
There’s an upcoming garage sale that’s starting next month in my neighborhood at a local gymnasium i’m going to give these printed-out freebie price tags a shot and see if they help me with what little i’m going to be able to sell off at the garage sale see if they’ll do any good.
I love the pricing labels for garage sale. One question, there are several people selling stuff at our next sale in August. How can I add an initial or something like that to each sticker to identify the seller.
it sends me to another page and charges $5
Hi there,
Your FREE file was sent to this email address, but it is still showing as unopened. Please check your Spam/Trash folders for an email titled: 🏷 Here are Your Printable Garage Sale Price Tags!
Thanks,
Megan
thankyou