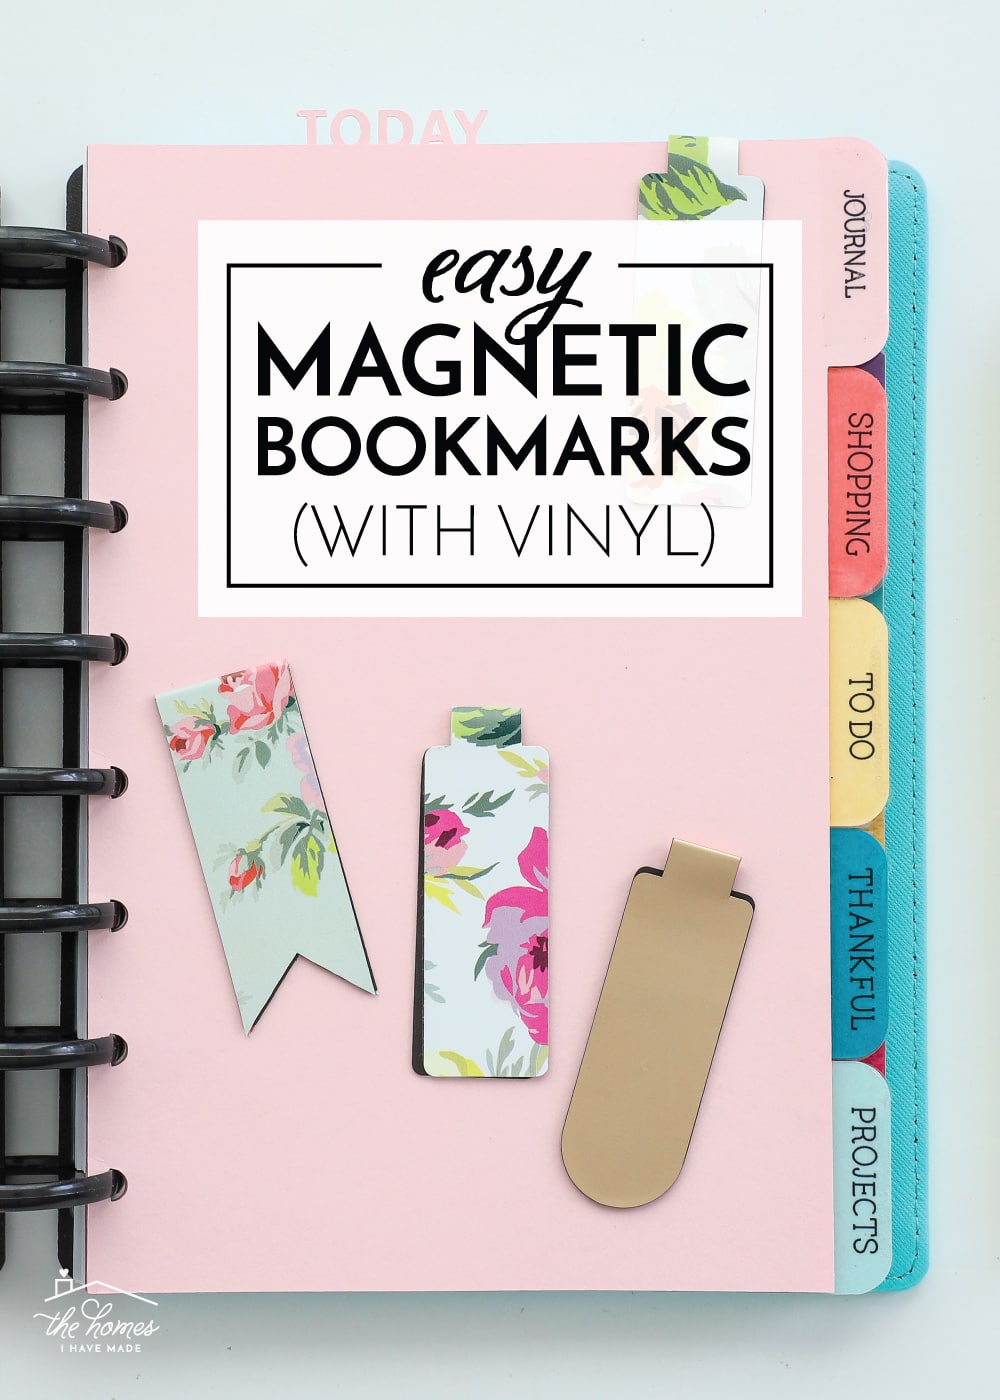
How to Make DIY Magnetic Bookmarks with Vinyl
Who remembers a few months back when I shared a really easy way to make DIY Magnetic Bookmarks with ribbon?!? At the end of that post, I mentioned wanting to figure out a way to make the same project using vinyl, since that would result in a much sleeker bookmark for planners, journals, books, notebooks and more! It took me a little while to figure out because vinyl is (obviously) different than ribbon, but it turns out the process is just as quick and easy! Today I want to show you how to make DIY Magnetic Bookmarks with vinyl using both a scissors and a Cricut machine…meaning anyone can make these! Let’s dive in!
I’m a sucker for a pretty magnetic bookmark. I’ve bought a bunch over the years because they are such a sweet, simple and gorgeous way to keep your place in a variety of books. But having had success making my own using ribbon, I knew I could mimic the store-bought versions using a bunch of vinyl I already had on hand!
These magnetic bookmarks are great for using up vinyl scraps, and they can be made with any type of vinyl you like…regular, holographic, patterned, glitter! With so many varieties of vinyl now available, your options for creating bookmarks in any color or style is pretty much limitless!
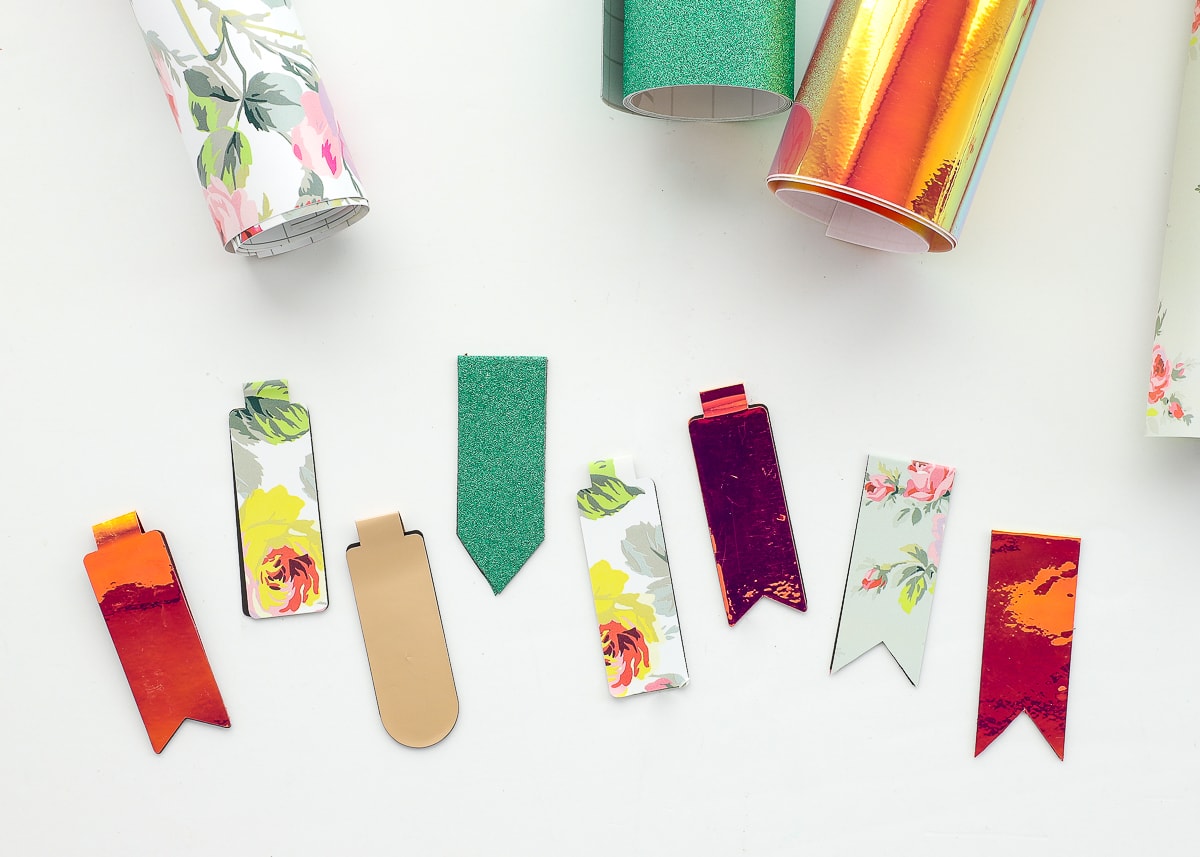
In just an hour or so, I made a bunch of different versions using both a paper trimmer/scissors and my Cricut…
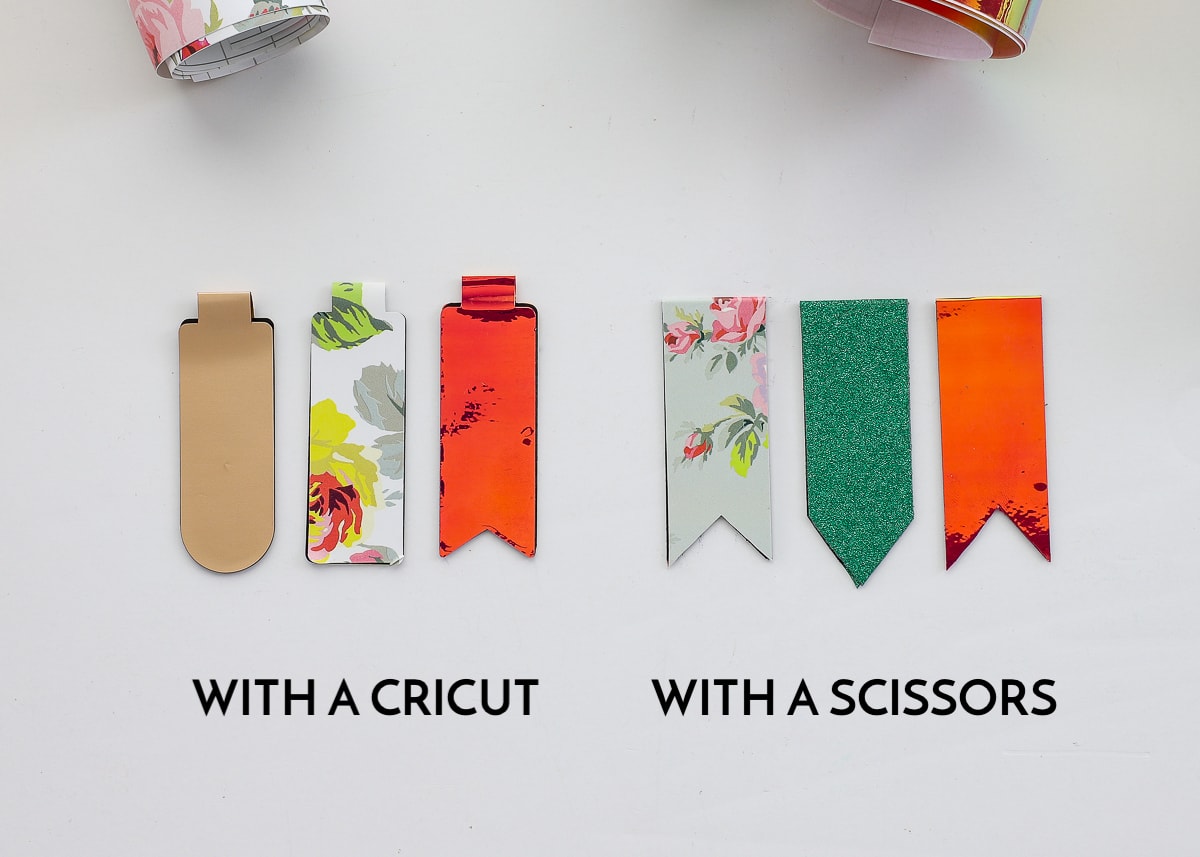
Honestly, they are both so easy and work brilliantly, so it’s up to you how you want to craft up these little beauties. Wouldn’t these make sweet little gifts for your bookclub friends or a craft project for a Mom’s group, scout troop and more?!?
Supplies Needed
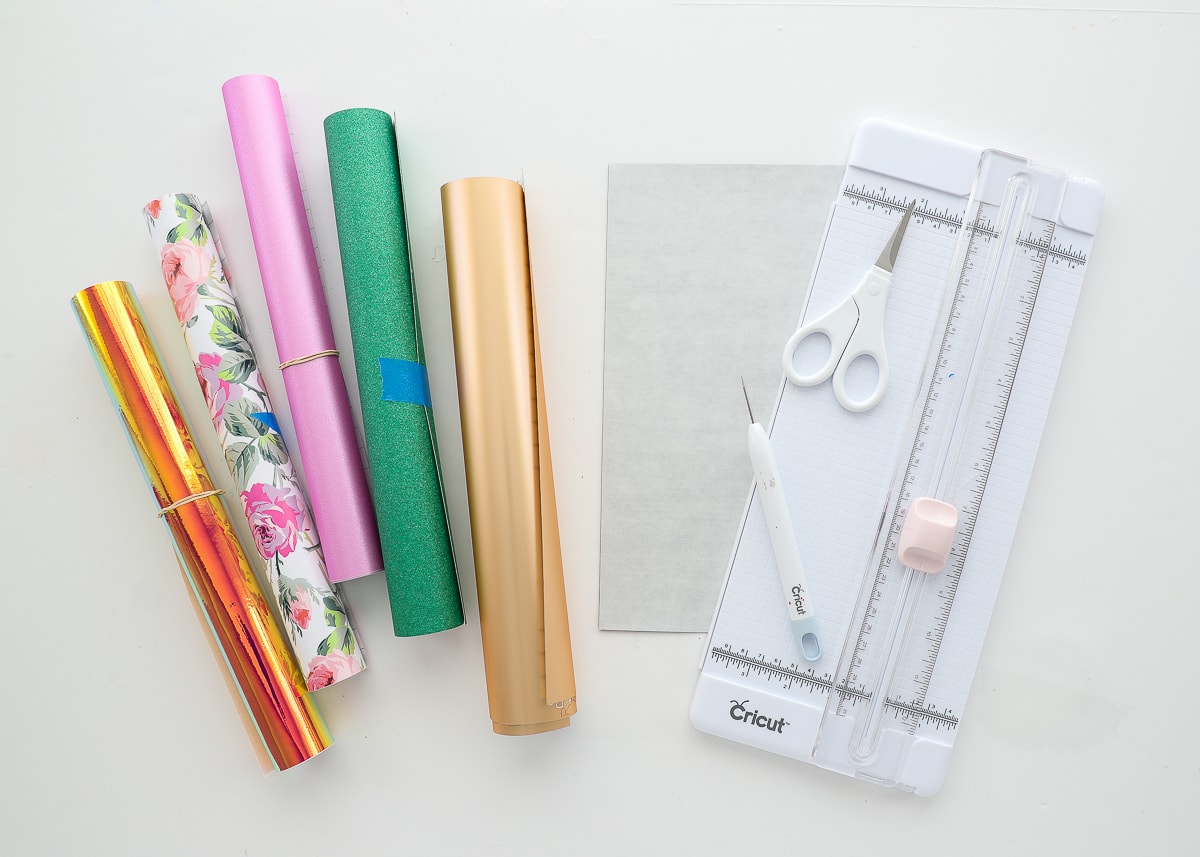
No matter which method you use, the supply list is pretty short! Here’s what you need:
- Vinyl – Pick any colors, sheens, and patterns you like. I personally found the holographic vinyl just amazing for this project – so much shine! This is also a great project for scraps, so dig through your collection for any cuts that measure at lest 2×6.”
- Adhesive-Backed Magnetic Paper – To make this project super quick, easy, and seamless, you’ll want to use adhesive-backed magnetic paper. I honestly don’t know which brand I have (because I threw the packaging out), but something like this is perfect.
- Craft Brayer – Not essential but very helpful for smoothing out wrinkles and bubbles.
- Paper Trimmer – You can use a small flat one (like shown) but heavier-duty ones like this one work a bit better for slicing the magnetic sheets.
- Scissors – Small, sharp scissors work the best to get clean cuts.
If you’re going to use your Cricut machine to make these magnetic bookmarks with vinyl, you will also need:
- A Cricut Machine – both the Explore and Maker models work for this project.
- Standard Grip Cutting Mat
- My DIY Magnetic Bookmarks with Vinyl Design Space file HERE!
Holographic Vinyl | Patterned Vinyl | Glitter Vinyl | Magnetic Paper | Paper Trimmer
How to Make Magnetic Bookmarks With Scissors
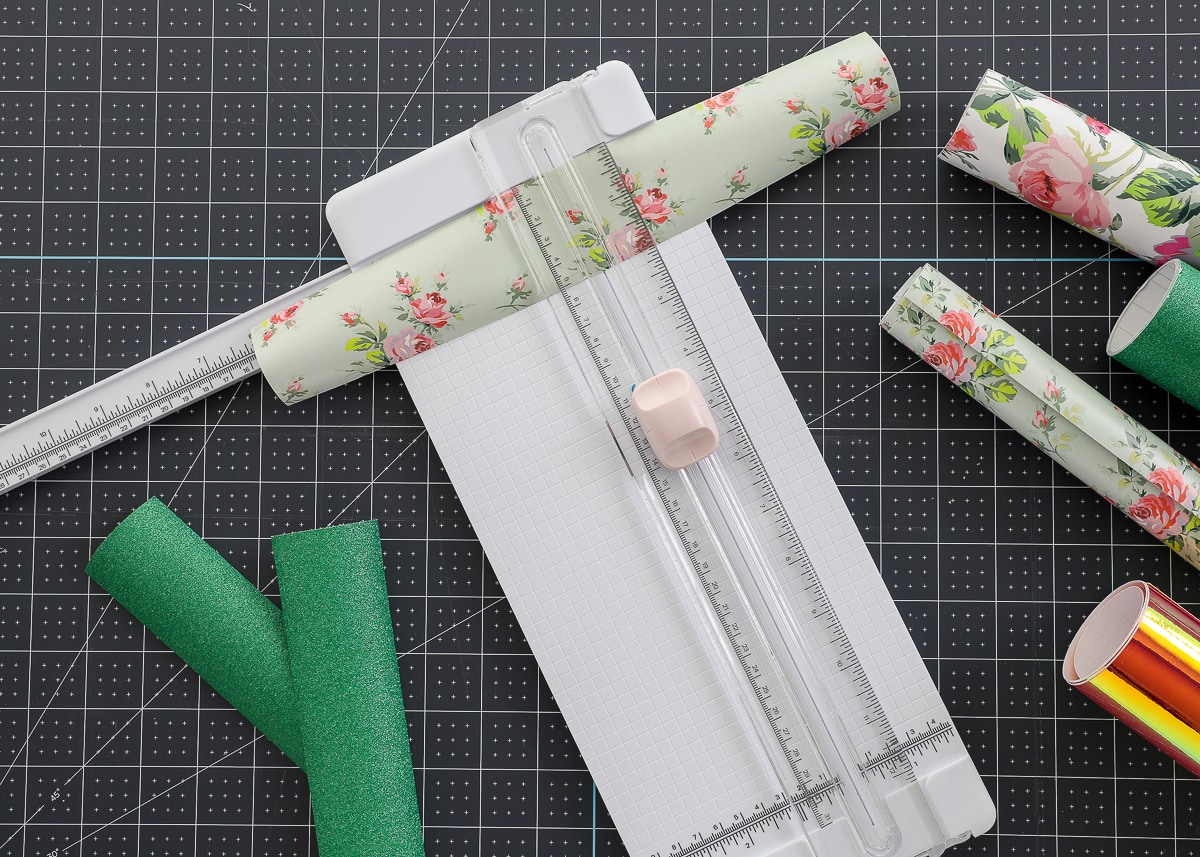
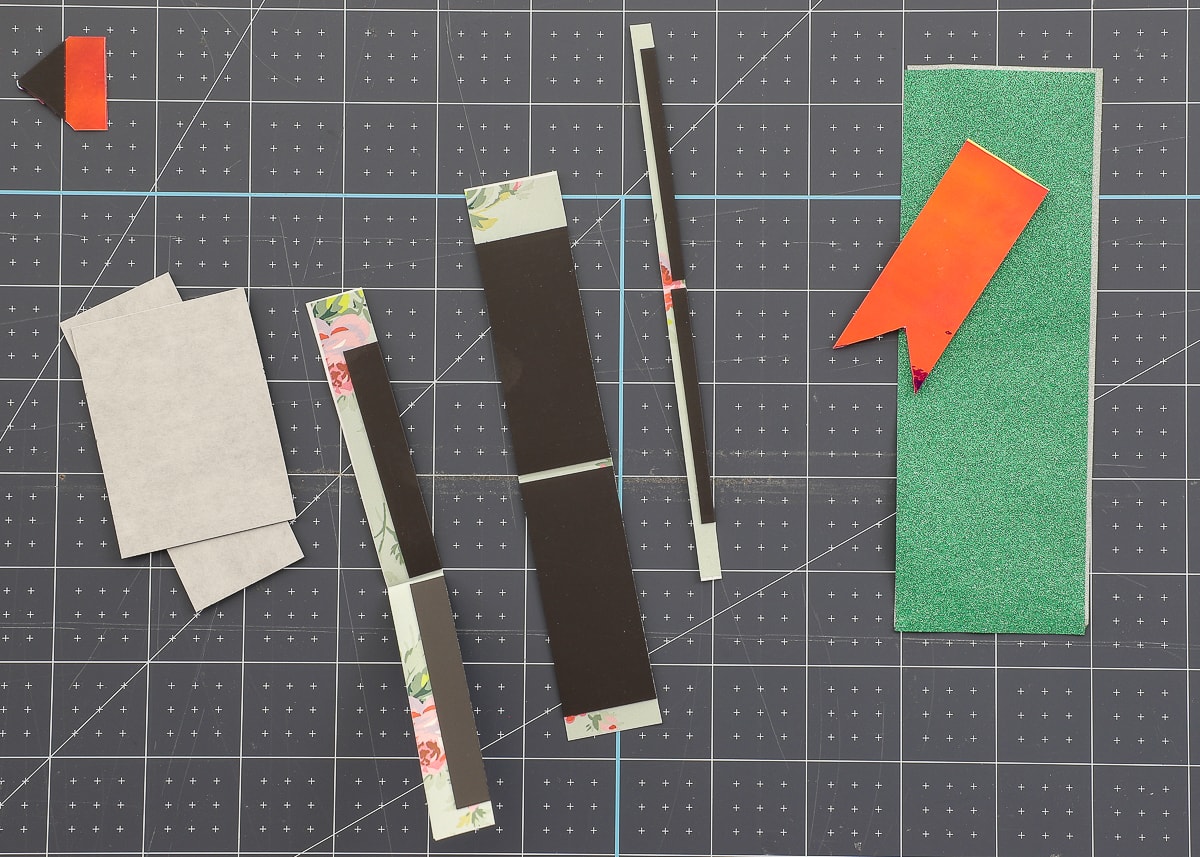
Start by slicing your vinyl into strips that are approximately 2×12.” Then cut the strips in half so they measure 2×6.”
Next, you will put the two 6″ strips back-to-back to make a double-sided strip. This can be a little tricky to do without bubbles or creases, but here’s what I found works the best:
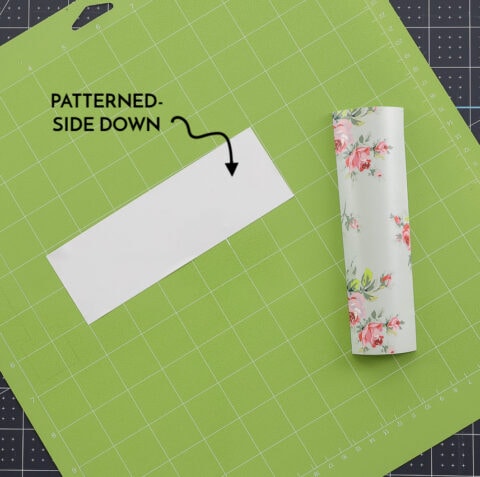
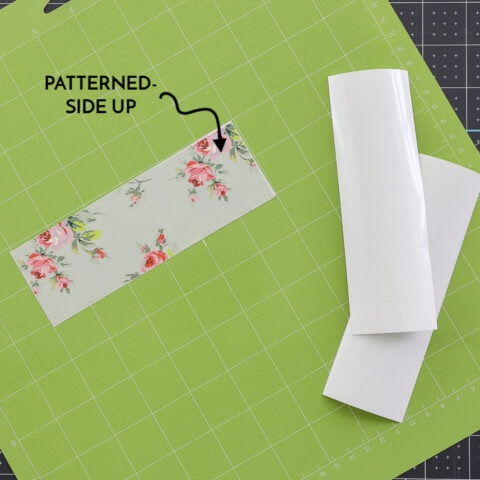
- Place one of your vinyl strips, patterned-side down, onto a sticky mat (this holds it flat and in place). Pull off the paper backing to reveal the sticky side.
- Peel off the paper backing on the second strip and place it, sticky side down, onto the first strip.
- Remove the vinyl strips from the sticky mat and use a craft brayer to really adhere the two pieces together and smooth out any wrinkles or bubbles.
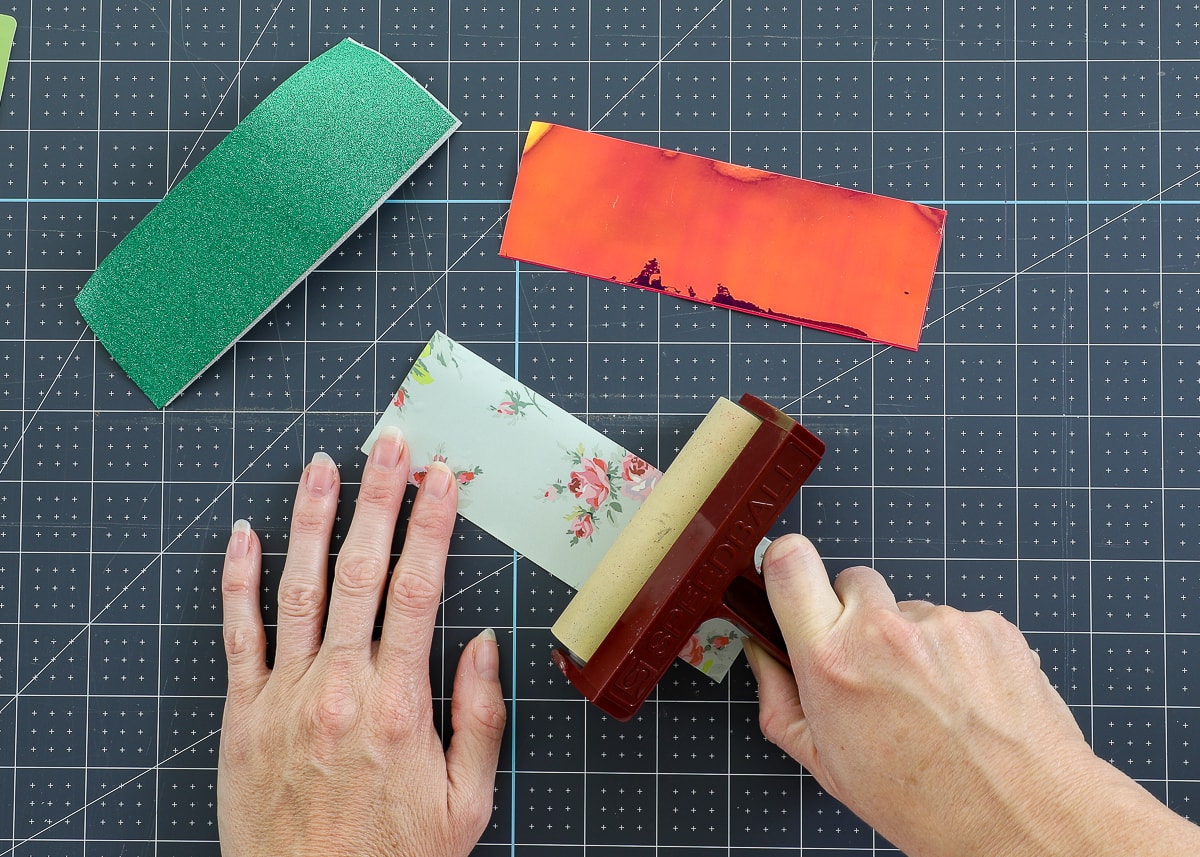
When finished, you should have 2×6″ strips that have your pretty vinyl on both sides (all the stickiness should be on the inside).
Next, use a paper trimmer or scissors to cut down the magnetic sheets into 1.5×2″ rectangles (this size can be adjusted based on your desired size/shape of the finished bookmark). Remove the paper backing on the magnetic cuts, and place them onto one side of the vinyl strip, with an 1/8″ gap between them (as shown below).
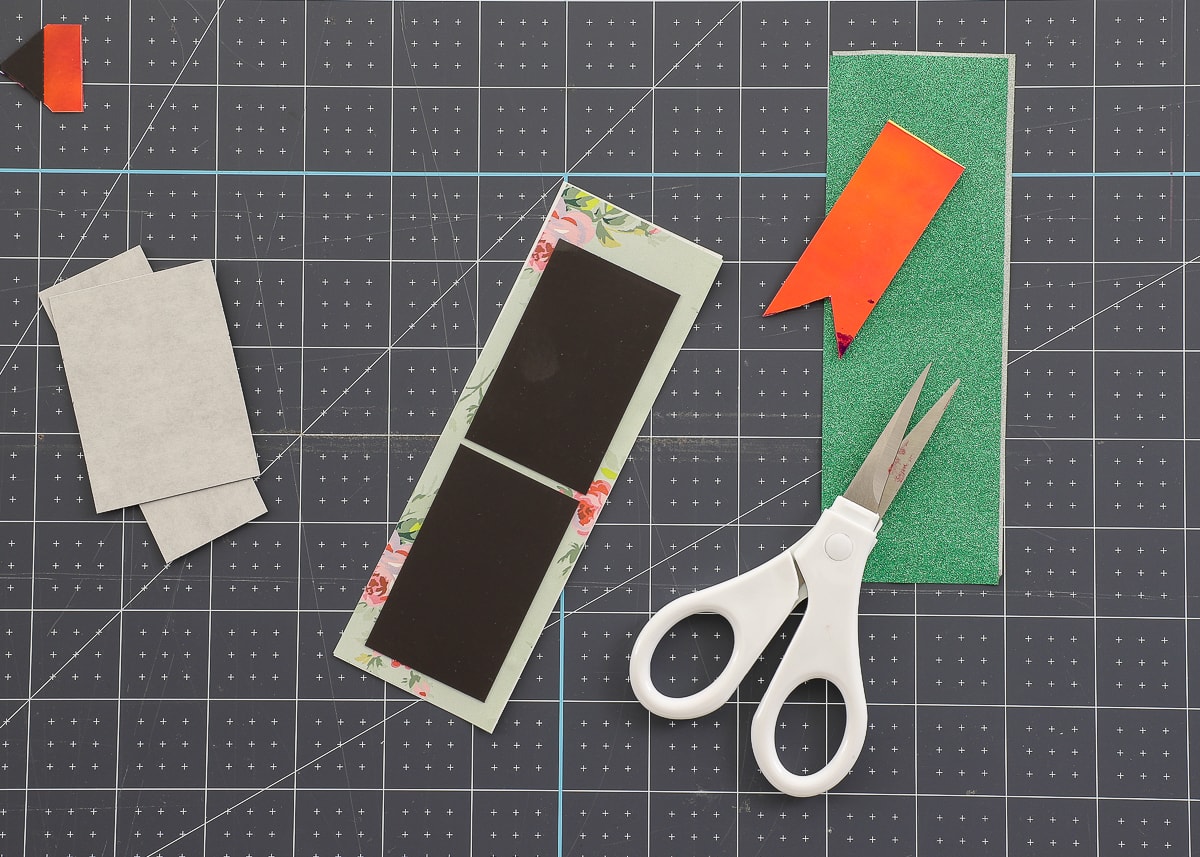
Next, fold the bookmark in half and let the magnetic cuts come together and “settle” into a natural position (based on the polarity).
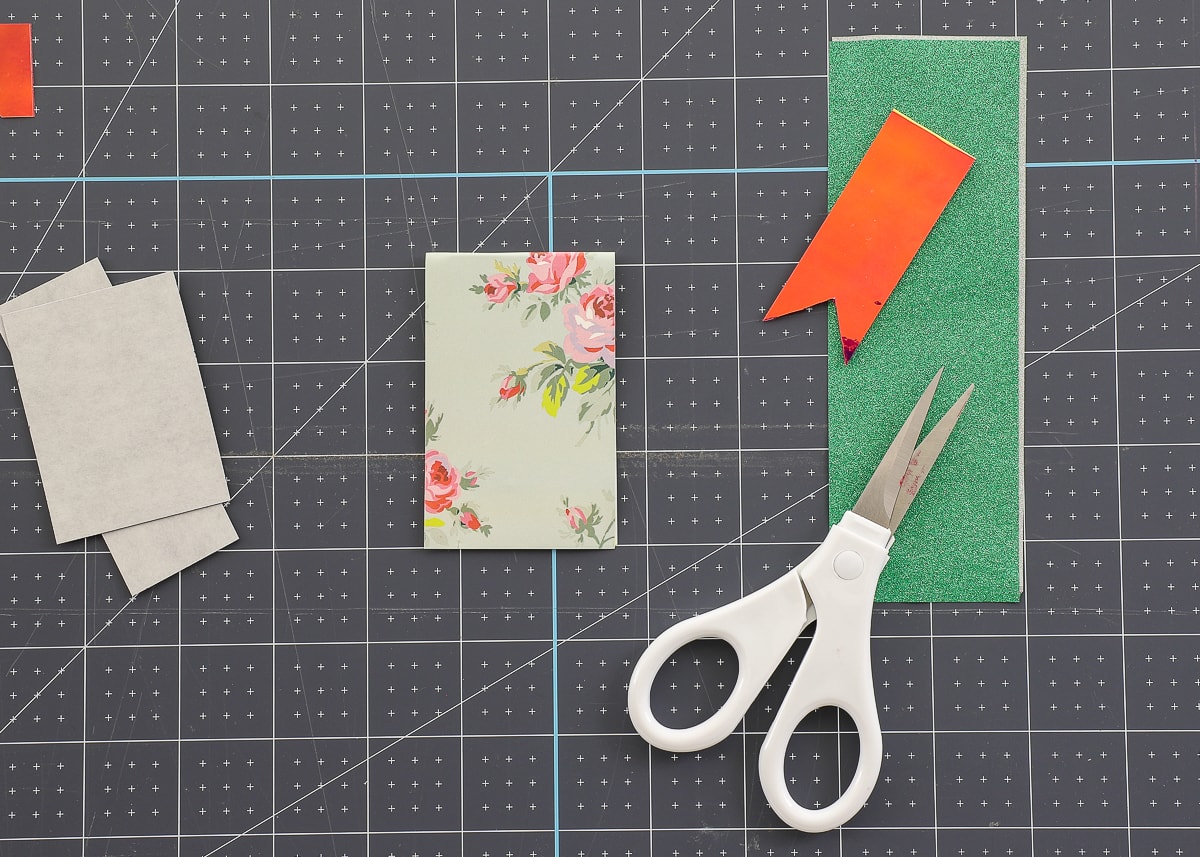
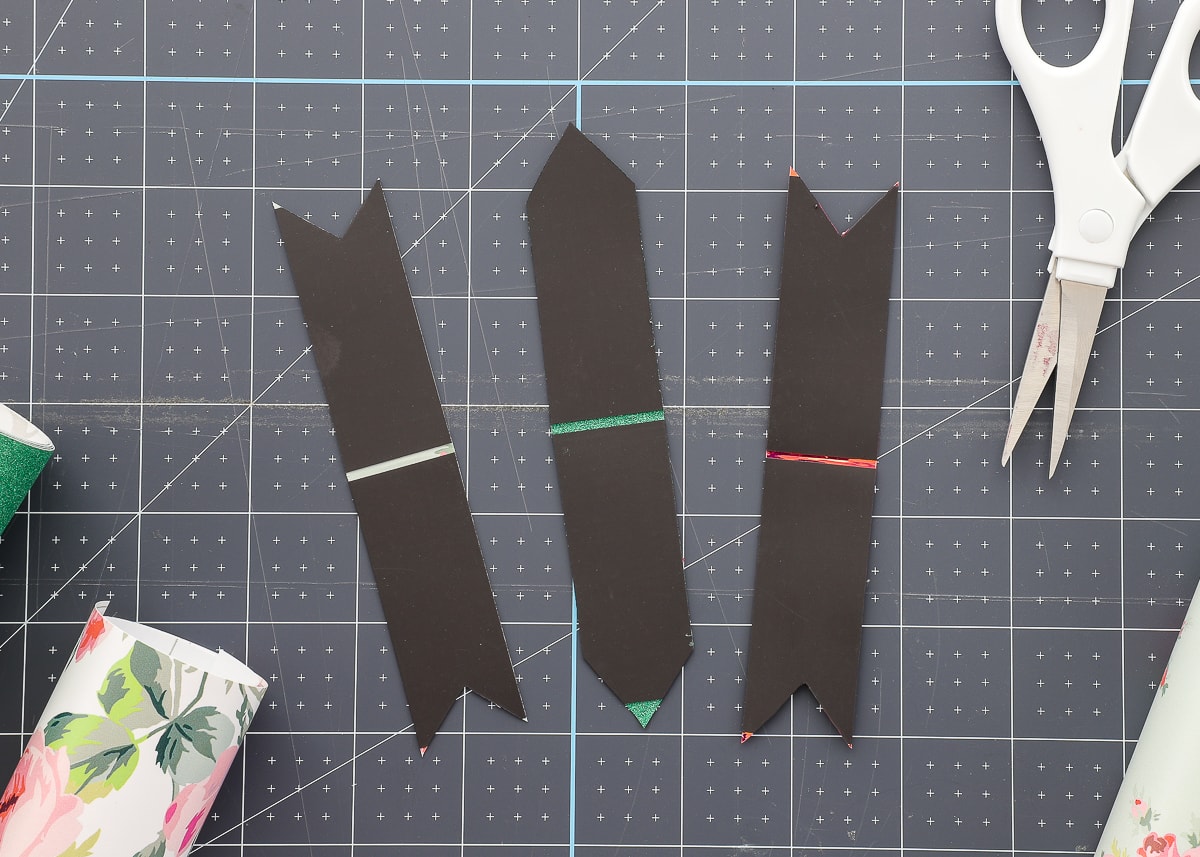
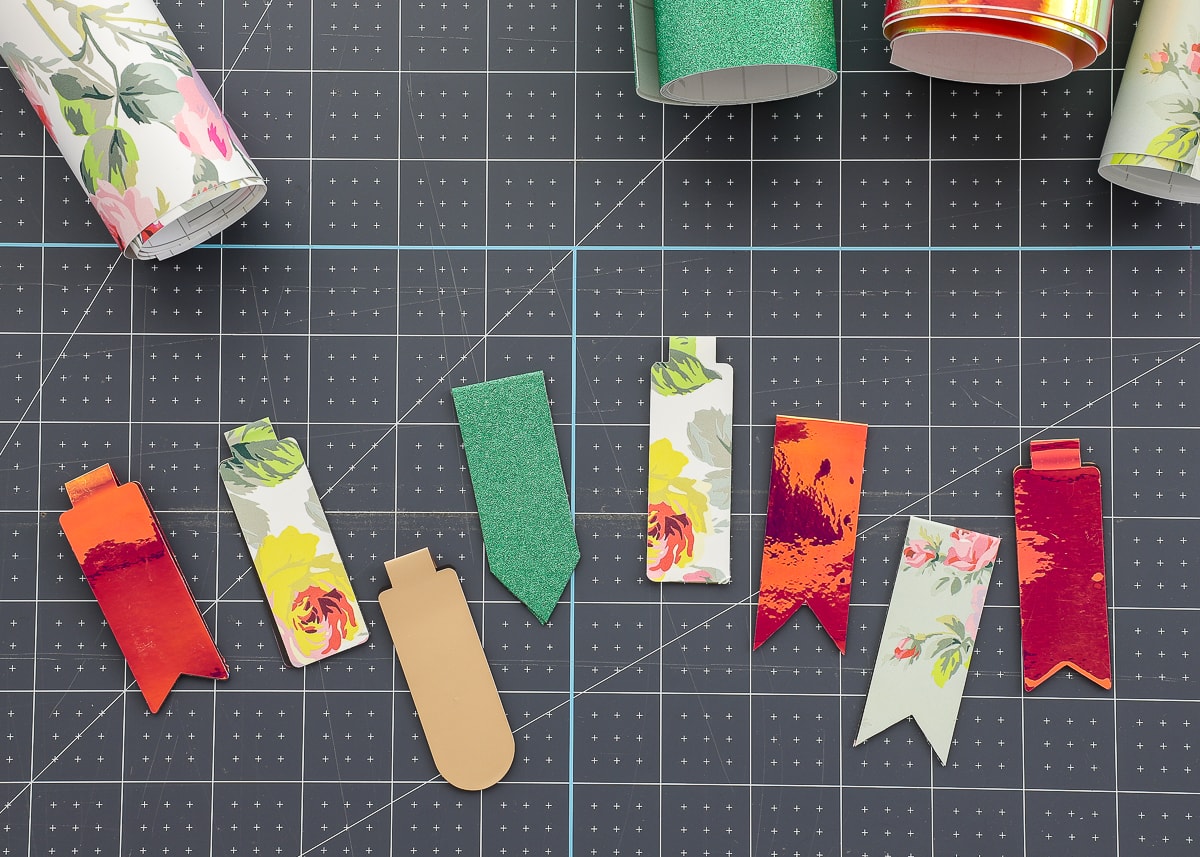
With the bookmark folded up, use a paper trimmer to slice off the edges. This creates the bookmark shape and cleans up the vinyl+magnet along the sides. I made my bookmarks 1″ wide, but you can adjust that based on your preference. Below you can see what I trimmed off and how it looks once opened back up.
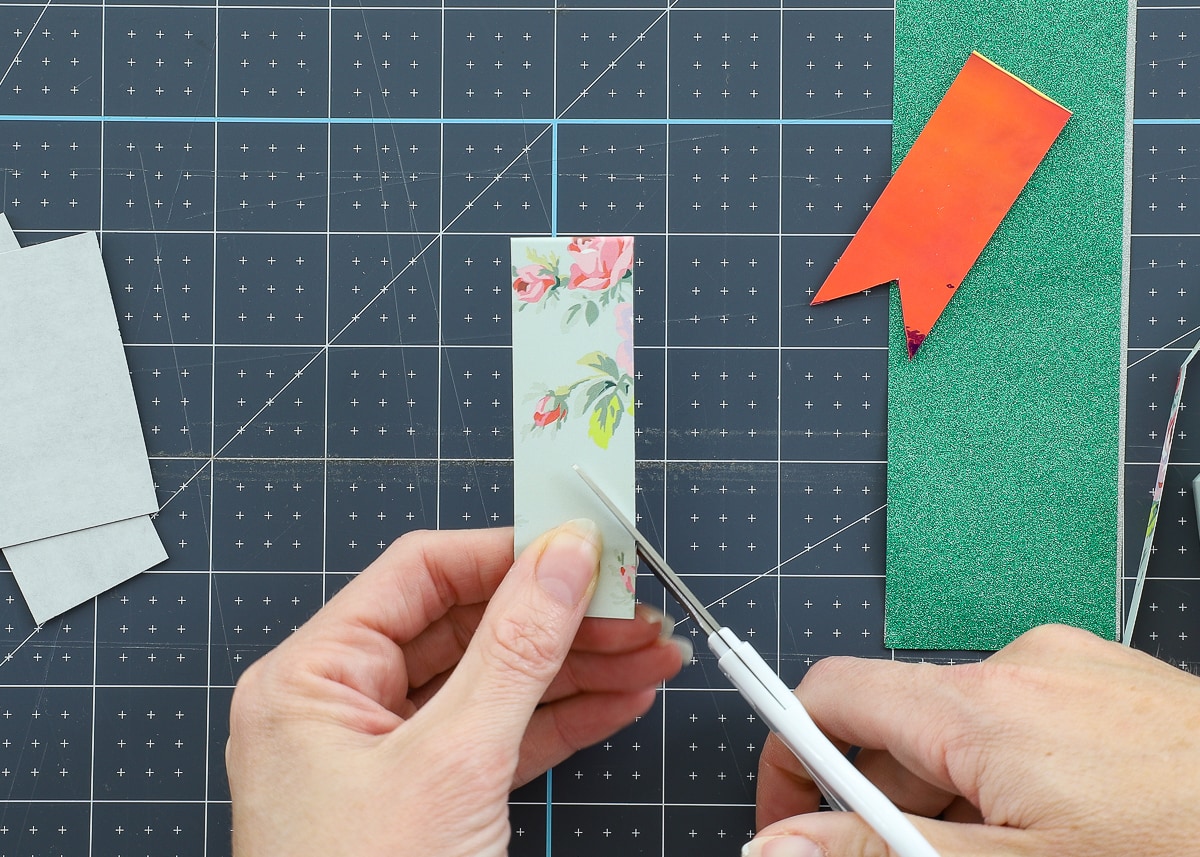
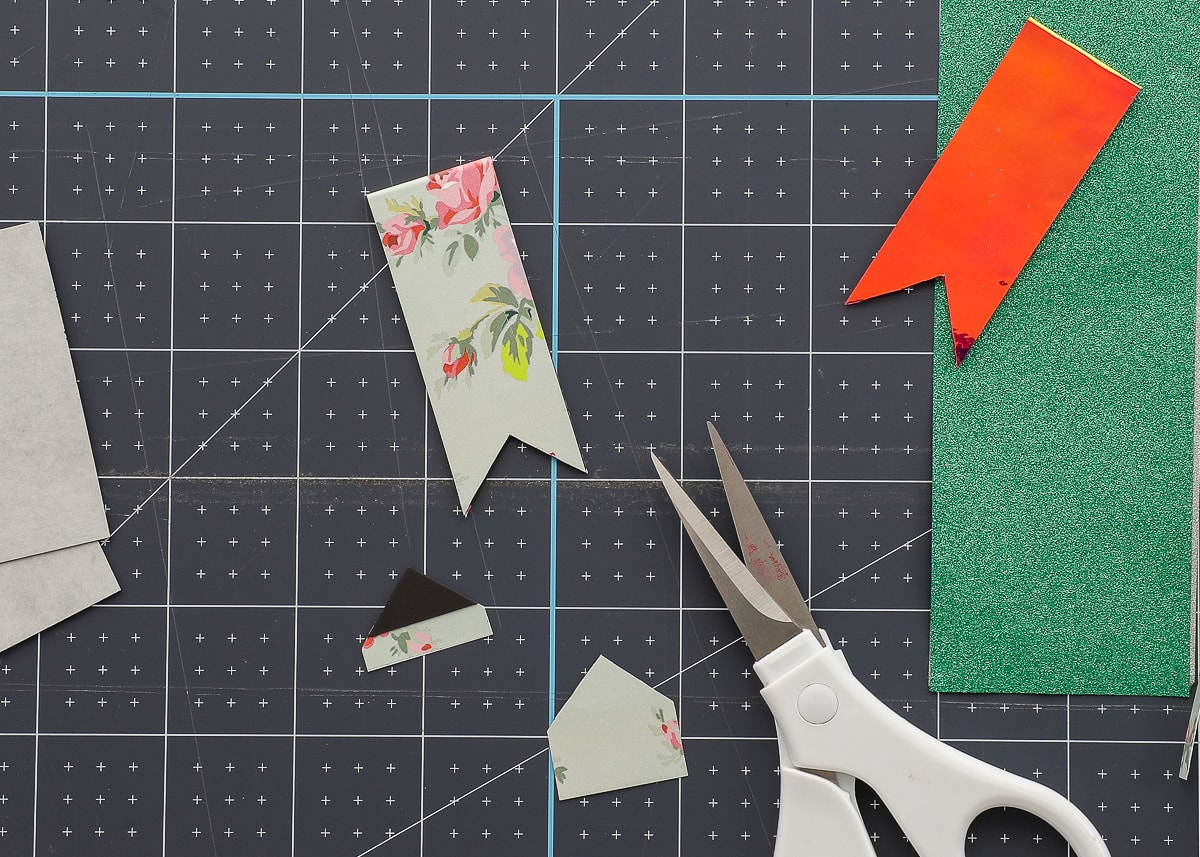
Fold the bookmark back up, and use a scissors to trim away a shape along the bottom in whatever design you like. A really sharp scissors will help you get a nice clean point.
Want to save this post?
Repeat with different vinyls, sizes and styles!
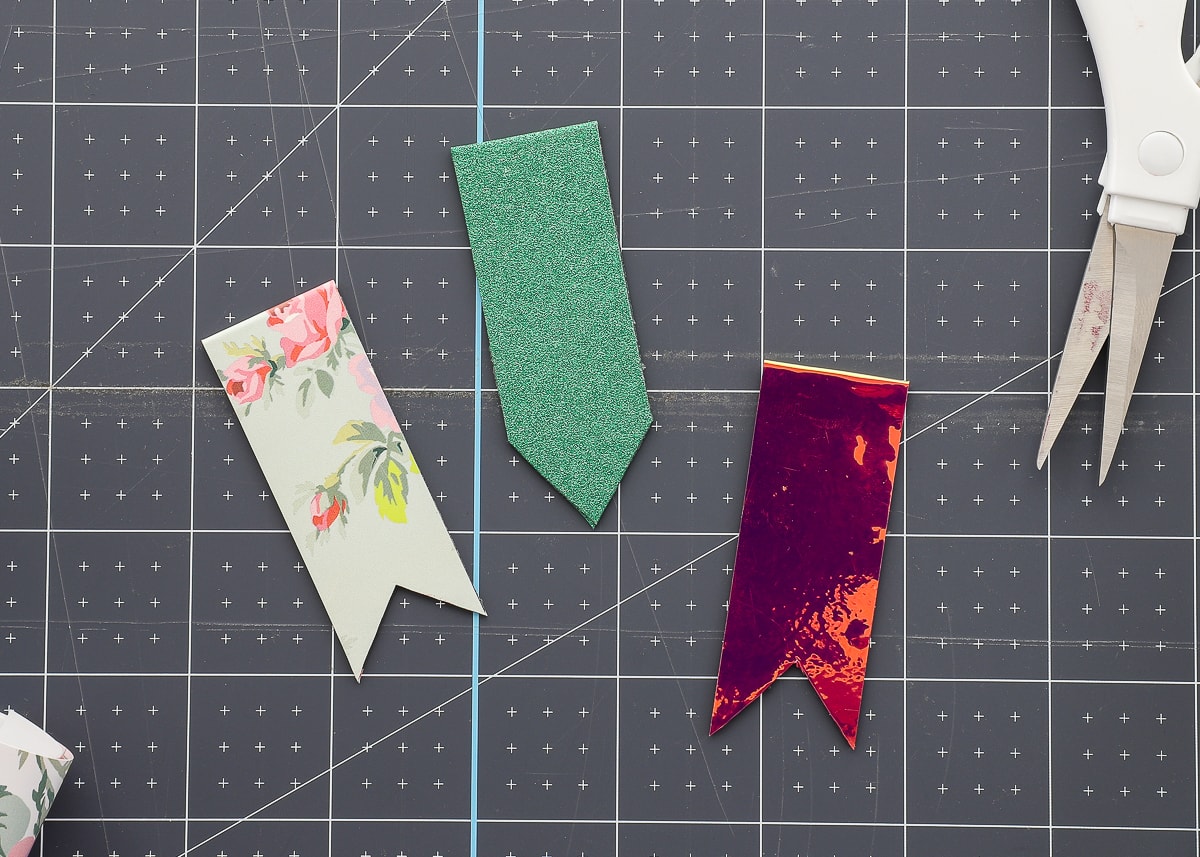
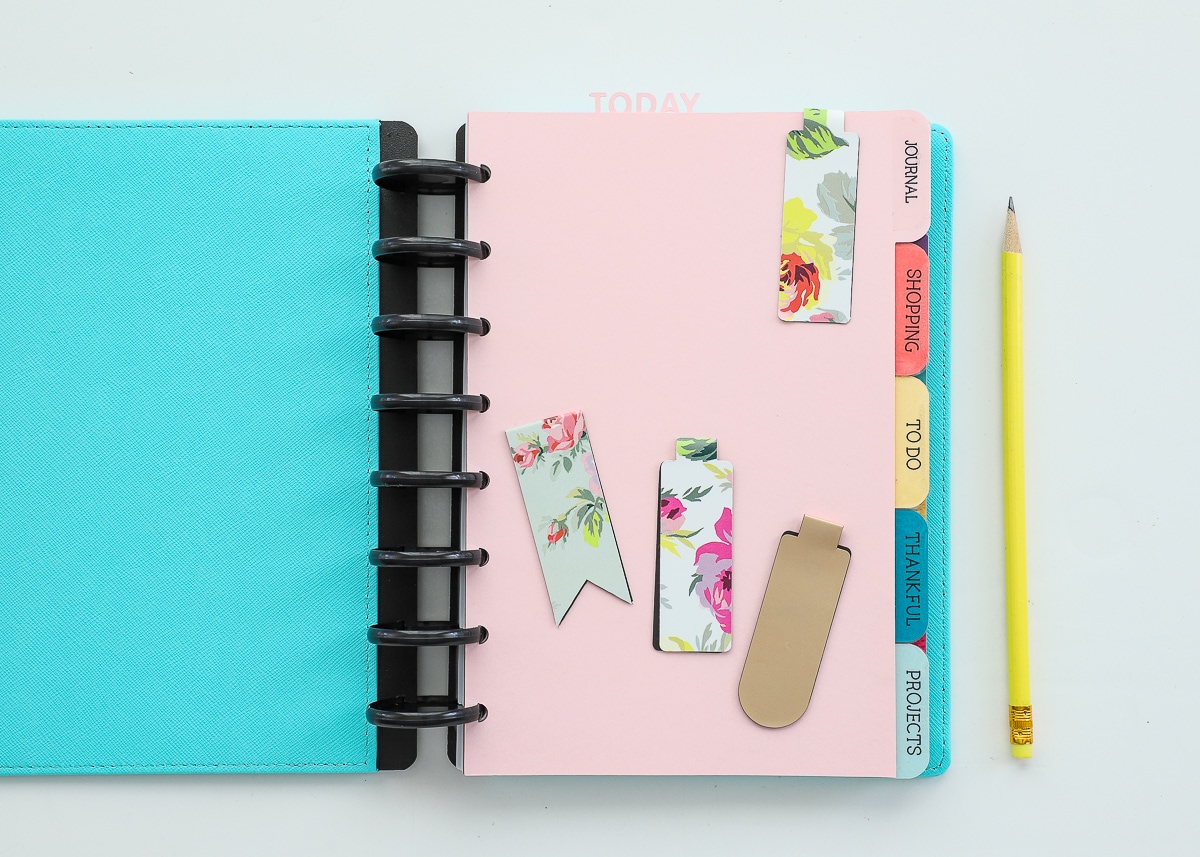
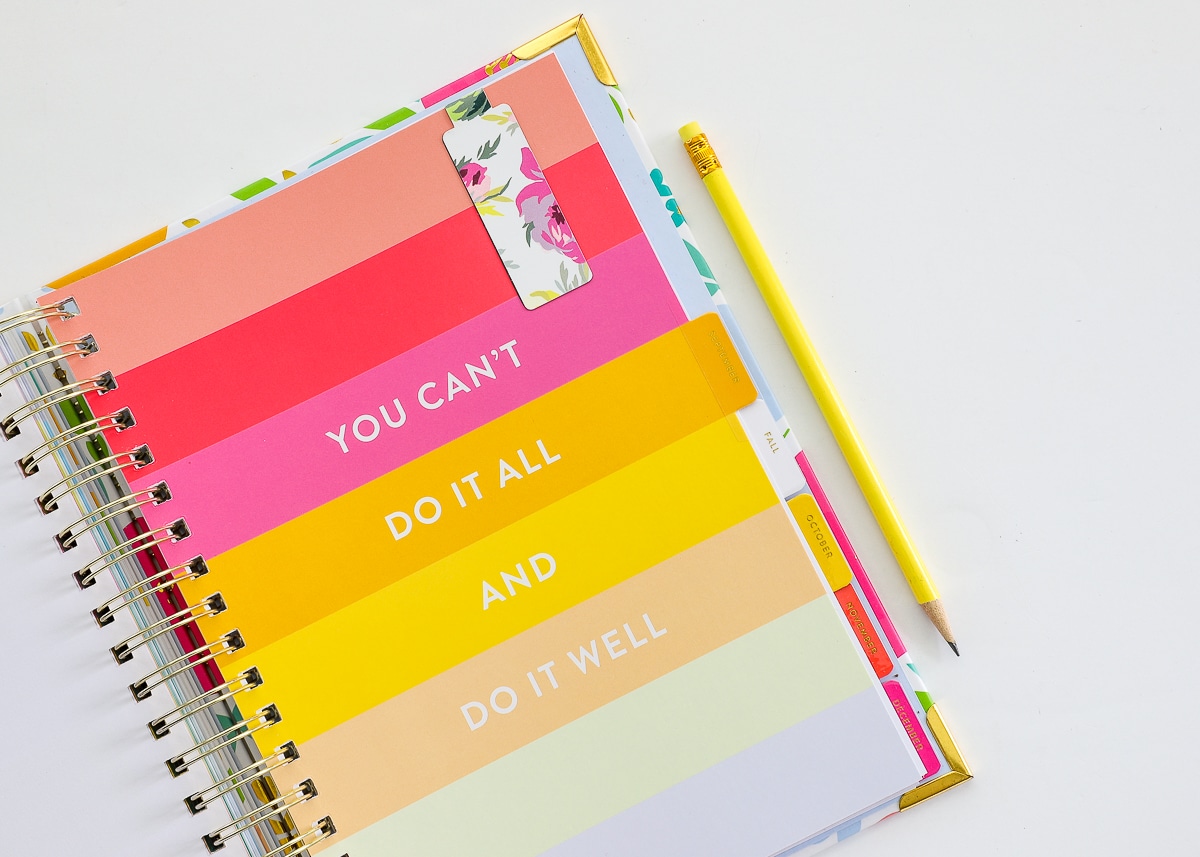
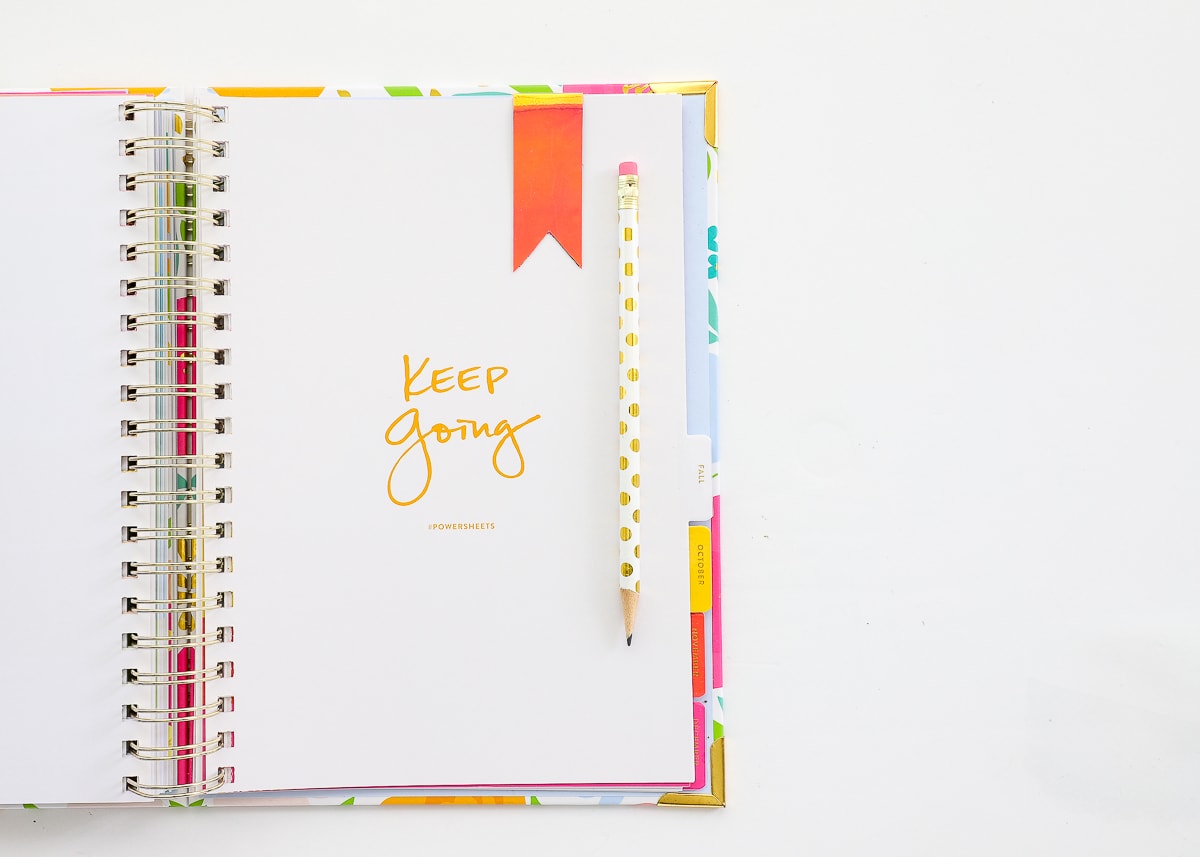
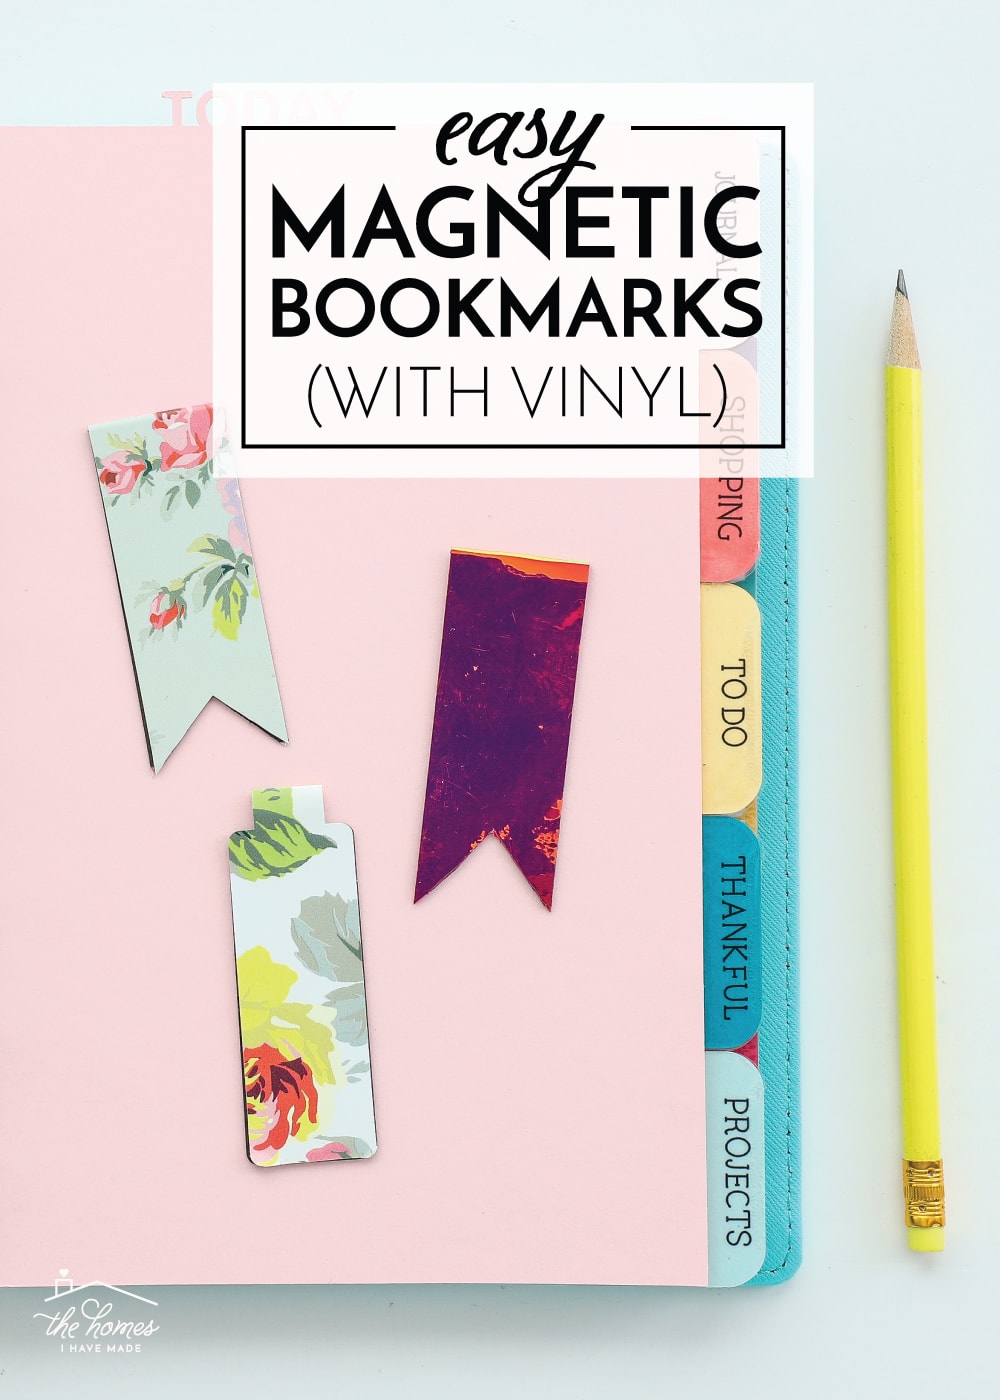
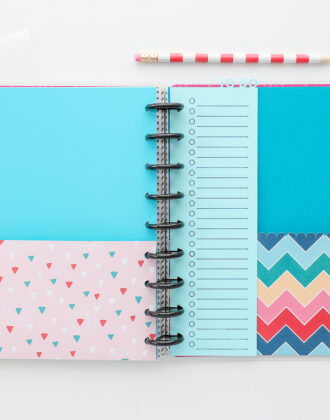
Once done, fold the bookmark over a few pages in your journal, planner or favorite notebook!
How to Make Magnetic Bookmarks With A Cricut
If you’d like to make these magnetic bookmarks with a Cricut, the process is almost the same!

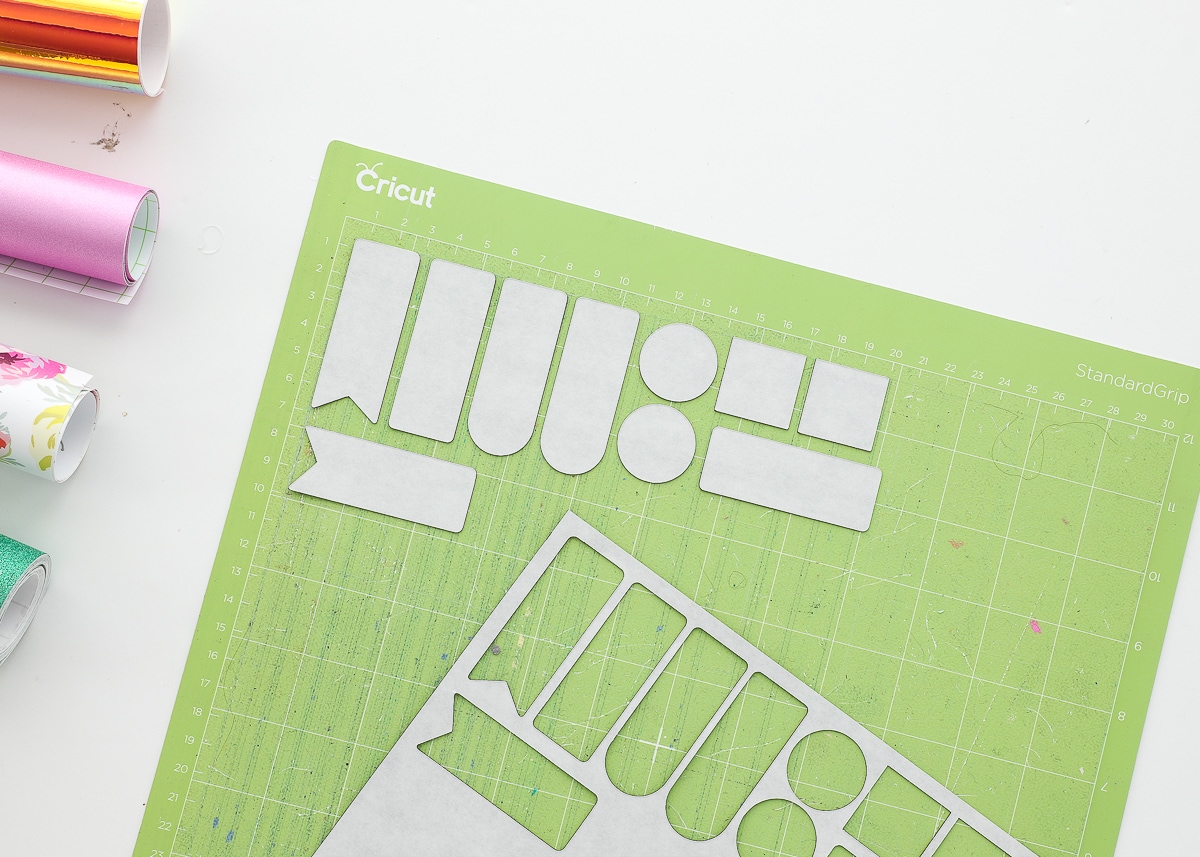
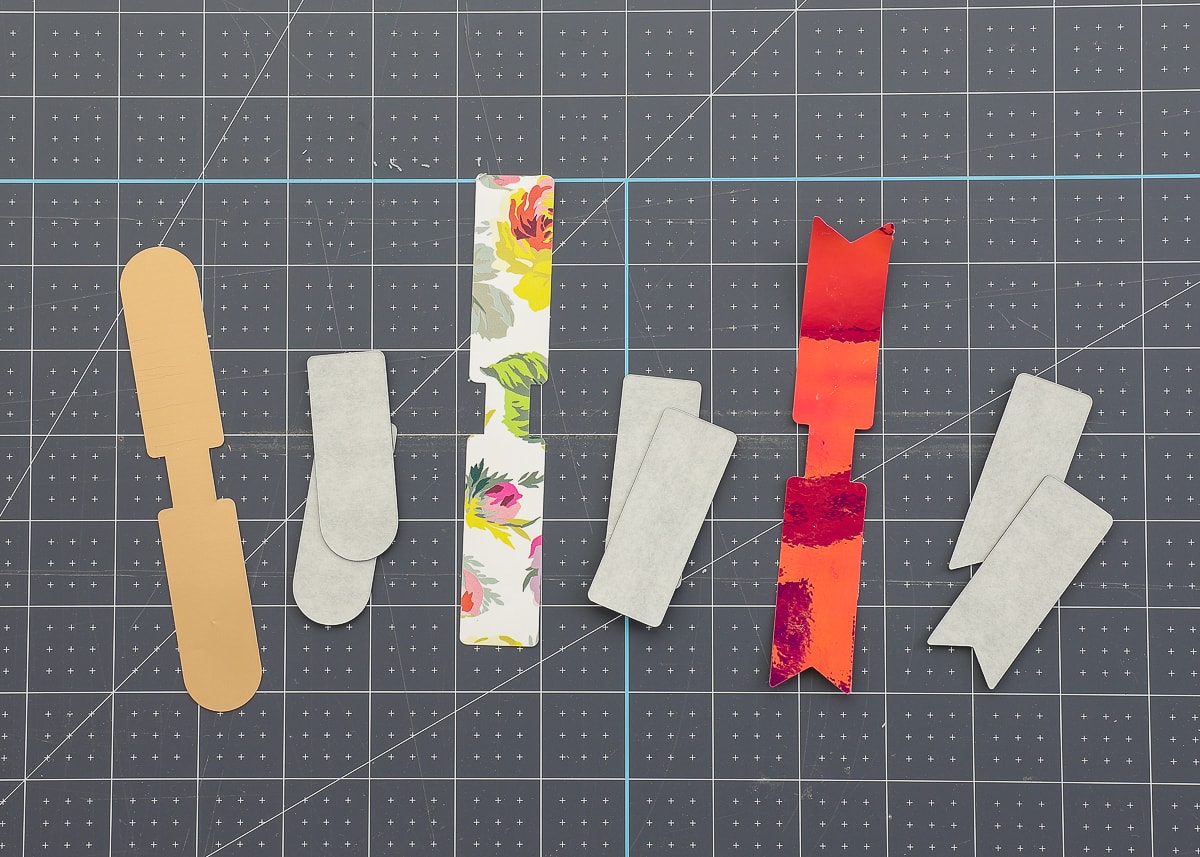
I designed some basic bookmark designs in Cricut Design Space using the same shapes as my Faux Leather Keychains. You can use any shapes you like for your bookmarks (even just plain rectangles), but if/when you do, keep the following in mind:
- Ensure you cut vinyl in a long solid shape that can be folded over (below red).
- Use the slice tool to create matching magnetic shapes for each end. These shouldn’t connect in the middle (below black).

If you’d like to access my DIY Magnetic Bookmarks with Vinyl Design Space file, click HERE!
Prepare your two-sided vinyl strips exactly as I showed previously.
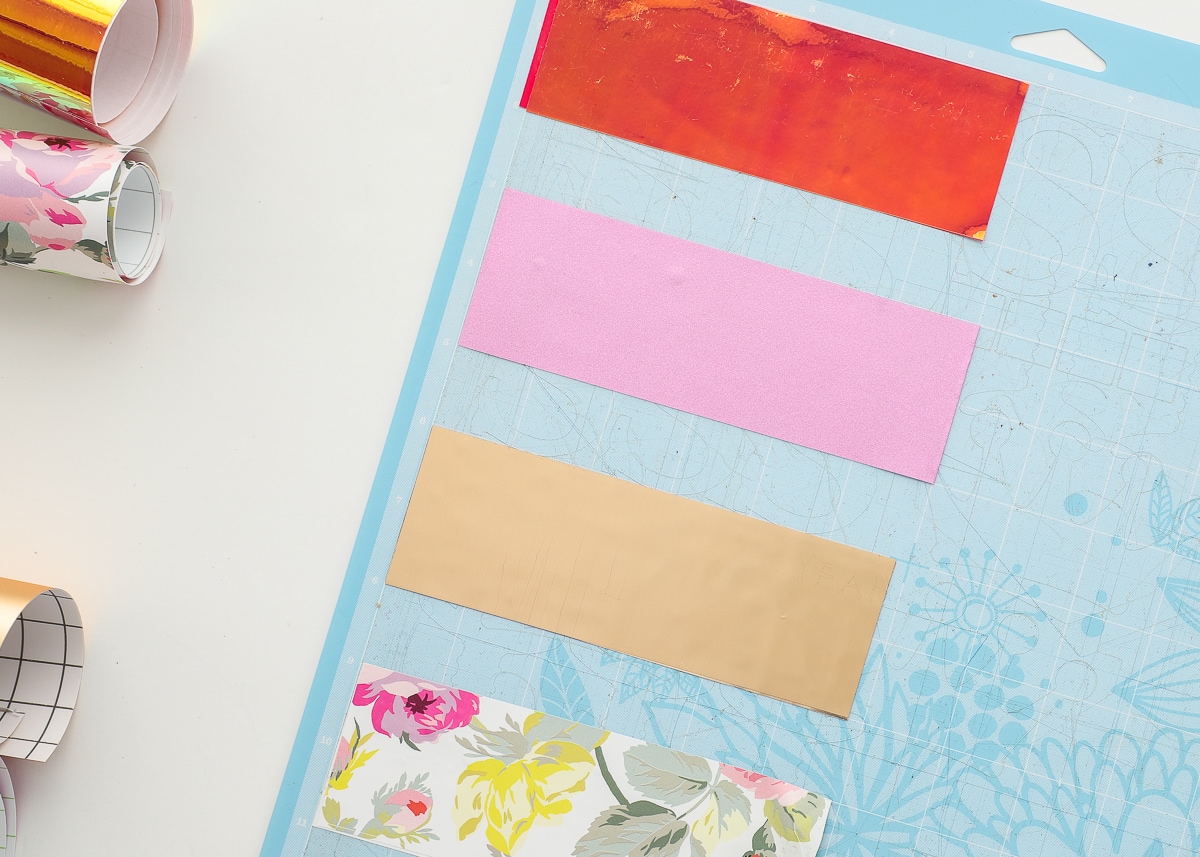
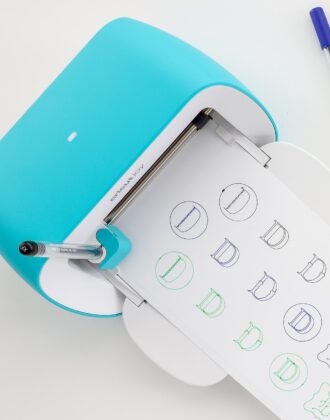
Then use your Cricut machine to cut out the bookmark shape from the vinyl and the matching ends from the magnetic paper.
TIP! I used the “Magnetic Sheets” setting from the Custom Materials menu in Cricut Design Space, but had to run it a couple times to get it to cut all the way through. Always check to make sure it’s cut through before unloading your mat!
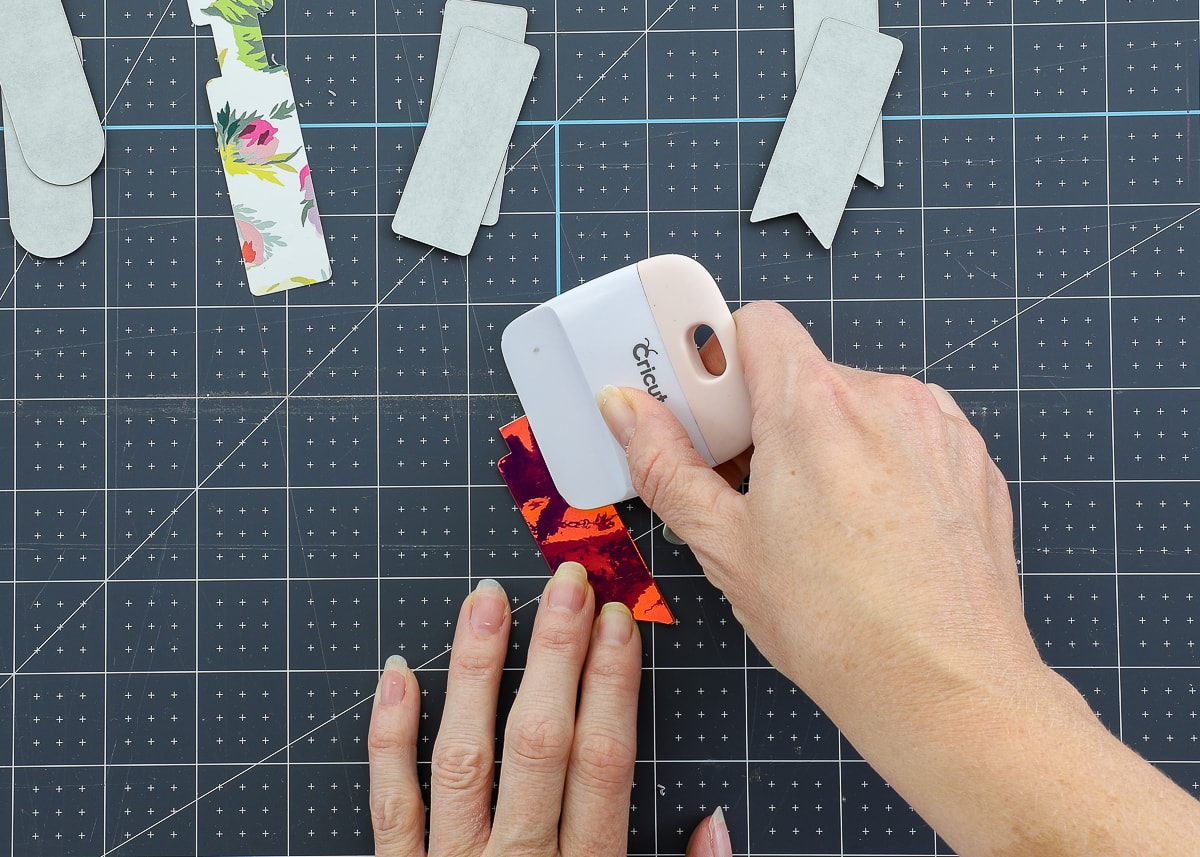
To assemble the bookmarks, first fold over the vinyl shape, matching up the ends, and crease with it with a scraper or your fingernail.
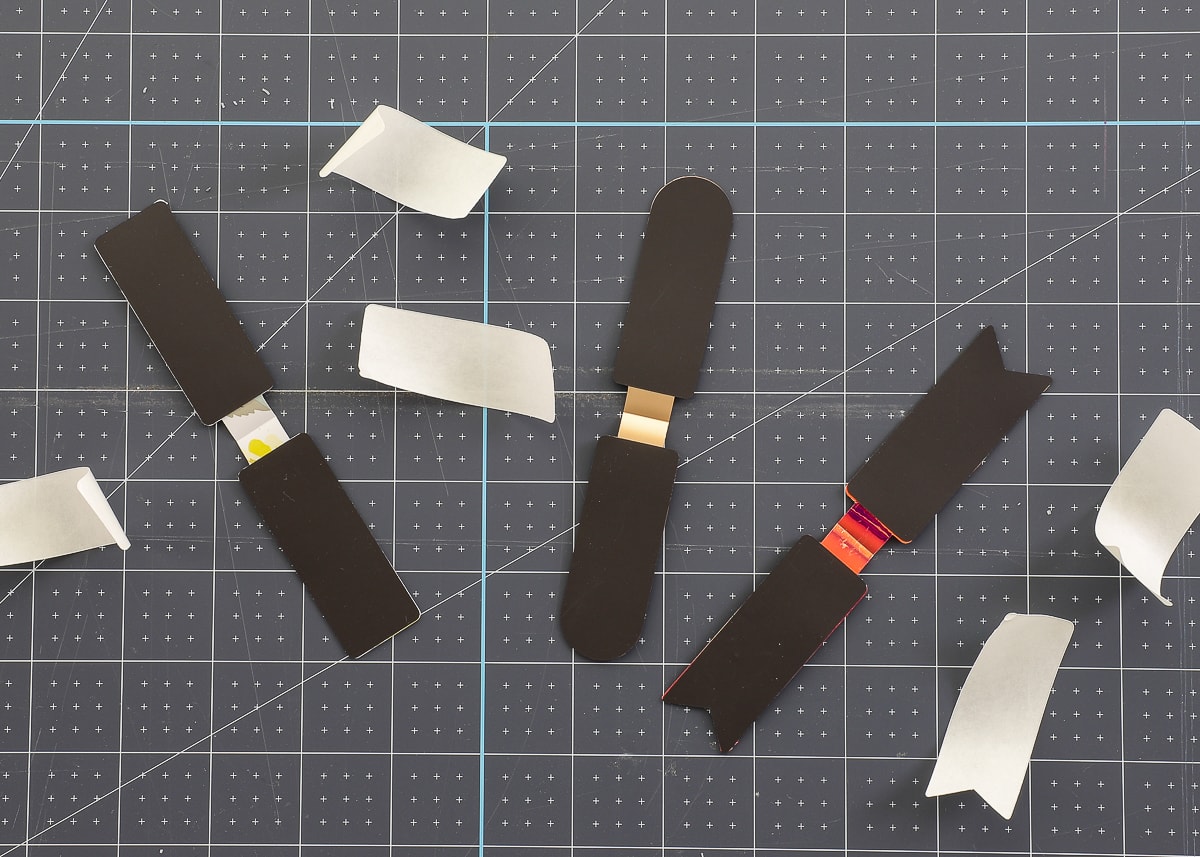
Then remove the paper backing from the magnetic shapes and attach them to the insides of the bookmarks as shown below.
TIP! It can be a little tricky to line up all the edges perfectly, just take your time!
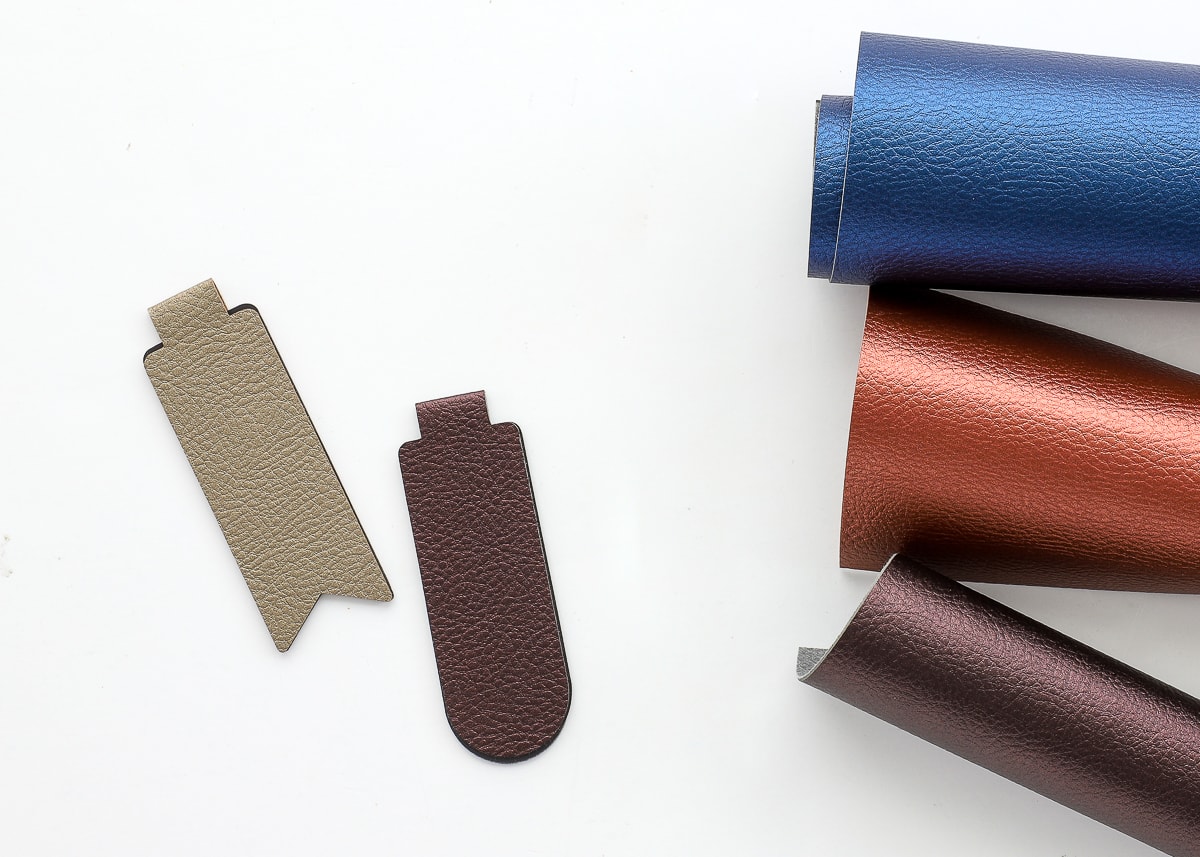
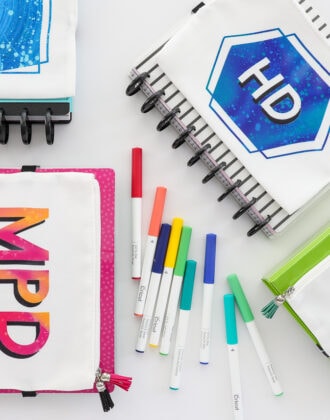
I couldn’t help but make some magnetic bookmarks using some of the leftover faux pebble leather from my keychain projects. It worked wonderfully, and you could easily monogram them just like I show here!
NOTE: You might notice in the Cricut-made bookmarks (like above), the bottom layer doesn’t rest perfectly underneath the top (little slivers of magnet peek out). This is because the magnetic cuts were placed to match up with the vinyl/leather rather than letting them fall into a natural position based on the pull of the magnets (like we did with the scissor method). They still stick together just fine and once added to book pages, you can’t tell that the top and bottom layers are ever-so-slightly off-set!
These bookmarks really are so fun and easy to make, no matter which method you use! I hope you give them a try, and don’t forget to try the ribbon versions as well!
Megan
7 Comments on “How to Make DIY Magnetic Bookmarks with Vinyl”
Could you share steps for downloading, saving/opening and utilizing SVG from computer to design space. Each time I try to follow steps, I get message “not supported” message. Thank you.
What type of vinyl did you use? If I were to use my oracle 651, wouldn’t that cause an issue as far as the tabs where the magnet sheet doesn’t go, it would stick together? I am excited to make some of these!
You need to make the double sided strip first. Stick 2 pieces of vinyl together -sticky sides facing each other, then cut out your fold over shape.
Thank you, I’ve been trying to find bigger magnetic book marks for my books with no luck, but thanks to your instructions, I can make my own. Thank you again!
Megan, I absolutely adore these! 🥰 They’re perfect for putting inside Handmade Christmas Crackers, or Birthday Crackers! Thank You for sharing ❤️
So cute! These would be great little gifts to reader family and friends or even to use on school textbooks. Are you able to share an SVG file with those of us that don’t have a Cricut? I have Silhouette so I do not have a Design Space account. If you cannot share, could you tell me how much space is in the neck between where the two magnets will go on your SVG template? Thank you!
Hi, I would like to add a quote to one side of the vinyl bookmark. Any thoughts about how to do that?