


How to (Really) Use the Elfa System for Gift Wrap Storage
We used to store all our wrapping supplies in an under-the-bed tote. It worked great until it didn’t. When I went looking for alternative solutions, I realized I could re-purpose several of our Elfa storage pieces into the gift wrapping station of my dreams. But it was surprisingly difficult to do (despite what The Container Store website shows!) Today, I’m showing you our new setup and breaking down all the tricks I used to get a lot of wrapping supplies into this compact system!
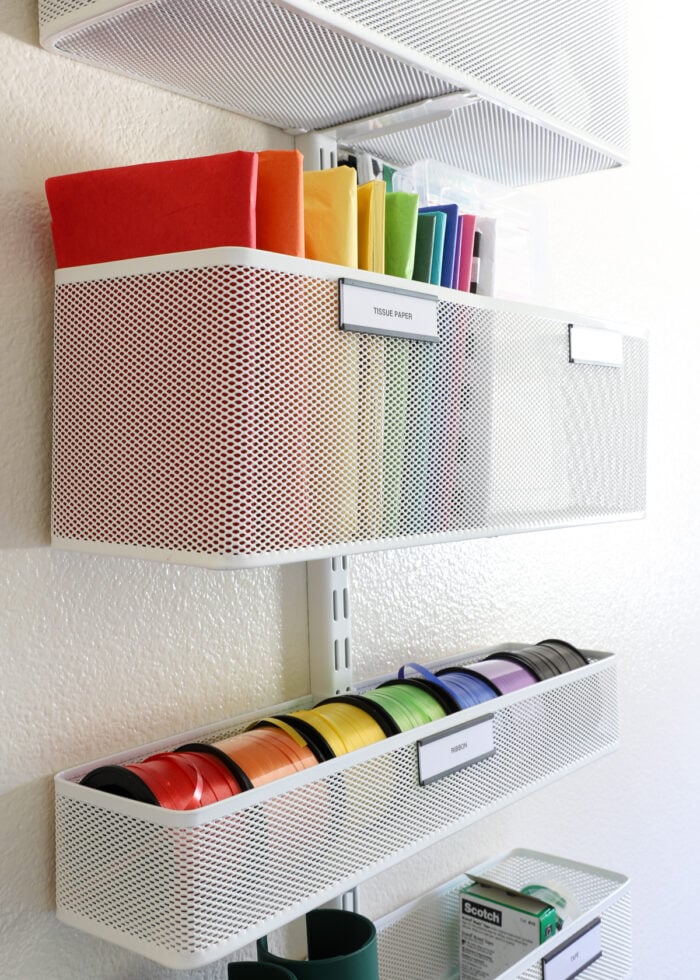
Finally…A Wrapping Station!
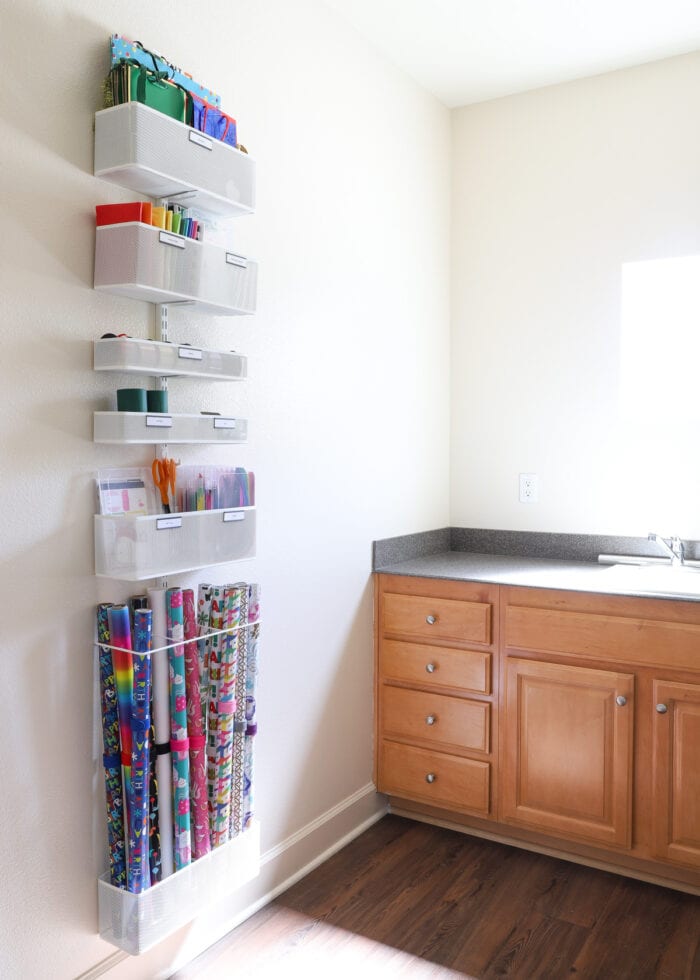
In our current home, we had a blank wall in our spacious laundry room AND a ton of leftover Elfa pieces from some door storage we used a few homes back.
It occurred to me we could mount the setup on the wall next to a nearby counter (more on this in the Voice Notes) and create a dedicated wrapping station.
After years of feeling frustrated by our under-the-bed wrapping tote, I loved the idea of being able to quickly and easily wrap gifts while still keeping supplies out of the way of everyday life.
Elfa Frustration
As much as I LOVE the Elfa system, I learned quickly that the size and shape of the available components don’t work great for wrapping supplies. (Despite what the images show!)
At my first go, I couldn’t really get anything to fit in a practical and useful way.
Not to be deterred, I knew that with some creativity, I could get all the supplies we needed into the Elfa system and finally have a wrapping station that looked good and worked too!
Here’s how I did it!
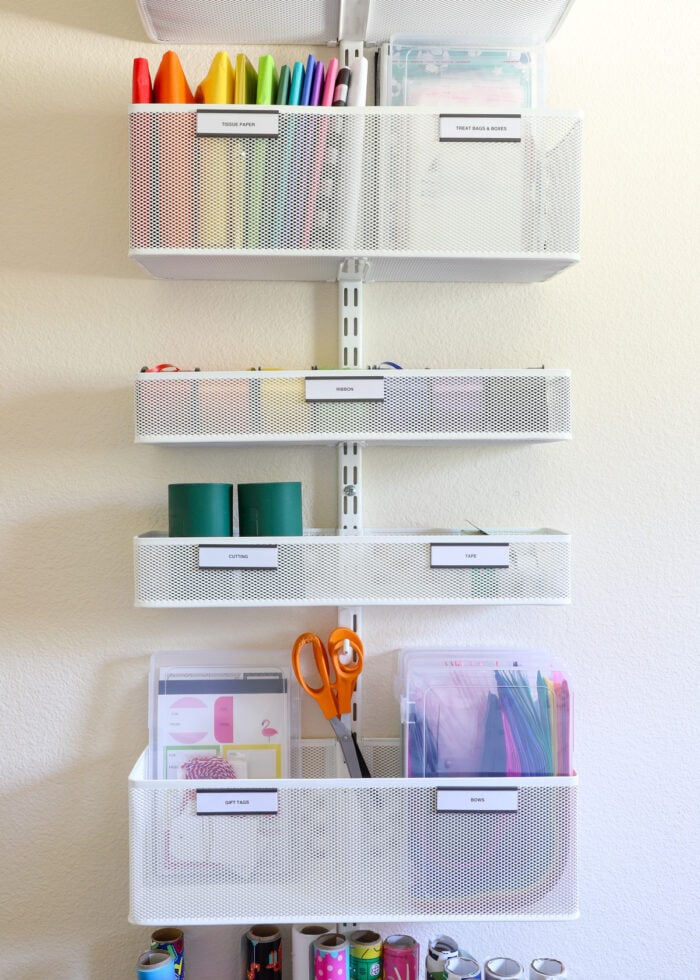
Clever Gift Wrap Storage Solutions for the Elfa System
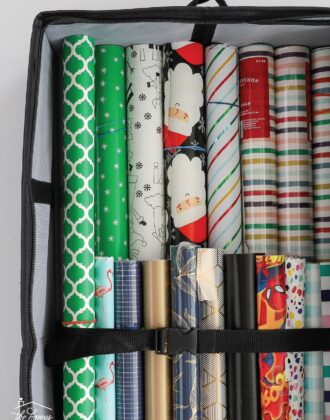
Wrapping Paper
One of the biggest attractions of using the Elfa system for wrapping supplies is the dedicated wrapping paper attachment. It does work great to hold (lots) of paper, but to be able to actually get the rolls in/out, you have to consider what will go above the wrapping paper holder.
I needed basket storage more than pegboard storage (as is shown in most of the inspiration images), so I had to intentionally stock rolls of paper all the same height. Not a huge deal since most wrapping paper is a common size – but it does mean no more splurge rolls from HomeGoods!
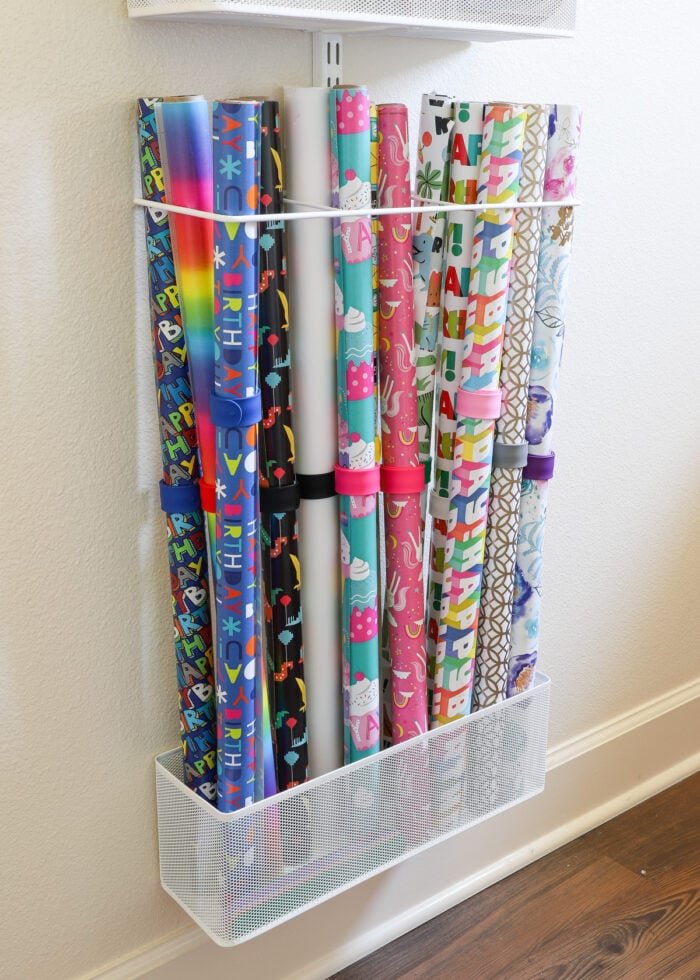
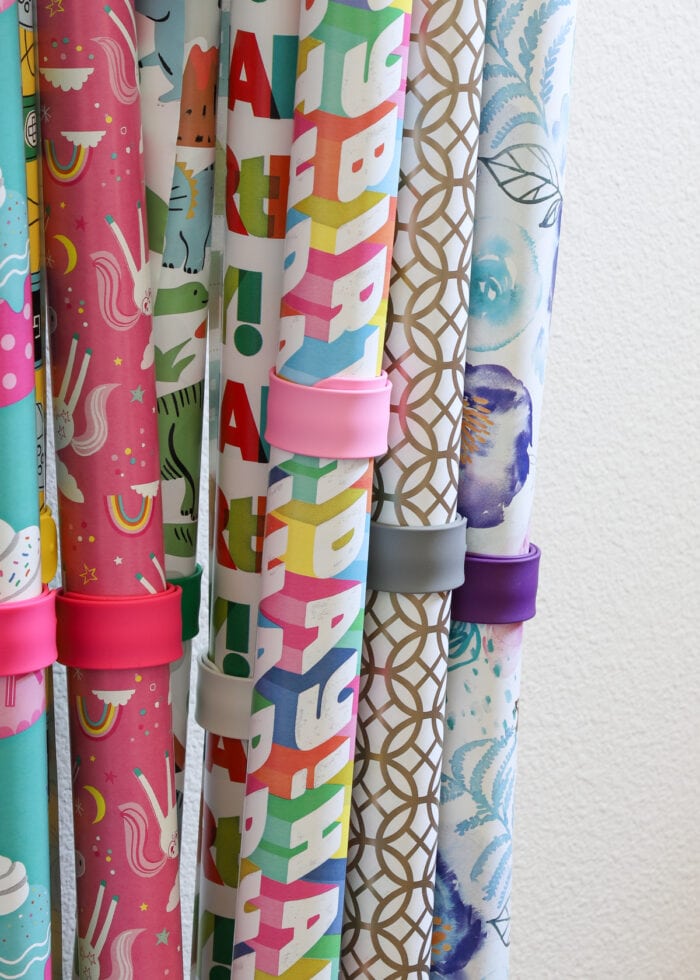
Vertical storage means rolls can unfurl quite easily. The 90s kid in me has been eager to try these slap-bracelet style holders; and I find they really are a great way to keep the rolls tight and tidy.
Tissue Paper
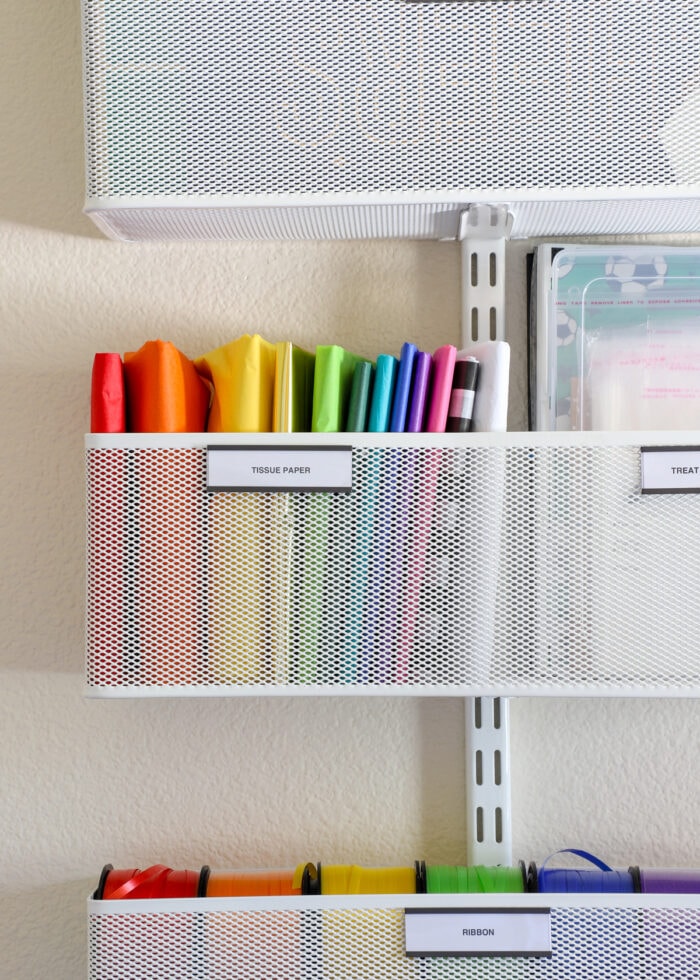
Like most people (I think?), we had accumulated a bunch of random tissue paper. But all the different sizing, packaging, and color assortments made it tricky to fit within the Elfa baskets.
So I did what any organization obsessed person would do: I de-packaged all the different packs of papers and re-folded them, uniformly and by color.
I know that seems low-level crazy, but now they perfectly fit within the Elfa baskets AND I can grab any color more easily AND I can better see what stock I have on hand at all times. Maybe it’s okay to be a little crazy 😉
Gift Bags & Boxes
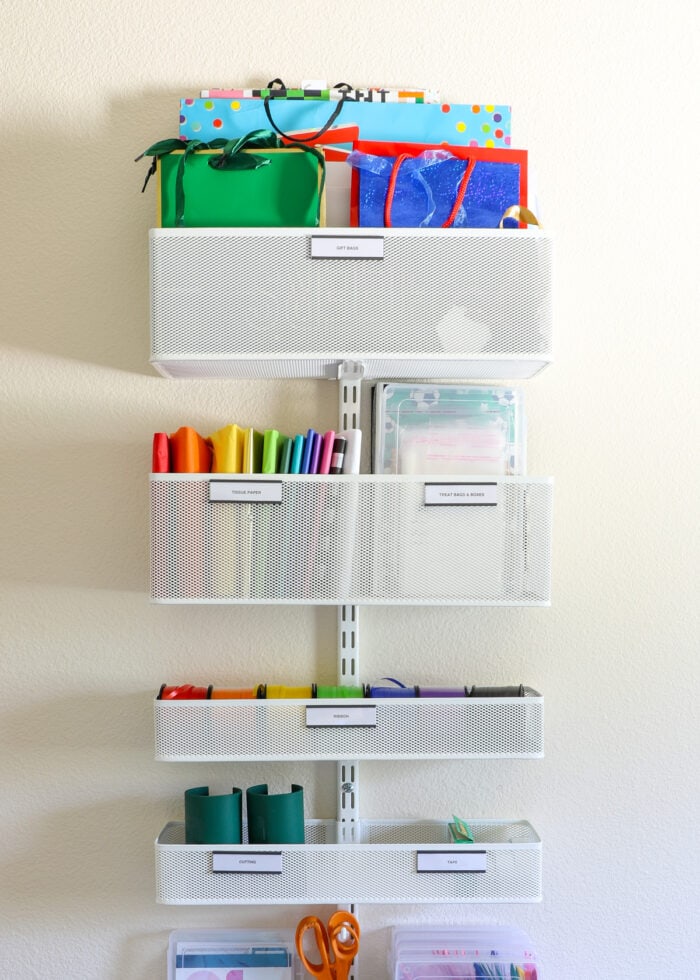
I rarely use gift bags, so I only have a few versatile sizes tucked into a larger basket on the very top of the Elfa rack.
However, we do frequently use treat bags for various classroom gifts and sports snacks. Giving these items their own spot means they don’t get lost in the bigger collection of boxes and bags.
Want to save this post?
Gift Tags
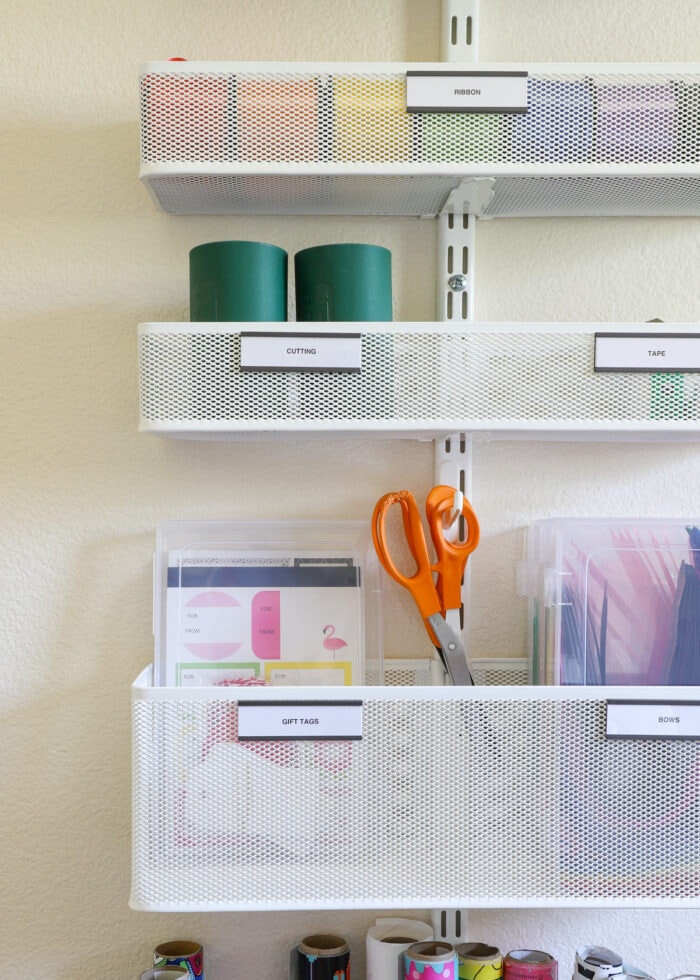
I don’t like to sift through gift tags or tie them onto packages, so I found books of adhesive tags in all the colors and for a variety of occasions. I specifically picked tags that were on 5×8” paper to fit inside these cases that fit perfectly inside the large Elfa baskets.
Ribbon
Ribbon storage was one of the hardest to figure out. I like to keep lots of colors on hand, but stacking spools in the deep high baskets made them too difficult to see and use.
Lining up all the colors in the shallow Elfa baskets allows me to grab whatever roll I need with ease, but I am limited by how many rolls I can have at a time.
Bows
I think my absolute favorite wrapping paper supply breakthrough of this whole project though, has been the discovery of “pull bows.”
I almost never buy big bows because I’ve had no great way to store them. They take up a lot of space, and they get crushed SO easily.
And then storing them on this Elfa setup? How, where?
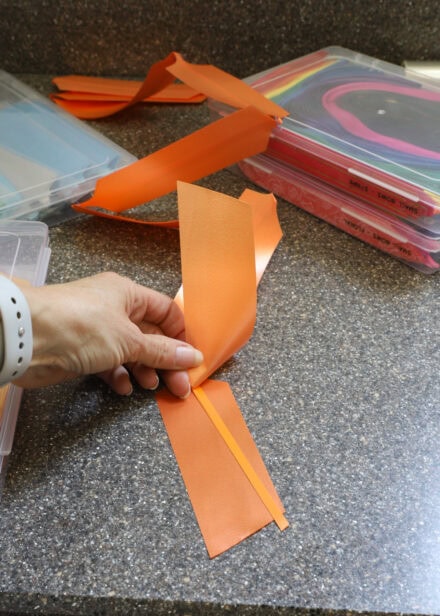
But then I found “pull bows”…bows that come flat.
Yes, let me repeat that…they come flat!
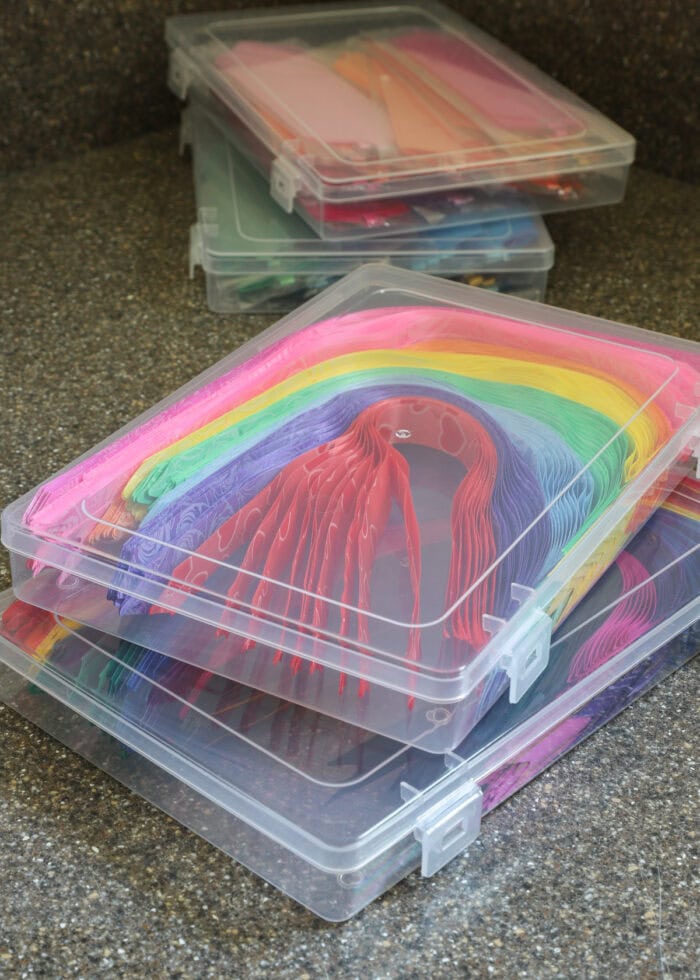
To transform them into a gorgeous (and perfect!) bow, you simply pull a string that runs through the middle.
They are easy. They are cheap. They are gorgeous.
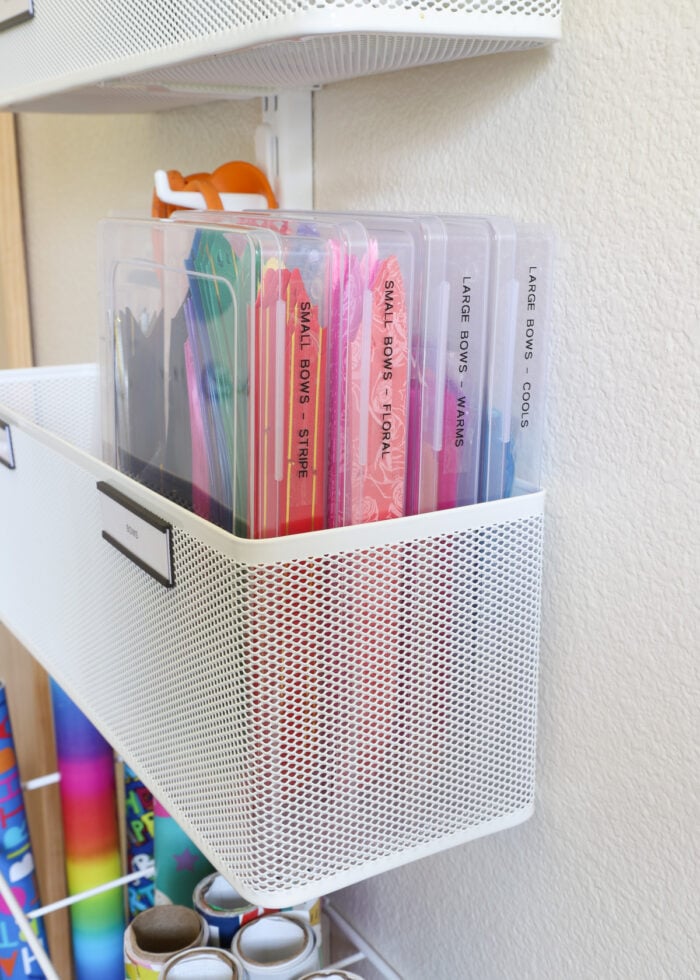
And best of all, I can store dozens of them in more of the cases that fit perfectly into the deep Elfa baskets!
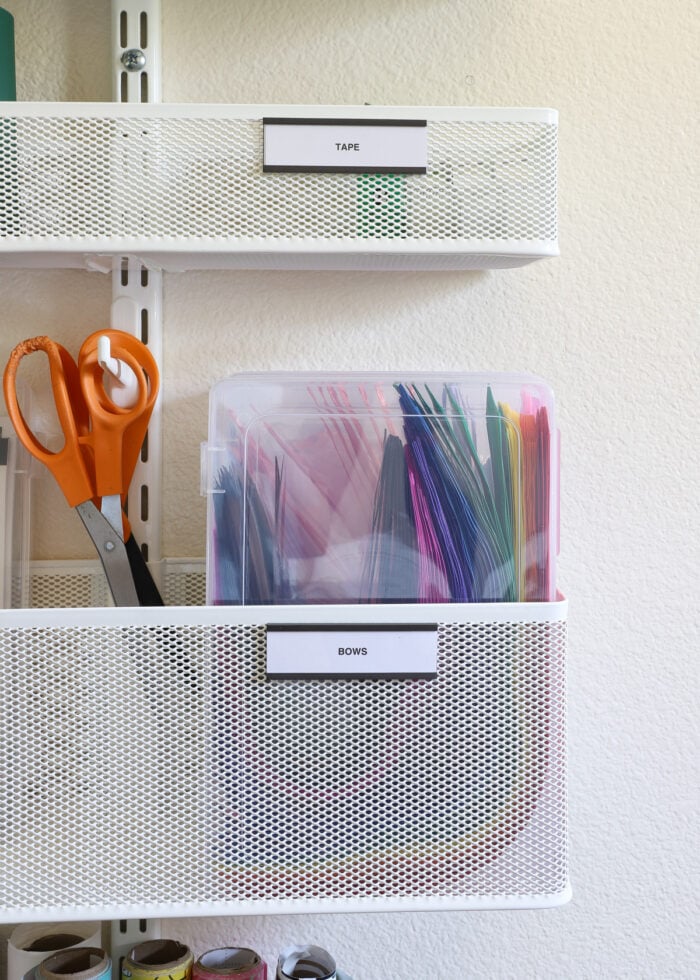
These 6” ones are great for large packages. I split 48 of them into warms/cools across two plastic cases.
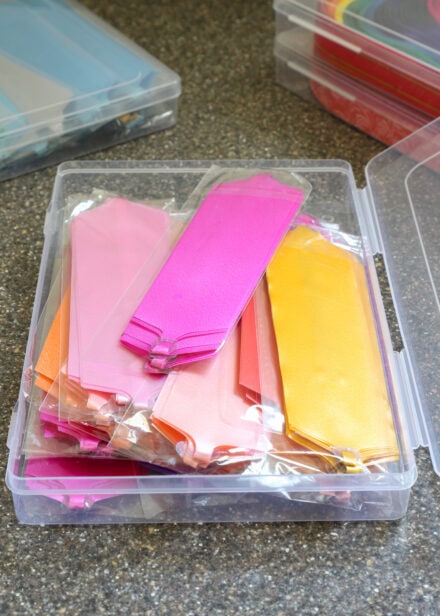
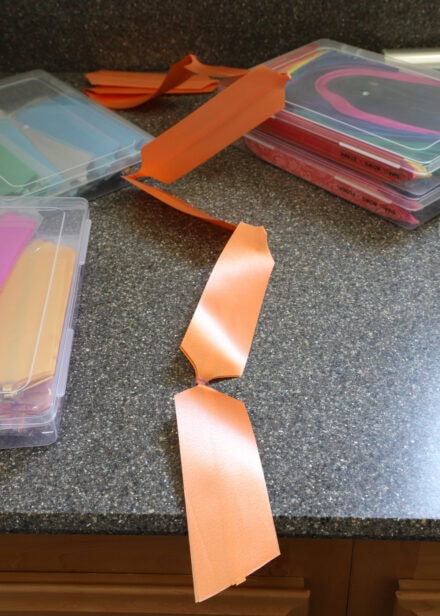
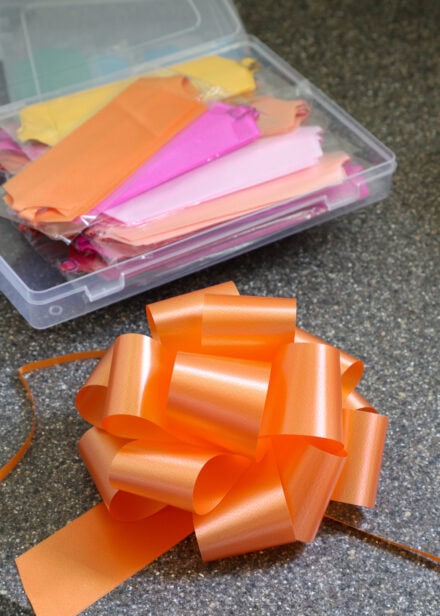
These little ones are only about 3” and are great for smaller gifts. I have 170 bows stored in two more boxes, separated by their floral/stripe designs.
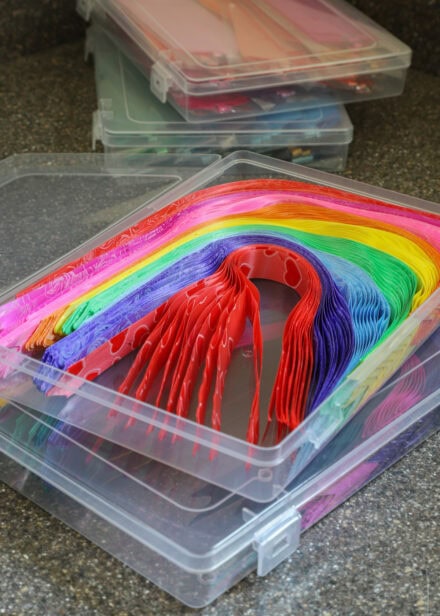
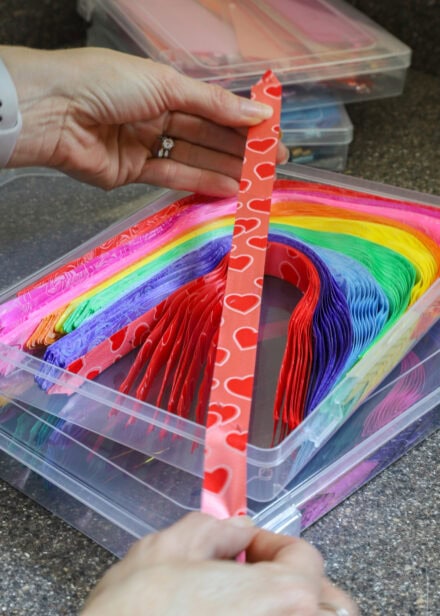
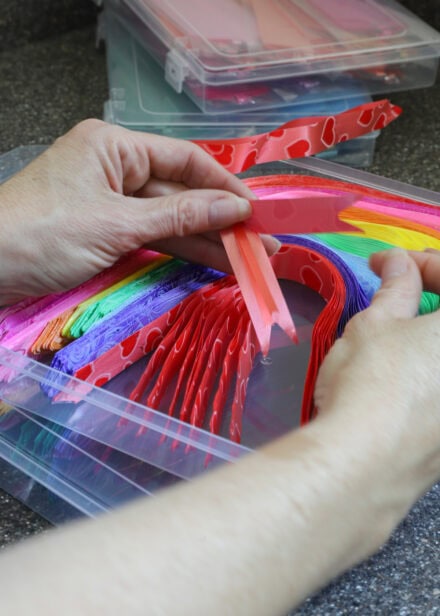
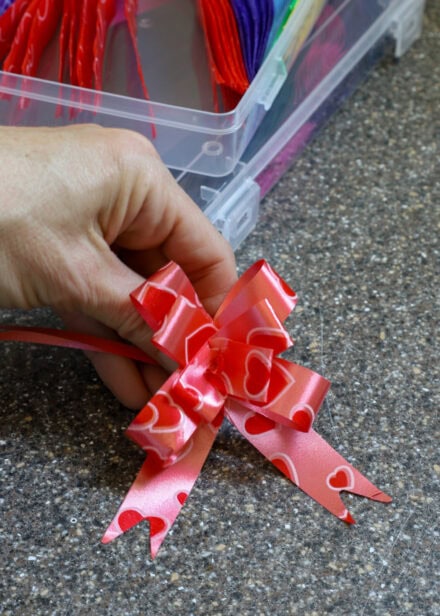
These four cases that hold over 200 bows might be one of my favorite storage solutions I’ve ever (ever) come up with. I don’t think I’ll ever buy “inflated” bows again.
Dive Deeper Into This Project
Using an Elfa door system for wrapping paper took more trial and error than I expected. In this week’s Voice Notes, I’m chatting a bit more about a wall mount versus a door mount and sharing the clever way I added all the labels to the baskets!
Shop This Project


Megan
4 Comments on “How to (Really) Use the Elfa System for Gift Wrap Storage”
Great solution! I don’t do much gift wrapping anymore but I love a good organized solution.
What happened to your scissors? The handle looks like its been chewed.
What are the green cuff things in the basket with the tape?
I had some Elfa baskets I wasn’t using and made a gift wrap station with them. One drawer for tags, a big drawer for bows (love your pull bow idea), drawers for small, medium, and large bags, and a drawer for tissue paper. I bought a gift wrap holder to put on the side. Like you, I used slap bracelets to hold the rolls closed (also useful in craft room). We had been using a cedar chest for all this stuff, so I left ribbon, scissors, tape, etc. there.
It never fails that when I’m struggling with a unique organizing solution you seem to write about it the next week. I love how you manage to tackle common (and oftentimes challening) organizing solutions to every day items. This is one I’ve been struggling with for months now. I’m so excited to try out your solutions. And…flat bows!! Never knew they existed 🤯
This is so approachable! Gift wrapping is a bizarrely difficult arena to enter. Its so expensive and complicated but this system seems like something that I a) keep organized and b) create lovely gifts without having to run to the store every single time.