DIY Hand Sanitizer Keychains
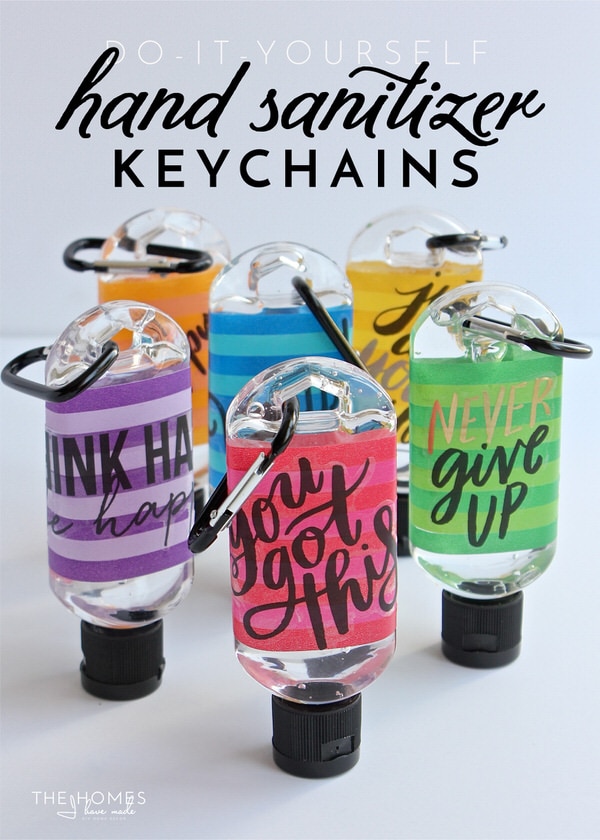
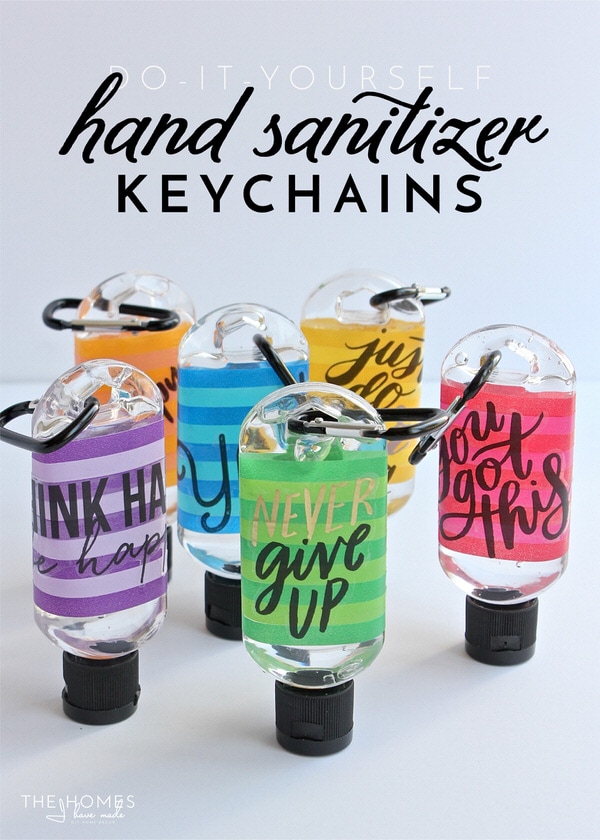
I have another fun bottle craft to share with you guys today! When I shared the sensory bottles I made for Sam a few weeks ago, I mentioned I had ordered a variety of bottles to try out. Well, one of the ones I tested were these cute little keychain bottles. After determining they weren’t quite right for the baby project, I thought they’d make the cutest back-to-school gifts for Henry’s little buddies and teachers. If you’re looking for a quick and easy way to say “Happy-Back-to-School” to friends, neighbors, scout troops, carpool buddies or teachers, give these super easy DIY Hand Sanitizer Keychains a try!
These keychain bottles are a great little size and are the perfect addition to backpacks, library bags, gym bags, etc. They can be personalized and dressed up in countless ways, including with monograms, school logos and colors, mascots, favorite characters and more. I wanted this to be a project anyone could do, so instead of relying on a fancy cutting machine or expensive supplies, I chose to personalize them with tape and stickers. Yup. This whole project is peel-and-stick. Which means, even if you don’t have a crafty bone in your body, you can do this project!
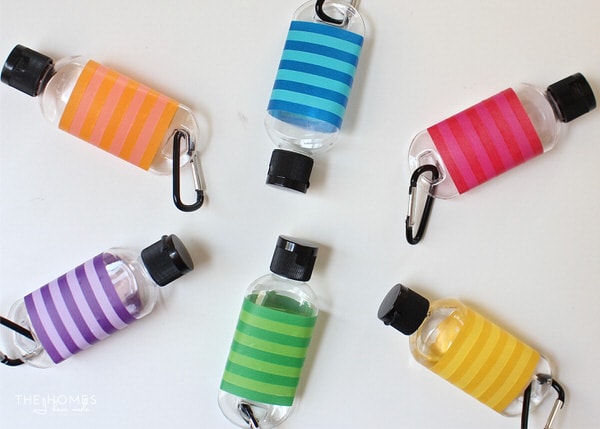
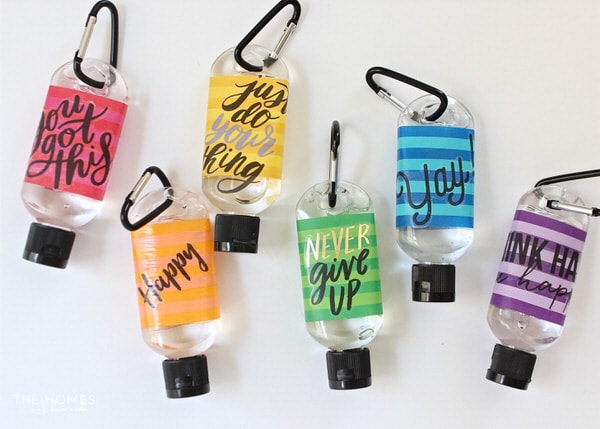
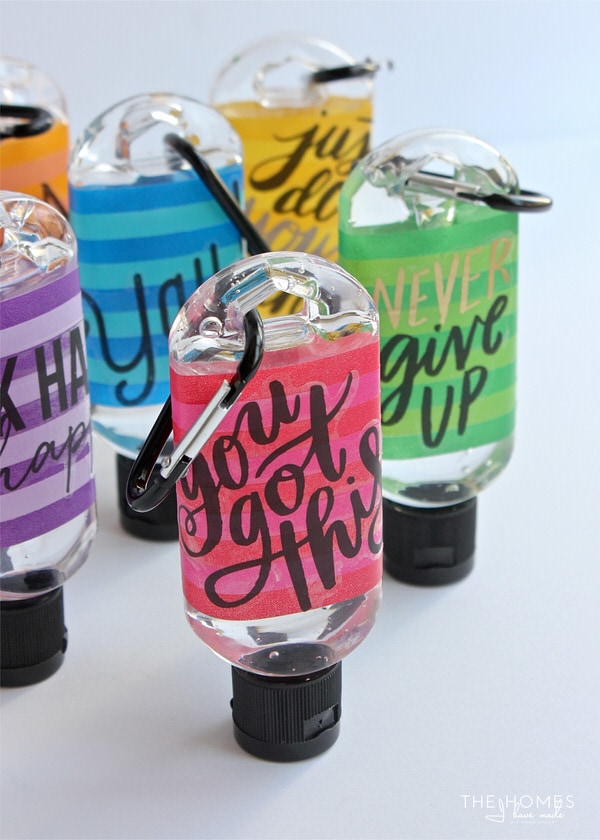
With the wide variety of tapes and stickers now available, the options for personalization are endless…
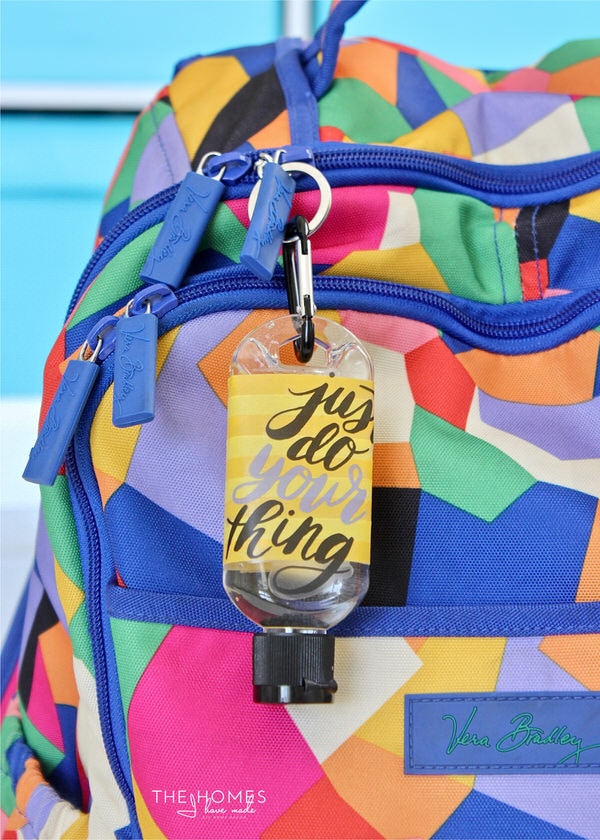
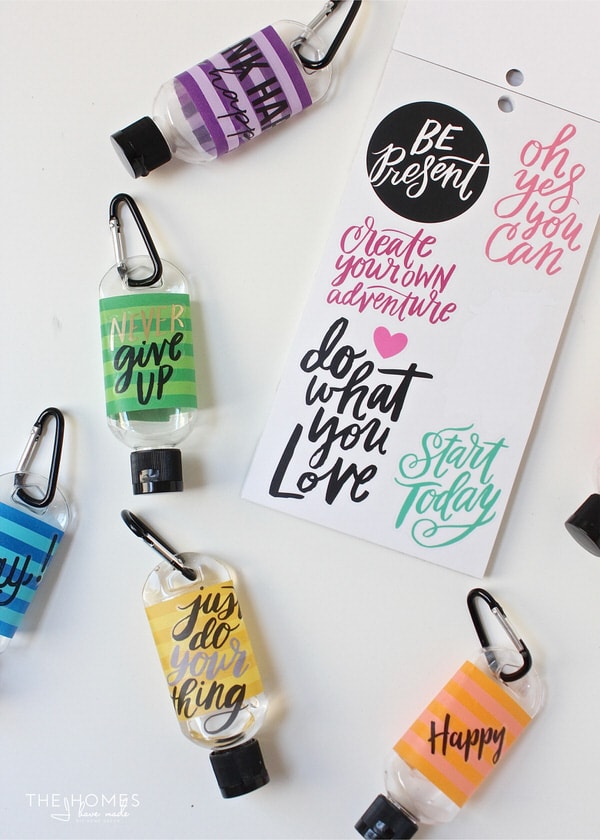
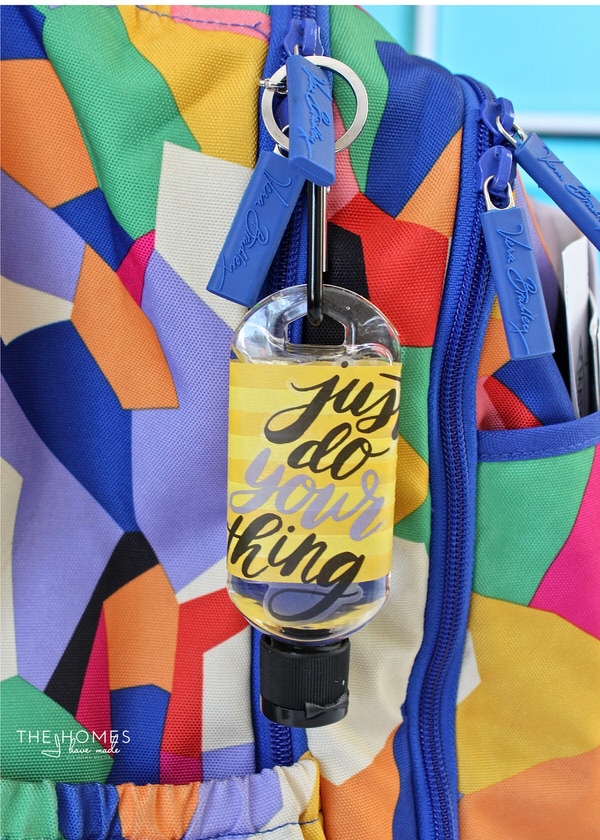
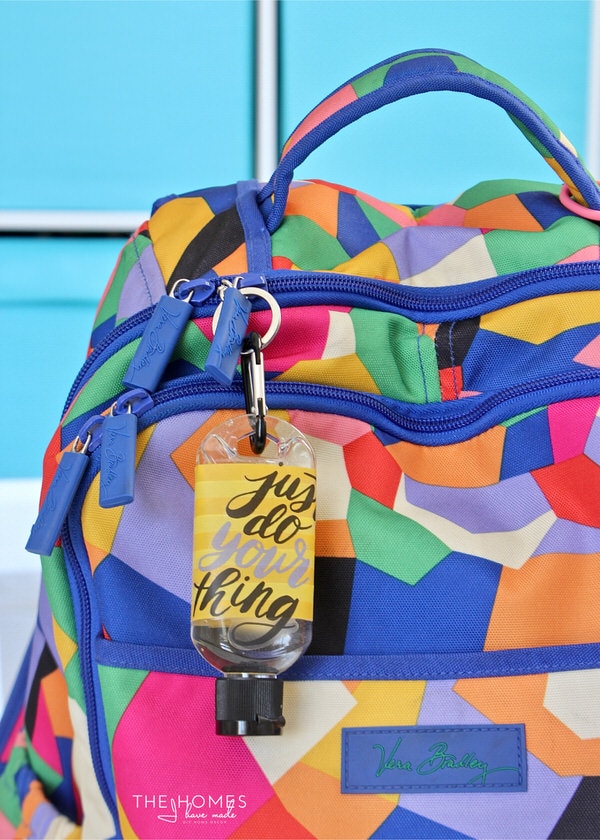
…and the addition of motivational sayings make these ideal for helping kids (and adults!) start the year off with a positive attitude! I chose to keep one and put a happy little reminder on my diaper bag 🙂
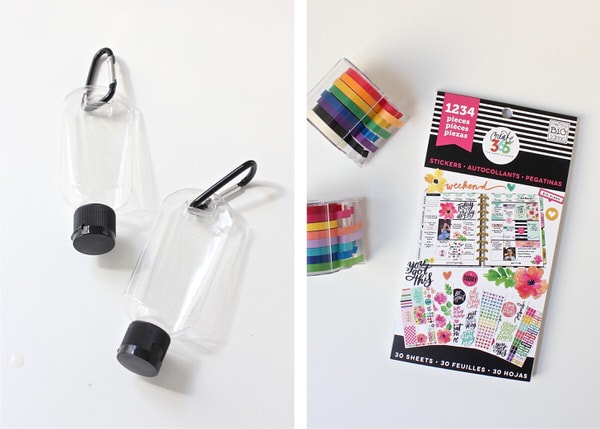
Are you ready to see how easily these DIY Hand Sanitizer Keychains come together? To start, you will need to gather your supplies. I used keychain bottles, as well as some skinny washi tape (mine are from Michaels but these are similar) and hand-lettered phrases from this pack of planner stickers.
Tip! You can use any patterned/colored tapes you wish, as well as any stickers or vinyl cutouts you have or can make. I did a quick test and found that washi tapes and stickers hold up fine to liquid; so if they get caught in the rain, they won’t peel or bleed. Duck tape and vinyl would also work well. However, unless you plan to seal your decorations with some sort of protective coating (like Mod Podge), I wouldn’t use “regular” paper stickers or non-vinyl decals.
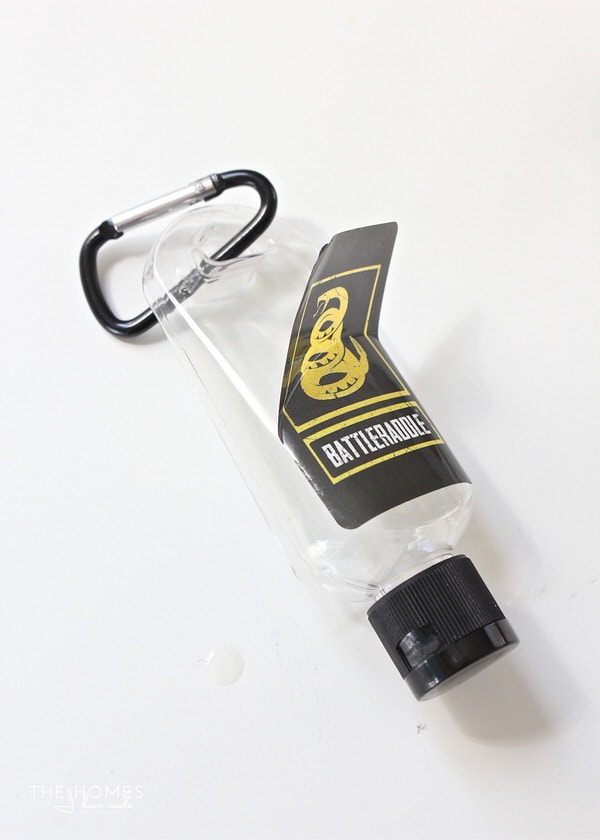
Okay – let’s do this. The bottles come with labels on them. Just peel them off and wipe away any residue left behind.
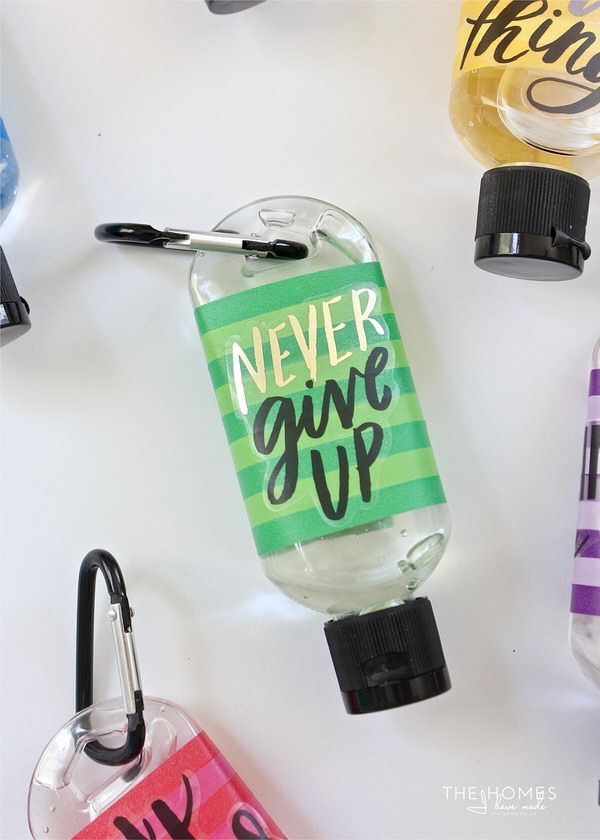
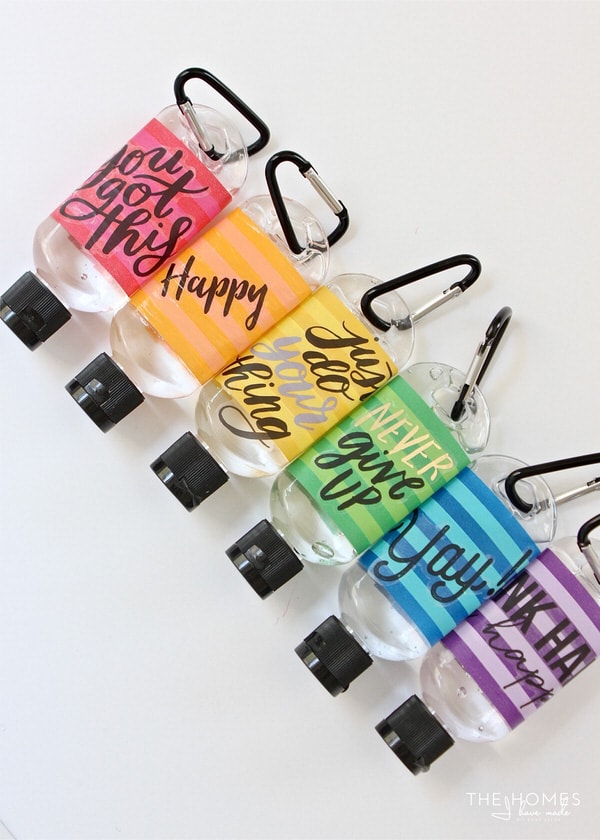
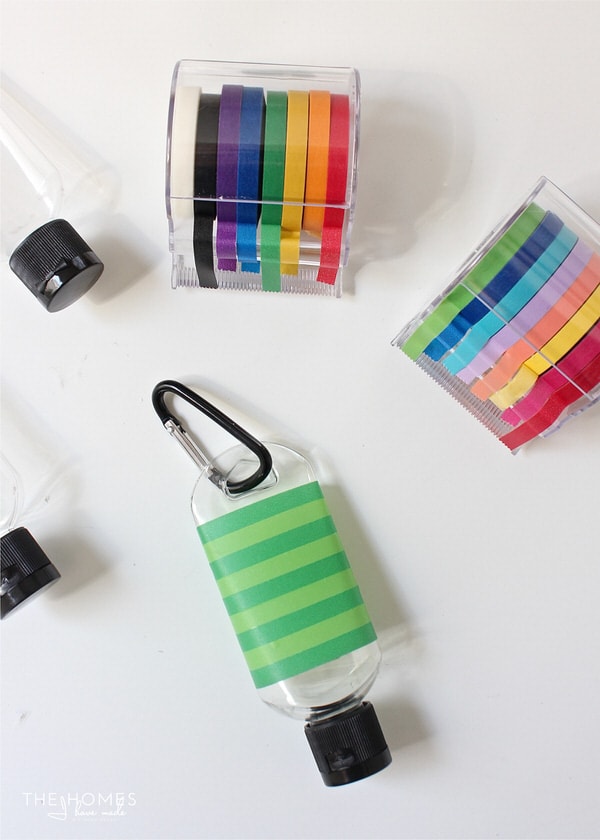
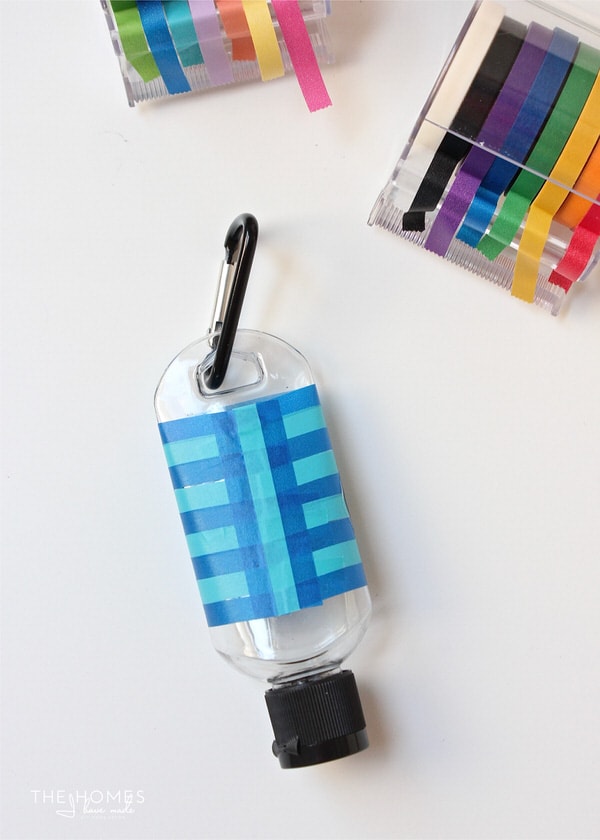
Next, use whatever combination of washi tapes you like and wrap it around the bottles. I chose to do do two-tone stripes in 6 different colors. If you’re doing this with kids, just lay out a variety of tapes and let them get creative!
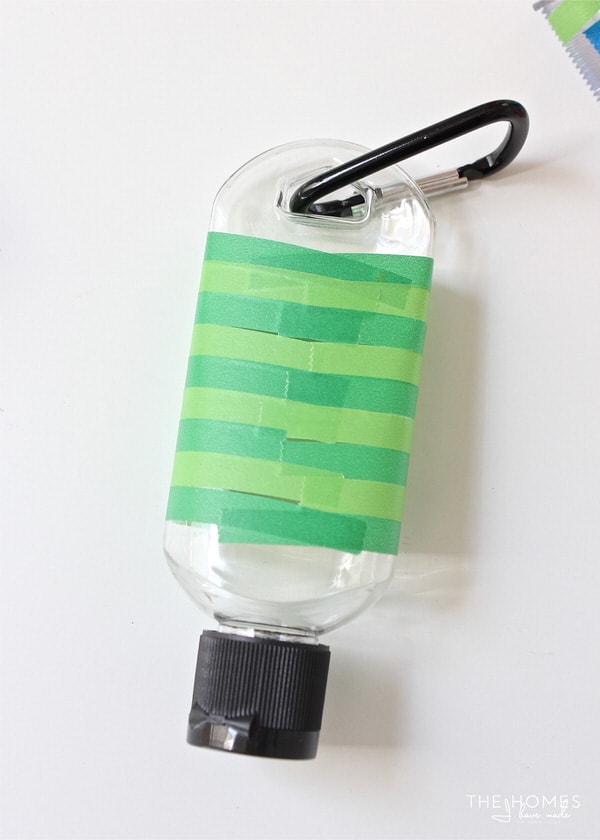
The bottles have a slight taper to them, which means the tape won’t wrap perfectly around the bottles.
There are a couple ways to remedy this. One – you could just ignore it…these are simple kid crafts after all. Or…you could add a large sticker or vinyl shape/label over the seam of the tape. I just used more tape to create a decorative detail along the backside:
When decorating bottles for teams or teachers/staff, consider using school colors!
Next, secure washi stickers on top of the tape patterns as desired. I really liked using these planner sticker phrases because 1) they were cute motivational phrases that seemed fitting for school and activities; 2) the phrase stickers have a clear background, making the wording appear hand-written onto the tape; and 3) a lot of planner stickers are very feminine, but these black-lettered labels were some of the only ones I could find that would work for both boys and girls!
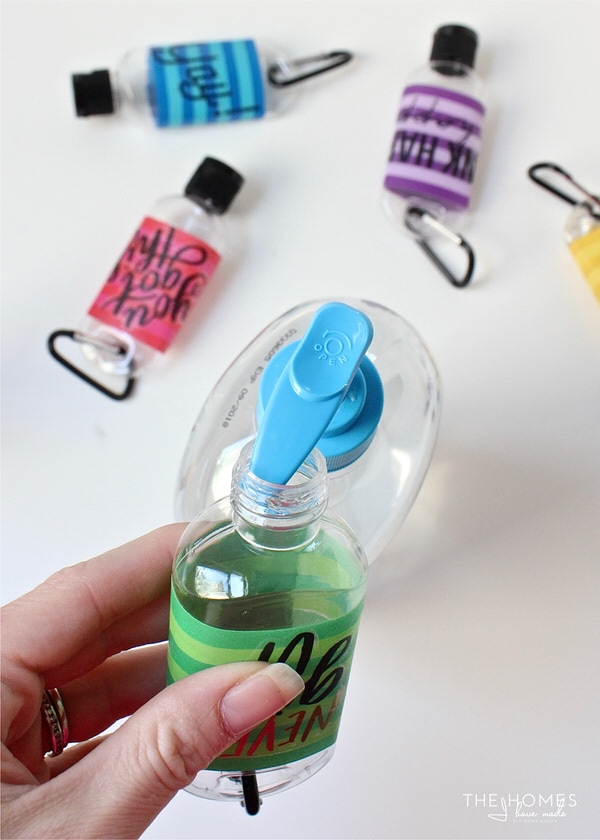
The final steps are to fill each bottle with some hand sanitizer…
…close it up and attach it your favorite bag!
Or hand them out to your favorite friends, teachers, coaches or school staff!
Tip! I’m not too terribly worried about the tape and stickers peeling. Not only do they stick pretty well, but if they peel off, kids can then re-decorate them for holidays or in different colors/themes. I was curious, though, to see how it would look all sealed up with Mod Podge, so I did the orange one (above, notice how it’s shinier than all the rest!). If you don’t want these to peel or would prefer a glossy look, adding a few coats of Mod Podge once everything is in place works great!
As I was making these, Sam was obsessed with playing with them. So it turns out these bottles would have been great for the sensory bottle craft after all (especially since you can clip them to a carseat or exer-saucer). Nonetheless, these simple, inexpensive and fun-to-make DIY Hand Sanitizer Keychains are the perfect back-to-school gift for friends and teachers alike!
Other Fun Keychain DIYs!
I love making keychains for gifts, at a craft night, or just because! Here are some others we’ve tried and loved…
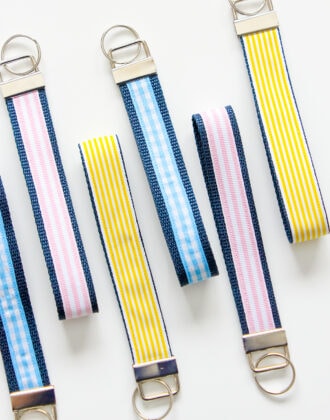
- Easy DIY Ribbon Key Fobs | A Simple 10-Minute Project!
- DIY Faux Leather Keychains with a Cricut
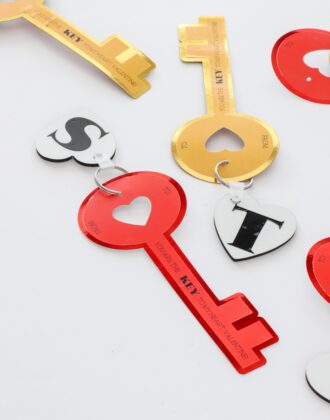
- School Spirit Keychains with Glitter Vinyl
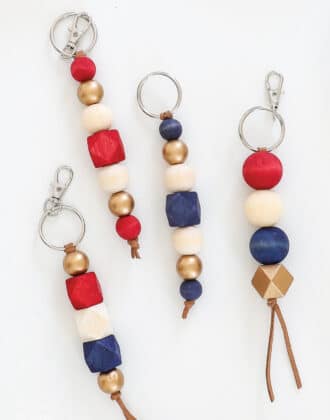
- Easy DIY Wood Bead Keychains
I hope this quick little project puts you into the school-year spirit! Back here on Friday, I’m sharing a quick round-up of the systems and projects we rely on to get our household back-to-school ready! See you then!
Megan



One Comment on “DIY Hand Sanitizer Keychains”
Megan, this is a cute idea to just use stickers on these. I also like the idea of getting a little more personalized and using my vinyl sticker cutting machine to get the kids’ names on sanitizer bottles and some of the other back to school stuff for my kids. Thanks for the fun idea!