Using PolyShades to “Refinish” Furniture
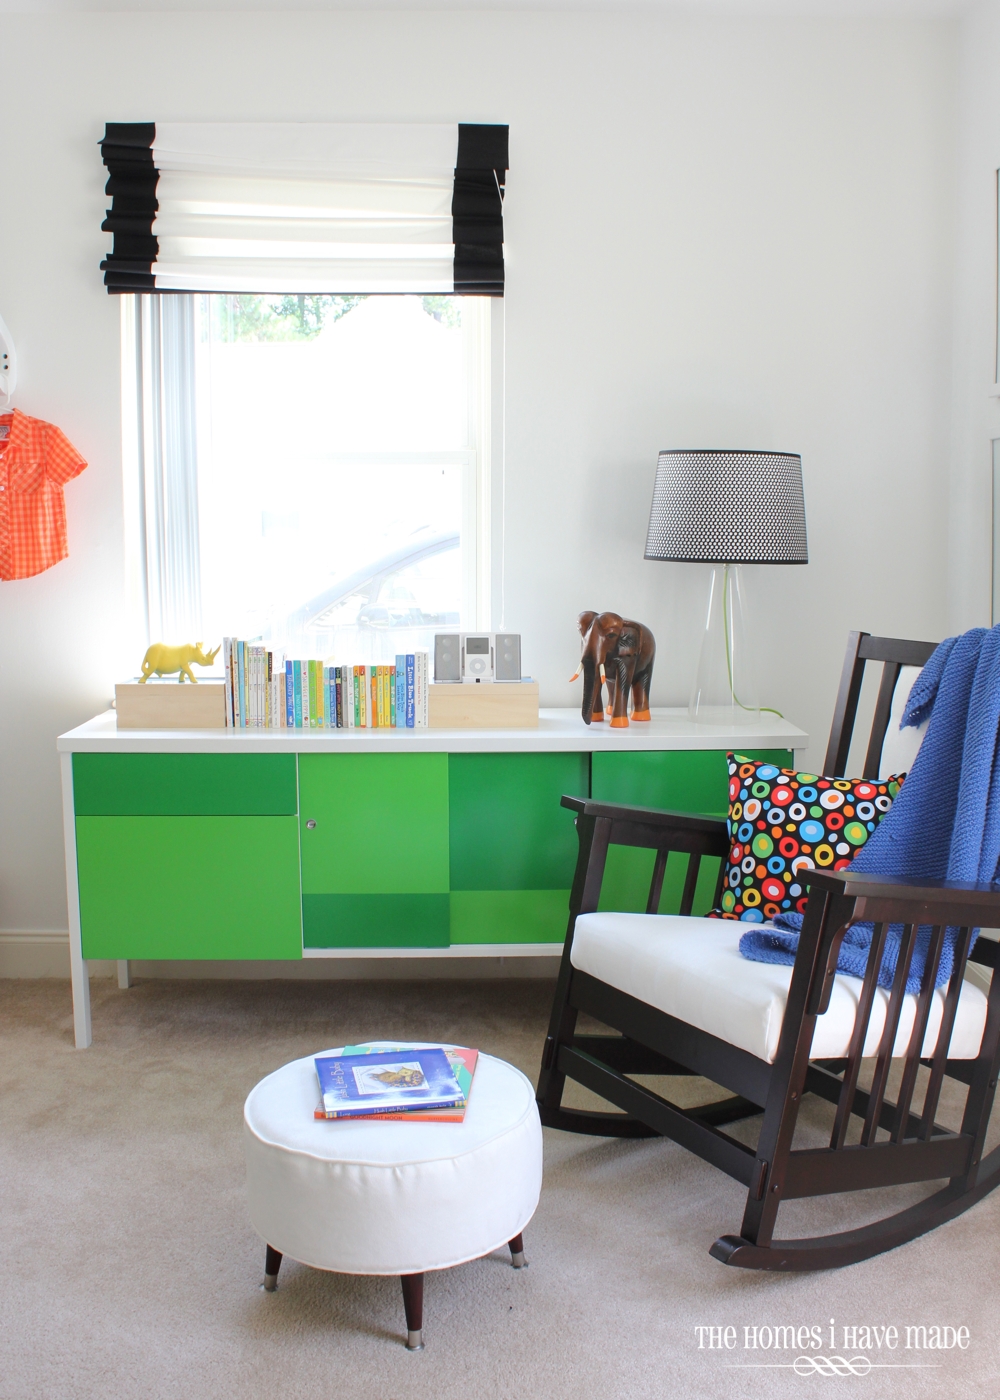
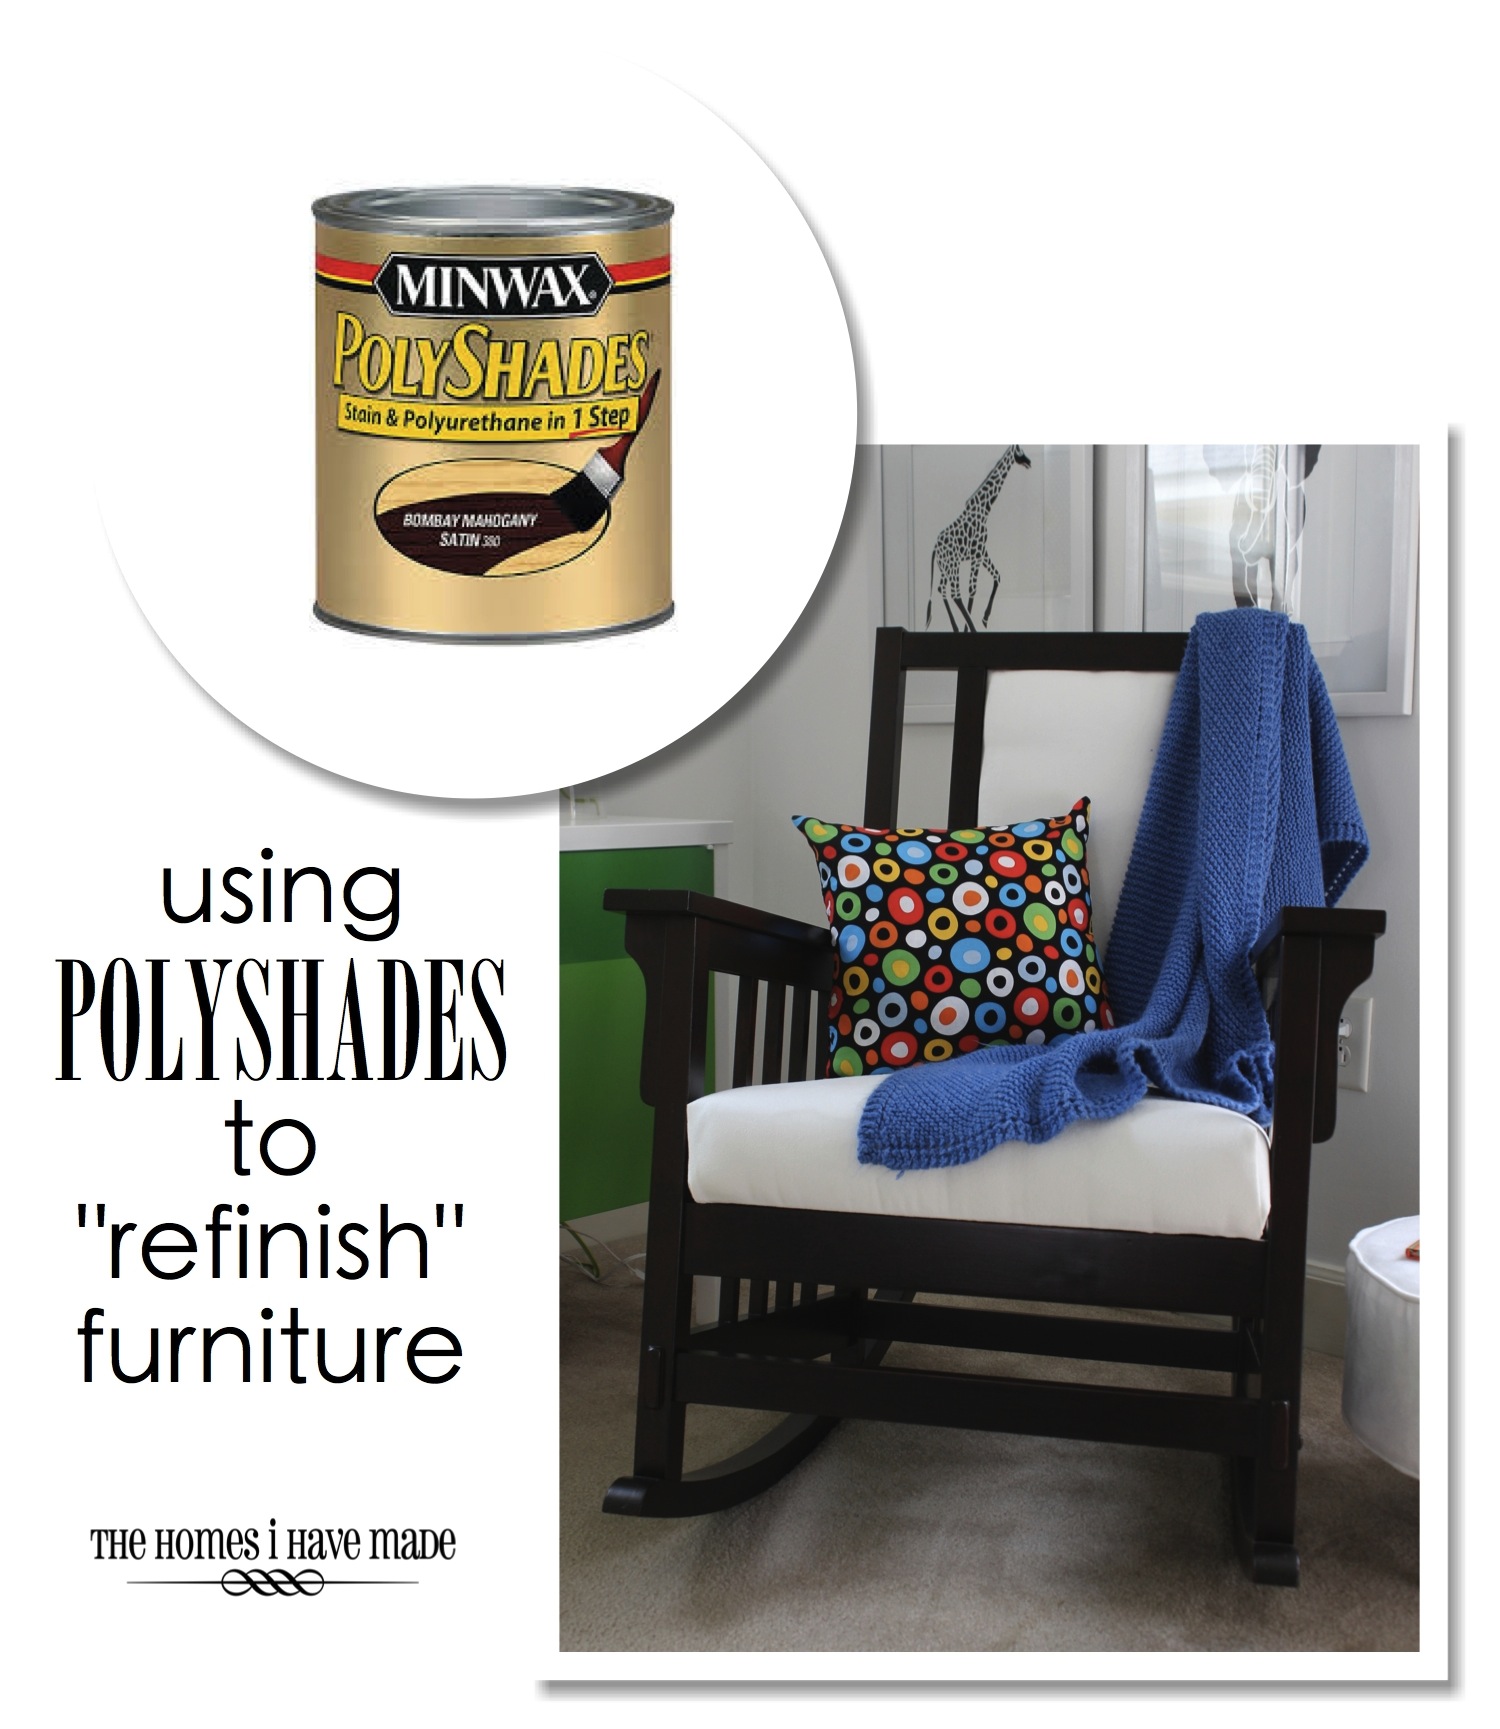
A while back, I chatted all about this “rockin” furniture makeover (ha.ha.ha.). It’s the chair now featured in the corner of Henry’s new “big boy room”; and we use it for reading stories and cuddling! Even though I gave a full tutorial for what all I did to the chair here on the blog, I wanted to chat a bit more about the product I used to “re-stain” the chair! It’s taken me a bit of time to focus my attention back to this space, but here I am to chat about PolyShades! (By the way, this might read like a sponsored post, but it’s not. I just wanted to share my thoughts about using this product, some things I learned along the way, and what kind of results you get since I couldn’t find a ton of great details on the product when I was researching it!)
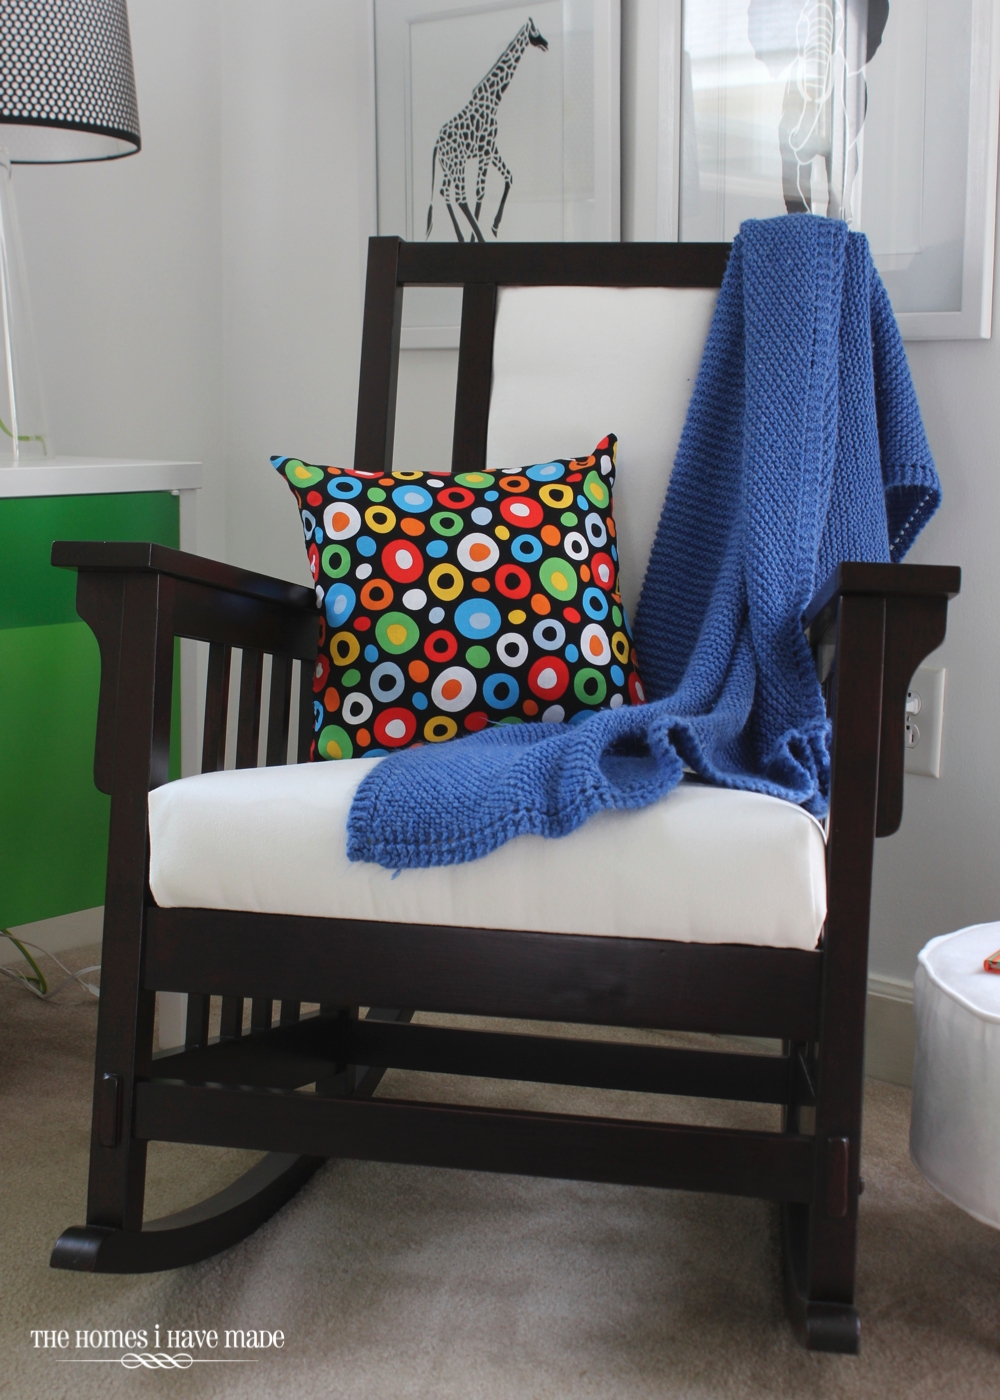
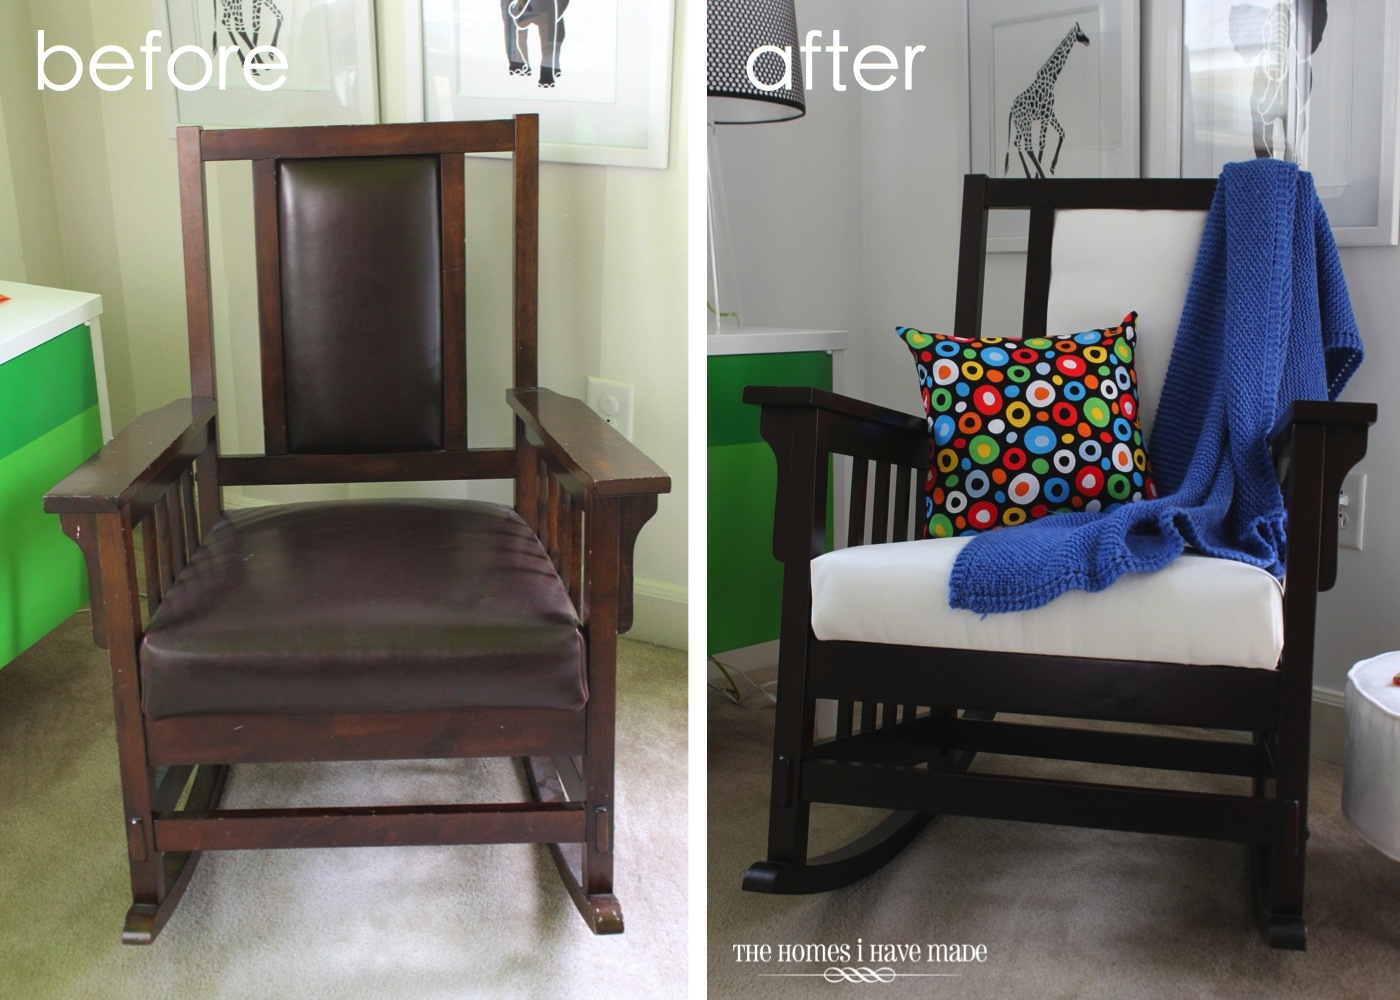
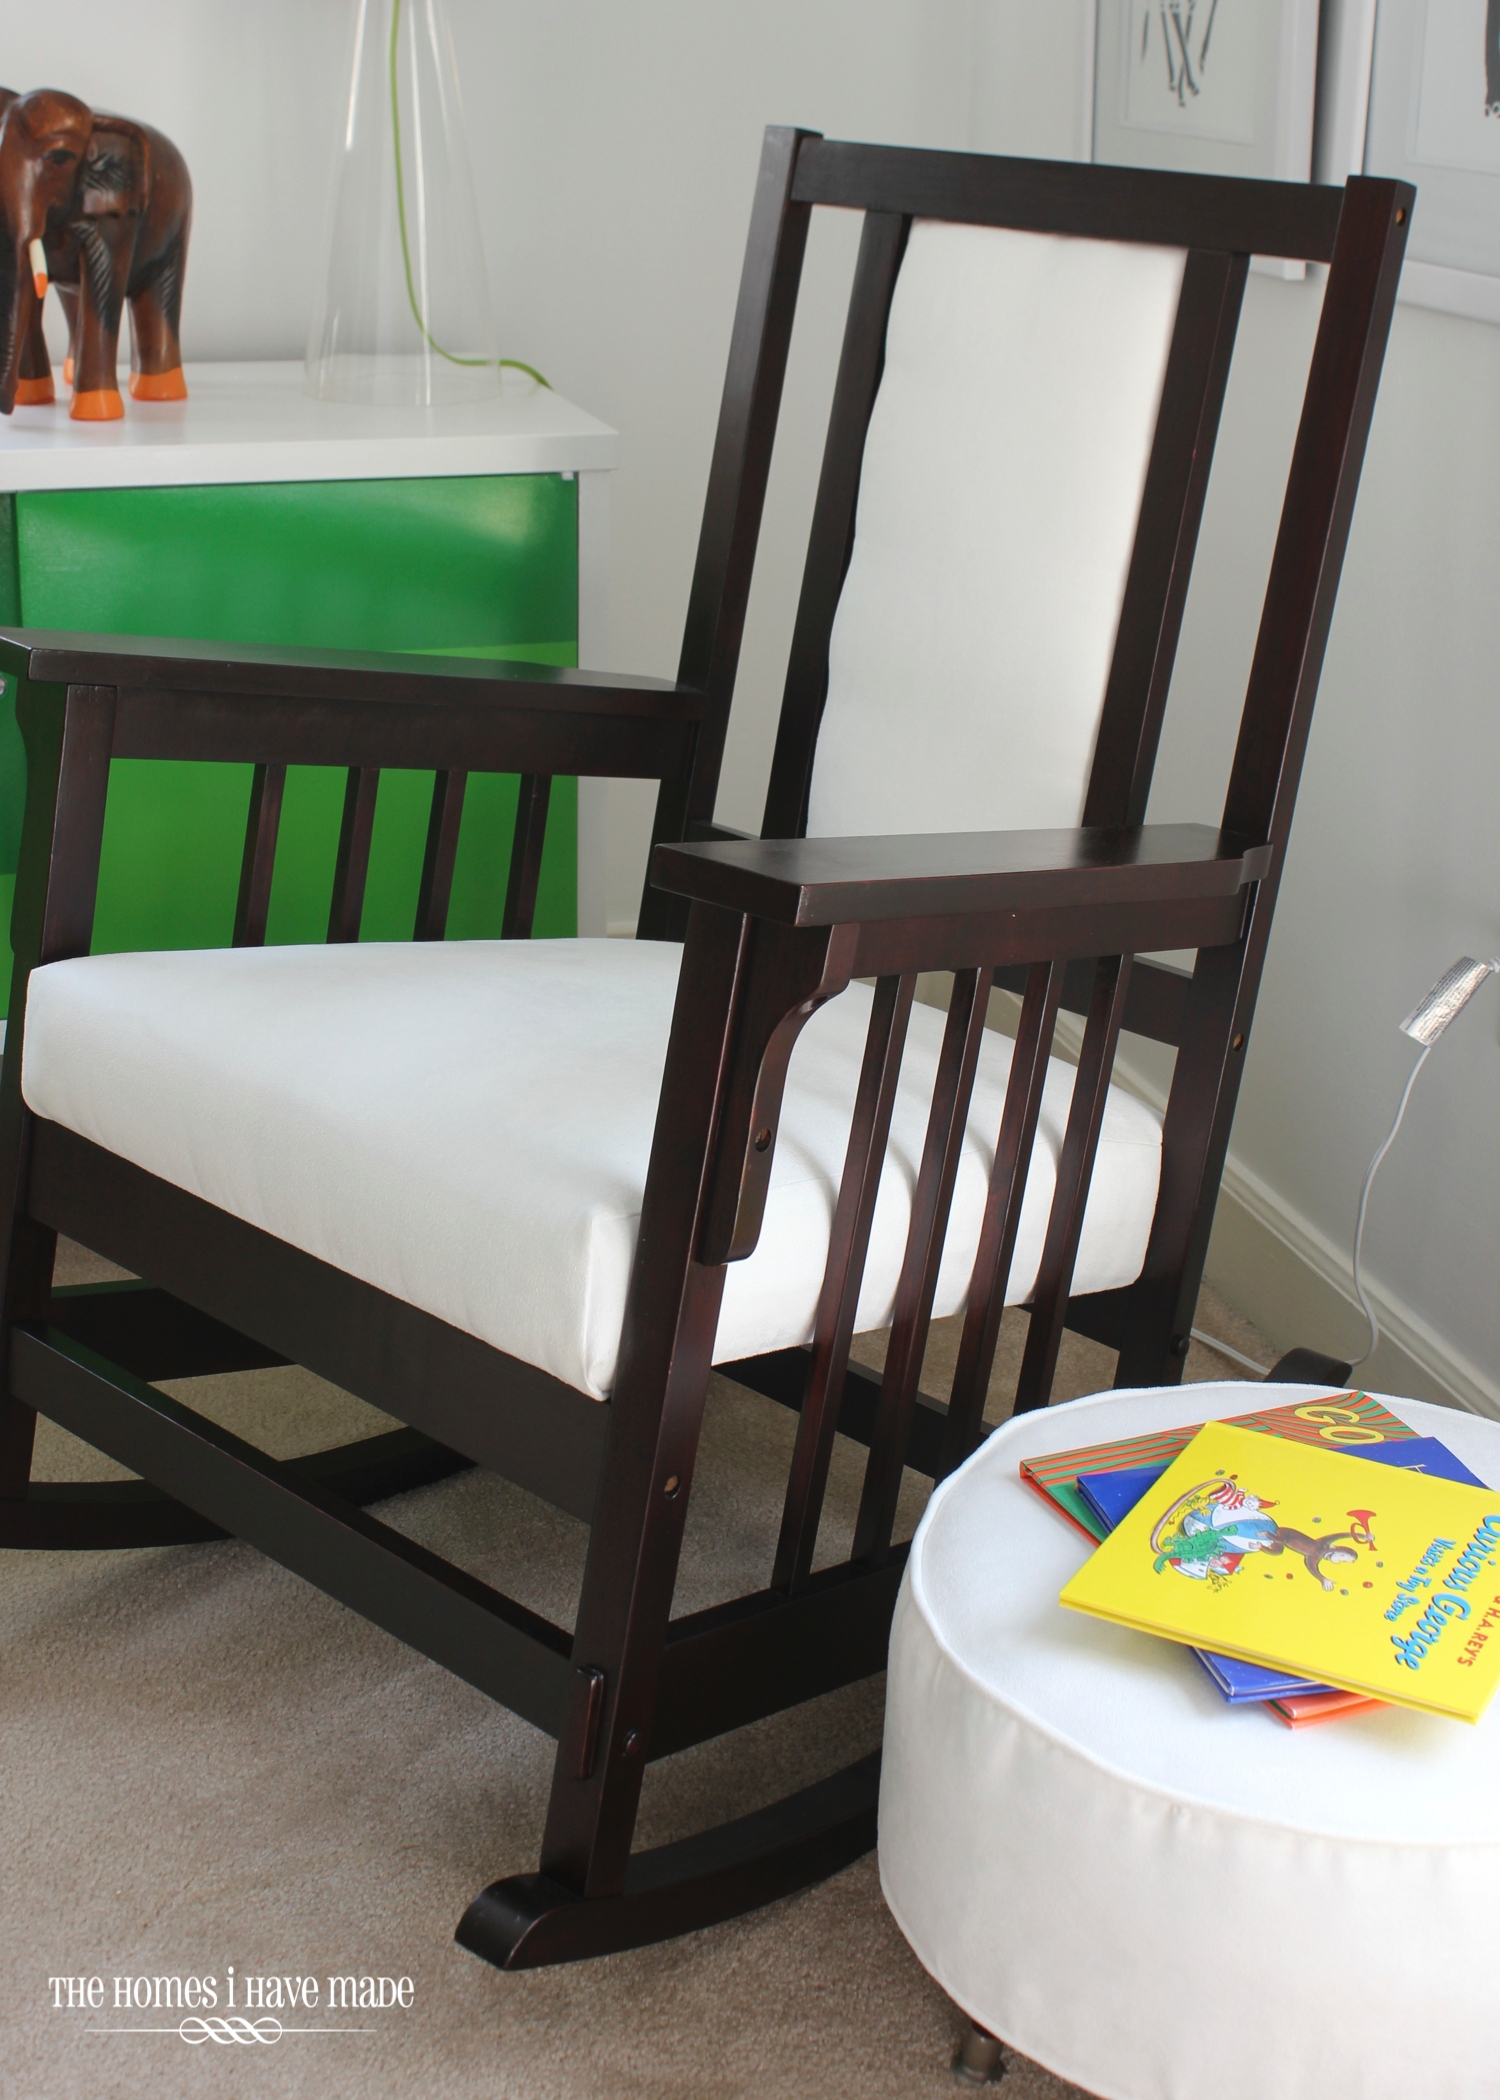
I found this mission-style rocking chair at a yard sale for $20…and its transition from woe to wow is one of my favorite furniture updates I’ve done yet!
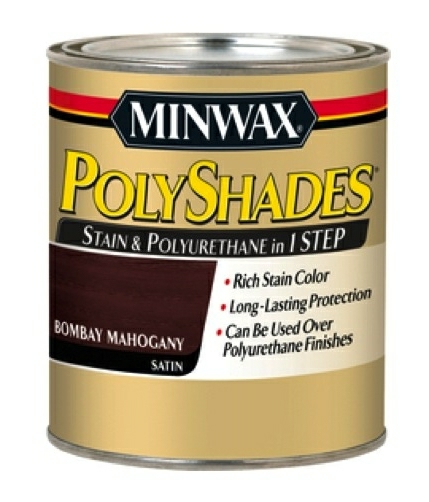
Because there were so many edges and corners and crevices to this chair, the idea of sanding the whole thing down to its bare wood REAAALLY didn’t appeal to me, AND painting it wasn’t the look I was going for. So instead, I used it as an opportunity to try out a product I had read a ton about but never tried myself: Minwax’s PolyShades. It’s a stain and polyurethane in one and can be applied overtop existing stain. Pretty cool, huh?!?
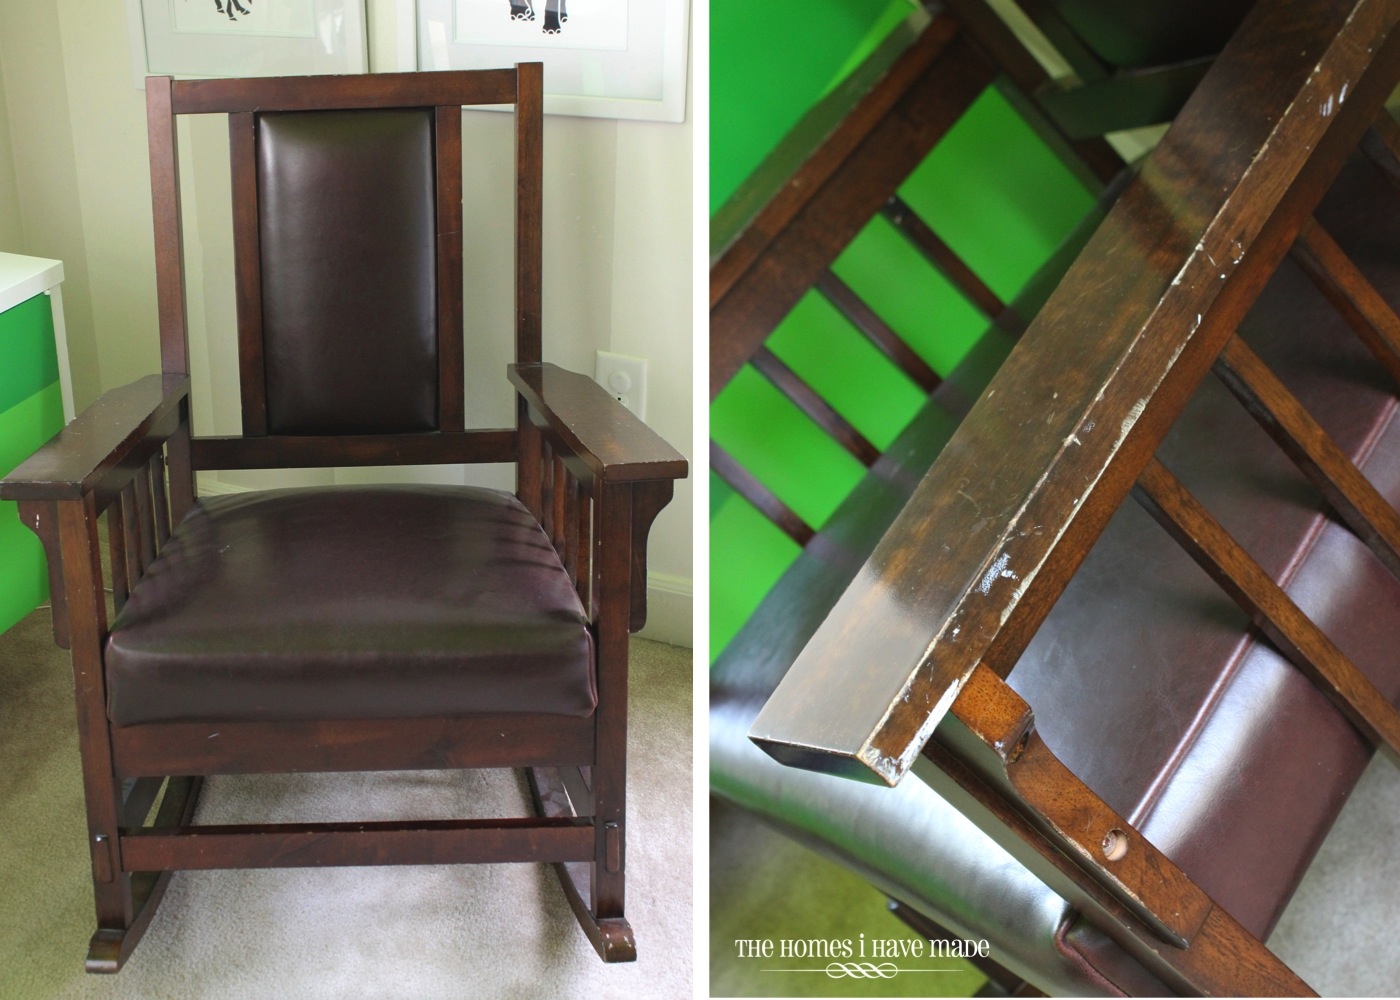
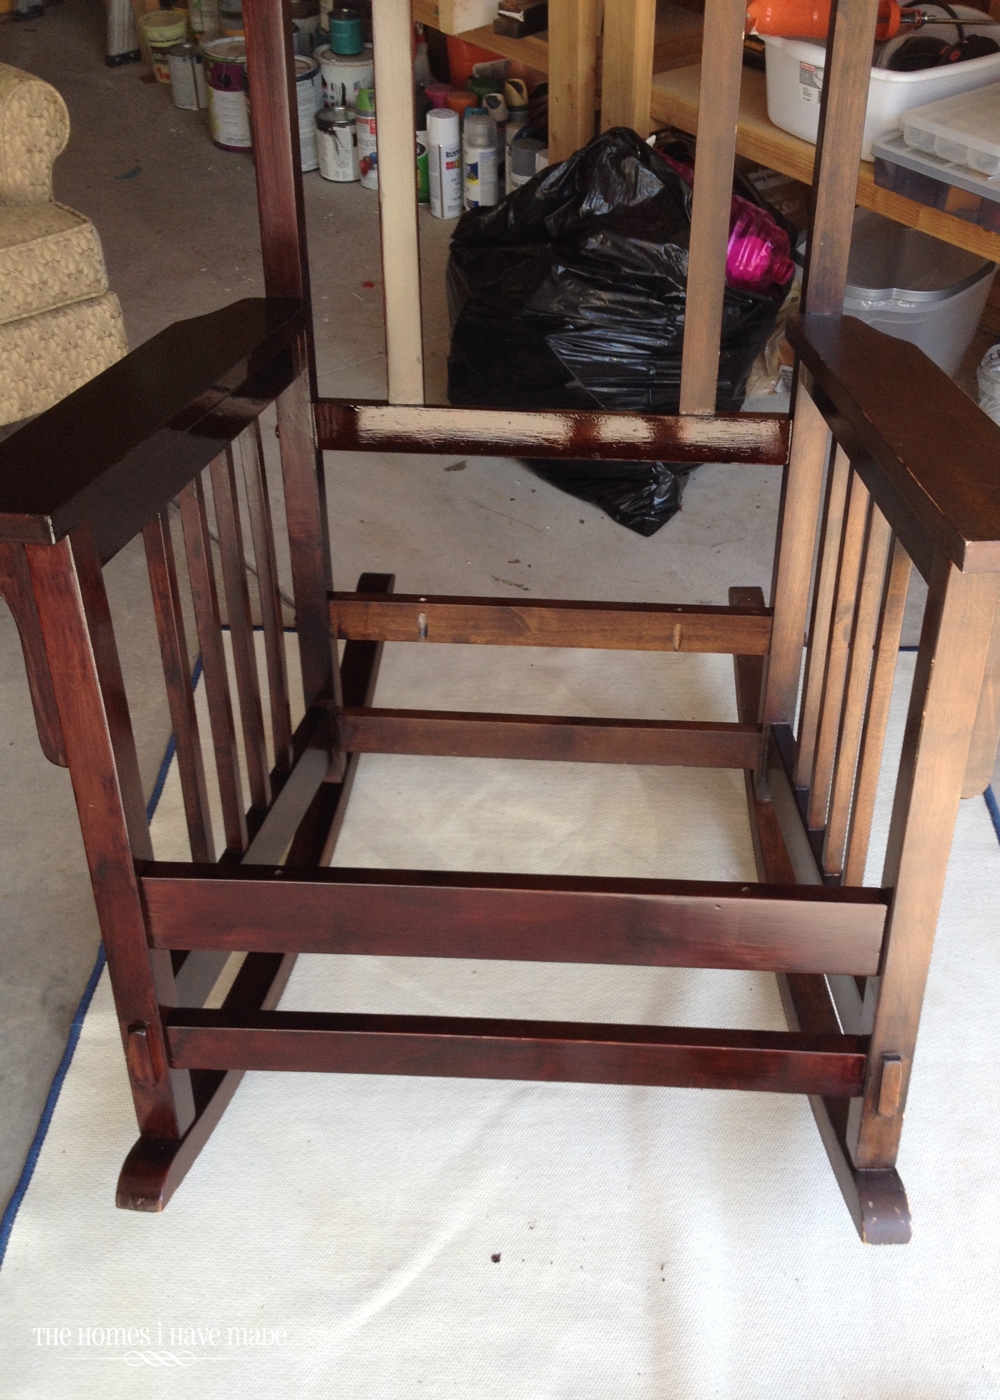
As you can see, the finish on the chair when I started was pretty bad: lots of scratches, dings and roughed up edges with a pretty wide color variation across the whole piece. I was a bit skeptical that the PolyShades would result in a consistent color over the different tones without sanding, but I was going to give it a go anyway!
After scrubbing it down and wiping it clean with Liquid Deglosser, I set about paining on the stain. I use the term painting on intentionally, as that really is the best way to describe how to apply this product to furniture. It really is different than anything else I’ve ever used – it goes on like paint (and drips like paint and leaves brush strokes like paint!) but dries with a stained-like finish. When I describe it to friends and family, I call it a “paintable stain,” but I really do feel like it functions more like paint. Below, the left side of the chair has a single coat of PolyShades, and the right side has nothing yet.
My greatest challenge with the product was the drips (which I had read about!). You really do need to work slowly, load your brush VERY little, and catch drips and puddles while they are still wet. It really reminded me of working with oil-based paint, as once it starts to set up, you can’t really go back and fix it without it being super noticeable. If you over brush, you do end up with a slightly streaky look, but nothing that really bothers me. I learned by the end how to apply the stain just right without too many passes with the brush!
I also really needed to pay attention to what sections I had already done, as the product dries relatively quickly and it becomes difficult to determine which sections had been painted. However, it becomes very obvious once it’s all dry if you accidentally applied a second (or third) coat to a certain area and not everywhere else! I ended up applying two coats of stain and sanded with some fine steel wool in between, as it does leave a slight (very slight!) grittiness on the surface due (I think!) to the polyurethane component of the product.
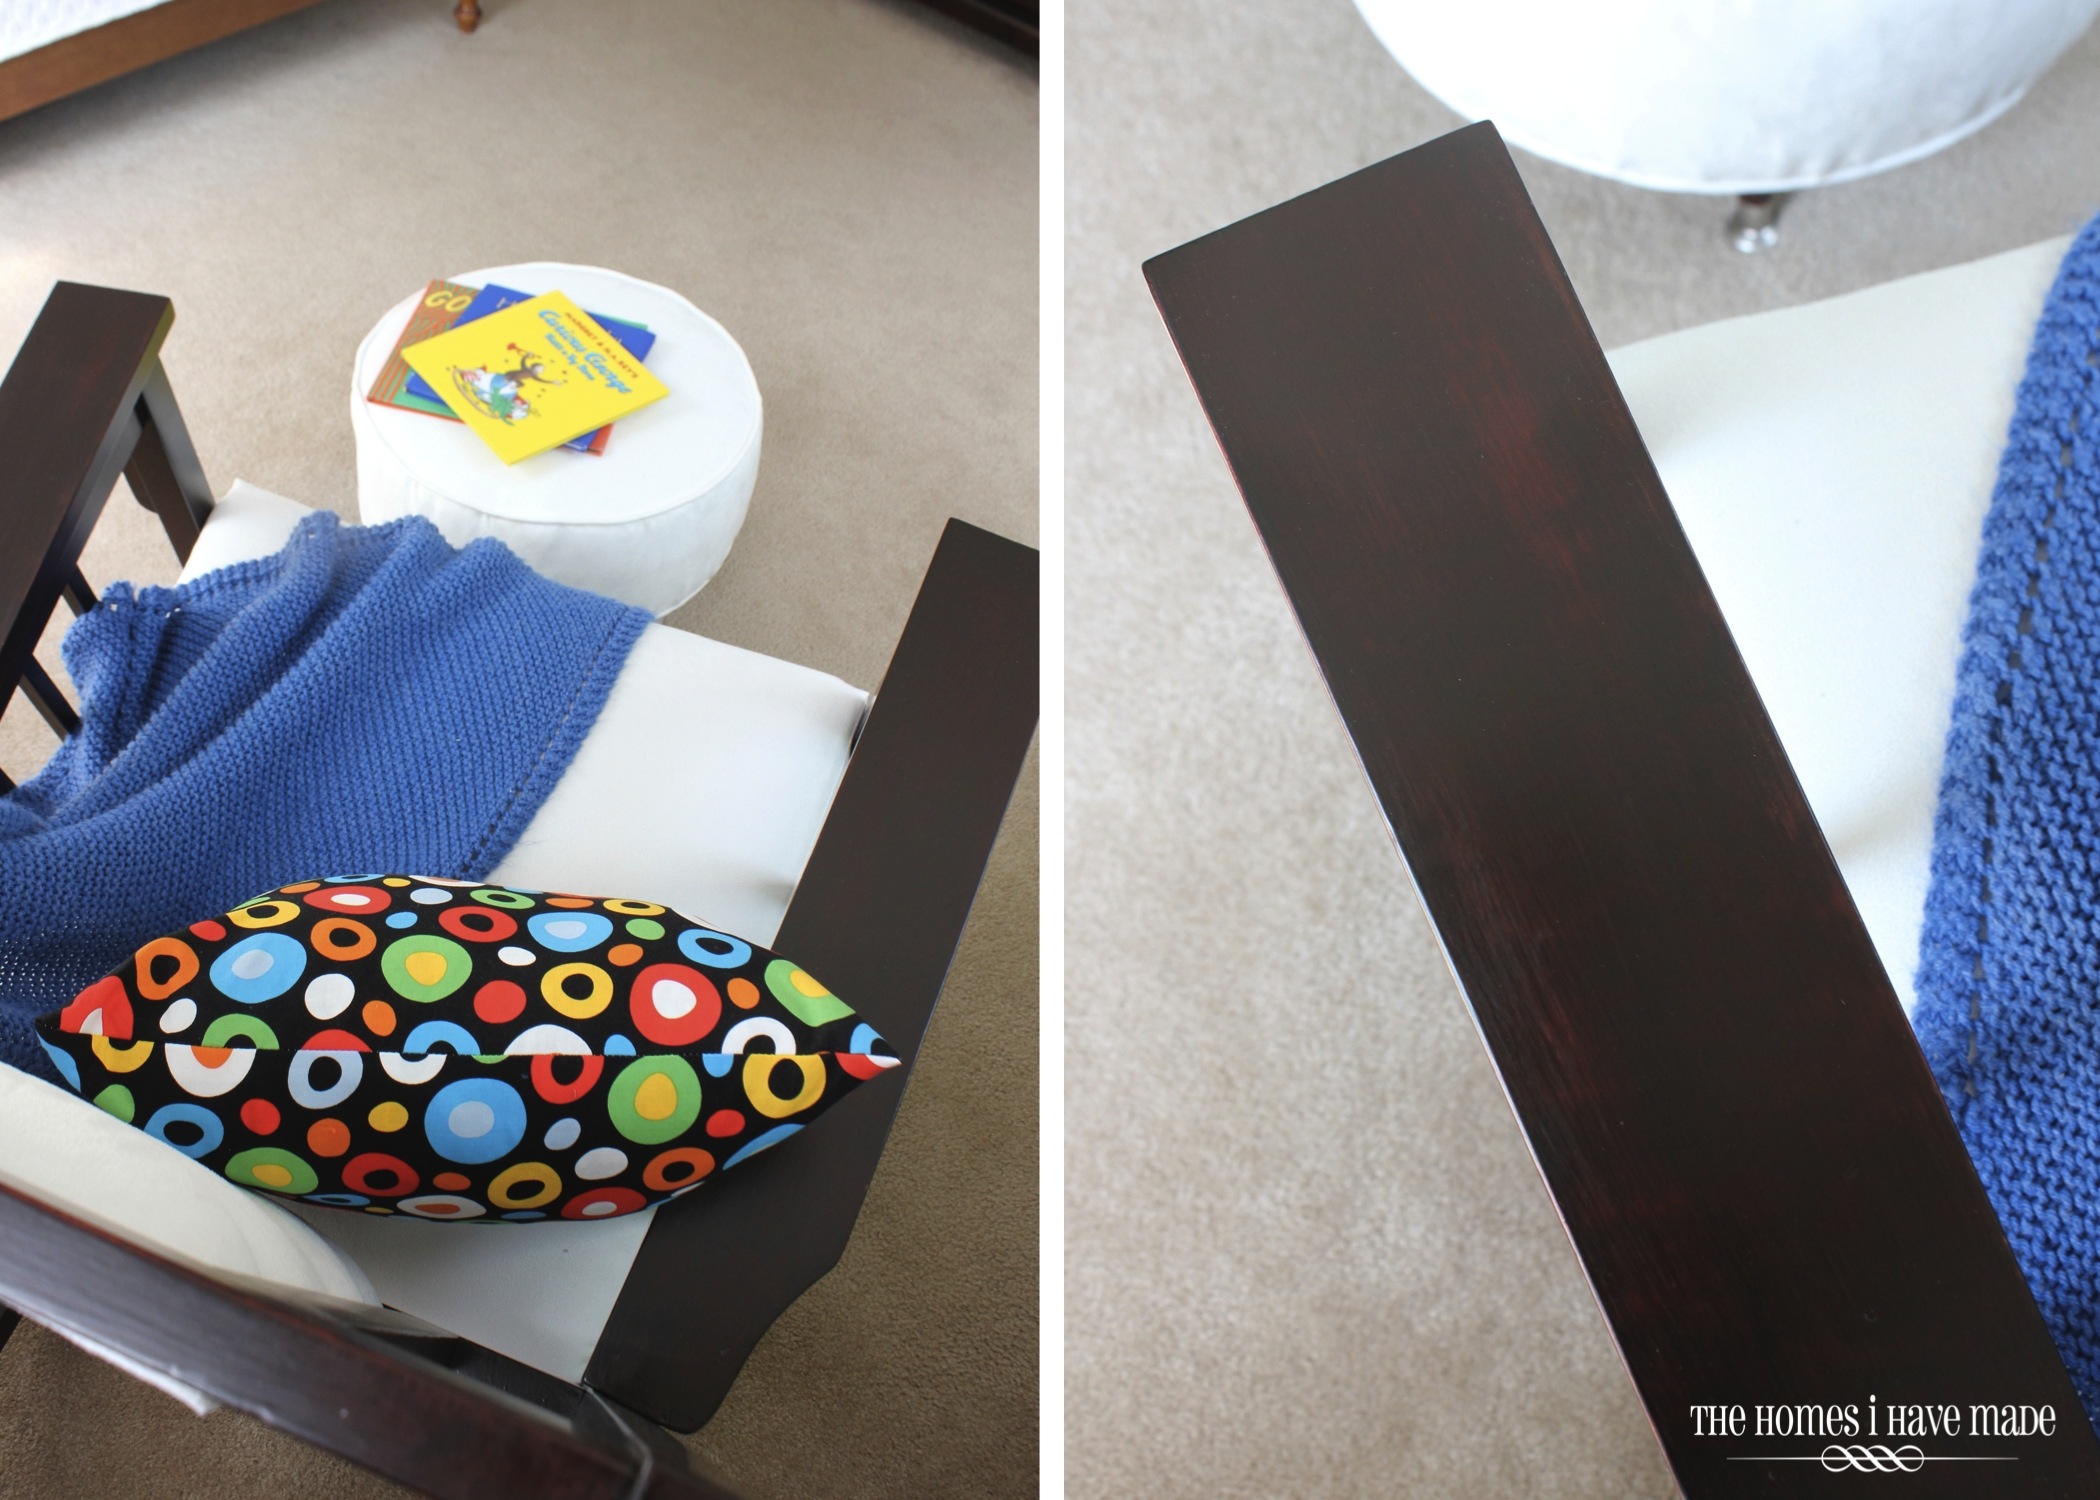
Overall, though, I was pretty pleased with the product. I was literally able to paint right over all those areas that had dinged or chipped stain and it looks exactly the same as the non-dinged areas. I was able to get a clean, consistent finish with the wood-grain look I was going for. (I also intentionally say look here, because yes, it looks like wood, but it does not have the same look and feel as stained wood grain.) Photos and lighting are super tricky with dark wood, but I tried to get a close up of the finish on the chair all dried and cured (in the right photo, you can see the slight hazy streaks I was referring to on the lower-left of the arm of the chair).
My only other real complaint with this product is the smell…it’s SUPER strong. I didn’t really notice it outside when I was actually working on the chair. But even after a few days of sitting out in the garage, it was too strong when I brought it into the room…so I had to leave it out in the garage for a good long while.
I do LOVE how this chair turned out – I love that it looks fresh, clean and updated. The color is saturated and even, and it was relatively easy to accomplish (especially since the polyurethane coat is included without an extra step!) In the few months we’ve used the chair, we haven’t experienced any nicks or chips in the new stain, so it seems super durable. Still, it’s a bit temperamental (oh the drips!) and I don’t think it’s the right look for some pieces, especially anything with small details, vertical posts, or anything you really want to see the wood grain through. At least with the Bombay Mahogany color we chose, it turns out pretty opaque.
If you’re looking to breath fresh life into an old, tired, wooden piece and paint isn’t the answer, I’d say give this a go. With minimal effort, you can get some pretty stunning results! If you’re looking for a true wood look with grains and color variation that look like stained wood, your better bet is sanding down to the raw wood and going with regular stain. While I really did enjoy seeing this product work, I stopped short of applying it to Henry’s “new” bed, because I just wasn’t sure I could control it enough to make it look just right!
So….it took me a while to get these thoughts into a post (sorry about that), but now I have my tips documented for both you and me (believe it or not, sometimes I forget about how I feel about certain products, so I often refer back to my own blog to refresh my memory) 🙂 To see my thoughts, tips, and tricks about other products I’ve used, you can read more here.
Have you tried PolyShades? I’d love to hear if you have any tips to prevent those minor brushstrokes or get rid of the sand-like grittiness I feel in some areas!
Megan



21 Comments on “Using PolyShades to “Refinish” Furniture”
I not try PolyShades yet but I really try this when I get chance.
http://lightningcnc.com
Its terrible….I ruined my tops of my nightstands and dressers. I should have used Annie Sloan chalk paint or benjamin moore iron clad latex.
I love PolyShades and especially love your chair make-over. What a darling touch to your little one's room.
The smell is strong and still lingers in my garage two days later
Hi Harry!
Yes, the smell is VERY strong. Even after we had let this chair sit in the garage for days, it still stunk up the house pretty badly. Smell aside though, we’ve been pretty pleased with the results. Almost two years later and not a scratch or scuff!
Megan
It has a nice finish but I’ll never use that stain again. What an unbelievable stink! And not just for a few days either. It’s been 2 weeks with fans and purifiers running and it’s no better. I put the cabinet the garage. Hopefully in a couple weeks I can bring it back into the house
I do agree with the smell. It took quite a while for the stink to go away and for me to let my son sleep in his room with the rocker. It does eventually go away, and we’ve had great durability with the stain, so I hope it works out for your piece!
Thanks for sharing your experiences!
Megan
The smell is typical of polyurethane products. I just had brand new hardwood floors installed unfinished and then stained and finished in place to help seal the joints and it still smells over a month later. Polyshades is self leveling meaning that the wet edges of brush strokes will flatten themselves out. But as a result, this also means that it is very runny and water like, much like car paint. This stuff is actually better sprayed on if you have the right tools and practice. As for the little bumps, those are from fine dust particles that got in the wet finish. Before applying any coat and especially after sanding or using the steal wool, you should use a TAC cloth to remove those fine dust particles. It really is amazing how enhanced a microscopic dust particle is when it gets in you smooth finish. Working with 2 part stain then poly is definitely easier as far as the application, but like you said, with this product you don’t need to strip down to the bare wood.
Thanks for stopping by and sharing these insights! It’s now been a few years since I’ve worked with Polyshades, but will keep these tips in mind when I do so again!
Megan
Do you know how long it took for the chair to stop smelling completely? We redid our banister along our stairs with Polyshades. It’s been 2.5 weeks and it still smells awful. I’m wondering if I should just get it replaced if the smell never truly goes away. Thanks.
Hi Chris!
The smell definitely went away – the chair stayed in my son’s room for years and is no transitioning into a new baby’s room. I can’t remember how long it took, as it’s been years since I did the project. I’d say 2ish weeks for the really strong smell to dissipate?
Good luck and hope it fades for you soon!
Megan
Thanks, Megan. It’s slowly getting better.
Have you ever used a sealer for the off gassing? I’m thinking of using the AFM SafeCoat, Hard Seal. Any luck with this product?
Thanks
Chris
I started out with black on some ugly oak chairs (I learned about the drips on these!) I got better on my outdated bathroom cabinets. I sanded down edges after applying to give it a worn look. I have gotten good at using it now, but at the beginning (yes on the drips!) I had some uneven issues. It’s easy to work with it when its flat, so I took off the cabinet doors. To even out the surface I put a clear coat over the top to fix my sheen flaws. (That’s my tip for fixing the finish.) I don’t need to do that anymore but if you find some uneven sheen issues, that fixes it without adding any more color. I loved it too and have since used it on a large entertainment center.
Planning to use this on an wardrobe tomorrow, and wondering if it will work well on the vertical surfaces. Should I lay it down flat for each side? It’s pretty heavy, so I would rather not do that, but I also want it to look good!
I realize this post is a few years old but I tried black polyshades today. I used it as a glaze over a dark grey piece I painted. I wanted to keep the grey look but darken it a bit to look blackish. Worked like a charm. I’m super pleased with it. I used a foam brush to apply it and then a lint free cloth to rub it in all over. I will probably do 3 coats but I really love what it did for my cabinet. The smell isnt as bad as other products I’ve used so, I wasn’t so bothered by it.
When I use the poly shade over gray paint, you could see all the lines. Did you rub it in or how did you do it not to see the lines?
Hi Beth,
Honestly, it’s been so long since I did this project I don’t remember. I do recall have trouble with streaks and runs, so I think I tried to keep it pretty thin, wiped it down as I went and then did several light coats to make the deep color.
Sorry I can’t be of more help!
Megan
The poly shades worked well to re-do dining room chairs but when I used it for a coffee table with the large surface area, I had problems getting a smooth, even finish. I am now in the process of trying to salvage this by using steel wool to smooth and even out the shininess. Then I will go over it with wipe on poly. Will never use again for a large surface.
Yes I too love this product. I used over painted wood in our bedroom. The wainscoting had been stained and polyurethaned but the windows and doors had been painted an ugly brown. I used the walnut shade and it made everything the same color. I found I had better luck using the foam brushes. Upon the first application there would be tiny bubbles but i just brushed back over it and the bubbles disappearred. Every time I look at it I still can’t believe how good and how matched it all looks! Its a miracle in a can.
I used polyshades on my front door. Unfornately, I have some dried drip areas and darkers areas that need to be fixed. Any tips on how to fix? This was the first coat. Should I sand those areas and then restain?
Hi Gail!
Thanks for writing and I am so sorry for the delay in getting back to you!
It’s been a really, really long time since I’ve worked with Polyshades but I do remember the drips being the biggest issue. Yes, I think your best bet is to sand off just those areas (if they are really noticeable) and re-apply some light coats until everything matches!
Hope that helps a bit!Megan