Sewing Desk Reveal
A few weeks ago, I showed you all my newly streamlined work station. Part of this latest craft room shuffle was due to the fact that I felt like our 12′ counter (that used to run the entire side wall of our craft room/office) wasn’t well utilized. Not only did too many machines sit on the counter cluttering up my work space; but at counter height, it was often a bit awkward to sit at my sewing machine. When I showed you the new work station, you may have noticed that the counter no longer has room to sit, and my sewing machine is no longer on it (yay!). I hinted that I had another project in the works, and I’m back today to show you!
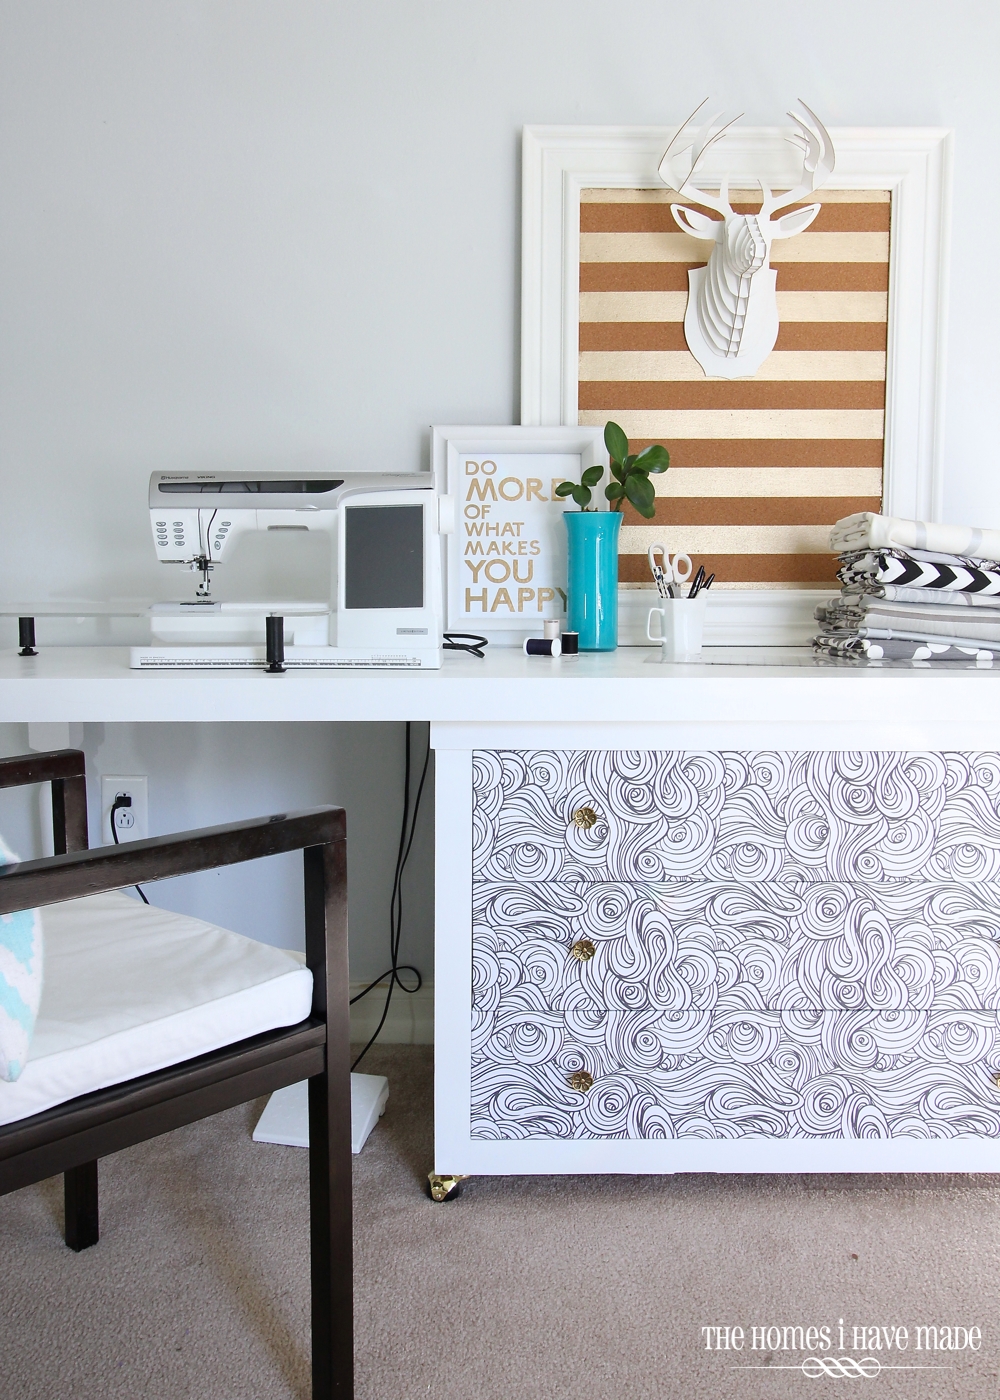
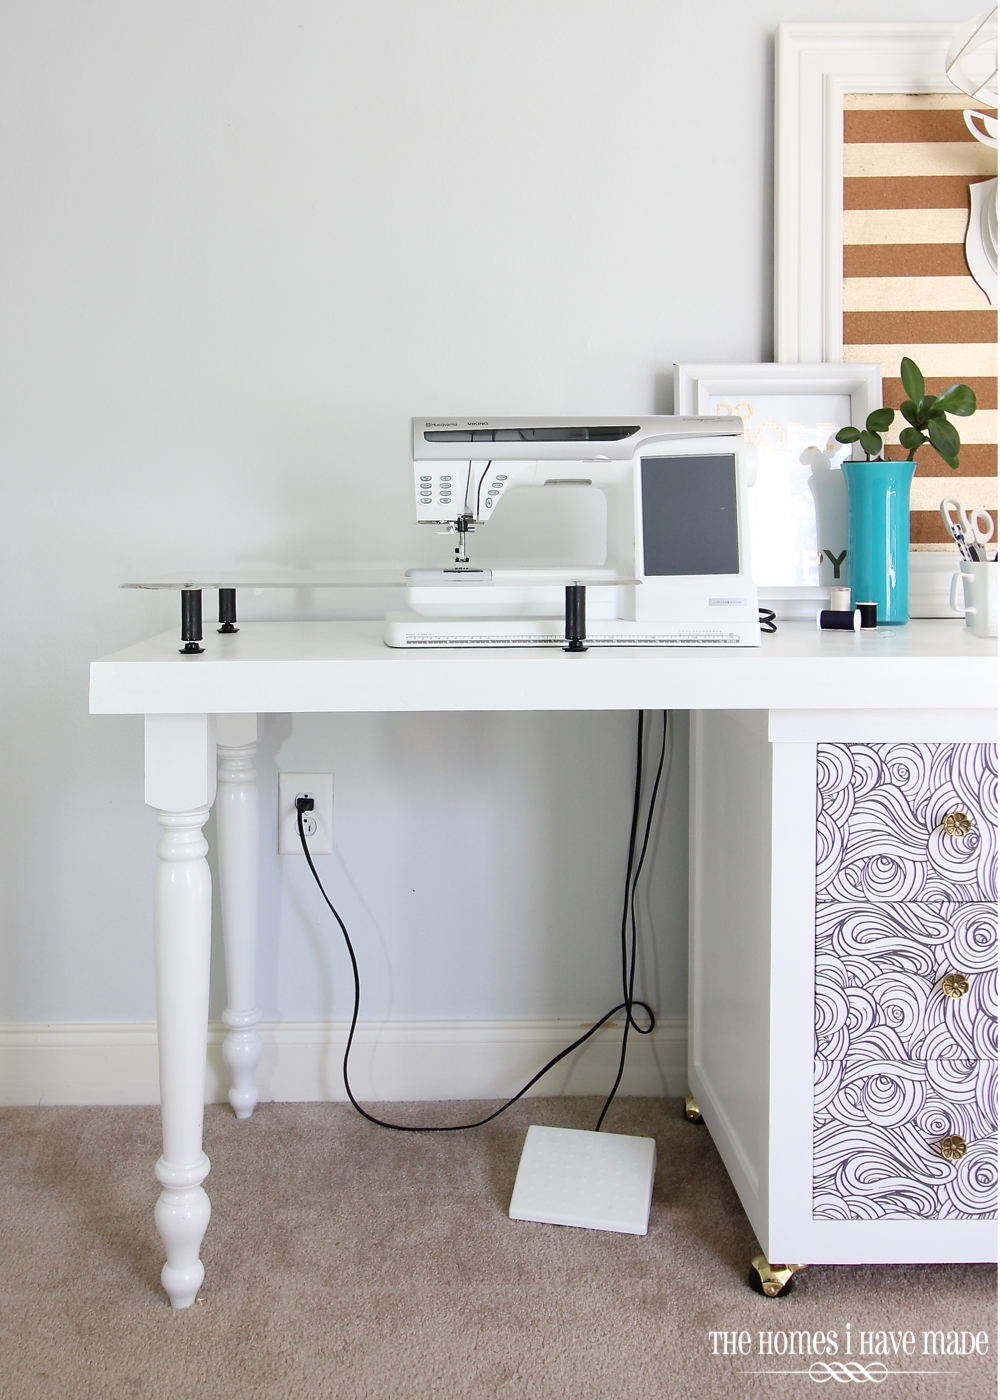
Where the 12′ counter once stood, now is this quaint little sewing desk and work space. This project was truly born out of three things: 1) a need for somewhere to put (and sit at) my sewing machine; 2) a need for a clear, white space to take photos, and 3) an effort to find homes for some of our furniture! My original plan was to show you this space and break down how we made the desk all in one post; but it was turning into a monster of a post. Soooo…I am going to show you around my new sewing space today, and then I’ll have the desk tutorial for you next week! Sound good?
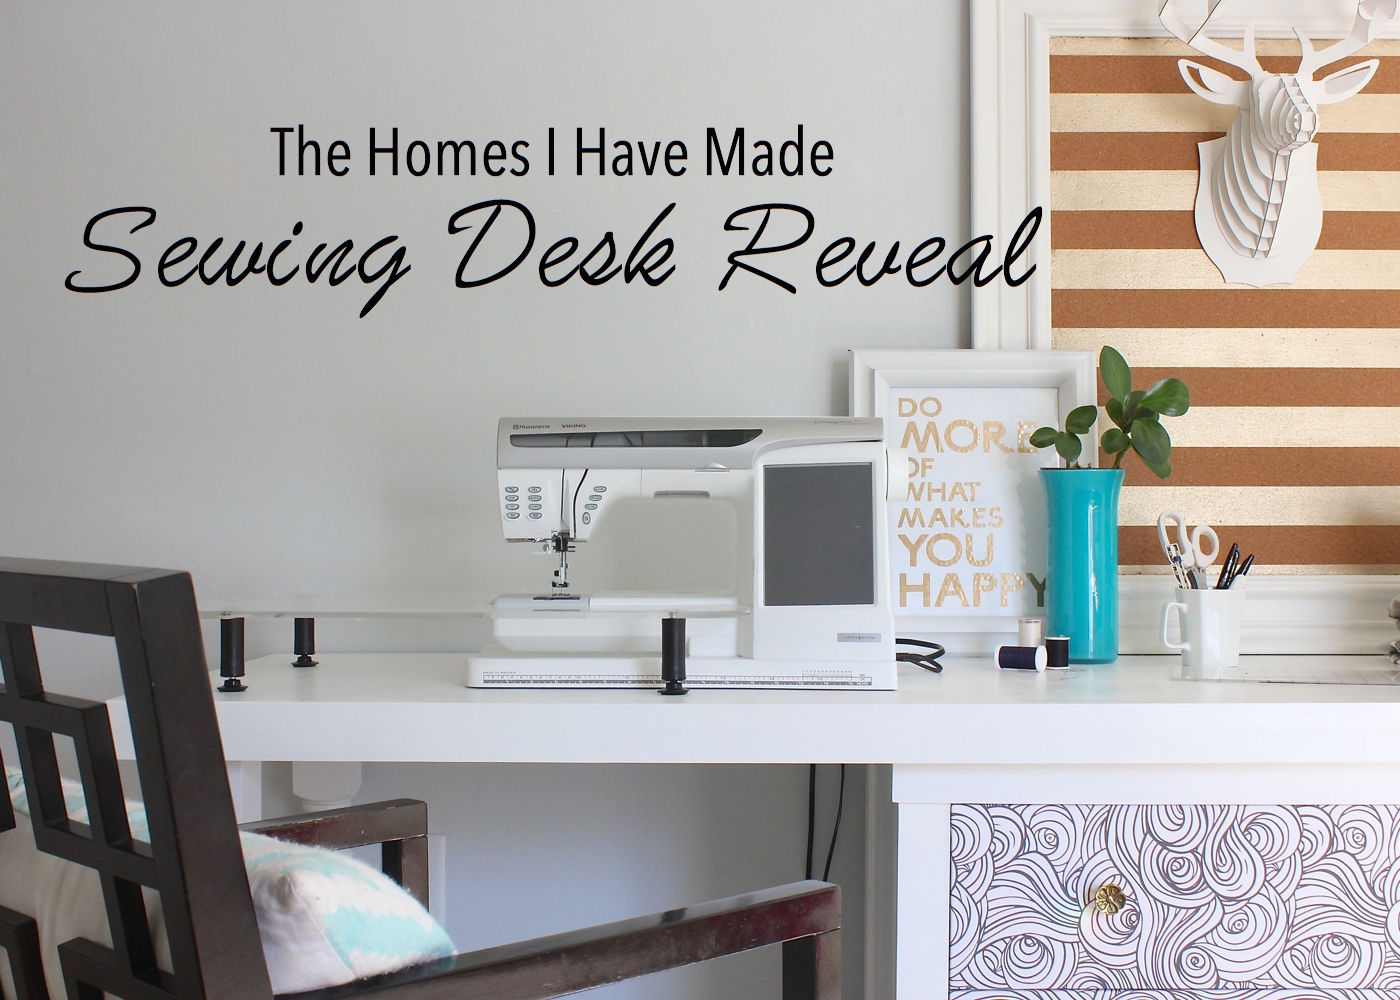
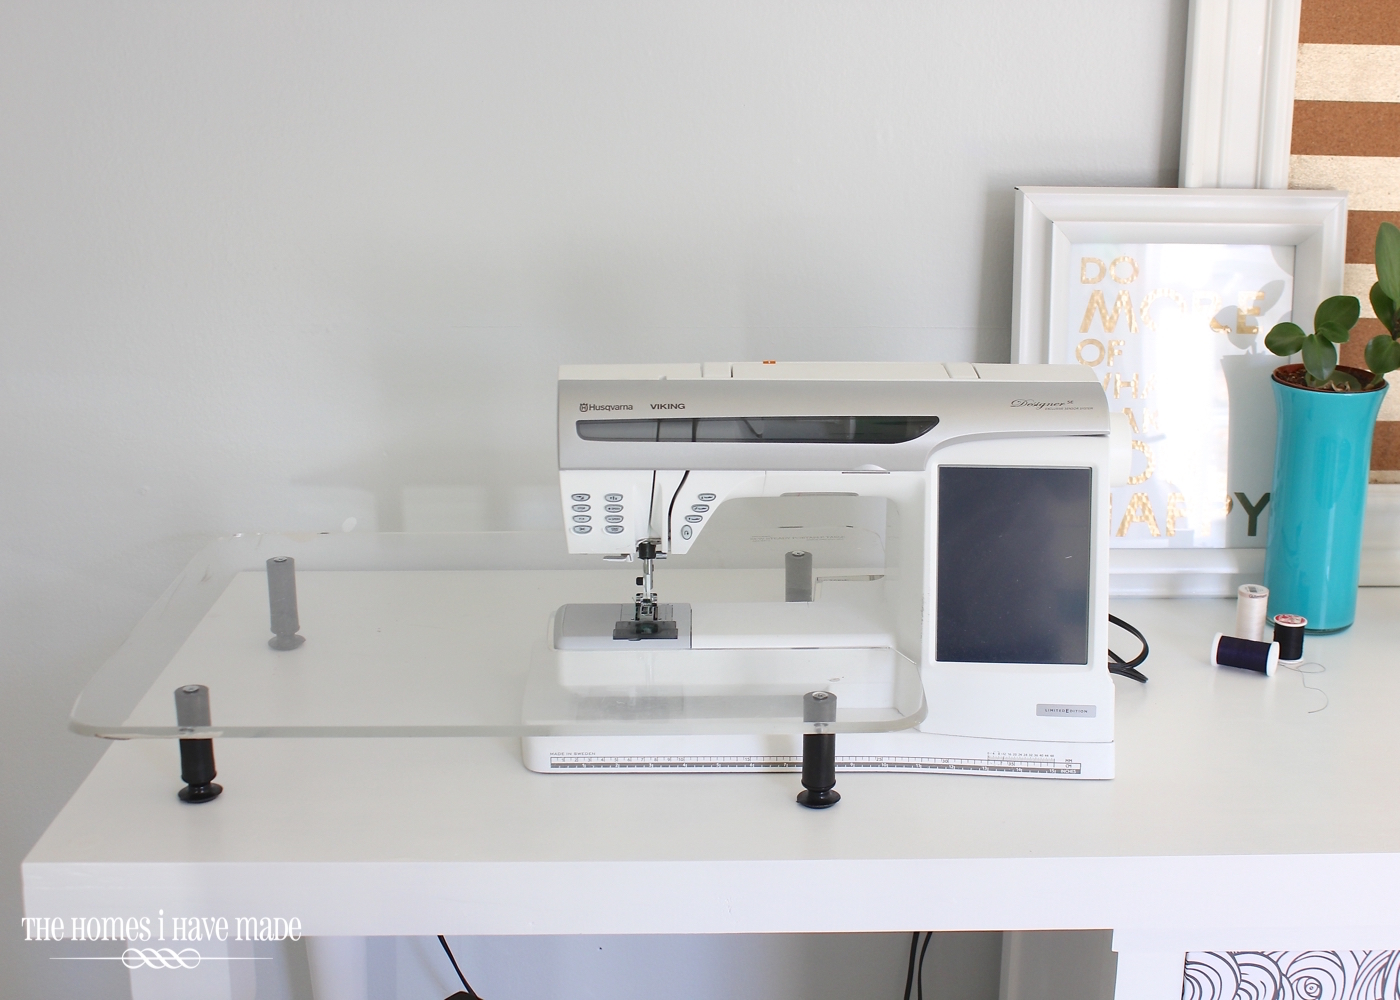
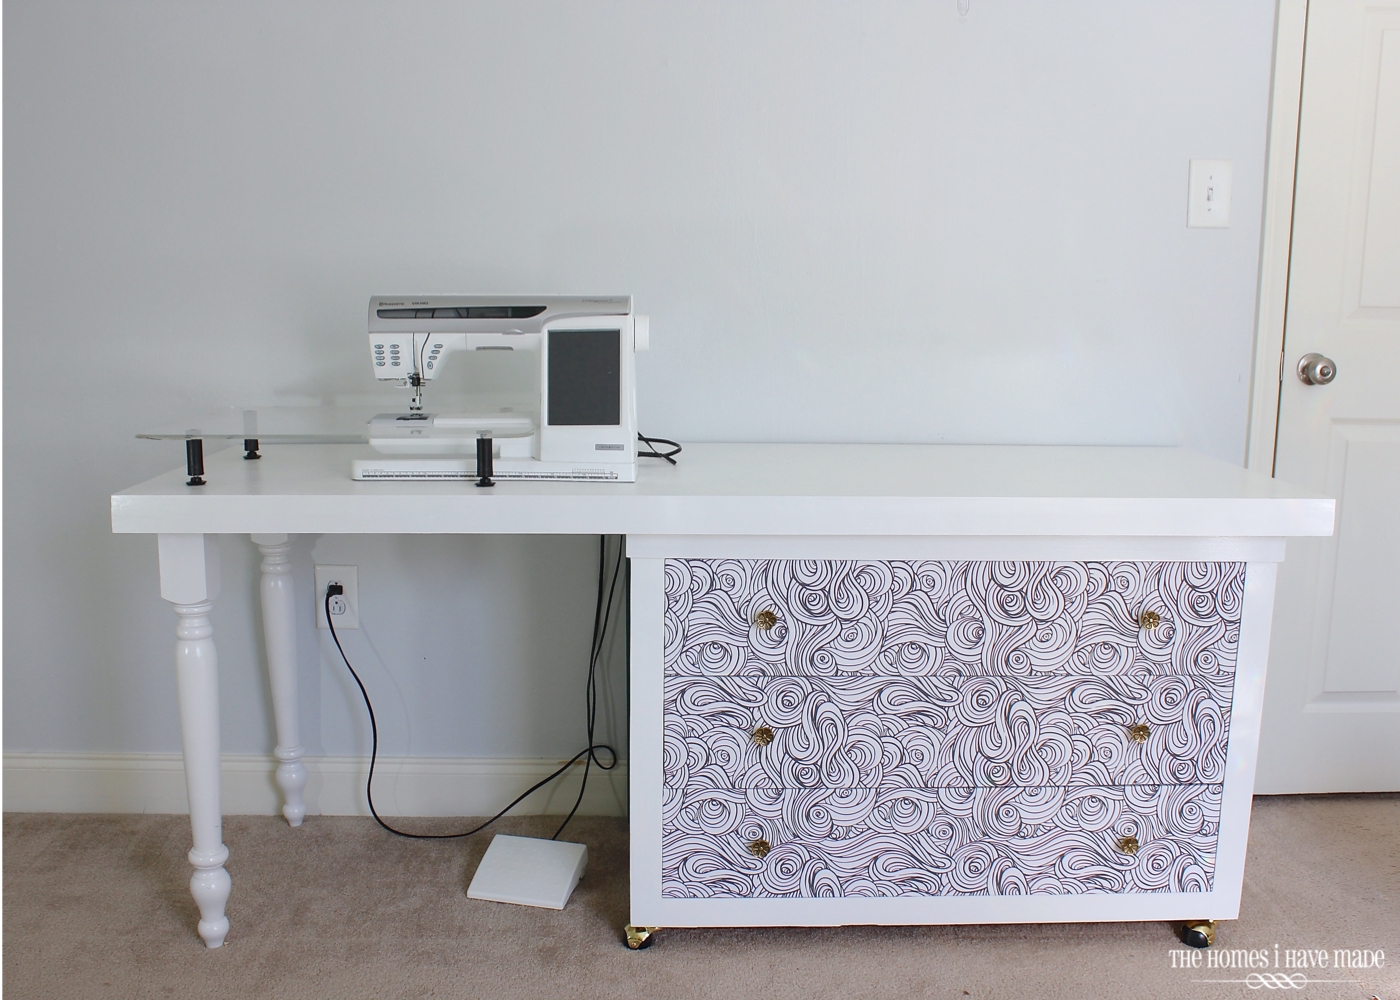
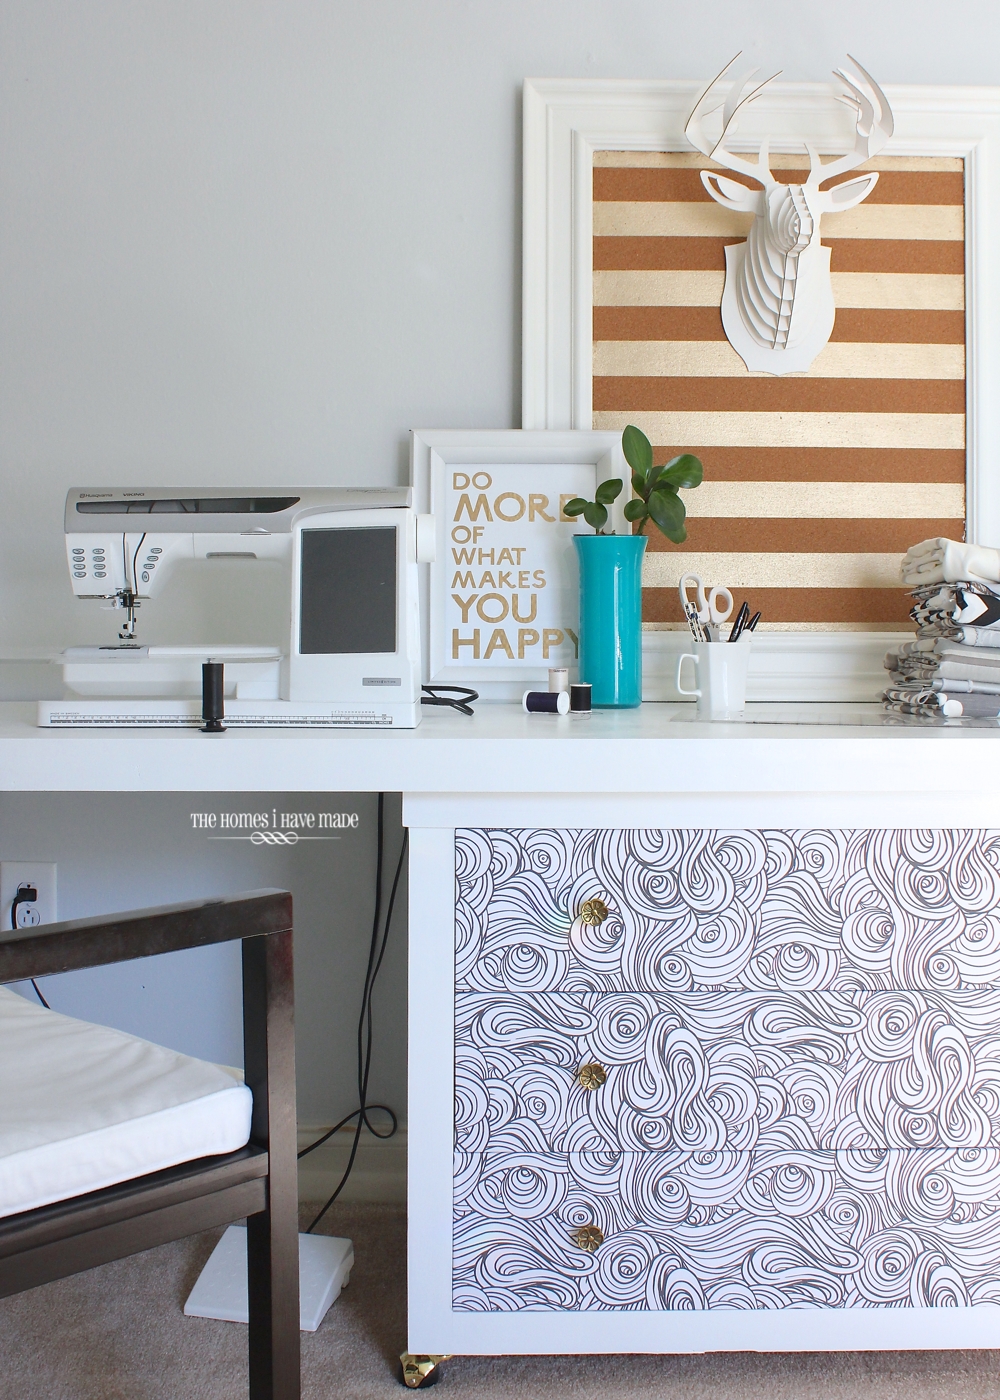
Let’s start the “tour” over on the left side, where Mom’s sewing machine now has a happy home at a normal desk height!
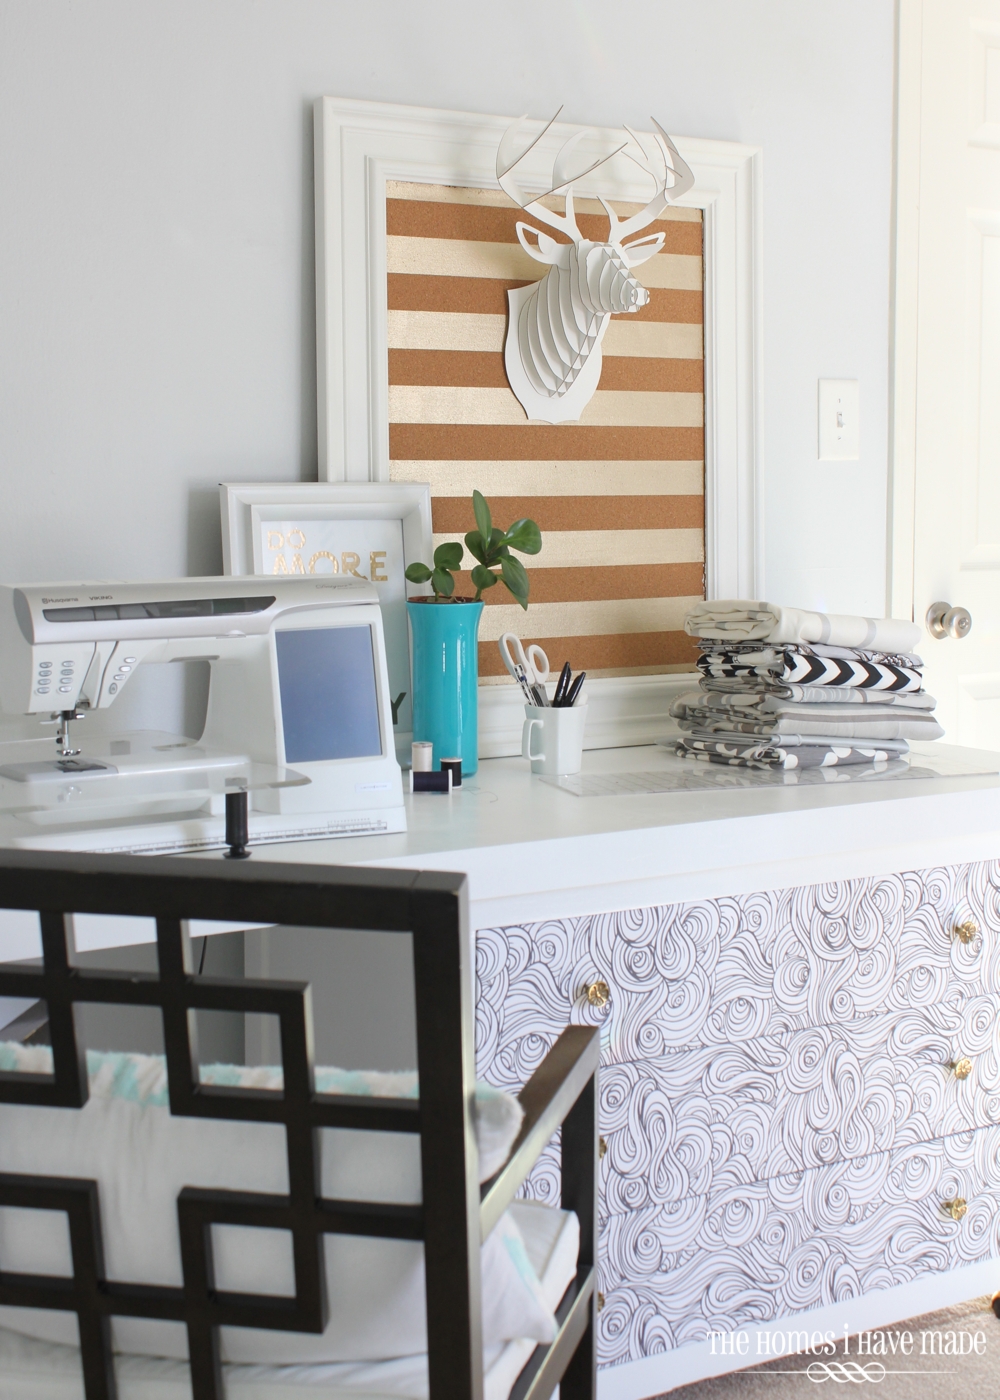
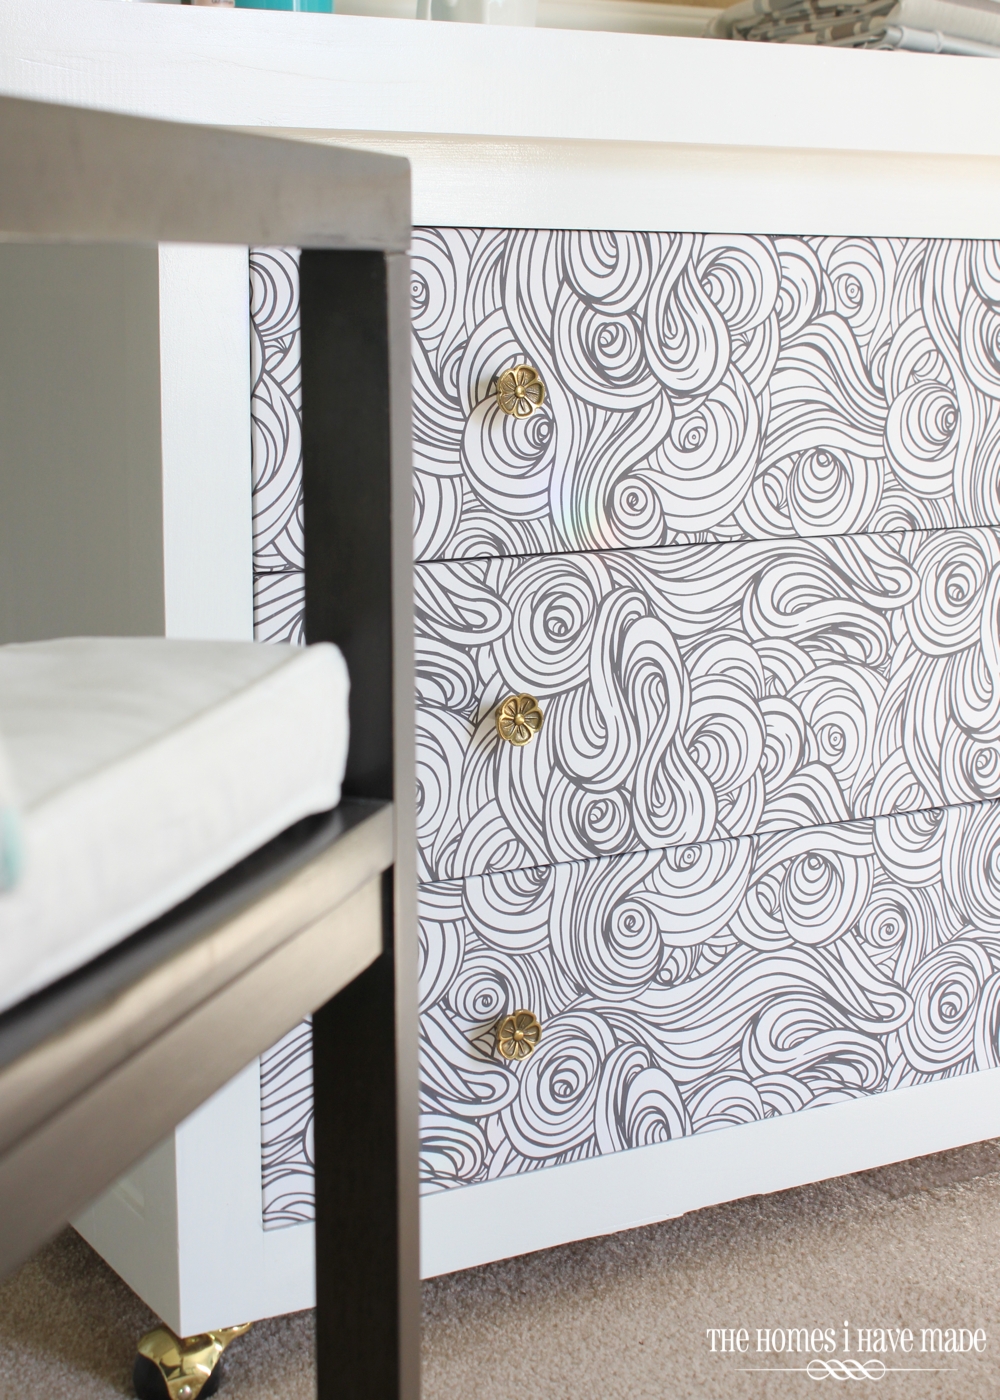
Extending about 45″ to the right of the sewing machine is a work surface with a chest of drawers underneath. Observant readers may recognize those drawers right away 😉 I’m so sneaky!
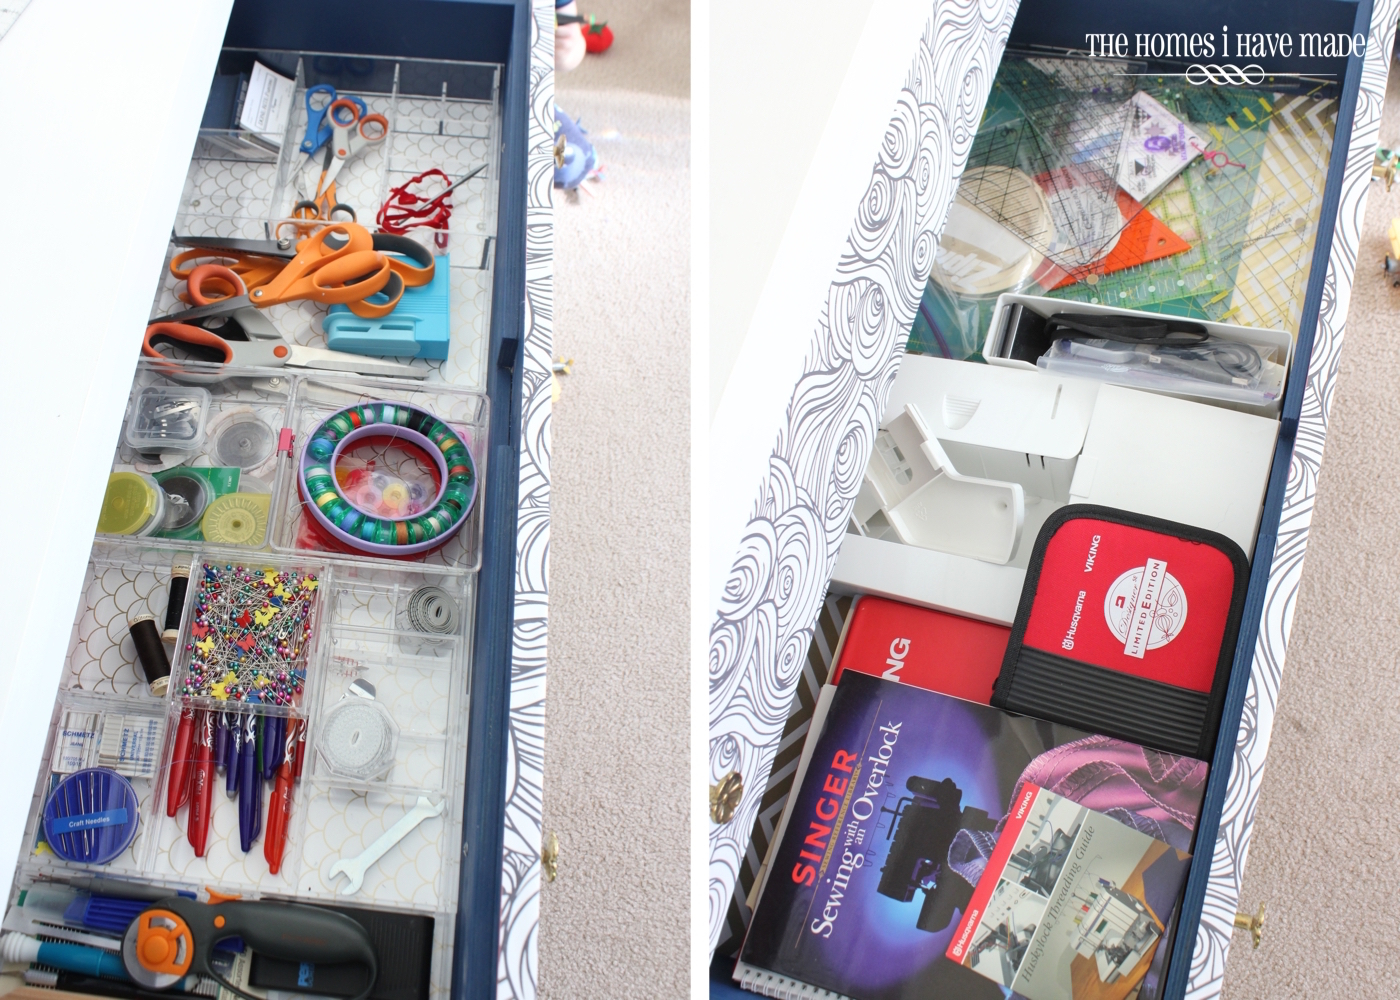
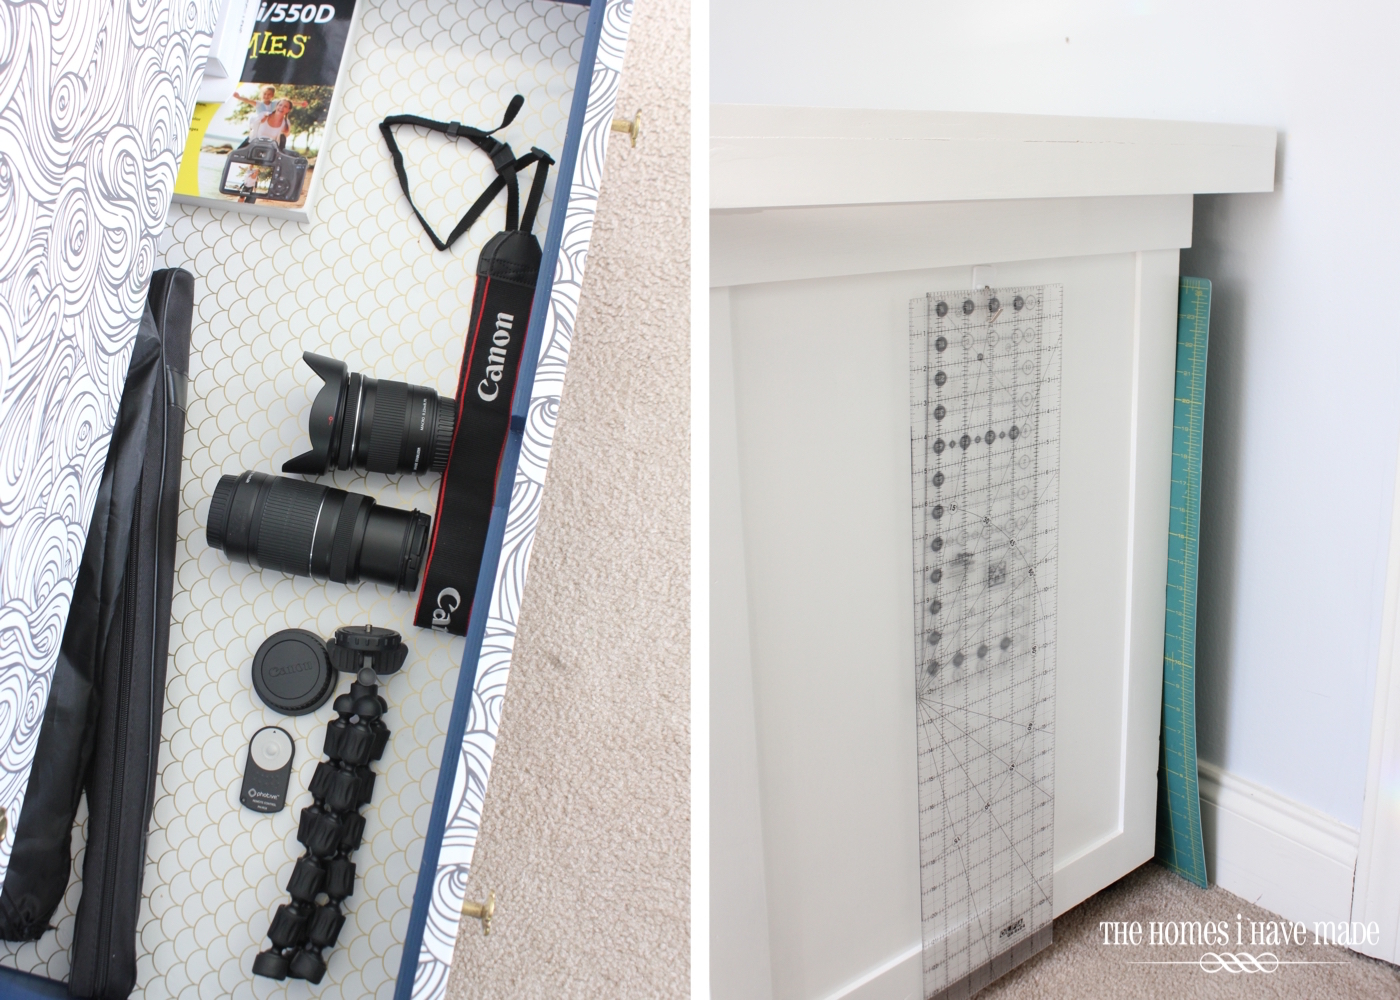
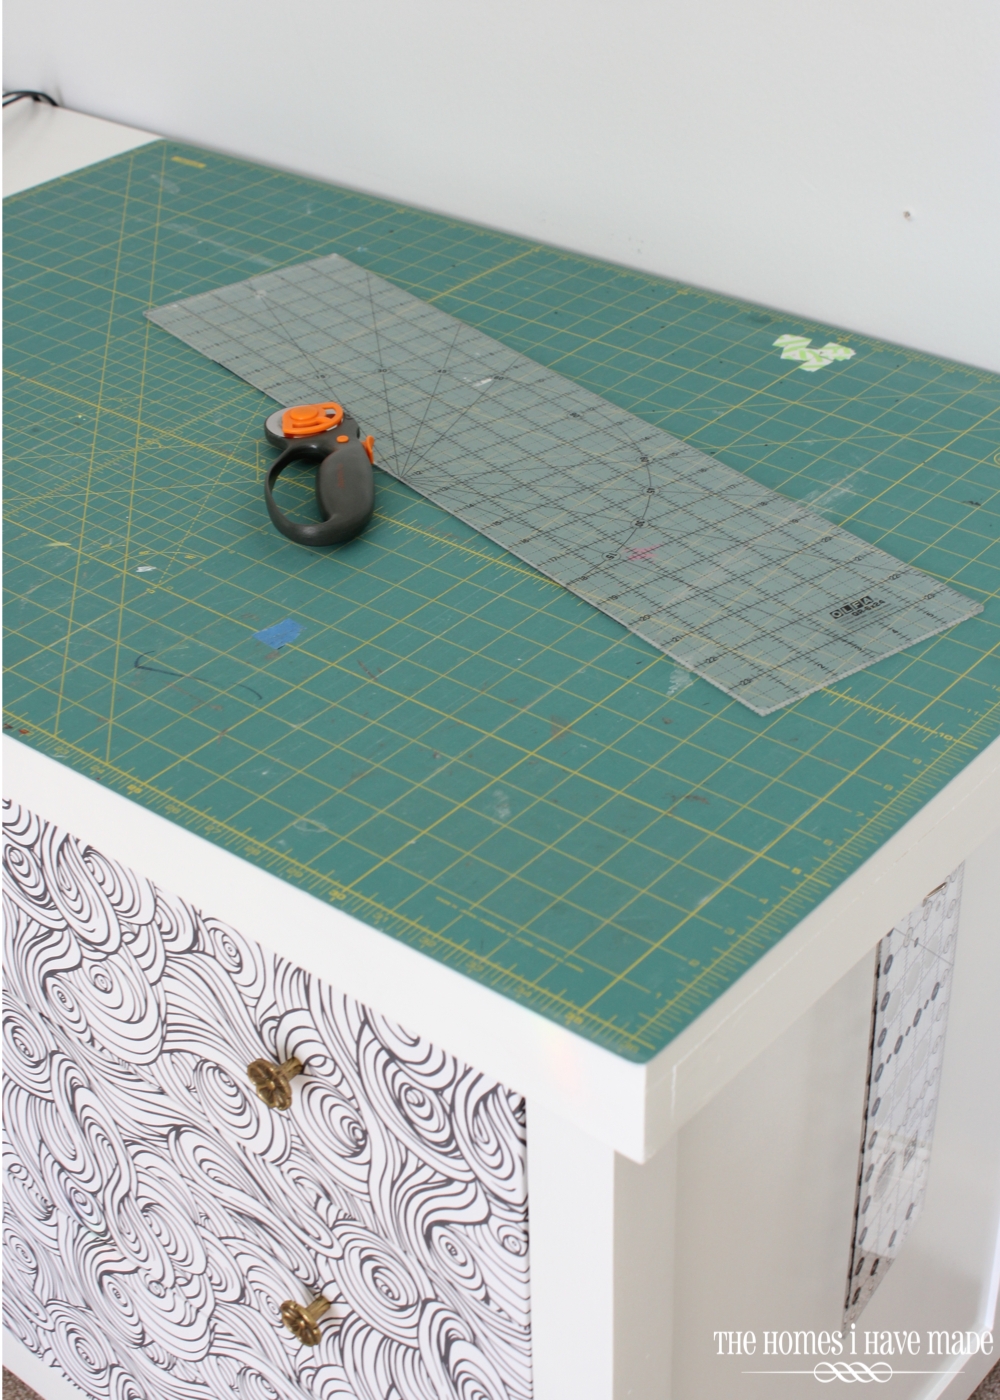
When we collapsed the 12′ counter and took down all the wall storage, all my craft supplies got shuffled (again). It made most sense to place my sewing and photography supplies in these three drawers. The top drawer holds all my sewing tools. The middle drawer holds my machine manuals, extra pieces, and various quilting rulers. (I love that I now have a dedicated drawer for all these random books and pieces!). The third drawer holds all of my photography equipment (lenses, tri pods, remote, manuals, etc). On the side of the desk, I have a hook to hang my most-used cutting rulers, and my large cutting mat now slides behind the desk (instead of having a permanent home on top!).
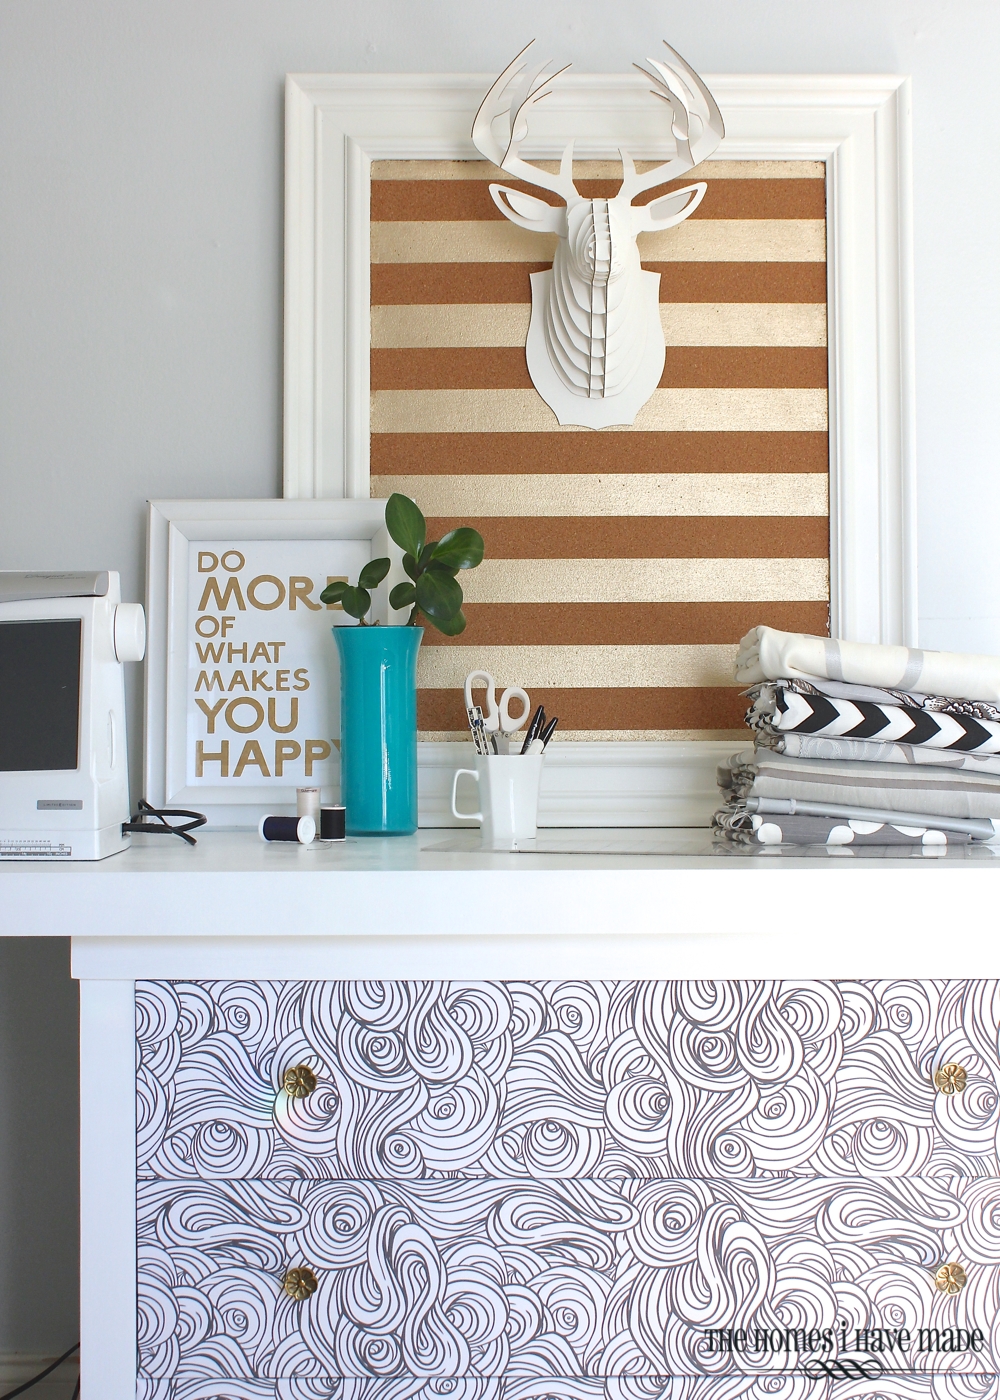
Now, in the spirit of full disclosure…I wish my sewing desk looked like this everyday:
But alas, I designed this desk to be super useful and hardworking in a variety of ways. So most days, it looks like this (with a chair, of course!):
It looks so sad and boring in this picture (which is why I styled it!). But while a little boring, it’s exactly what I need. The extra space to the right of my sewing machine now serves all sorts of new purposes. For starters, this is now where I cut my fabric! This desk is at a better cutting height than the counter; the mat fits better here; and all my rulers are tucked in the drawers for quick access. I also have ample room to lay out quilting/fabric projects, as well as sit to work on things if I don’t want to stand at the counter.
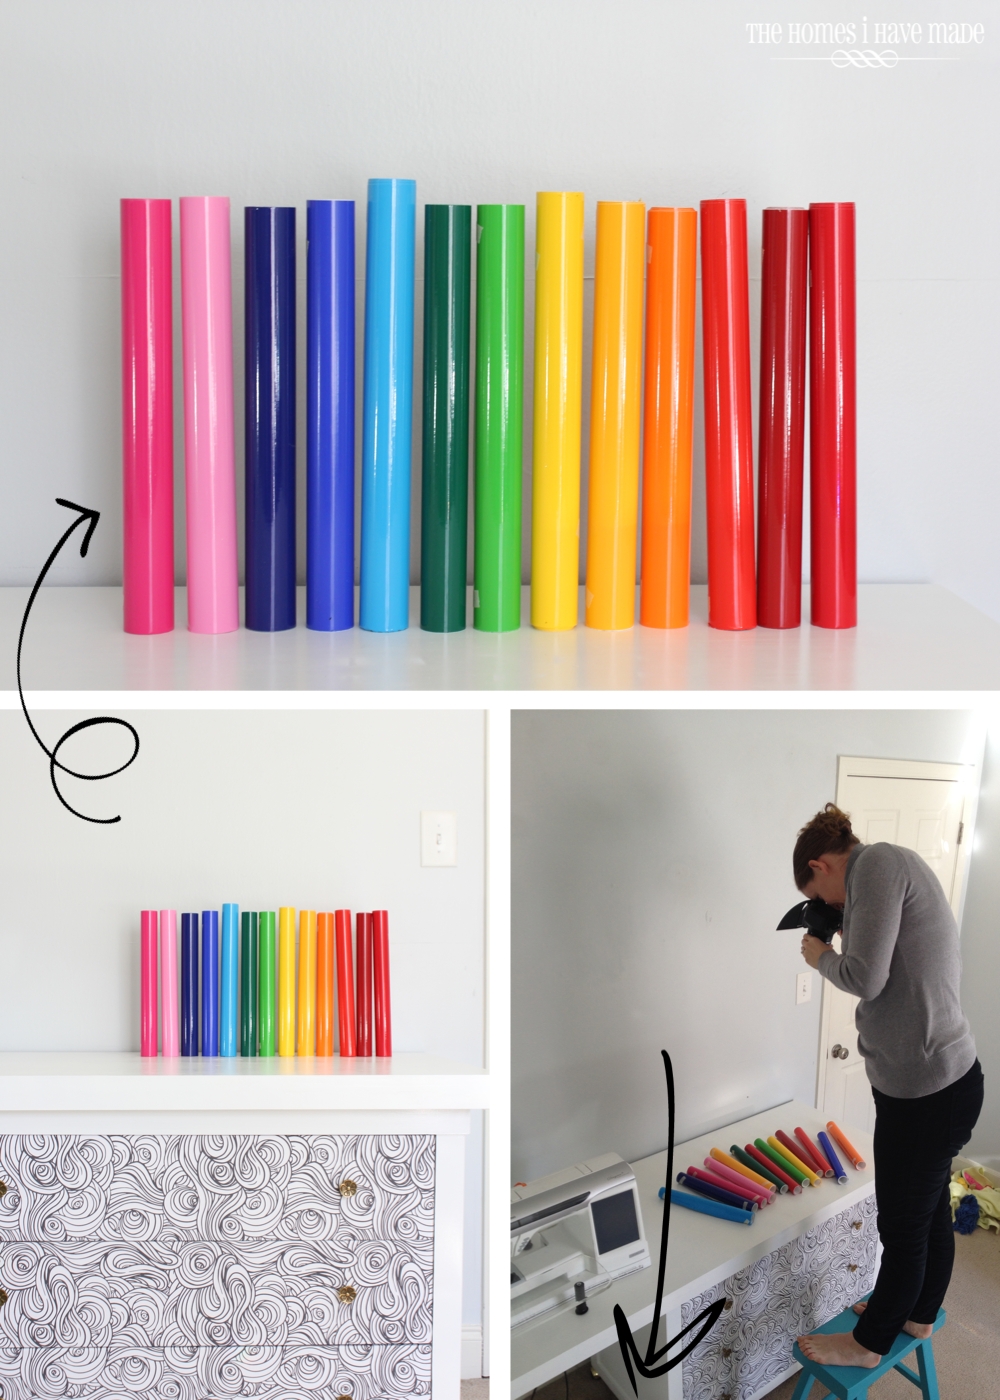
Most of all though, this little spot has become my mini in-home photo studio. The right side of the desk is directly opposite the one small window in this room. It gets fantastic light (at certain times of day), so having both a blank backdrop (the wall) and surface (the desk) has been great for photographing and staging projects. Here, I’m taking some photos for some new listings in my Etsy shop – details to come this week (I hope!). I’m still learning about taking natural-light photos, but finally having this little spot where I can hang backdrops, stage small projects, and get clear in-process photos has been awesome!
Again, the craft side of the room (this desk included) has been stripped of most its color. But for some reason, that’s what my eye has been craving in here. The office side still has all its turquoise touches, so the black/white/gold perfectly coordinates while bringing some much needed visual peace! (I’m making over a few little nooks in our house with some major color though, so don’t think I’m jumping on the all-neutral train just yet! #nevergonnahappen #ilovecolortoomuch)
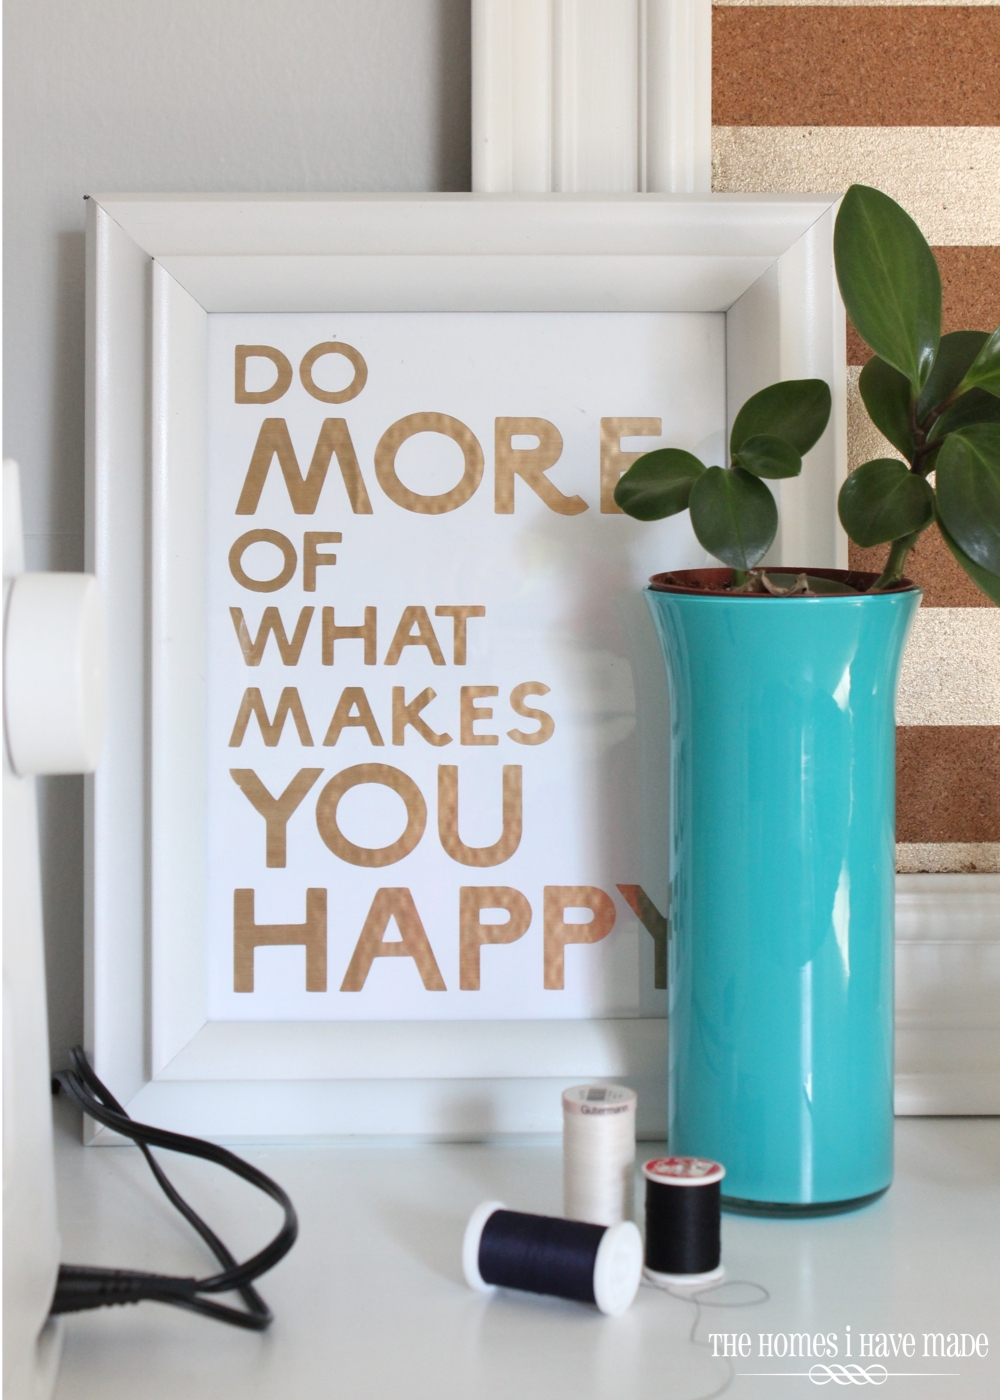
So, I’ll leave you with the pretty picture because I like to pretend that it looks like this all the time. Next week, I will break down exactly how we pulled this “desk” together.
So, tell me. Do you recognize those drawers? Can’t wait to show you what we did!
I hope you all have a fantastic start to your week. On Wednesday, I’m going to be chatting about some changes coming to our little life. Oh…and did you see THIS really exciting news?
See you soon!
Megan




7 Comments on “Sewing Desk Reveal”
Aren't they the pink ombre dresser?
I like your new sewing desk. Well done Megan!
Thank you so much!! and you are very observant 😉
Those are the Pink Ombre Drawers of Pinkness, right? ;p
I am COVETING that lucite sewing plate… is that something you made or was it an available accessory for the machine? I used to work in costume shops on industrial machines that were set into their own little tables (heaven) and going back to home machines on table tops has been one of the hardest moves EVER. : It's like going from a tricked out Lexus to a bare bones Tercel. (I know, first world problems – lol ;p)
Hi Bonnie – loved your comment! The sewing plate was (I believe) a custom-made accessory for my mom's sewing machine. At first I didn't want/think I needed it, but my sister told me to take it since it won't fit anything other machine and I've slowly fallen in love with it! I'm sorry I don't have any resources or tips for you! Good luck!
Megan, if you are going to do any quilting, I would suggest that while quilting that you turn your desk around, turn your sewing machine around, so that all the empty space is to the left of your machine. You need that empty table/desk space to support the weight of your quilt. In a future furniture makeover, you could position the drawers to the left side and the table legs to the right. Just imparting my experience for quilting. A alternative would be to position an ironing board at the height of your desk to support the weight of your quilt while you are quilting it.
What a great space! I love, love, love those drawers!
Beautiful! The drawers are definitely what caught my eye! The organization inside looks amazing too. 😉