Pencil Arrow Valentines
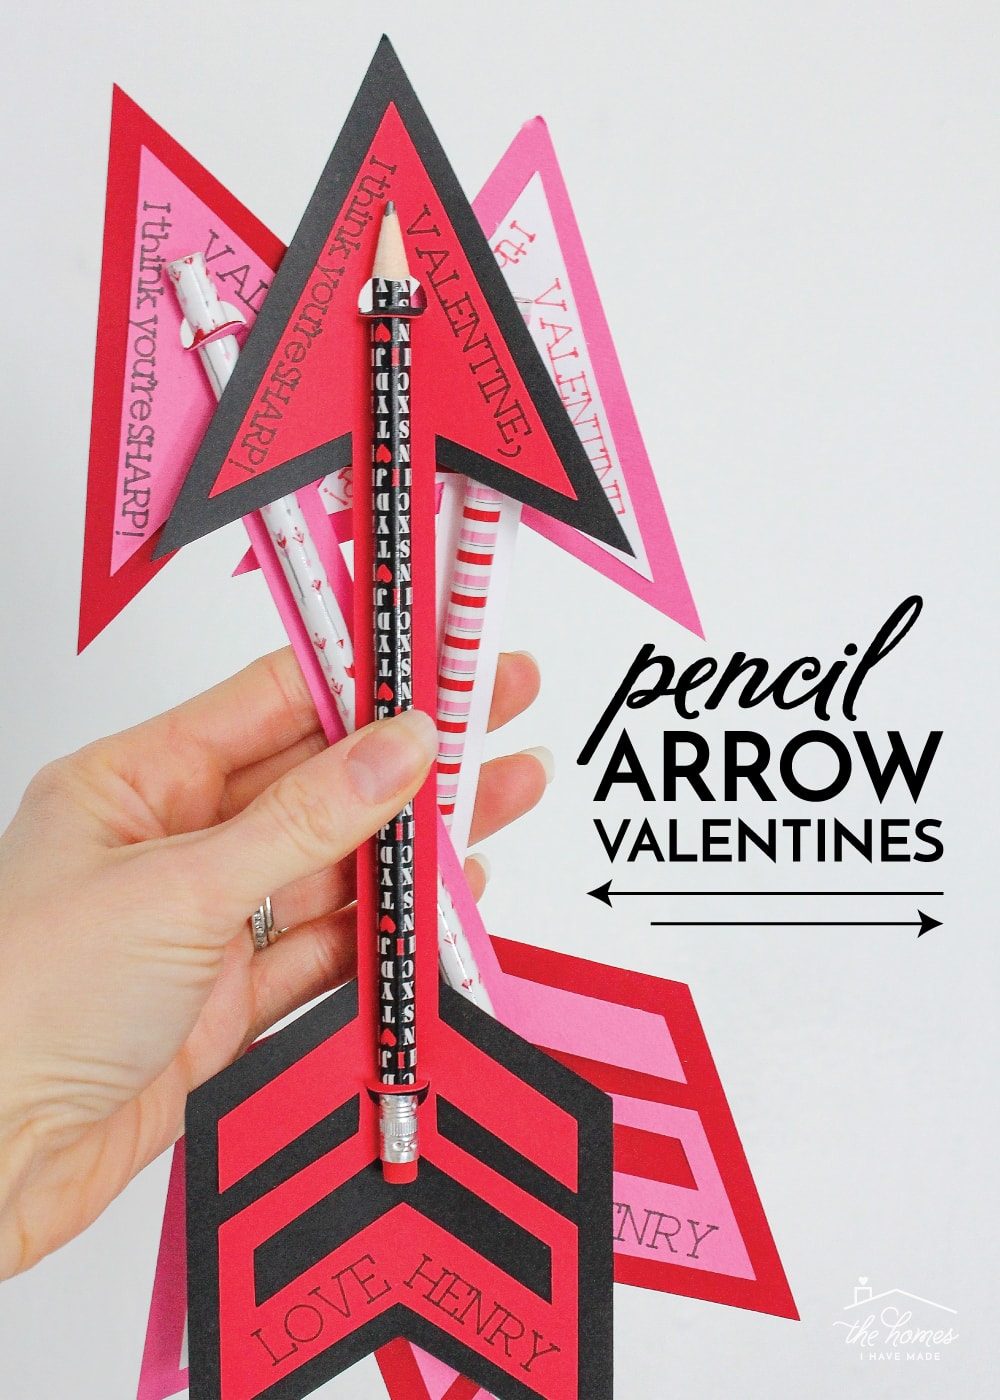
Hello Everyone! How was your weekend? Mine went by WAY too fast. Not nearly enough relaxing or de-compressing occurred…but we had gorgeous weather and lots of family time, so no complaints here! AND…I managed to knock out Henry’s Valentines for all his little buddies (long before the night before they’re due in school!!!), and I am pretty excited to show you our pencil arrow valentines!
I realize pencil arrows are nothing new or unique – I am pretty sure I’ve seen a million variations on Pinterest in recent weeks. But these were really quite fun to make AND they photographed so darn cute that I had to share!
I am a big fan of the non-candy Valentine; and with having to buy just the package of pencils, these really couldn’t be any cheaper!
Also, Henry was a huge fan of these. He was right next to me the whole time as I was making them, and I could barely keep his little hands off of them! Not only are they really cool arrows, but they also happen to fly really well (like paper airplanes!) Score!
Supplies Needed
To make these Pencil Arrow Valentines, you will need:
- Colored Cardstock in Reds, Pinks, Whites, Reds, and Blacks (8.5×11″ | 12×12″)
- Assorted Valentine Pencils (I love these, these and these; and this set is also super fun!)
- Cricut Machine (this project will work on the Cricut Maker, Cricut Explore, and Cricut Joy machines)
- Standard Grip Mat
- Cricut Pen(s) in the color(s) of your choice (I used Black)
- Arrow Valentine Design File for Cricut Design Space: HERE
- Your favorite craft glue or roller adhesive
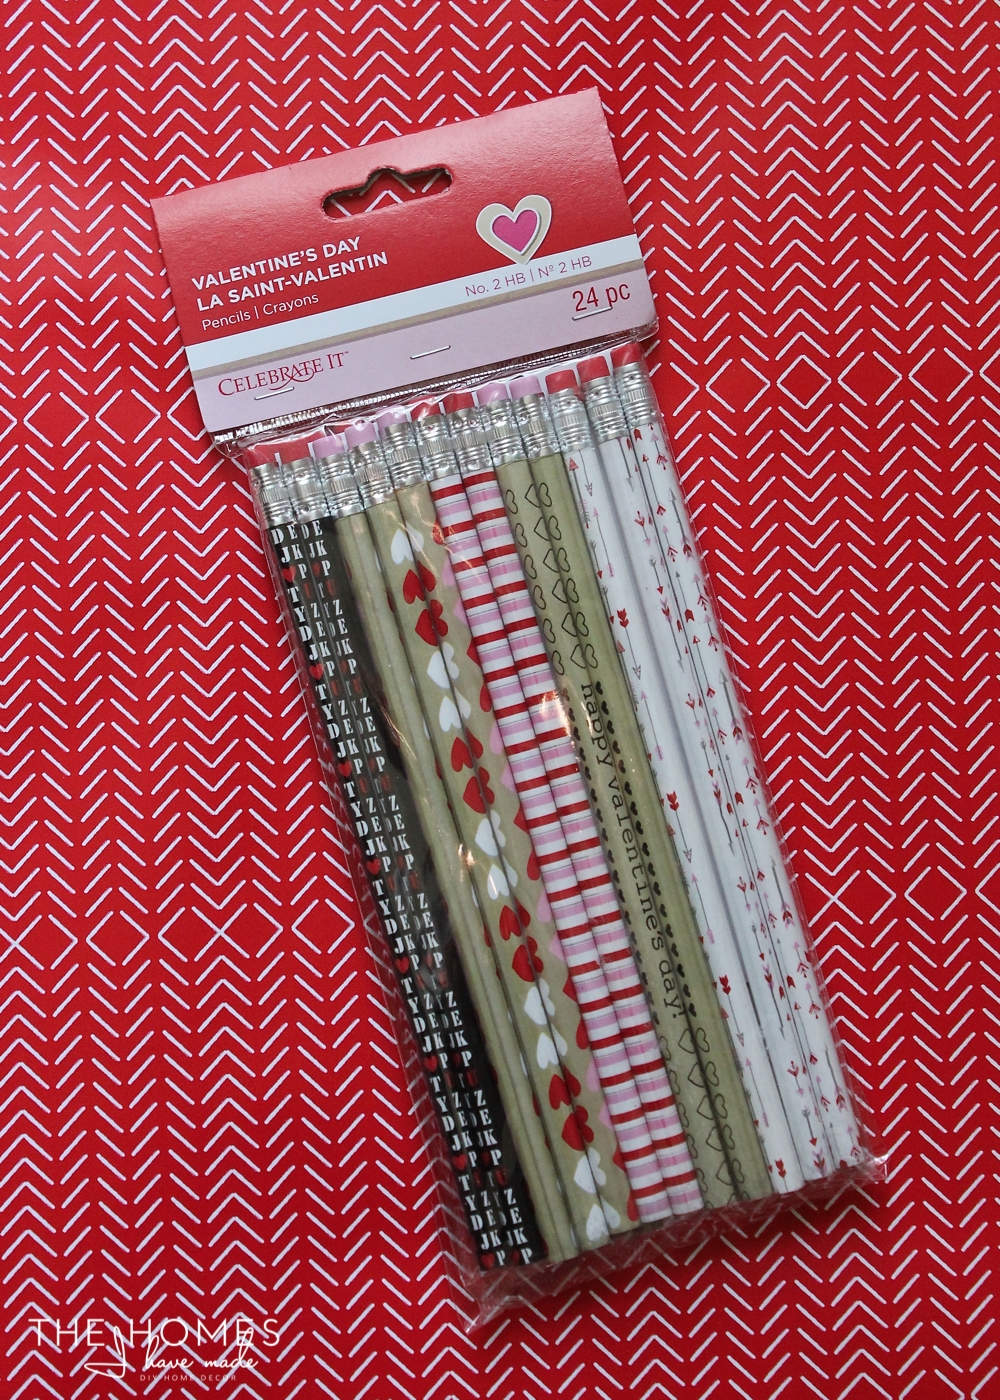
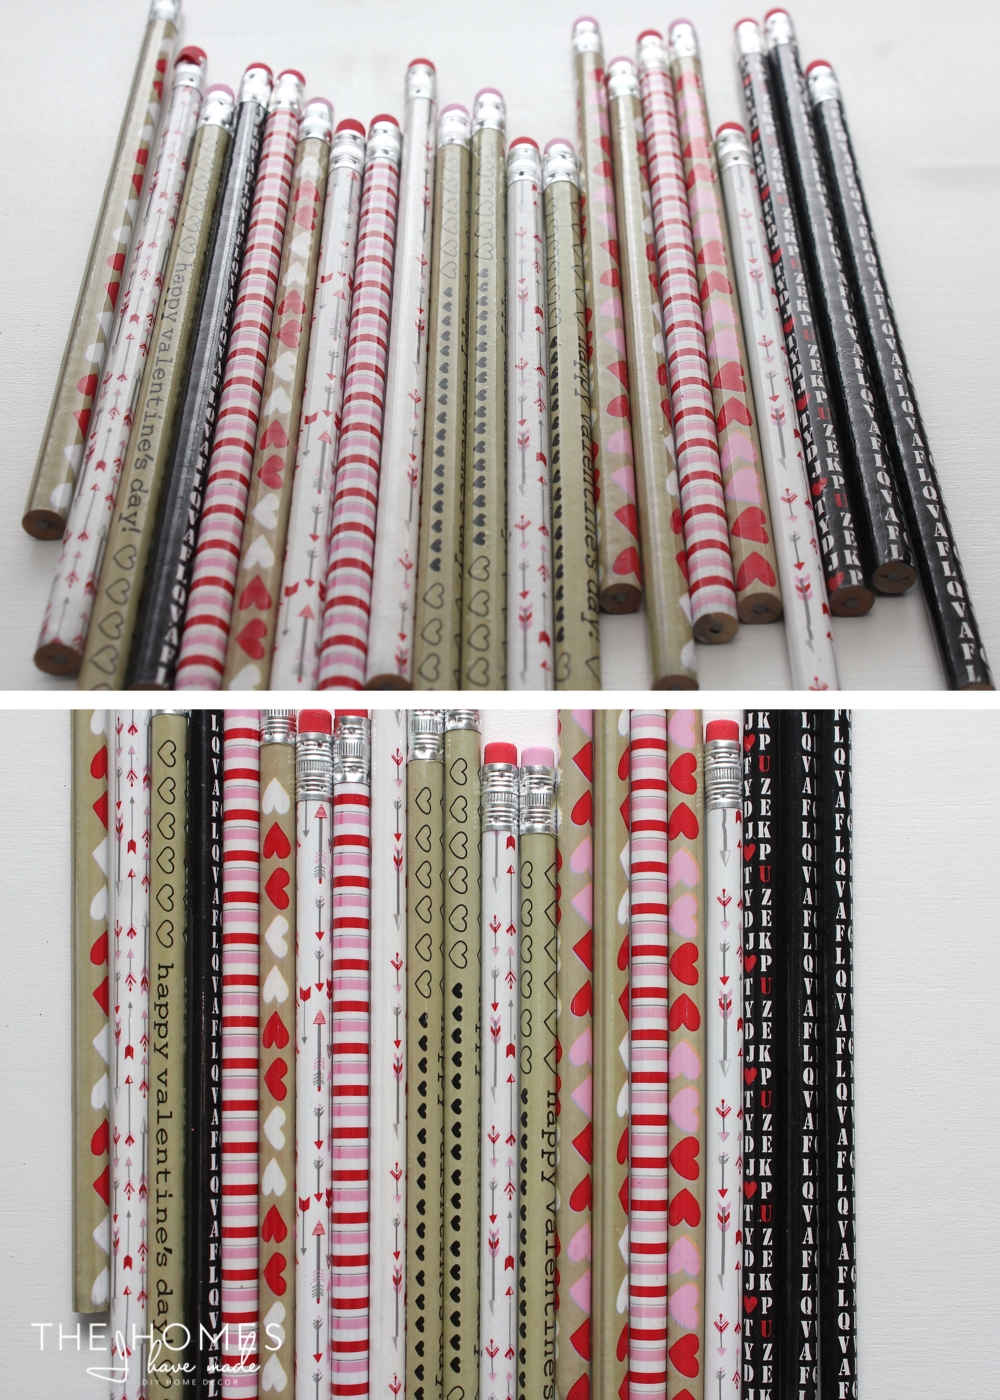
I started with a package of Valentine pencils from Michaels. On sale, I paid less than $2 for 24 pencils! Valentine pencils abound in the stores right now, but I liked that this pack offered patterns that would appeal to both boys and girls.
Adding Your Name to the Pencil Arrow Valentines
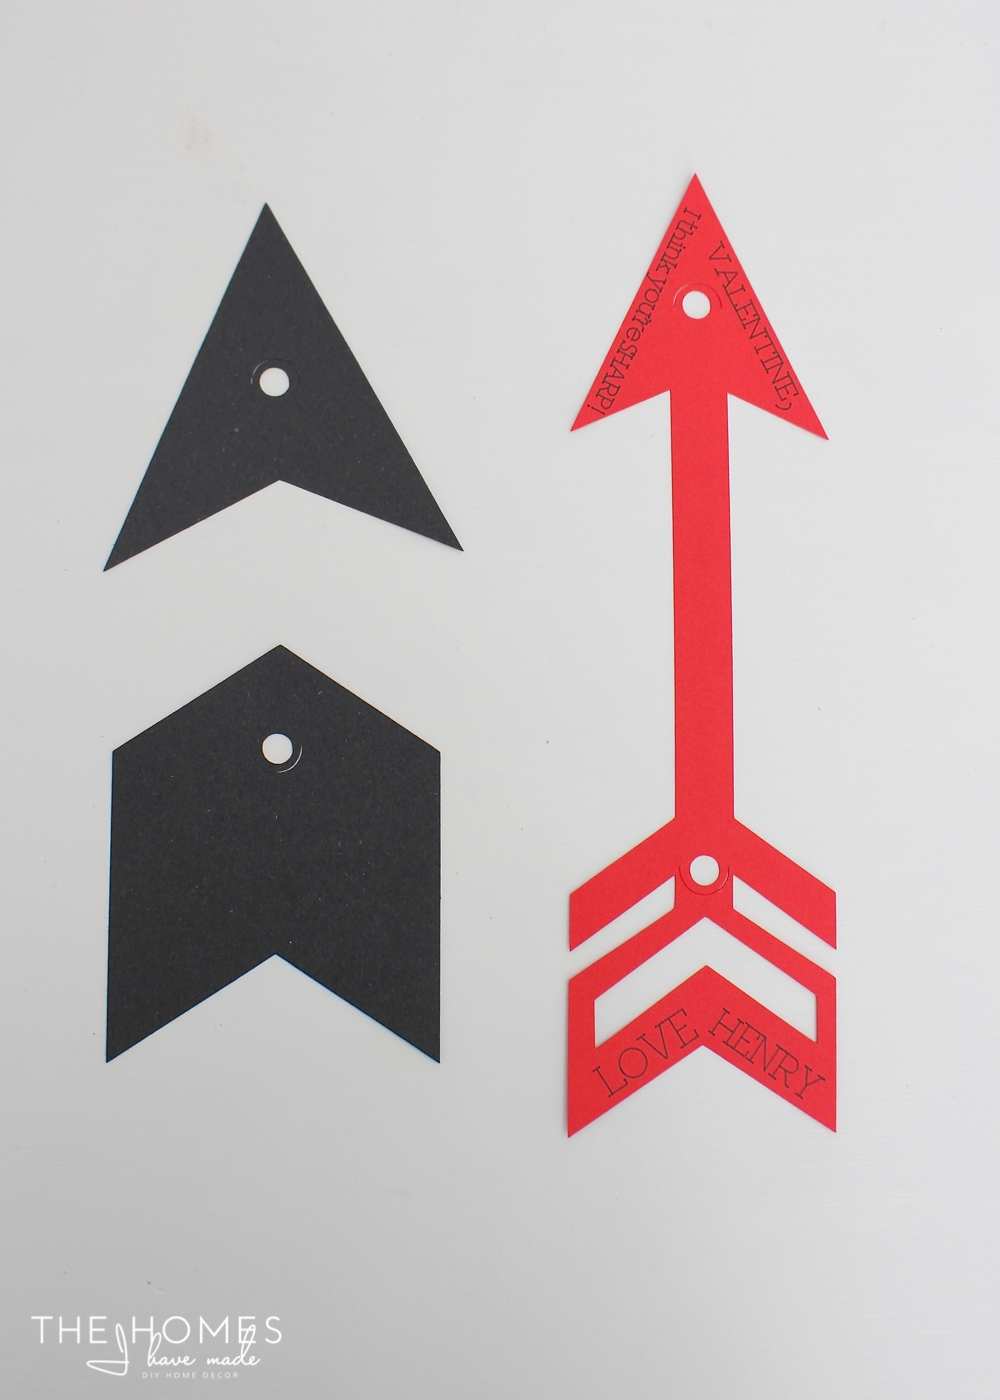
Once you open the Design Space File (HERE), you will first need to add your own name to the arrow’s tail, if desired!
To do this:
- Add a text box to the design canvas
- Type in the name you want on the Valentine
- Select whatever text you like and ensure it is set to “Draw” (instead of Cut)
- Attach the name to the arrow by selecting both the text box and the arrow and clicking “Attach” (to understand why, click HERE).
Cutting Out the Pencil Arrow Valentines
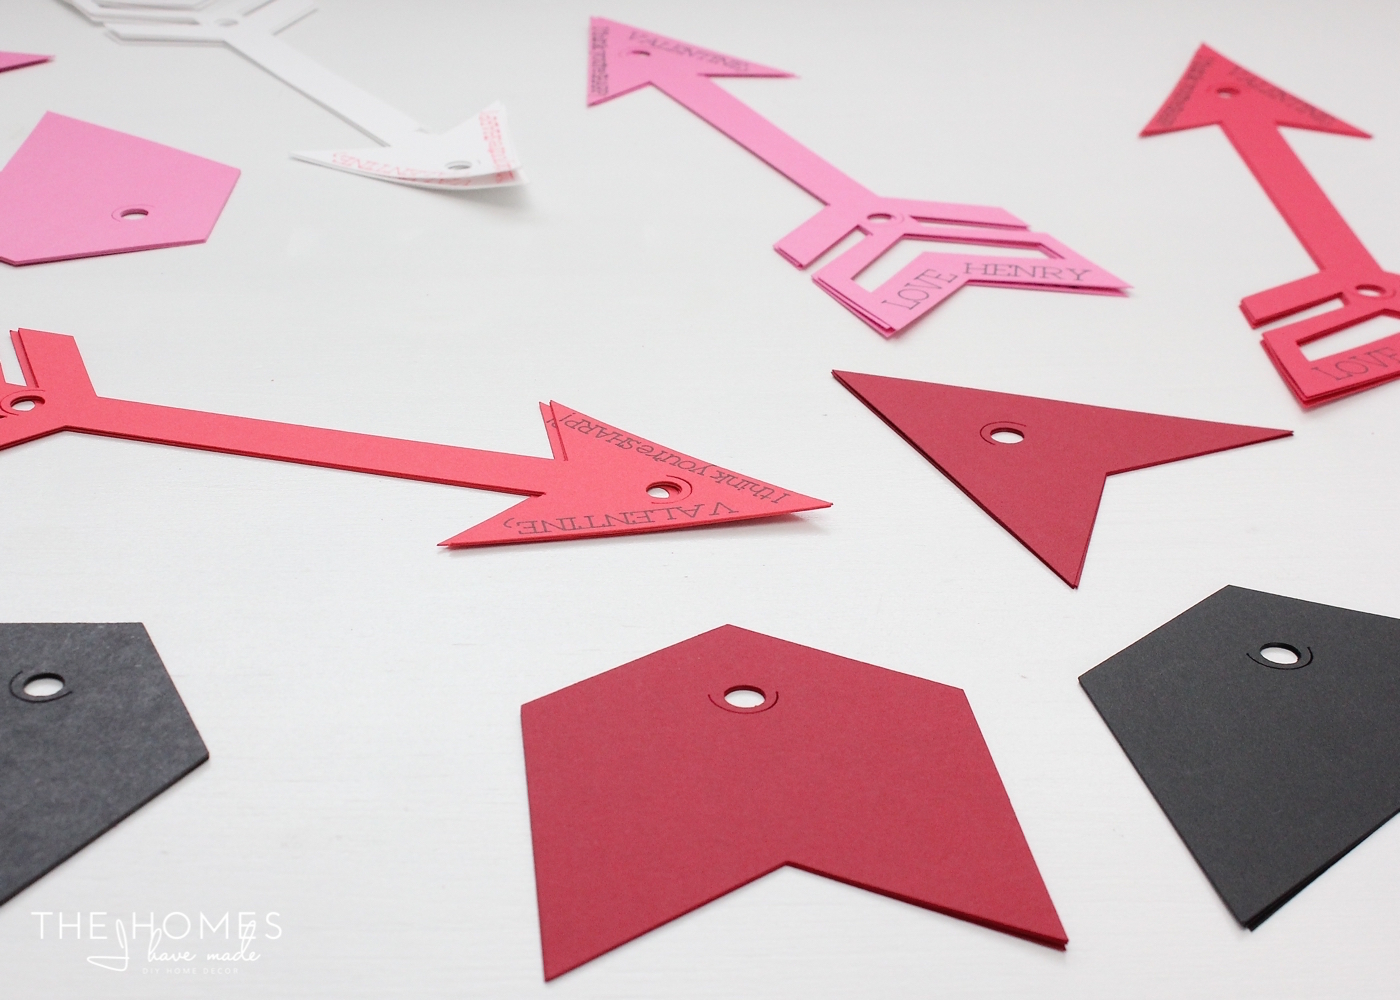
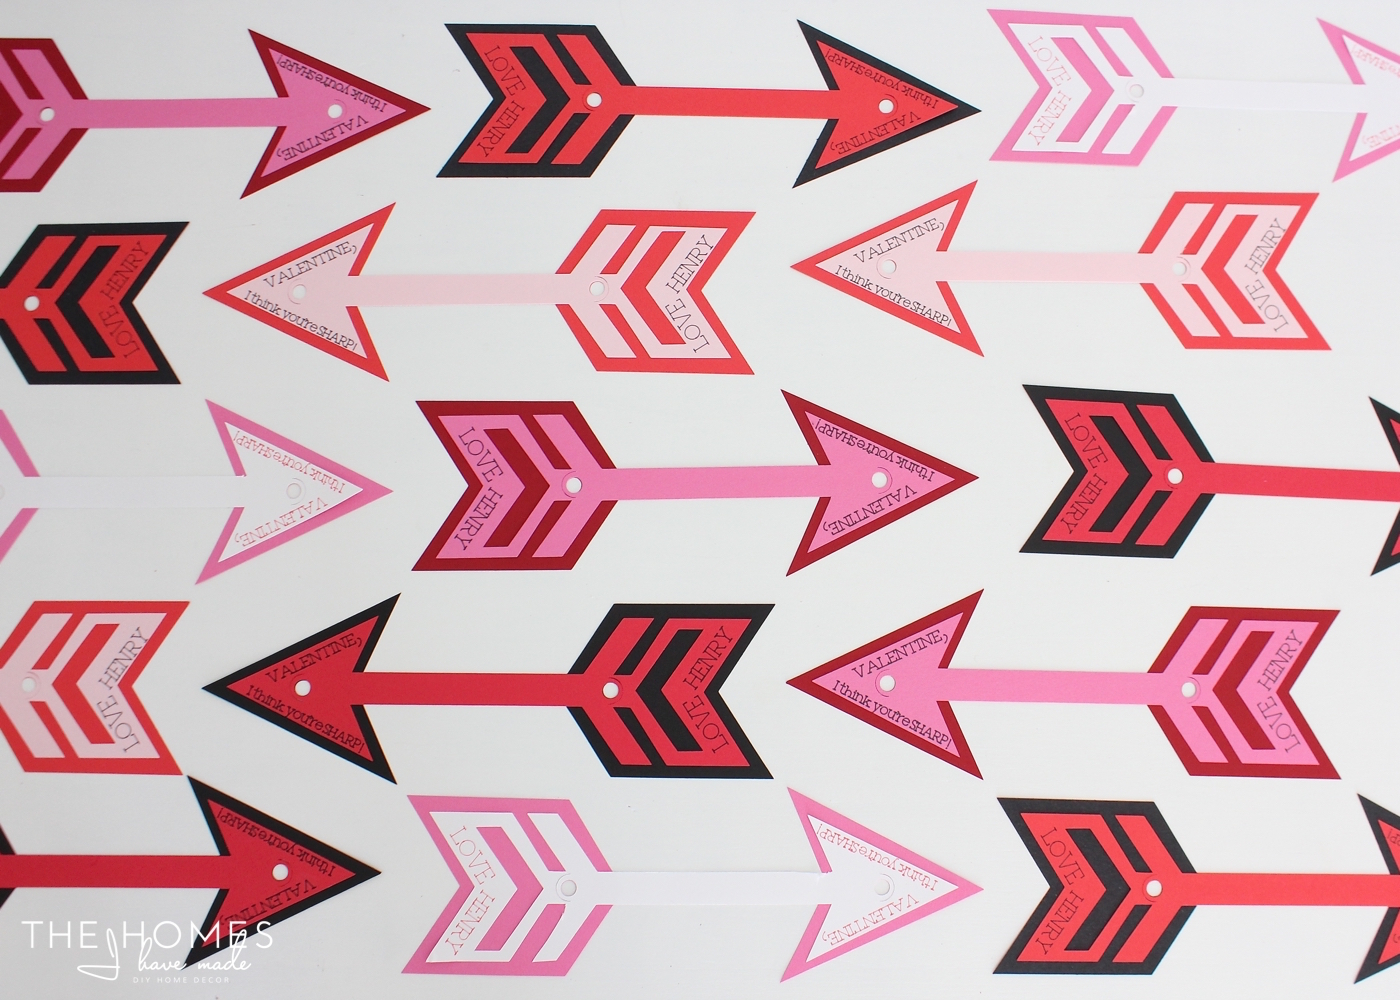
When you’re ready, cut out as many pencil arrow Valentines as you need. Be sure to use different colored papers for the base layer and the top layer, as well as a contrasting pen color for the text.
Assembling the Pencil Arrow Valentines
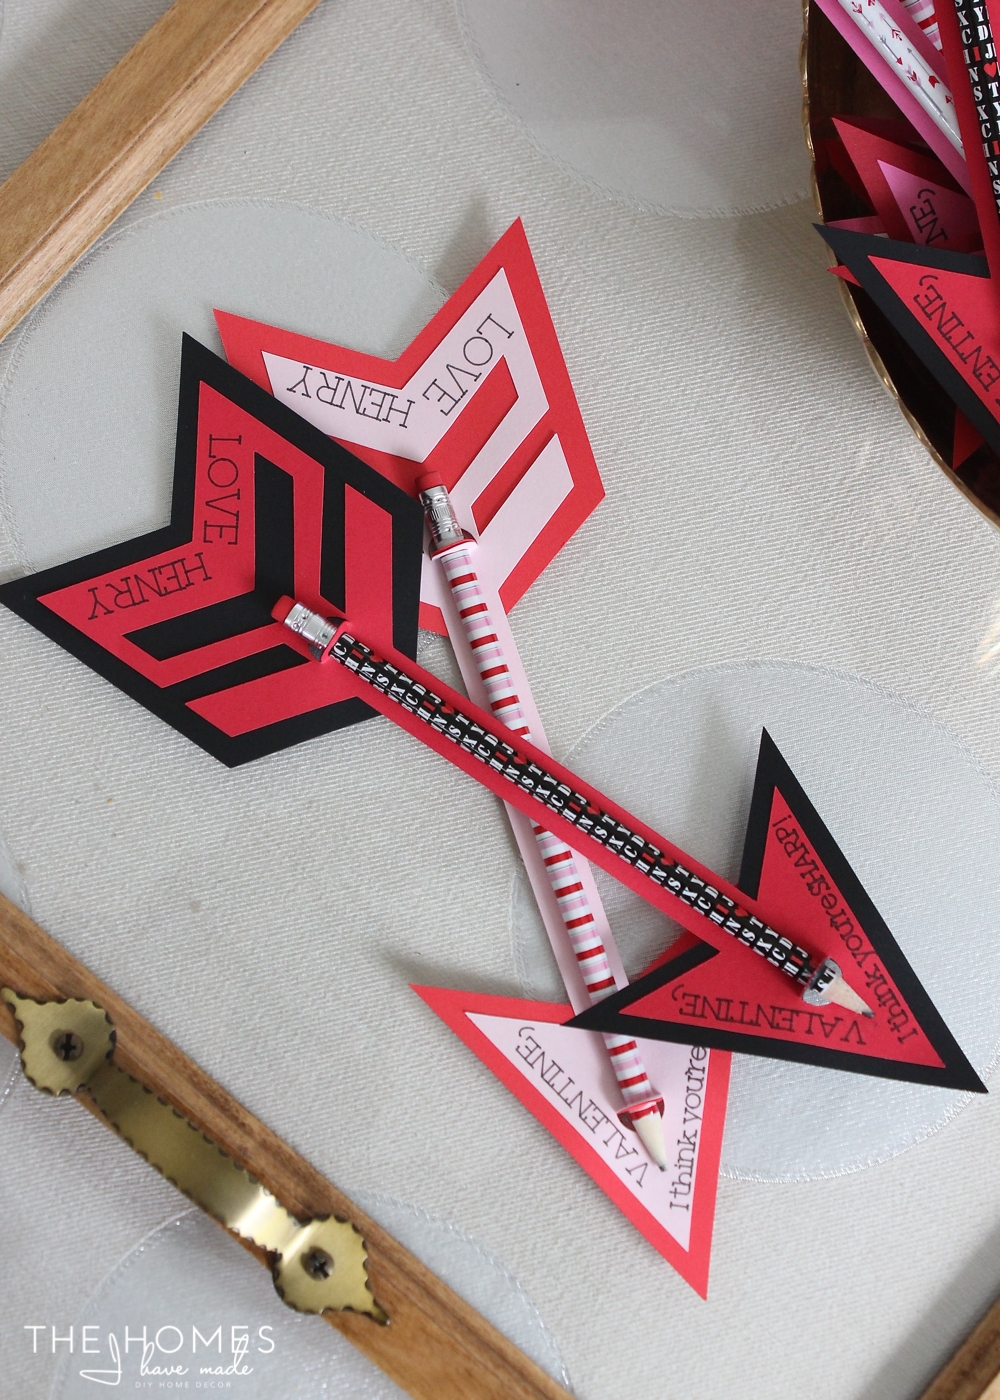
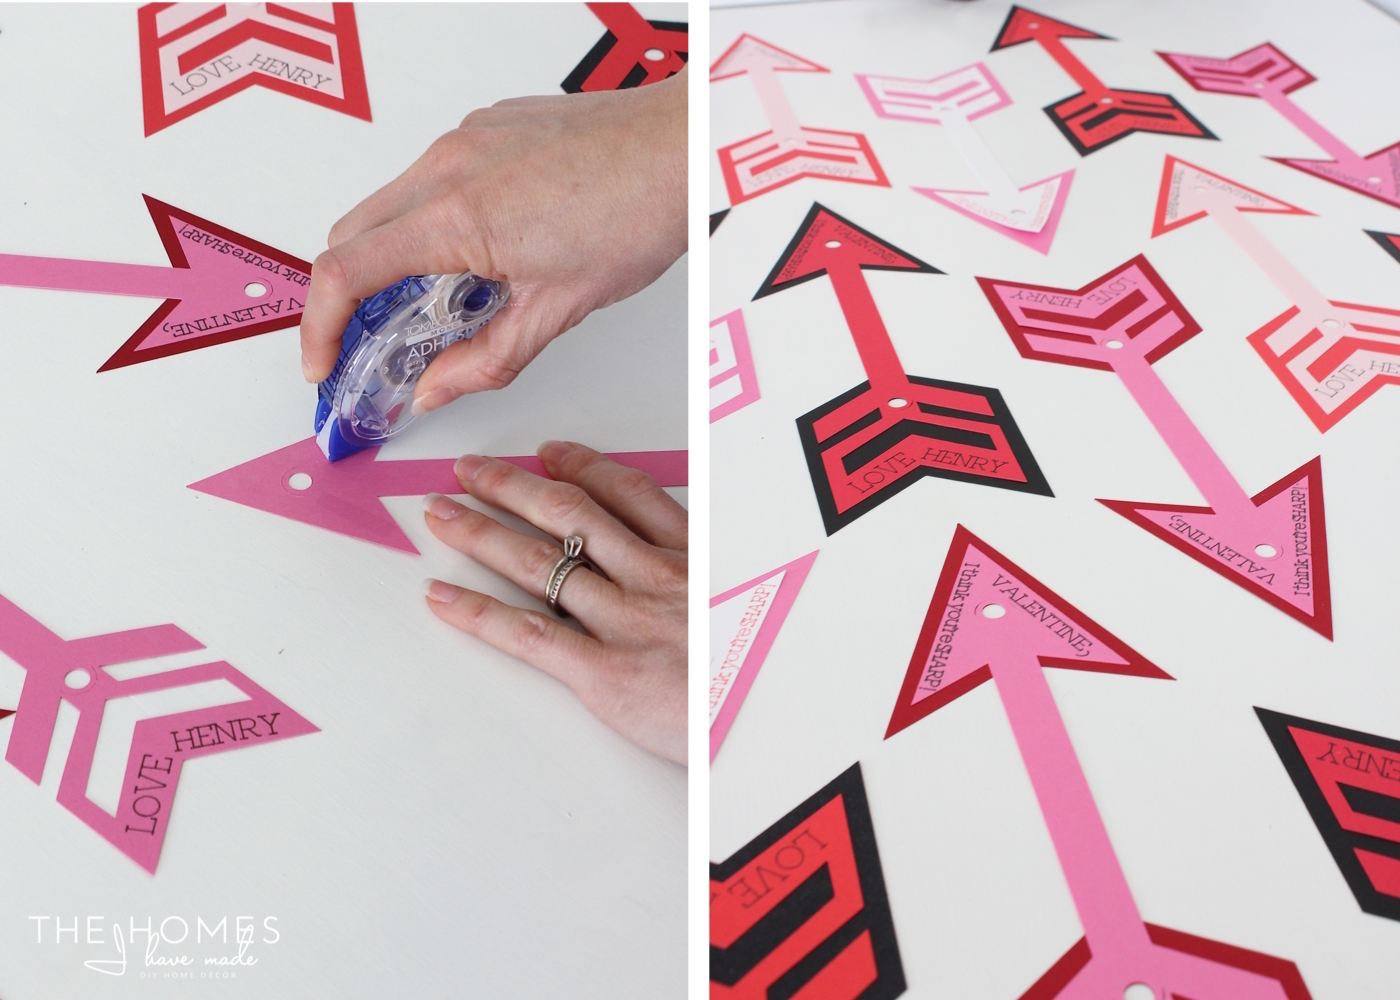
Next, use roller adhesive or your favorite glue to join the tip and tail components together.
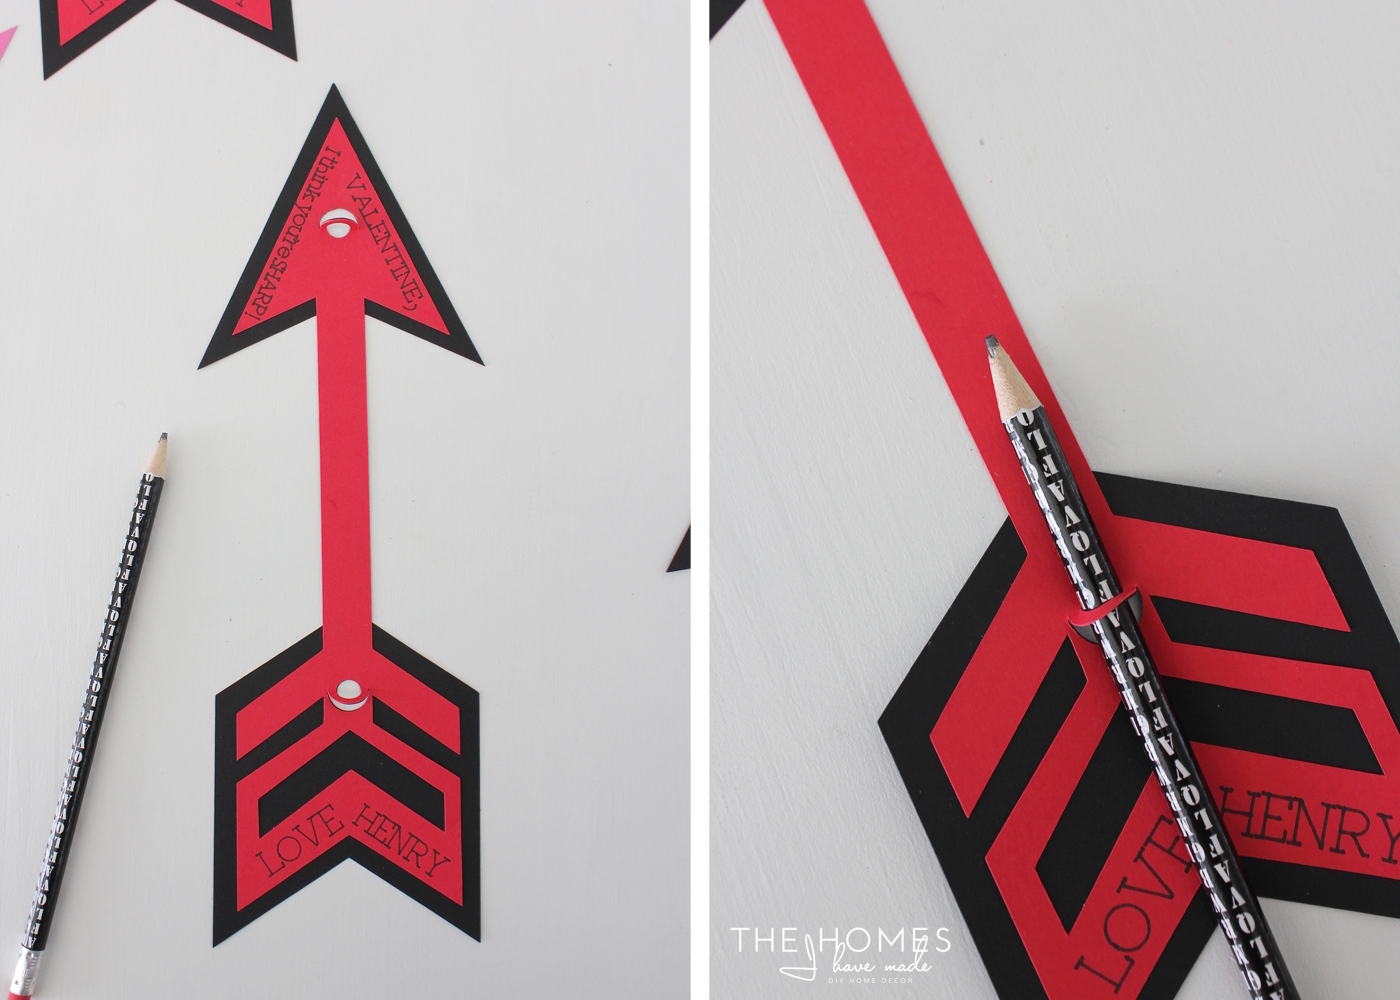
The arrows are designed to have little slots to hold the pencil in place (admittedly, I used Amber’s clever design to figure this part out!). To insert the pencils, I just bent the circle tabs upward and (carefully) slid the pencil into place.
This is rather embarrassing, but I can’t find our electric pencil sharpener ANYWHERE…so I tried to sharpen all my pencils with a manual sharpener. A dozen hand cramps and not-so-pointy-tips later, I gave up and settled for blunt pencils. That’s okay – these pencils are for pre-schoolers, and they really shouldn’t have super sharp pencils anyway 😉 Right?
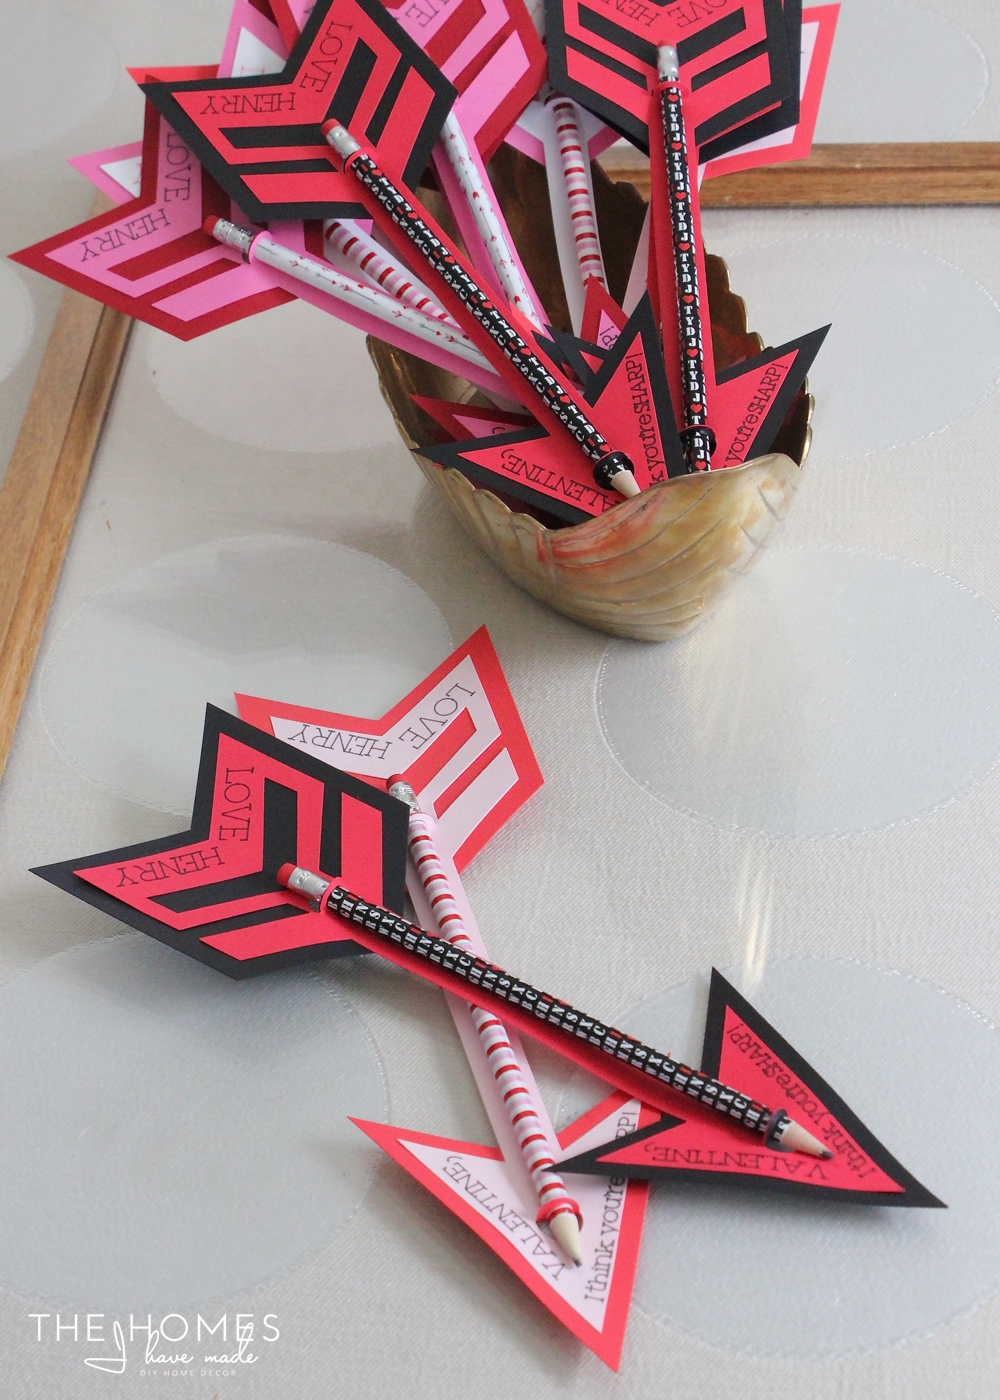
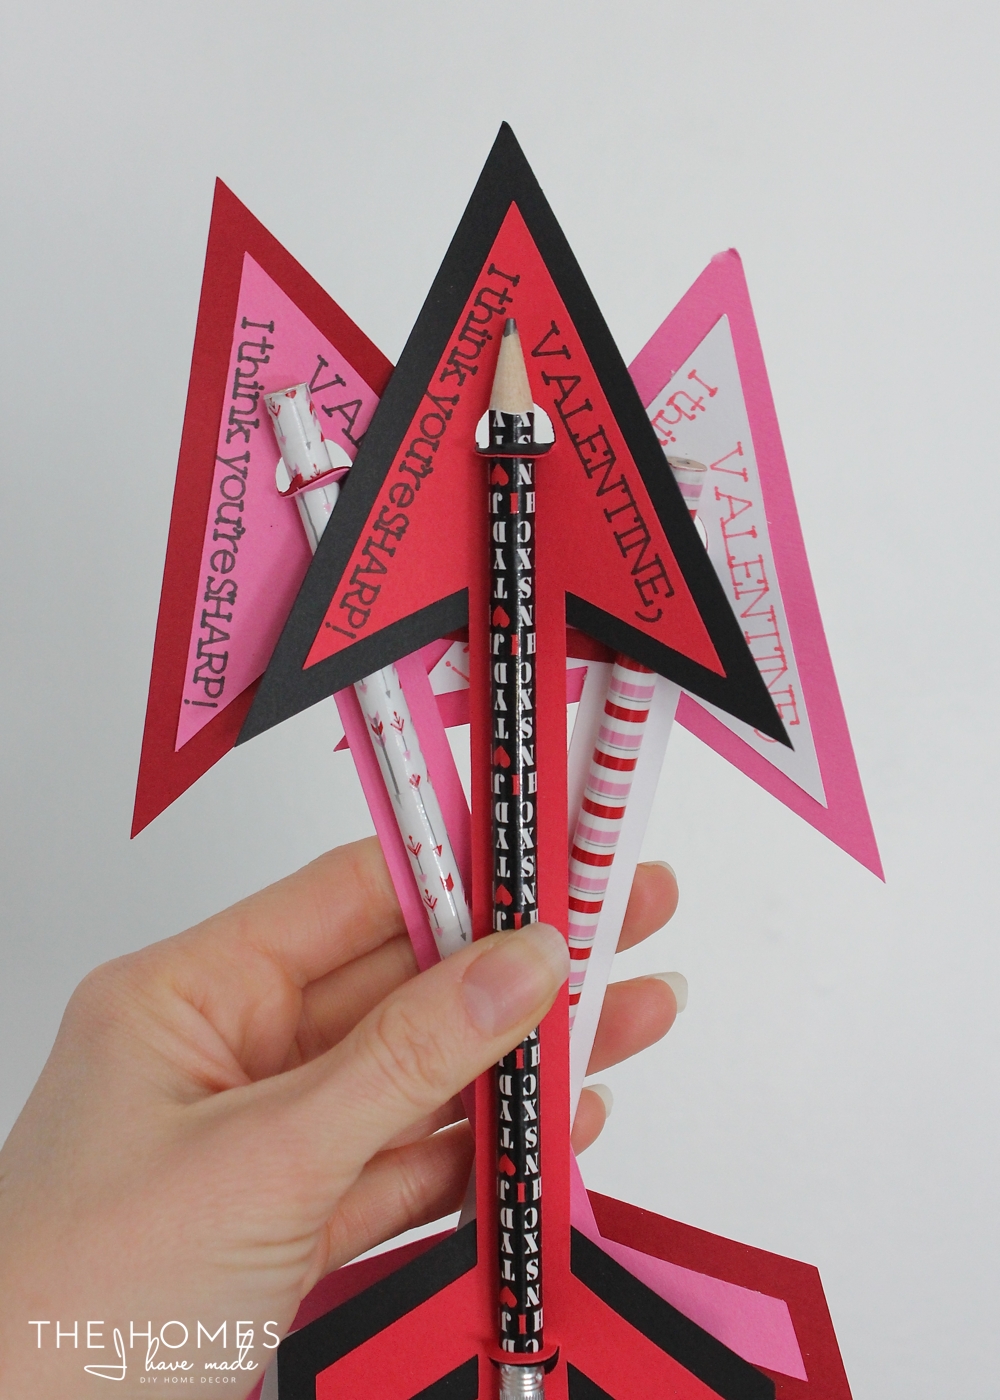
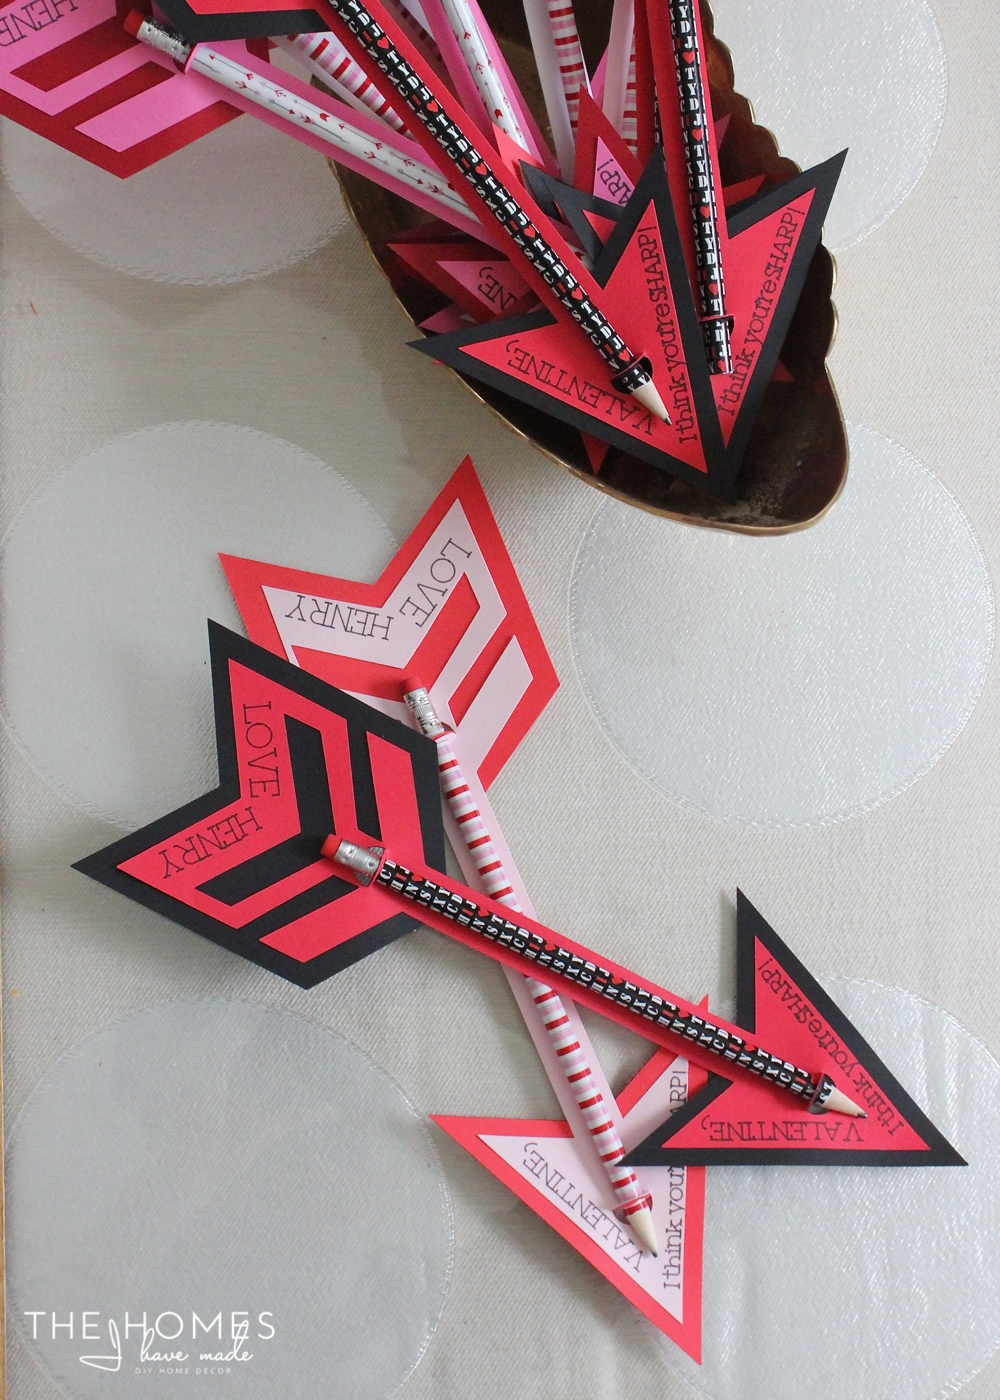
I inserted all the pencils into the paper arrows to create quite a love-ly quill of arrows!
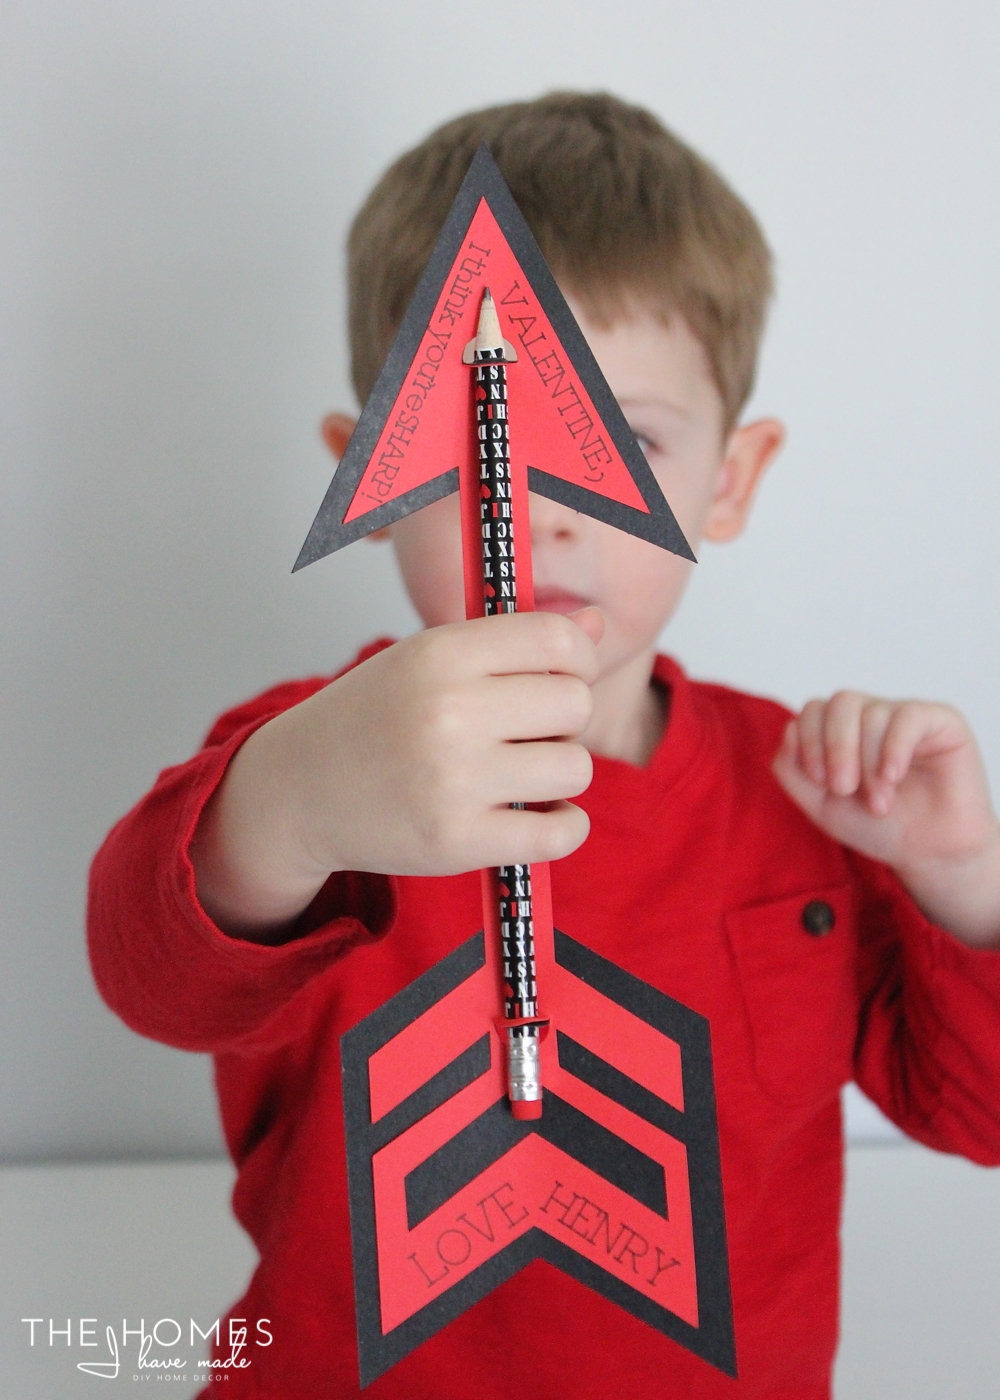
I’m pretty giddy with how these turned out. And Henry is just over-the-moon excited to hand them out to all of his friends this week!
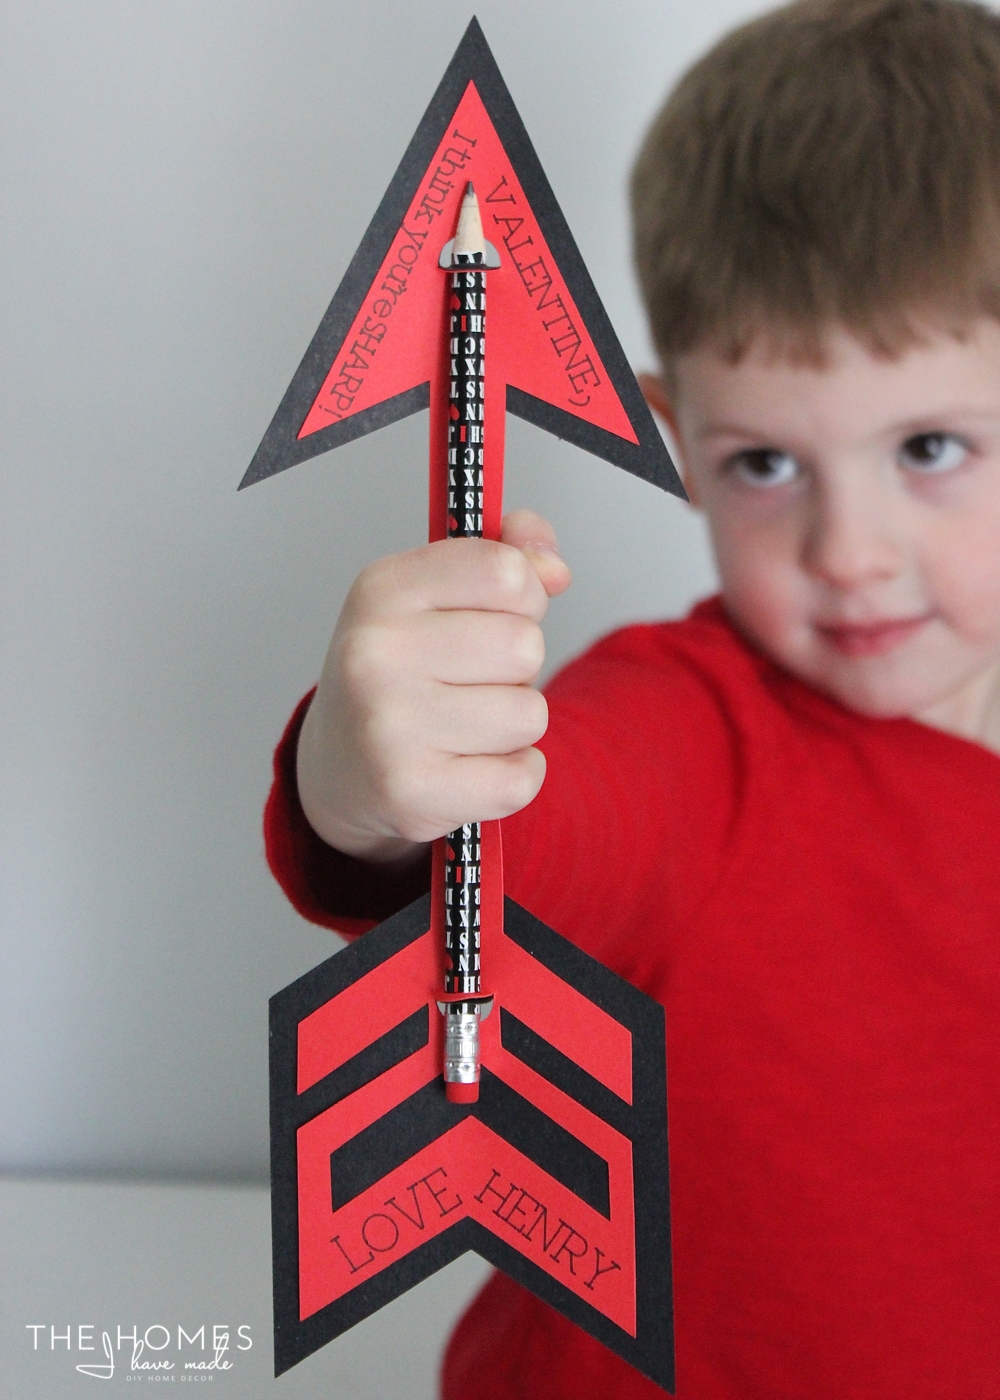
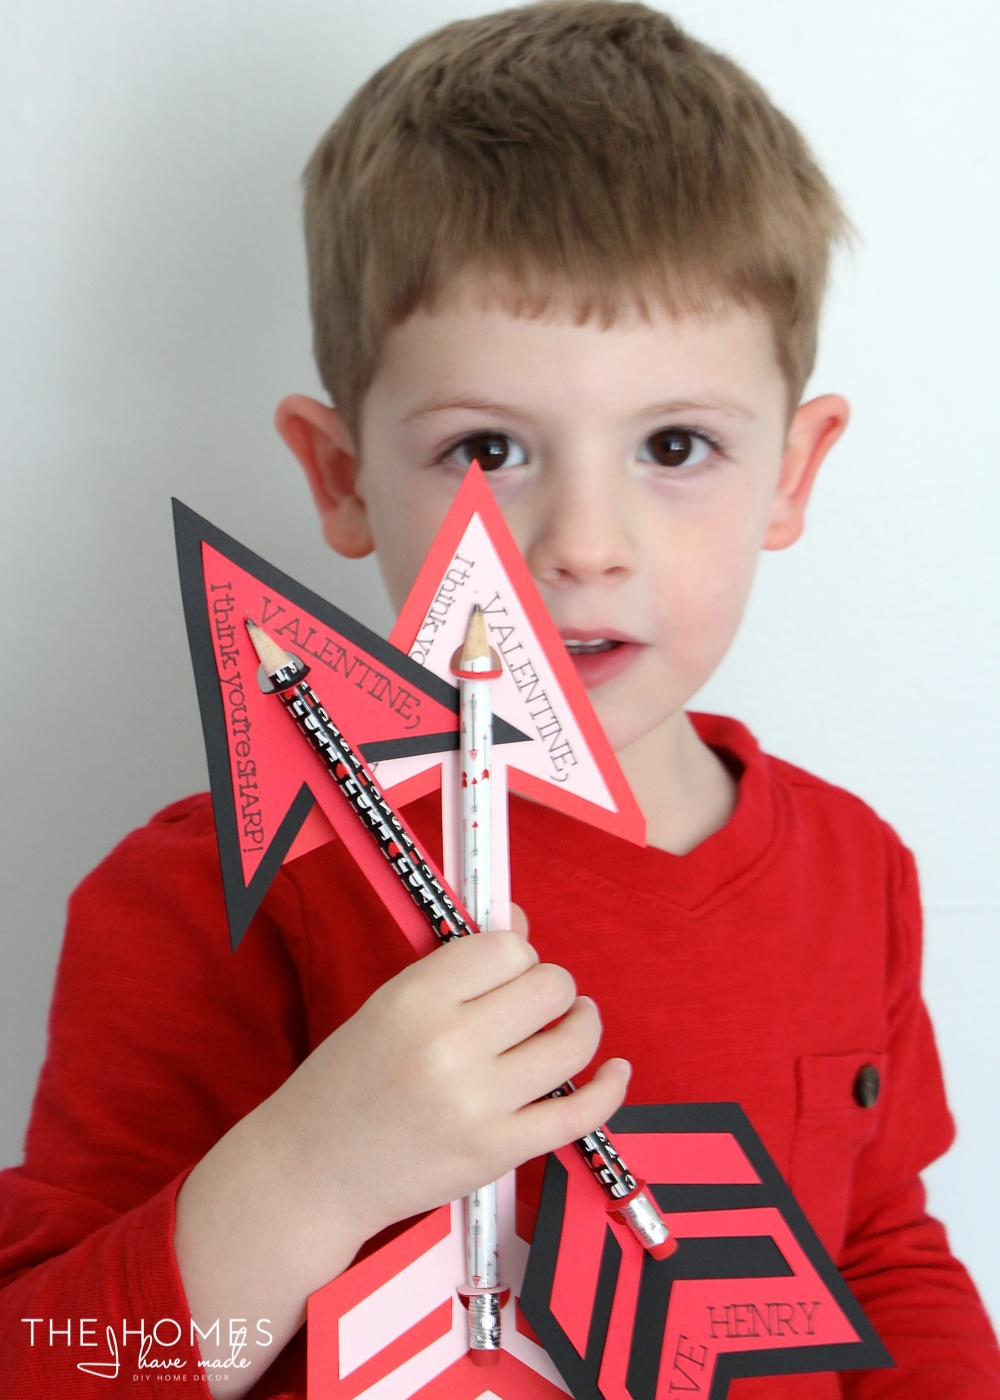
And one more dose of reality for your Monday. Photoshoots with almost-4-year-olds are NOT as easy as some bloggers make them look! Pair this wiggle worm with my mediocre camera skills and we ended up with tons of outtakes and just a few decent shots! But man, those big brown eyes sure do get me every.single.time. #lovethatkid #somuchpersonanality #iwantedtheredshirt #hewantedtheblue #yesibribedwithfruitsnacks
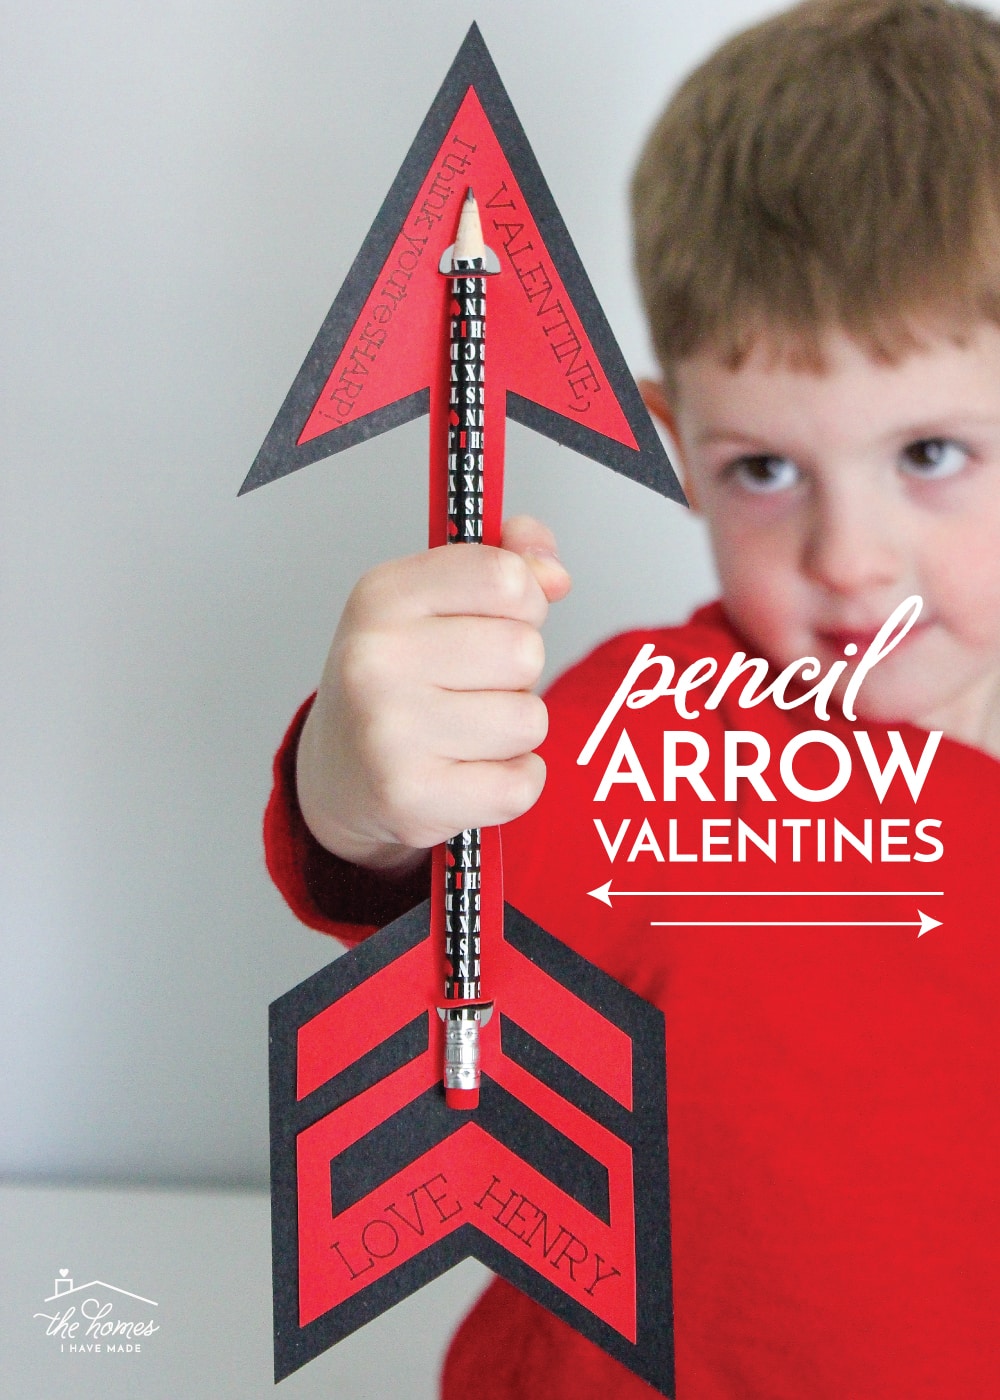
In this photo, his little fist was the ONLY thing in focus – loved it!
Five days before Valentine’s Day, and we are ready! Are you making homemade Valentines this year? Are you ready to go? If not – you still have plenty of time to pull something together. If you need more ideas, you can check up my Valentine projects roundup here!
I hope you give these fun Valentines a try!
Megan







55 Comments on “Pencil Arrow Valentines”
Pingback: The BEST DIY Valentines - A Little Craft In Your Day
Is it possible to just have a color PDF. Our two granddaughters are in archery and would be perfect for them. They are so cute and I wish they were in a .pdf format for non-cricut users, like me. I have no desire to purchase a cricut. I already have several sewing and embroidery machines. And, I quilt. Not much more time for another craft requiring another machine.
I love your non-cricut blogs and have organized my drawers and kitchen cupboards. And, I am looking forward to learning more from your clothes blog. Many thanks,
Alice Cornelson
Hi Alice!
Thank you so much for your kind comment!
Unfortunately, regarding the Pencil Arrow valentines, I don’t have them in a non-Cricut format at this time. This particular design uses images proprietary to Cricut, so they have to be made with Cricut’s software and machine. Someday, I’d love to get around to creating a printable version, but I don’t quite have time before this Valentine’s Day!
Thanks,
Megan