Owl Paint Chip Art {Little Boy Room Project}
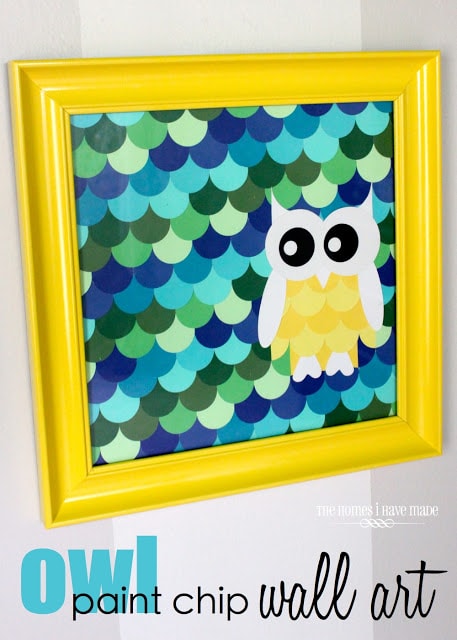
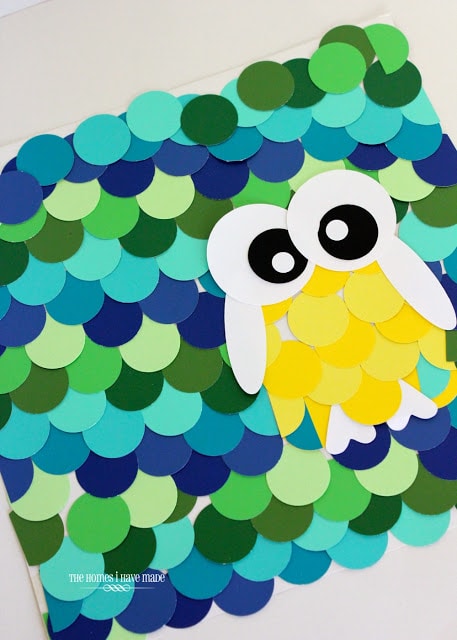
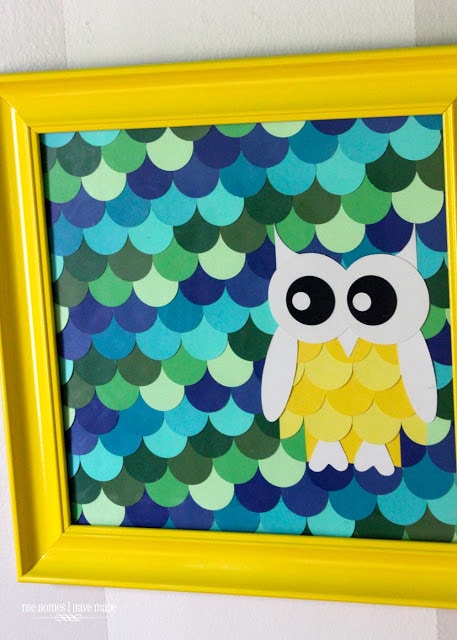
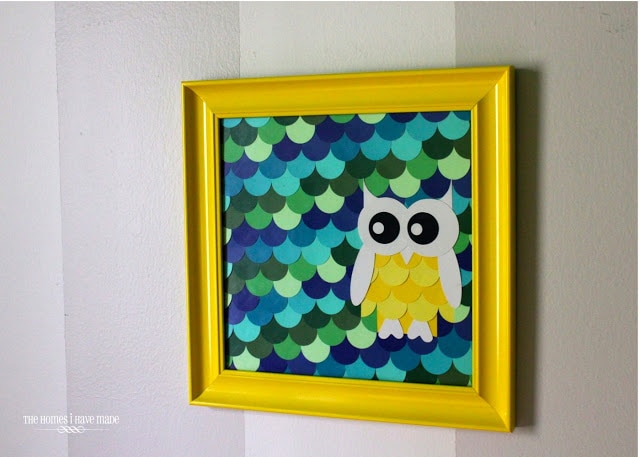
I am so excited to be showing you this project today! This little owl paint chip wall art is without a doubt my favorite project in Henry’s updated little boy room. I’ve had it done for quite some time now, and have been itching to share it with you ever since it was completed and hung on the wall…
I love the vibrancy, the cost (um, FREE!) and the visual interest contained in this small yellow frame. This little guy just makes me smile every time I walk in the room.
This project was completely free and really easy. I have the full tutorial for you after the jump!
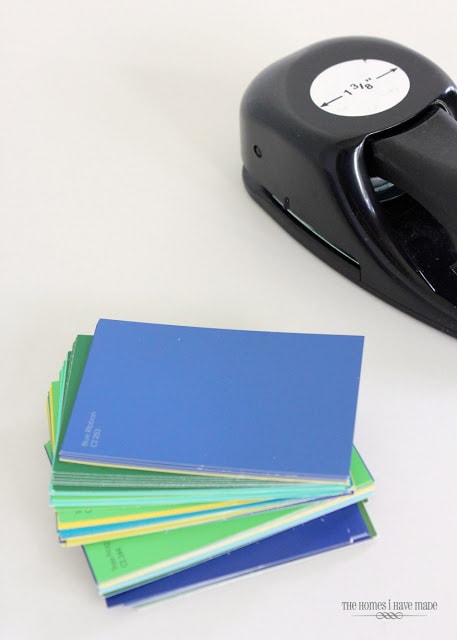
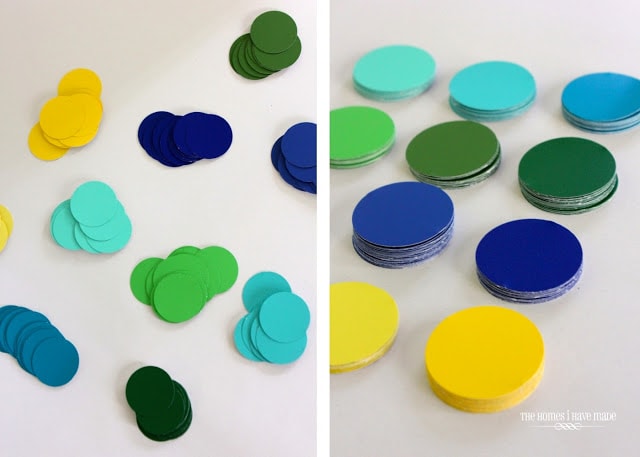
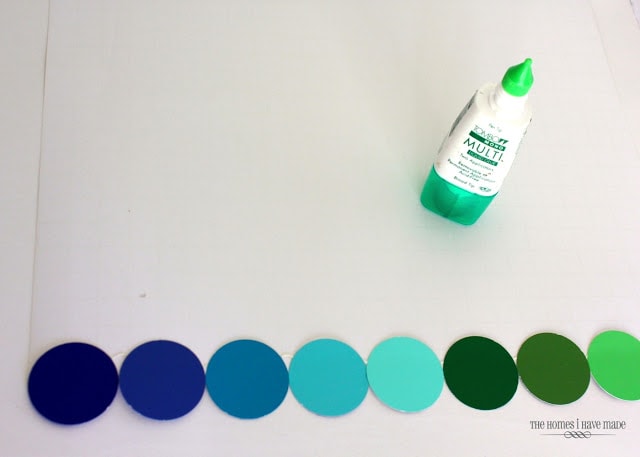
Start by visiting your local hardware store and (discreetly 😉 grabbing a bunch of paint chips in your desired color scheme. Nothing is more irritating than having to go back for more paint chips because you need just two more dark blue circles (yes, I had to do that), so grab a bunch! This project is also made a whole lot easier by using a circle punch. I used a 1 3/8″ one I had on hand.
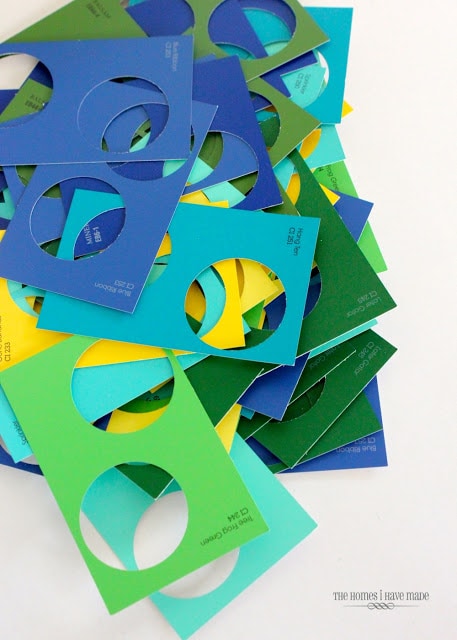
Next, start punching away. Punch, punch, punch. Try to get as many circles out of each paint chip as you can…and punch half circles on the edges because you can use those on the very sides of your finished artwork.
I don’t have exact counts for you – wish I did. Just punch your little heart out – you’ll still probably need more in the end!
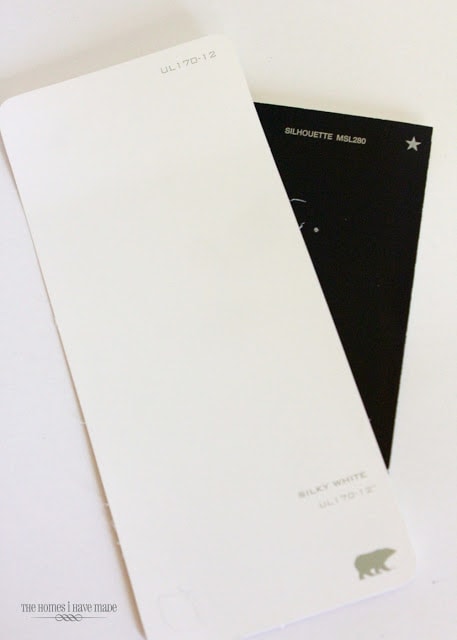
For the owl, you will also need some white and black paint chips. Depending on the size of the paint chips you find, you might want to grab a couple of these too!
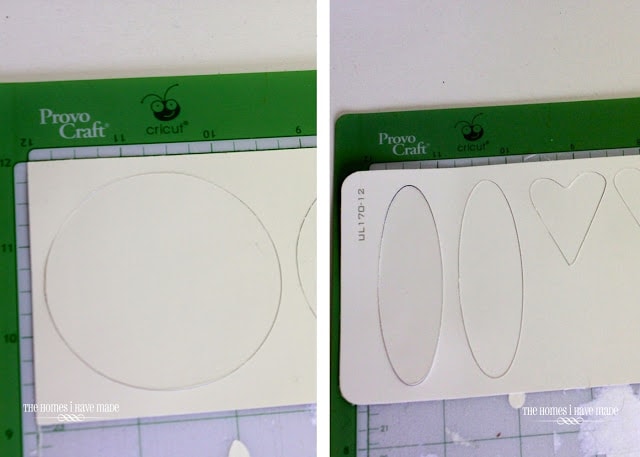
I used my cricut to cut out my owl “body part” shapes, but you could easily trace these and cut them out with a scissors.
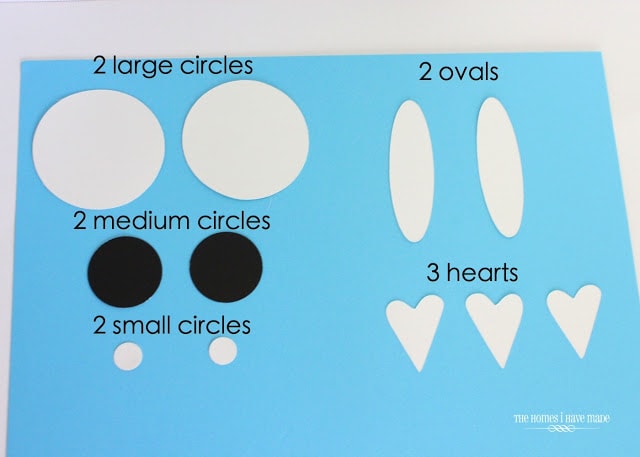
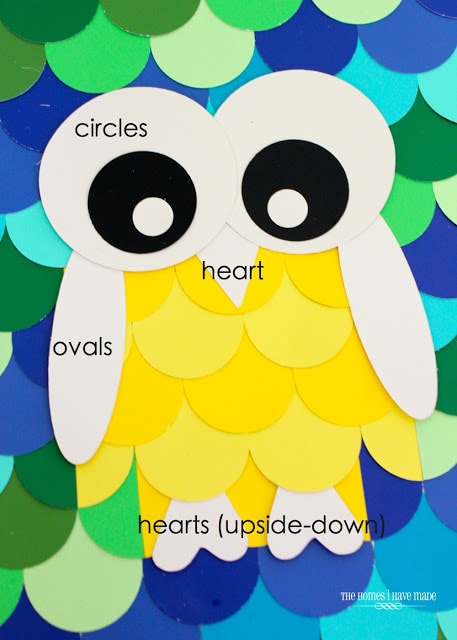
For the owl, here’s what you need to cut:
- 2 large circles from white
- 2 medium circles from black
- 2 small circles from white
- 2 long ovals in white
- 3 hearts in white
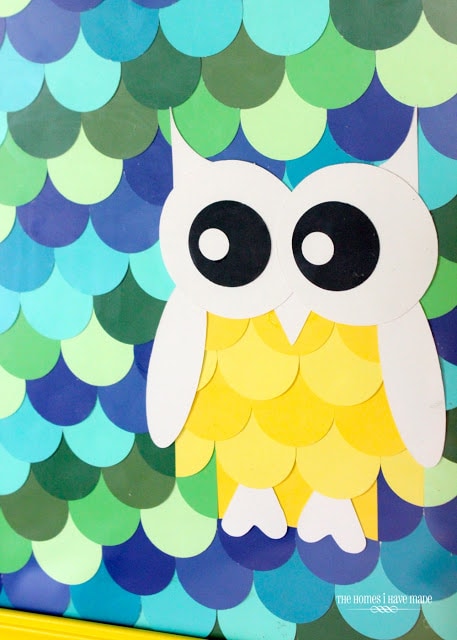
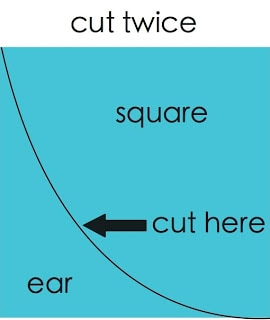
…and two ears in white. The ears were a last-minute add on once Greg and I realized the owl looked more like a bug and not so much like an owl. To make the ears, start with a square and then cut across the square in a curving downward diagonal line (as shown below). The smaller triangle-ish part is what you will use for the ears. Cut two in white.
Once you have all your circles and shapes cut, it’s time to experiment with your layout. I cut a 13″x13″ square of cardboard to attach all my shapes to (to fit inside a 12″x12″ frame). On top of the cardboard sheet, I played with my color pattern and owl layout until I was satisfied.
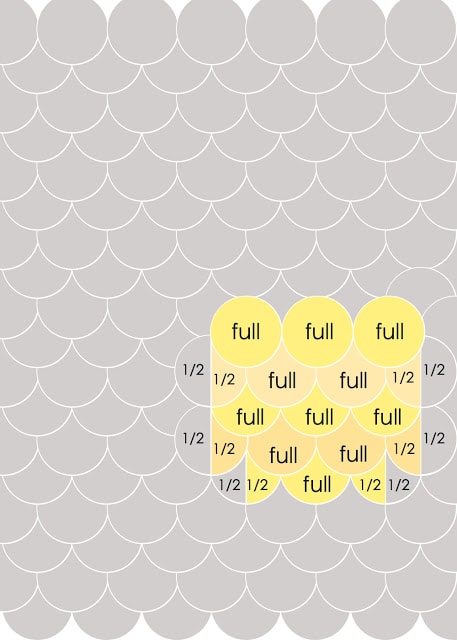
To make the same layout I did, here’s the general pattern. For the background, line up your circles edge to edge across the whole sheet. On the next row, off-set the circles by 50%. Continue to alternate how the circles are lined up. Be mindful of the straightness both across and up and down as you go. To make the owl, lay out circles (in a high contrast color) in the pattern you see below. “Full” means a full circle diameter, and “1/2” means to cut the circle in half.
Here is how all those shapes come together to form the various body parts of the owl. These shapes can just be laid atop the background circles. (Note – like I said, the ears were a last-minute add on. They get tucked in right behind the eyes. See the final photos for help on placement).
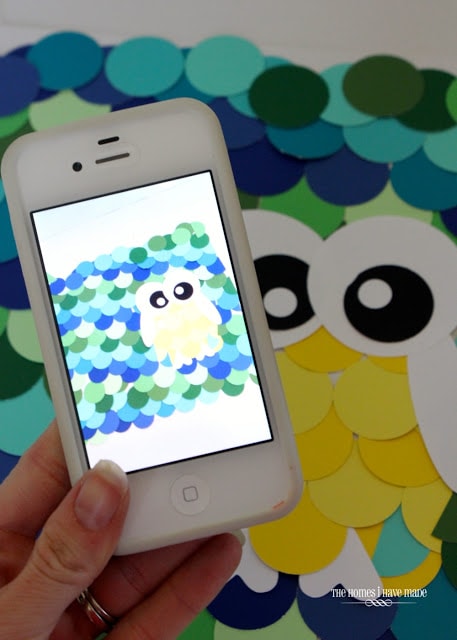
Once you are satisfied with your layout, take a quick snapshot before you dismantle it and start again (this time, you will glue as you go). The photo will help you put it back together exactly as it was the first time.
Starting at the bottom of your cardboard sheet and using strong craft glue, attach one circle at a time to your cardboard backing. Again, be mindful to line everything up just right!
Work your way up the entire board, following the pattern above and the photo you took of your practice layout.
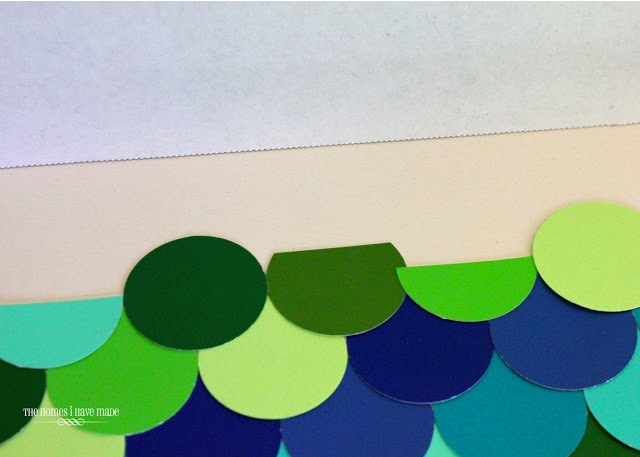
Don’t worry if the top edge looks a little jagged and messy. The last step is to use either a scissors or paper cutter to trim down all the sides so that they are clean and the whole artwork fits into your desire frame.
I spray-painted an old frame I had with some Sun Yellow paint (by Rustoleum) from my stash, making this entire project completely free!
Here’s the little guy all hung up, awaiting visitors!
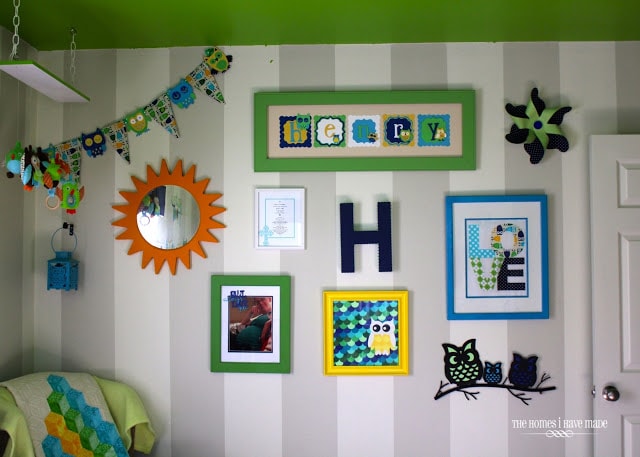
There’s a few more goodies on this wall that I am antsy to show you. Stay tuned!
Hope everyone’s having a good week so far. The gallery wall tour will continue on Friday. See you then!
Megan




11 Comments on “Owl Paint Chip Art {Little Boy Room Project}”
super love this and owls too!
Love the owl! Too cute!!!
I love this! It's such a great and adorable idea! I pinned it to my Owl board. 🙂
That looks like a hard work, but the outcome makes it so easier and nice. I’ll make it with my kids to make it much fun.
Love this idea! We're currently fixing/remodeling our rental home, so I've got a lot of trips to the hardware store to make (in fact I'm going in a few minutes, to get all the things I forgot last night). Maybe I'll start picking up some paint chip samples everytime I go in. I wonder if this could be done with a pink flamingo instead of an owl?
Hi Megan, I saw this wonderful Owl art over at Uncommon Designs Funday party and wanted to stop by and say hello. I LOVE this! I have someone who is an owl fanatic and would adore this. Thank you so much for sharing and have a great Monday! ~Cindy, littlemisscelebration.com
Pingback: Paint Chip Crafts
Pingback: 15 lustige Dinge mit Paint Chips zu machen - DiY & Craft
Pingback: 31 Super Creative DIY Paint Chip Projects
Pingback: Paint Chip Crafts
Pingback: 31 Super Creative DIY Paint Chip Projects - Latest Music News 2019