Easy Fabric Word Art {Little Boy Room Project}
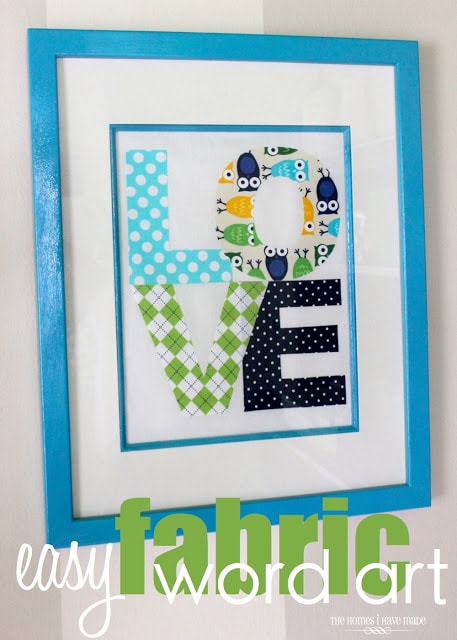
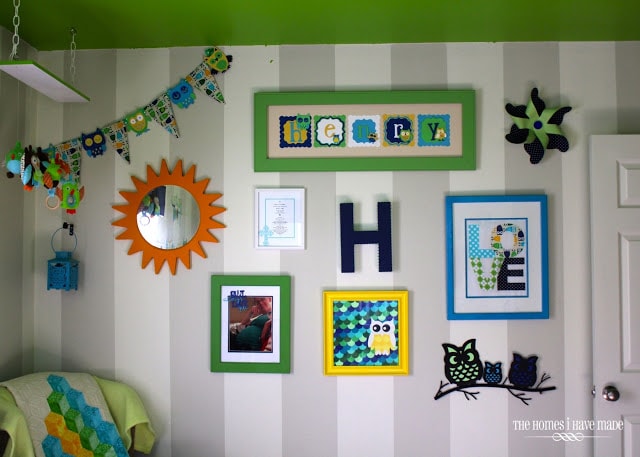
This is a fun little project anyone can do, regardless of sewing skill or crafting ability, to add a little “LOVE” to a wall or room! You can find this image in a variety of fonts, colors, and prints on Etsy and other places around the web…but I thought using fabric scraps from the room’s projects would help bring everything together while making some fun and FREE art for the gallery wall!
This really couldn’t be easier, and you likely have (almost) everything you need at home! Let’s get started!
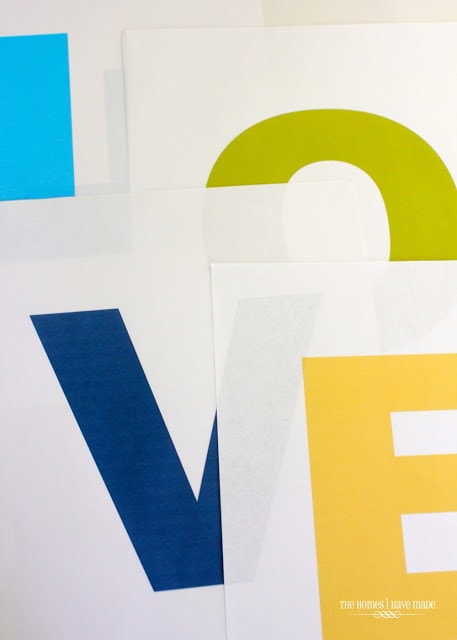
Start by finding a font on your computer that you like. I can’t quite remember, but I am pretty sure I used Arial Black. Enlarge your font as large as you need to fill your frame. You may have to fudge around with this for a bit to get the sizing right. I found it helpful to print out each letter in a different color that coordinated with the fabrics I was going to use.
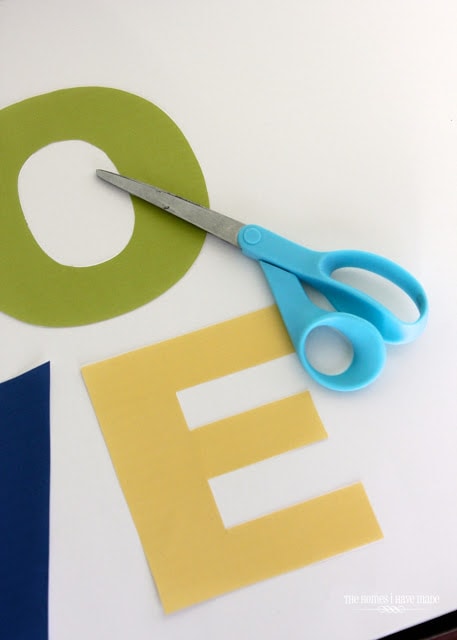
Next, cut out all of your letters from the paper.
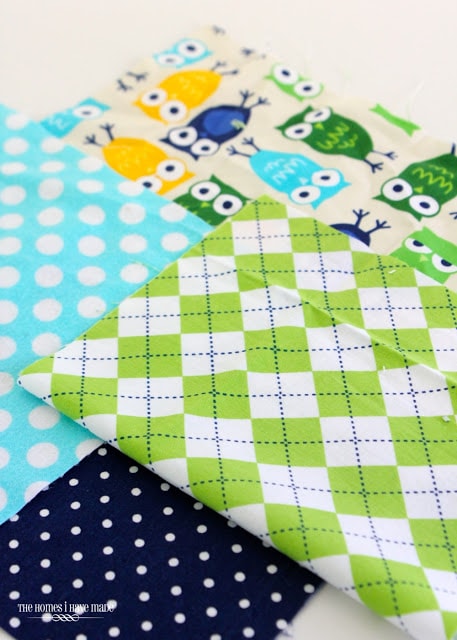
Assemble your fabrics! Again, this is a great opportunity to use leftover scraps from other projects you may have done throughout the room. You just need four small squares.
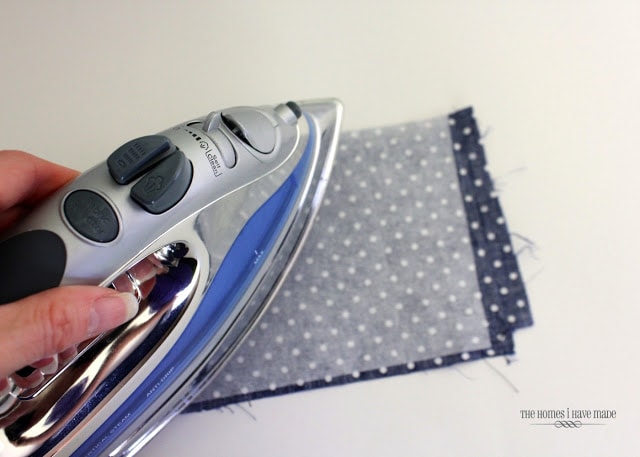
Using an iron, attach Heat’n’Bond or WonderUnder to the backside of your fabric scraps following the package directions.
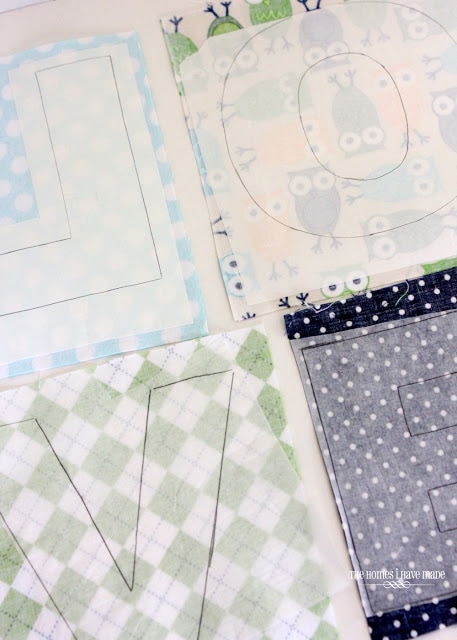
Once all of your fabric scraps have fusing material attached, trace your cut out letters onto the backs of the fabric swatches with a pencil. Remember to flip your letters over so that when they are cut out, they read the correct way!
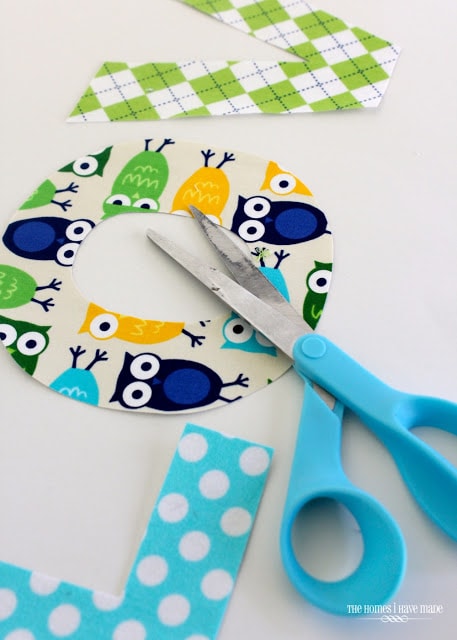
Using a sharp scissors, cut out your fabric letters.
Next, take the frame you’ve selected (hopefully, you’ve made sure that your letters will fit into the frame before you cut them all out!).
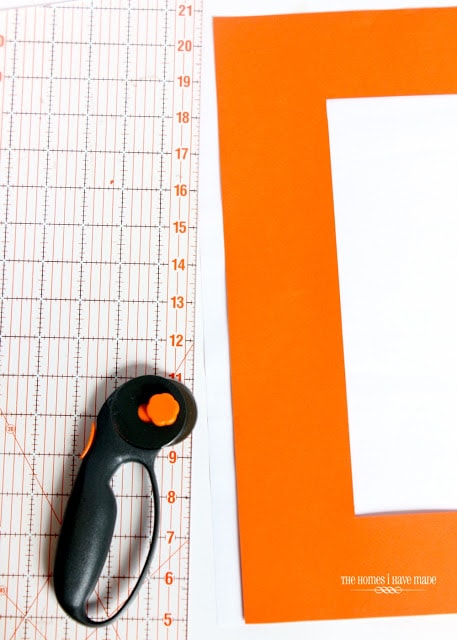
Using the dimensions of the carboard in the back of the frame (or use the mat like I did), cut a piece of white fabric to fit inside the frame. I used cheap white drapery lining fabric because that’s what I had.
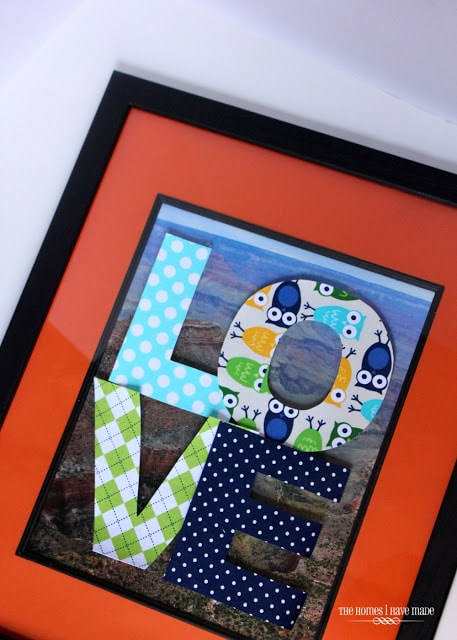
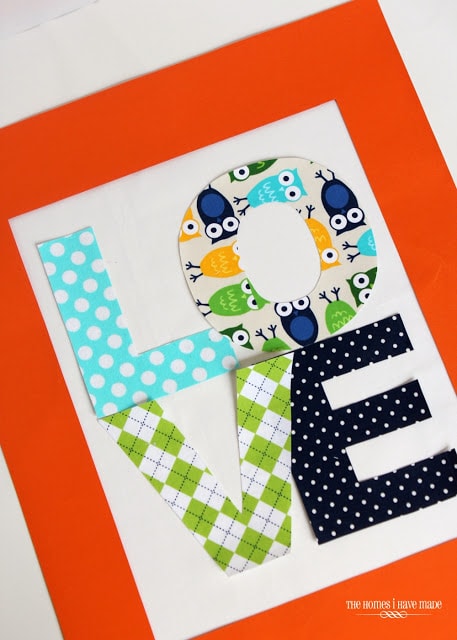
If you are using a mat, be sure to use it while deciding on the final placement of your letters. In the photo below, I have my white fabric underneath and am centering my letters using the mat for guidance.
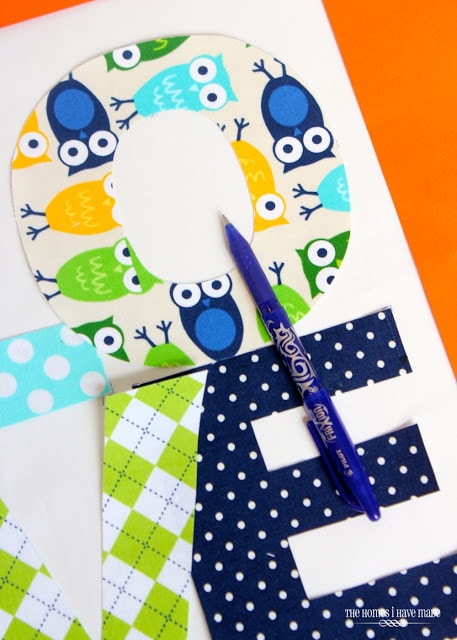
Once you’ve placed your letters exactly where you want them, make some quick marks using an erasable fabric pen to identify their locations. This will allow you to remove all the letters and place one at a time but still make sure your placement is right.
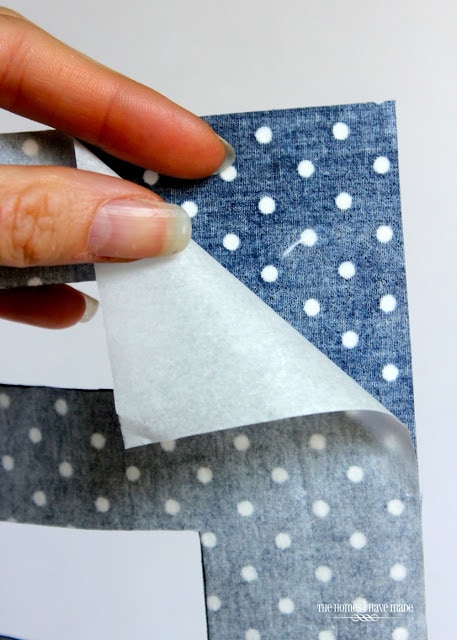
The last step is to remove the paper backing and iron your letters to your white fabric. See package directions for length of heat time for ideal bonding.
Now, about that frame. In this room, and elsewhere around the house for that matter, I have really, really been trying to use things I already have when I’m working on new projects. One of my favorite tricks recently has been to spray paint picture frames so they work in a new space. (You can see I’ve already done it here and here 😉 I typically use the same process when I am spraying frames: a primer then a color.
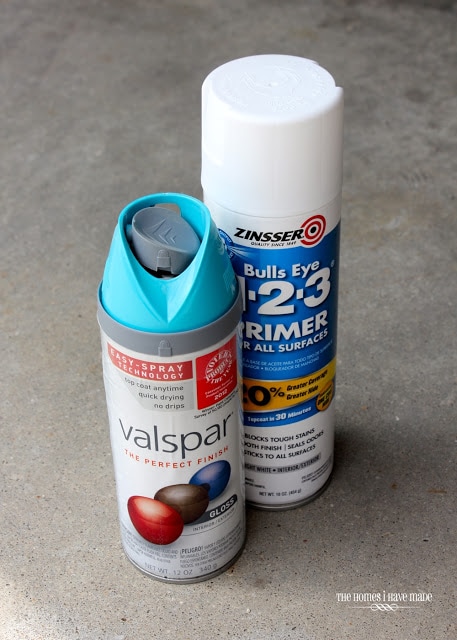
First, I primed the frame and the internal mat frame (which is plastic, but don’t be afraid to paint it anyway!) with the Zinsser Primer, then followed it up with two coats of Valspar Pool.
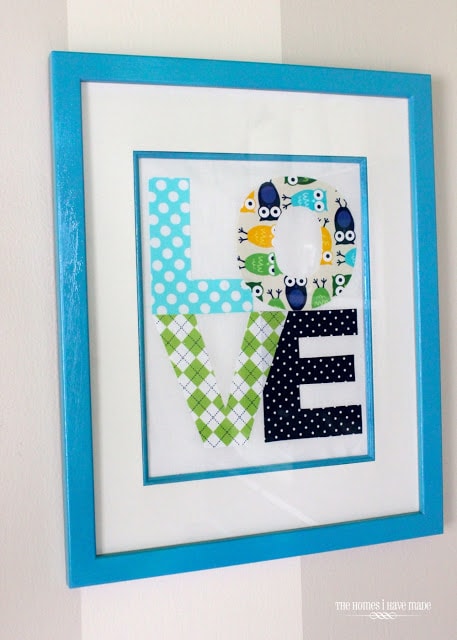
Once my paint was dry, I loaded everything back into the frame, securing the fabric the back of the frame with some double-stick tape. (Oh – and I replaced the orange mat with a white one I cut from plain poster board). While the fabric letters are adorable, I actually think the painted blue frame is what really makes this artwork awesome.
I love that this artwork a mini collection of the fabrics used throughout the room and displays such a simple message so beautifully!
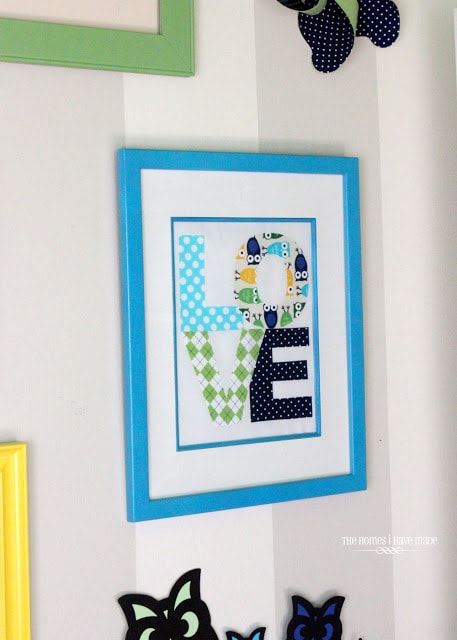
I hemmed and hawed over the painting the frame blue and I am so glad I did. It’s exactly the pop the wall needed!
I hope everyone had a great weekend. Mine was incredibly productive – lots and lots of new projects to show you once I wrap up this “little boy room” tour. I’ve got a few more goodies in this room to show you before we move on!
Have a great Monday!
Megan





4 Comments on “Easy Fabric Word Art {Little Boy Room Project}”
Beautiful project and your wall is amazing! Great job! Megan
This is such a great idea! I am going to do this for our play room!
I love everything about this nursery! It is too cute and precious!! Love the "Love" picture!!
what a cute idea. So simple too. I might try this. Great job. I am hosting a link party and would love it if you would link up.
http://www.ifitsnotbaroquedesignblog.blogspot.com/