DIY Owl Wall Decals
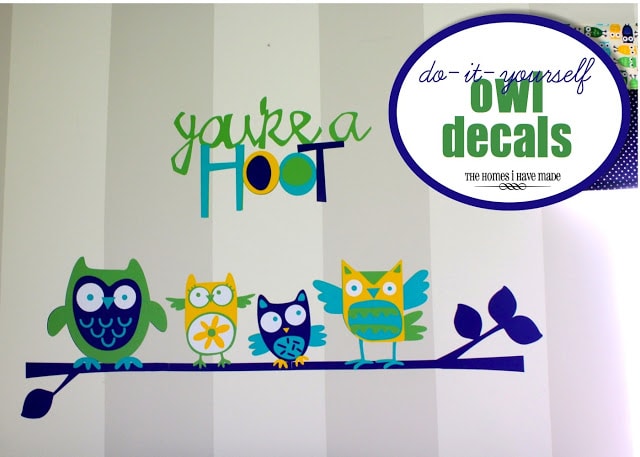
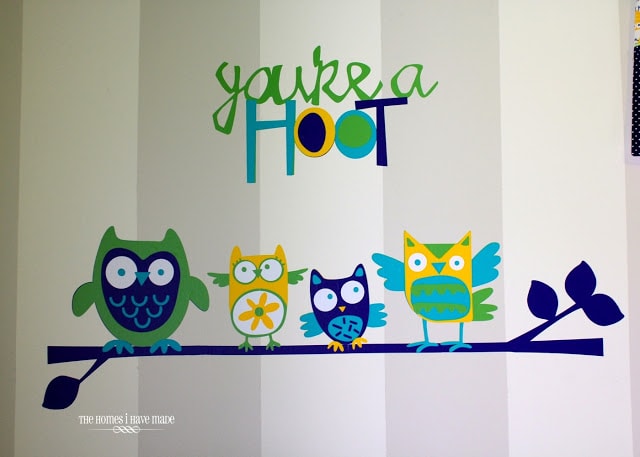
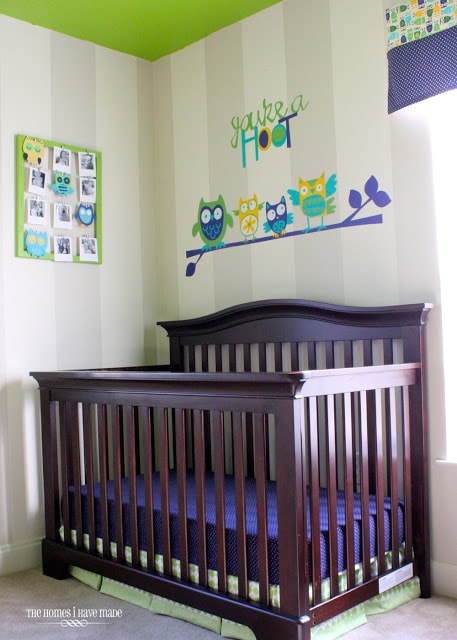
Happy Martin Luther King and Inauguration Day! I am enjoying some downtime with family, but wanted to pop on with the first project tutorial from H’s owl-themed little boy room. First up: how I made these owl wall decals!
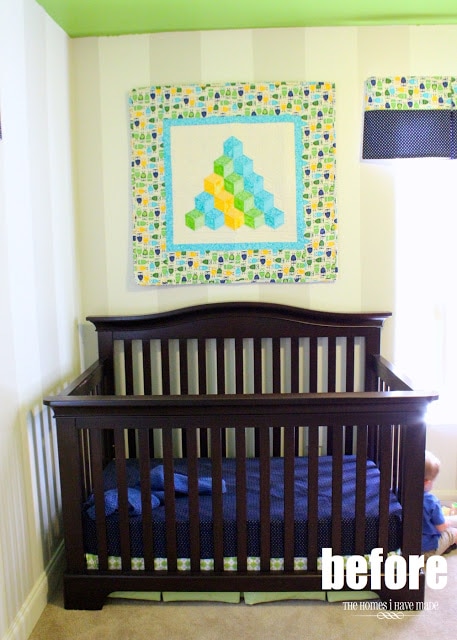
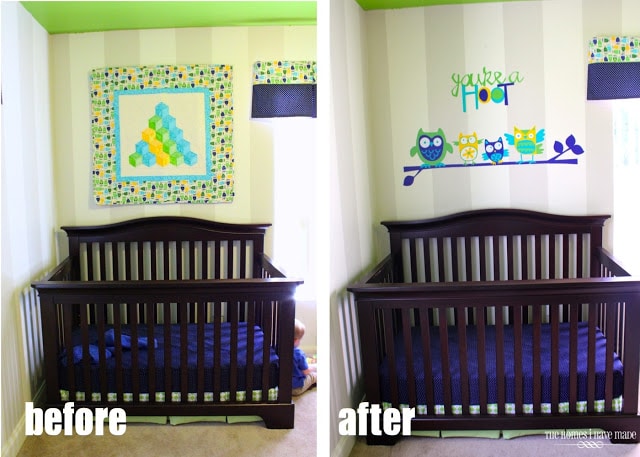
The original plan for above the crib was to hang his block quilt again. My mom made it for him before he was born, and it has always been one of my absolute favorite items in the room. In his old room, the crib was the only thing on the wall, and the quilt provided the perfect amount of “something” over the crib. In this house, however, the crib is sandwiched between two windows, both of which were give new window treatments using lots of the owl-patterned fabric. Once I hung the quilt, it was all a little too much for me. The quilt had to find a different home, and I had to come up with something else for above the crib!
I show you just how I did it after the jump!
Let me start off by saying that I cheated a little by using the Hoot’n’Holler Cricut Cartridge for all the designs in this wall display. Sometimes it can be a little frustrating to be dependent on the cricut cartridges for my cutting options; but in this instance, the artwork provided on this cartridge was too perfect to pass up. If you are not familiar with cricut, all the layers in the image are provided, I just cut them out of each color!
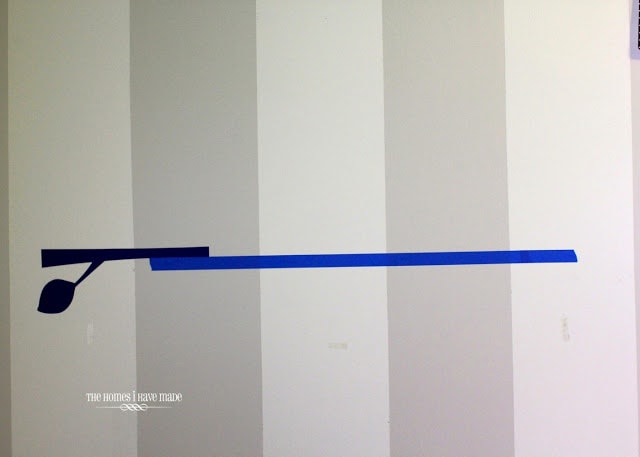
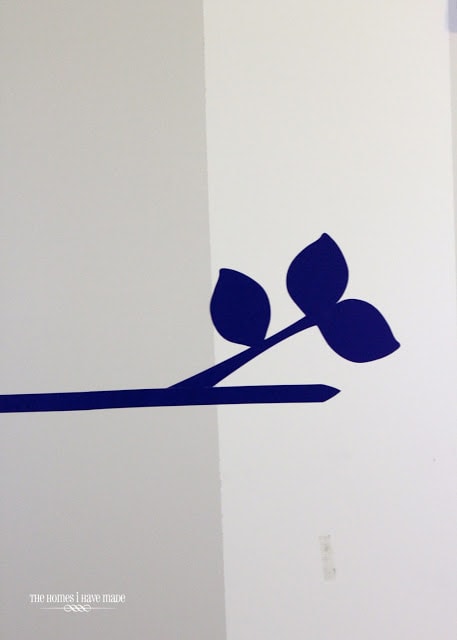
Okay…let me show you how I did it! I started by identifying the height of the branch on the wall above the crib. I marked and leveled it out using painter’s tape and a level. I then started building off the tape line with one of the branch images from the cartridge.
I wanted my full branch to be longer than what the cartridge would allow me to cut, so I just cut a long strip of blue vinyl (with a scissors) and attached it to the branch cut out from the cartridge.
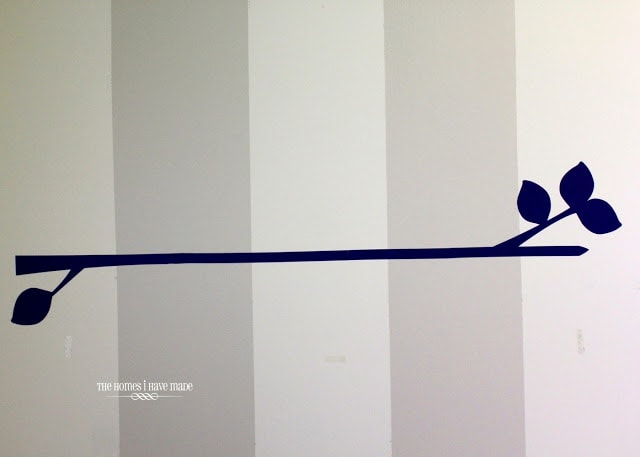
On the other end of my blue vinyl strip, I cut out a different branch image, trimmed it down, and adhered it flush with my blue strip. Remember, just because you can’t really alter the cricut images, you can “work” around them in different ways!
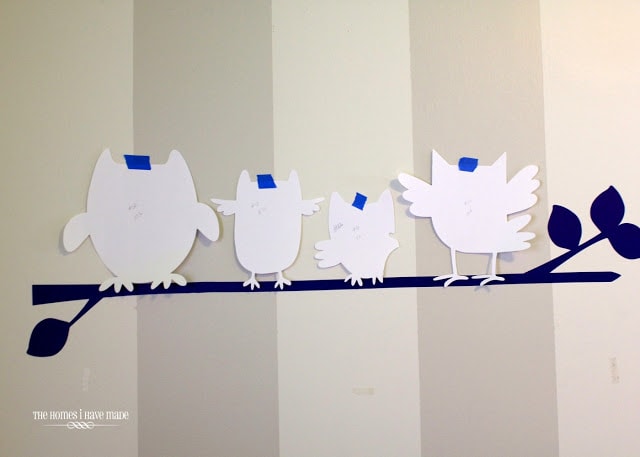
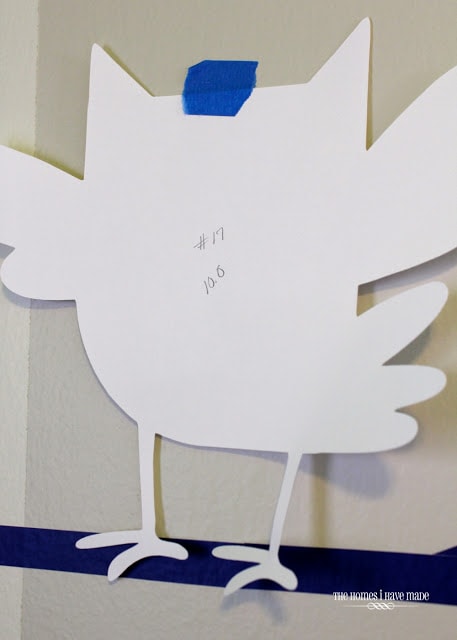
Once my branch was up, I cut some practice owls out of cardstock to identify which owls I wanted and how big they should be.
As I cut out each one, I noted the design number and their size so I could keep them all straight!
I experimented with a couple different methods to get the decals up on the wall. Each owl and the “hoot” phrase all had four vinyl layers; and once one layer was laid upon another, there was no removing it. After trying to apply all four layers directly ON the wall, I decided it was best to assemble all four layers OFF the wall, and then mount the full completed decal all at once.
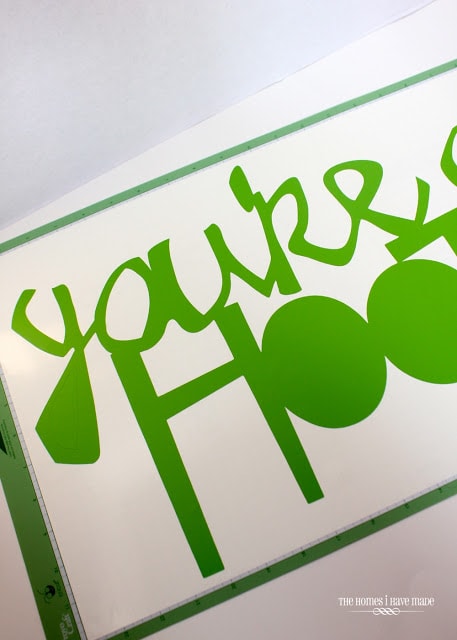
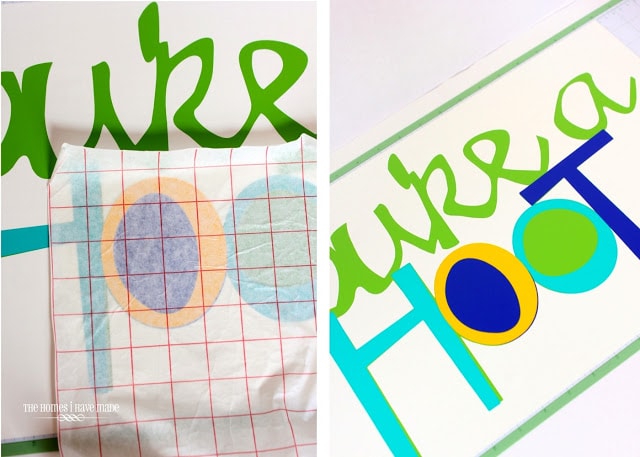
Here’s what I mean: I started by cutting all the image components in the different colors of vinyl. I then pealed away the excess vinyl to leave only the image. Note that the green letters below are still adhered to the vinyl paper backing.
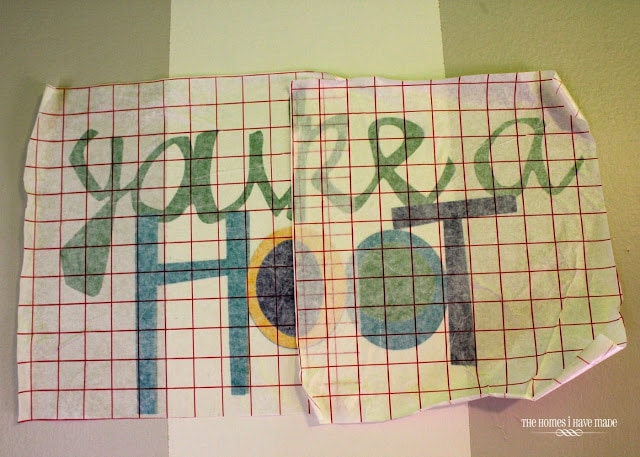
Using transfer paper, I then applied each vinyl layer as the design dictated. What was most useful in doing it this way was that I could hold the paper backing (to which I was adhering everything to) up to the light to make sure my alignment was just right – I couldn’t do that on the wall and so lining the layers up perfectly was practically impossible.
Once I had all the colors layered just right, I then removed the entire decal from the paper backing and applied it to the wall using transfer paper.
With the exception of the first owl on the right (the first one I did), all the decals were applied in this manner. The cutting is what took the longest; assembling them and getting them on the wall went quickly!
As soon as I was done, I knew it was the right decision for this corner of the room. Strangely enough, having the big owls on the wall help the little owls in the fabric pop out more and really pull the whole owl theme together. That whole “size and scale” thing that designers talk about is really true – ha!
These decals are one my favorite things in the whole room, and I love that I was able to make them myself (with help from the cricut) in the size and colors that would be just right!
Oh – and for those of you wondering where I get my vinyl. I order THIS kind from Amazon. The price is right and the array of colors is impressive! I’ve had no complaints using this vinyl and have it in almost every color 😉 This entire set of decals used about a 12″x24″ cut from each roll.
On Wednesday, I’ll be back with another owl-themed project from this room! See you then!
Megan



5 Comments on “DIY Owl Wall Decals”
SO CUTE!!! I absolutely love this!! Great job and so creative!
Chloe
http://rainbowsandhoneysuckle.blogspot.com/
I can't get enough owls! I just love the Hoot N' Holler cart – so much fun!
It's absolutely adorable!! The owls are so precious!! I'm so totally in love with the room. Makes me want to have another kid….but only for a second. lol.
I bought a program from "Sure Cuts a Lot" because I didn't want to depend on the cartriges, from Cricut because I knew I couldn't afford all of them. I just use the cutter that comes with the set that came with my Cricut cutter. The owl decals all all the stuff from the "little boys room" are so adorable. I was constantly tweaking my daughter's room so I understand the updating. You should sell nursery decor. The stuff you make is so fresh and interesting. 🙂
I love this type of stuff. I got a few wall decals from http://www.decalsforthewall.com/index.php?route=product/product&product_id=570#.UQQhiL-x_gc which turned out to work really well for me and my kids rooms.